DIY Instructions for an Ancient Egyptian Pharaoh Outfit
In ancient Egypt, the crown served as the primary symbol of a pharaoh's authority. The cobra goddess emblem was exclusive to the pharaoh's crown, and she was believed to shield him by breathing fire at his foes. This guide shows how to create a pharaoh costume suitable for a school project, a costume party, or Halloween.
By Jamie Howard15 steps
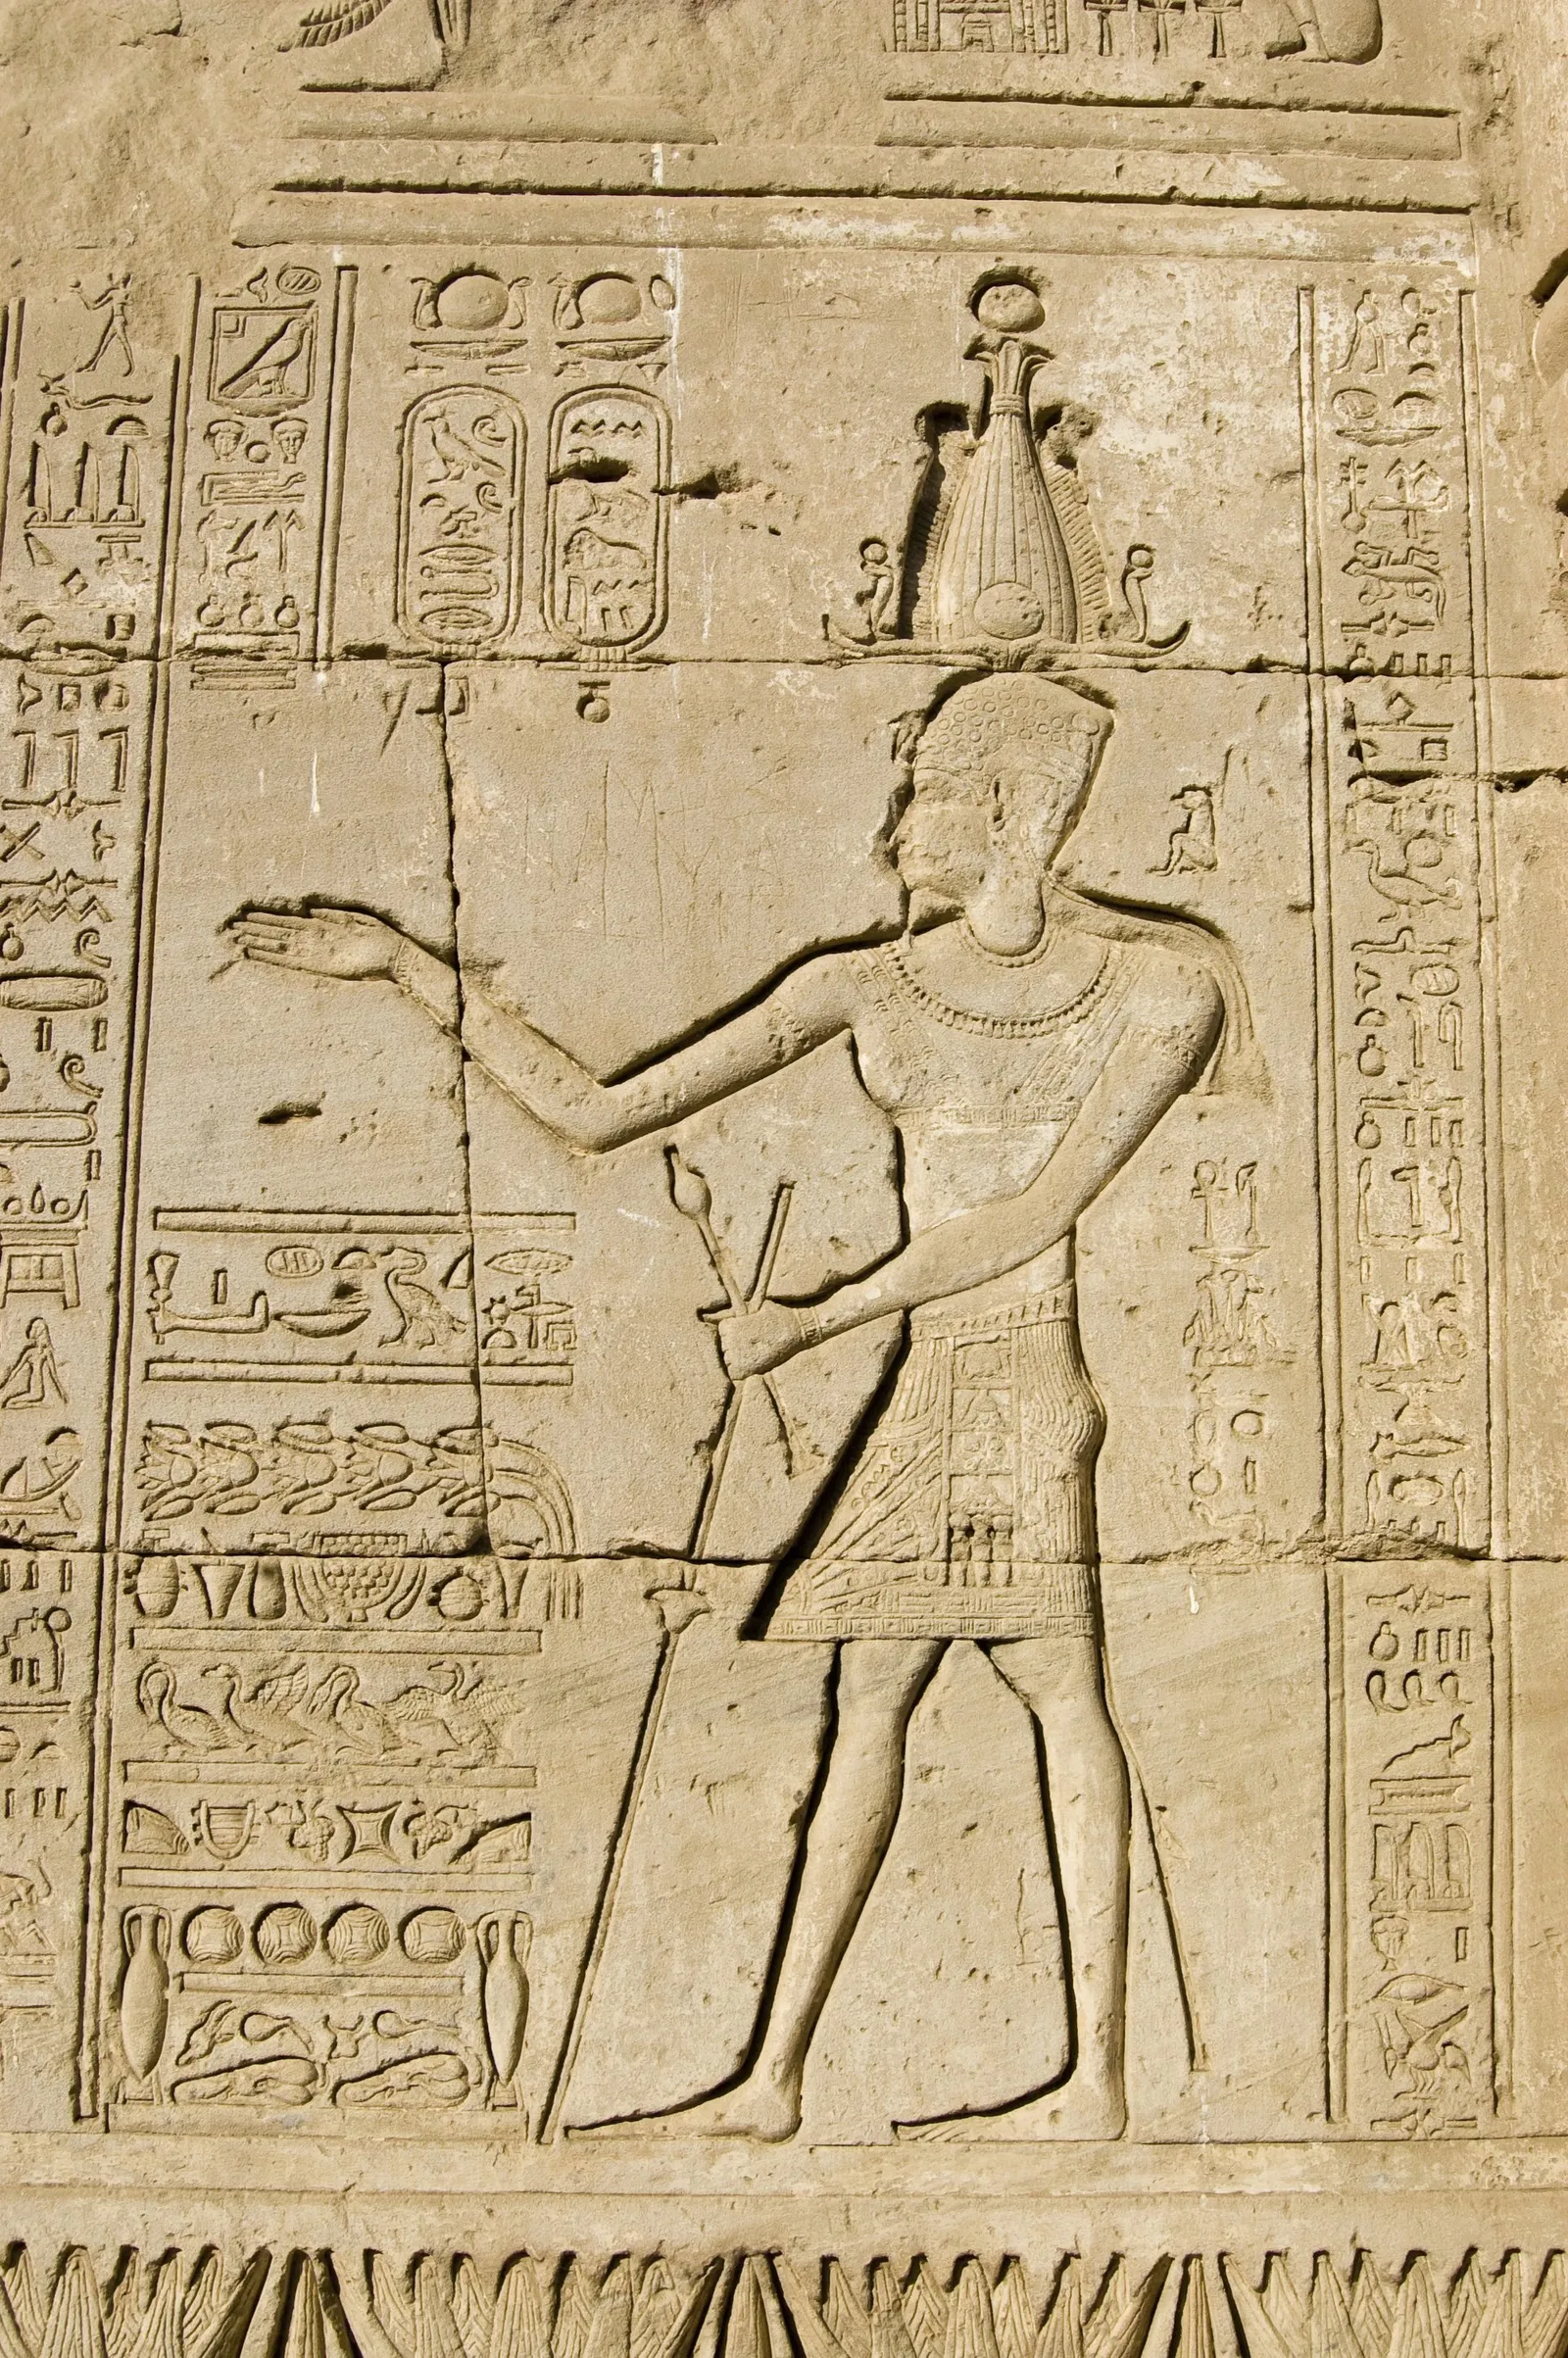
No one is sure what color the tunics of the pharaoh were.
In ancient Egypt, the crown was the most recognizable sign of a pharaoh. The cobra goddess image was reserved for the pharaoh's crown alone. It was believed that the cobra goddess would spit flames to defend the pharaoh against his enemies. You can dress as an ancient pharaoh for a school project, a costume party, or Halloween. Transform into a powerful figure like Ramses II or King Tut with a homemade outfit that can be completed in a weekend.
Step 1
Put on the T-shirt and measure from the bottom hem to just above your knee. Record this measurement.
Step 2
With right sides facing, fold the fabric and place it on a flat surface. Lay the T-shirt on the fabric. Use the fabric marker to trace around the sides and top of the shirt. Add the recorded measurement to the sides and extend the lines downward to that length. Draw a straight line connecting the two sides at the bottom.
Step 3
Cut through both layers along the traced lines. Pin the layers together and sew with a straight stitch, using a 1/4-inch seam allowance. Turn the tunic right side out.
Step 4
From the gold fabric, cut a band 6 inches wide and long enough to wrap around your waist two and a half times. For instance, a 30-inch waist requires a piece 6 inches by 75 inches. This will be your belt. Wrap it around your waist and tie a knot in the front, letting the ends hang down.
Step 1
Place the poster board on your work surface. Put the plastic mask in the center and trace around it.
Step 2
Above the mask, draw a wide semicircle. Position it about 4 inches above the mask's forehead, ending the semicircle at the eye level of the mask.
Step 3
Extend the semicircle's lines outward and downward toward the mask's chin, forming a wide inverted U shape. Curve the lines back in under the mask and draw a long rectangle on each side of the chin.
Step 4
Cut out the shape around the mask, following the traced line of the mask. You will have an inverted U with long tails and a hole in the middle.
Step 5
Use masking tape to attach the mask to the front of the board. Ensure the mask's strap is pulled through to the back.
Step 6
Prepare the paper mache by mixing 2 cups flour and 2 cups water in a bowl. Tear newspaper into strips about 1 inch by 6 inches.
Step 7
Dip the newspaper strips into the paper mache mixture, then run your fingers over them to remove excess moisture. Smooth the strips over the poster board and mask until fully covered. Allow to dry. Turn the headpiece over and cover the back. Repeat until you have three layers on each side.
Step 8
With a utility knife, cut out the eye and nose openings of the mask within the headpiece.
Step 9
Apply a coat of gold spray paint to the front and back of the headpiece. Let it dry.
Step 10
Paint a cobra head at the top center of the headpiece, above the forehead.
Step 11
Using blue acrylic paint, add horizontal stripes 3 inches wide and spaced 2 inches apart on the headpiece. Allow to dry.