A Step-by-Step Guide to Crafting a Sugar Cube Igloo for Educational Displays
Making a model igloo from sugar cubes is a straightforward project that works well for classroom assignments and as a seasonal decoration. Even in places without real snow, this craft can evoke a wintery atmosphere.
By Blake Lewis7 steps
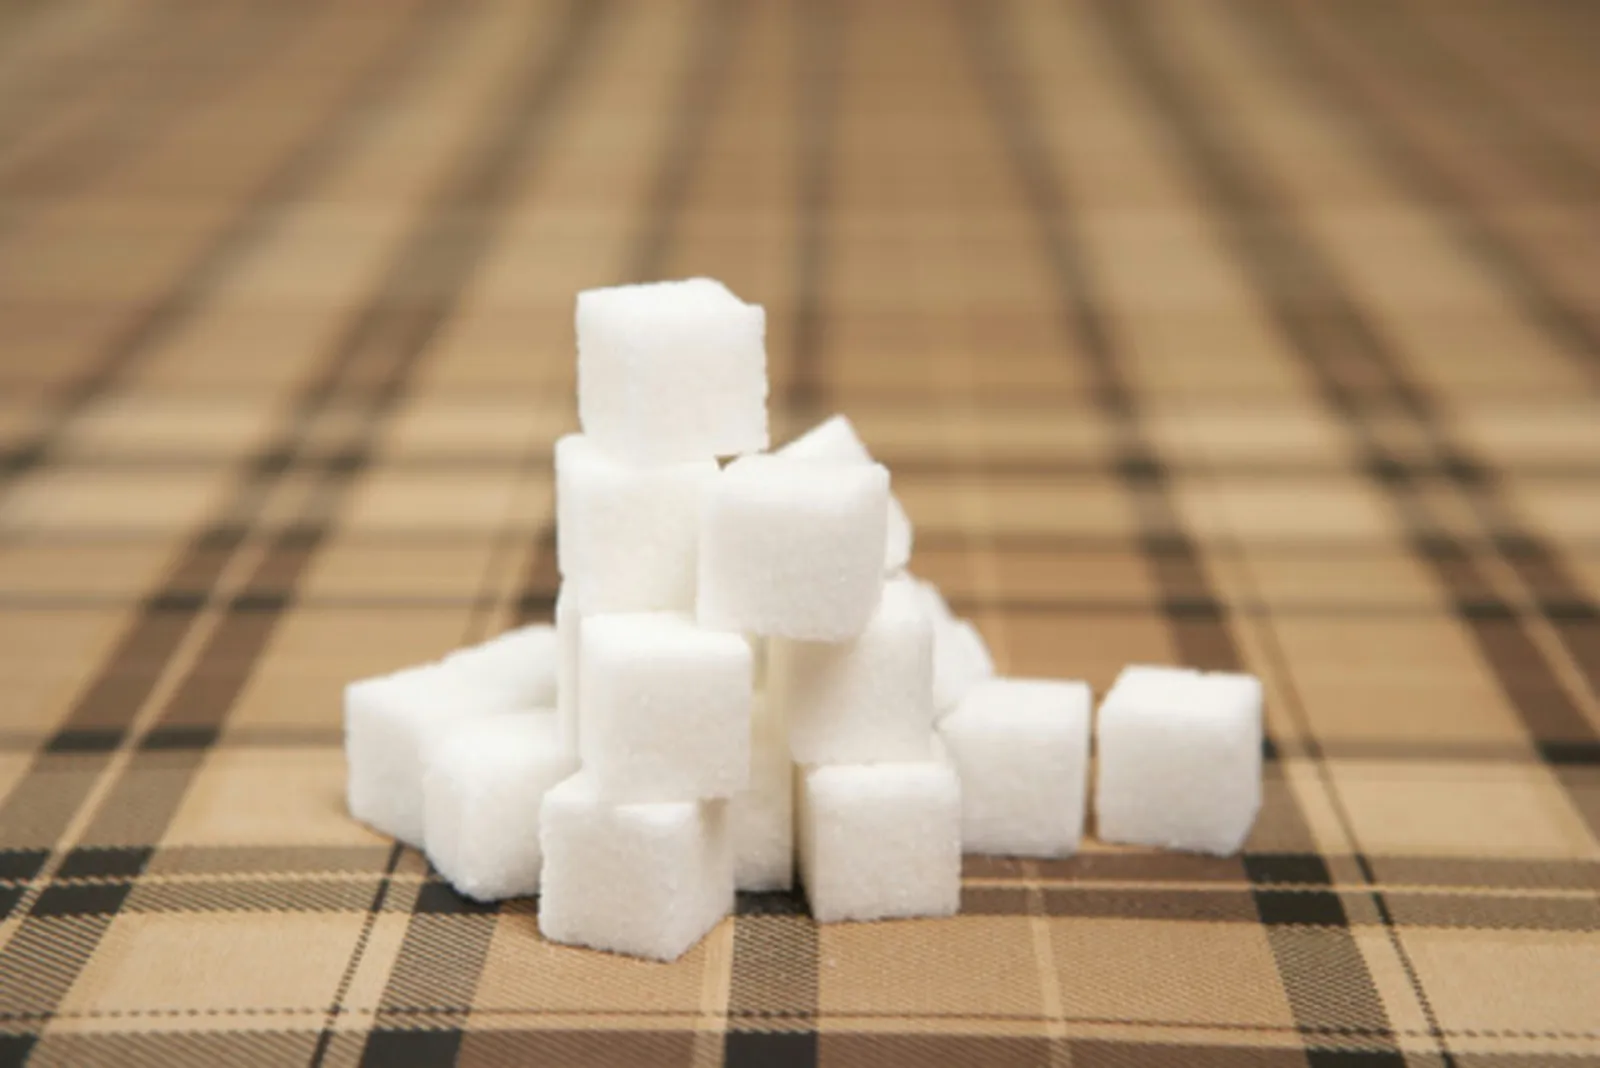
Building a model igloo from sugar cubes is a straightforward project that works well for classroom assignments and as a seasonal decoration. Even in places without real snow, this craft can evoke a wintery atmosphere.
Step 1
Arrange the first row of sugar cubes along the perimeter of the cardboard circle, leaving an opening for the entrance.
Step 2
In a small bowl, stir together three cups of confectioners' sugar and two egg whites until the mixture is smooth to create the mortar.
Step 3
Put a little mortar on the bottom of a sugar cube for the second row. Position this cube so it sits centered over two cubes from the first row, and place it slightly closer to the middle of the cardboard circle. This inward shift will help shrink the circumference with each new row.
Step 4
Keep adding sugar cubes in this manner until you have five rows. Then let the igloo dry completely before adding another five rows.
Step 5
For the roof, begin with one cube on a flat surface and attach cubes around it with mortar until the circle is big enough to cover the igloo's top. Let the roof dry fully. For a stronger bond, you can use white craft glue instead of mortar.
Step 6
To make the arch, arrange sugar cubes in an upside-down "U" shape. Add a second layer of cubes on top with mortar, then set the arch aside to dry completely.
Step 7
Attach the roof and arch to the igloo using mortar, and let it dry thoroughly; white craft glue can also be used for extra strength. Once dry, decorate with powdered sugar, white frosting, shredded coconut, or marshmallow snowmen—let your creativity guide you.