Creating a Tassel-Free Mala Necklace: A Step-by-Step Guide
Mala beads serve as tools for prayer and worship in Hinduism and Buddhism, with specific bead counts for different traditions. The Buddhist Mala, for instance, contains 108 beads that symbolize the obstacles and impurities one must overcome to attain Nirvana. This guide walks you through making your own 108-bead Japa Mala with a larger guru bead, without tassels.
By Finley Morgan8 steps
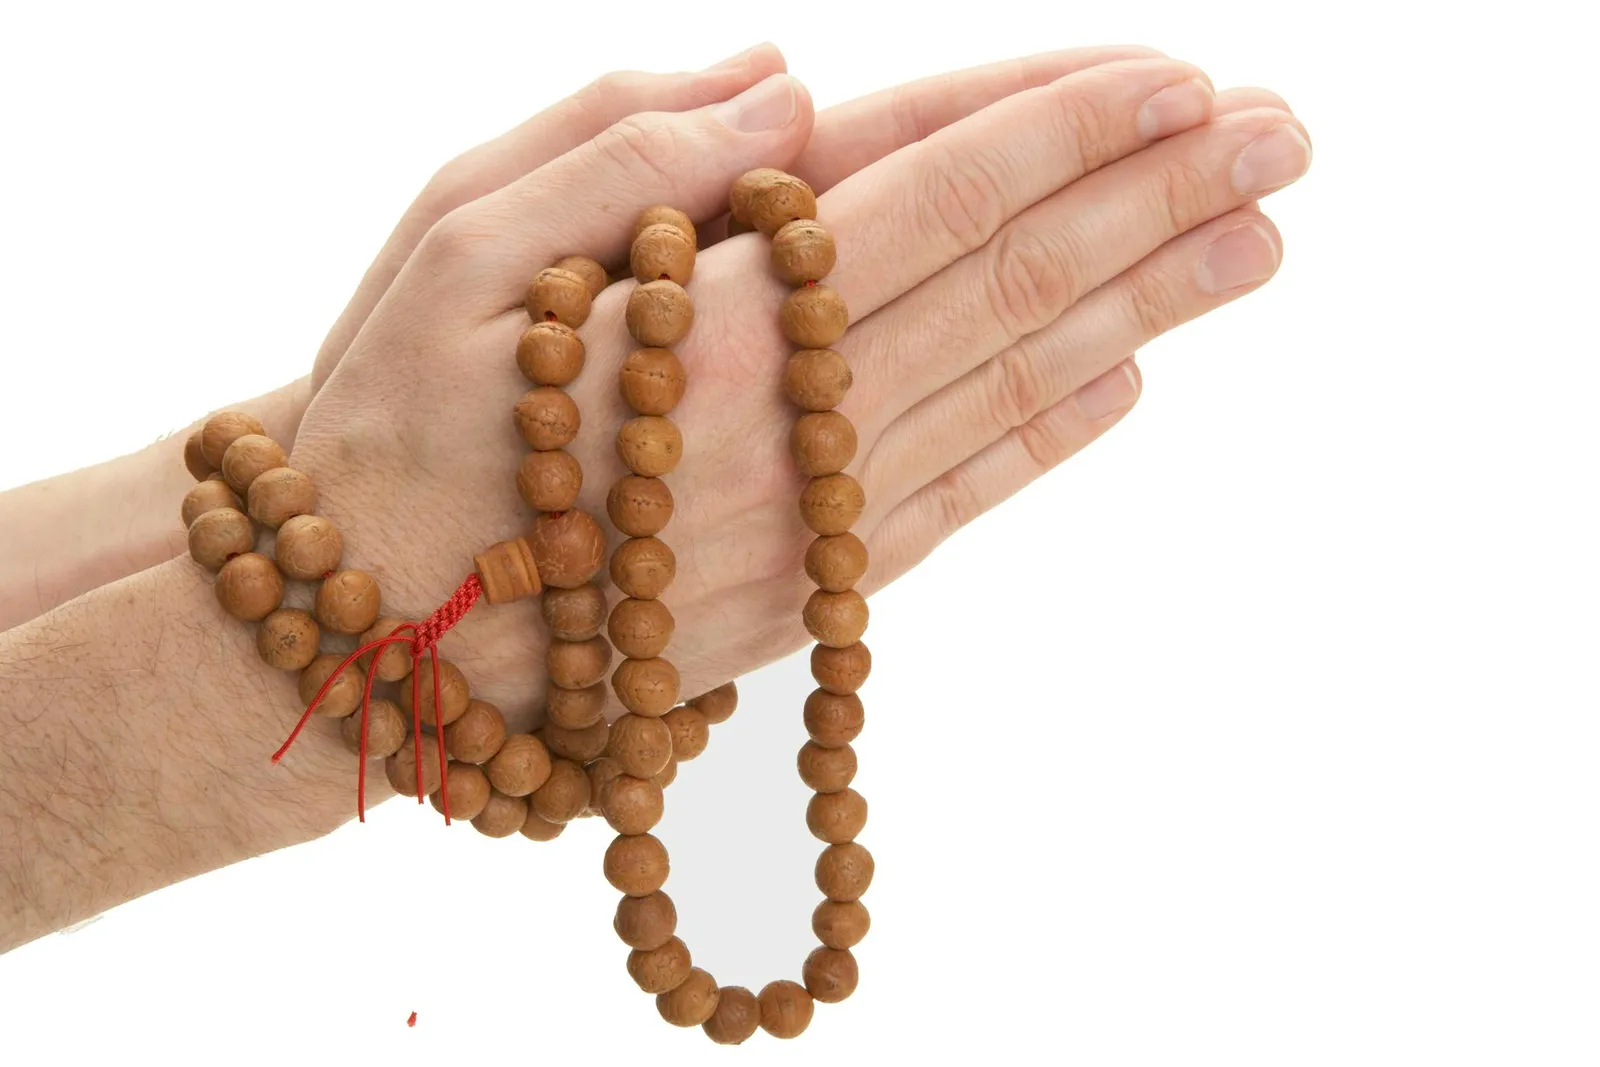
Traditionally, Mala beads are made from wood or sacred seeds.
In Hinduism and Buddhism, mala beads are used for prayer and worship. Different types have a specific number of beads. For instance, the Buddhist Mala or Japa Mala, with 108 beads, represents all the hurdles or impurities you must overcome in order to reach Nirvana. You can craft your own custom Japa Mala with 108 beads and a larger guru bead. While some traditional necklaces have tassels, many do not have them.
Step 1
From the 1.5mm nylon cord, cut a 48-inch length to serve as the string for your Mala necklace. Any type of cord can be used, but thicker cords tend to be stronger and more durable.
Step 2
Secure the 12mm wooden bead, also known as the guru bead, in a vise. The two existing holes in the bead should align with the vise's two grips because you are making a hole in between the two existing holes. Guru beads often have three holes.
Step 3
Using a 1/16-inch drill bit, drill a hole between the two existing holes in the guru bead. This size is often used in beads. Take the bead out of the vise.
Step 4
Before you start stringing, tie a loose knot about 2 inches from one end of the 48-inch cord. This stops the strung beads from falling off the cord.
Step 5
Thread the other end of the cord through your 4-inch beading needle, leaving a 3-inch tail. The needle helps push the beads onto the cord. Insert the beading needle into a 10mm wooden bead. Pull the bead onto the cord.
Step 6
Insert the beading needle into another one of the 10mm wooden beads. Pull the bead onto the cord. Repeat the process with the rest of the smaller beads.
Step 7
Thread the beading needle into one of the original holes on the 12mm guru bead and through its new hole. Remove the beading needle from the cord. Remove the knot from the other end of the cord.
Step 8
Insert this end of the cord onto the beading needle. Thread the needle into the other original hole of the guru bead and through the new hole. Remove the beading needle. Tie a double knot outside the new hole of the guru bead. Cut off excess cord, leaving a 2-inch tail.