DIY Fingerprint Pendants: Two Easy Methods for Personalized Jewelry
Looking for a unique gift that won't break the bank? Fingerprint jewelry offers a heartfelt solution for occasions like Mother's Day or birthdays. This guide presents two approaches to crafting a necklace featuring a fingerprint, resulting in a keepsake that can be treasured over time.
By Logan Hill15 steps
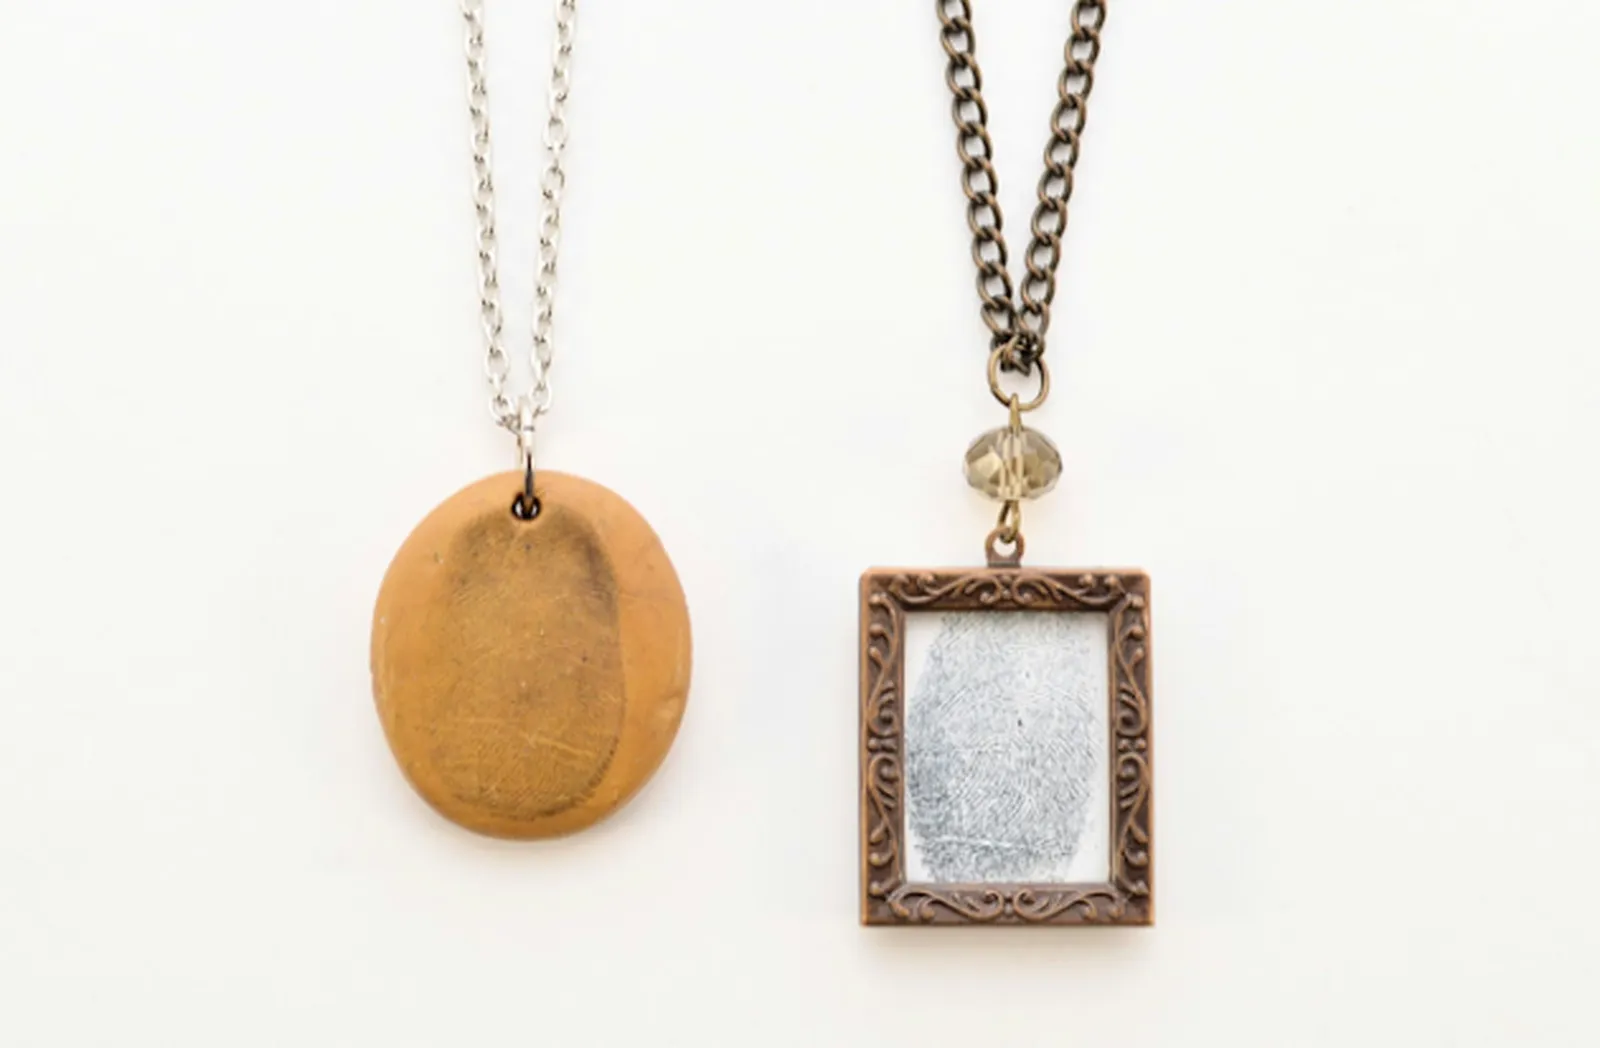
Fingerprint necklaces can be made in two different ways.
Coming up with a fresh design for personalized jewelry can be challenging when so many options already exist. Rather than searching for something completely new, consider incorporating a fingerprint into your next creation. This approach works well for occasions such as Mother's Day or birthdays and is very affordable. The personal touch results in a charming keepsake that can be valued for years. Any finger can be used, though thumbs tend to apply the most consistent pressure. Below are two methods for transforming a fingerprint into a piece of wearable art.
Method 1: Clay Fingerprint Necklace
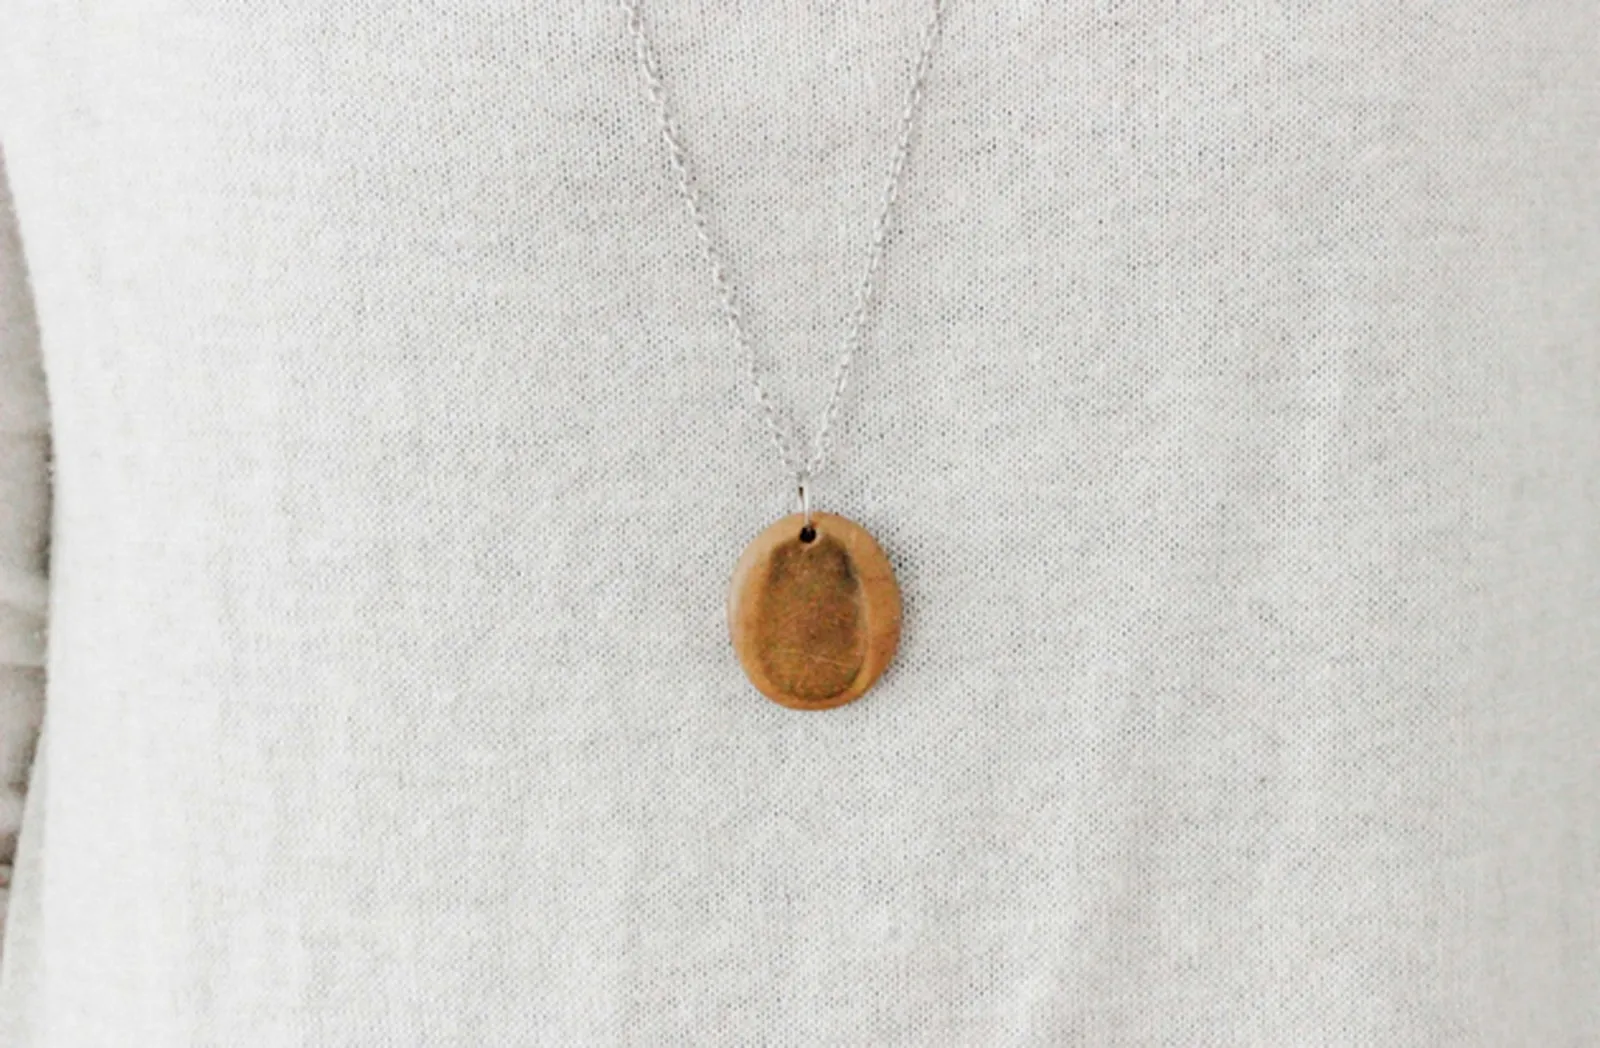
Make a momento from a special someone with a clay thumbprint necklace.
Oven-bake clay is a common material in many craft projects, and it is particularly handy for jewelry making. In this method, clay and ink are used to capture a thumbprint. If you want a subtler look, you can leave out the ink. Before beginning, preheat your oven to the temperature specified on the clay's packaging. For most brands, this falls somewhere between 230 and 275 degrees Fahrenheit.
Materials
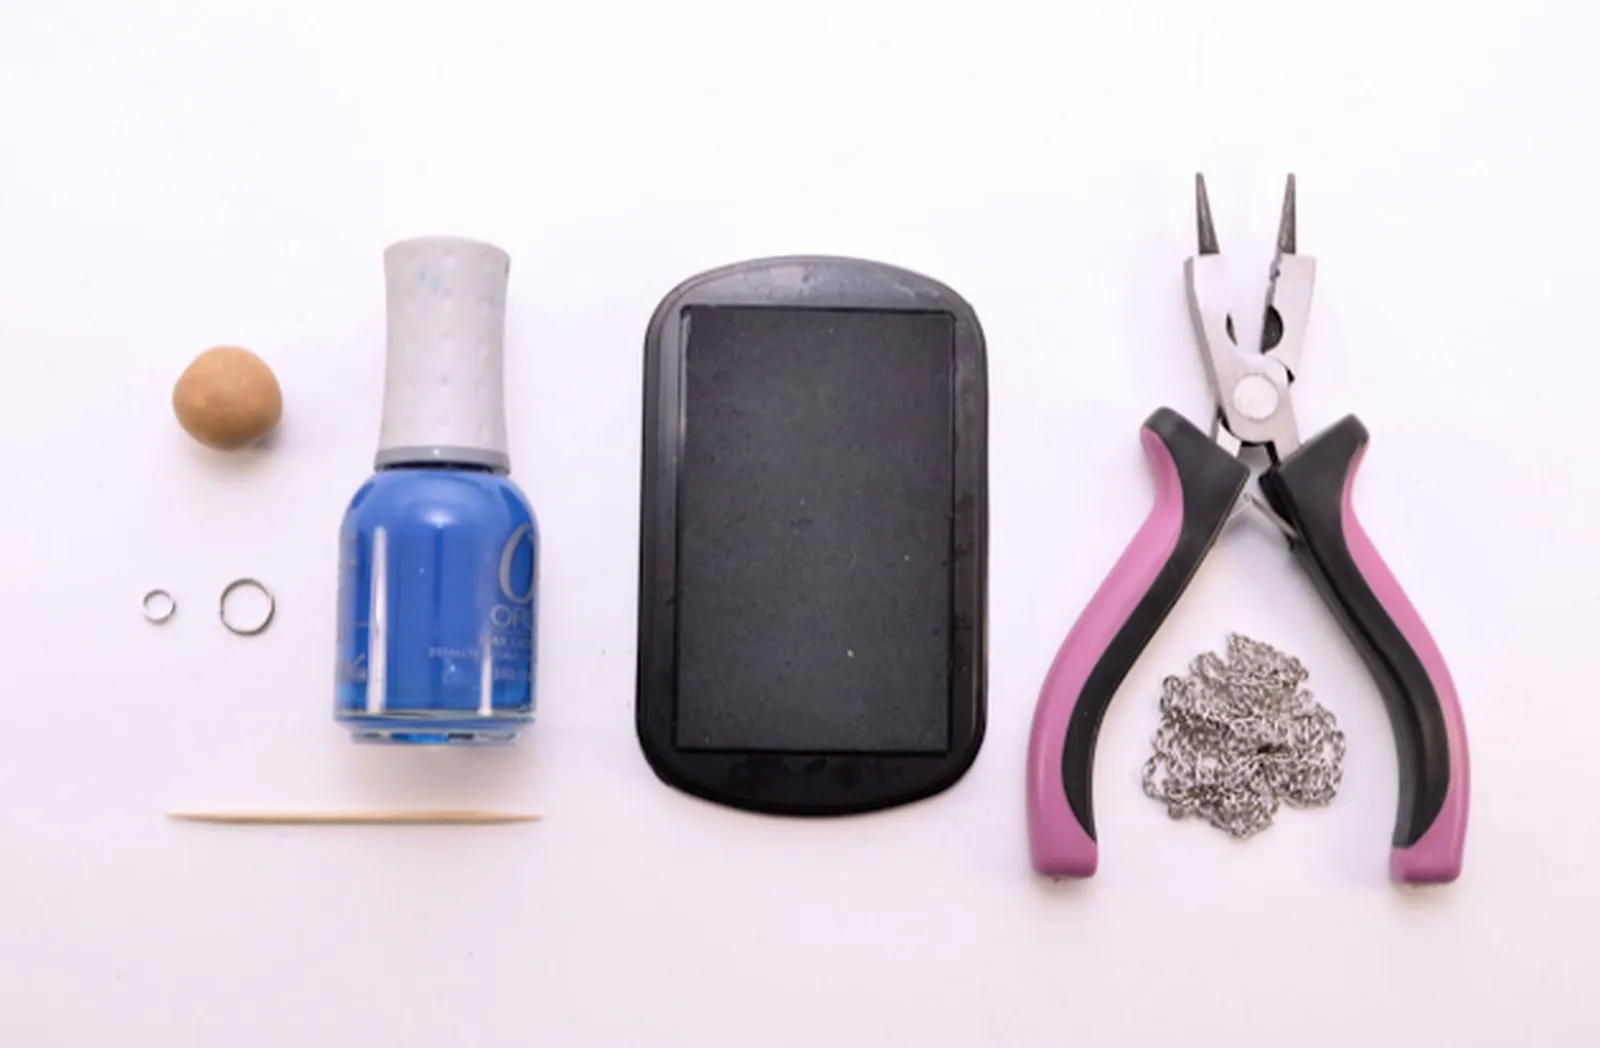
A light to medium-colored clay works best for this project.
- A ball of oven-bake clay (roughly 3/4 inch in diameter)
- A medium jump ring (6–8 mm)
- A large jump ring (10–12 mm)
- A solid cylindrical item (like a nail polish bottle)
- A toothpick
- A dark-colored ink pad
- 3-in-1 jewelry pliers
- A chain (36 inches was used for this project)
- A metal cookie sheet and parchment paper (not pictured)
Step 1
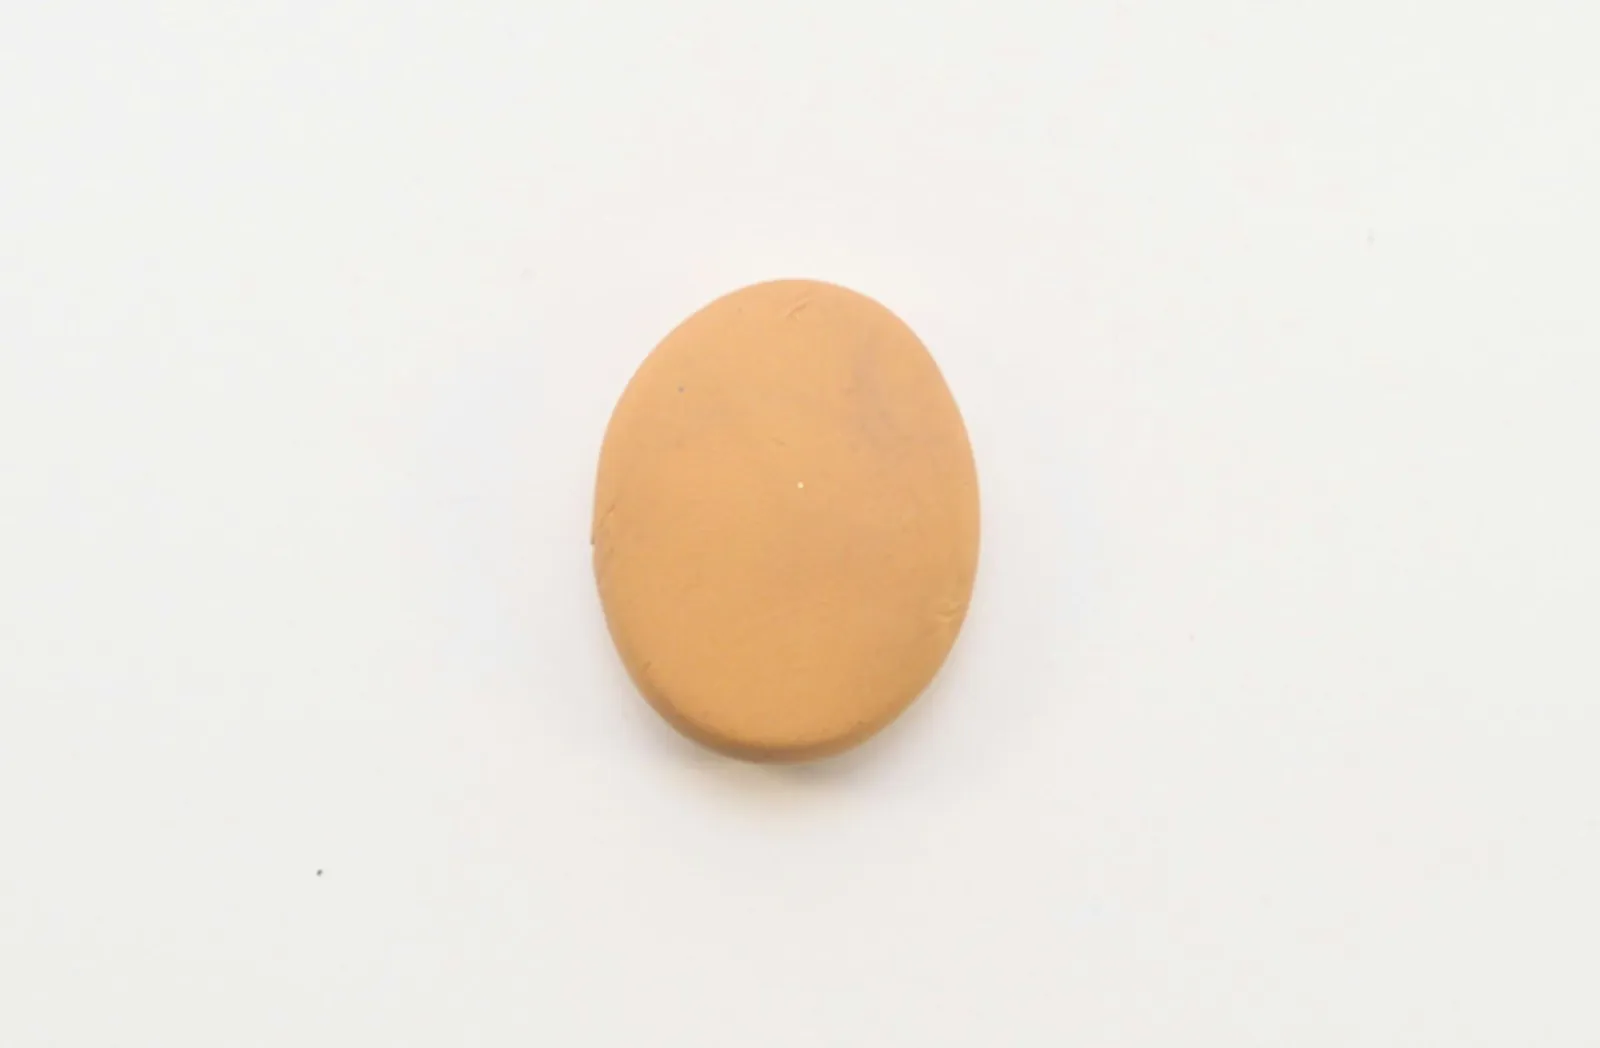
Nail polish bottles, thick markers and cans of spray paint can all be used to flatten your clay
Use the cylindrical object to press the clay ball into an oval shape. Make the oval a bit larger than your thumb.
Step 2
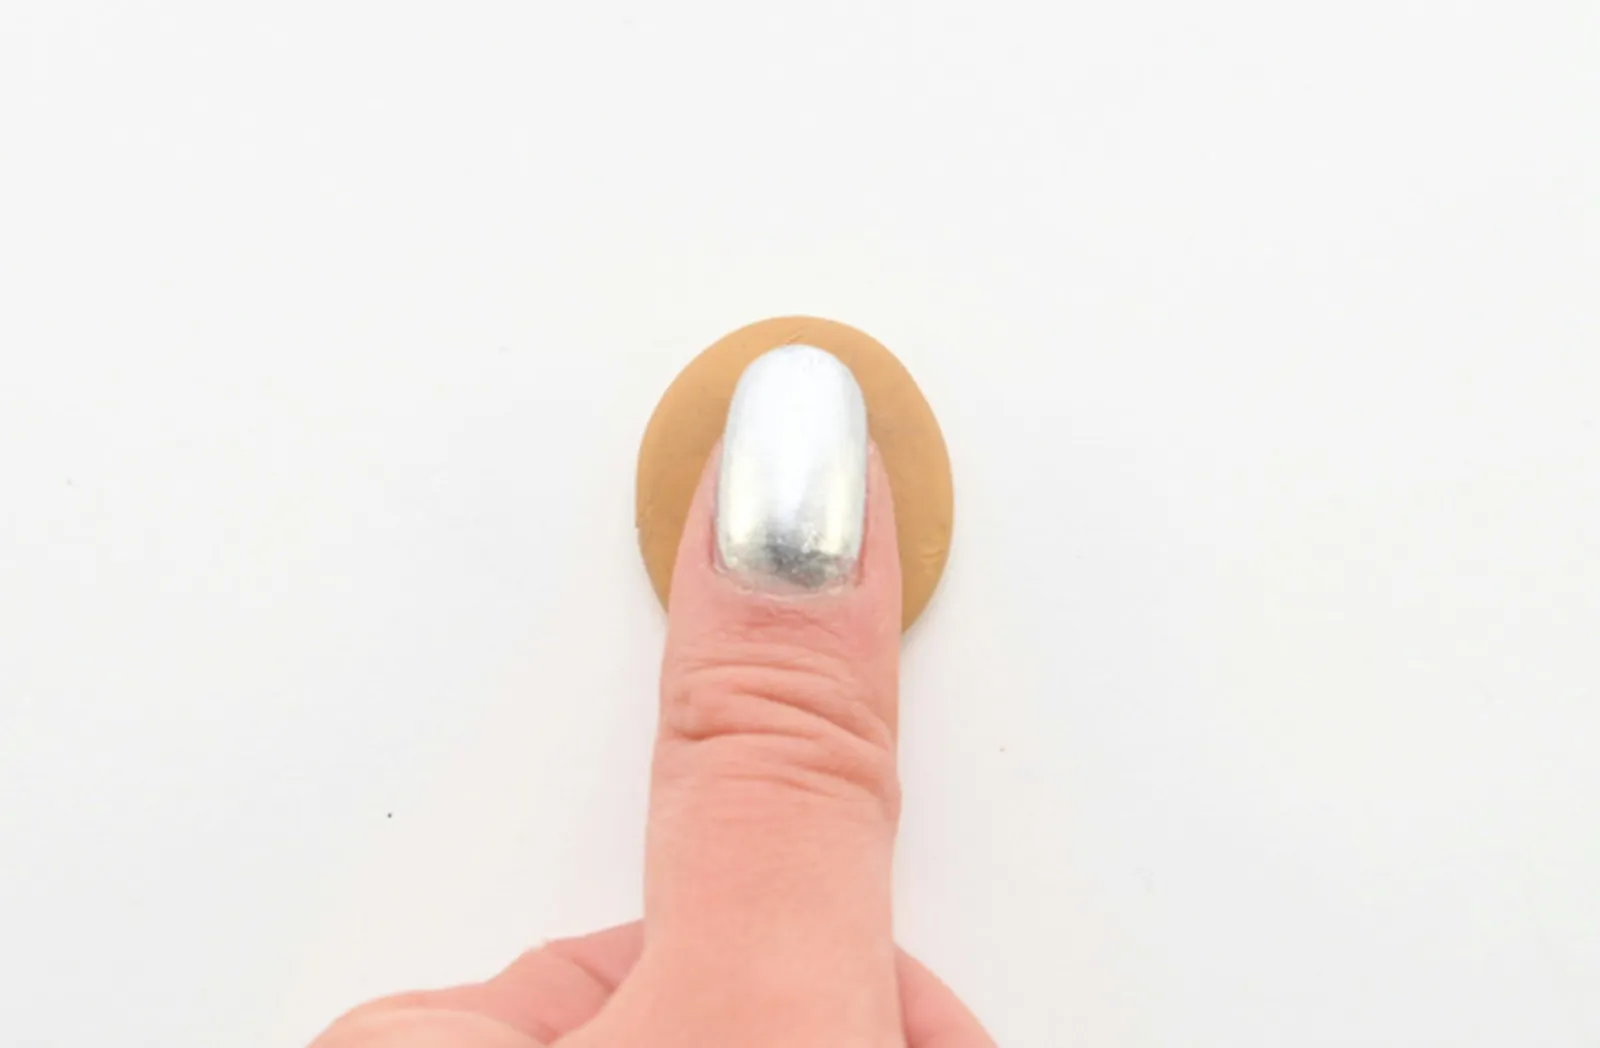
Light-colored clay works best for this project.
Press your whole thumb firmly onto the ink pad, then immediately onto the clay.
Step 3
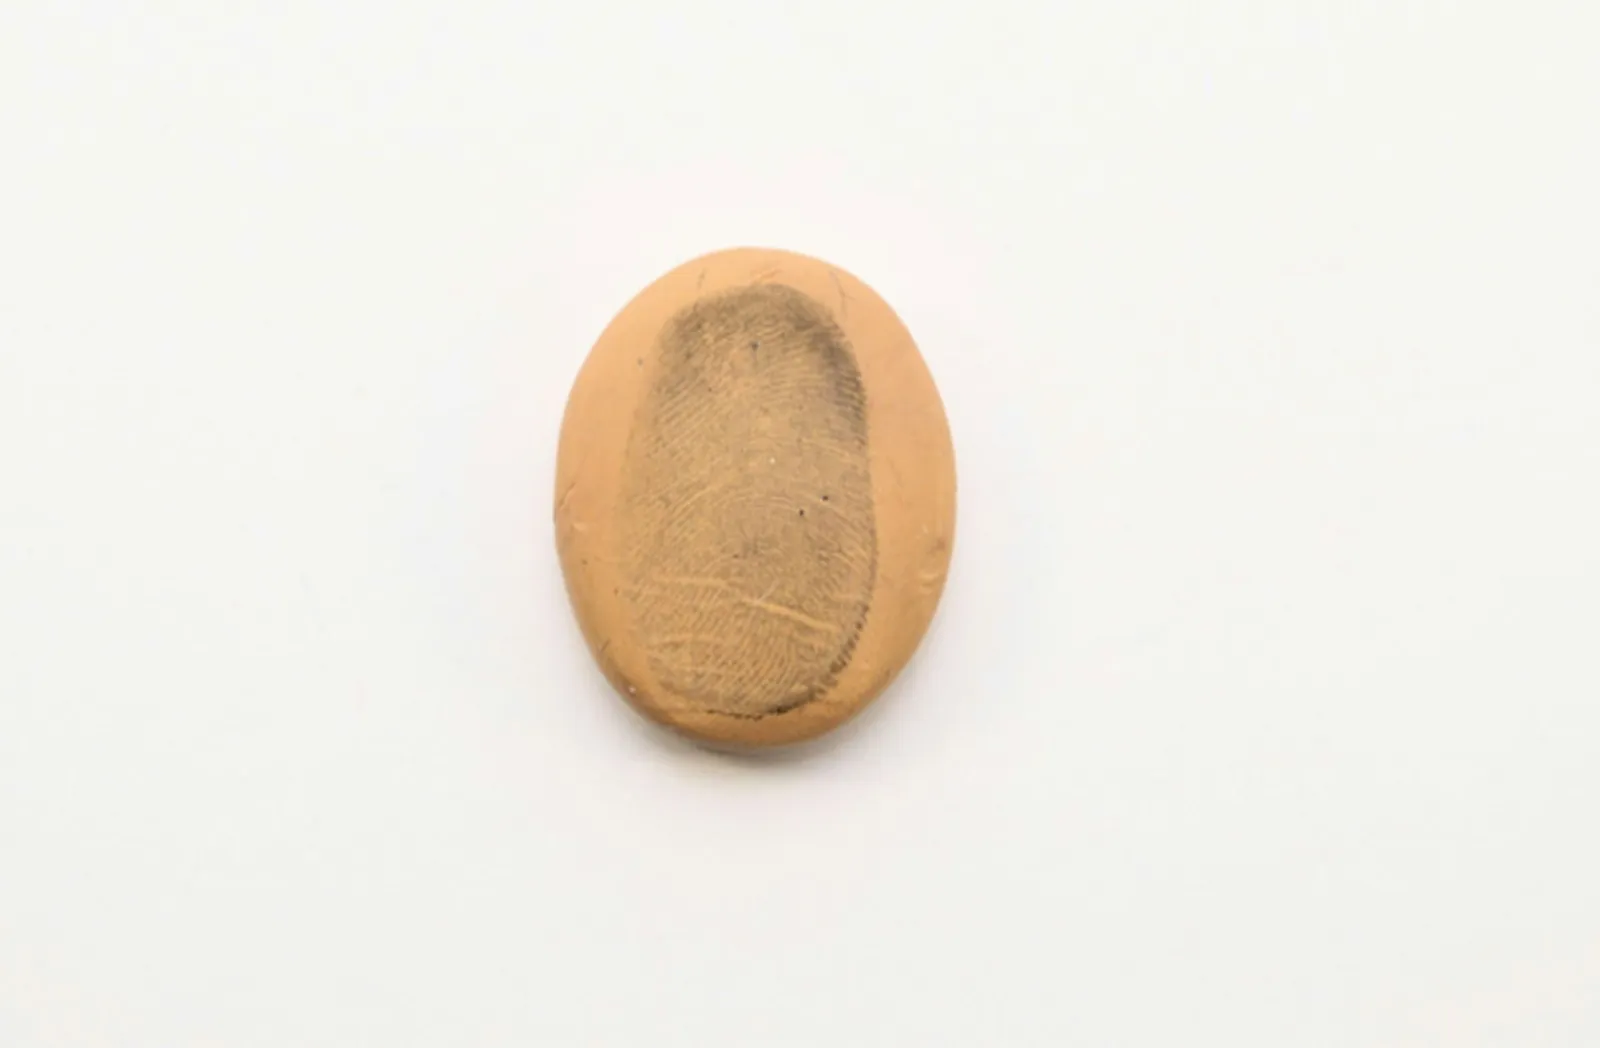
Press your print and adjust the shape of your pendant.
Allow the clay to rest for a few minutes so the ink can dry. If needed, reshape the pendant with your fingers.
Step 4
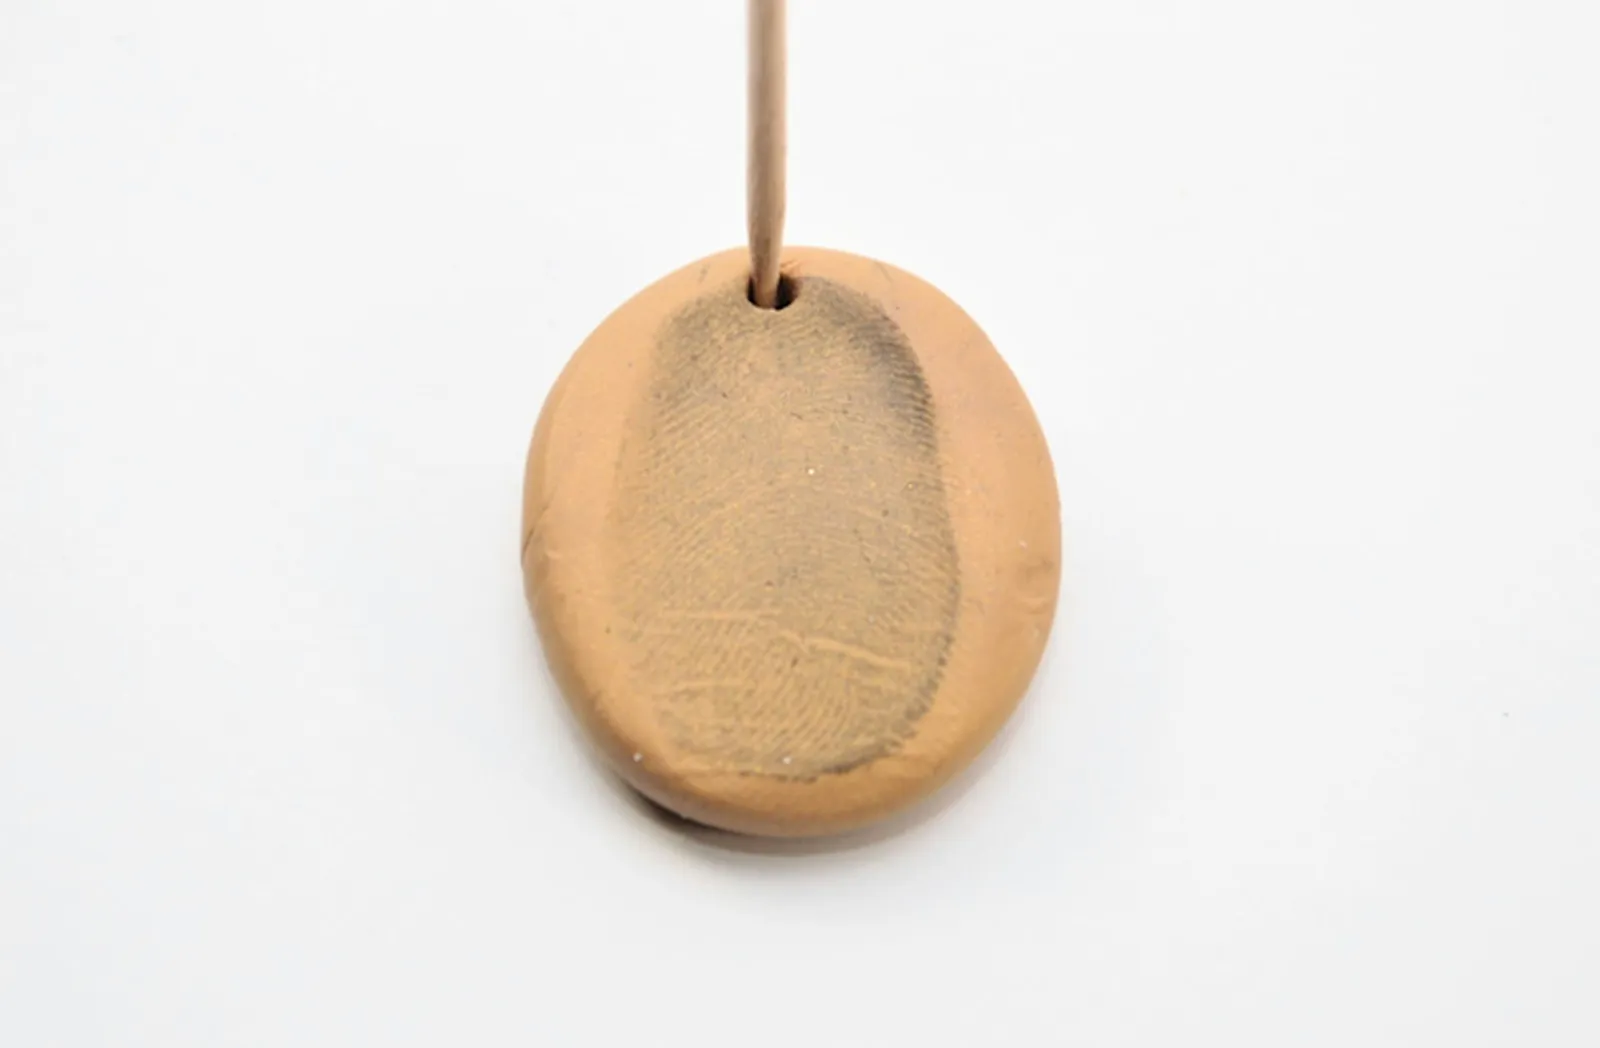
Create the hole for the chain.
Use the toothpick to poke a hole at the top of the oval. Try to center the hole as much as possible.
Step 5
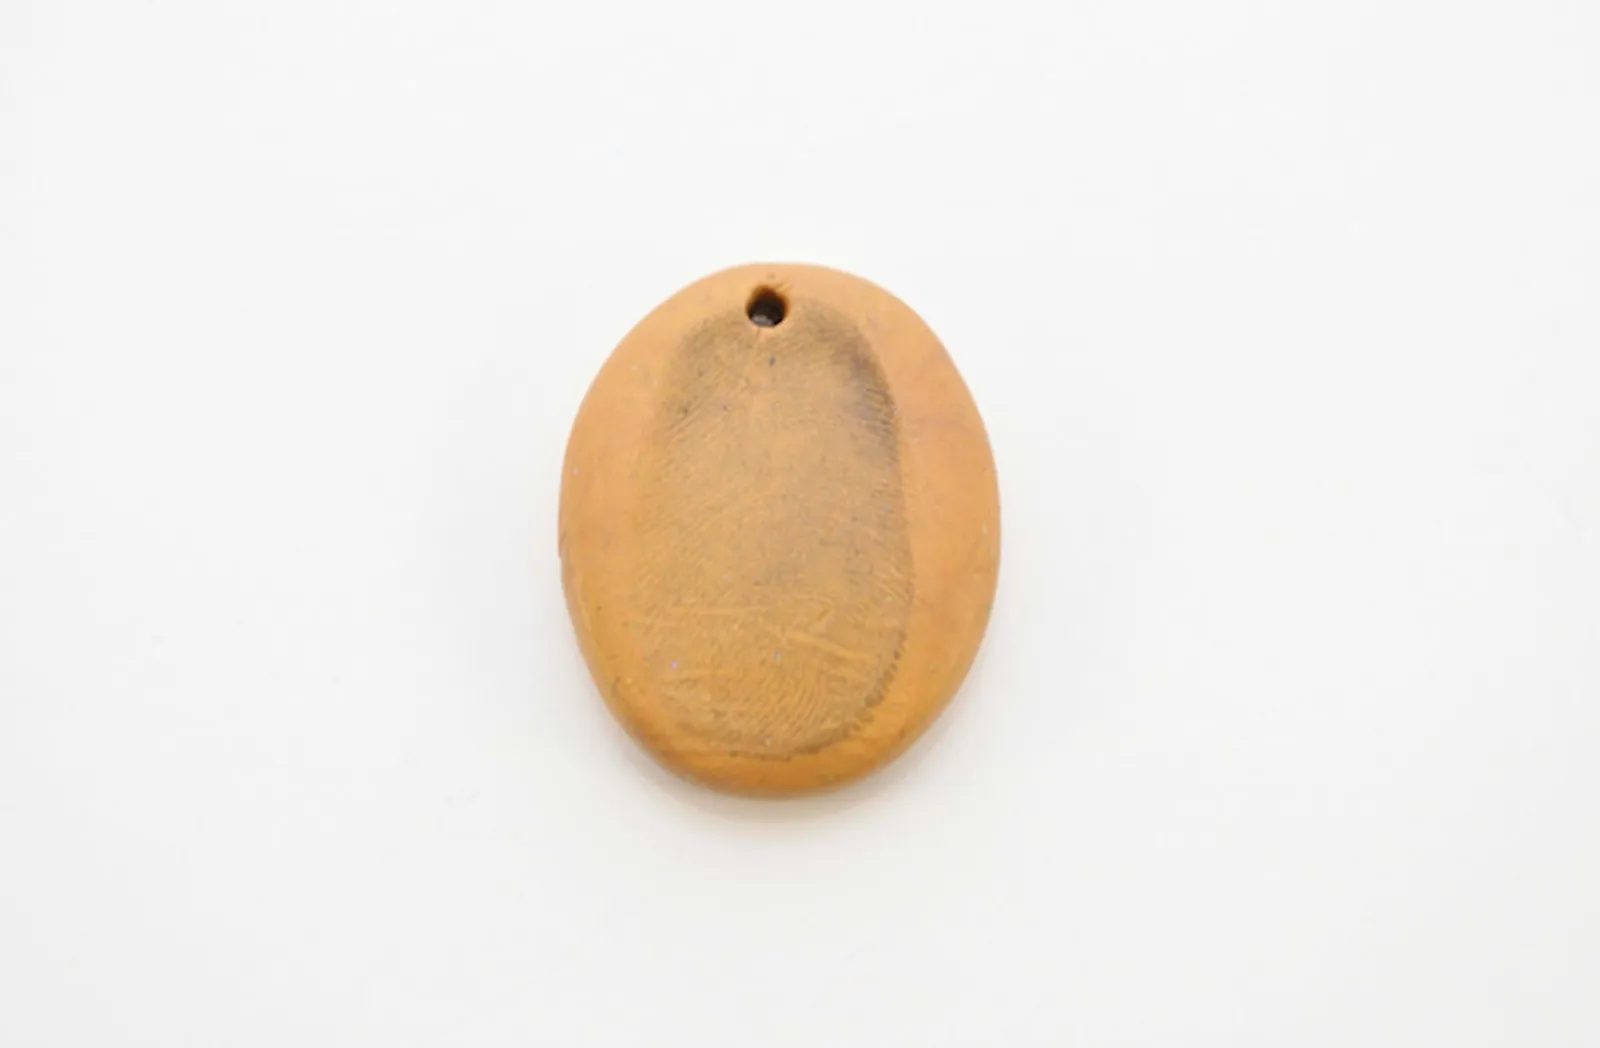
Make sure to follow the directions on the clay's packaging.
Line an oven-safe plate or cookie sheet with parchment paper and bake the pendant for 15 to 20 minutes, or according to the clay's instructions.
Step 6
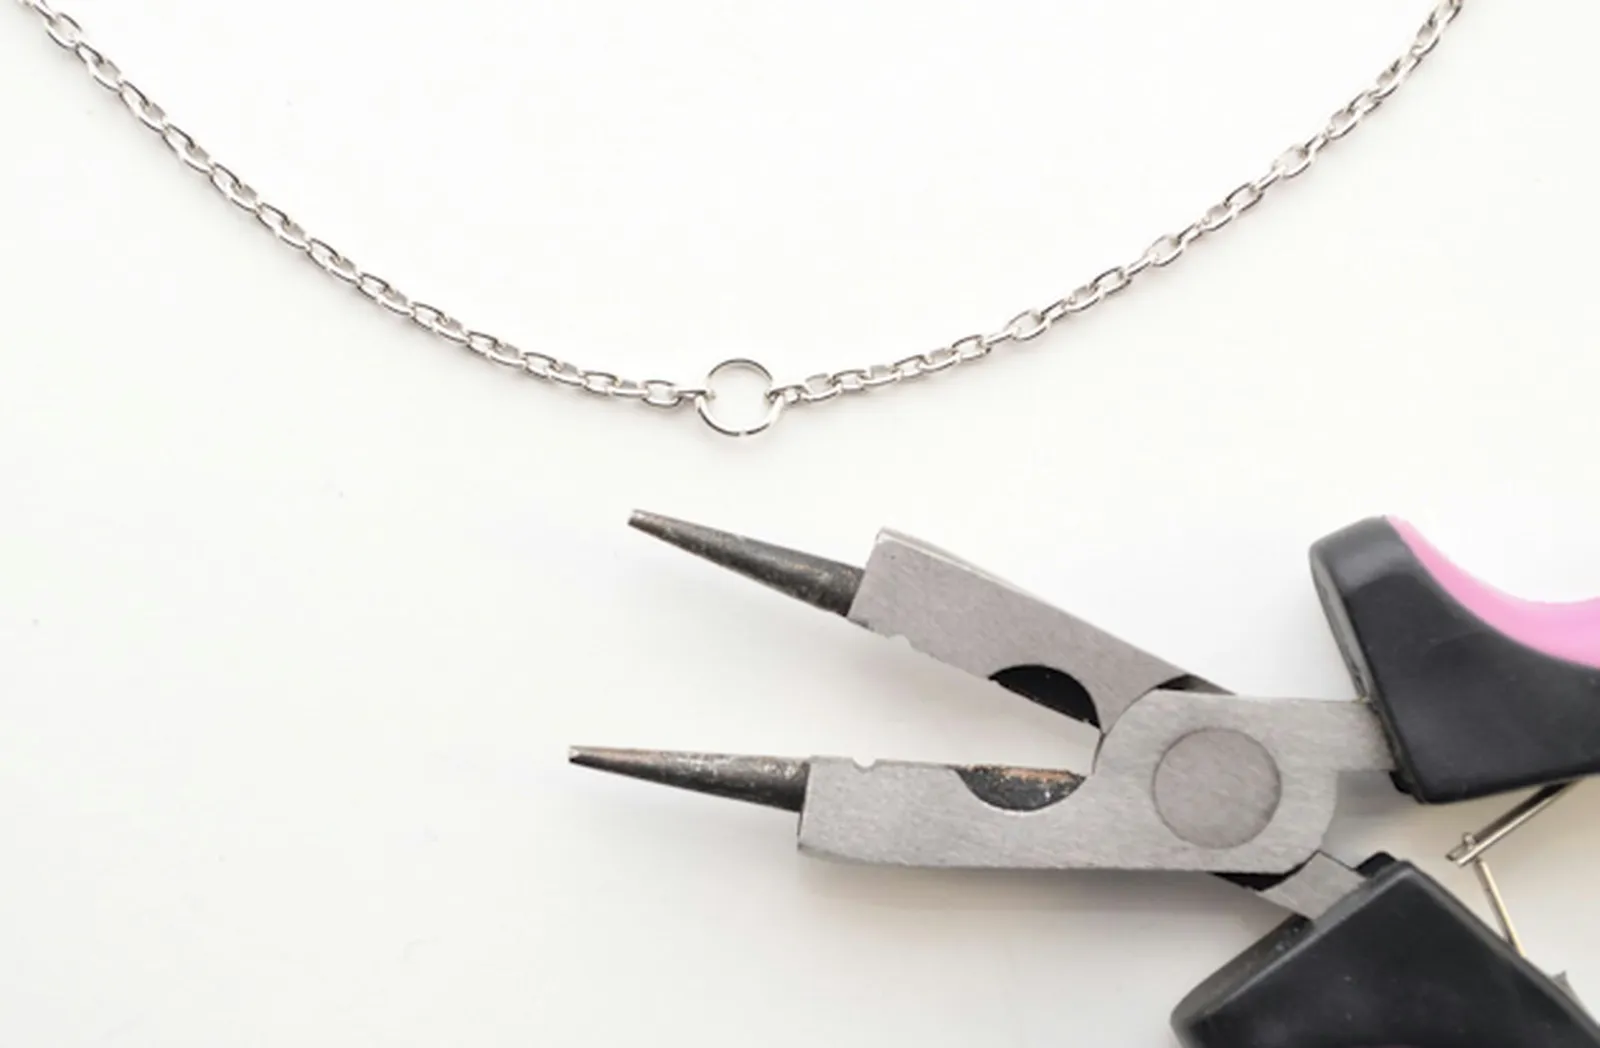
For longer chain necklaces, you can skip the jewelry clasp.
While the pendant is baking, use the smaller jump ring to join the ends of the chain. To do this, open the jump ring with pliers, slide on both ends of the chain, and then close the jump ring.
Step 7
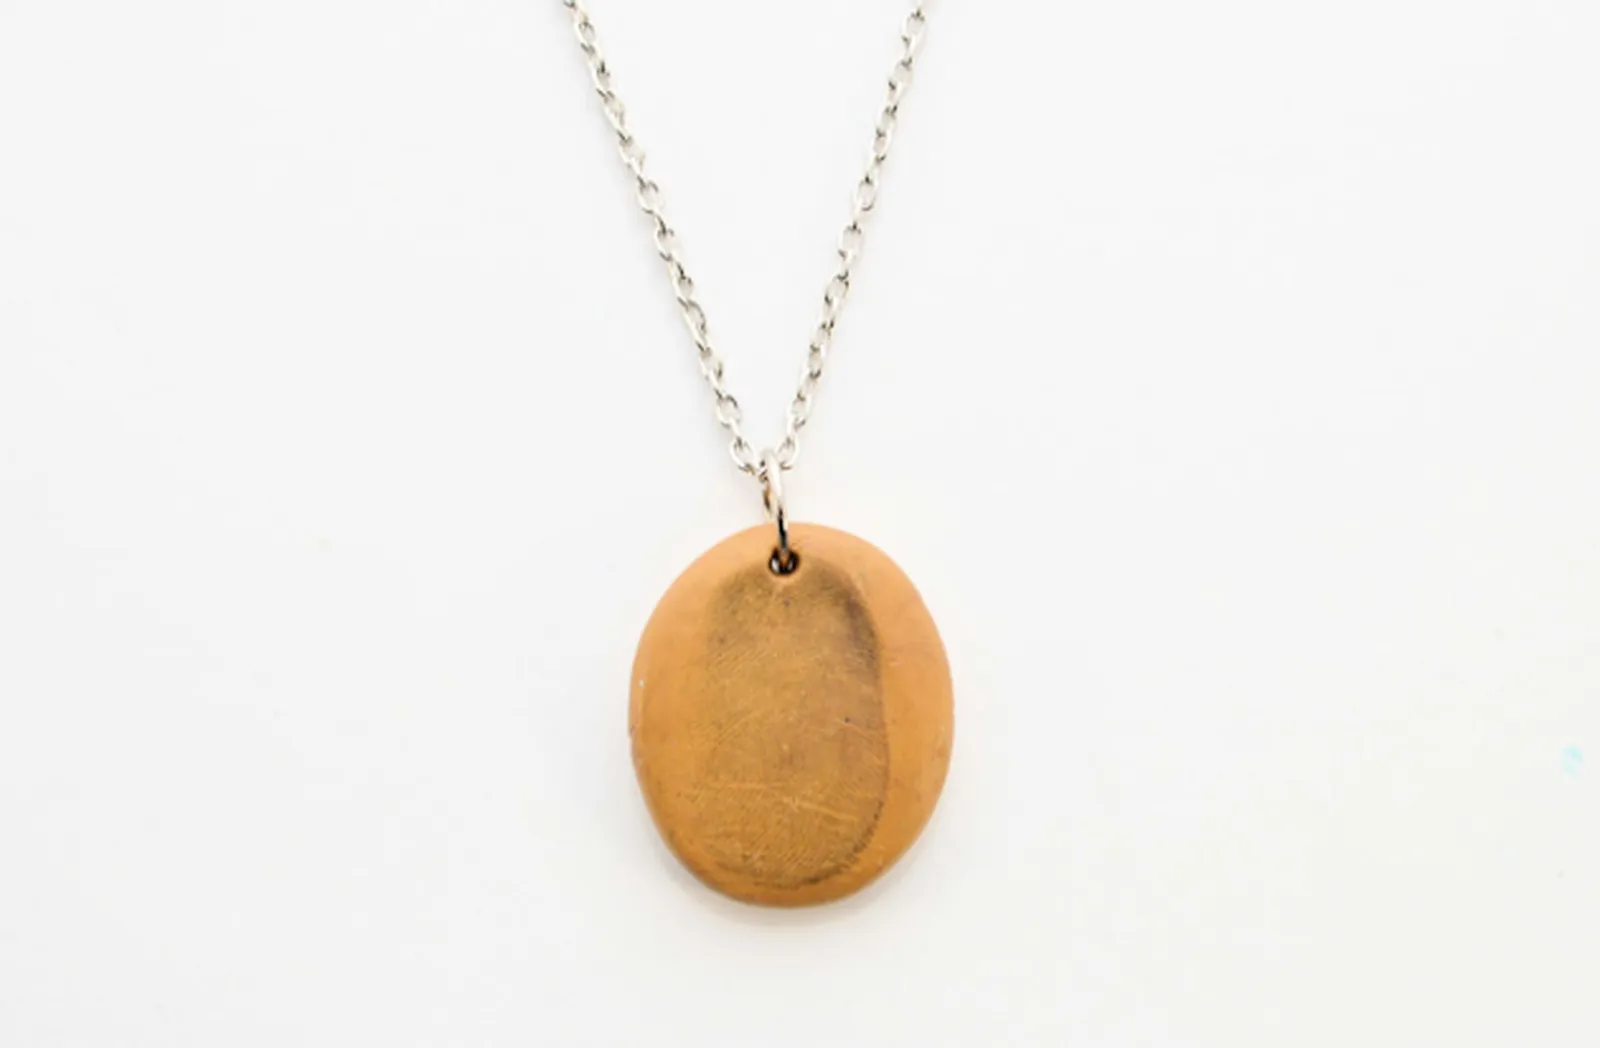
To protect your pendant, you can apply a layer of clear nail polish or decoupage glue..
After removing the pendant from the oven, let it cool. Use the larger jump ring to attach the pendant to the chain. Your clay thumbprint necklace is now complete!
Method 2: Framed Fingerprint Necklace
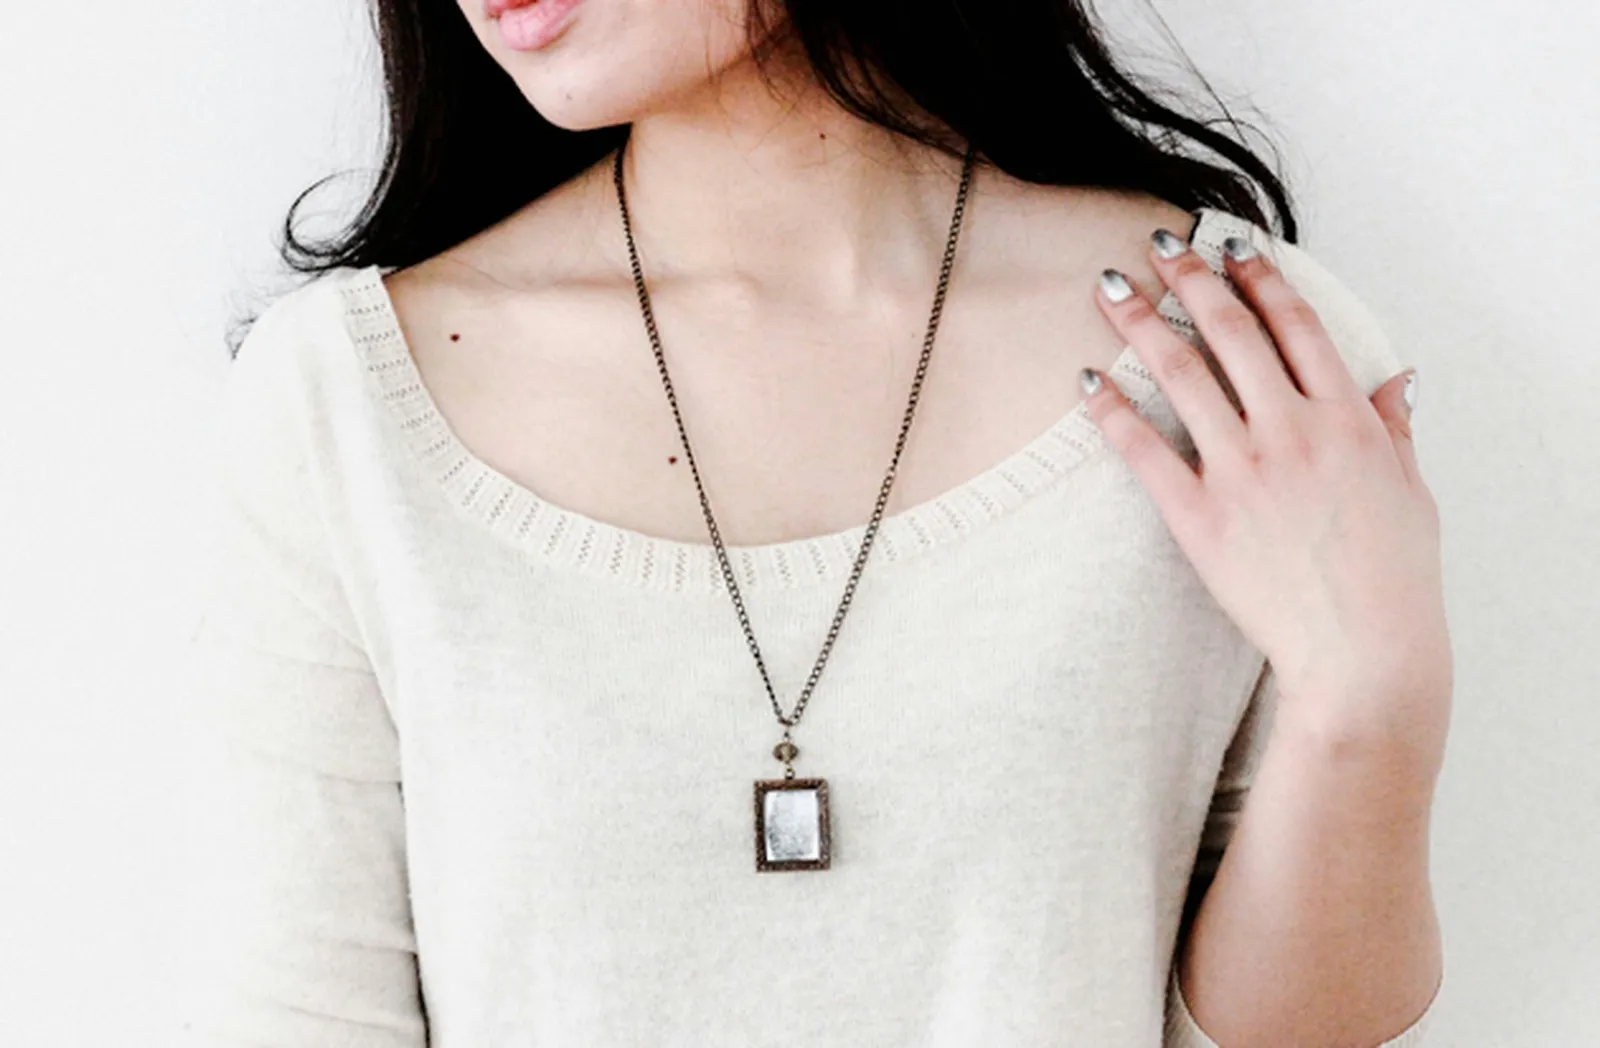
Frame pendants can be found on Etsy or in the jewelry section of your local craft store.
Another approach is to use a frame pendant, which gives a more contemporary feel. Frame pendants are small frames designed to hold pictures, much like standard frames. Like chains and charms, they come in various metal finishes, including brass and silver. With options like colored ink and bead accents, this version offers more opportunities for personalization.
Materials for Framed Thumbprint Necklace
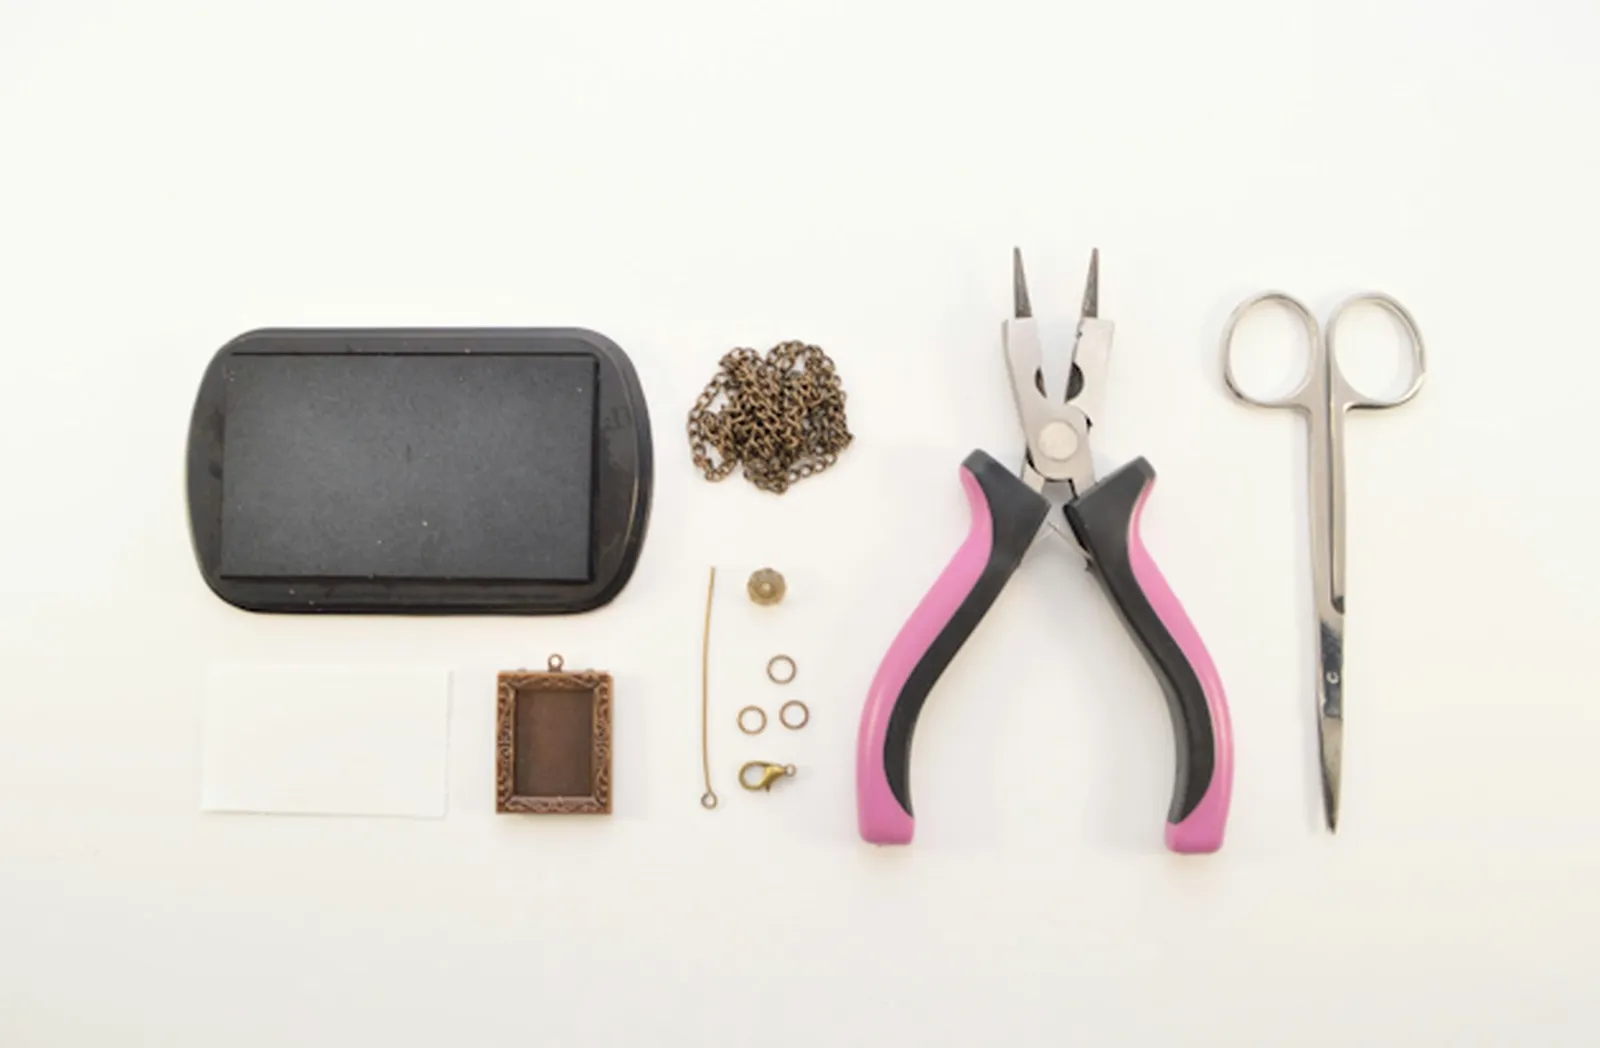
The bead embellishment is optional but adds a nice touch to your creation.
- Ink pad
- Scrap paper
- Frame pendant
- Chain (22 inches was used for this project)
- Eye pin
- Bead
- 6mm jump rings (3)
- Jewelry clasp
- 3-in-1 jewelry pliers
- Scissors
Step 1
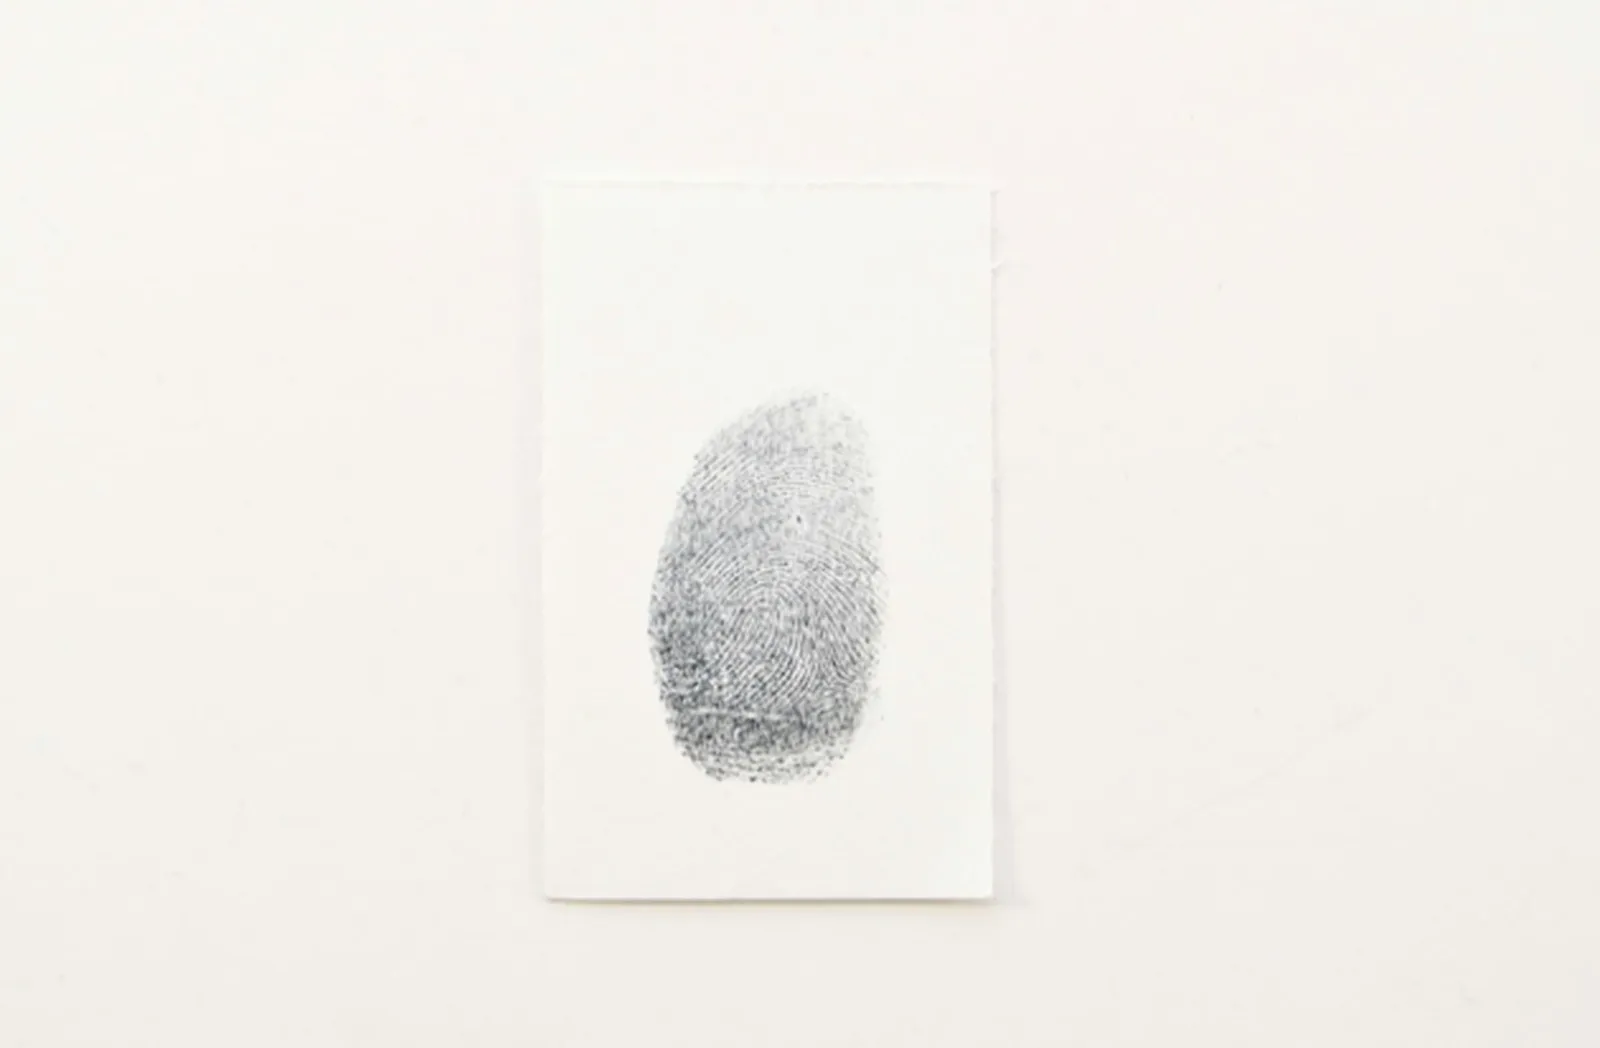
Create your thumbprint.
Press your thumb onto the ink pad, then onto the paper. Let it dry. For a more colorful look, consider pastel paper or bright ink.
Step 2
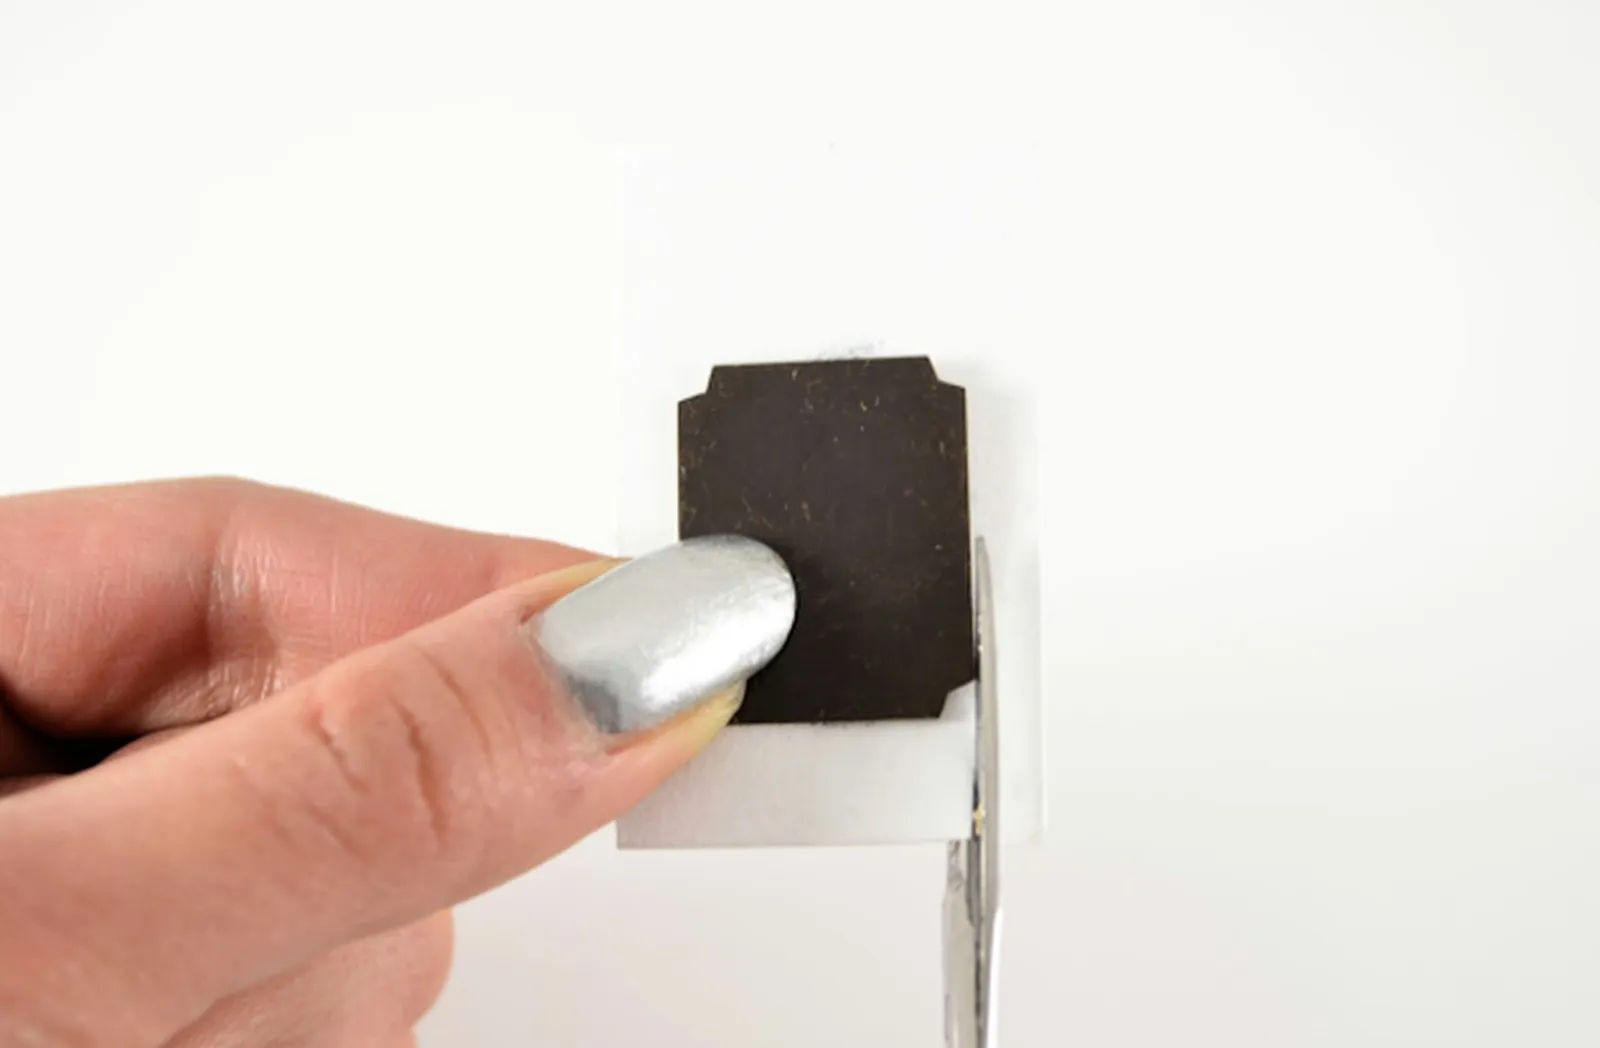
This step will make sure that the paper fits into the frame.
Depending on the frame pendant, there may be a metal backing or glass insert. Take it out and place it over the thumbprint, using it as a template to cut the paper.
Step 3
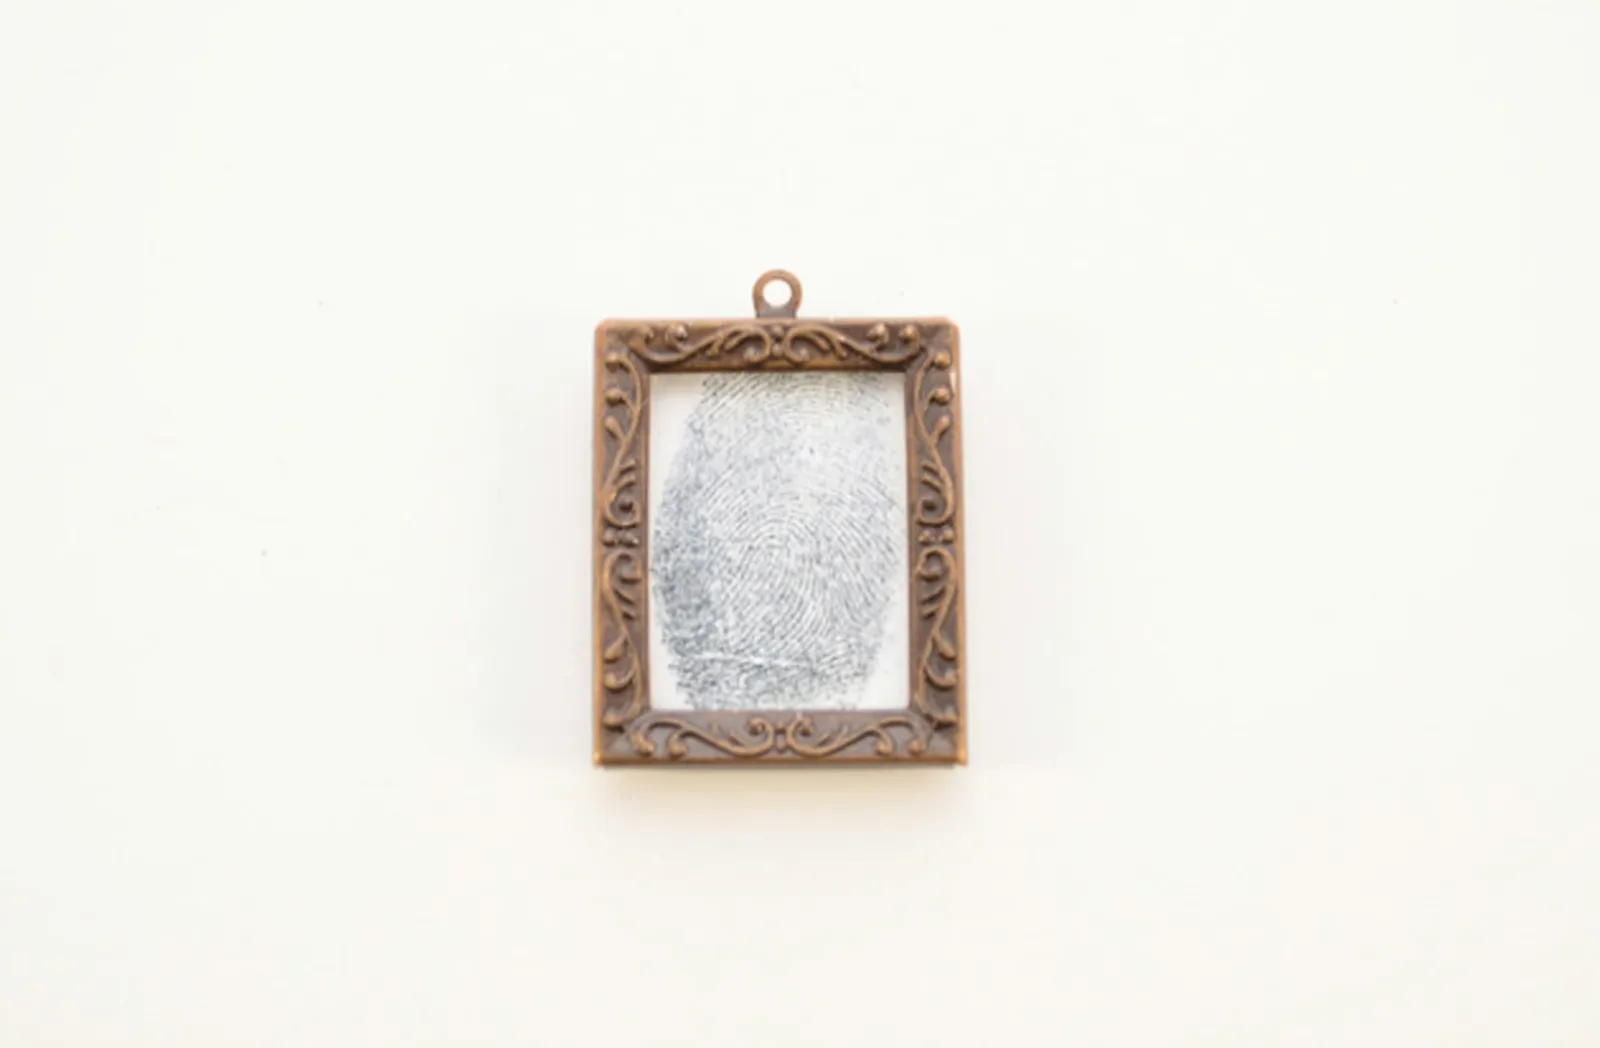
Complete the frame.
Insert the paper into the frame. Put back any pieces you removed.
Step 4
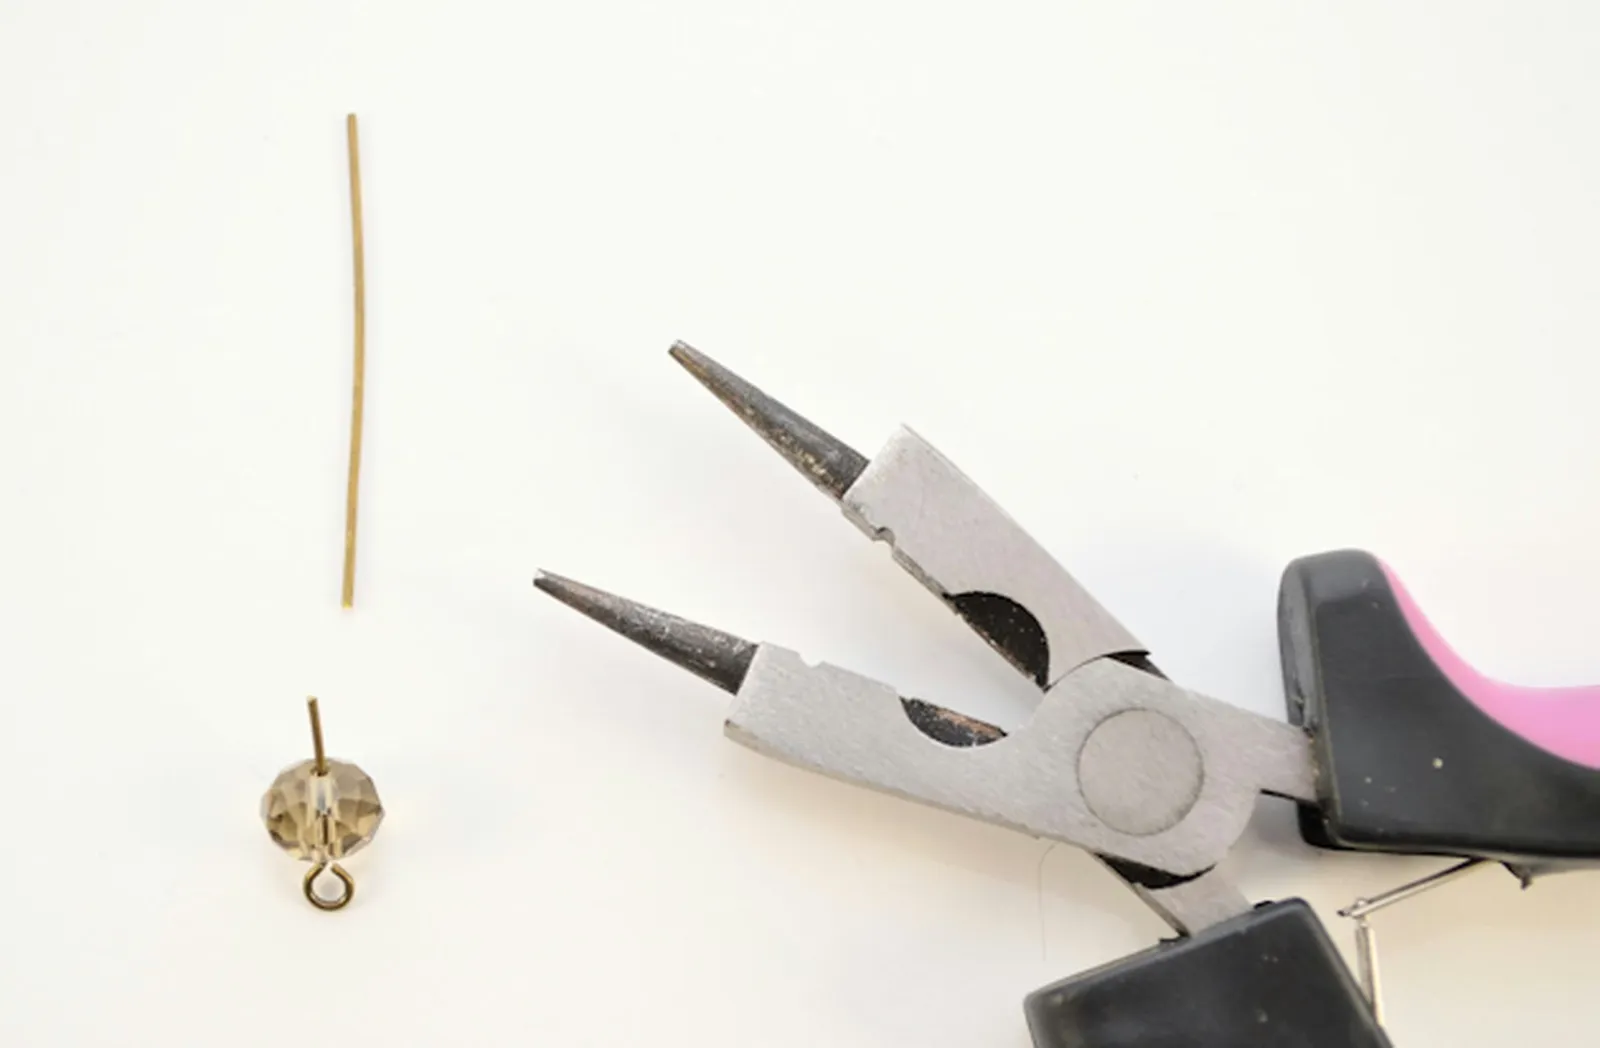
Add a bead embellishment.
Slide the bead onto the eye pin and trim the excess, leaving about 1/4 inch. Any bead type that matches your style can be used.
Step 5
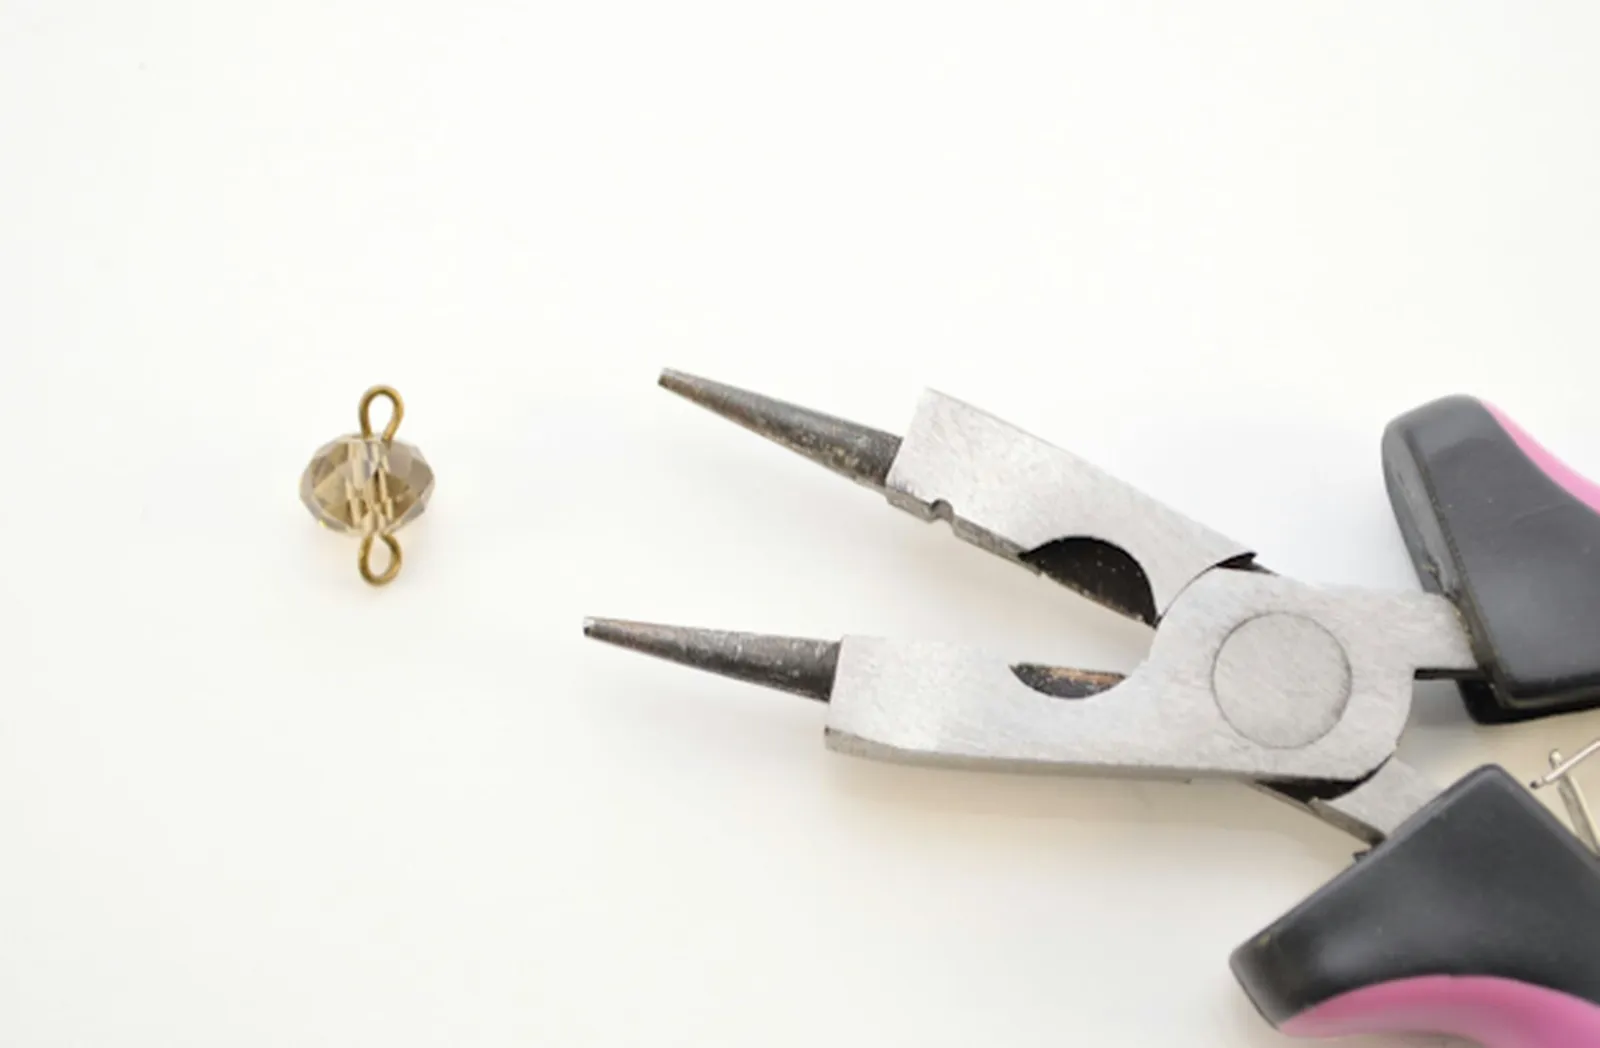
Create your bead connector.
With the round-nosed ends of the pliers, form a loop at the end of the eye pin. This converts the bead into a connector.
Step 6
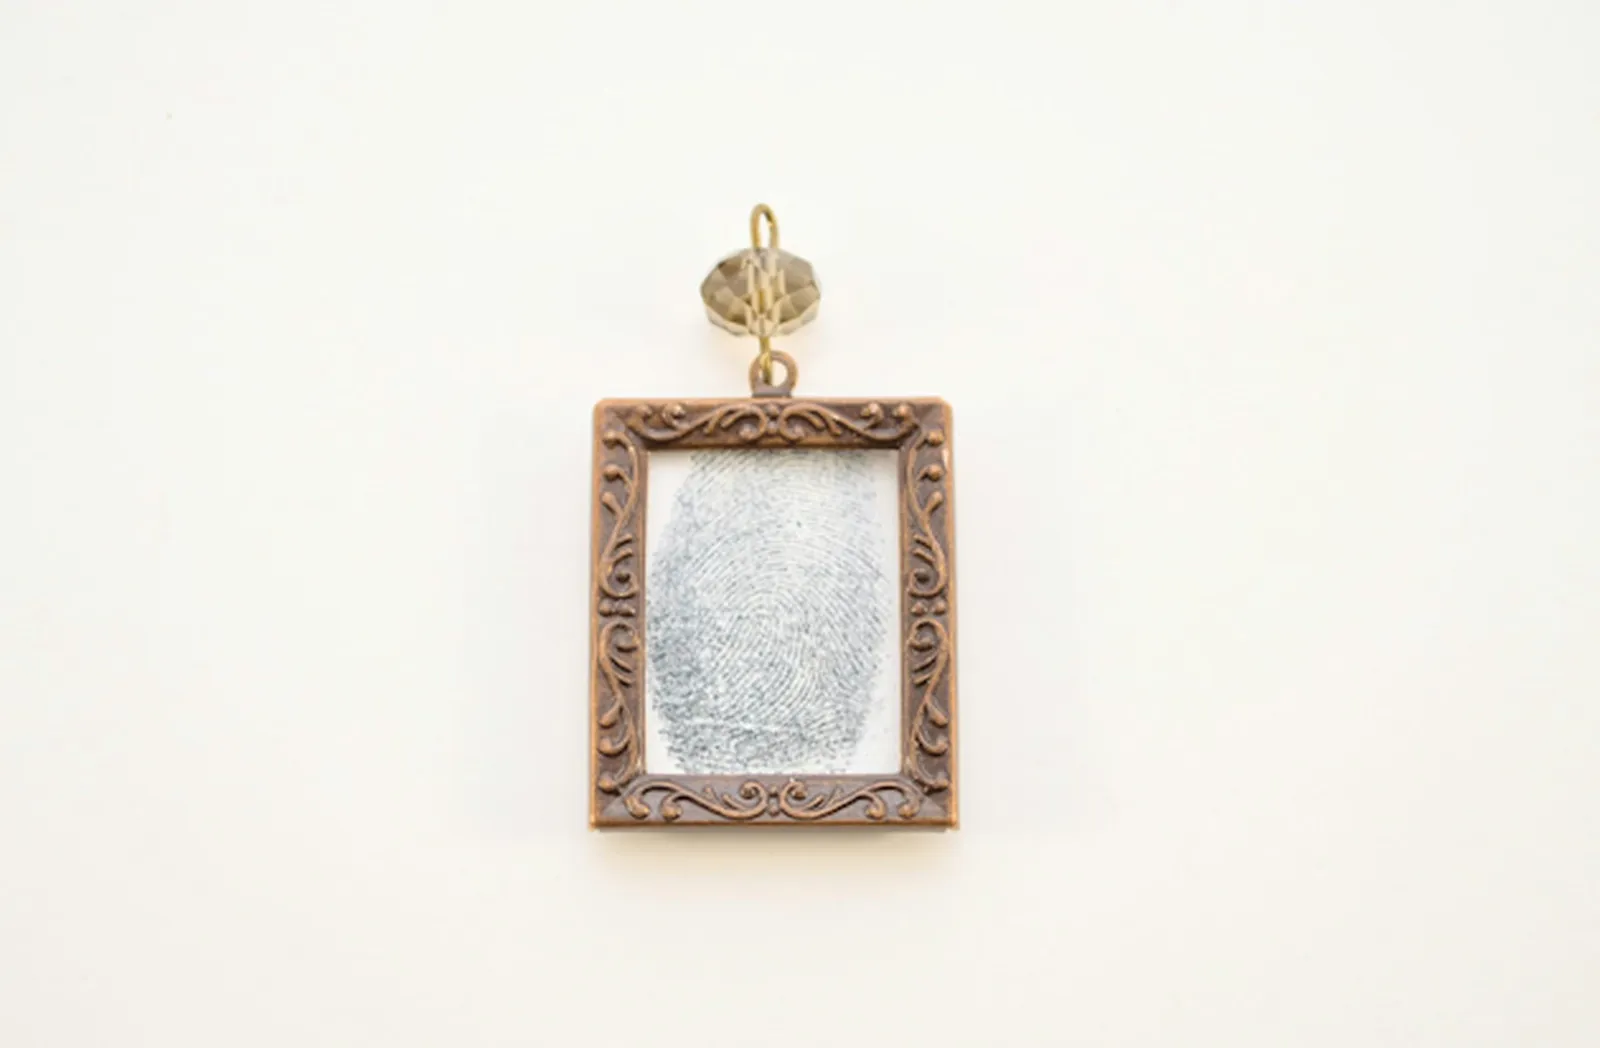
Connect the bead to the frame.
Attach the bead to the frame pendant. The beaded connector adds a small extra detail to the frame pendant.
Step 7
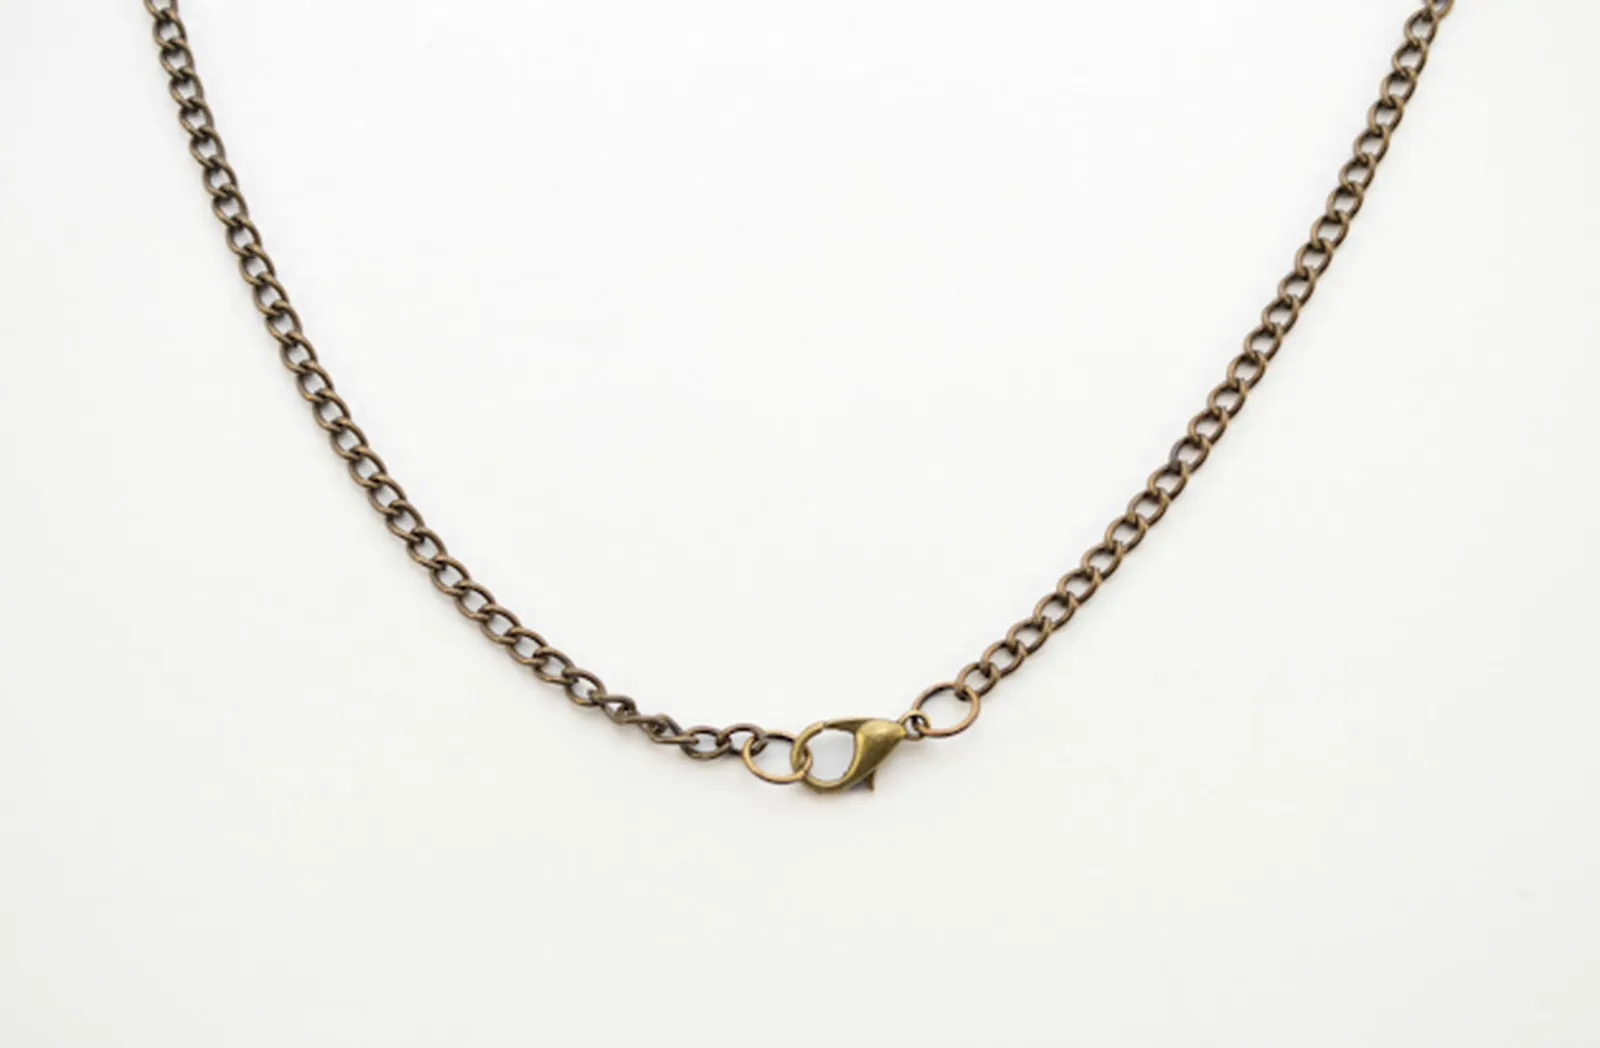
Complete your necklace by adding a jewelry clasp and jump ring.
Add a jump ring to one end of the chain. On the other end, attach the jewelry clasp using a jump ring. For shorter chain necklaces, a jewelry clasp is necessary.
Step 8
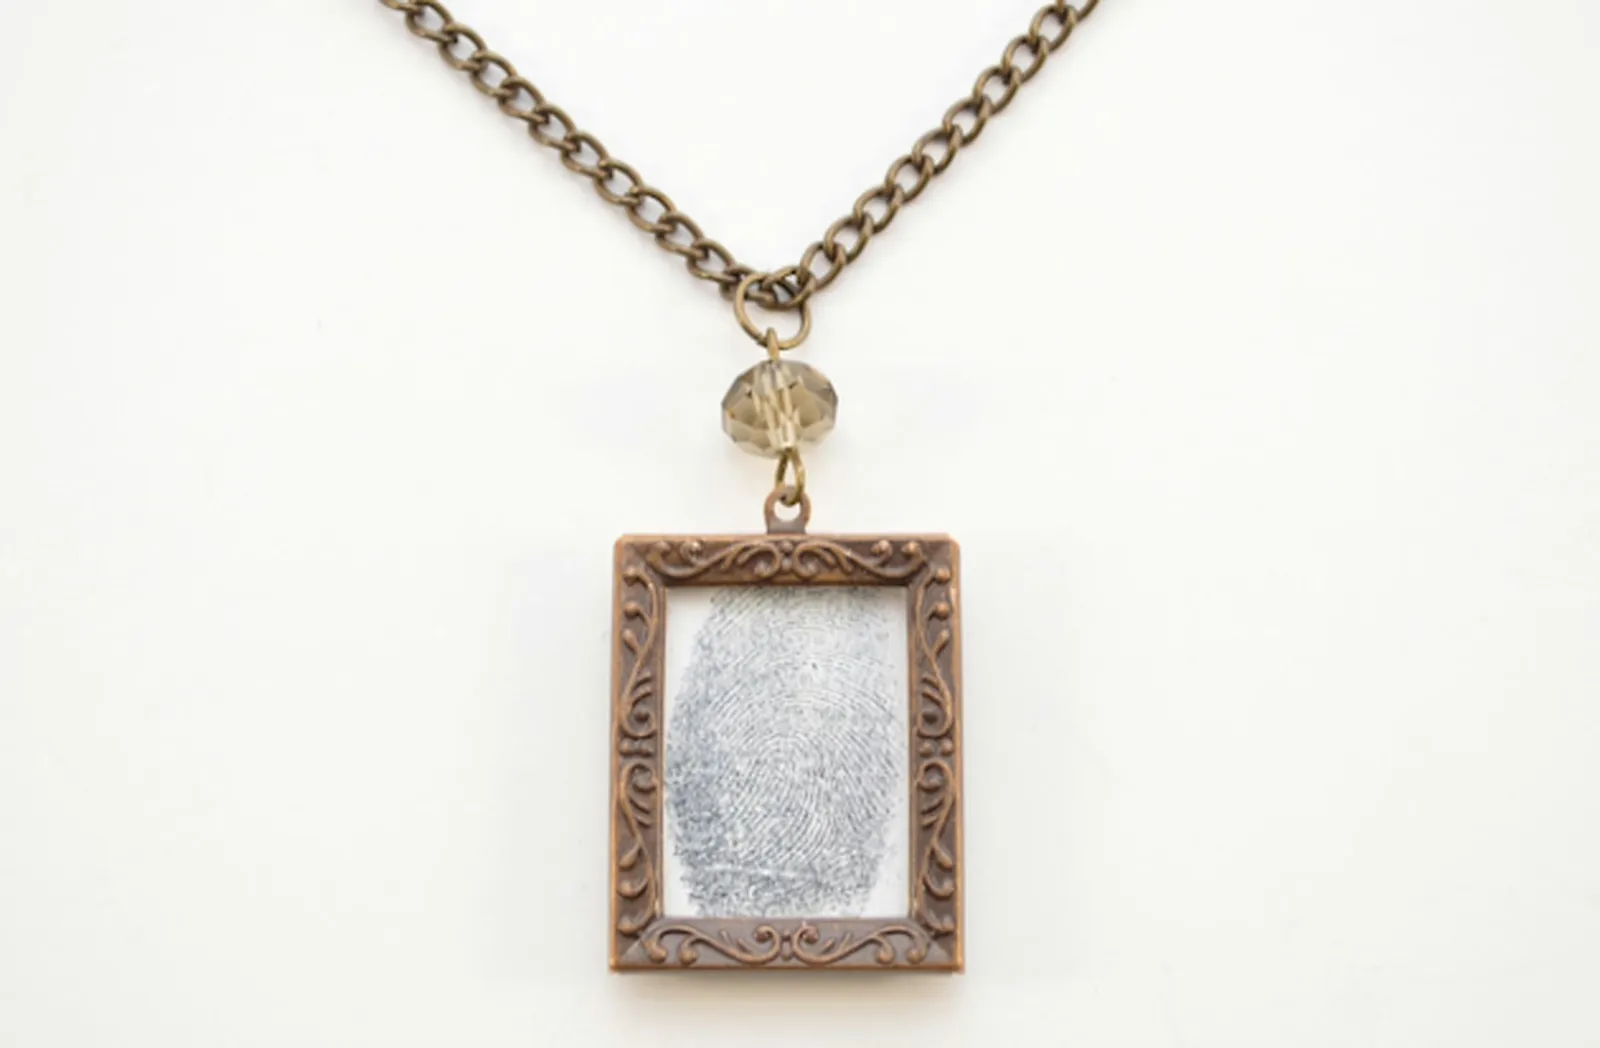
To finish your necklace, add the pendant to the chain.
Use the last small jump ring to attach the frame pendant to the chain, finishing your new necklace.