Air-Drying Clay You Can Craft at Home
Create sculpting and pottery pieces without a kiln by mixing common kitchen ingredients into a homemade clay that hardens in the air.
By Charlie Watson4 steps
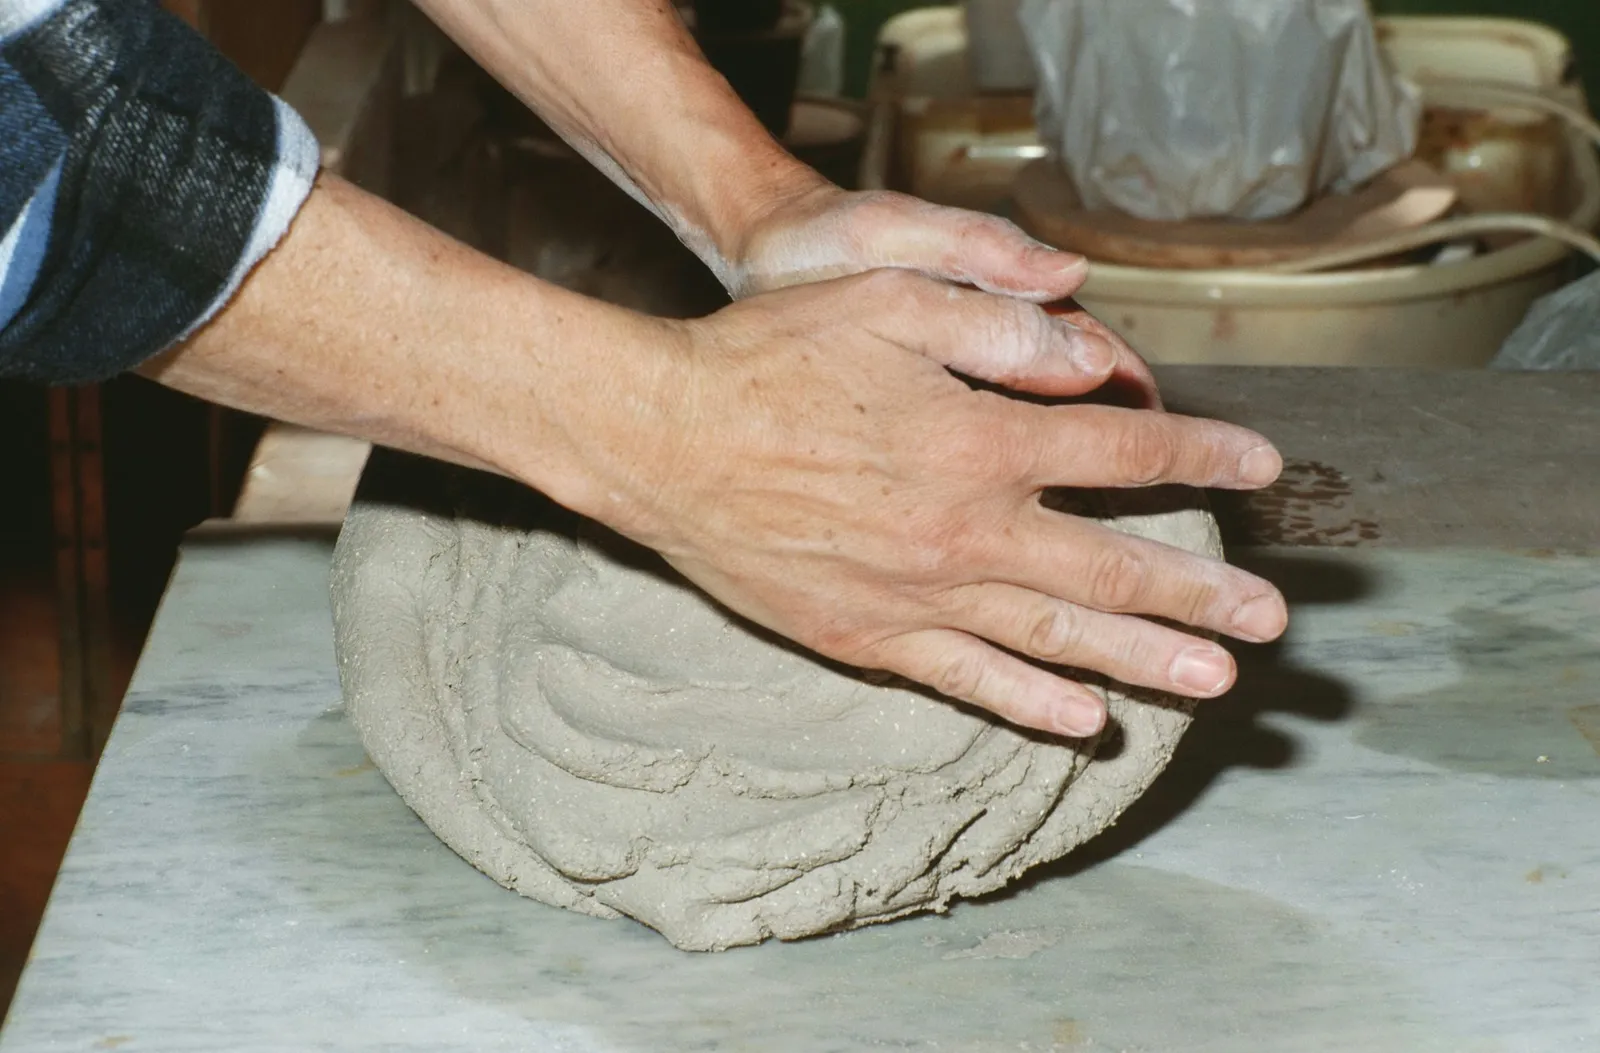
Kneading your clay is the first step.
Exploring sculpture and pottery doesn't require owning or having access to a kiln. You can make air-drying clay at home using items that are likely already in your kitchen. Later, you might choose to take classes or buy special tools, a potter's wheel, or a kiln, but your initial efforts at hand-building or forming pots could turn out to be surprisingly rewarding.
Step 1
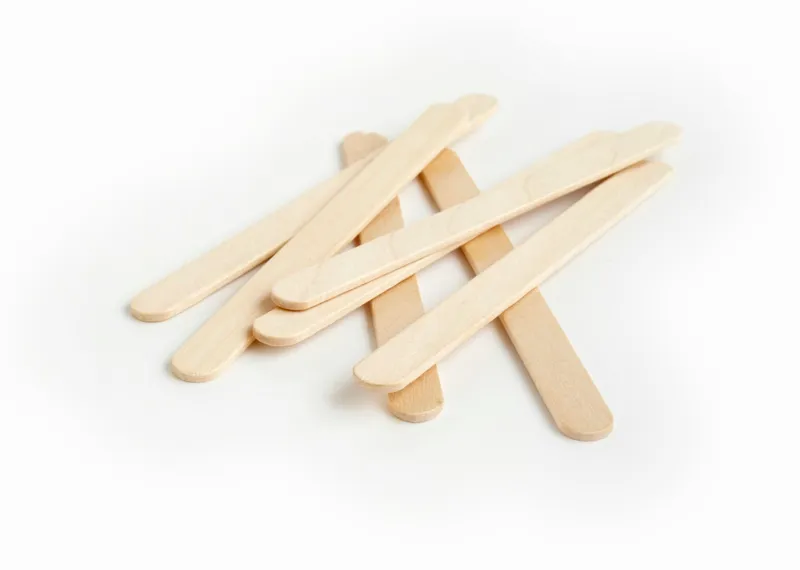
In a large bowl, combine the flour and salt. Pour in the hot water and mix with a wooden spoon or paint stirrer. Stir until everything is well incorporated, adding a bit more water if needed to reach a dough-like texture. Allow the mixture to sit and cool for roughly five minutes.
Step 2
Within the bowl, press and knead the mixture. Initially, it won't resemble clay much, but as you keep working it, you should begin to feel it become more pliable and unified.
Step 3
Move the clay onto a smooth work surface. If it feels sticky, sprinkle flour or cornstarch on the surface and your hands. Keep kneading and pounding the clay for about five minutes, until it feels elastic and is easy to shape. Now it's ready to use, and you can form your project.
Step 4
After shaping your object, set it in a warm, dry place, ideally in direct sunlight. If you have multiple pieces drying, turn them regularly so each gets as much sun as possible. The drying time can vary from two to seven days, depending on how thick the piece is, how much moisture is in the clay, the surrounding environment, and the amount of sunlight available; once dry, it's ready to paint.