How to Use IKEA Pyssla Melting Beads for Craft Projects
The Swedish retailer IKEA, widely recognized for affordable modern furniture (see reference 2), also offers craft supplies, art materials, and children's toys and games. Among these items is the Multicolored Pyssla Melting Beads set, which is designed to support the development of hand-eye coordination and fine motor abilities in young kids (see Reference 1).
By Hayden Ward8 steps
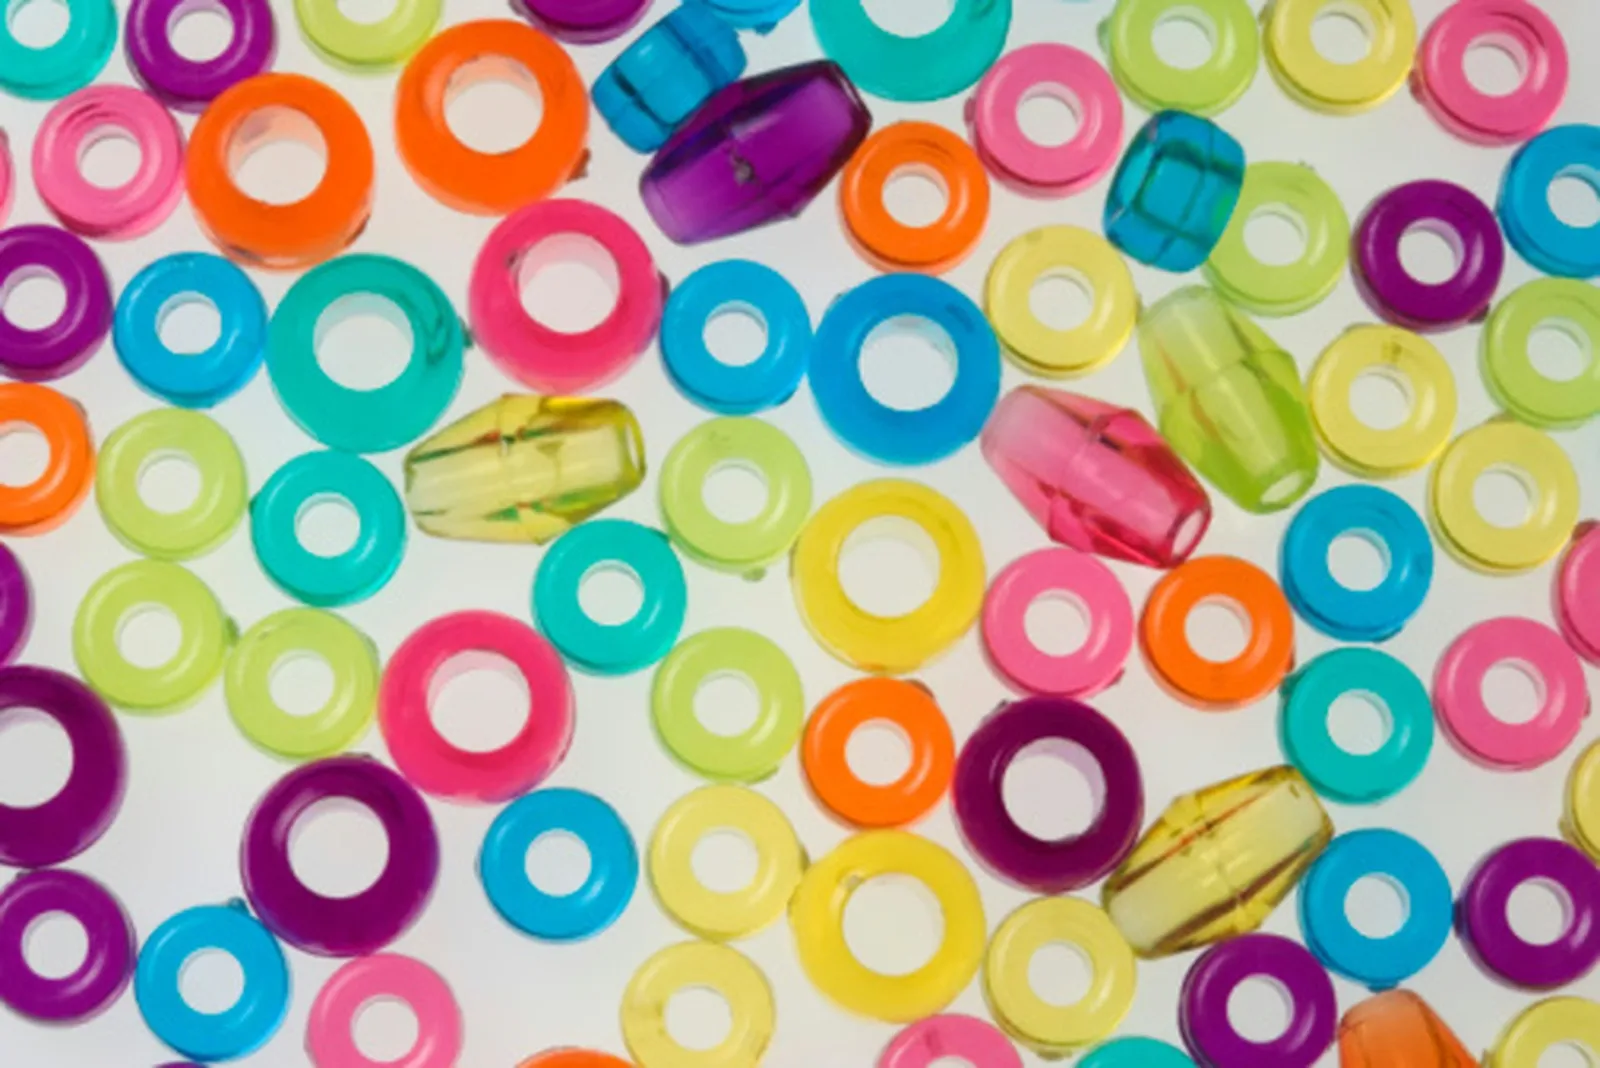
IKEA, a Swedish company, is commonly associated with producing budget-friendly furniture featuring contemporary designs (see reference 2), yet it also carries craft materials, art supplies, and toys and games aimed at children. The Multicolored Pyssla Melting Beads is one of its well-liked offerings, and at present it can only be bought in physical stores (see Reference 1). This product is intended to assist young children in building hand-eye coordination and fine motor skills (see Reference 1). While the product does not include a full set of instructions or usage guidelines on its own, these multicolored beads, which are also called Perler beads, are typically employed to create art that can be melted (see Reference 3).
Step 1
Set a meltable bead peg board down on a surface that is flat, clean and free of clutter.
Step 2
Position the Pyssla meltable beads on the peg board, making sure the hole in every bead sits firmly on one of the board's spikes.
Step 3
Gently place a single sheet of wax paper over the beads and peg board, taking care not to shift the design or cause beads to fall out of position on the board.
Step 4
Switch the iron on and adjust it to a medium heat setting.
Step 5
Move the iron lightly across the wax paper for roughly 10 seconds. As the plastic heats up and melts, the beads ought to merge together. (See Reference 3)
Step 6
Leave the beads to cool beneath the wax paper for approximately three minutes.
Step 7
Lift the design off the peg board with care.
Step 8
Gradually pull the wax paper away from the melted bead project.