Create Your Own Candy Corn-Inspired Pillar Candles for Halloween
Sawyer Watson

DIY candy corn candles arranged as a Halloween centerpiece
Candy corn is a staple of Halloween, and while not everyone enjoys eating it, it makes a delightful decorative theme for fall. These pillar candles take their cue from the white, orange, and yellow candy. To get that tapered candy corn shape, paper cups are used as molds because they can withstand hot wax and allow the candle to slide out easily once set. Arranged on a bed of real candy corn, they bring a playful element to your Halloween setup.
Making the Candy Corn Candles
1. Get the molds ready
Using a marker, draw two horizontal lines around the outside of each plastic cup to create three equal sections. These lines will guide you in layering the different wax colors to mimic candy corn. Then, use a knife or nail to make a hole in the center of the cup's bottom. Keep in mind that the cup's bottom will become the top of your candle.
2. Insert the wick
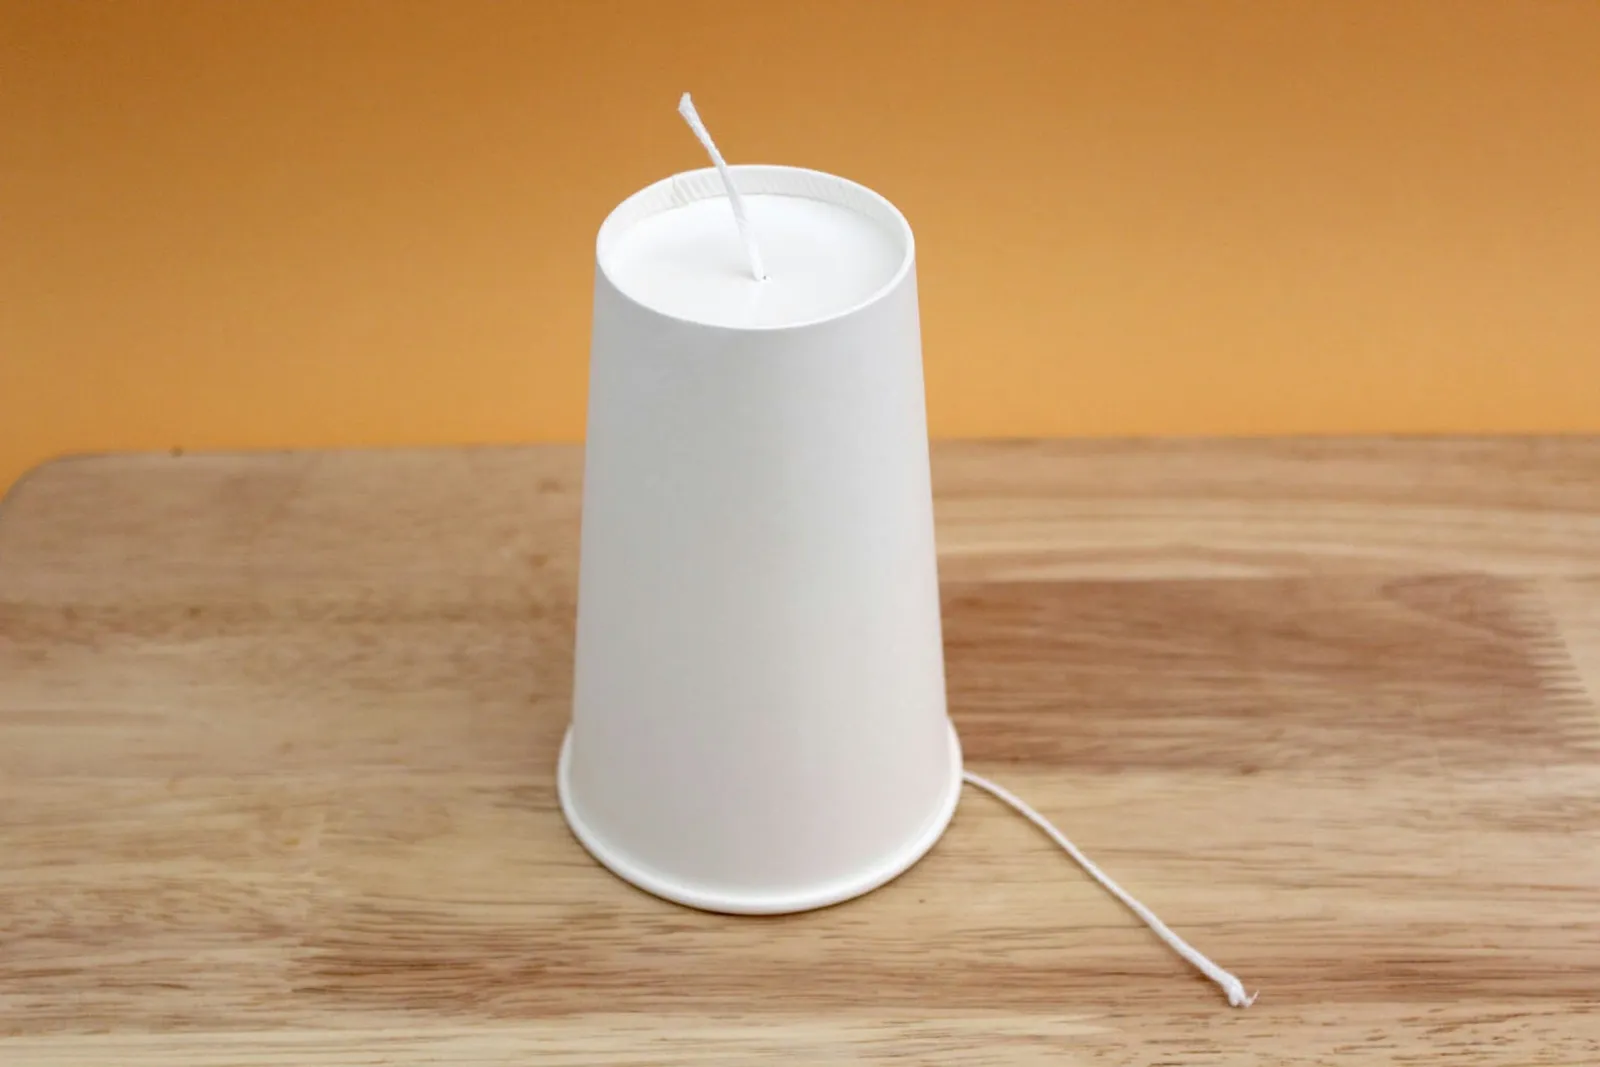
A paper cup with a candle wick threaded through its base
Cut a piece of candle wick that is at least four inches longer than the cup's height. Push the wick through the hole from the inside, leaving about an inch sticking out above the hole. The rest of the wick will hang out the bottom for now.
4. Seal the hole
Use a small amount of adhesive putty to plug the hole so that melted wax doesn't leak out. Press firmly to ensure a tight seal. For extra security, place a small piece of duct tape over the putty.
5. Keep the wick in place
Flip the cup upright. To hold the wick centered, stretch a piece of duct tape across the top of the cup. Make a slit in the middle of the tape, pass the wick through it, and press the tape around the wick to secure it.
1. Break the wax into small pieces
Using a knife, carefully shave the sides of a white pillar candle (soy or regular wax). The wax will break into small bits. Crumble the entire candle or several candles, depending on how many candy corn candles you plan to make.
2. Melt the wax in tin cans
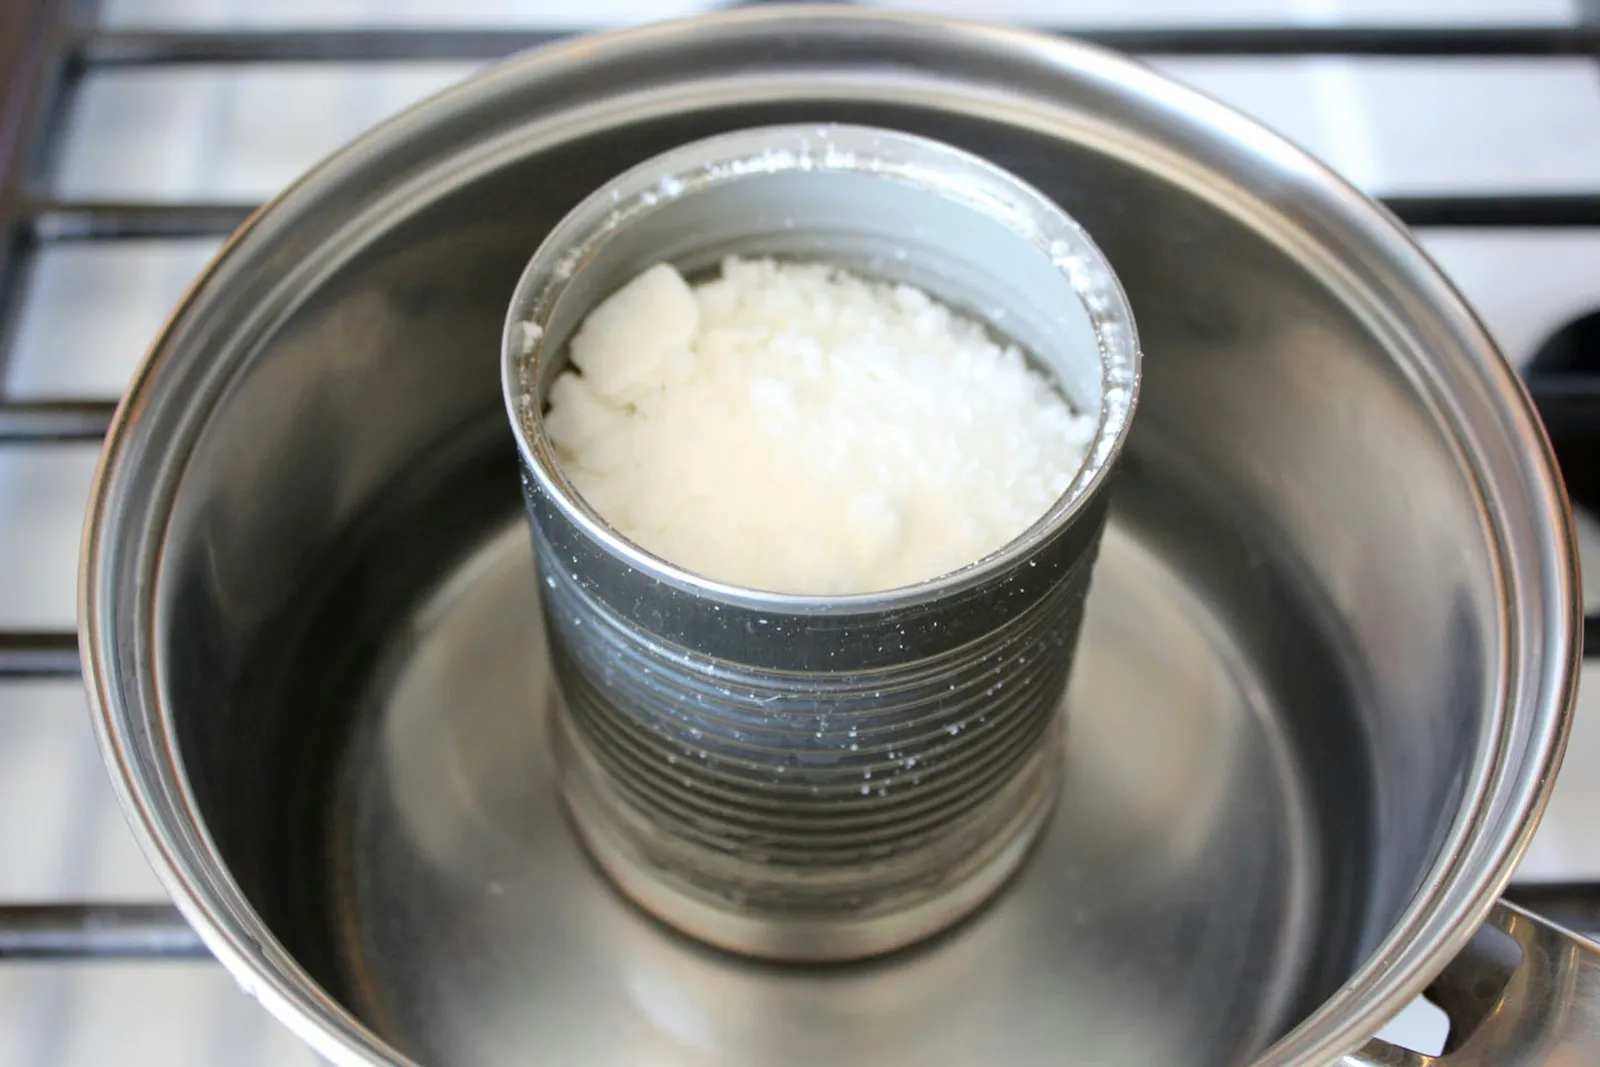
Melt crumbled candle wax in a can set inside a water bath
Clean tin cans or mason jars thoroughly and dry them. Handle them carefully as the edges can be sharp. Put the crumbled wax into a can or jar, then place it in a pot filled with about two inches of water. Bring the water to a gentle simmer and let the wax melt slowly.
3. Pour the white layer
Pour the melted white wax into the cup molds up to the first marked line. This will form the top white section of the candy corn candles.
4. Split the wax for coloring
Divide the remaining white wax equally between two tin cans or mason jars. You'll color one batch yellow and the other orange using crayons or wax dye. Note that candles colored with crayons may not burn as cleanly as those using wax dye.
5. Color the wax
Add orange dye to one batch and yellow dye to the other, following the dye manufacturer's instructions. If using crayons, cut them into small pieces and add a few at a time to the white wax. Stir with a wooden skewer and continue adding dye or crayon pieces until you achieve the desired shades.
6. Add the orange layer
Wait for the white wax to fully solidify, which takes about 24 hours, then pour the orange wax on top up to the second marked line. Let this layer set overnight.
7. Add the yellow layer
Pour the yellow wax over the hardened orange layer, filling the cup to the top. Allow it to harden overnight.
Finishing the Candles
1. Trim the wick
Cut off any excess wick from the top of the yellow layer. Since this will be the bottom of the candle, no wick should be visible there.
2. Remove the candle from the mold
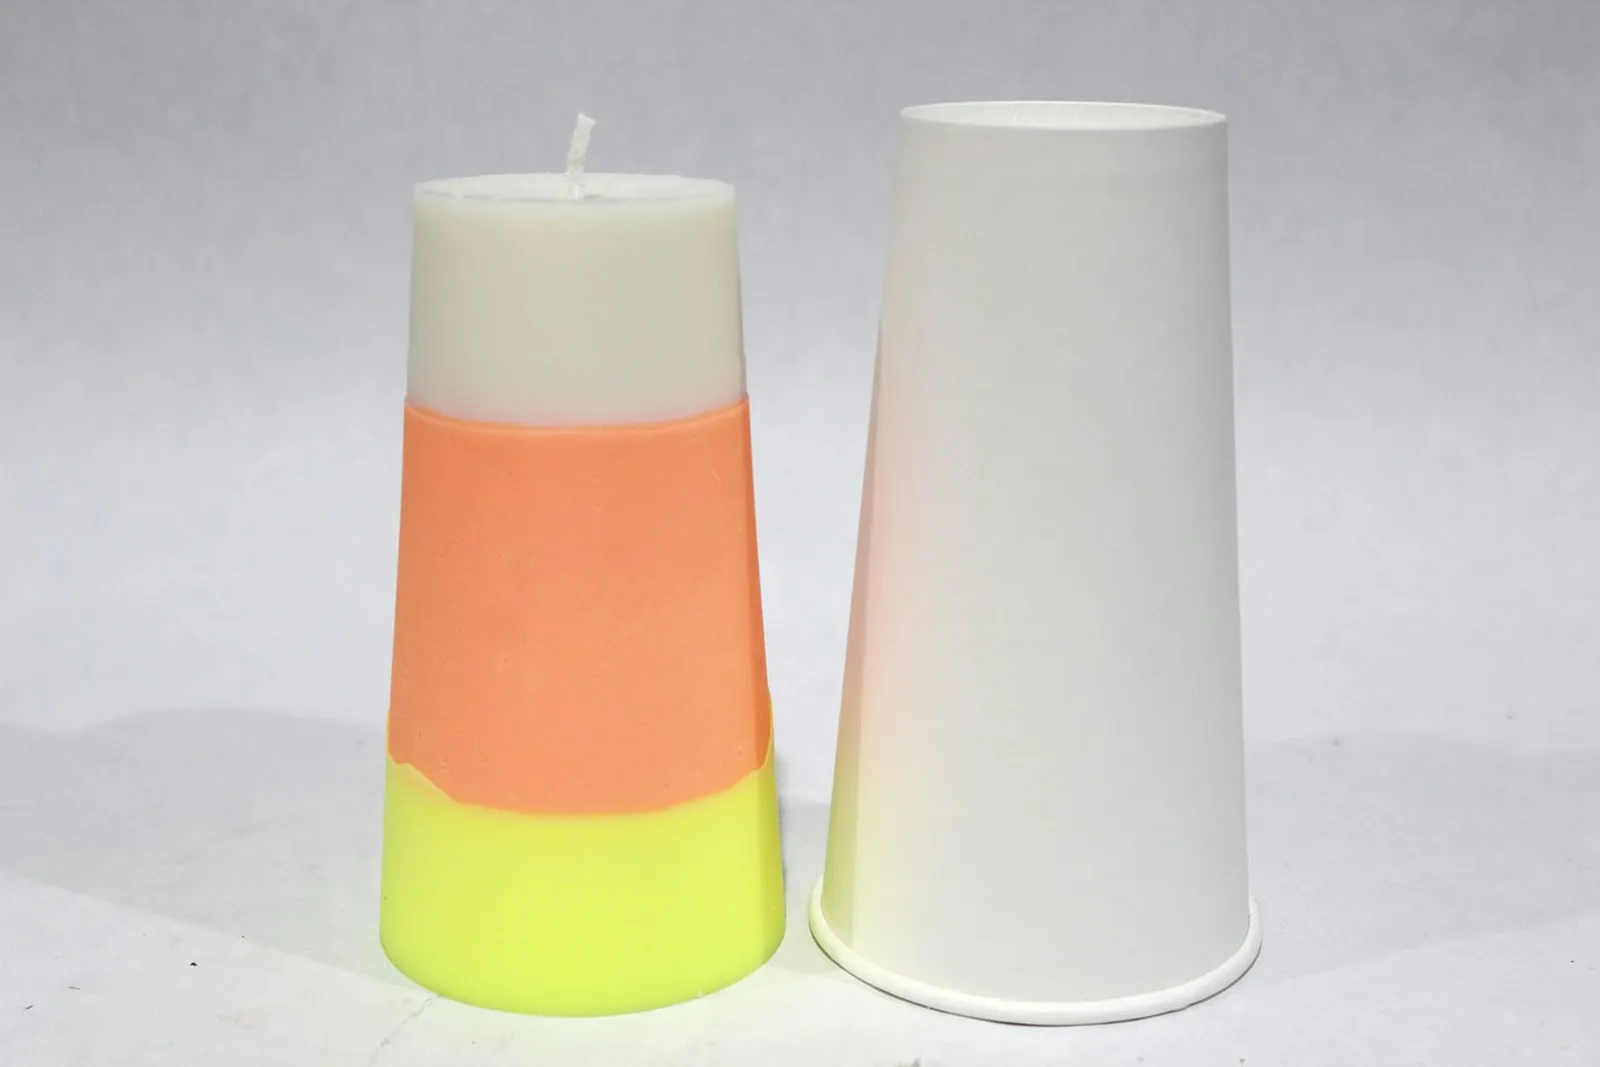
Slide the candy corn candle out of the mold
Turn the mold upside down. Remove the duct tape and adhesive putty from the hole at the bottom of the cup. Gently squeeze the sides of the paper cup, and the candle will slide out easily.
Clean up the edges
If colors have bled into adjacent sections (for example, yellow wax seeping into the orange), it's normal. This can occur when wax contracts, creating gaps that later layers fill. Simply shave off any overlapping wax with a knife to make the candle look neat. After trimming uneven edges, run a hairdryer over the candle's surface and smooth it with your fingers.