Sew a Fabric Wall Caddy to Keep Small Items in Order
Turn a simple piece of canvas into a multi-pocket hanging storage caddy for your workspace, using this step-by-step sewing guide.
By Logan Collins8 steps
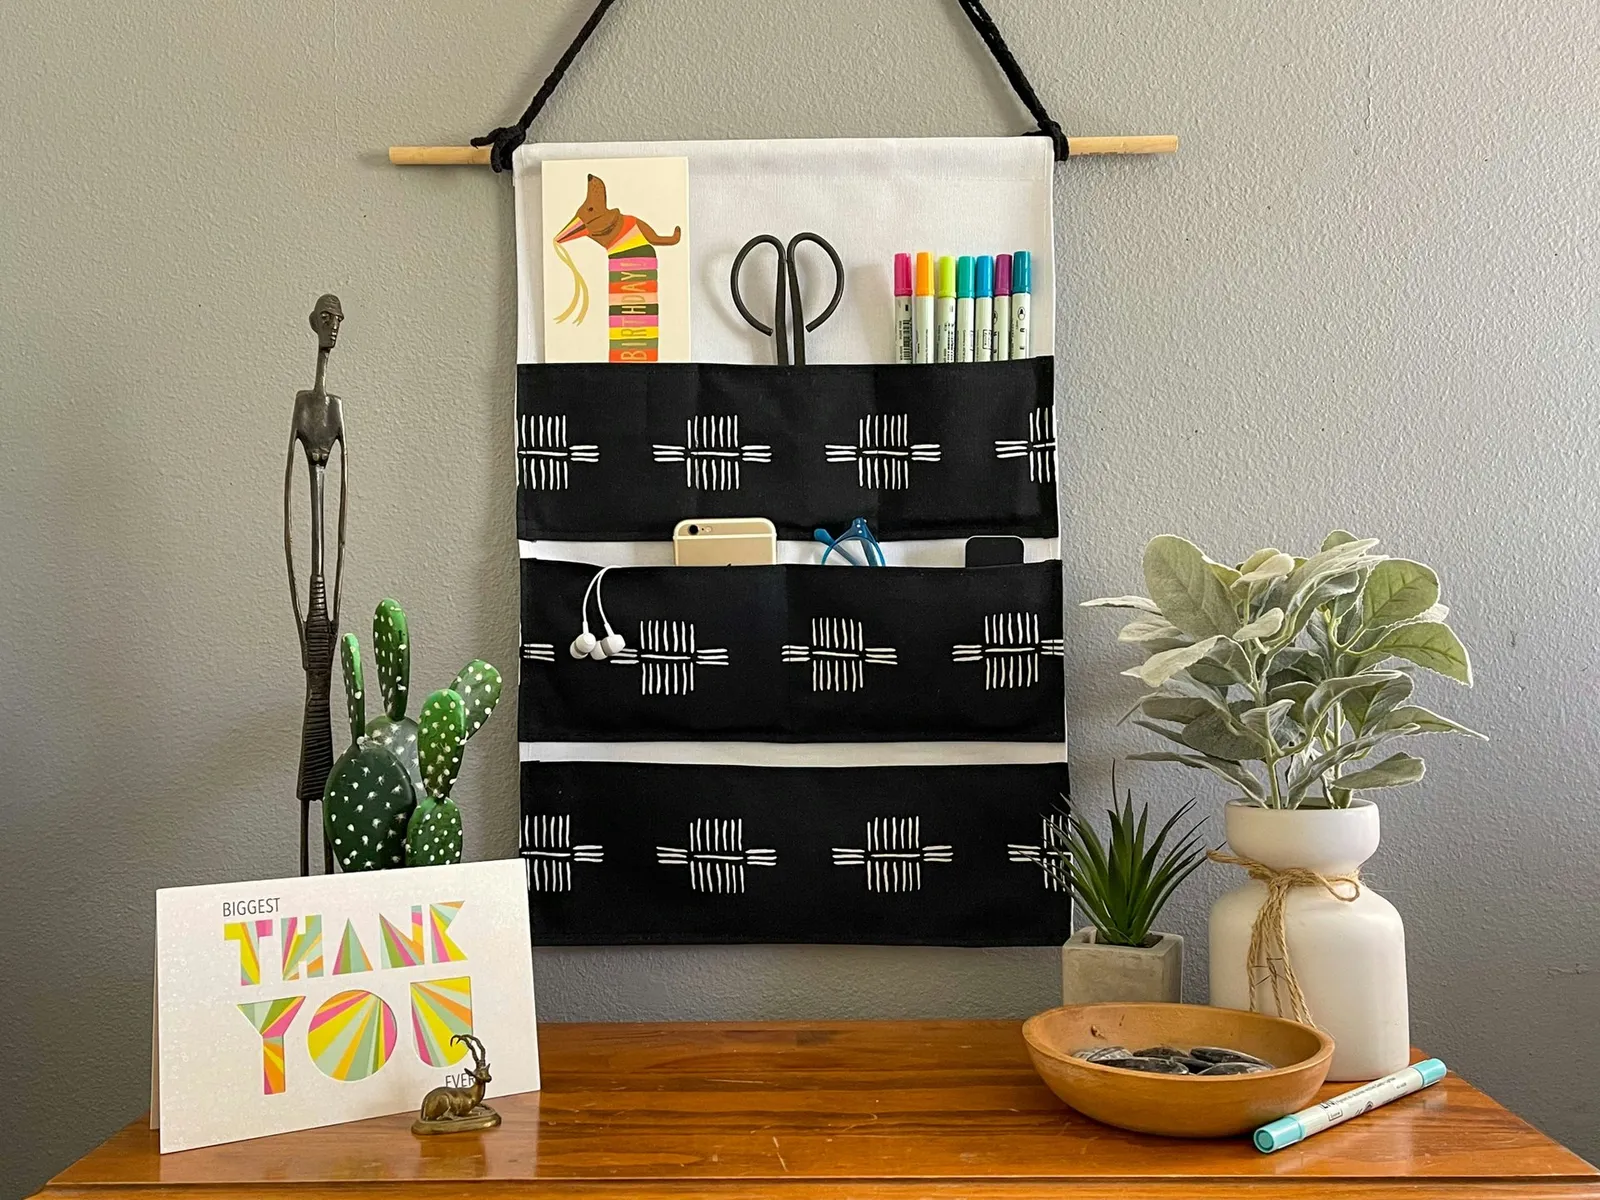
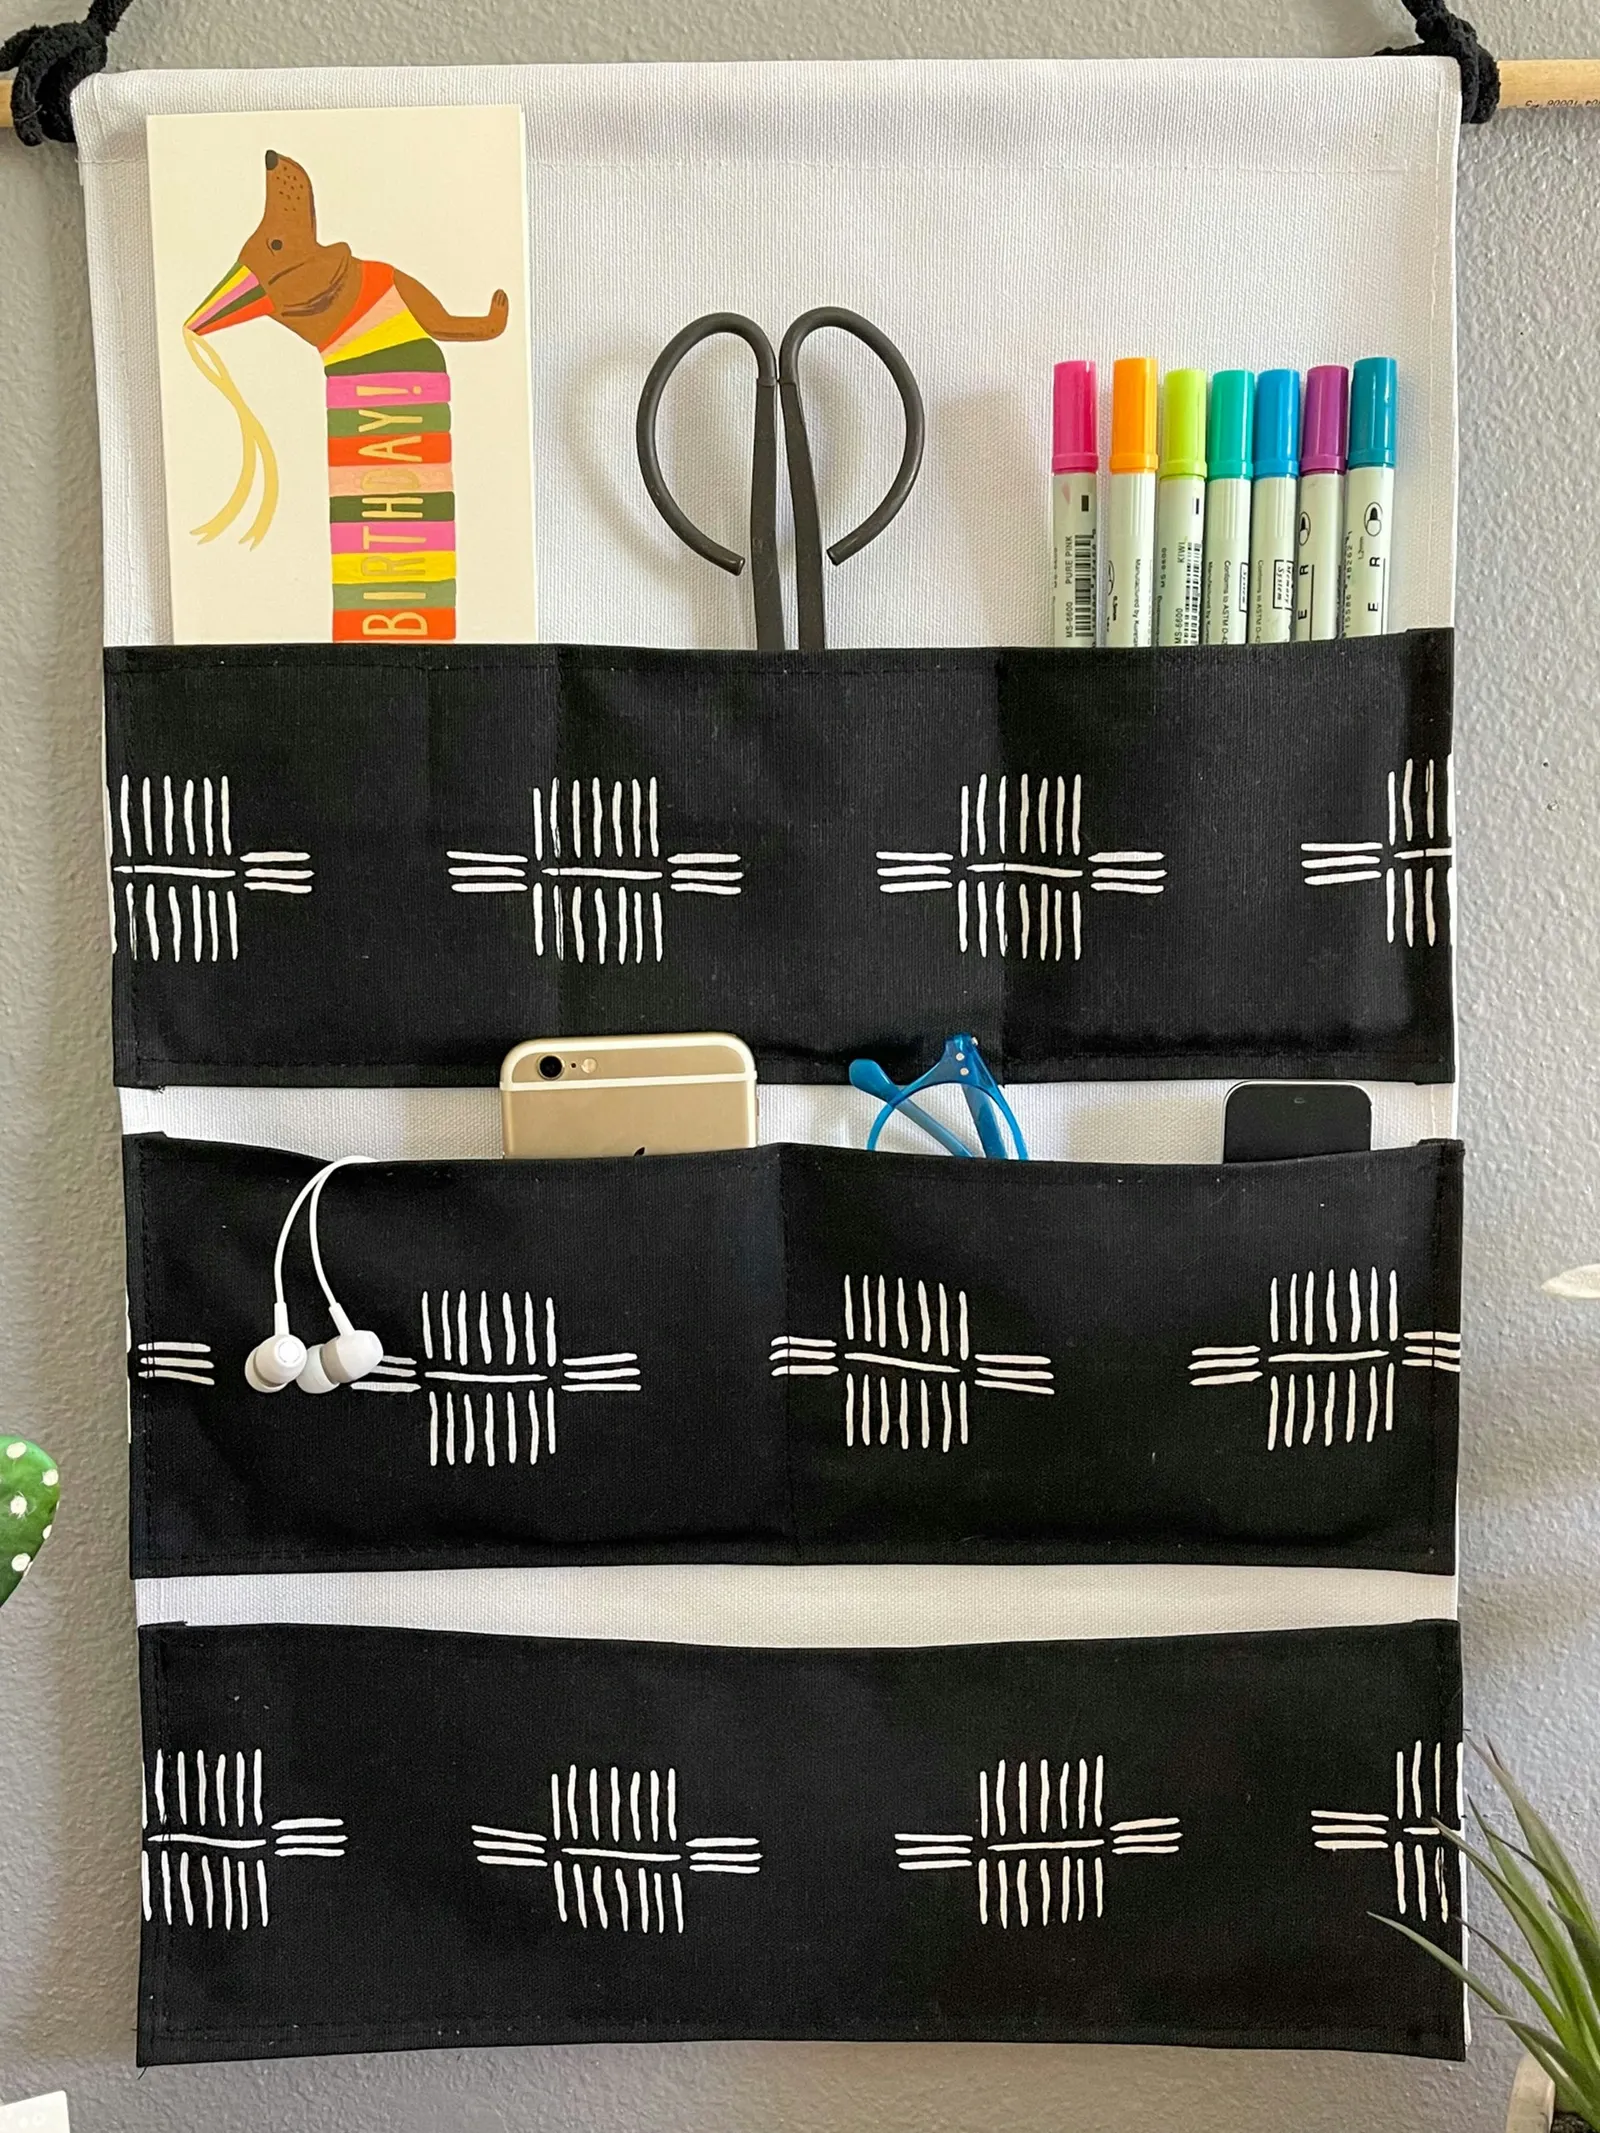
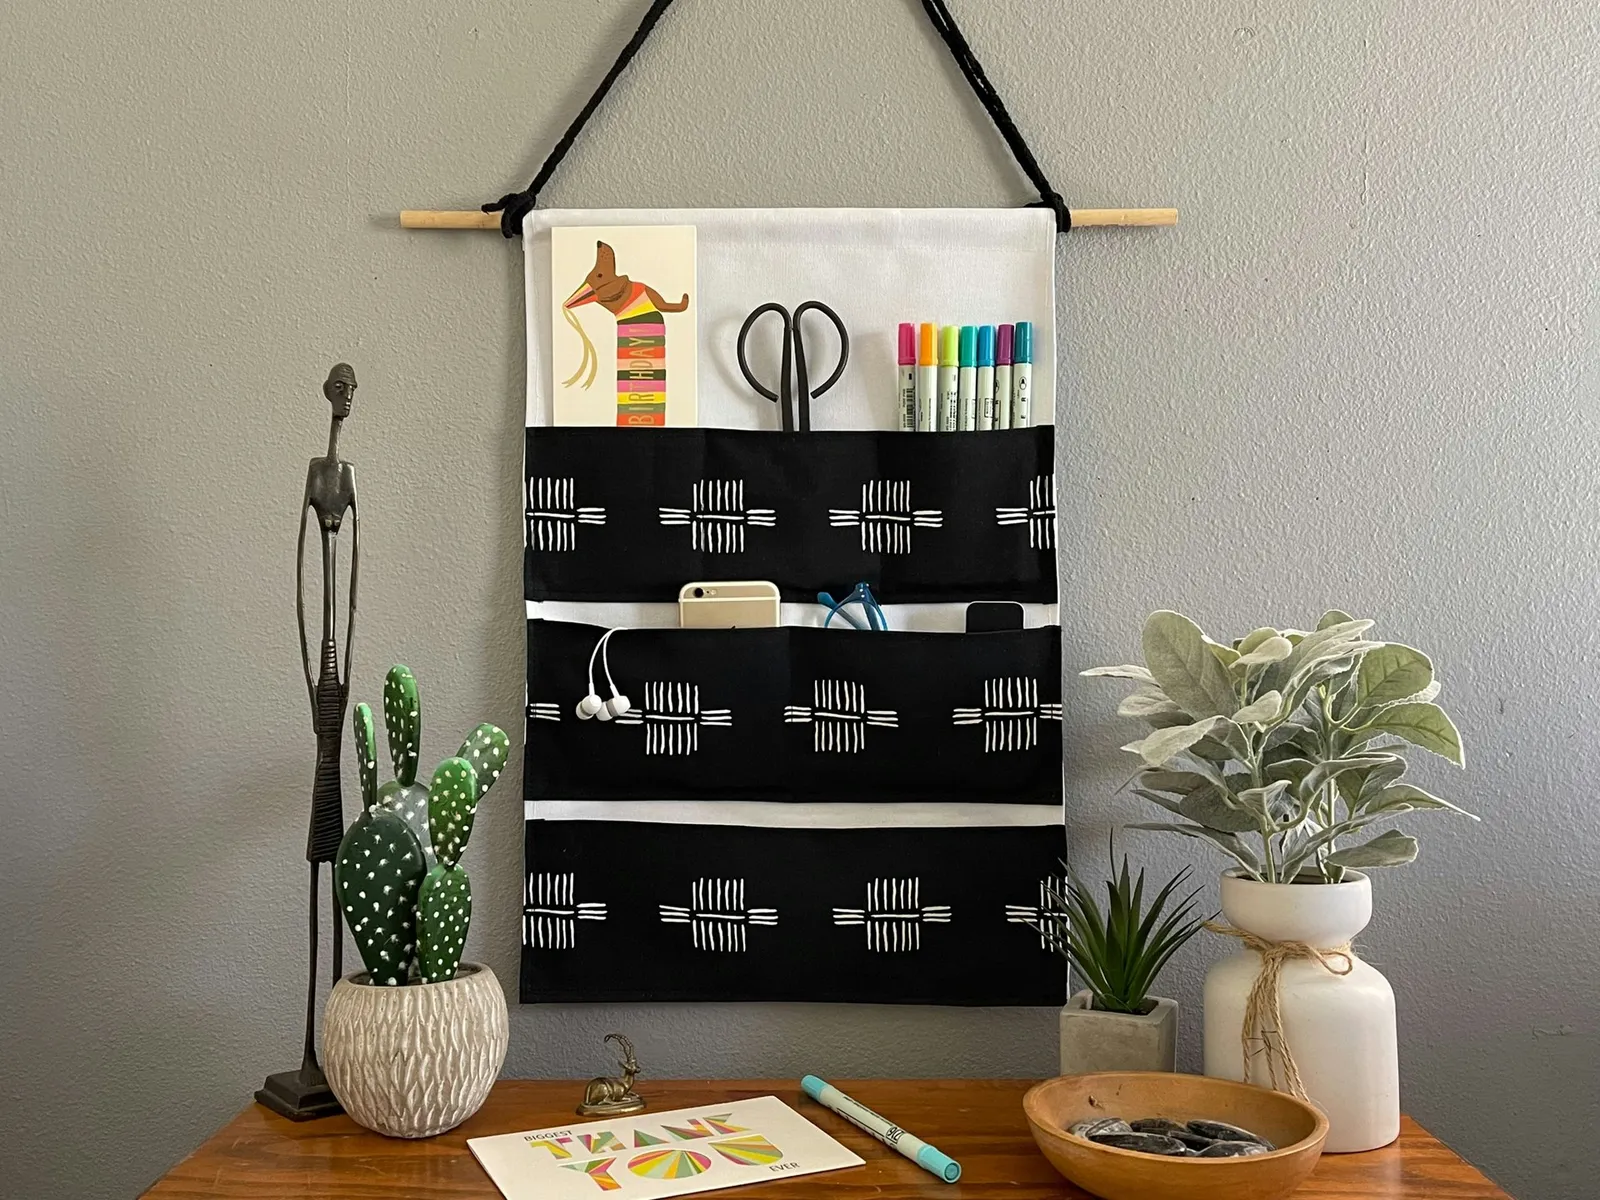
Misplacing your keys or glasses is often a sign that your space could use better organization rather than a sign of forgetfulness. With this sewing tutorial, you can refresh a home office, craft area, or sewing corner while adding practical storage. The project suits both experienced quilters and those new to sewing, and it results in a decorative caddy for holding small everyday items that tend to disappear, plus a new piece of home decor.
Step 1
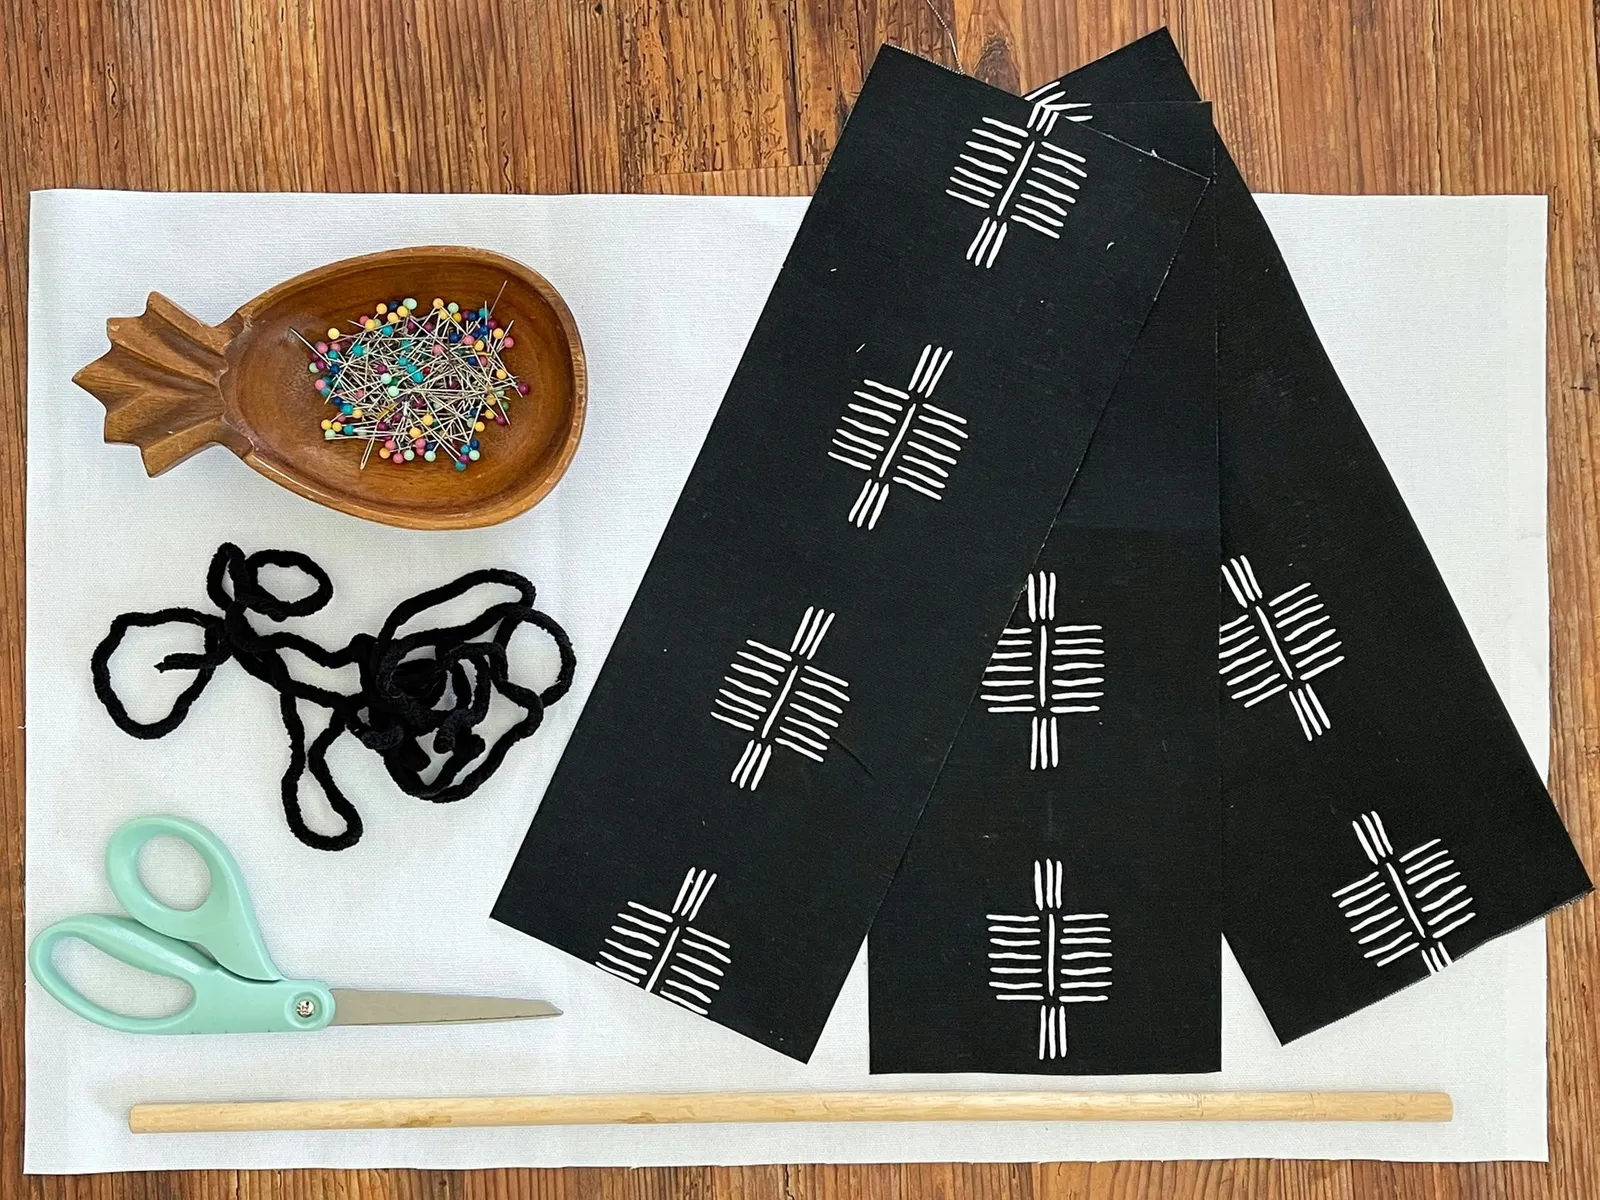
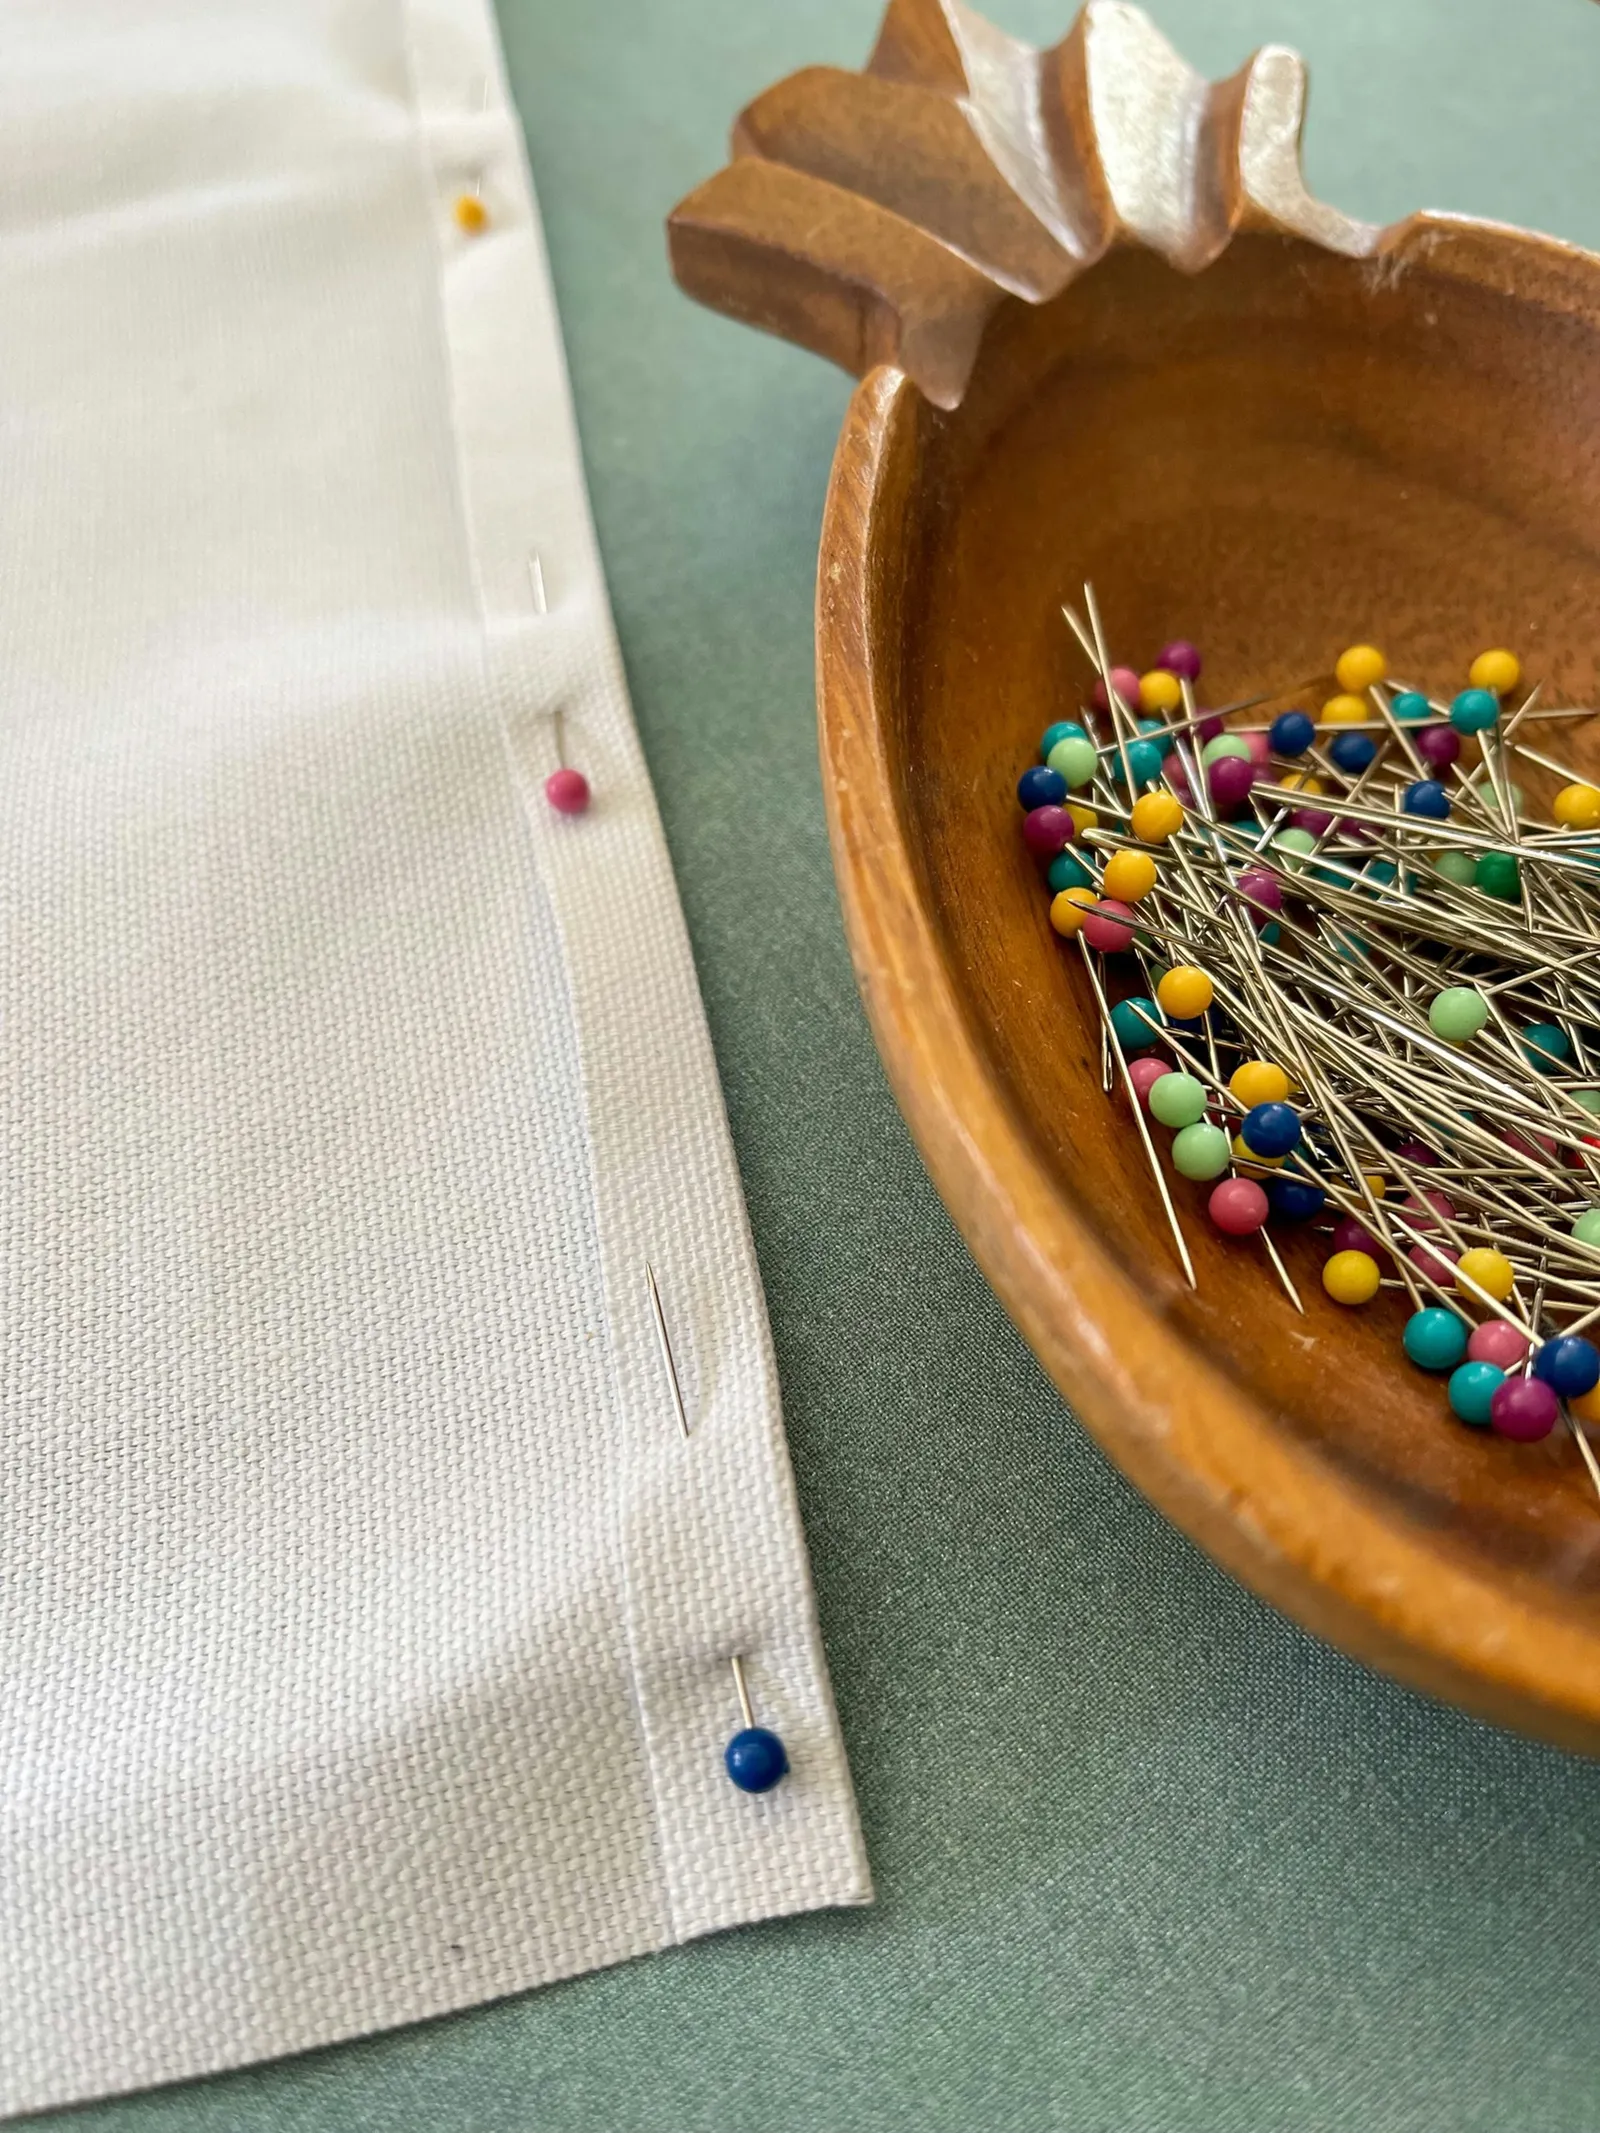
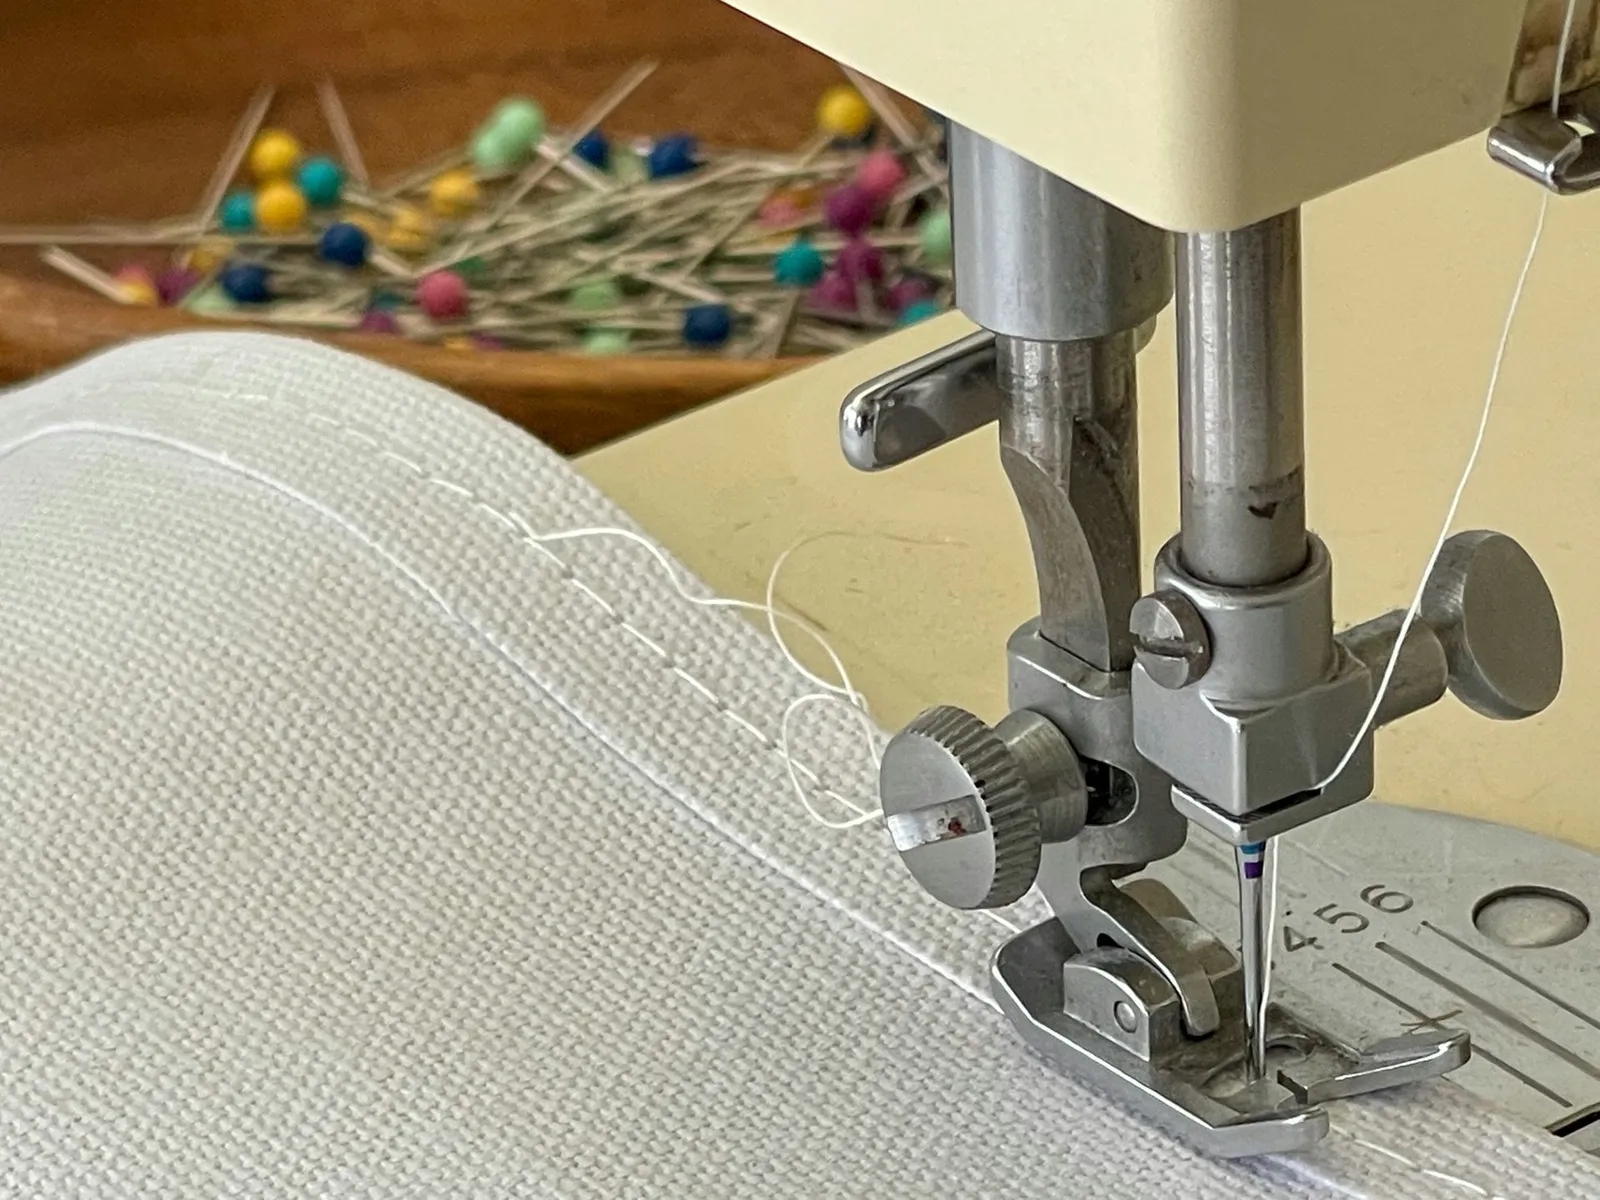
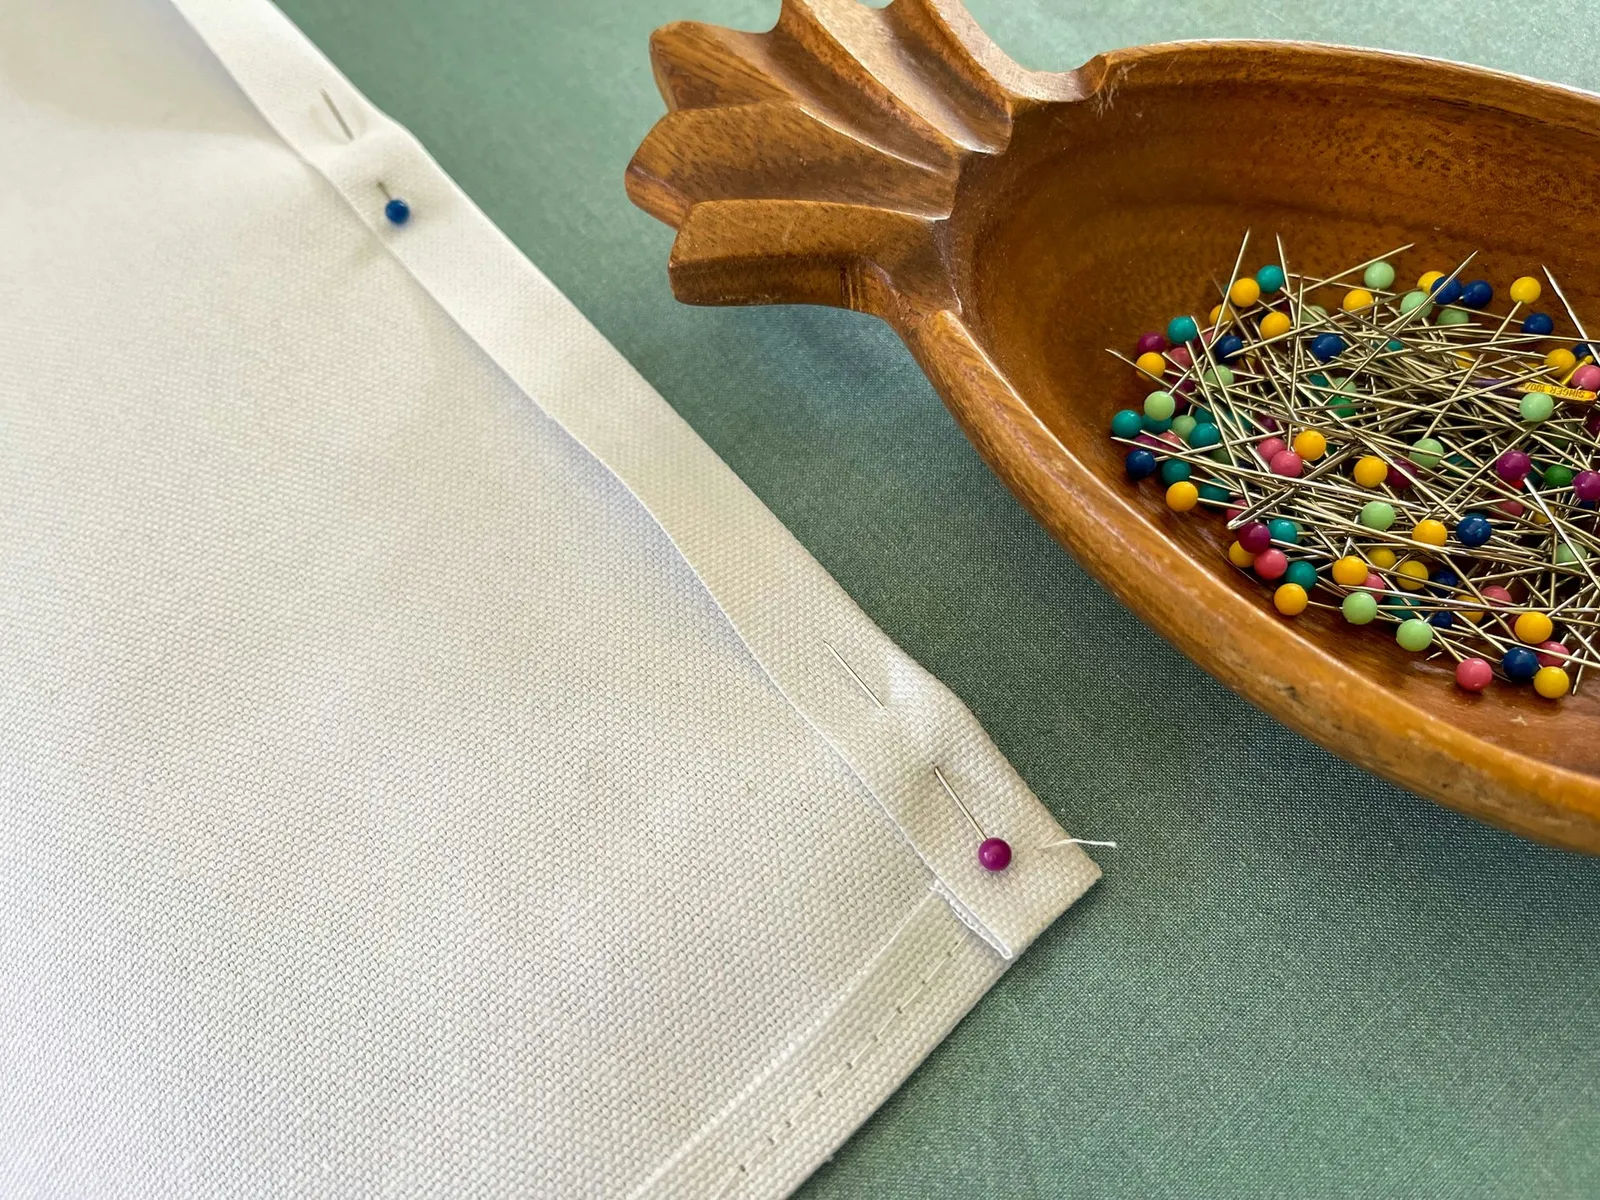
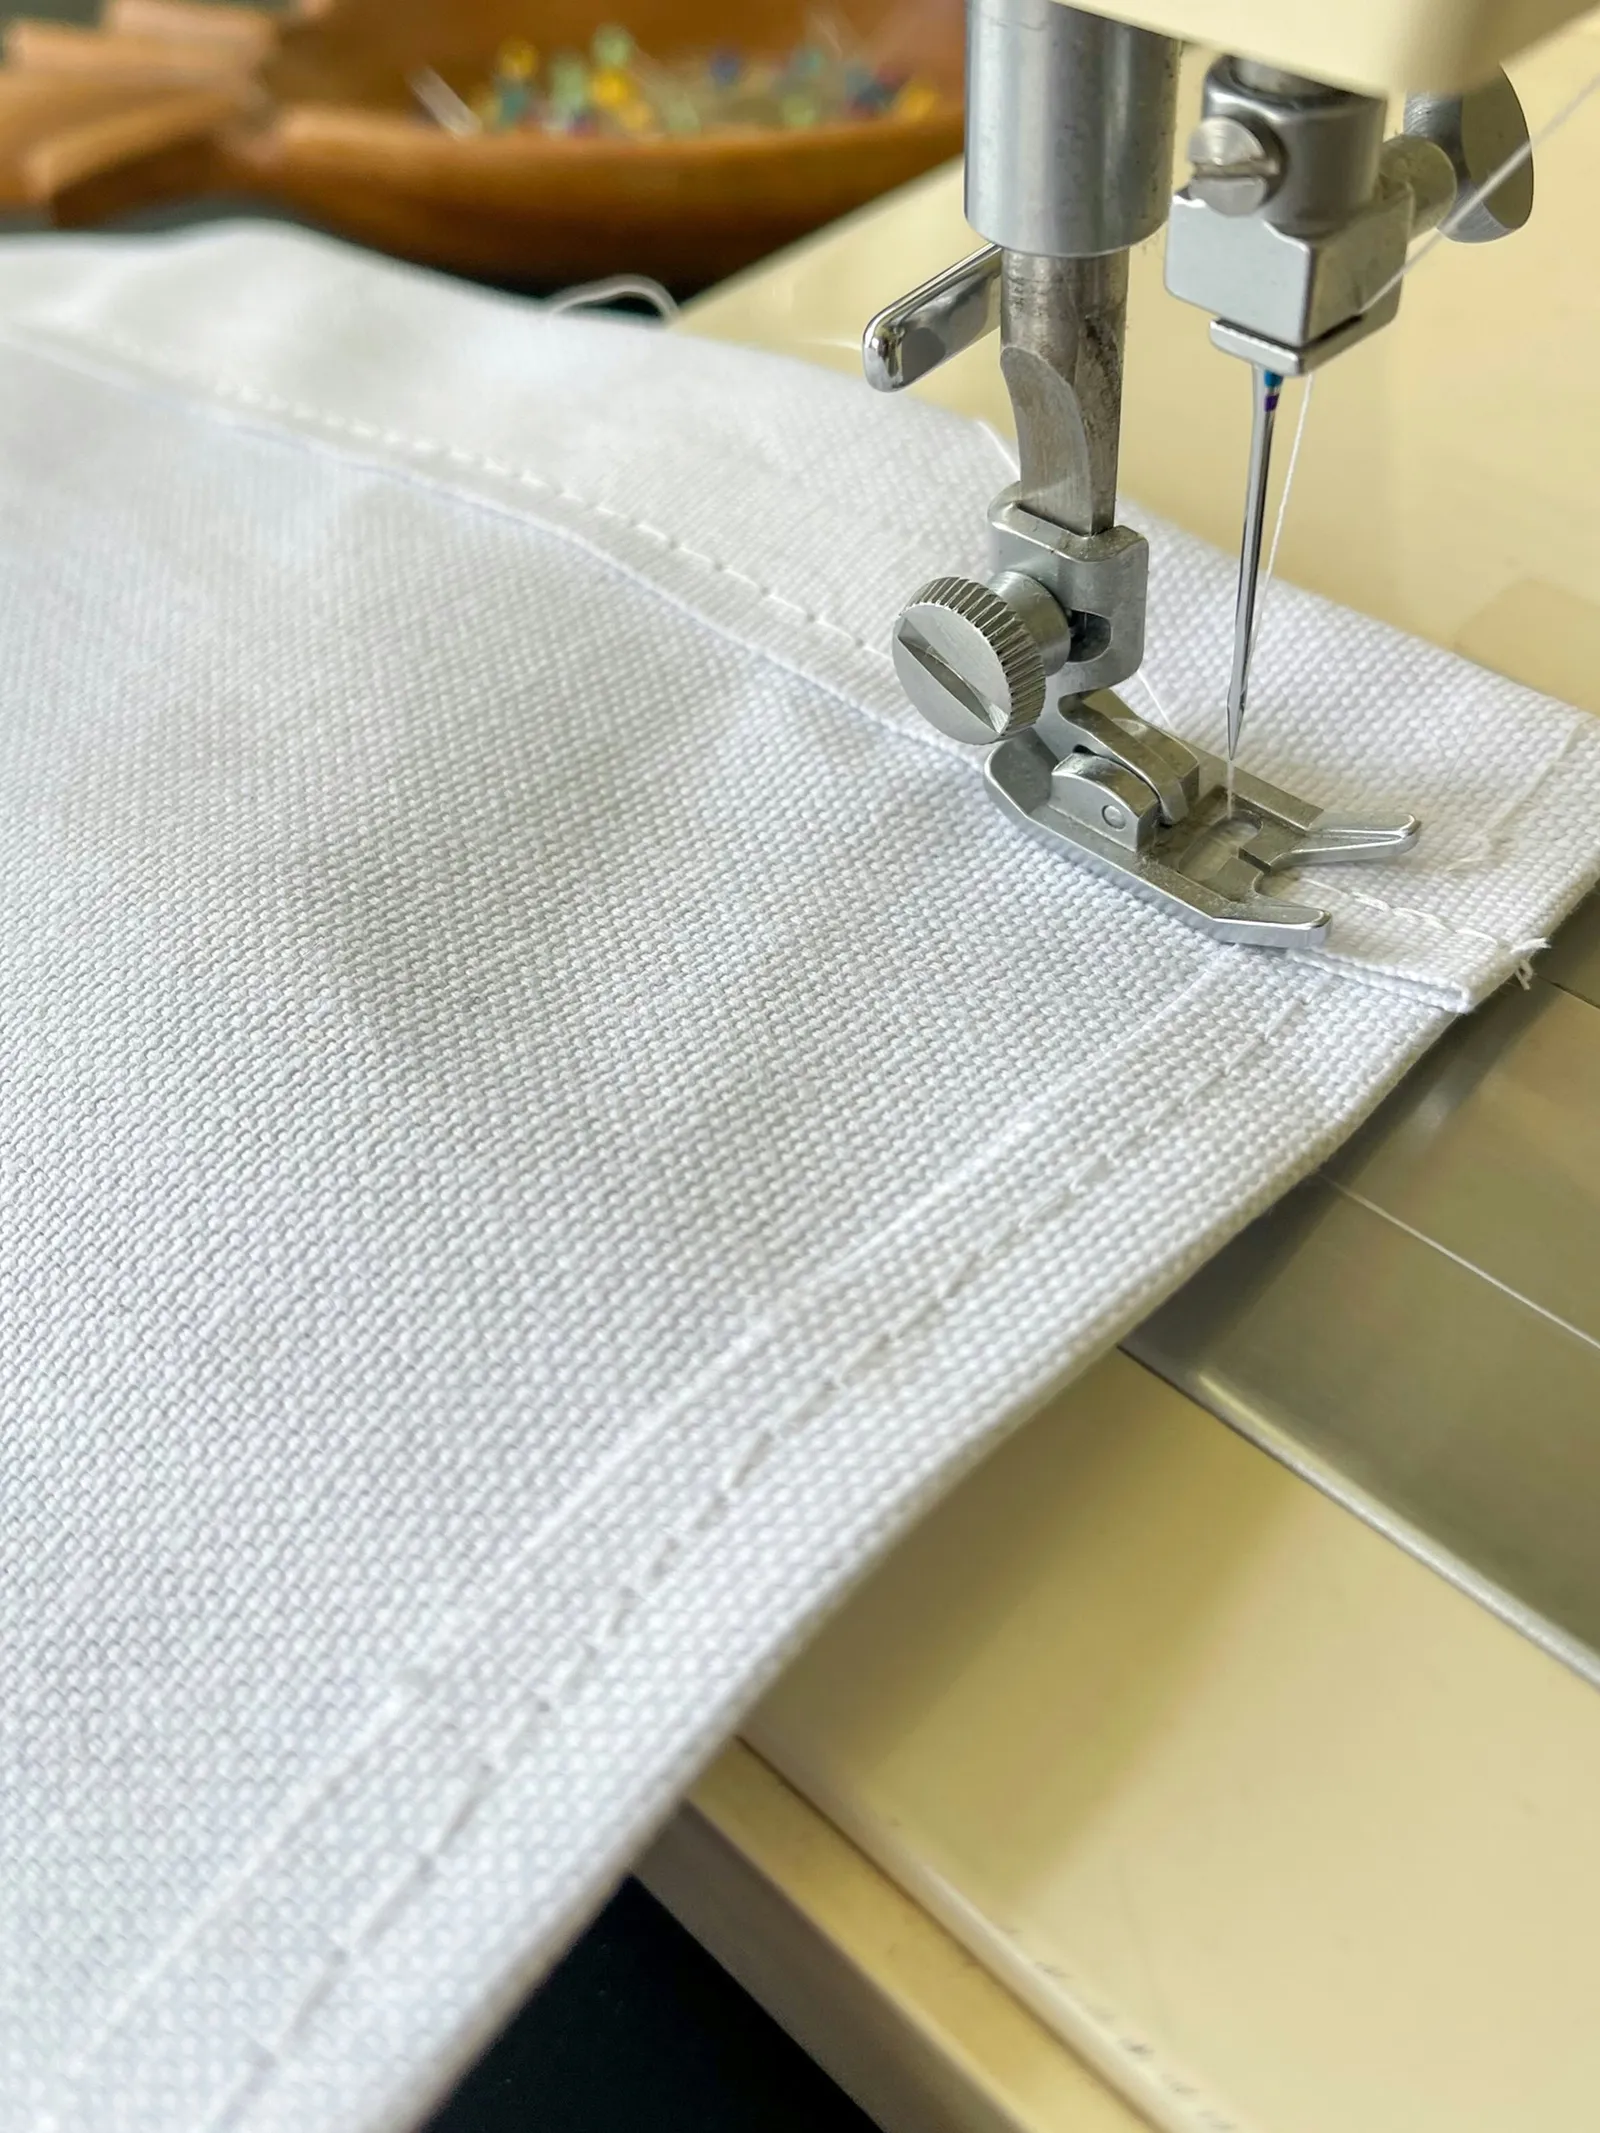
On the base fabric for the wall organizer, press and pin a 1/2-inch fold along both of the 23.5-inch edges. Machine-sew along both of these edges, taking out the pins as you go. Remember to backstitch at each end so the threads do not unravel.
Step 2
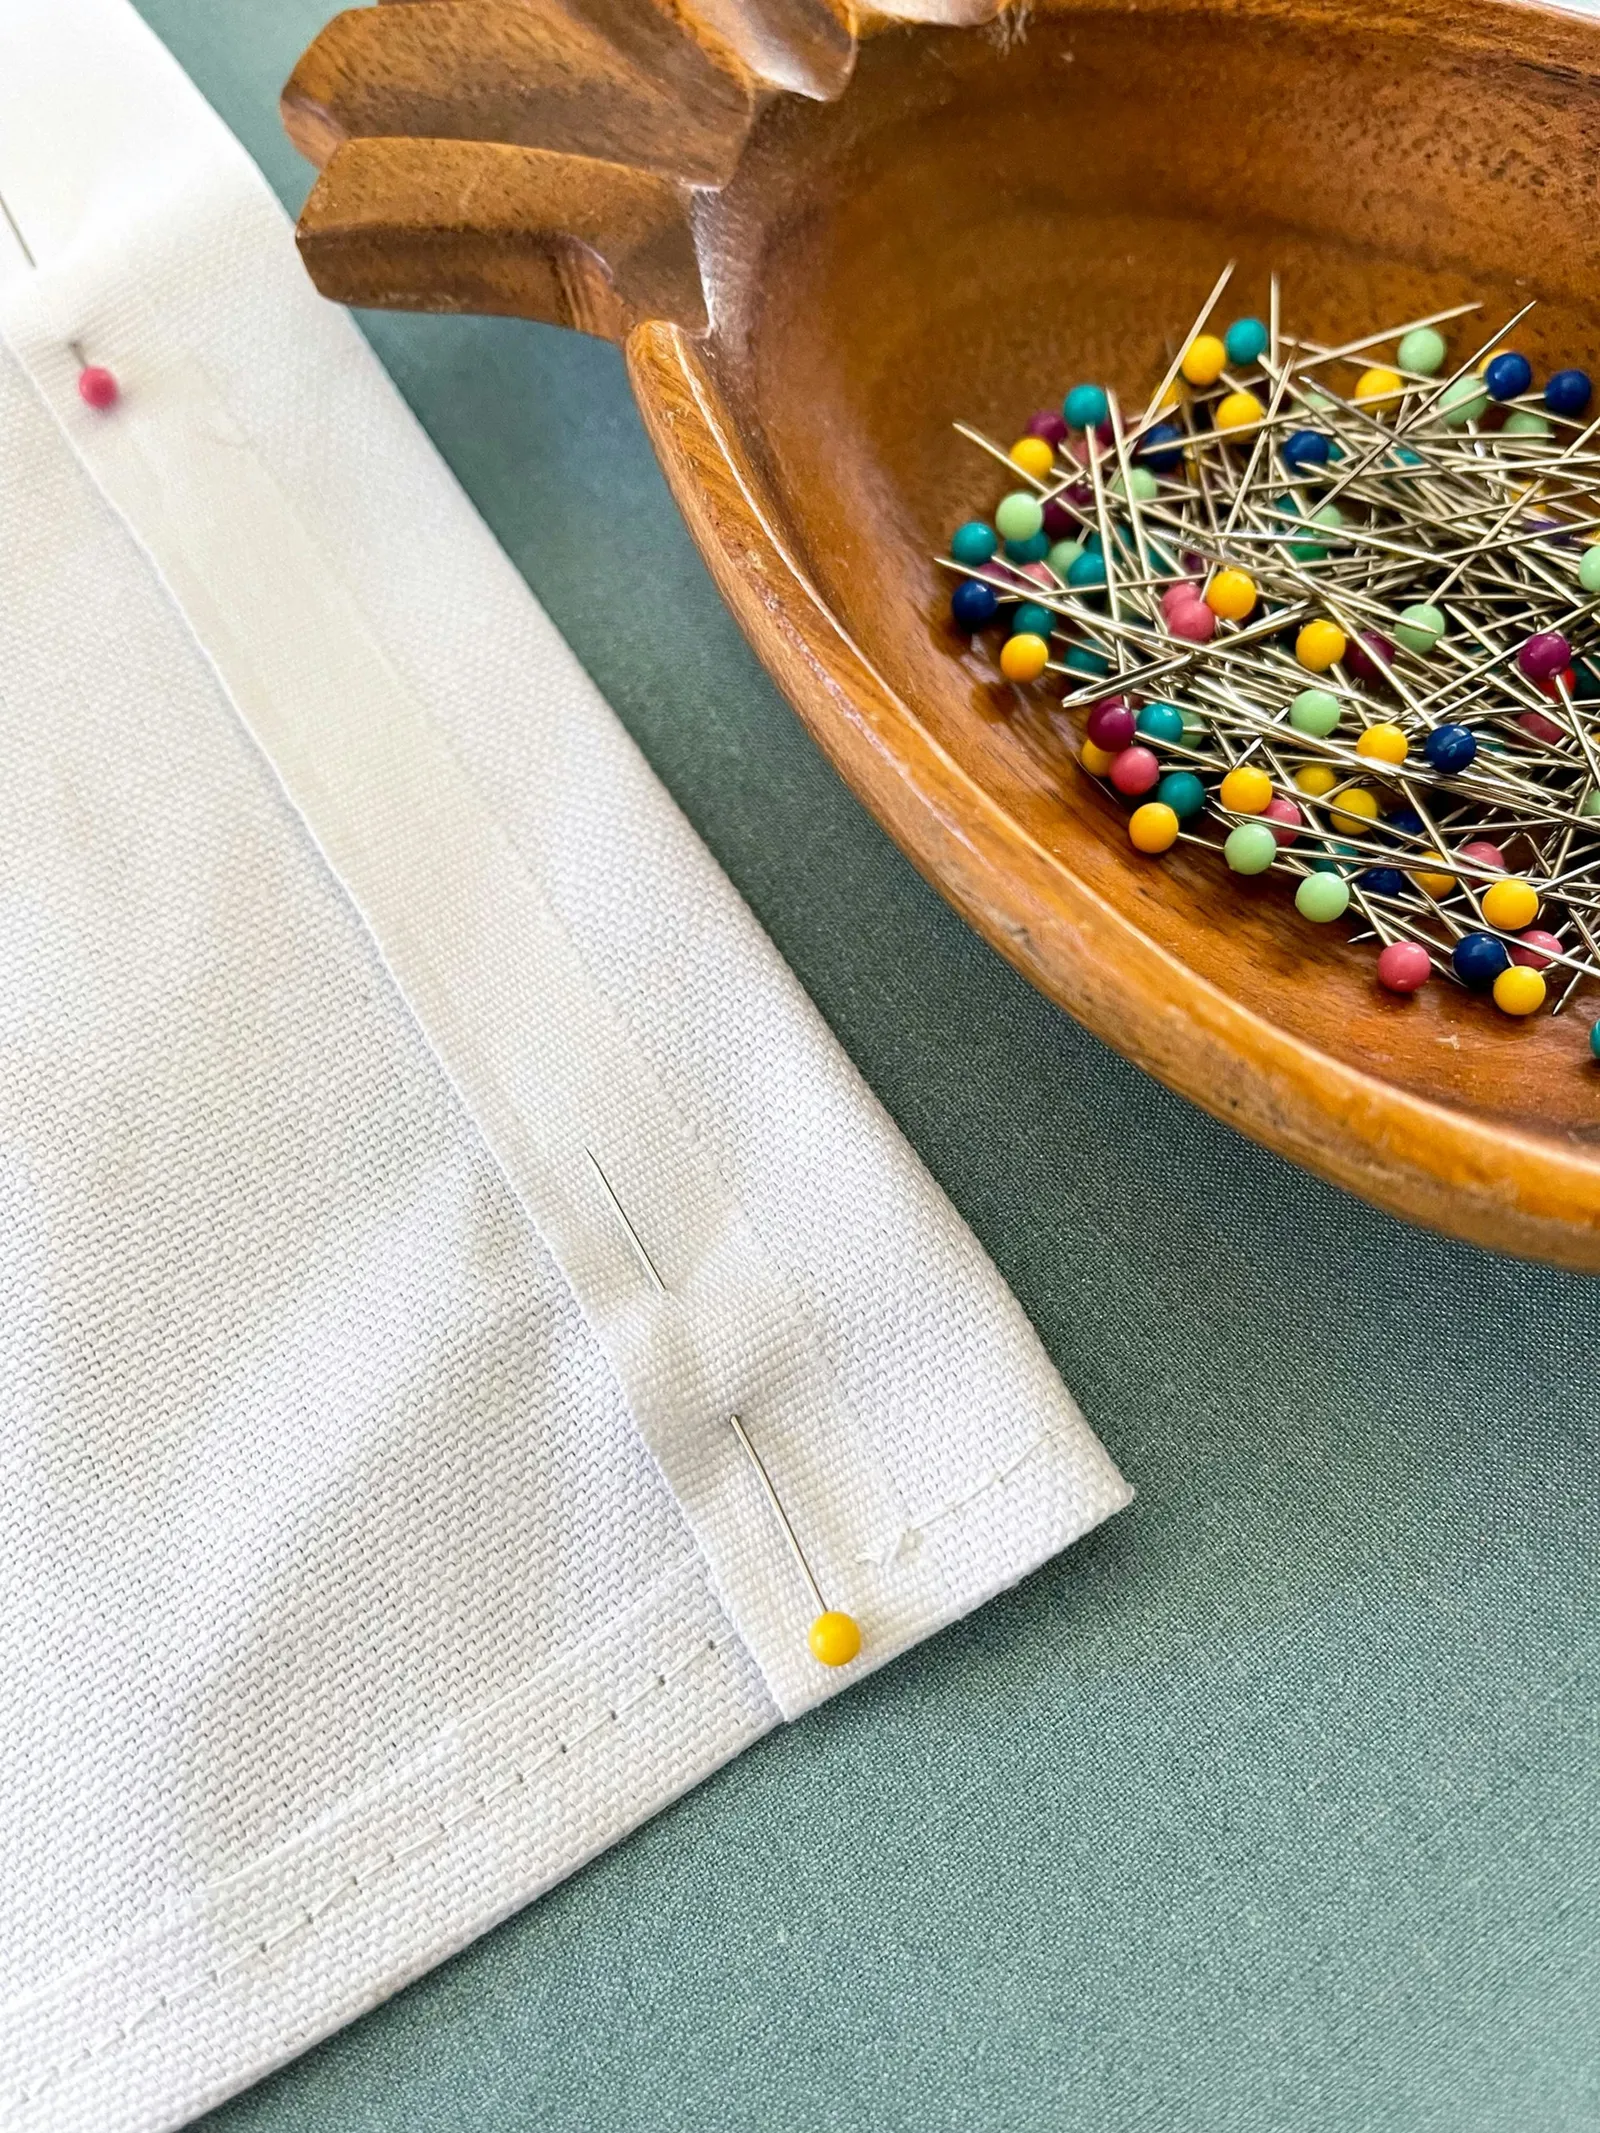
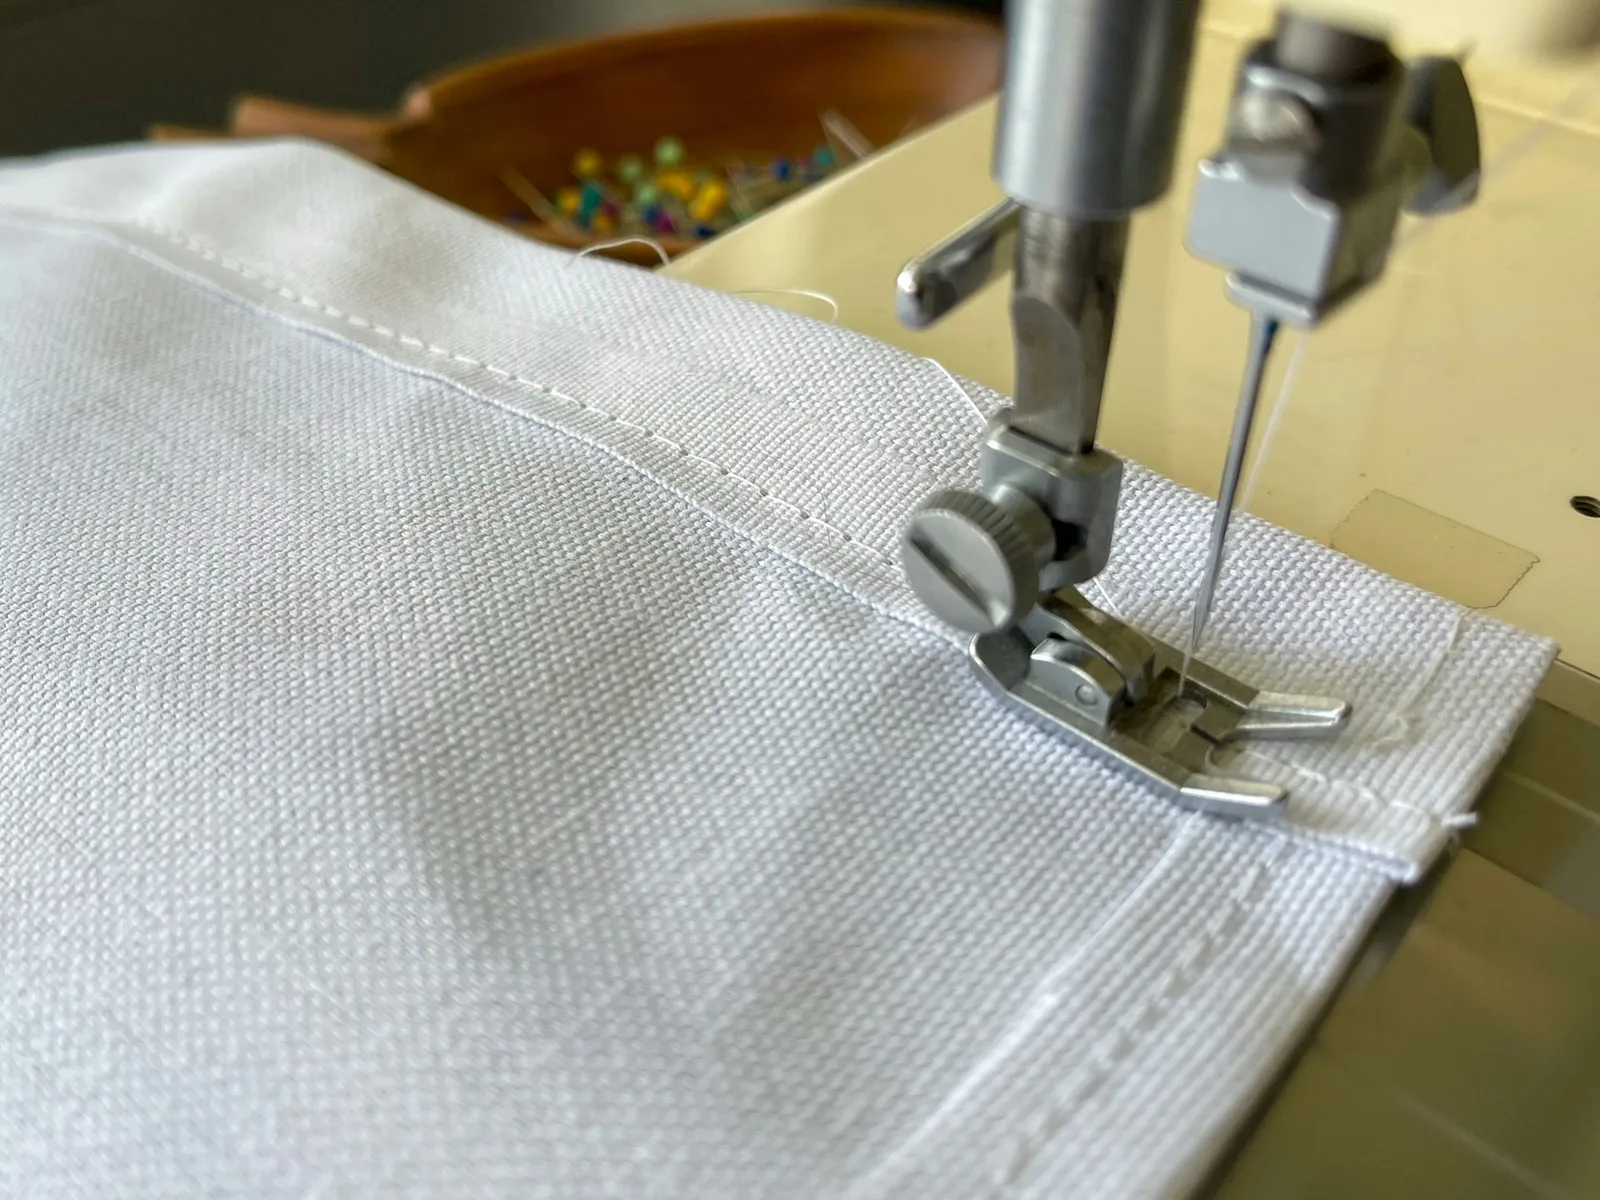
At the top edge of the pocket organizer base fabric, press and pin a 1 1/2-inch fold. Stitch along the raw edge, leaving an opening wide enough to insert the dowel afterward. Remove the pins as you sew and backstitch on both ends.
Should you prefer a hanger rather than a dowel for hanging the pocket organizer, fold the top 1 1/2 inches of the base fabric over the lower part of the hanger and stitch it in place.
Step 3
Along the bottom of the hanging organizer base fabric, press under 1 inch, then press and pin under an additional inch. Stitch these folds down, again removing pins as you sew and backstitching at both ends.
Step 4
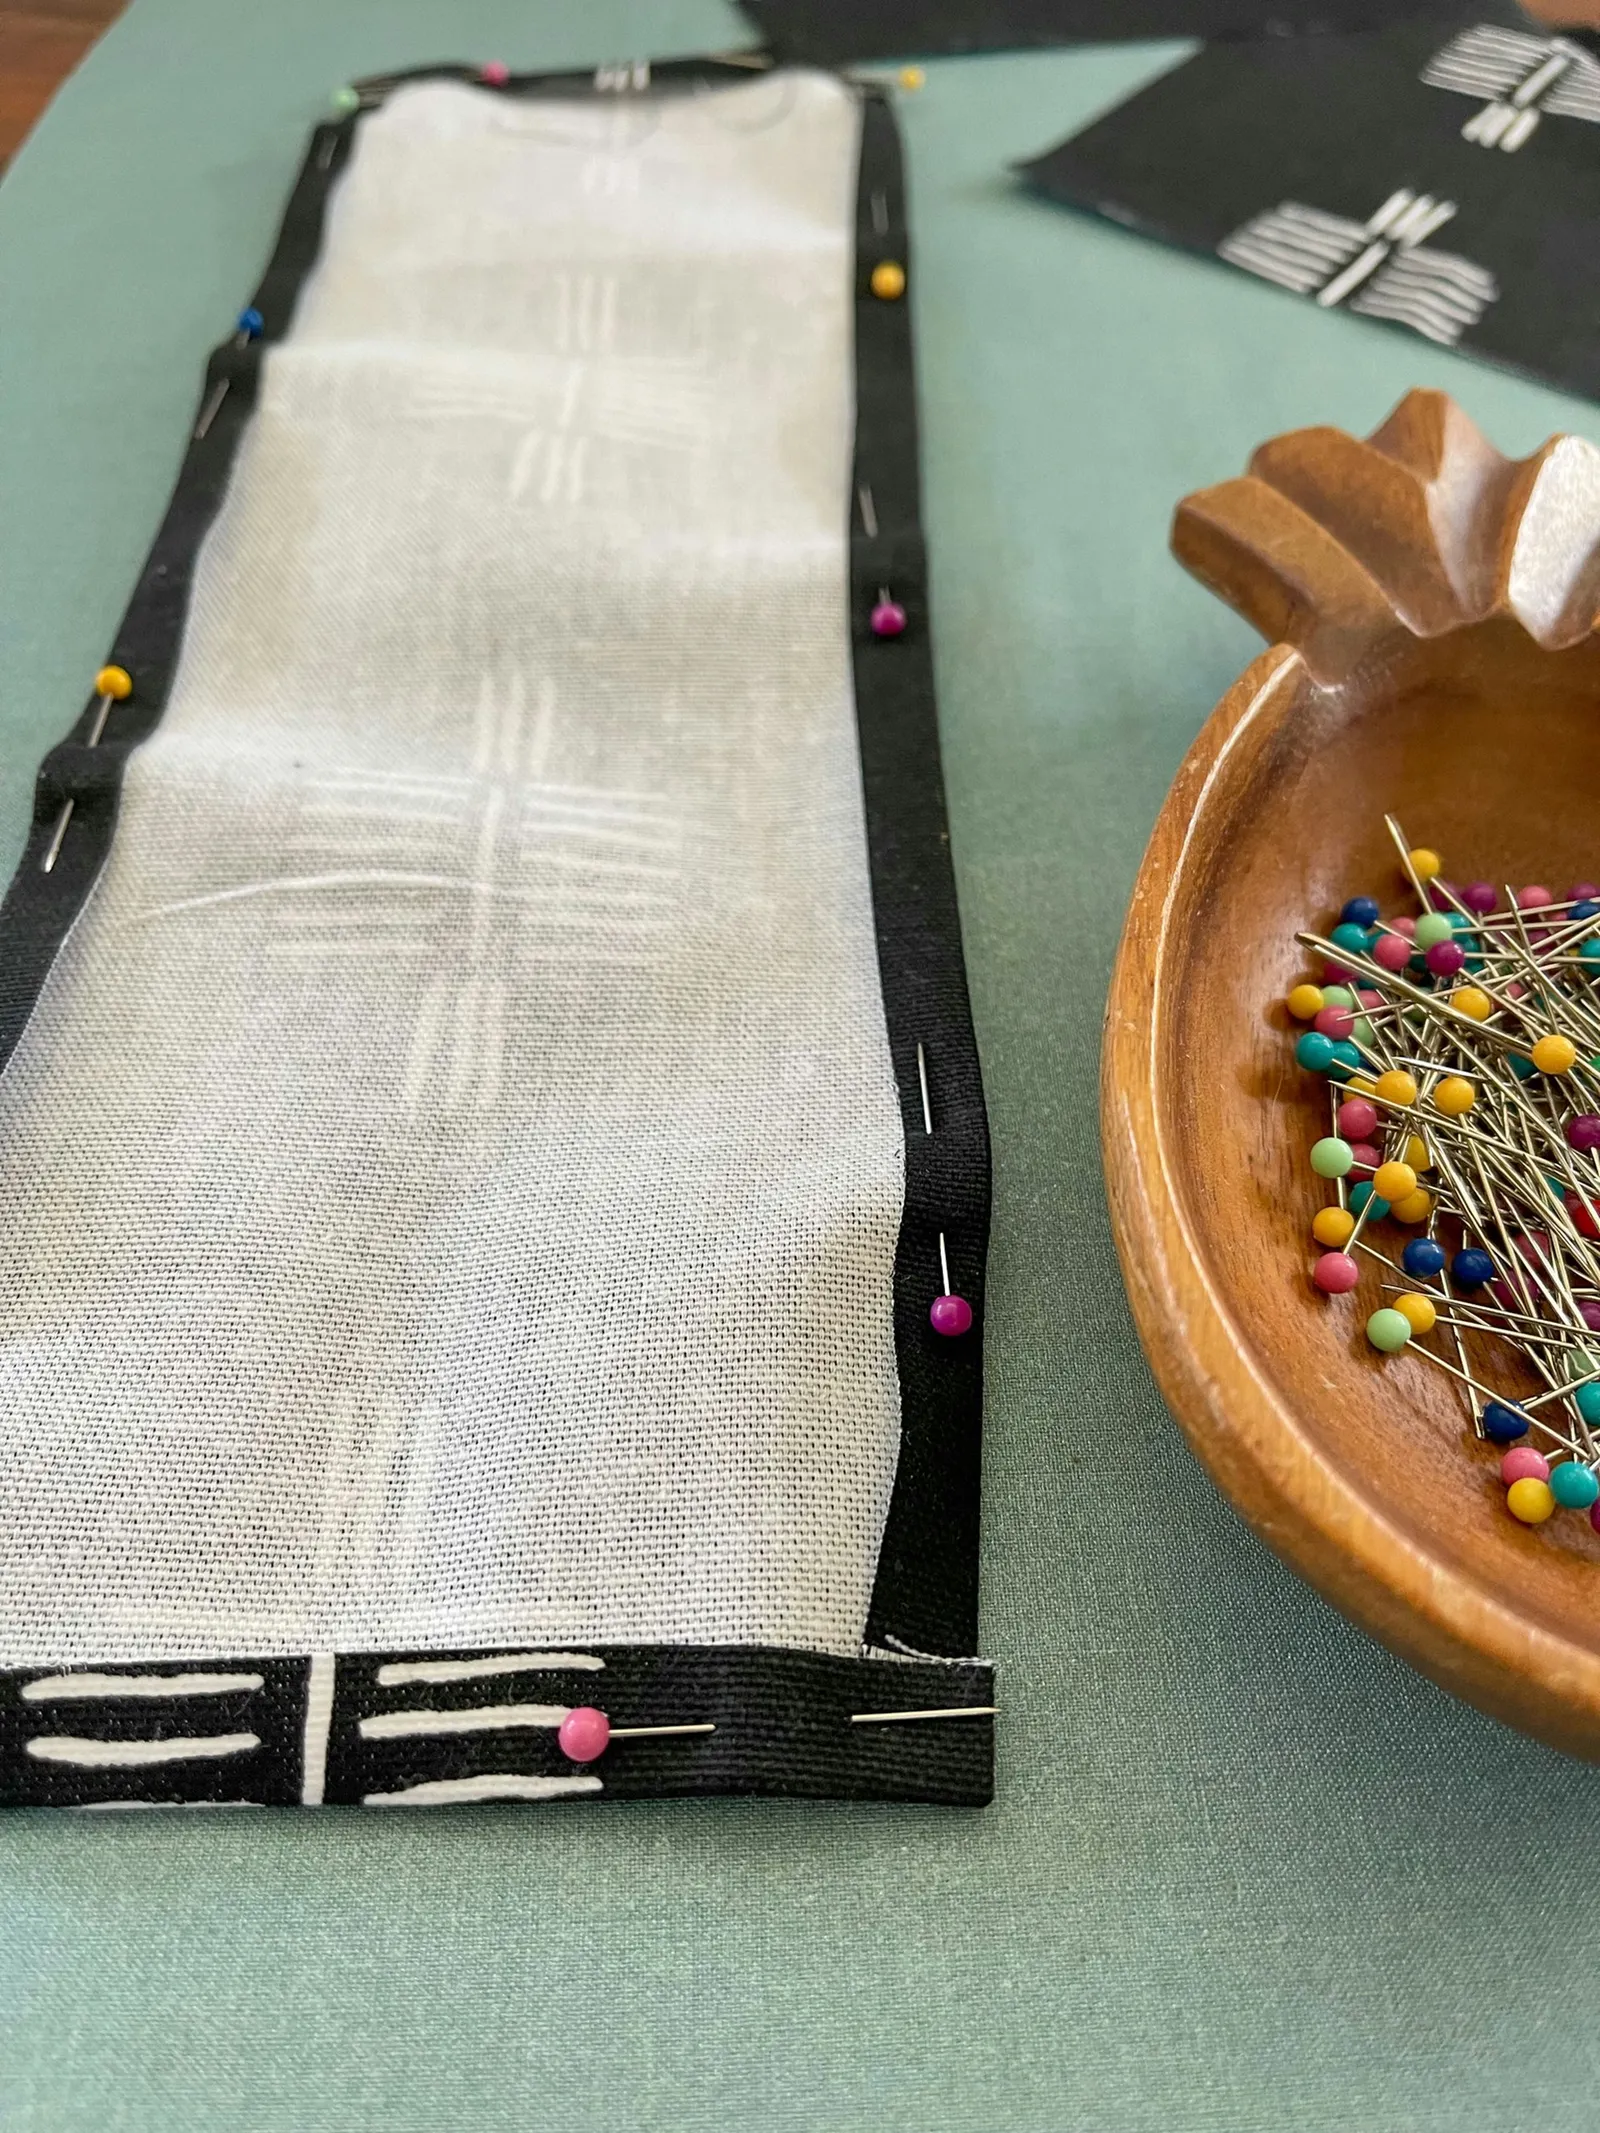
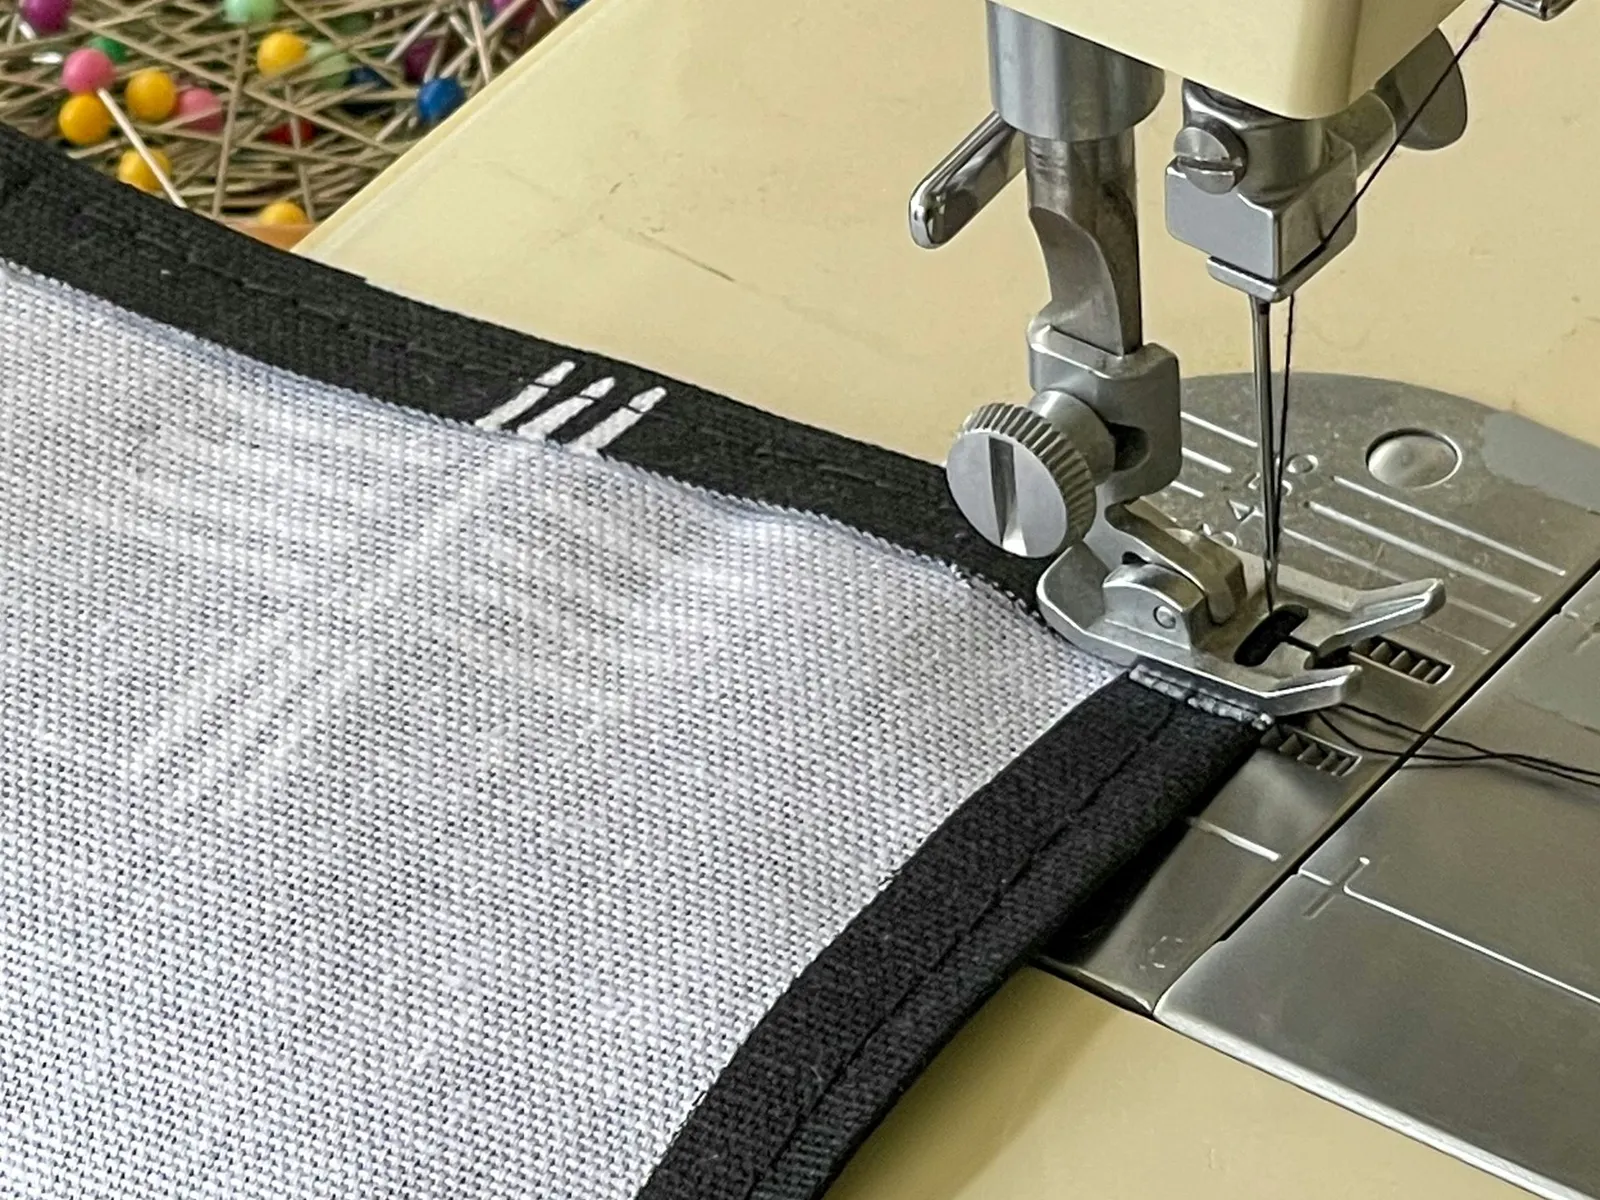
For each pocket piece, press under 1/2 inch and pin around all four sides. Sew the folds in place, taking out the pins as you go. At each corner, keep the needle in the fabric, raise the presser foot, rotate the fabric, lower the presser foot again, and keep sewing. Backstitch at both ends to secure the stitches.
If the base fabric of your organizer has an attractive print, clear vinyl may be a good choice for the pockets. When clear vinyl is used for the pockets, folding and sewing the pocket edges is unnecessary; simply lay the pockets on the base fabric and stitch around the sides and bottom of each one.
Step 5
With the right side of the base fabric facing up, position the pockets right side up on it. Pin the sides and bottom of the pockets to the base fabric. Align the bottom pocket with the bottom edge of the organizer base fabric and pin it. Pin the bottom edge of the next pocket 1/2 inch above the top edge of the first pocket. Pin the bottom edge of the third pocket 1/2 inch above the second pocket.
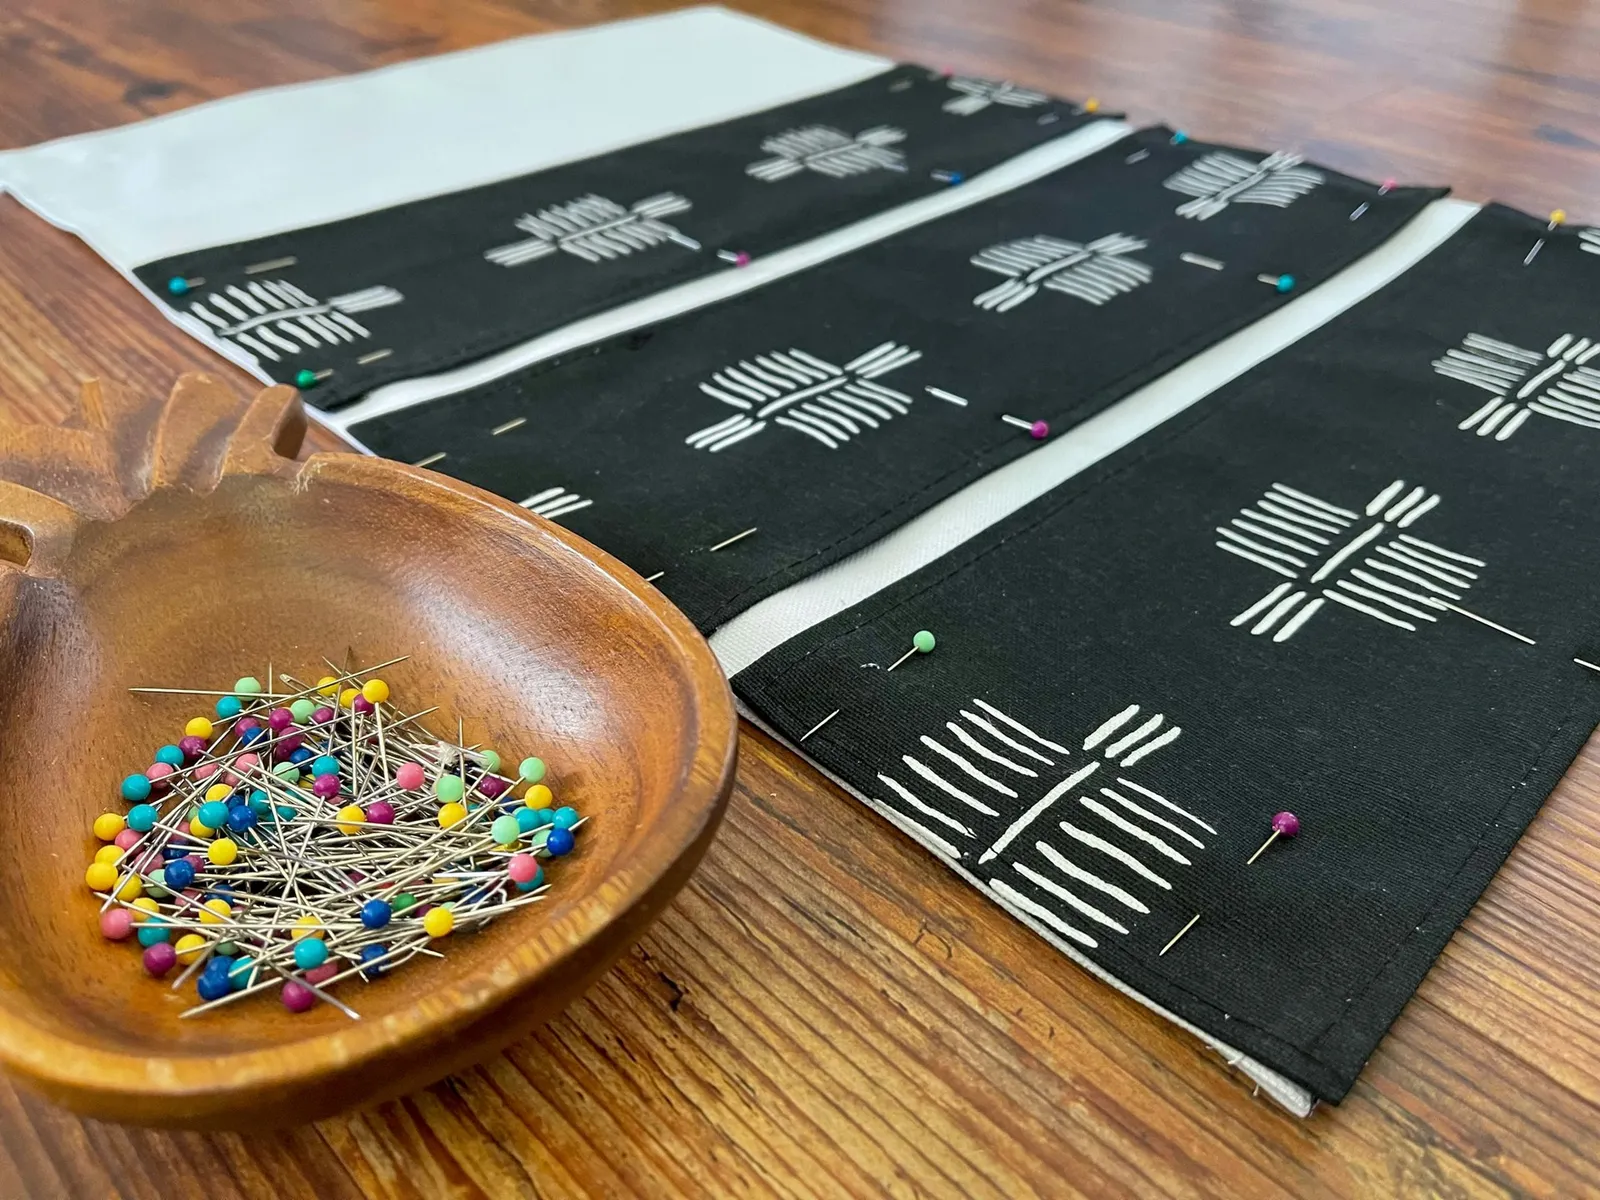
Step 6
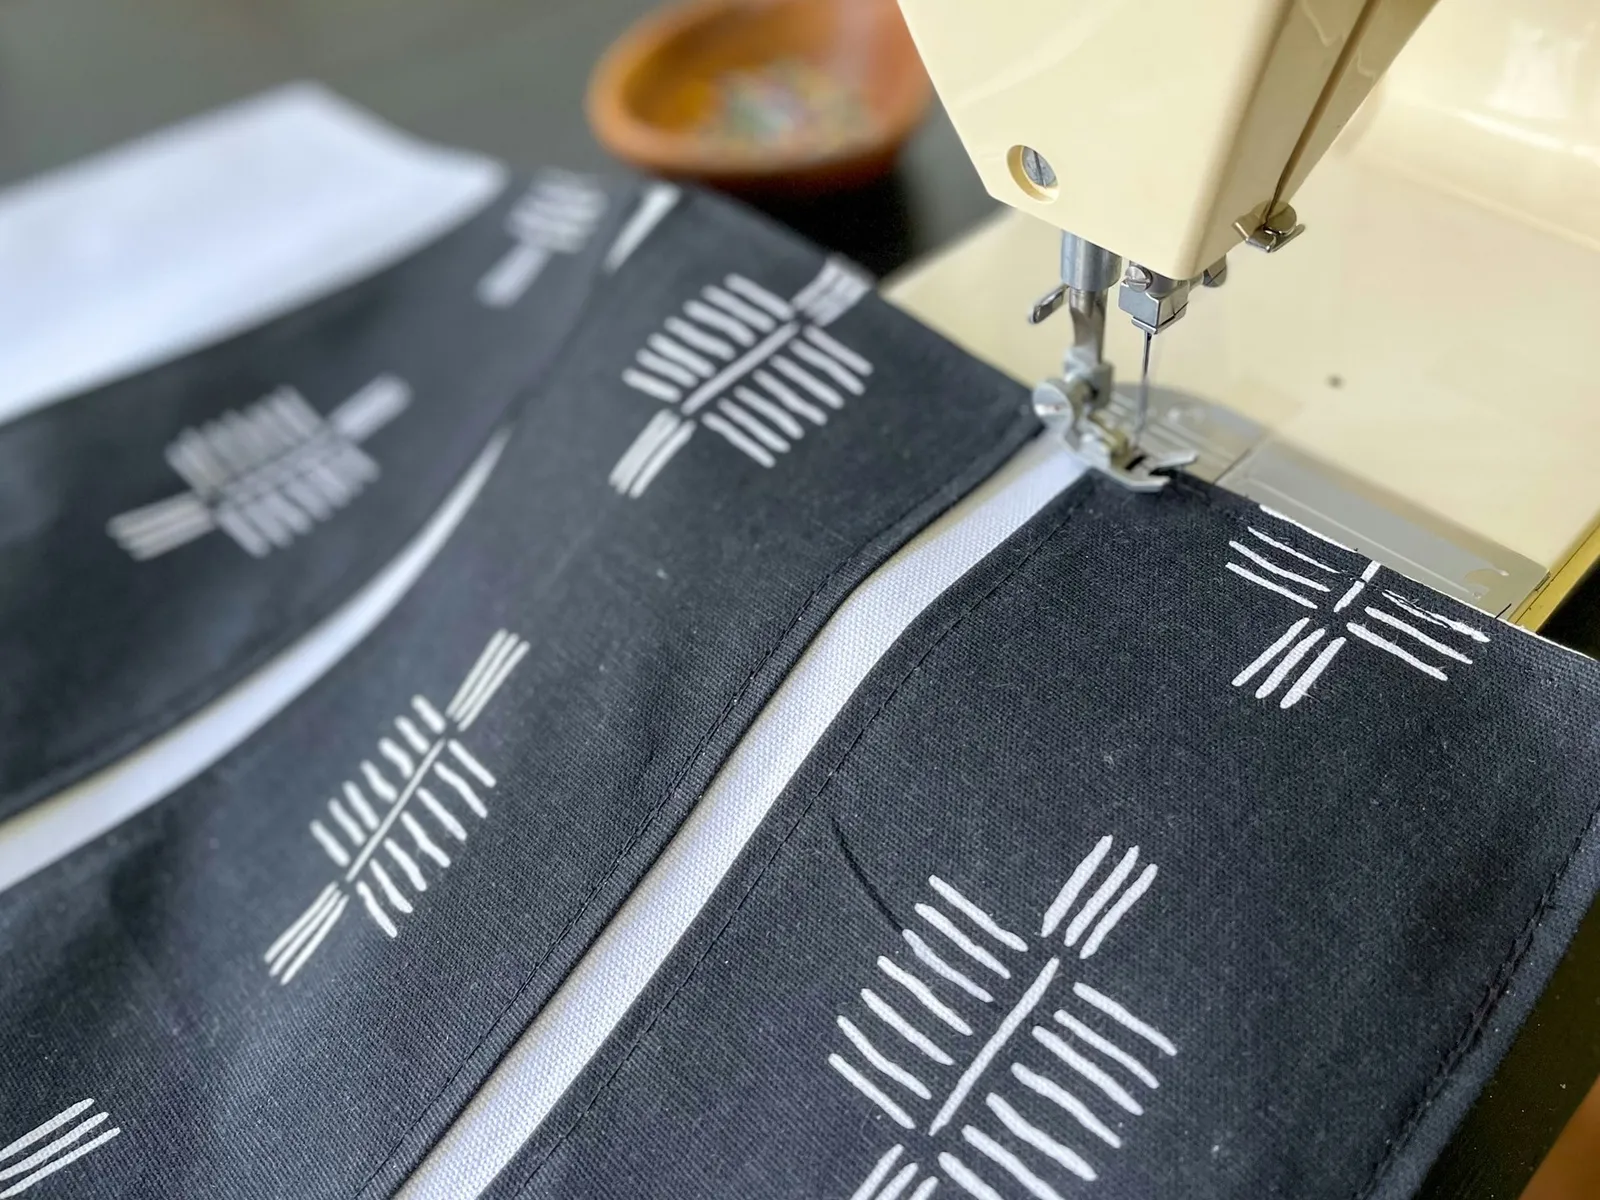
To secure the pockets to the wall organizer, stitch along the side edge of a pocket. When you reach the bottom edge, leave the needle down, lift the presser foot, turn the fabric, put the presser foot back down, and continue sewing. Repeat this at each corner. Remove pins as you sew. Backstitch at the start and finish of stitching each pocket.
Step 7
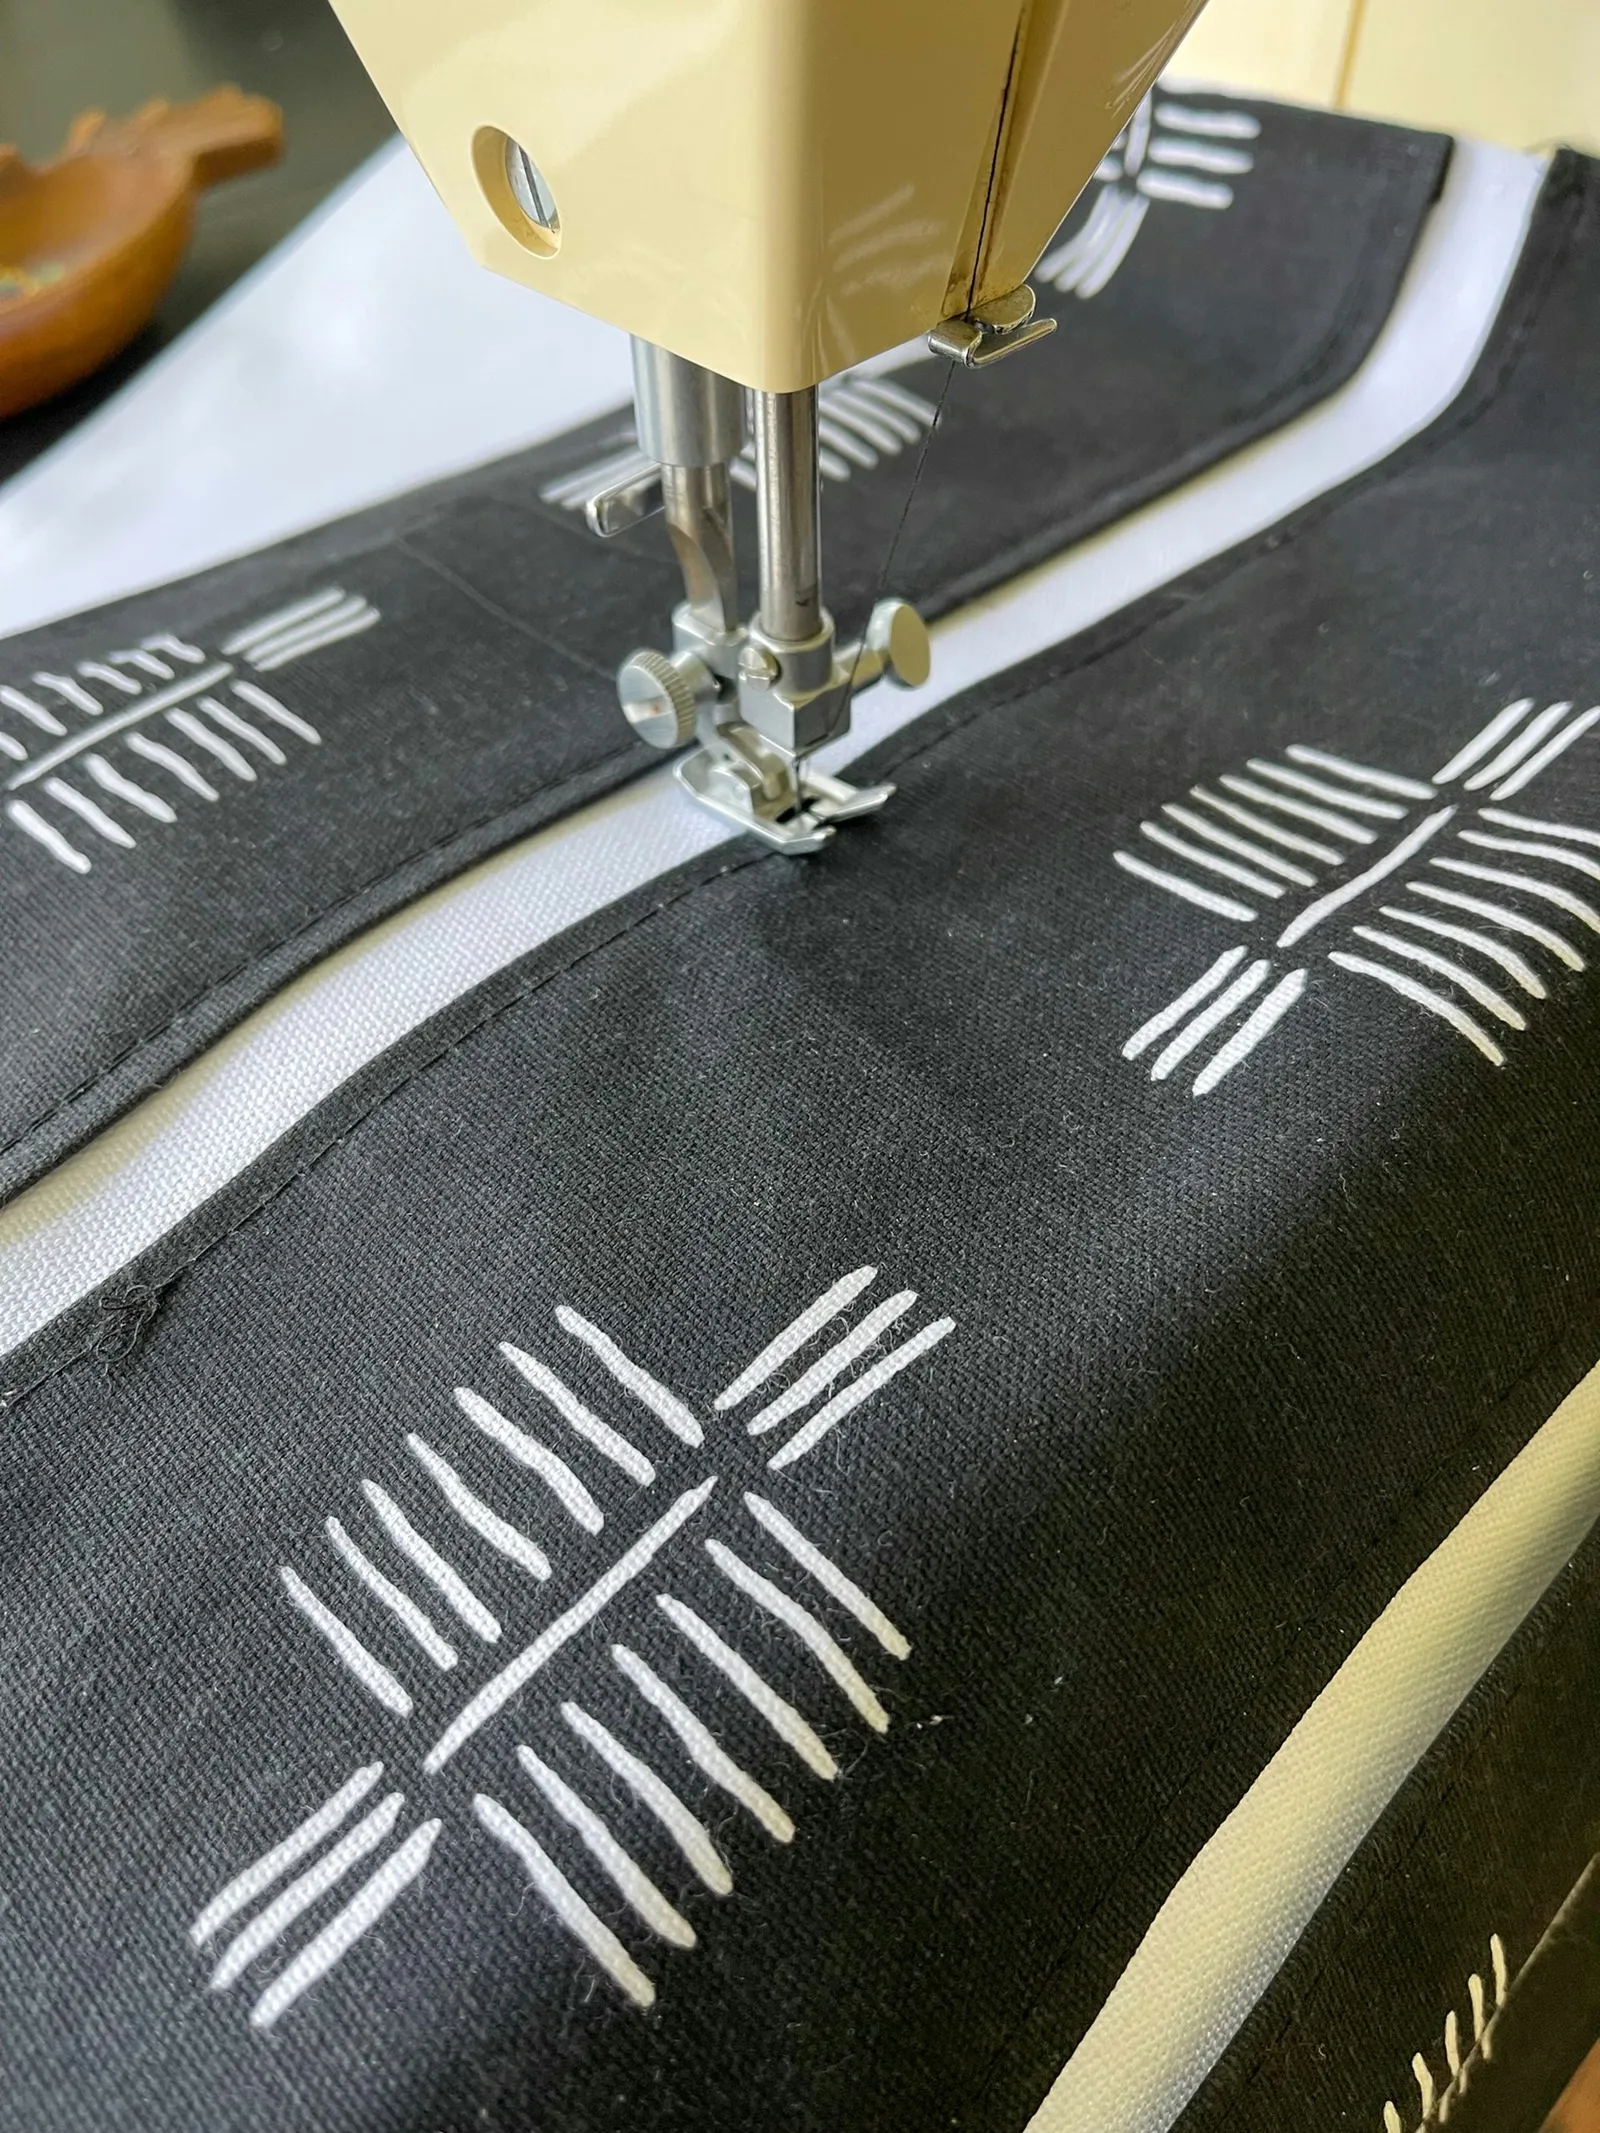
Find the midpoint of the middle pocket and stitch from the top of the pocket to its bottom through both fabric layers to form two compartments. For the top pocket, measure each third and stitch down at each third to create three compartments.
Step 8
Slide the wooden dowel through the casing at the top of the pocket organizer. Fold the yarn in half and tie it to each end of the dowel.
If you opted for a hanger, this step can be skipped.
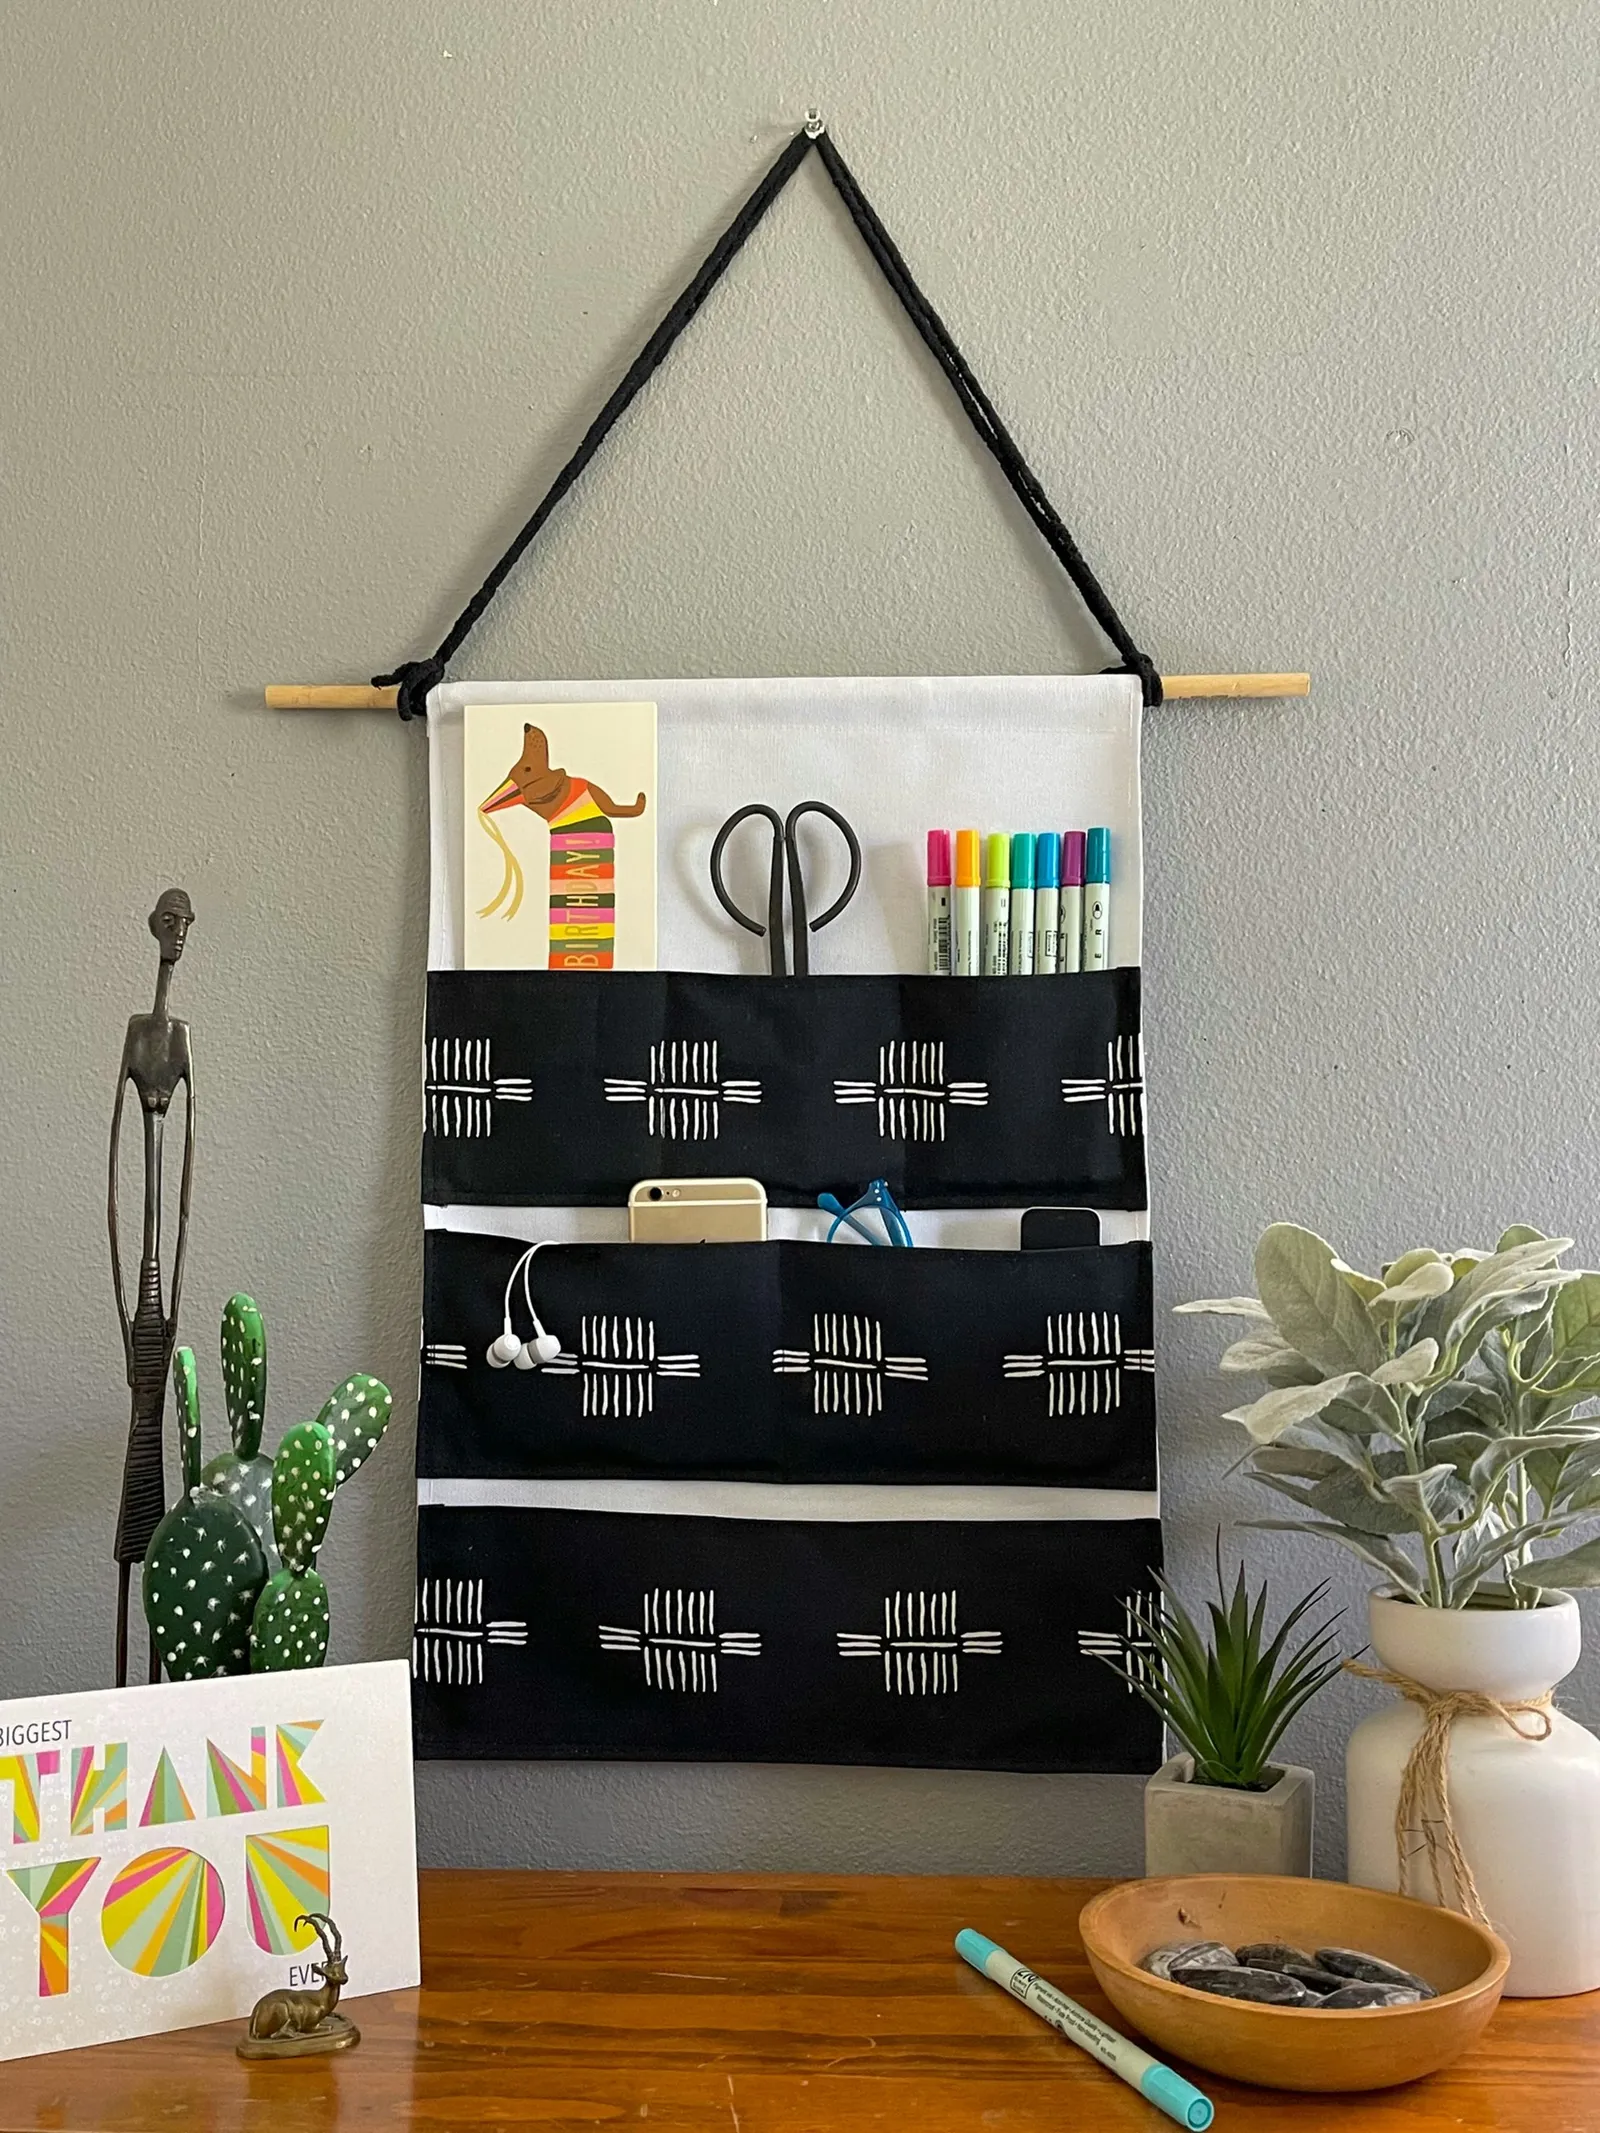
Use the pockets of the hanging wall organizer for pencils, pens, scissors, cards, envelopes, glasses, keys, phones, remote controls, craft supplies, or other items that often go missing in a craft room, sewing room, or home office. This multipurpose wall organizer provides convenient storage while also serving as attractive home decor.