DIY Tissue Paper Baby Booties for Your Next Shower
Assemble charming baby booties from tissue paper and a paper cup in mere minutes. These handmade favors can be made in a range of hues to complement your shower theme or created in mixed colors for variety.
By Reese Brooks10 steps
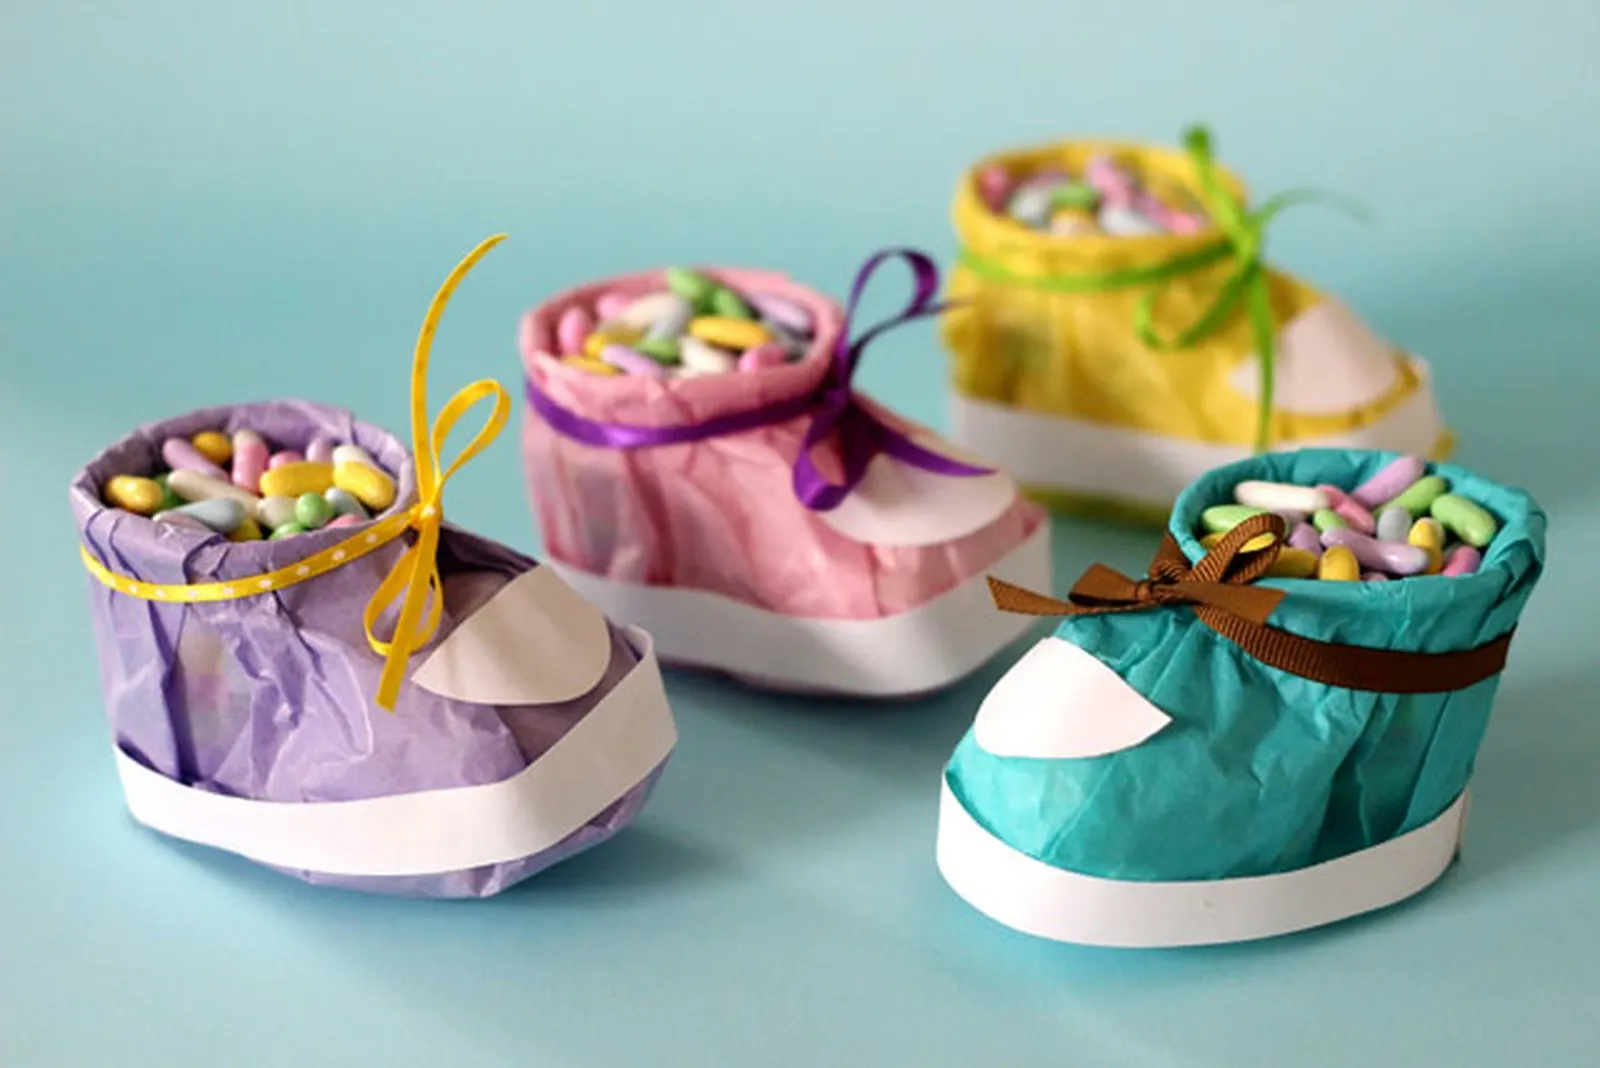
Fill tissue paper booties with candies for festive party favors.
Searching for a charming party favor for a baby shower? These small booties fit the bill. They come together quickly from tissue paper and a paper cup, taking only a few minutes to assemble. You can make them in a variety of colors or coordinate them with your shower's palette.
Step 1
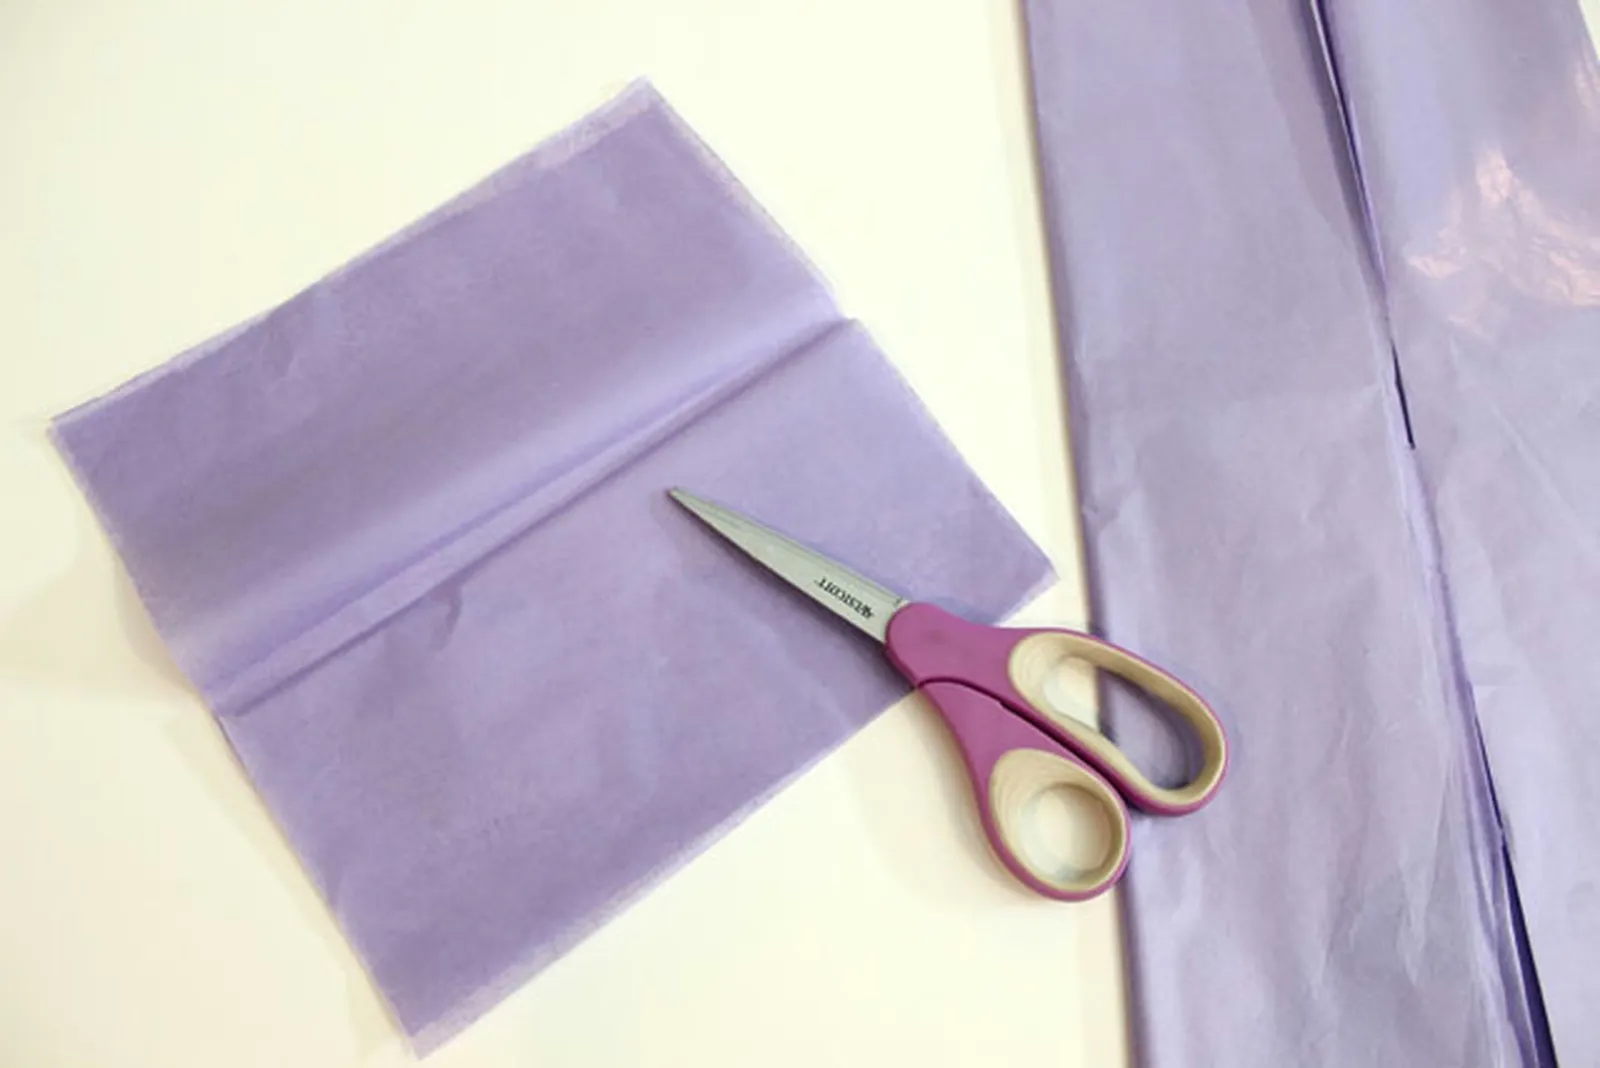
One sheet of paper yields several squares.
Trim the tissue paper into a square measuring 10 inches by 10 inches.
Step 2
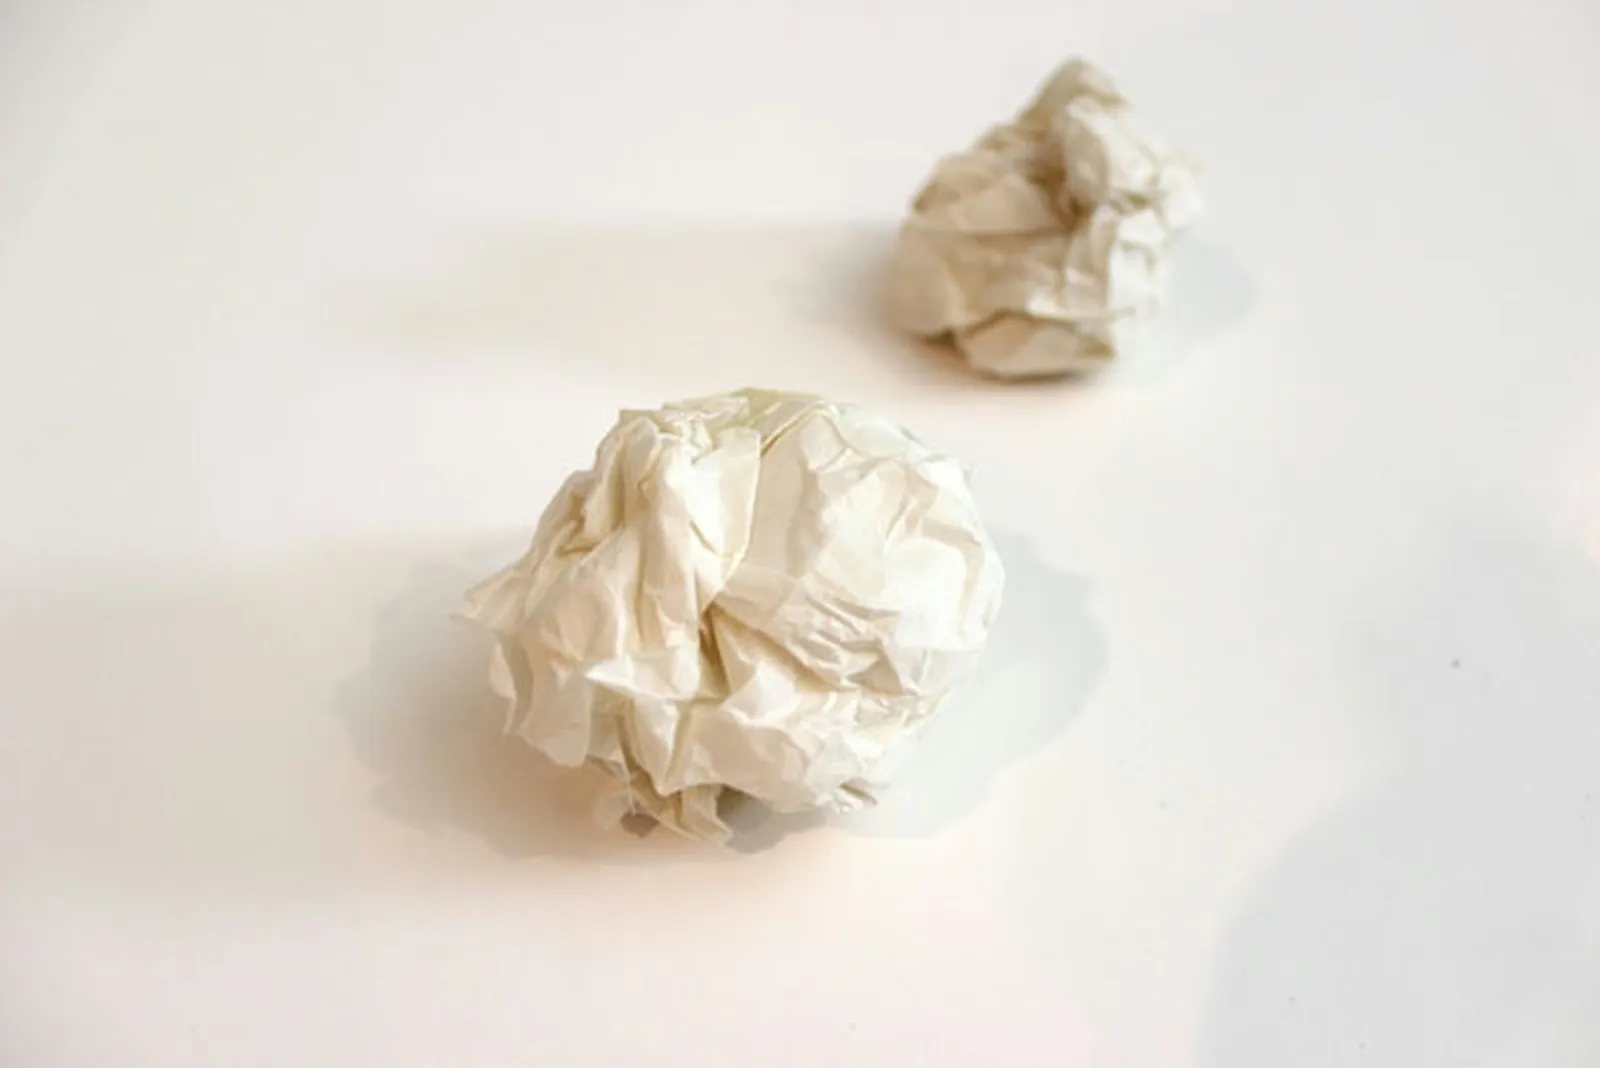
The paper ball will be the front of the bootie.
Take a sheet of plain white tissue paper and crumple it into a ball roughly 2 inches in diameter. Cotton balls or a piece of the colored tissue paper can also serve this purpose.
Step 3
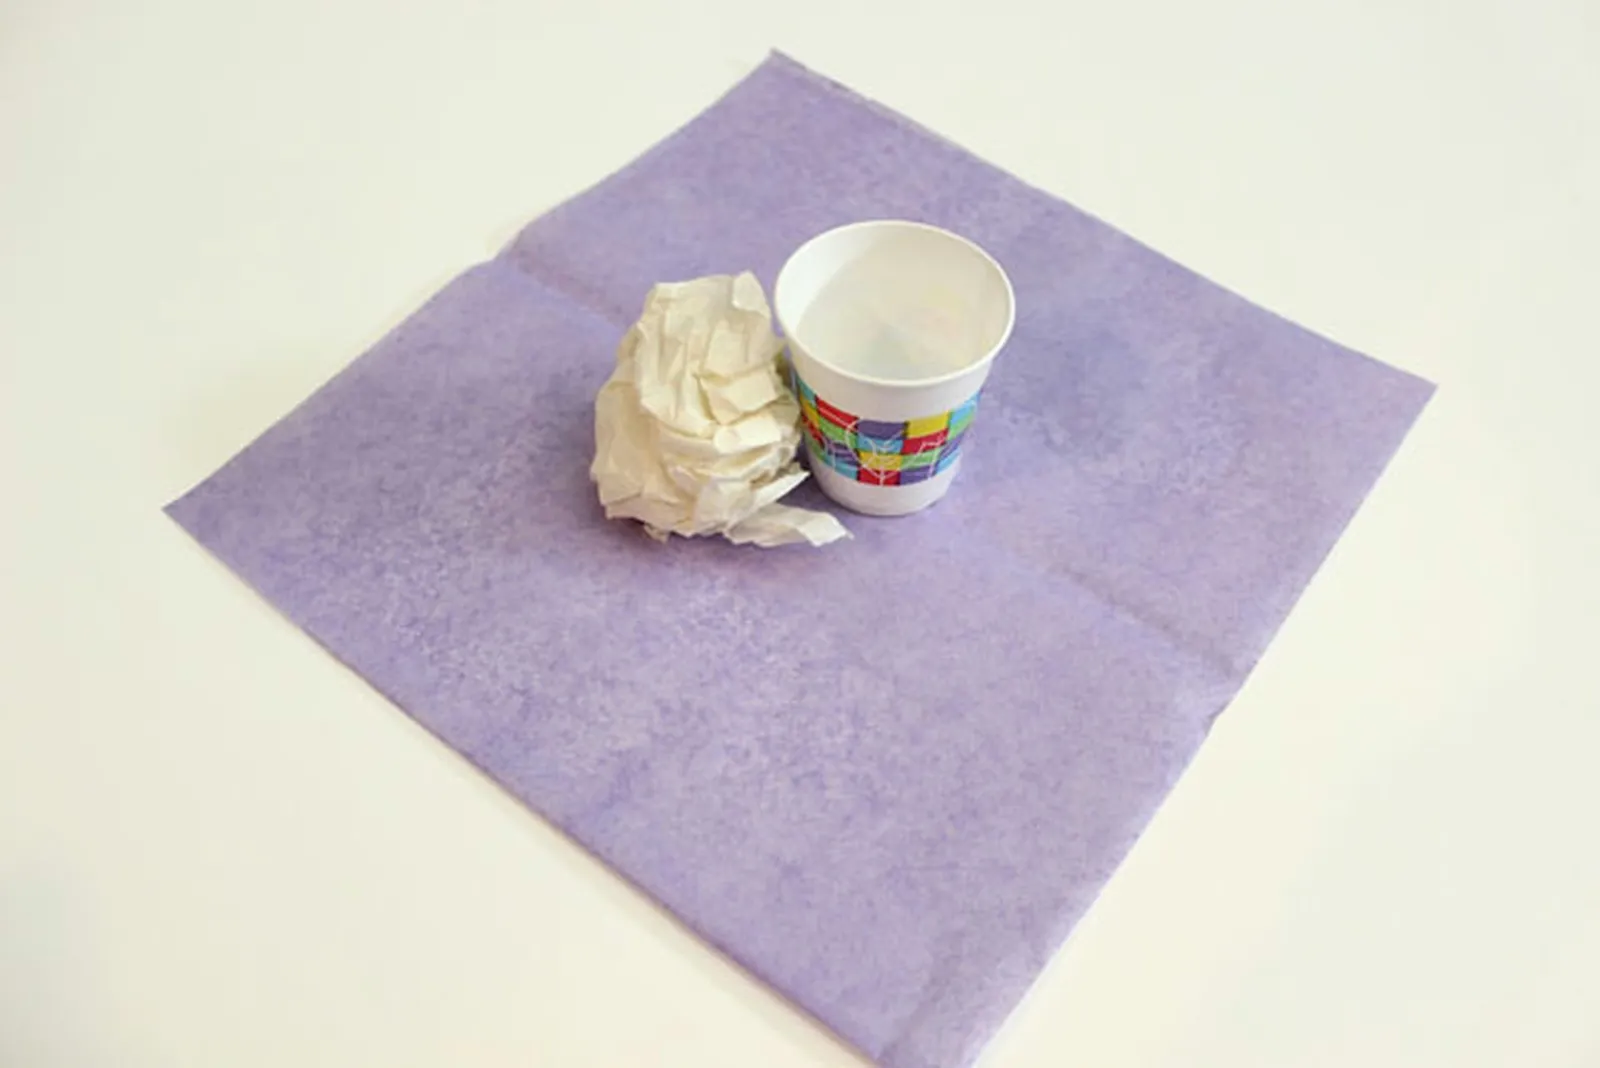
The small cup shown here is a bathroom cup used in dispensers.
Set the paper ball in front of a small paper cup, then place both in the middle of the tissue paper square, with the cup and ball oriented toward one of the corners.
Step 4
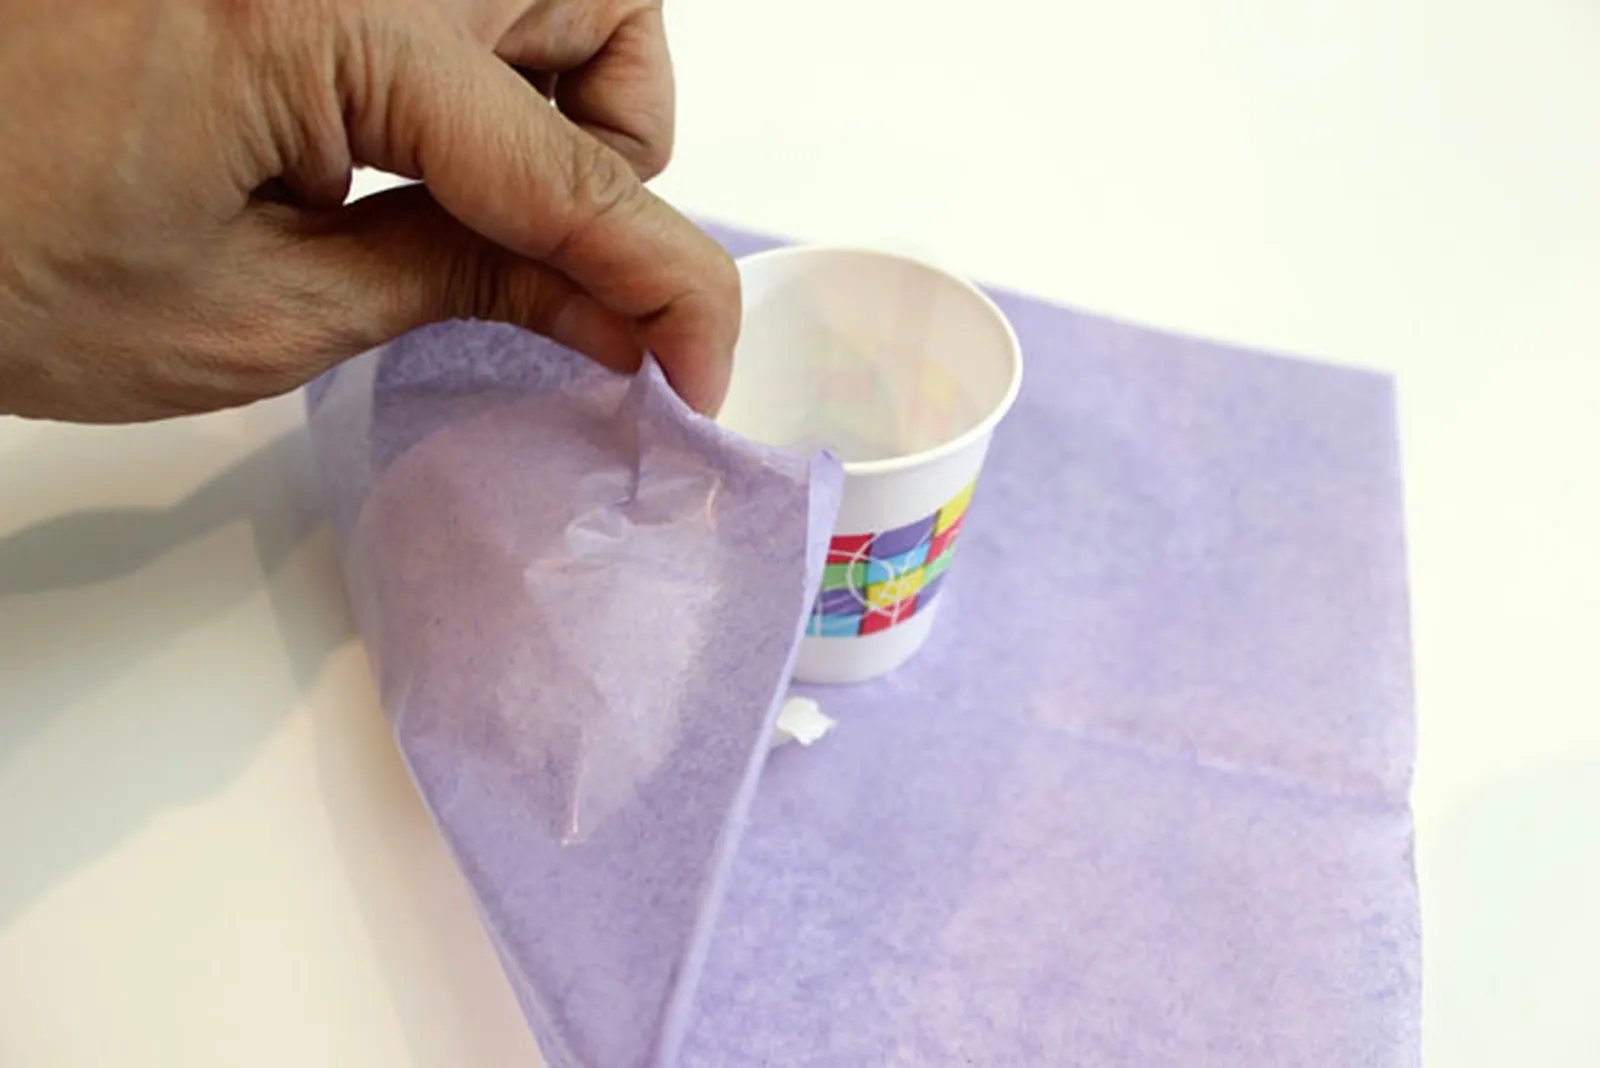
Start by covering the front of the bootie.
Grab the corner that faces the paper ball and cup, and fold it over them, pushing the excess tissue down into the cup.
Step 5
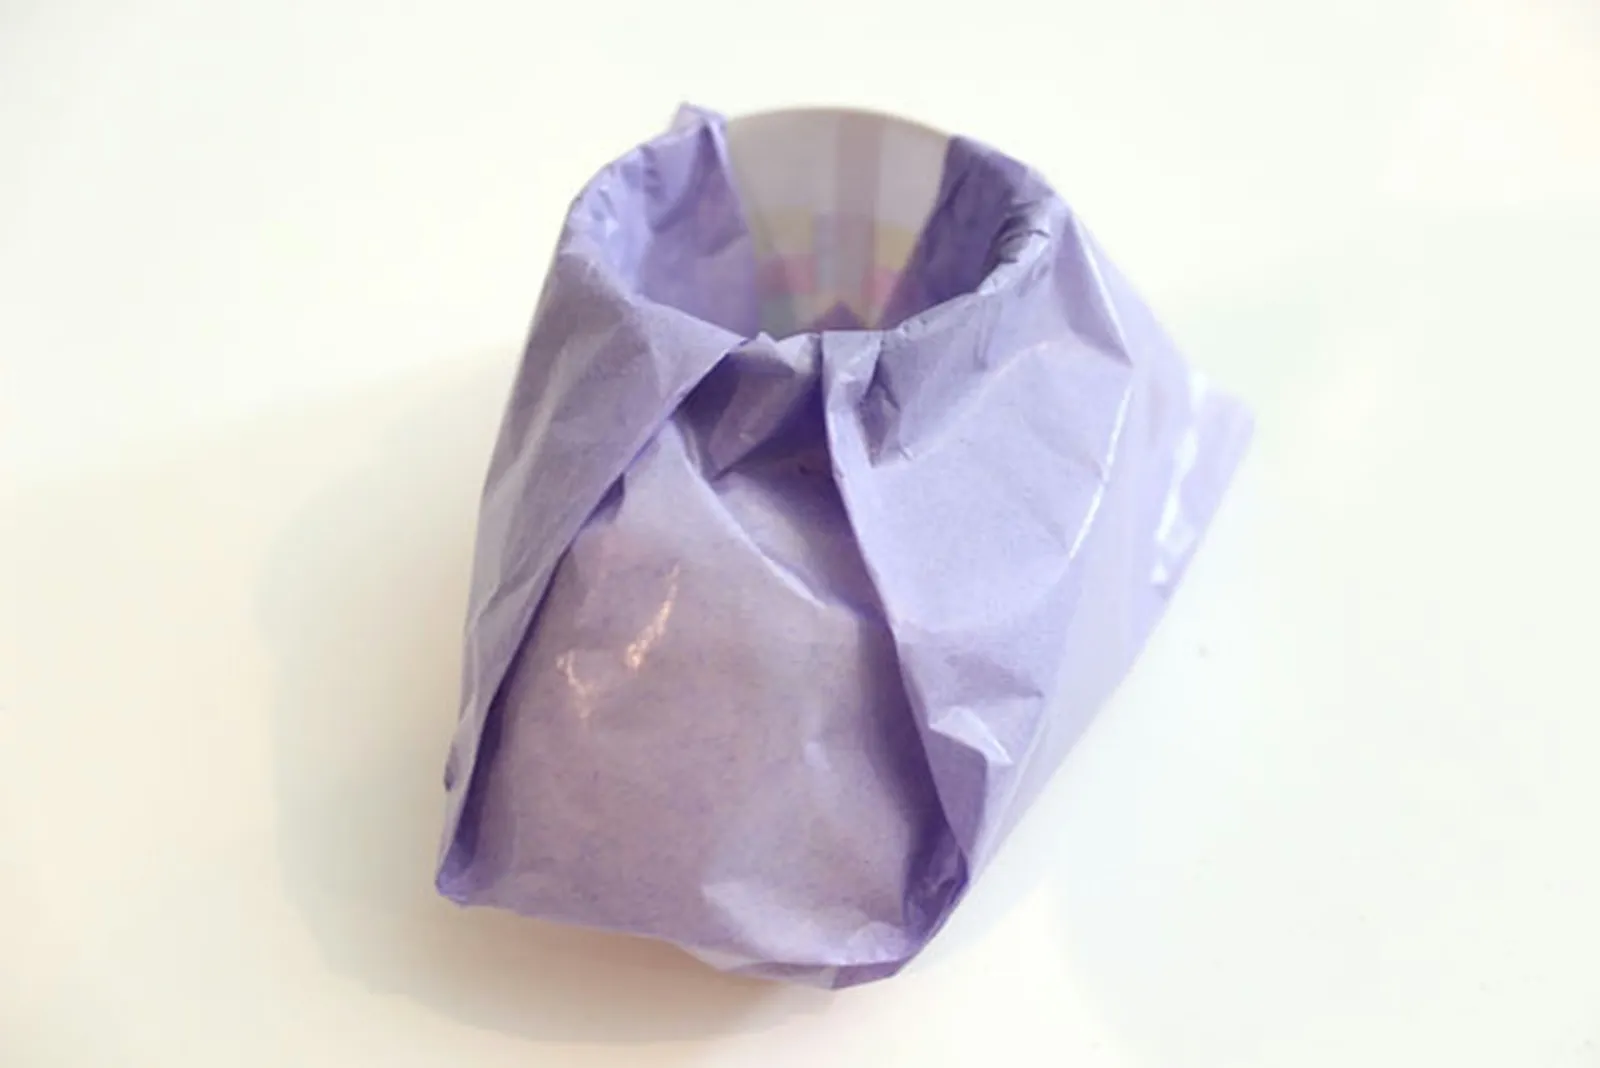
There should be a little triangle in the front.
Take the corners on the left and right sides of the bootie and fold them inward, tucking the leftover tissue into the paper cup.
Step 6
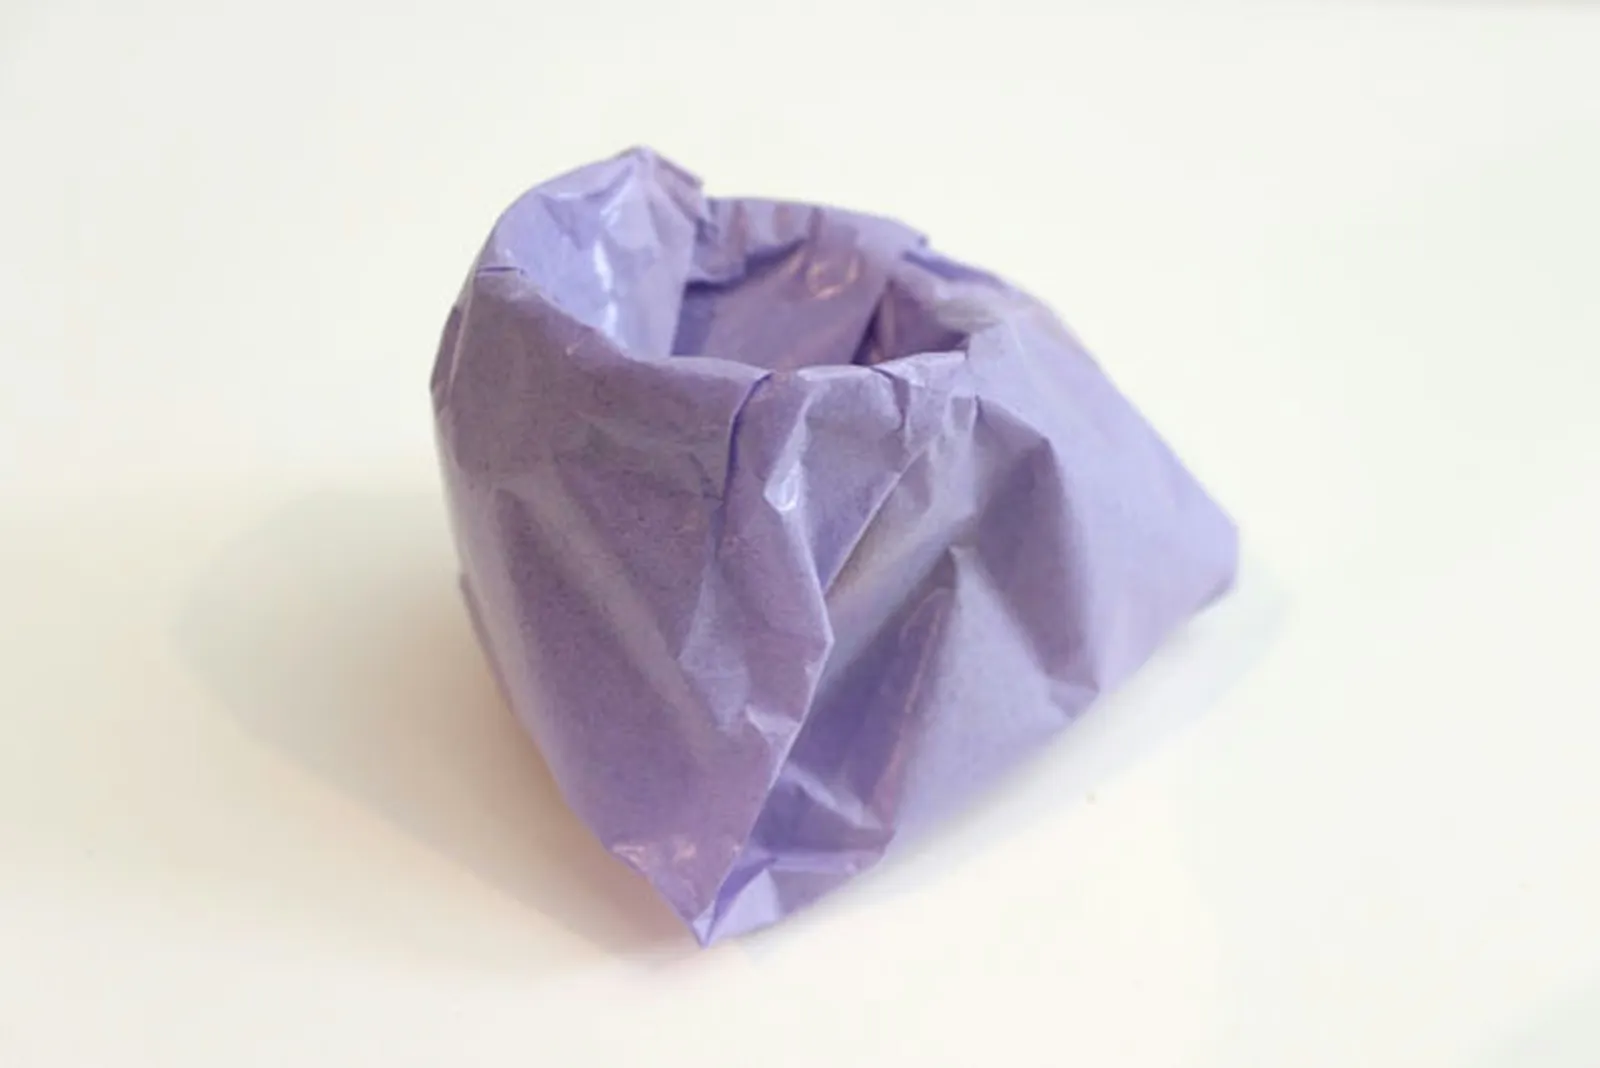
The tissue in the back overlaps the sides.
Fold the rear corner of the tissue into the bootie as well, tucking the extra tissue inside the cup. At this point, the bootie should be fully encased in tissue.
Step 7
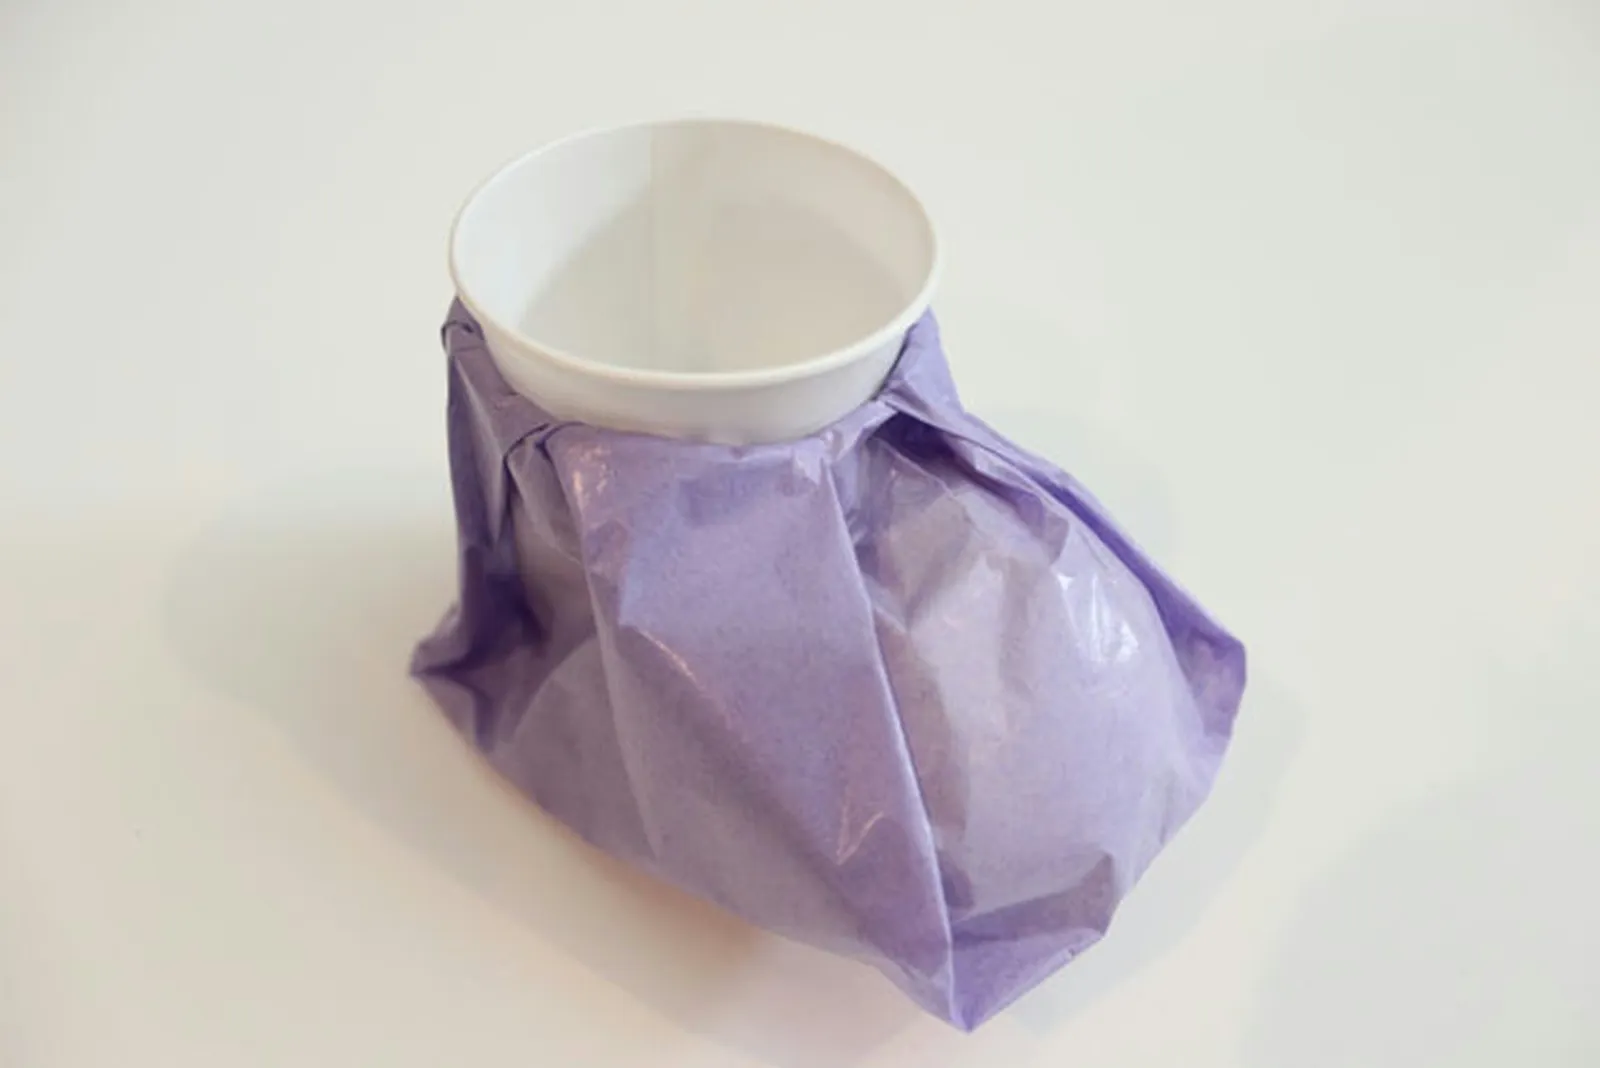
You can leave the second paper cup in place if you wish.
Insert a second paper cup into the cup of the bootie. Press it down to secure the tissue paper on the inside, then pull the cup back out.
Step 8
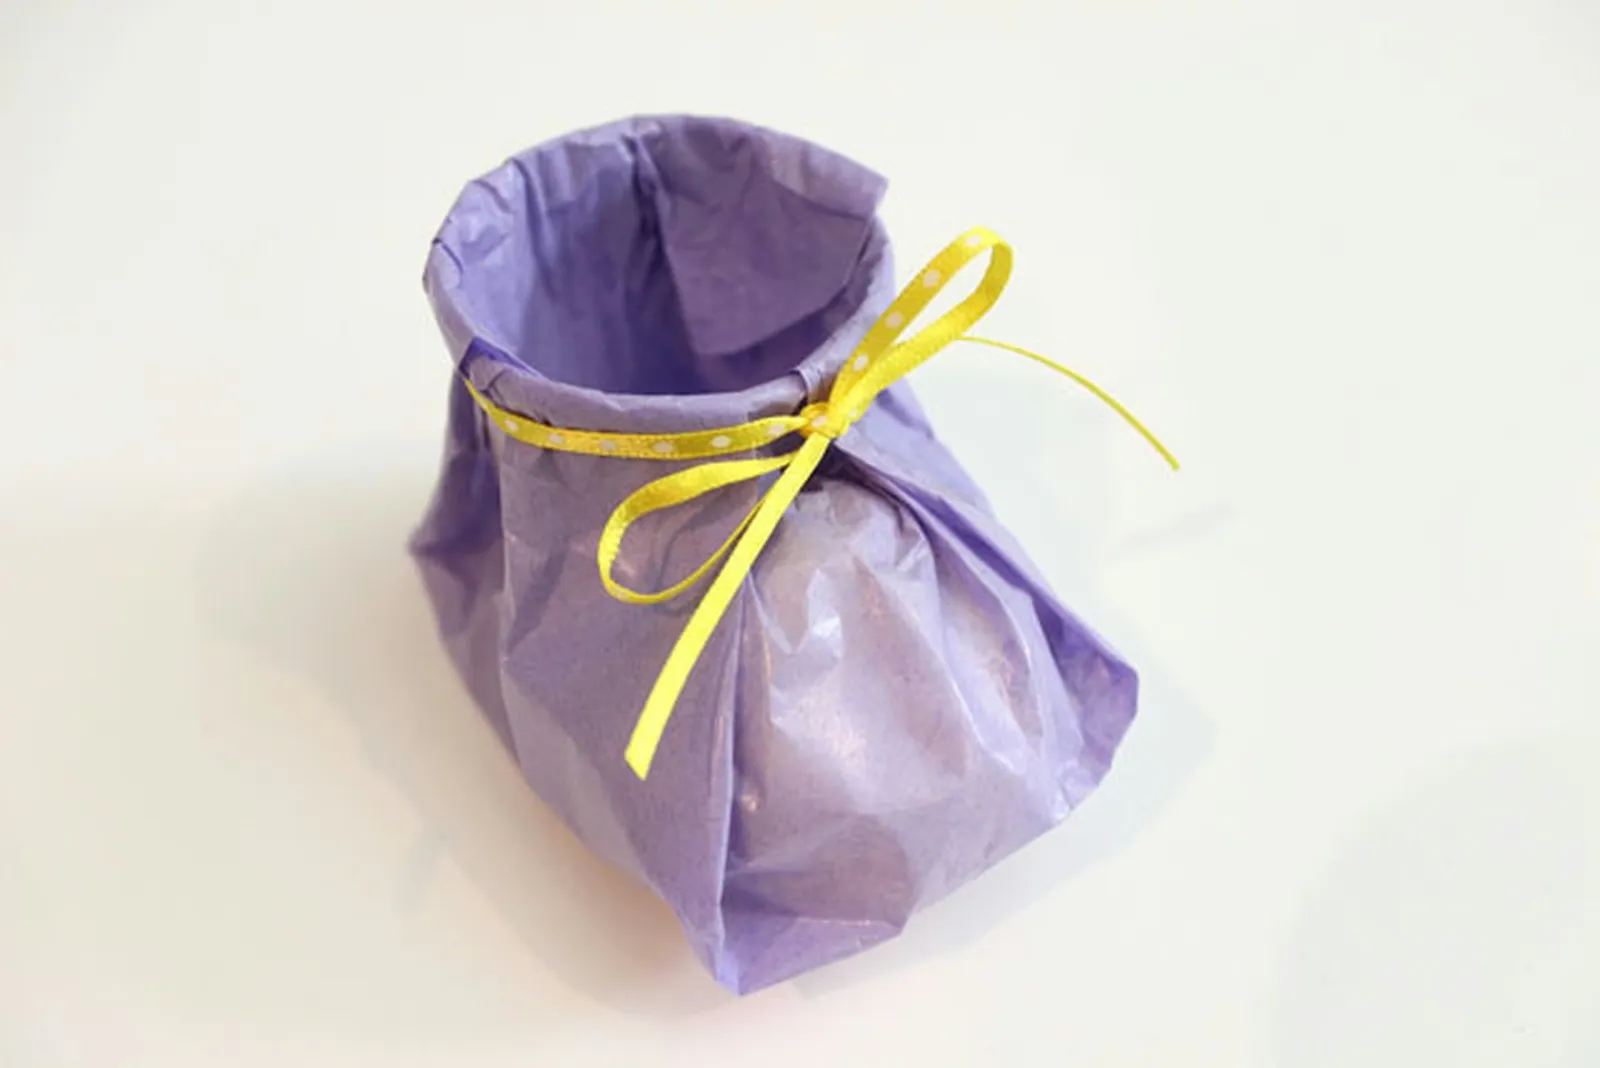
A ribbon bow makes an adorable shoelace.
Fasten a ribbon below the rim of the paper cup, just above the paper ball. This ribbon prevents the paper from unfurling and serves double duty as the bootie's shoelace.
Step 9
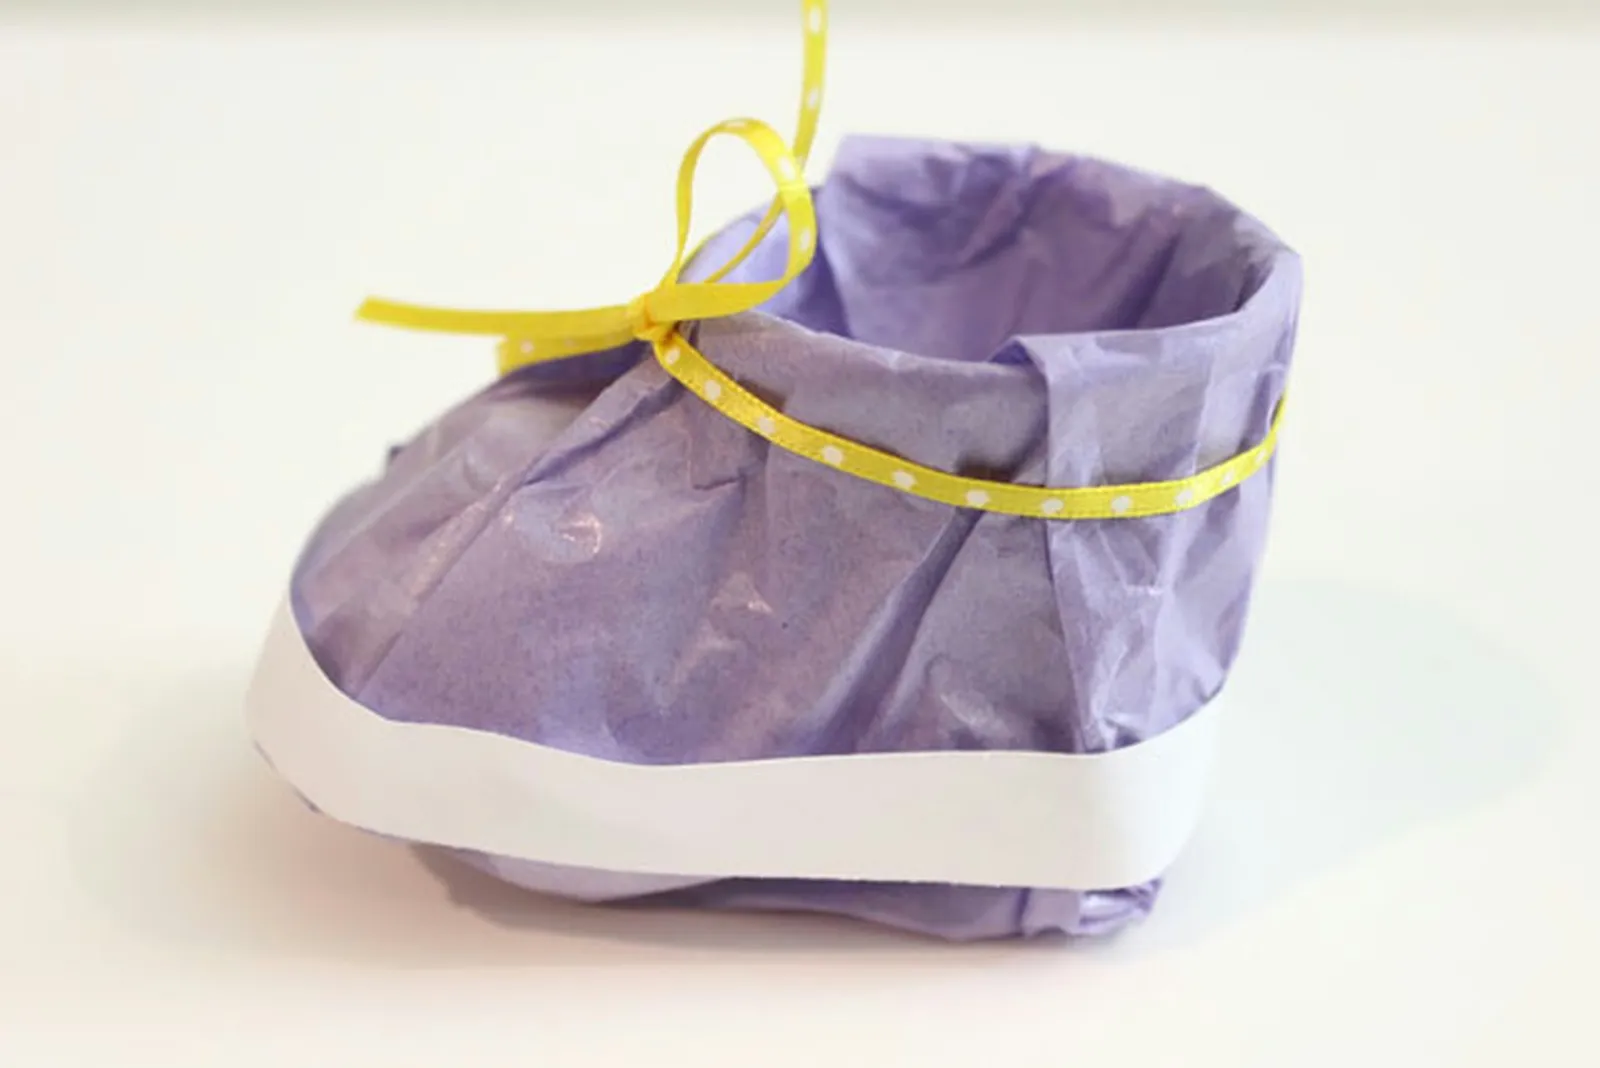
Use white paper for the rubber sidewalls.
The booties look wonderful on their own, but you can give them extra flair by adding sneaker-like details. To create rubber sidewalls, cut a 1/2-inch strip of plain white paper and wrap it around the bottom of the bootie. Secure it with a glue stick.
Step 10
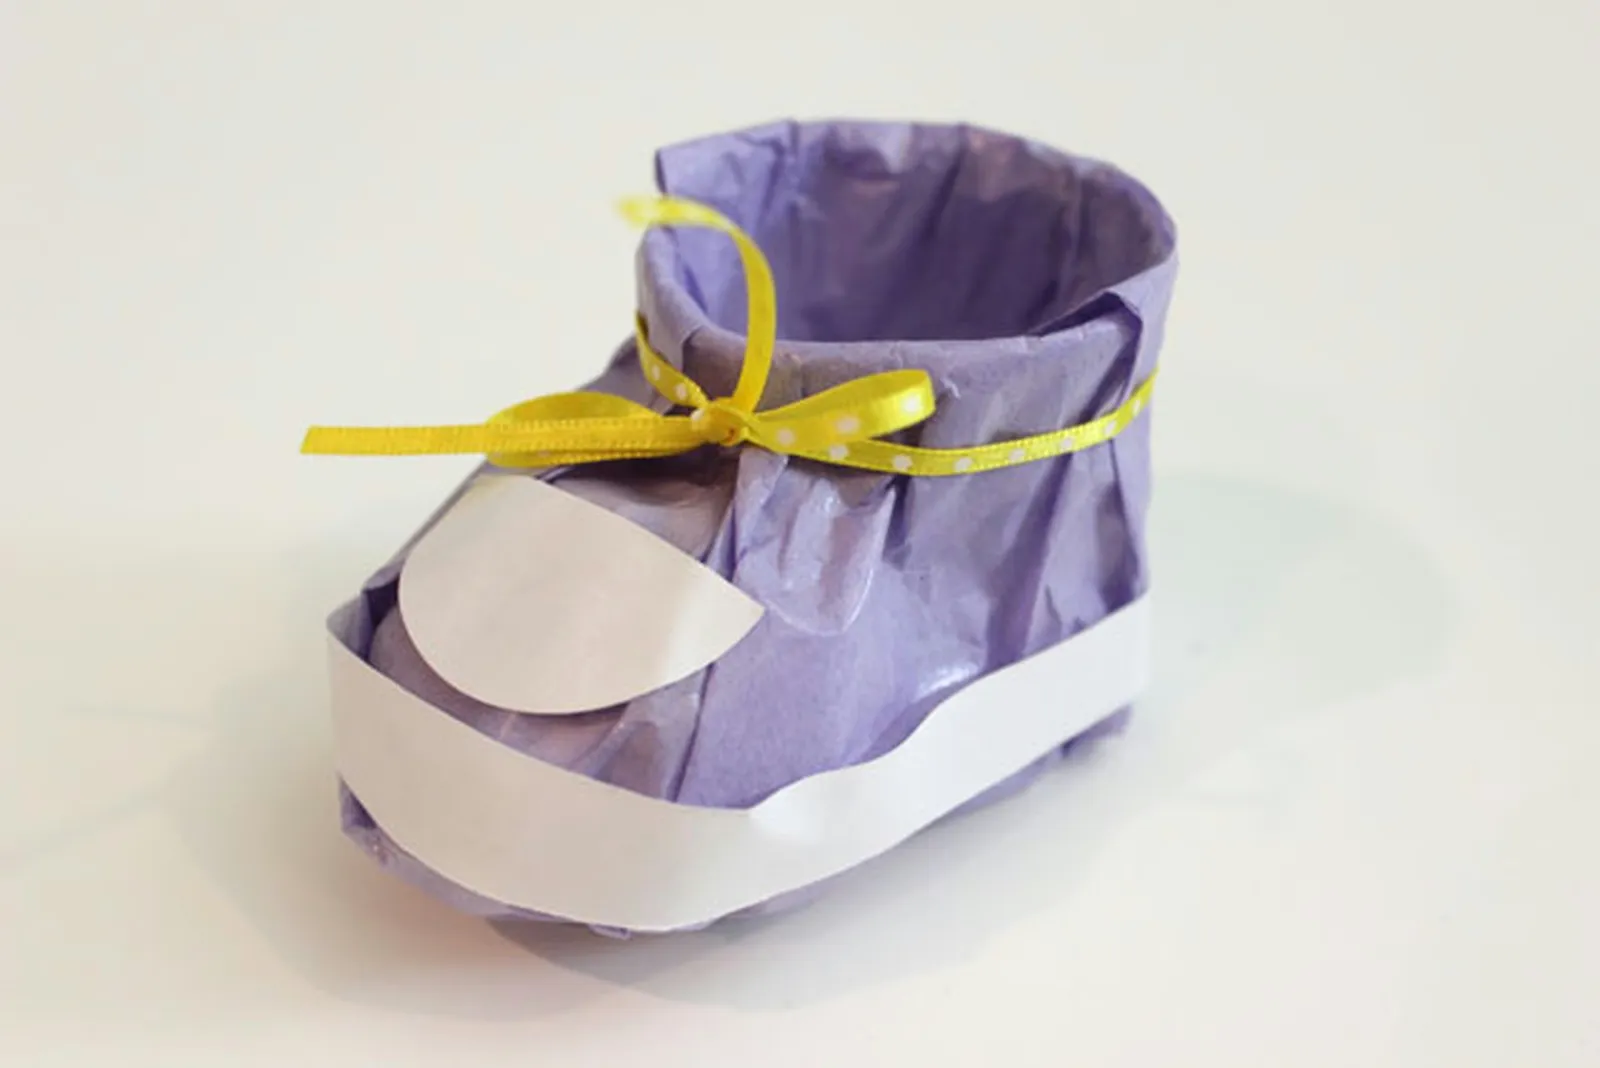
The bootie is ready to be filled with candy.
From the white paper, cut a half circle approximately 2 inches in diameter. Use a glue stick to attach the half circle to the front of the bootie. The bootie now has a rubber cap toe. This baby is ready to go places!