Lining a Gift Basket: A Step-by-Step Guide
Instead of a hastily assembled gift bag with crumpled tissue, consider presenting your gift in a basket. You can purchase a wicker basket or opt for a creative container such as a ceramic bowl or clay pot. With proper lining, your gift can look like it came from a high-end boutique.
By Elliot Bailey5 steps
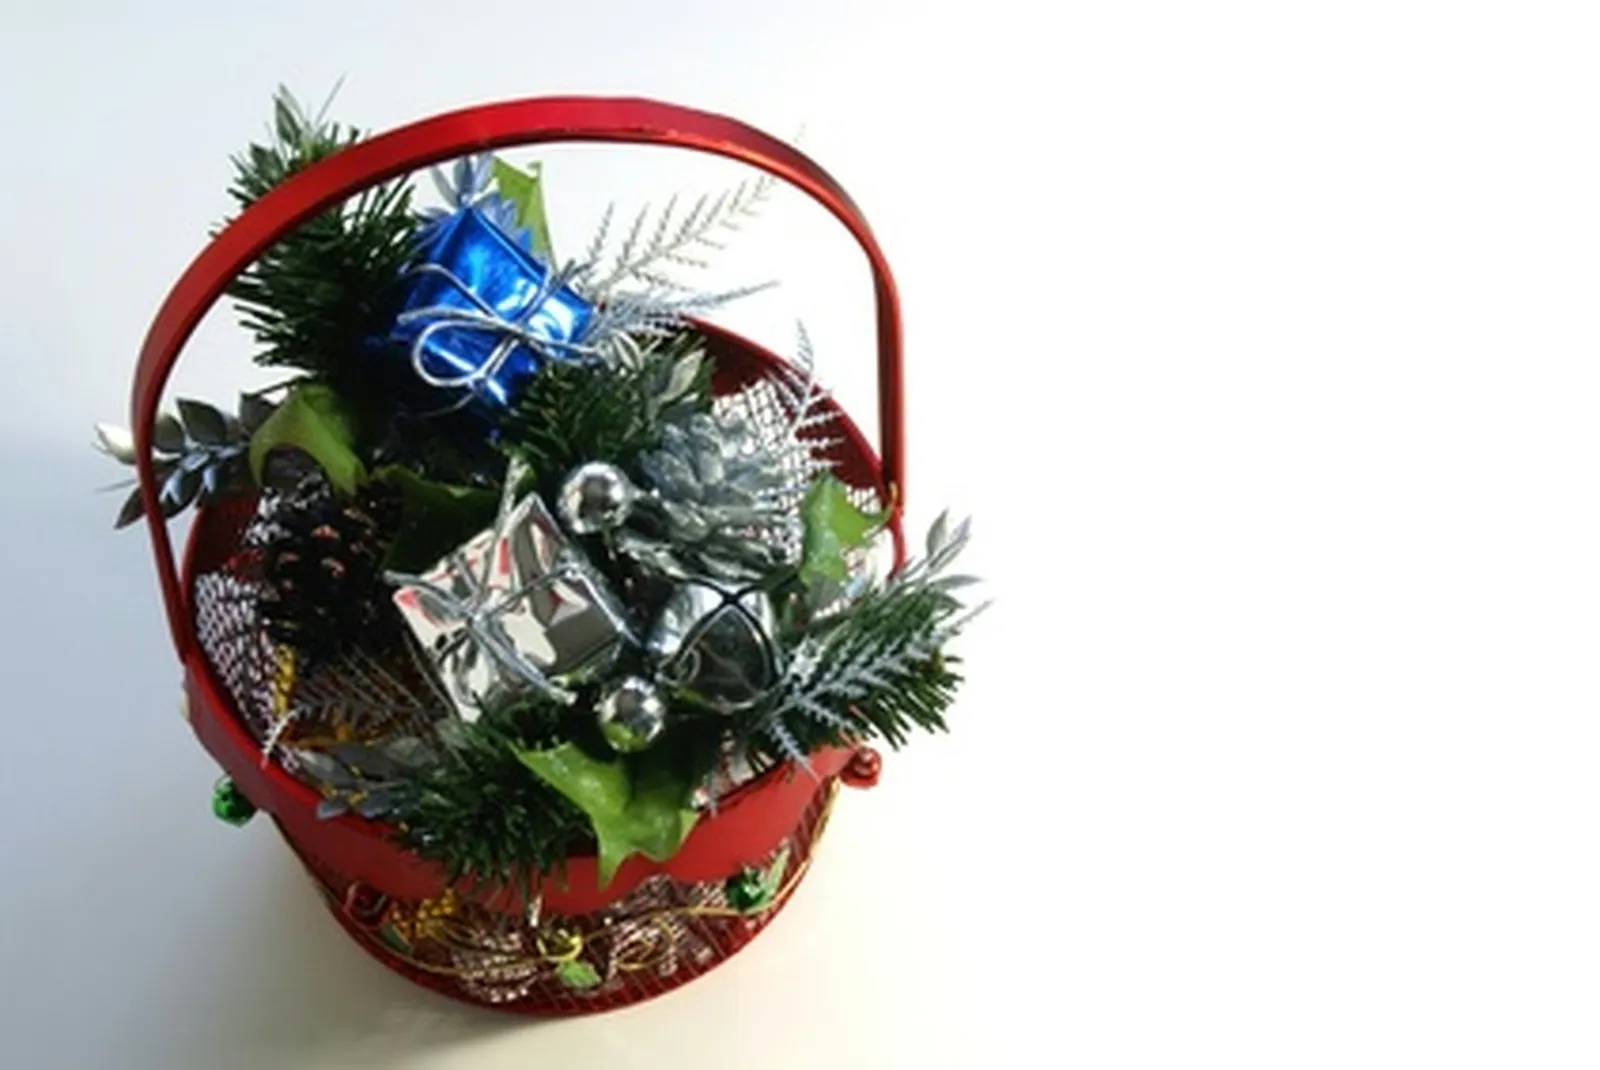
Use a gift basket to arrange several small gift items.
While it's simple to throw a few items into a gift bag and add some tissue paper on top, the result often appears careless. To demonstrate that you've put thought into the gift, try using a basket. You can buy a wicker basket or choose an unconventional container like a ceramic bowl or a clay pot. A carefully lined basket can give your gift the look of an expensive boutique rather than a homemade effort.
Step 1
Measure the basket. Stretch a tape measure across the widest part, then down the sides and across the bottom to determine the required amount of lining. Add four inches to that measurement to allow for two extra inches of lining.
Step 2
Select your lining material. You can use either tissue paper or fabric. Tissue paper is more budget-friendly, whereas fabric gives a more elegant appearance. Check craft stores for fabric remnants, which are often cheaper than buying fabric by the yard. Single fabric napkins can also work if they are big enough. Choose two to three different colors—either three shades of the same color or complementary hues. If no single piece is large enough to line the basket, get four or five pieces of fabric or paper to have enough.
Step 3
Layer the lining. Place one sheet of paper or fabric on a table. Set the next sheet on top at an angle. Keep stacking the lining, tilting each new piece. The pile should resemble a star with multiple points. For fabric, three layers suffice because it's thick. For tissue paper, use three to six sheets. If your paper is too small for the basket, overlap pieces to create a larger surface.
Step 4
Lift the stack and center it in the basket. If using fabric, a few inches may drape over the edge. If using tissue paper, rub some corners between your fingers to crumple them slightly so they stand up instead of folding over the basket's rim.
Step 5
Shred some tissue paper using a shredder or by tearing it into strips. Fill the basket's interior with the shredded paper, then create a small indentation for each item. This method can be used alongside the paper or fabric lining or by itself. This step isn't needed for large items, but it helps keep small things from shifting.