DIY Candle Making: A Beginner's Guide
Creating candles at home is an enjoyable and straightforward project. You can craft them for personal use, as presents, or as wedding keepsakes. Add fragrance with scented oils, or opt for a natural aroma by using beeswax. This tutorial focuses on container candles, which are ideal for those new to candle making.
By Blake Wood5 steps
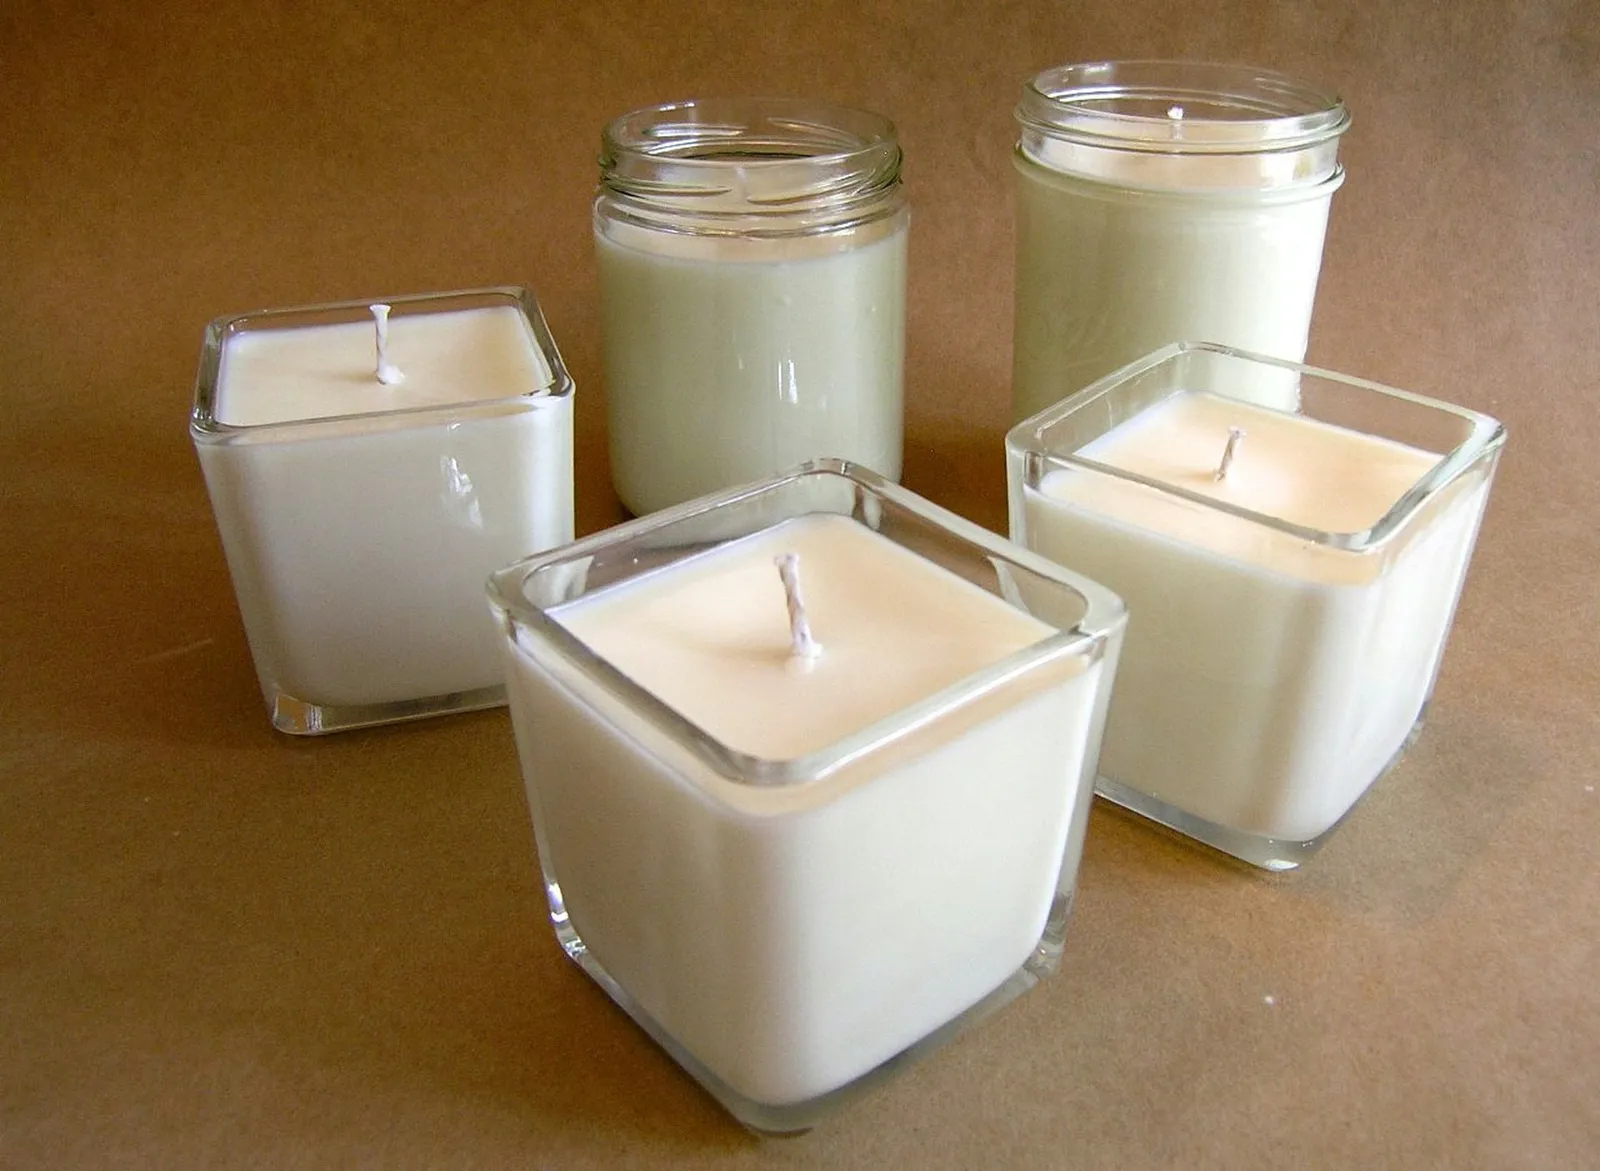
Final Example
Making candles at home is a fun and simple activity that yields items you can use yourself, give as gifts, or offer as wedding favors. You can add scent with fragrant oils, or create naturally scented candles by using bee's wax. The container candle demonstrated here is an excellent starting point for beginners.
Step 1
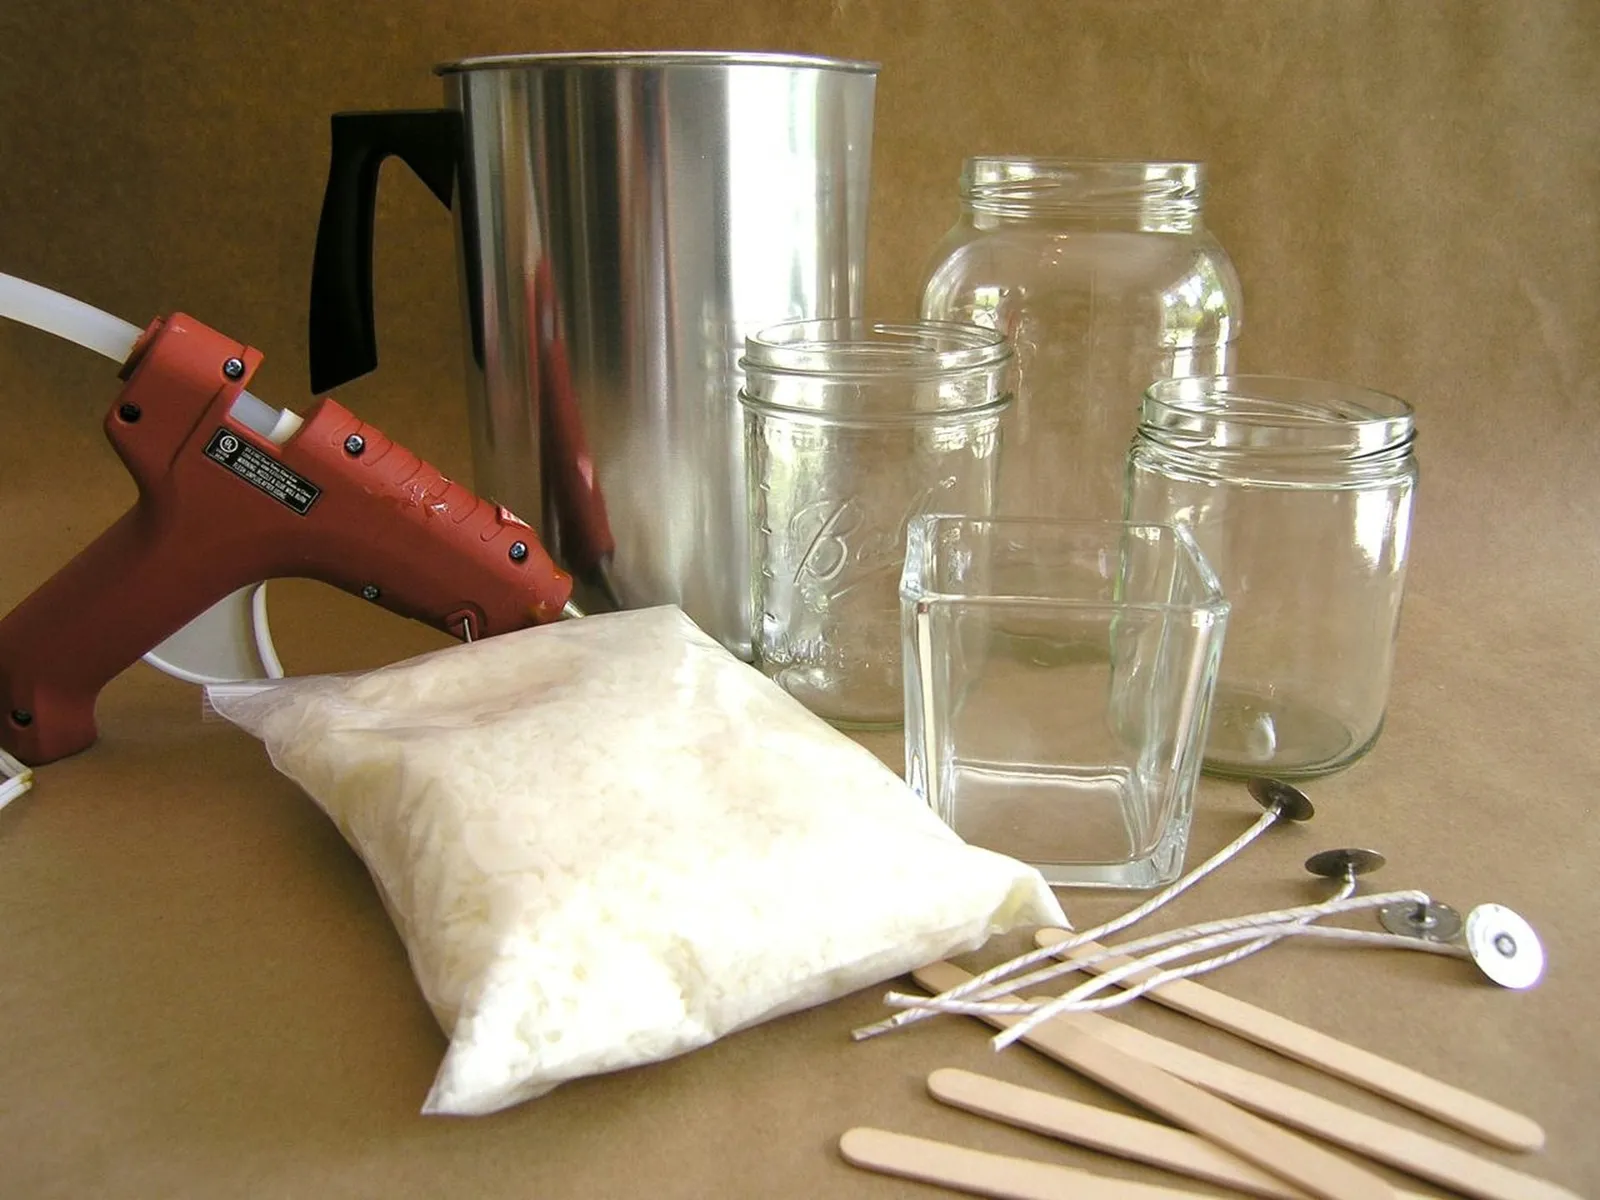
Here are the supplies you'll need.
Gather your supplies: wax, wicks, jars or other small containers, a melting pot, a glue gun, and craft sticks. A detailed list of tools and materials is provided on the final slide.
Step 2
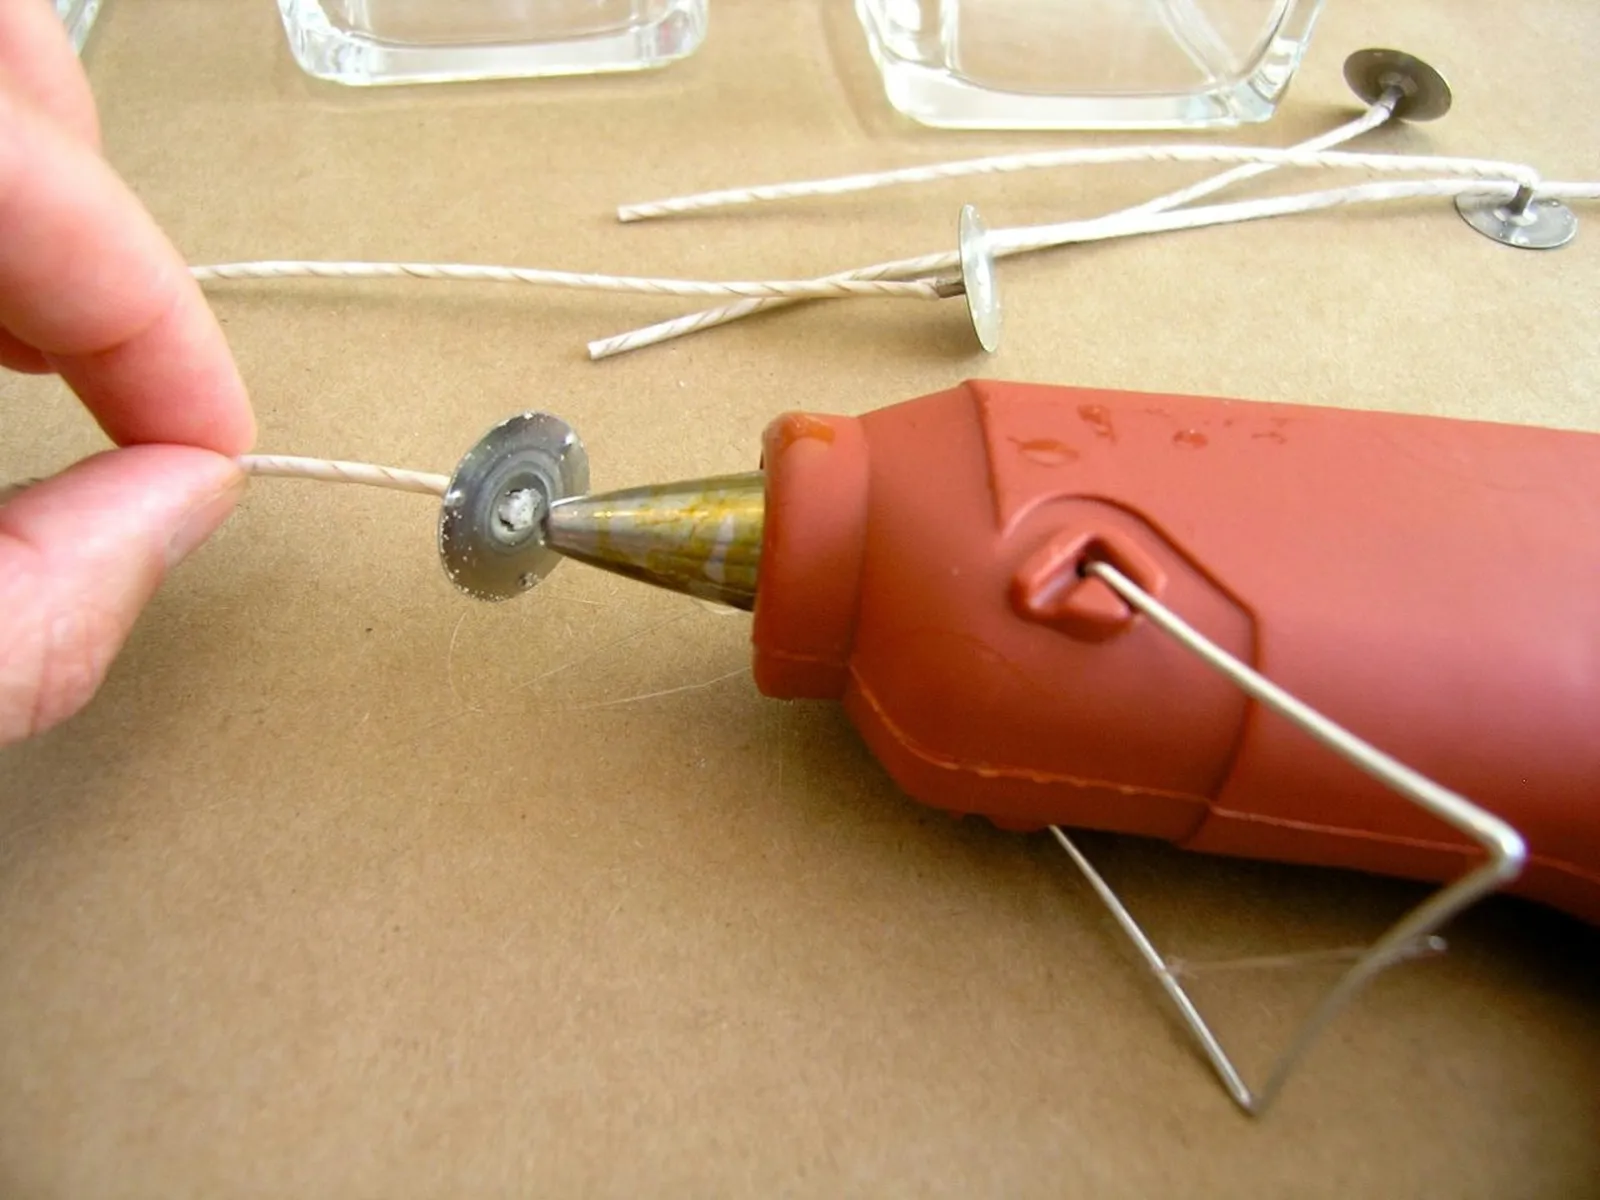
Glue wicks to the bottom of the container.
Set the jars on a level surface where they can remain undisturbed for several hours, since you shouldn't move them once the wax is poured. Start by using hot glue to attach the bottom of each wick to the bottom of its jar.
Keep in mind that wicks are available in different lengths, typically 6 or 9 inches, and in various thicknesses (small, medium, large). Choose a wick length and size appropriate for your container; for instance, a short, small container might call for a 6-inch small wick.
Step 3
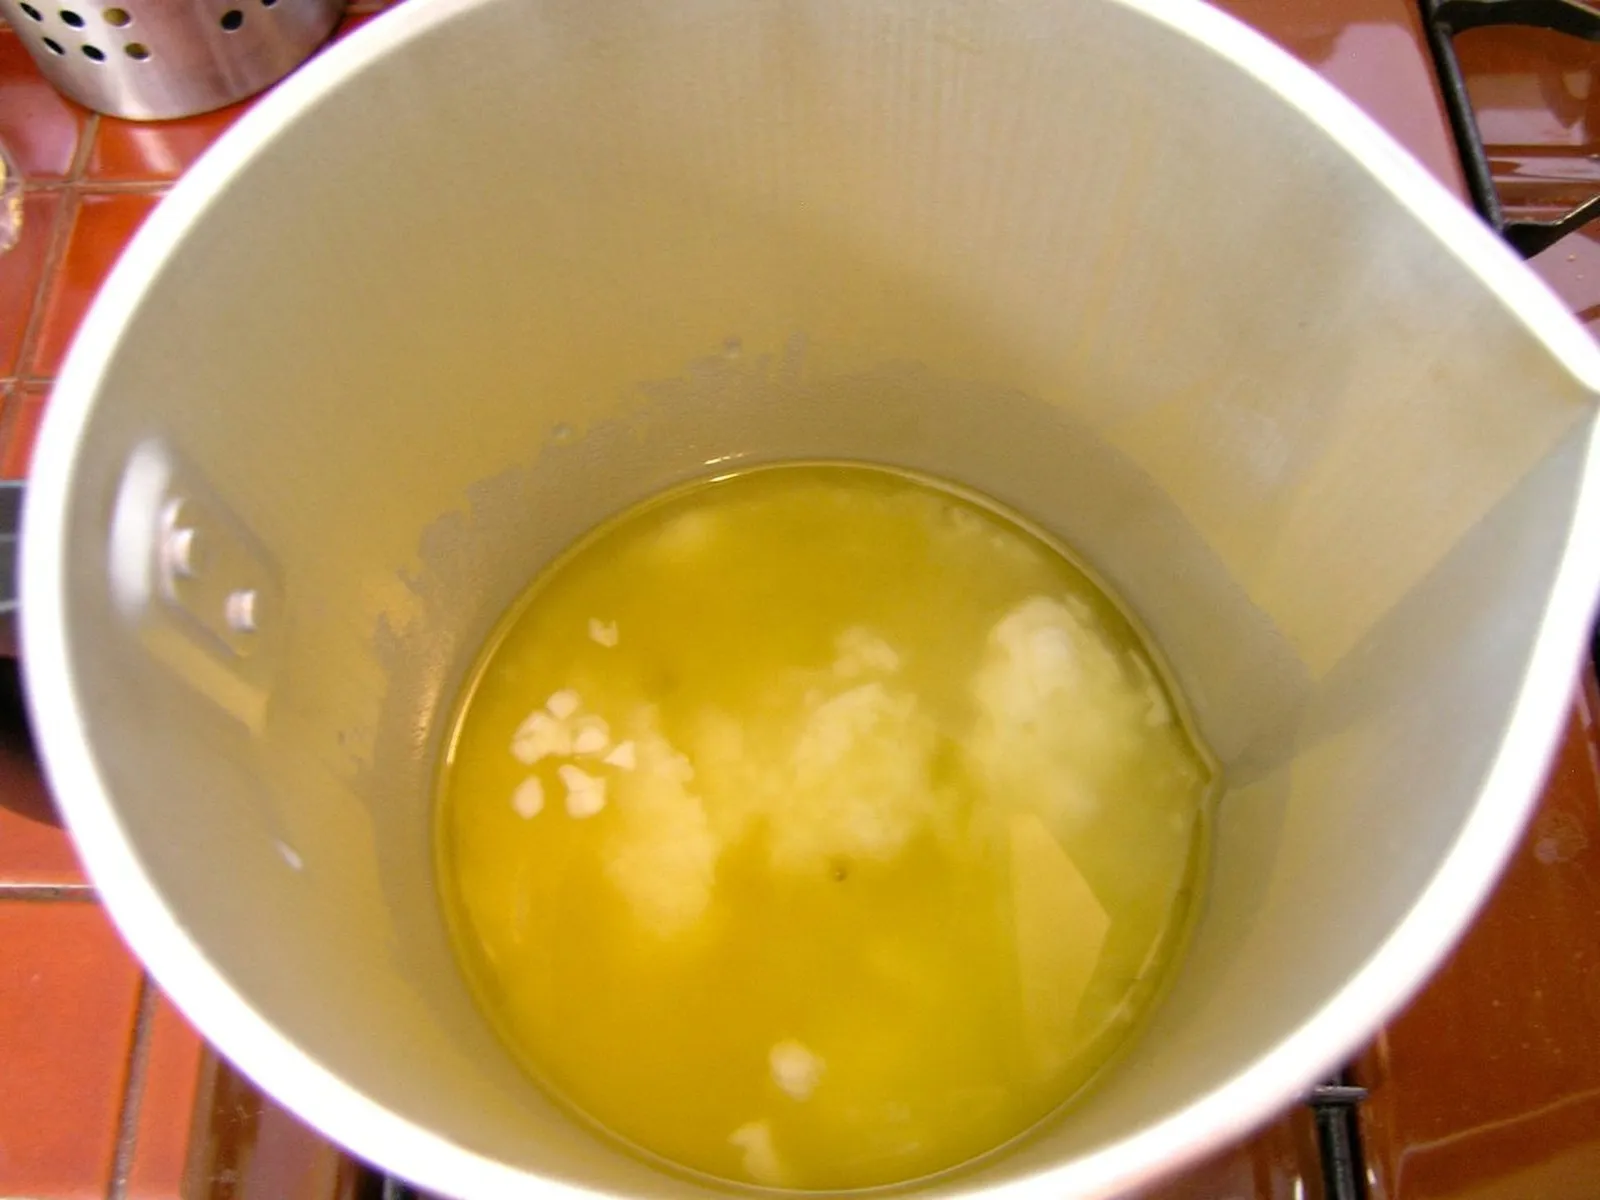
Melt wax
Melt the wax on the stovetop over low heat, working with no more than 2 pounds at a time. Avoid using a microwave. If your wax is in a large block, cut it into 2-inch squares before melting.
Step 4
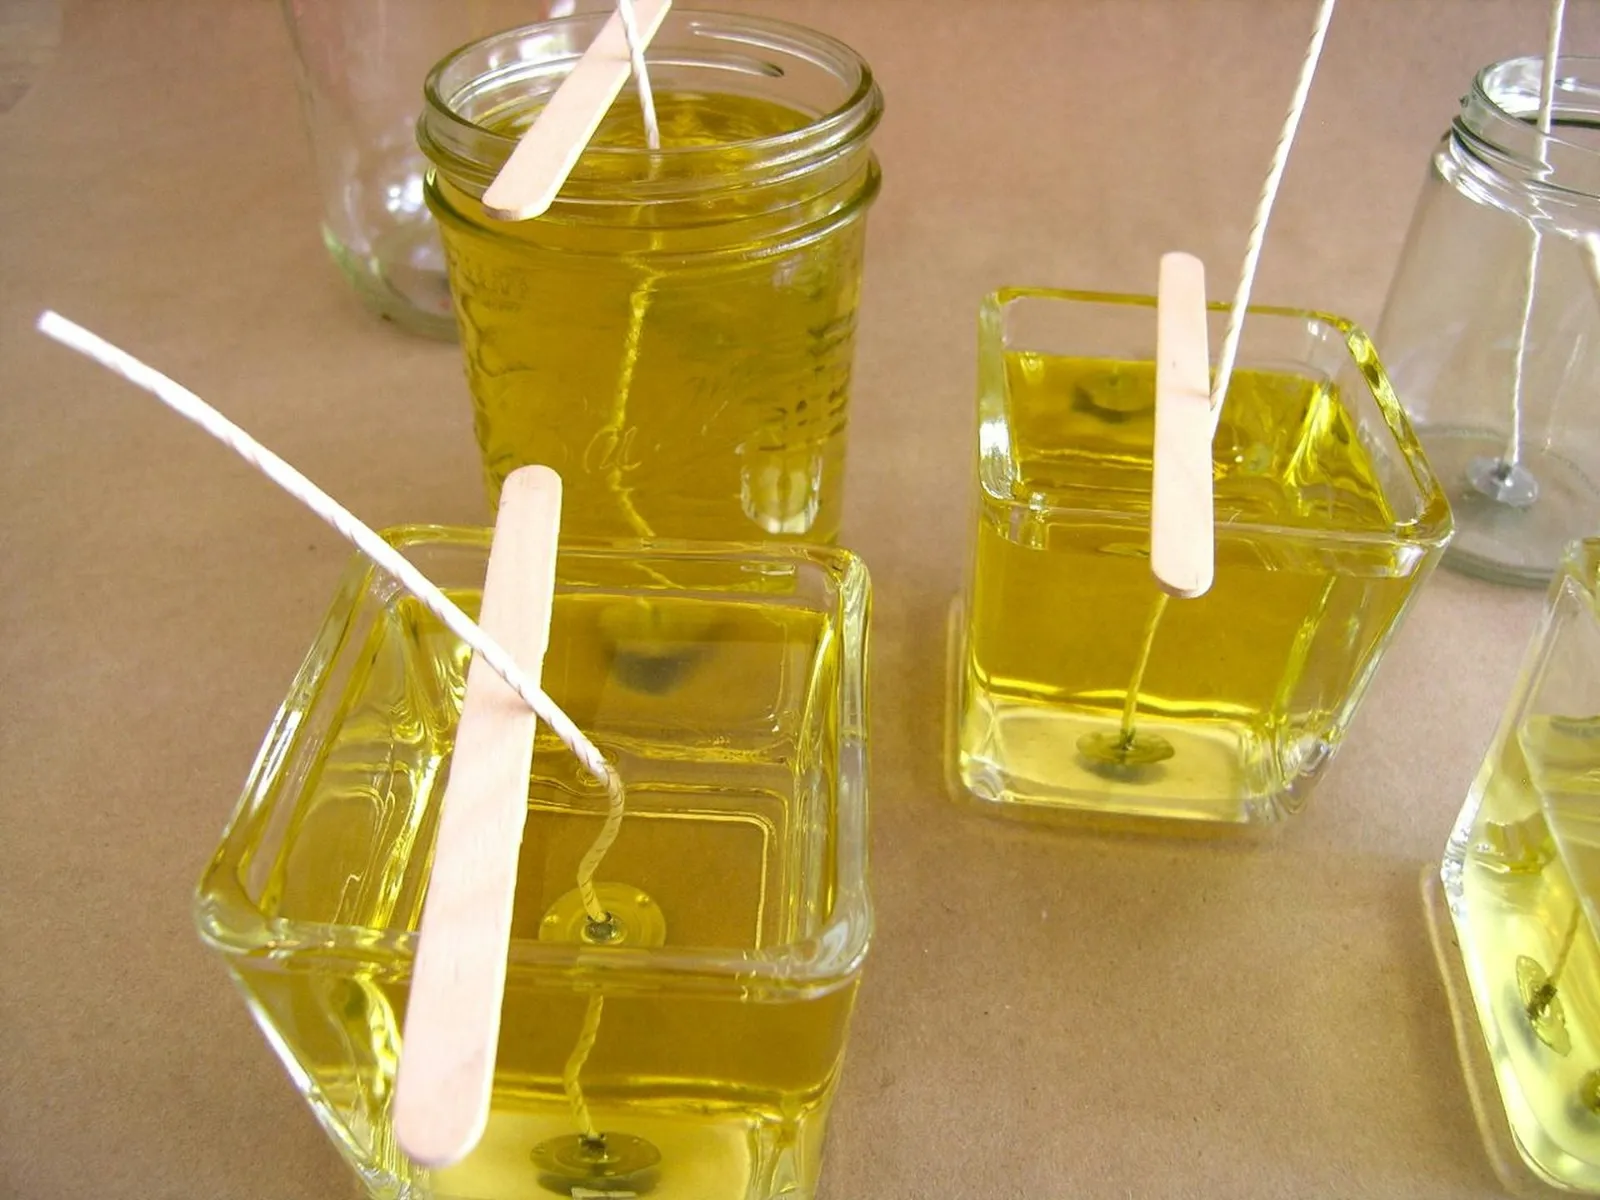
Pour wax into containers.
After the wax has melted completely, carefully pour it into the containers. Use a craft stick to hold the wicks upright in the center so they don't become completely submerged in the wax.
Step 5
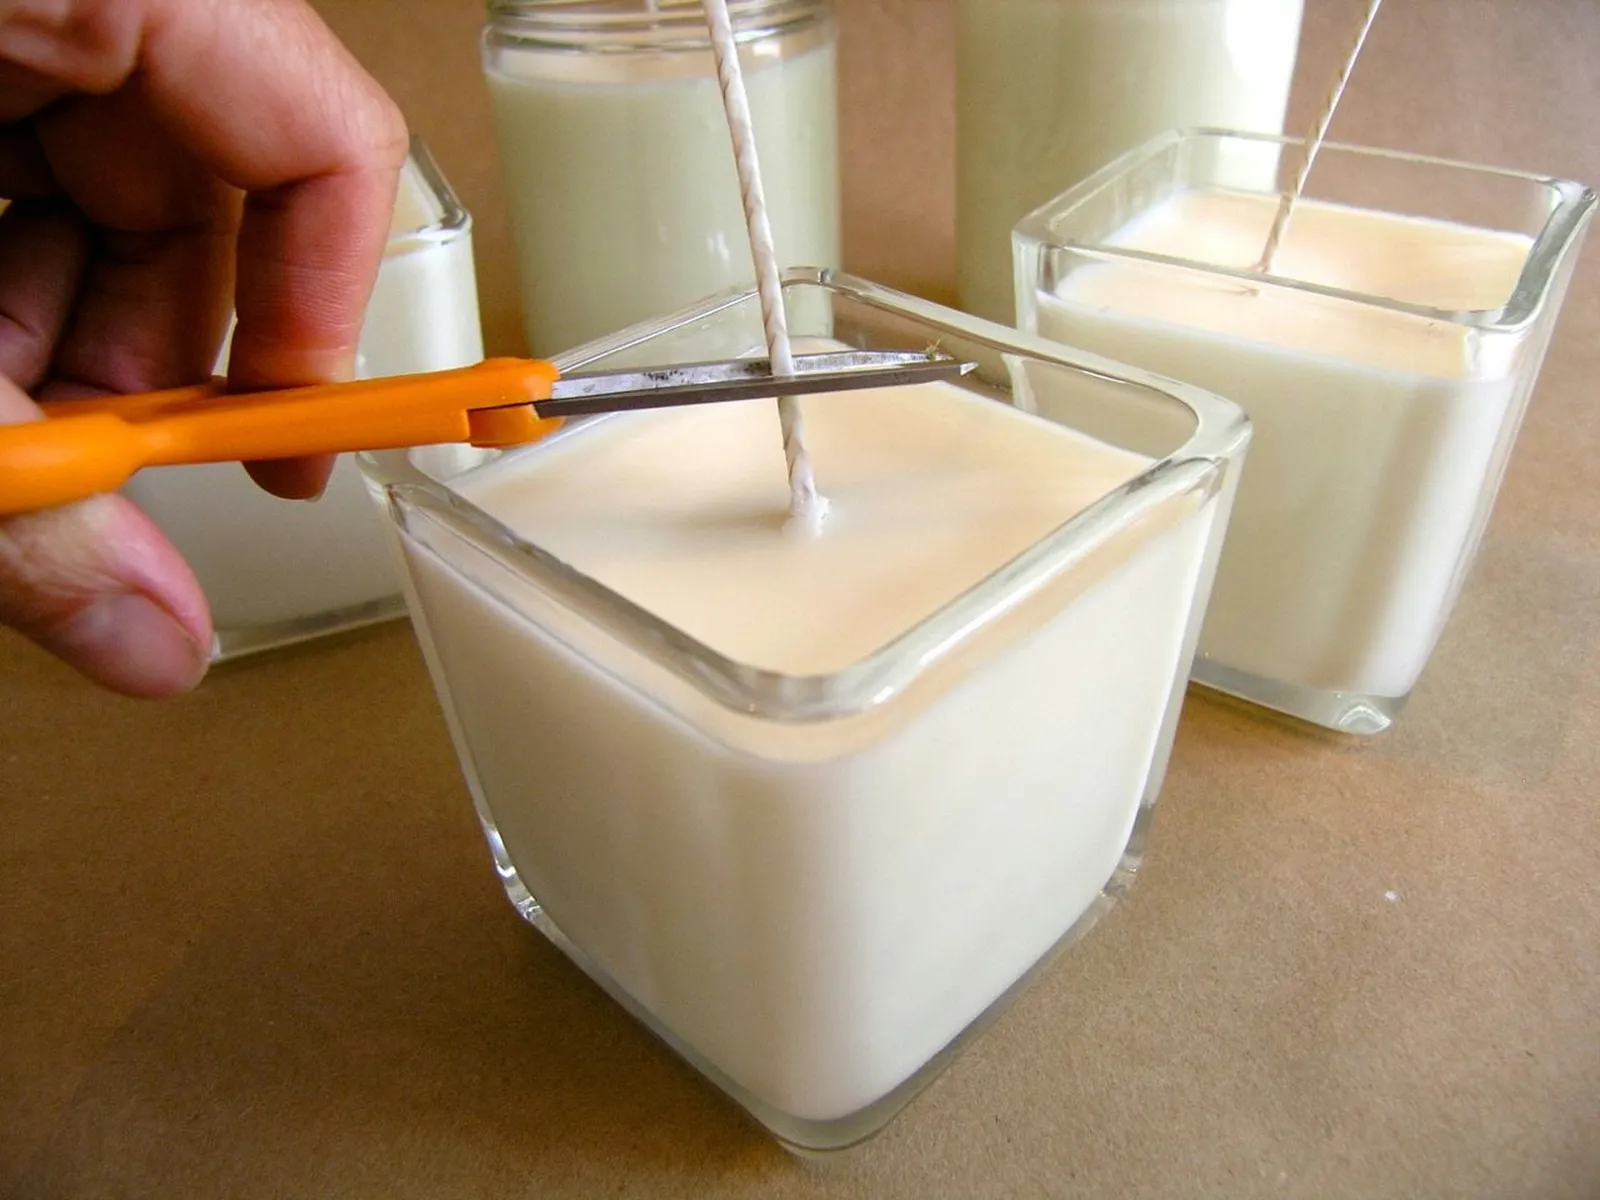
Trim wick.
Allow the wax to set for several hours. Then trim any wicks protruding from the wax to a height of ¼ inch.