A Weekend Guide to Putting Up a Raspberry Support Structure
For those new to gardening, assembling a berry support frame is a budget-friendly task that takes only a weekend and relies on tools most households already own.
By Sam Bennett6 steps
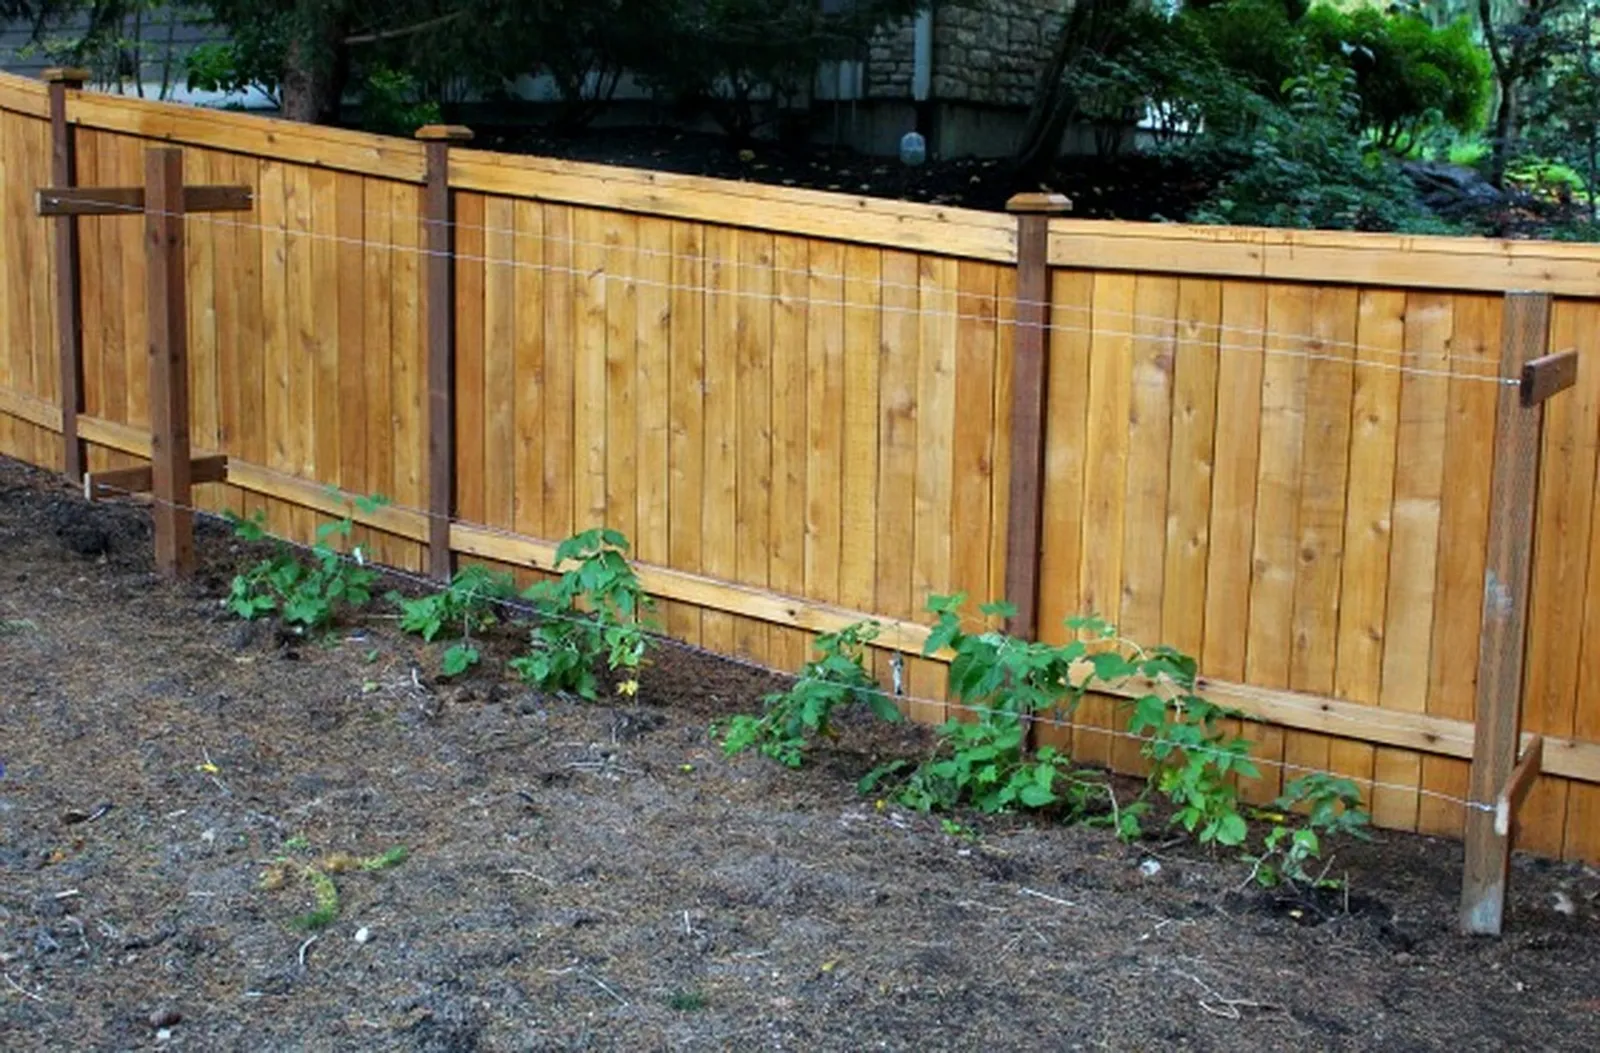
Once a raspberry trellis is in place among your berry plants, both harvesting and cultivating the fruit become far more pleasant. Reaching the berries gets simpler, and spreading mulch over the beds come autumn turns into an easy chore. Putting together a classic raspberry trellis suits someone just starting out in gardening, and the materials can cost under $50.
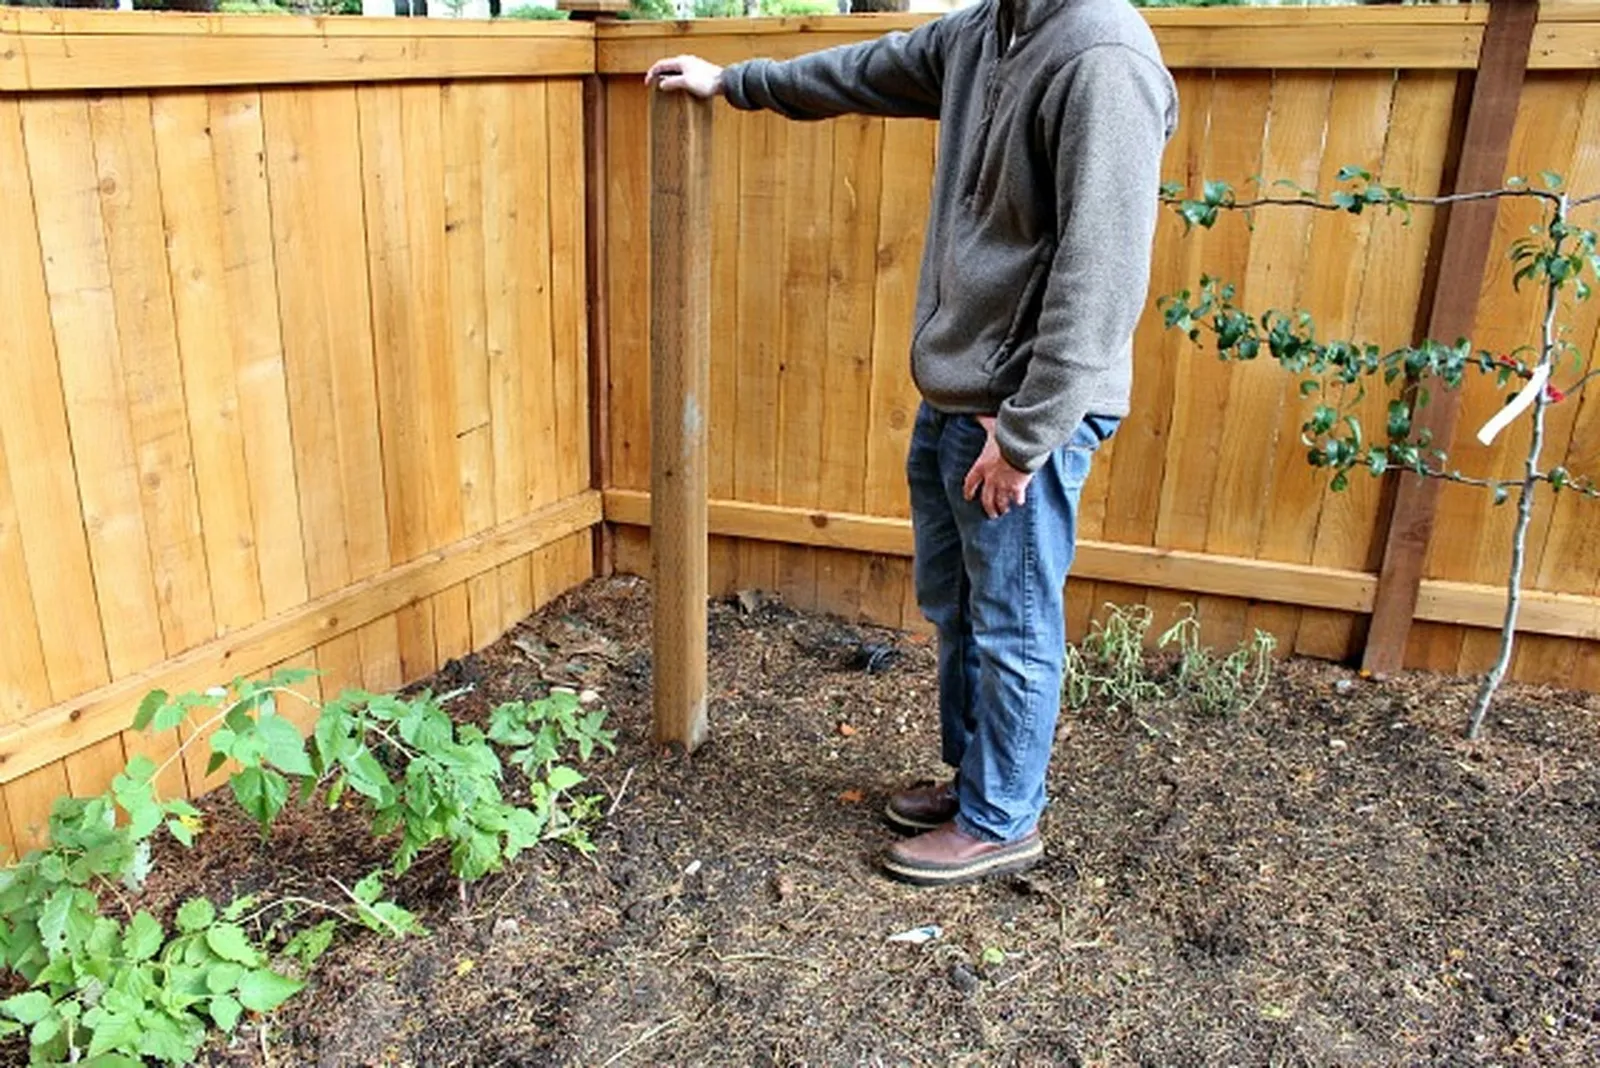
Step 1: Set Fence Posts
Using a posthole digger, make two holes that are 2 feet deep and spaced roughly 20 feet apart. Put the posts into cement, following the instructions printed on the back of the concrete bag, and allow the cement to cure overnight.
The following day, once the cement has dried, refill the hole and pack the soil down firmly.
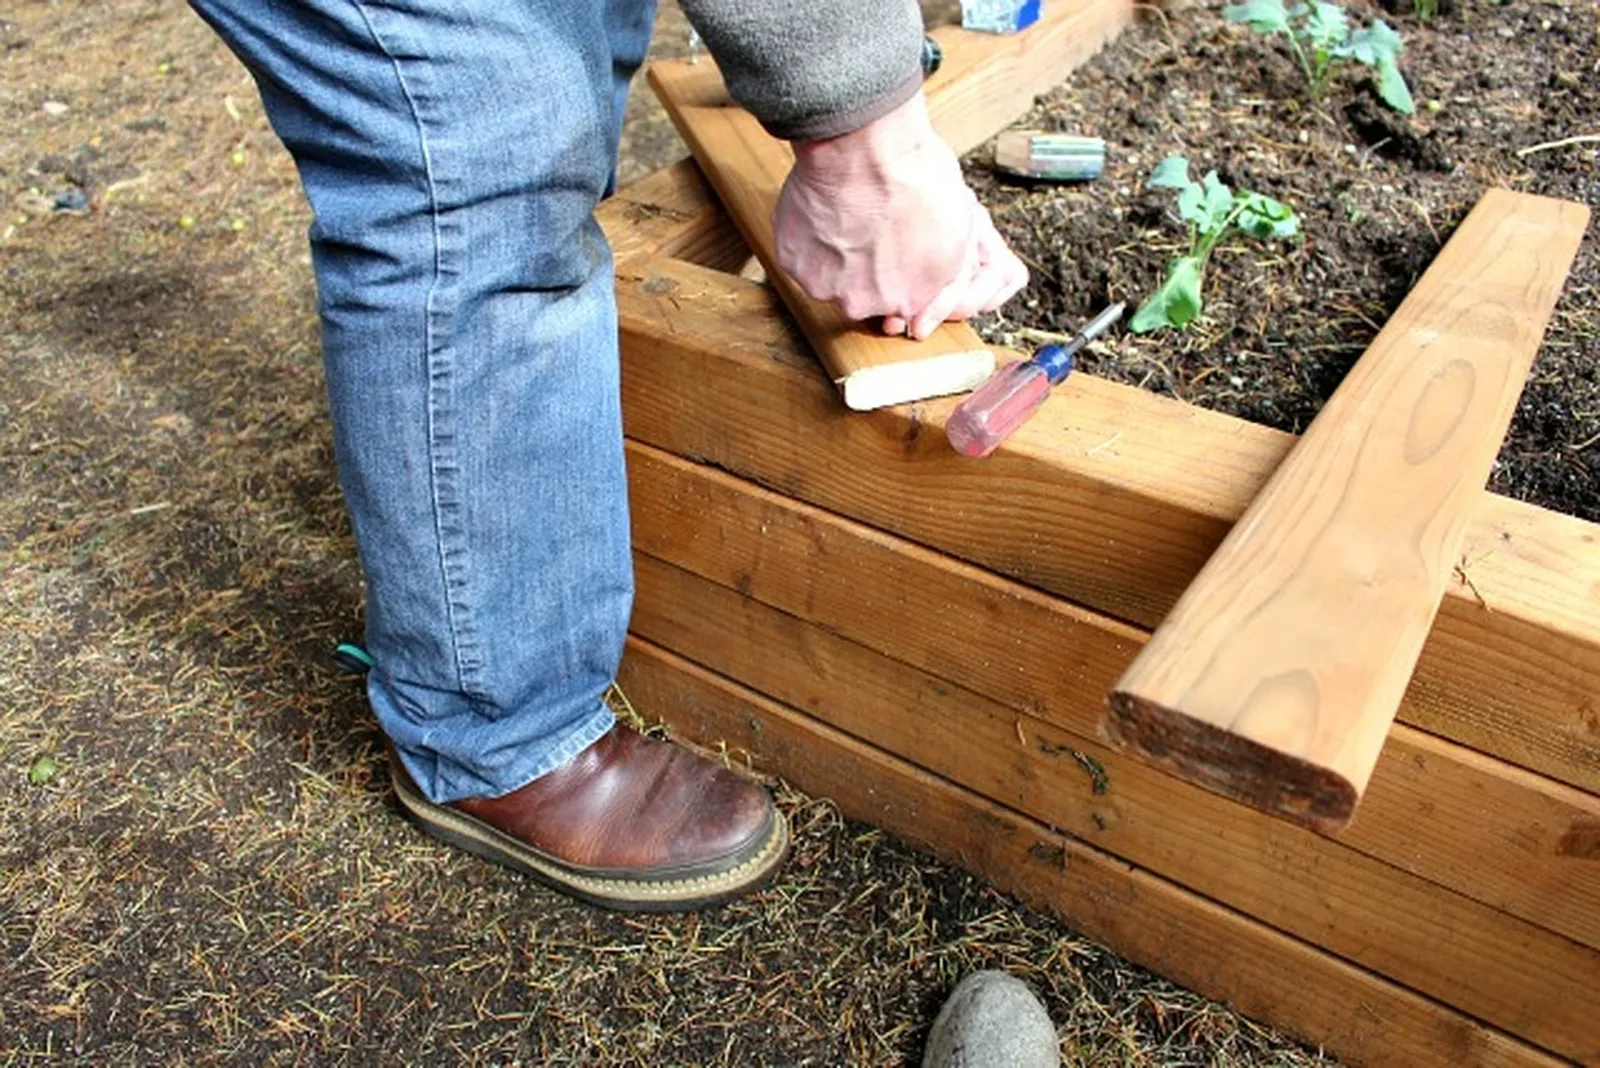
Step 2: Pre-Drill Holes
Drill four pilot holes down the center of every 2-foot and 3-foot board.
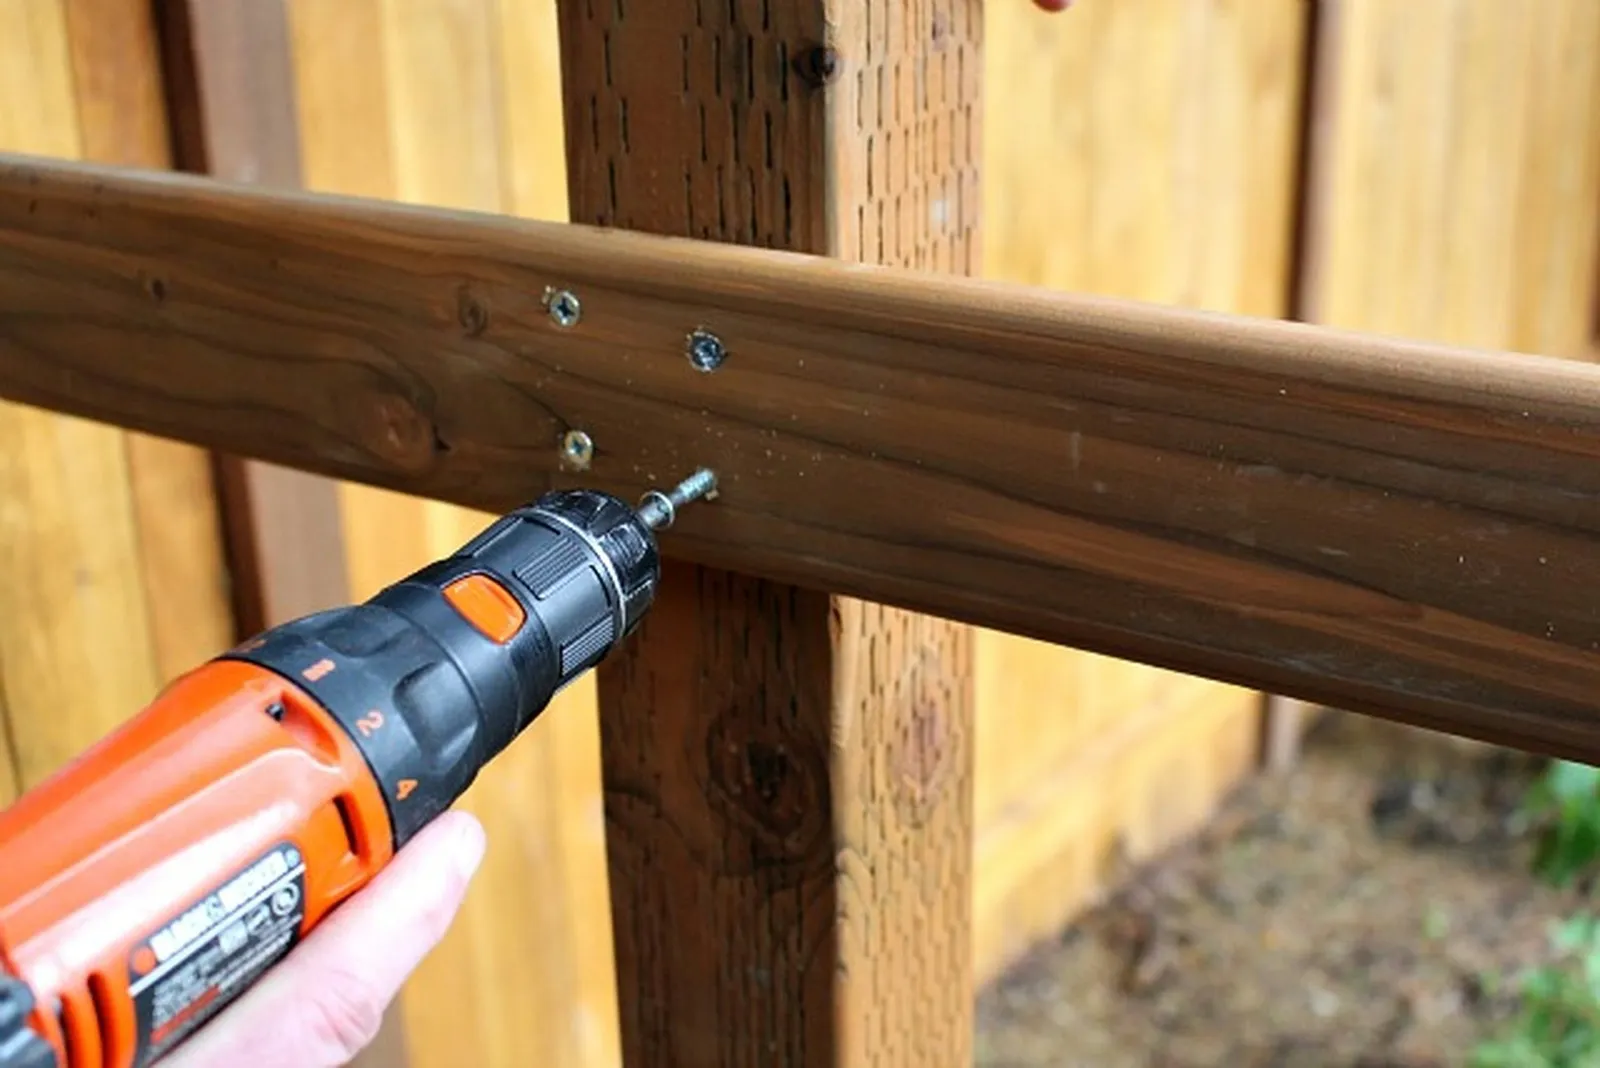
Step 3: Attach Crosspieces to Posts
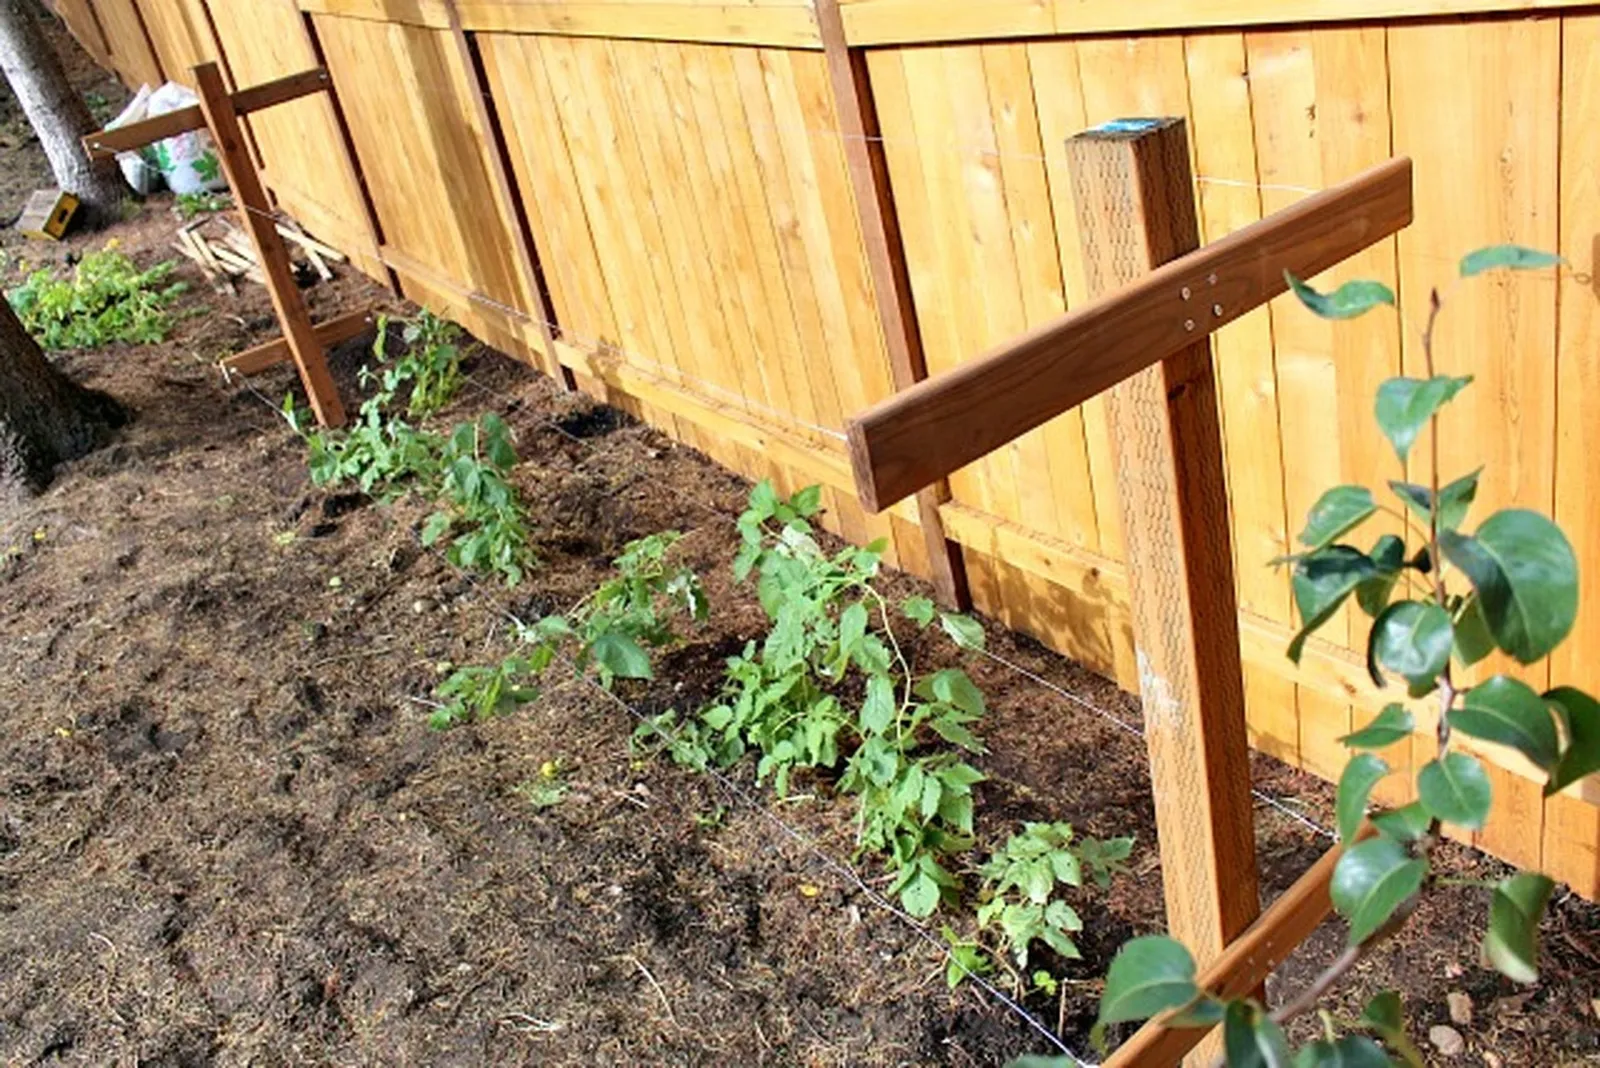
Position the 36-inch crosspiece 18 inches below the top of the post, check it with a level, and drive four wood screws through the board into the fence post. Next, set the 24-inch crosspiece about 18 inches above the ground, level it, and drive four wood screws through the board into the fence post. Because raspberry canes have a tendency to arch outward as they develop, placing the longer board nearer the top of the fence post works to your advantage.
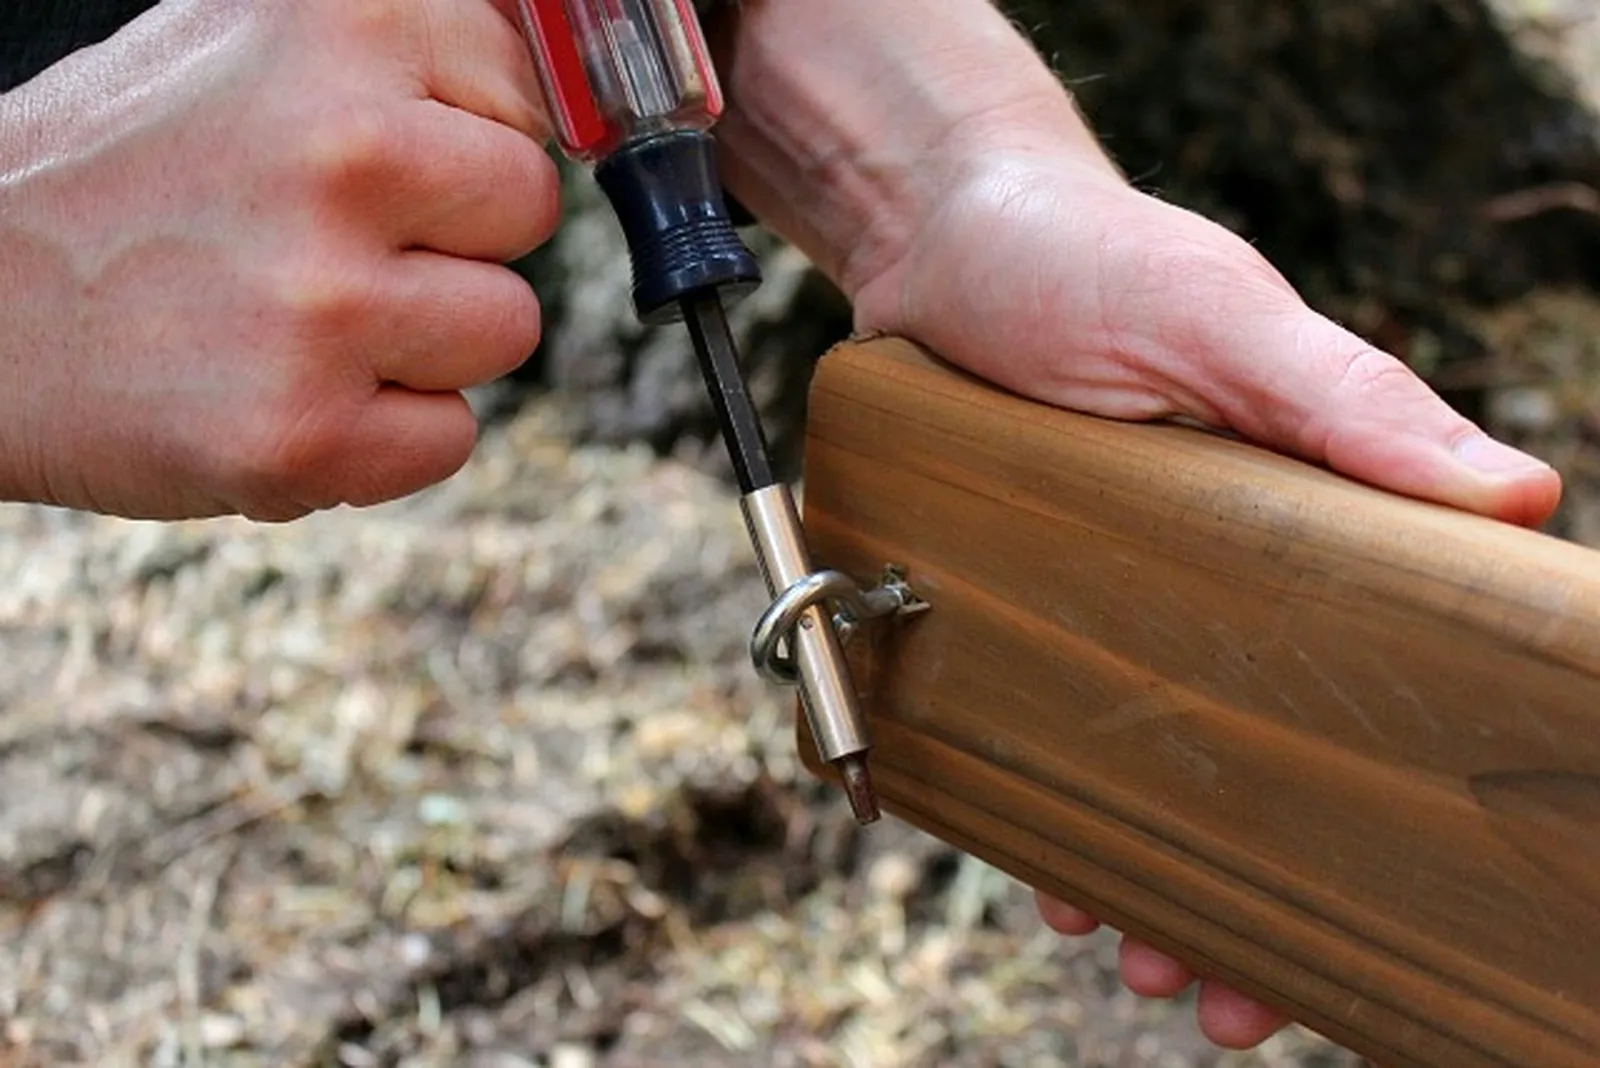
Step 4: Attach Screw Eyes to Crosspieces
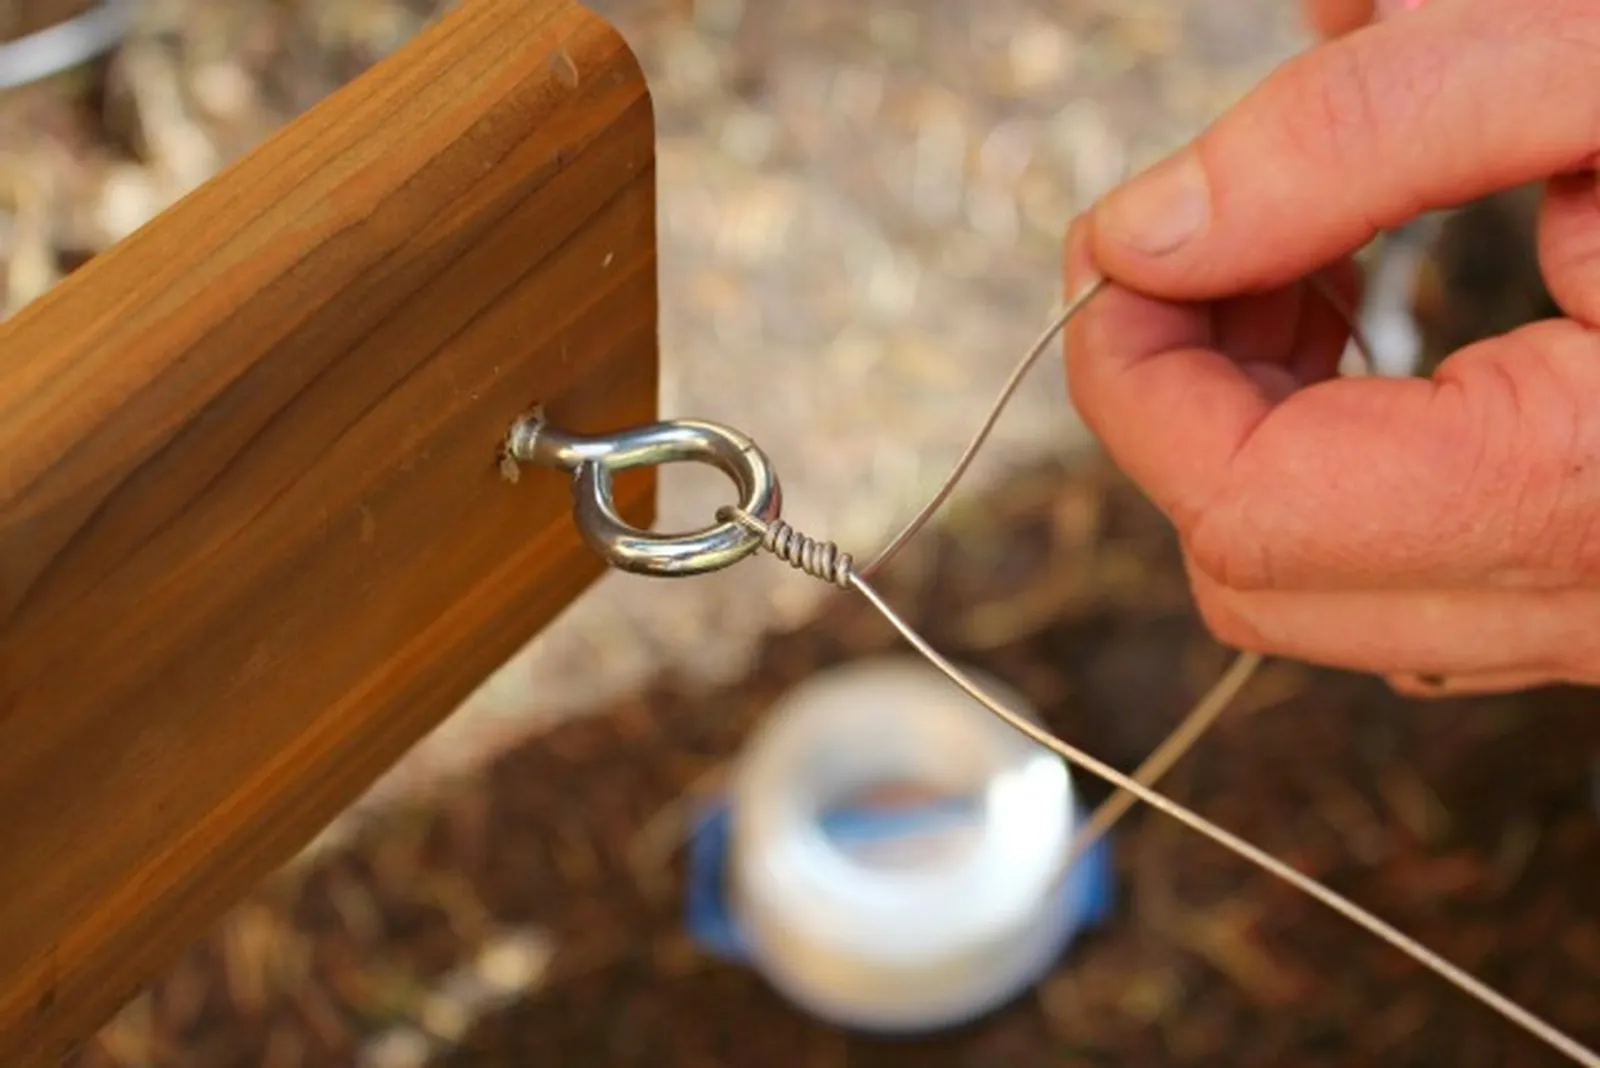
After the crosspieces are secured to the posts, the screw eyes need to go onto the crosspieces. Screw eyes serve to hold the support wires and ought to be positioned on the inner side of your trellis. Set each screw eye roughly two inches in from the edge of the crosspieces and twist them into the board. A screwdriver or another slim tool may be necessary to tighten them firmly into the boards.
Step 5: Thread Wire
Pull the galvanized wire tight between the screw eyes, running from one end of the trellis to the other. Twist it to hold it in place.
Step 6: Enjoy Your Trellis
When finished, the trellis should stand about 6 feet tall. As the raspberries develop, you can either tie them onto the wires or allow them to move freely between the galvanized wires. Come the next spring, tighten the wires wherever necessary.