A Step-by-Step Guide to Crafting Your Own Wrought-Iron Gate
Wrought-iron gates offer enduring beauty and durability. This guide walks you through measuring, designing, and building a custom gate, from gathering materials to welding and installation.
By Toby Young6 steps
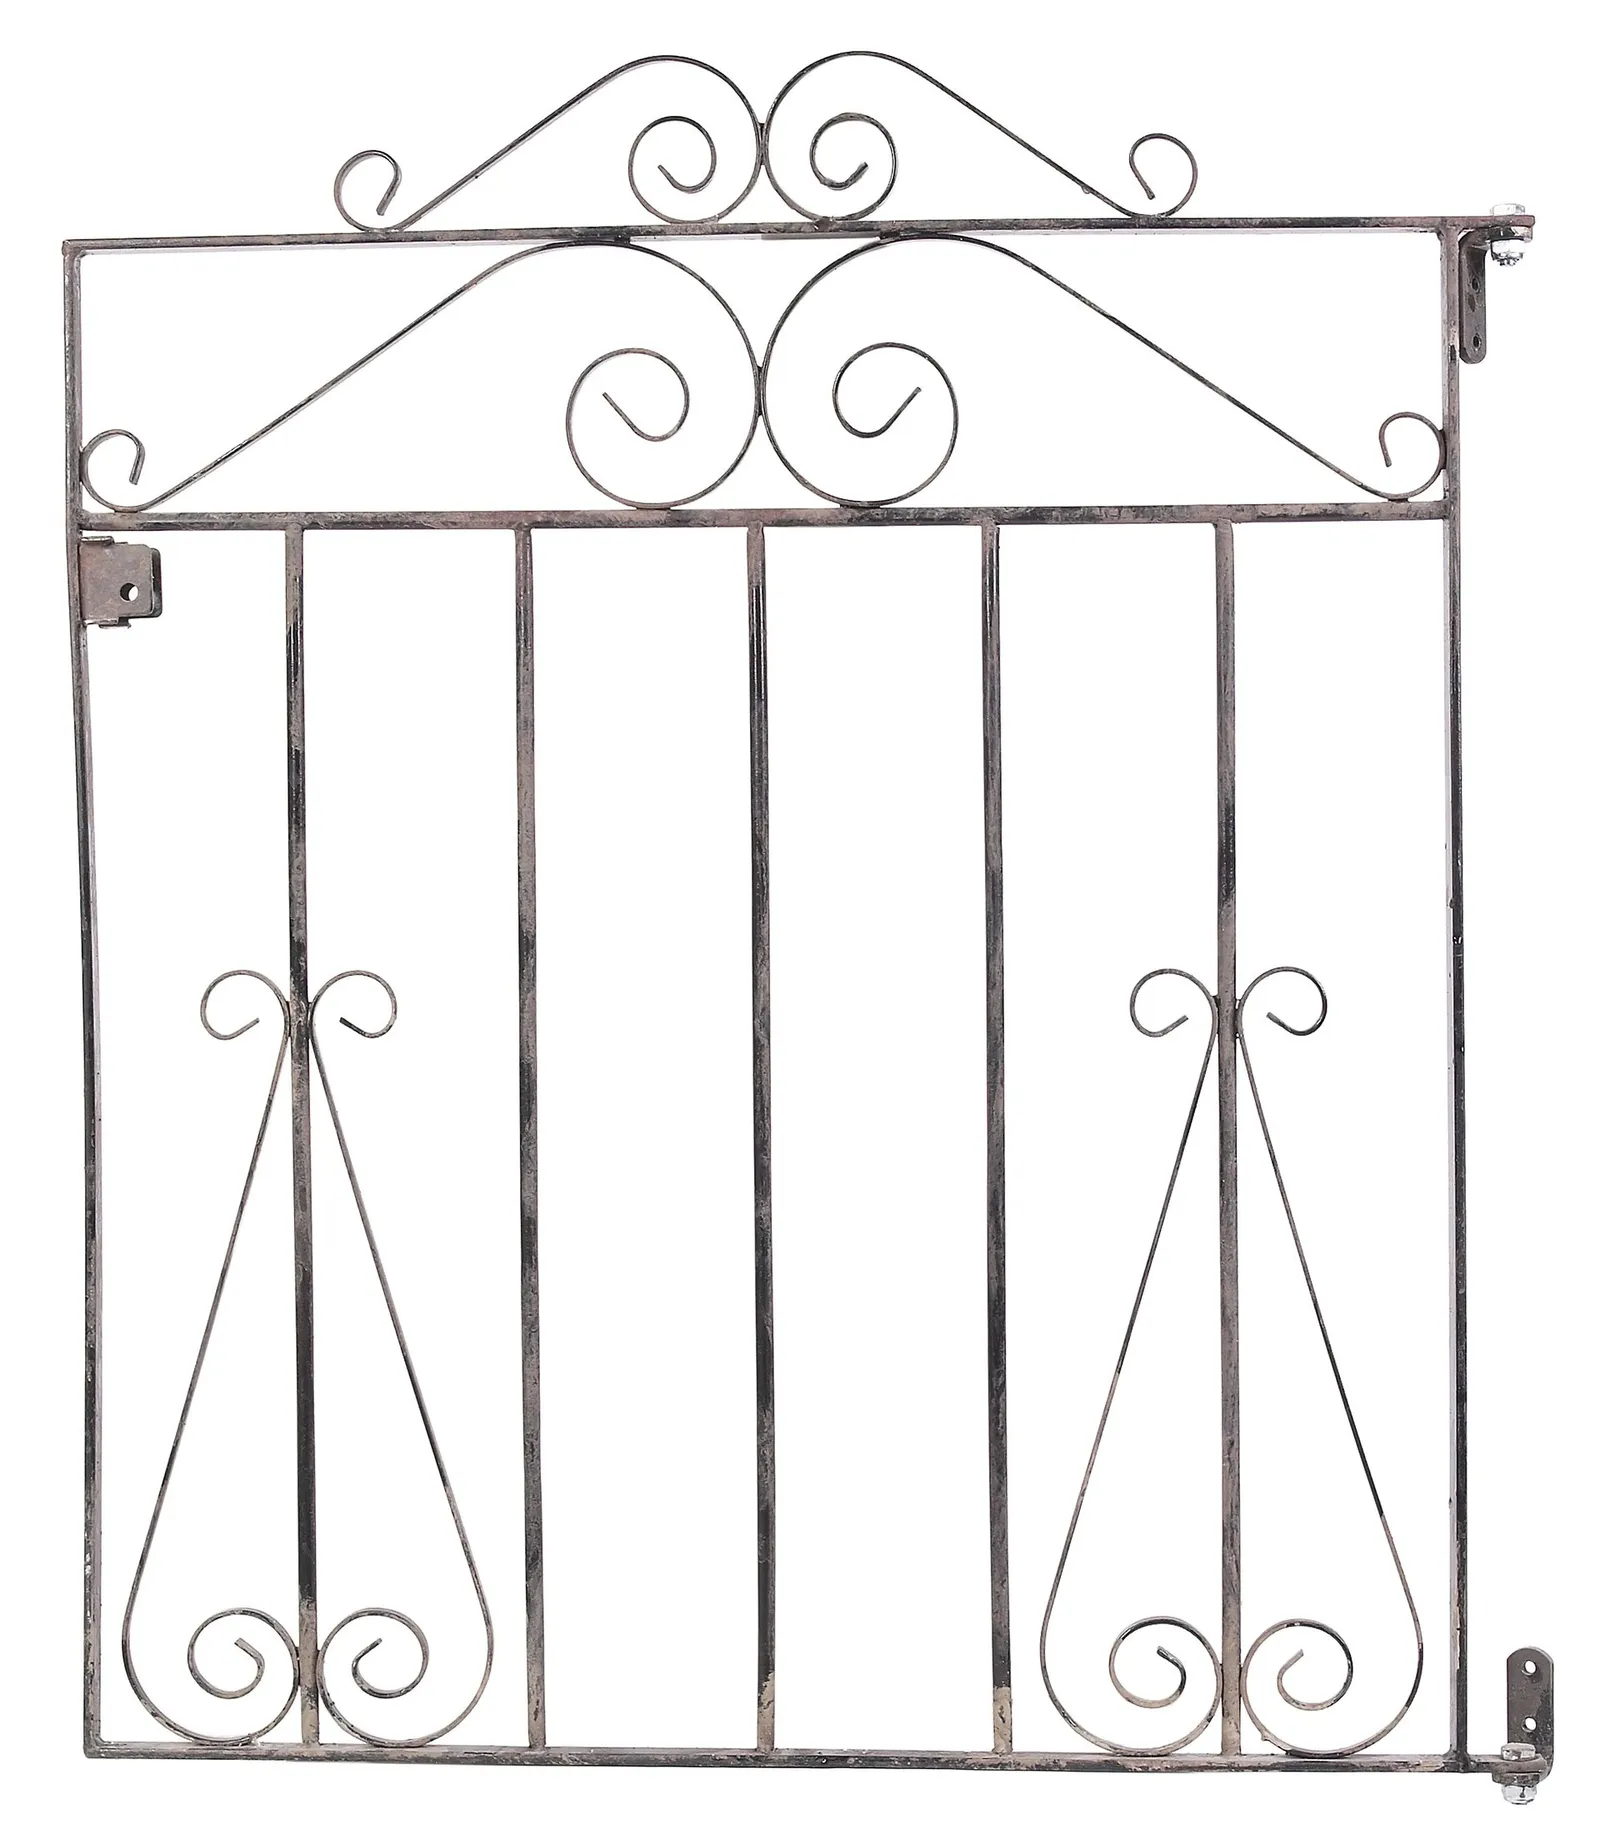
Wrought-iron gates are admired for their enduring style and strength. They can create a memorable impression and convey a sense of elegance and class. The design possibilities for a wrought-iron gate are limited only by your creativity—whether you prefer an elaborate, ornate style or a clean, modern look. Such gates can evoke the past, the present, or the future. Building your own wrought-iron gate can be somewhat challenging, but the end result makes the effort worthwhile.
Step 1: Measure the Opening
Determine the dimensions of the space where the gate will be installed. Ensure your design is proportional, taking into account the posts, hinges, and closing mechanism (which could be a sliding type or a lever type, and can be either bought or fabricated).
Step 2: Design Your Gate
Develop your design based on your own ideas, or find inspiration from designs online or in library books. You might already have a concept in mind, or you can search for ideas. If this is your first project, consider the complexity of the design. With patience, any style can be achieved.
Step 3: Obtain Materials
Buy or order the necessary materials. Some parts, like pickets or posts, may be pre-made. The supplier can assist with this step.
Step 4: Construct the Gate
Fabricate the gate according to your design. If your design includes bends and curves, you will need a torch, anvil and hammer, or a rented bending tool. After shaping the design to your liking, verify it is plumb using carpenter squares. Cutting 45-degree angles at the corners can give a neater appearance.
Step 5: Weld and Finish
Clamp everything in place. Then start welding. First, tack everything using small welds and argon gas, then complete stronger permanent welds. After welding, clean the welds with a hand grinder to smooth and sand them.
Step 6: Inspect and Install
Check the welds to ensure everything is secure, clean, and smooth to your satisfaction. Paint the gate or have it powder-coated. Install the gate, using a level or carpenter square to ensure it is straight and functions properly.