Propagating Proteas: A Cutting-Based Guide
Protea plants, known for their striking flowers surrounded by broad bracts, can be multiplied through cuttings—a rewarding project for dedicated gardeners. Native to South Africa and Australia, these plants flourish in the warmth of USDA hardiness zones 9 and 10.
By Charlie Lee
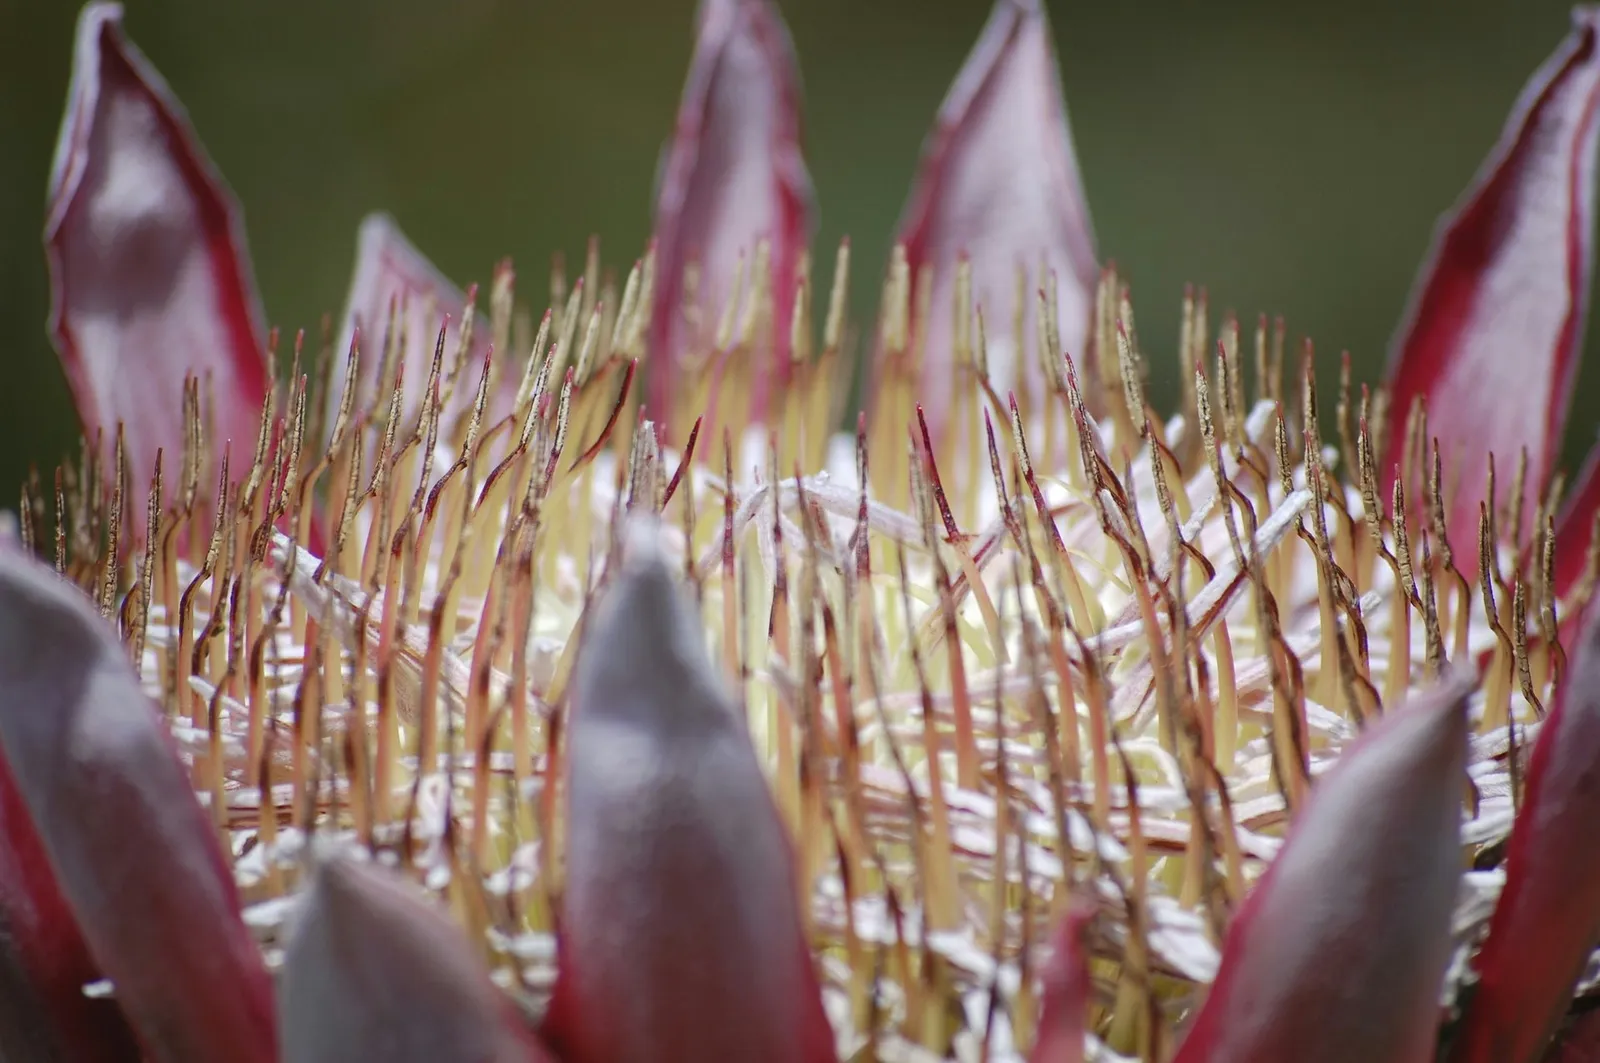
Most protea cultivars, such as "King Protea" (Protea cynaroides) and "Pink Ice" (Protea "Pink Ice"), need perpetually moist soil during flowering.
Protea plants, known for their striking flowers surrounded by broad bracts, can be multiplied through cuttings—a rewarding project for dedicated gardeners. Native to South Africa and Australia, these plants flourish in the warmth of USDA hardiness zones 9 and 10. They can handle temperatures up to 87 degrees Fahrenheit, provided they receive a minimum of 27 inches of water annually, which works out to about 1/2 inch each week.
Initial Steps
Begin by assessing the donor protea's shoot growth in December. Take a 5- or 6-inch cutting and bend it; a suitable cutting will snap cleanly rather than crack dryly or bend too easily. Since moist softwood cuttings are prone to rot, apply a rooting hormone powder containing 0.1 percent indole-3-butyric acid (IBA) to all cut ends—just a light coating to cover the wounds is sufficient. Place the cuttings in perforated plastic growing bags or a covered, sterile seedling tray filled with a 50/50 mix of peat moss and sterile sand.
Establishing Roots
Protea cuttings require direct sunlight and a heating pad positioned beneath the growing bag or seedling tray until transplant time. Mist the plants every hour with distilled water from a spray bottle until new growth appears; once growth is visible, keep the growing medium consistently moist. Root development strong enough for transplanting takes between six and 16 weeks, but hold off for at least eight weeks before testing root strength by gently tugging the main stem. If you're using clear growing bags, transplant the protea once you observe new roots and a color change in the thin starter roots.
Moving to a Larger Container
Putting newly rooted proteas directly into soil lowers their survival odds. Instead, move the cuttings into a 1-quart pot with drainage holes, using a mix of 3 parts sterilized soil and 1 part sterilized sand. Use a wood skewer to loosen the medium around the protea cuttings, and a small spoon to lift out the root system. In the 1-quart pot's growing medium, dig a hole roughly twice the width of the root system and equally deep. Gently separate the roots with a skewer and spread them in the hole. Refill with the removed medium and water until it drains from the pot. Place the proteas outdoors in full sunlight and keep the soil continuously moist to a depth of 1 inch.
Planting in the Ground
The outdoor site for your proteas must have full sun exposure and good drainage. Two to three months after moving the proteas to the 1-quart pot, till the soil in the planting area to a depth of 12 inches. For clay or poorly draining soil, incorporate 6 inches of compost into the ground to a depth of 12 inches. Protea plants struggle in nitrogen-rich soil, so avoid fertilizing. If needed, adjust the soil pH to between 5.0 and 6.0 a month or two before transplanting the cuttings.
Transplanting Outdoors
Stop watering proteas one week prior to planting them in the ground. In the prepared area, dig a hole 1 1/2 times the width of the 1-quart container. Slide the proteas from the pot and carefully loosen the roots by hand. Spread the roots across the bottom of the hole and backfill until the soil level on the main stems matches what it was in the pot. Water at the base of the proteas with 1 quart of water, and maintain soil moisture to a depth of 1 to 2 inches until new growth appears.