Maintaining Grass Shears: Manual Sharpening Methods
Keeping grass shear blades keen lets you make clean cuts through even the finest blades of grass in one stroke, producing neat garden border edges or evenly shaped ornamental grasses. Dull edges from routine use, weather exposure, and neglect cause torn grass tips that are more prone to disease. Sharpening must preserve the original factory bevel for the tool to function correctly, and this can be done by hand using either a mill file or scissor sharpeners.
By Blake Evans11 steps
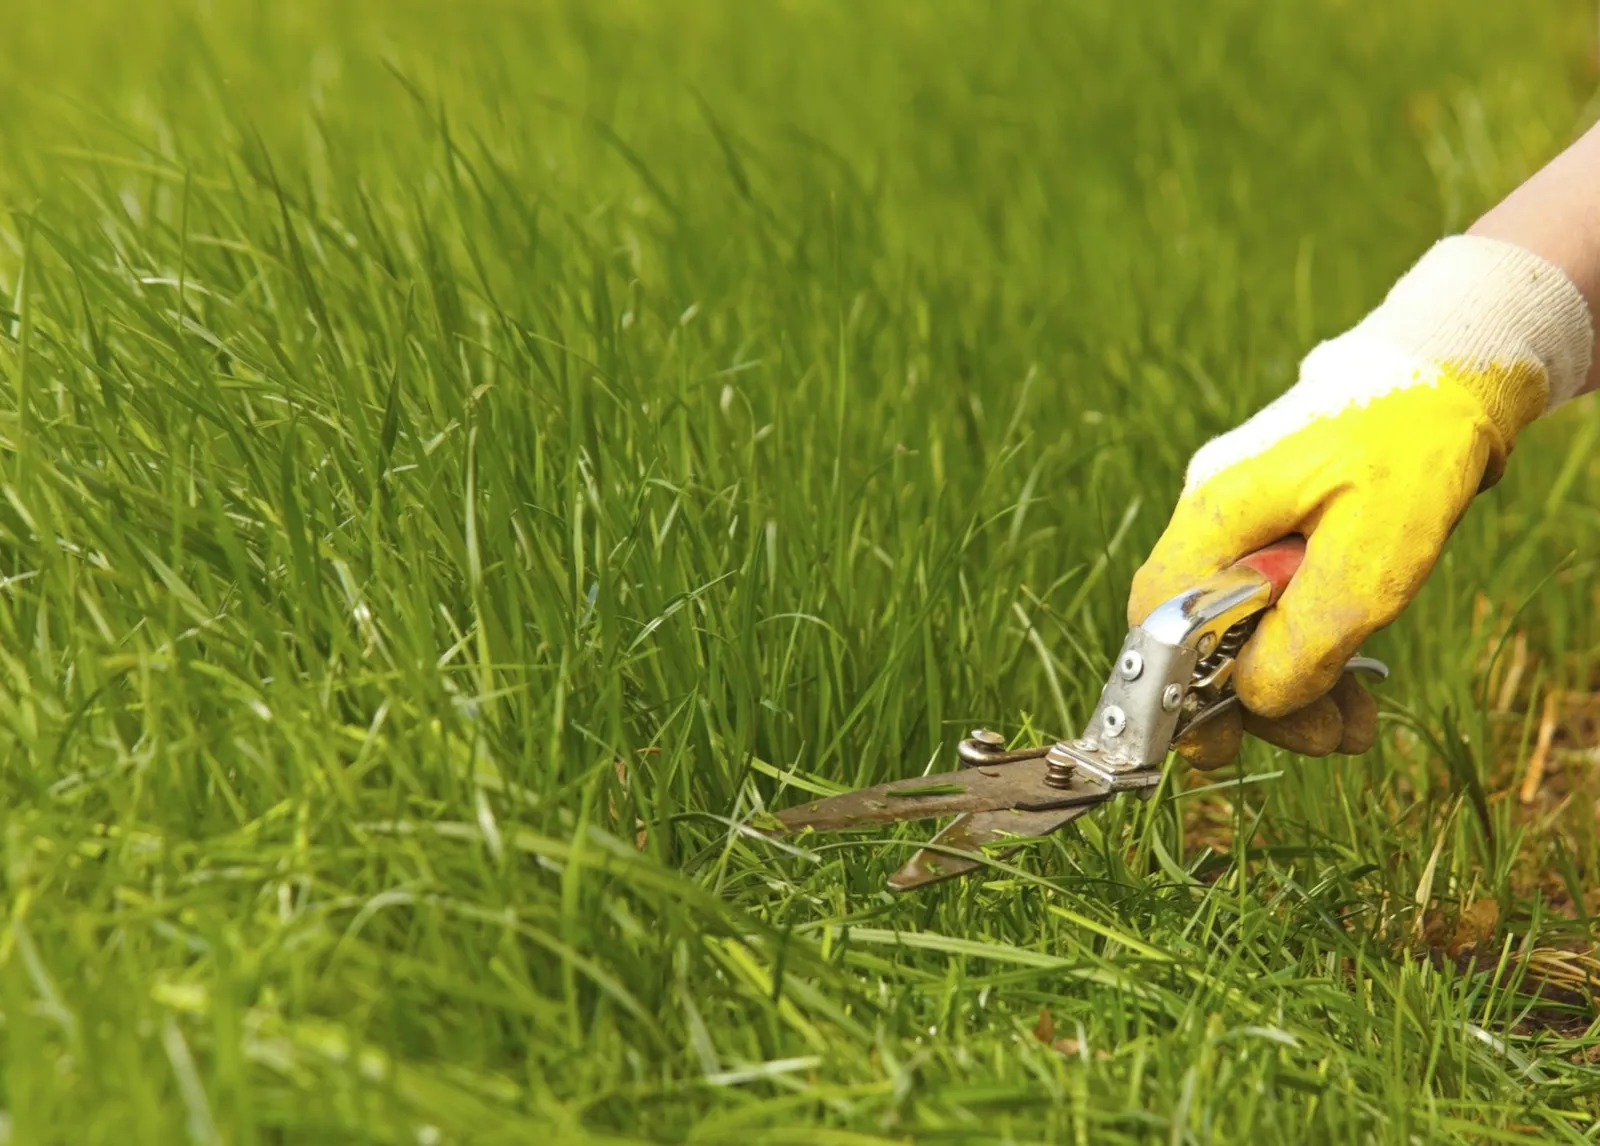
Wipe the shear blades after each use and oil them frequently to prevent rapid blade deterioration.
When grass shear blades are as sharp as a razor, they slice through the thinnest grass in one pass, allowing you to create clean garden border edges or shape ornamental grasses uniformly. Over time, regular use, weather exposure, and insufficient maintenance wear down the fine cutting edge, resulting in jagged grass tips that make the grass more vulnerable to disease. To keep grass shears working as intended, you need to preserve the factory bevel during sharpening. You can sharpen the blades by hand with either a mill file or scissor sharpeners.
Step 1
Clamp the grass shears in a table vise, positioning one blade pointing upward. The bottom of the factory bevel should be nearest to you, with the beveled edge angling up and away. If the second blade cannot be moved aside, use a wrench to take off the pivot nut and detach the two blade-handle sections.
Step 2
Place the 10-inch mill file against the blade at the tip of the grass shears. Adjust the file's angle up or down until it matches the factory bevel angle.
Step 3
Slide the file forward over the blade to remove a small amount of metal. Keep the bevel angle consistent throughout the stroke.
Step 4
Shift the file a little lower than the previous spot and push it across the blade. Continue this along the entire blade length. Then go back to where you started and make a second pass, working down the blade again. Keep repeating until the edge is sharp.
Step 5
Clamp the second blade in the table vise. Sharpen it from tip to base, using the factory bevel as your reference. If you removed the pivot nut earlier, put it back to reconnect the parts.
Step 6
Spread motor oil over the exposed metal of each blade to ward off rust. Test the blades by opening and closing them. If you feel any resistance, put motor oil on the spots where the blades meet and on all moving components.
Step 1
Use a wrench to remove the pivot nut. Detach the two blade-handle sections of the grass shears.
Step 2
Set the first blade handle with its edge pointing straight up. Keep it steady with your non-dominant hand, or secure it in a table vise.
Step 3
Put the sharpening surface of the scissor sharpener at the base of the blade. This surface is a V-shaped notch that fits over the blade. It must line up with and make contact with the factory bevel.
Step 4
Draw the sharpener from the base to the tip of the blade in one continuous motion, using light, even pressure. Do this 10 to 12 times, or until the edge is razor sharp. Then repeat with the second blade.
Step 5
Put the shear blades back together and tighten the pivot nut. Apply motor oil along the sharpened edge and to any moving parts where you notice friction.