DIY Maid Headpiece: Three No-Sew Styles Using Doilies and Ribbon
Create period-appropriate maid headwear without touching a needle. Depending on the silhouette you want—whether a 1920s forehead band, a late-1800s ribbon-tied style, or a small mid-20th-century topper—a crochet doily and narrow black velvet ribbon form the basic materials. Historically these pieces were white so they could be bleached, starched, and pressed.
By Skyler Scott11 steps
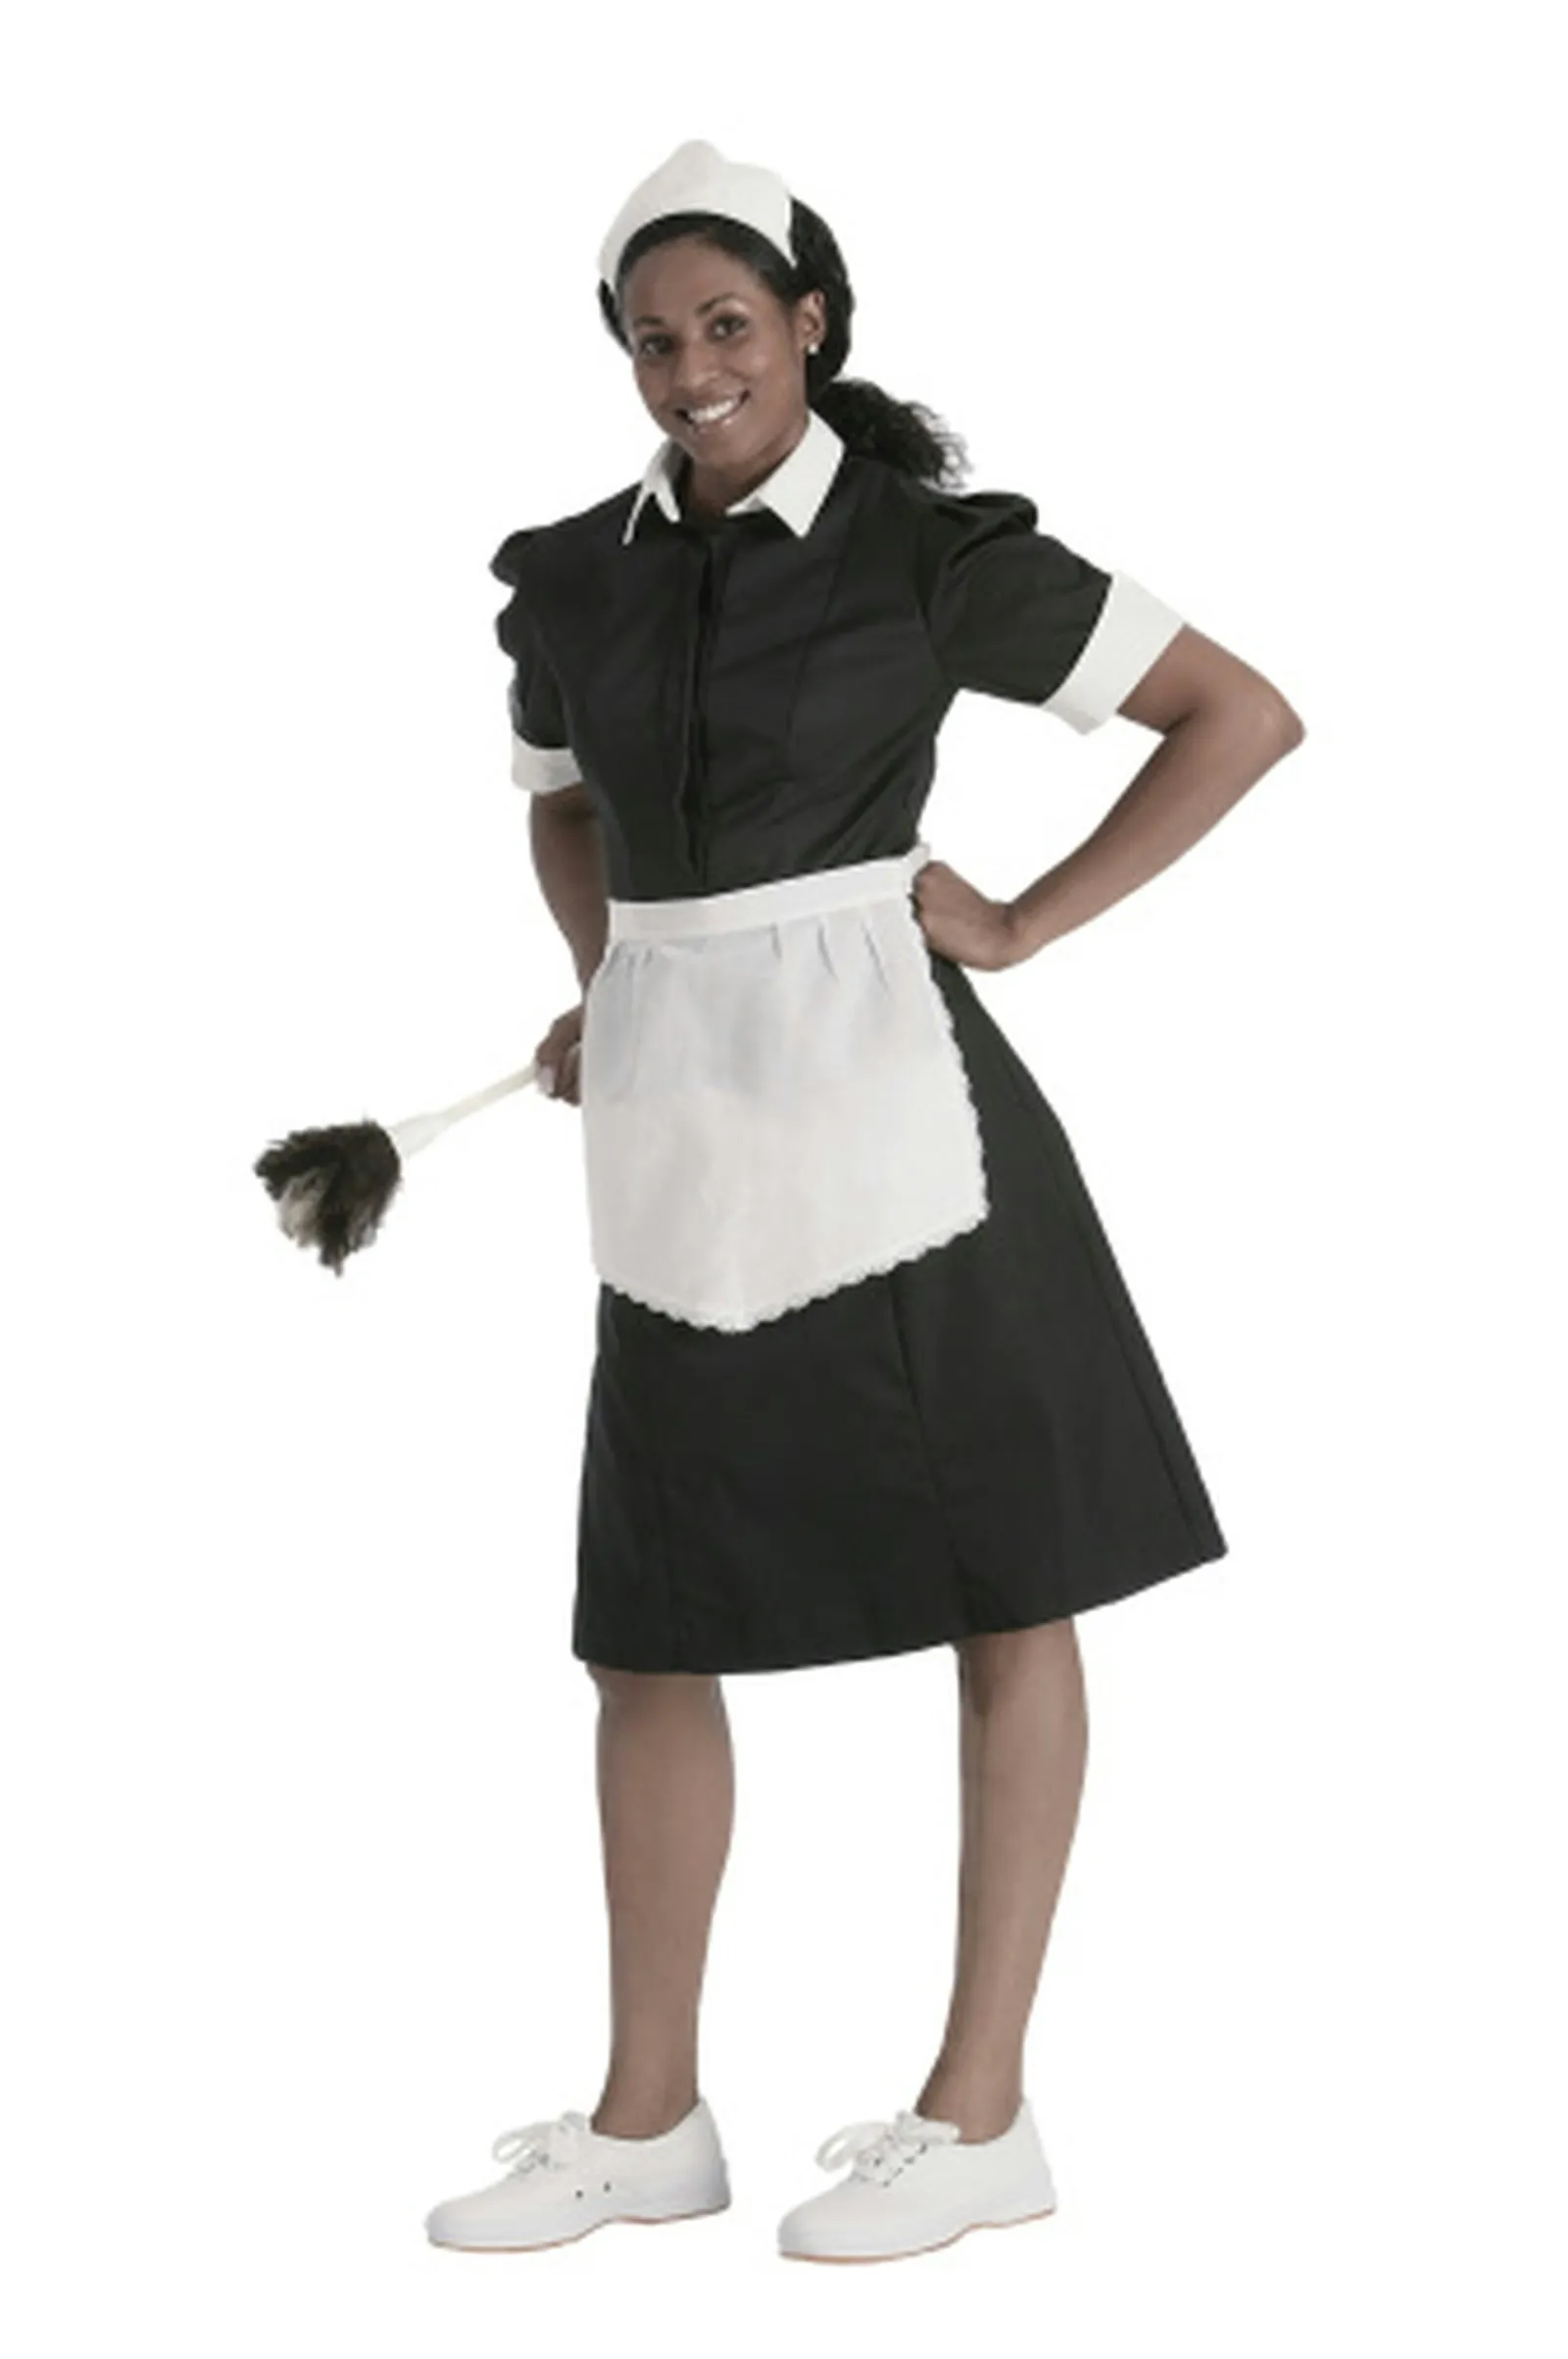
A modern maid hat is similar to a 1920s era hat worn further back on the head.
You can put together a maid hat without any sewing at all. A single lace doily plus a length of thin black velvet ribbon is enough to reproduce headwear from several different periods. Maid uniforms have historically tracked wider fashion trends: in the 1920s, for instance, hats circled the forehead much like the headbands popular at that time. Toward the end of the 1800s, both women generally and maids specifically wore hats positioned toward the back of the head, secured with ribbon. By the later 20th century, maid hats had shrunk to small pieces resting on the crown. Each of these versions was traditionally made in white, a color chosen because it could be bleached, starched, and ironed.
Step 1
Take a 6-inch length of the 1/4-inch black velvet ribbon and form it into a small bow.
Step 2
Attach the bow with a pin to the middle of a crochet lace doily measuring 6 inches across. Craft stores carry crochet lace doilies. Because the bow is pinned rather than sewn, you can take it off before washing the hat. This bow sits on the upper surface of the hat.
Step 3
Thread a 2-foot piece of the same black velvet ribbon through the lace on one side of the doily, roughly an inch in from the outer edge. Pass the ribbon beneath the hat and bring it back up through a hole in the lace on the opposite side. Crochet lace is full of large openings that make threading straightforward. Draw the ribbon through until both sides have equal lengths. Adjust the ribbon while keeping the hat flat.
Step 4
To wear it, gather your hair into a bun positioned high and toward the back of your head. Set the hat in front of the bun and tie the ribbon ends in a bow close to the nape of your neck. Secure the ribbons with bobby pins.
Step 1
Take an 8-inch doily and fold it in half, making sure the lace pattern lines up on both sides of the fold.
Step 2
Weave a 3-foot length of 1/4-inch black velvet ribbon in and out through the lace, about 1/2 inch above the folded edge. The ribbon needs to pass through both layers of lace. You can choose to weave it in and out roughly every inch, or instead run it into the lace on the right side and out on the left. Let the lace pattern guide your choice.
Step 3
Draw the ribbon through until the ends are equal on both sides.
Step 4
To wear it, set the folded edge across your forehead and tie the ribbons behind your head in a small bow. The rounded edge of the hat will stand upright. This version comes with long streamers.
Step 1
Form a small bow using an 8-inch piece of 1/4-inch wide black velvet ribbon.
Step 2
Pin the bow to the top of a 6-inch crochet lace doily.
Step 3
To wear it, pin the hat to the top of your head using bobby pins.