Creating Shrunken Head Cake Pops Inspired by Beetlejuice
A step-by-step guide to crafting cake pops that resemble the shrunken head character from Beetlejuice, perfect for celebrating the sequel.
By Hayden Murphy
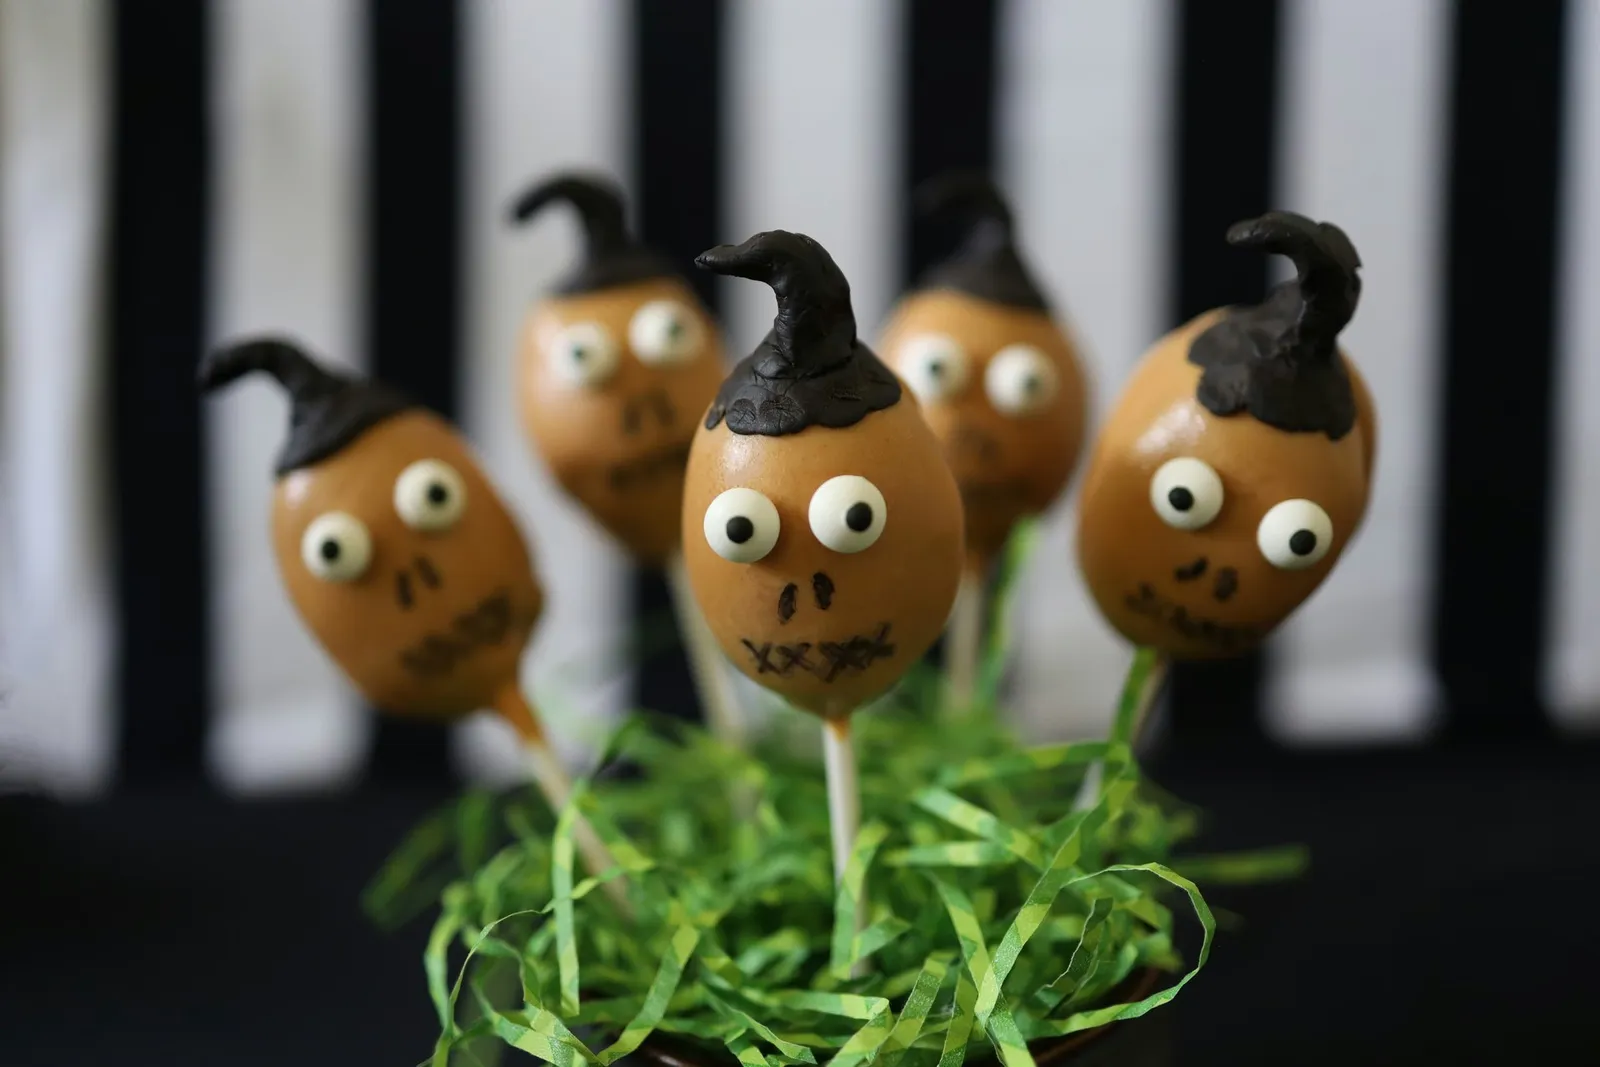
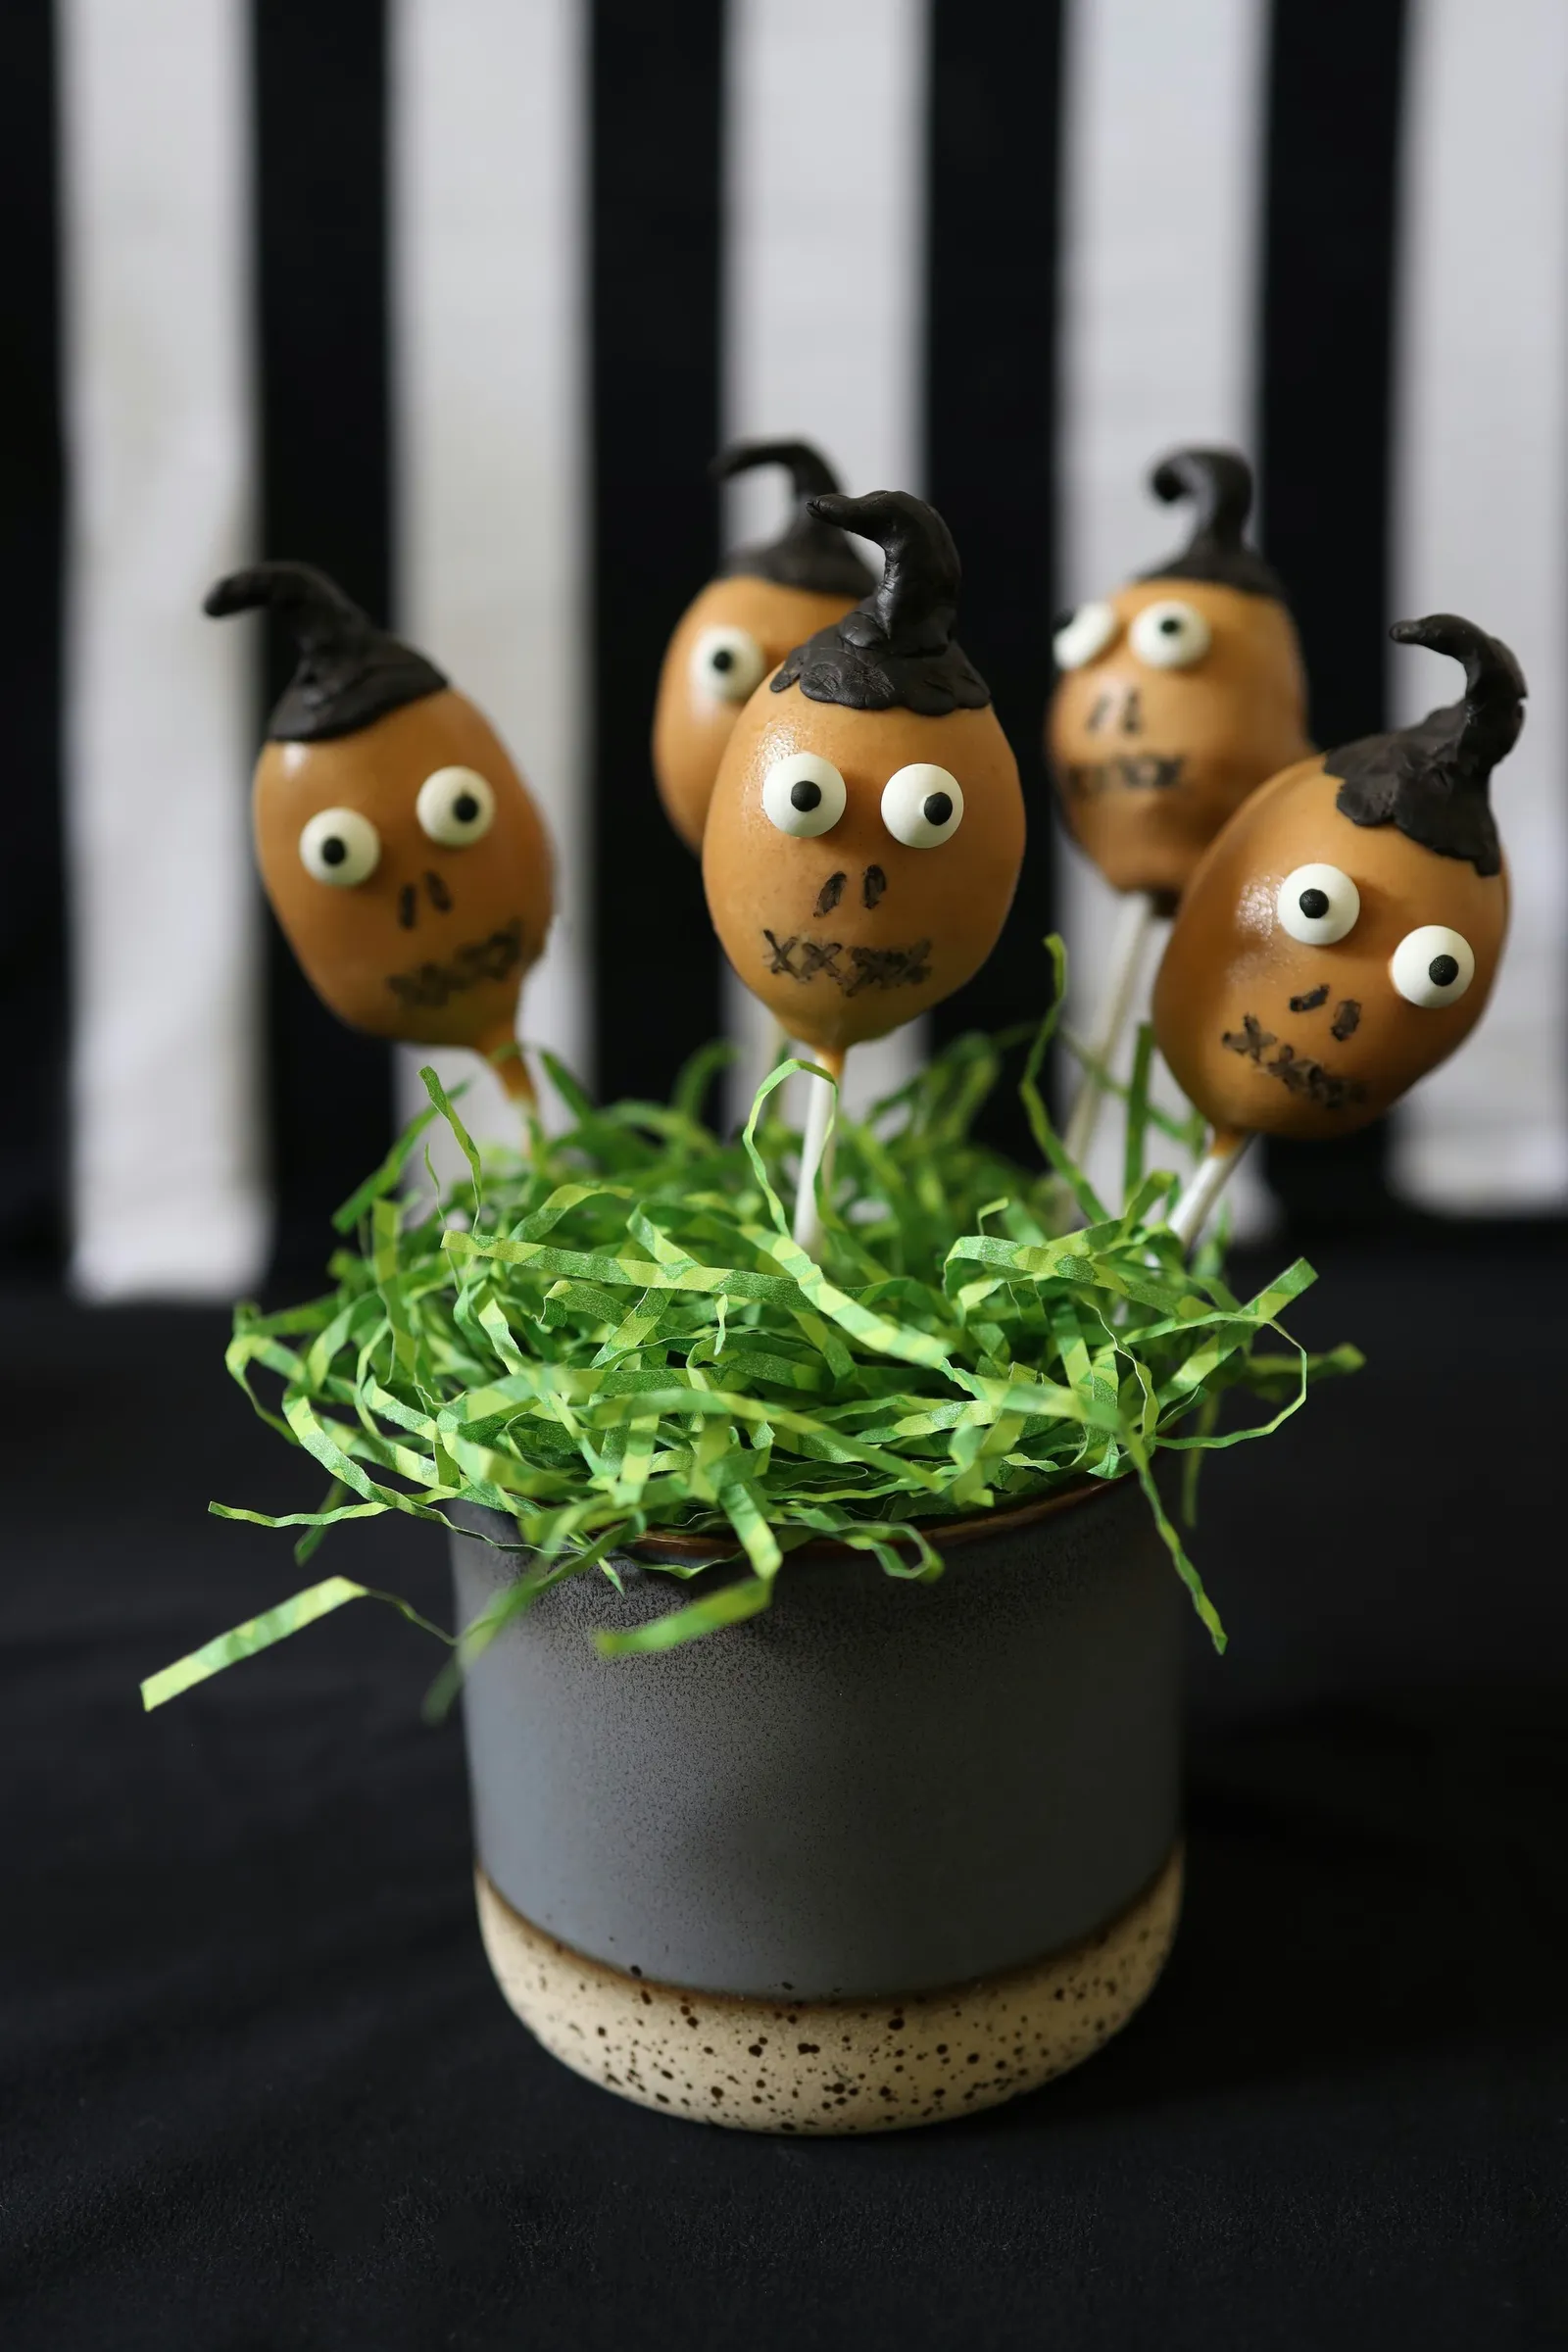
With the long-awaited Beetlejuice sequel arriving after 36 years, fans can honor the film's return by making cake pops shaped like the shrunken head guy, one of its most memorable figures. These treats are ideal for enjoying before or after watching the movie.
You don't need the Handbook for the Recently Deceased or advanced baking skills—these cake pops are simple to prepare. Featuring a chocolate cake interior and a peanut butter candy shell, they are both tasty and entertaining to eat. Just remember not to utter the name of you-know-who three times while indulging.
Video: How to Make Beetlejuice Shrunken Head Cake Pops
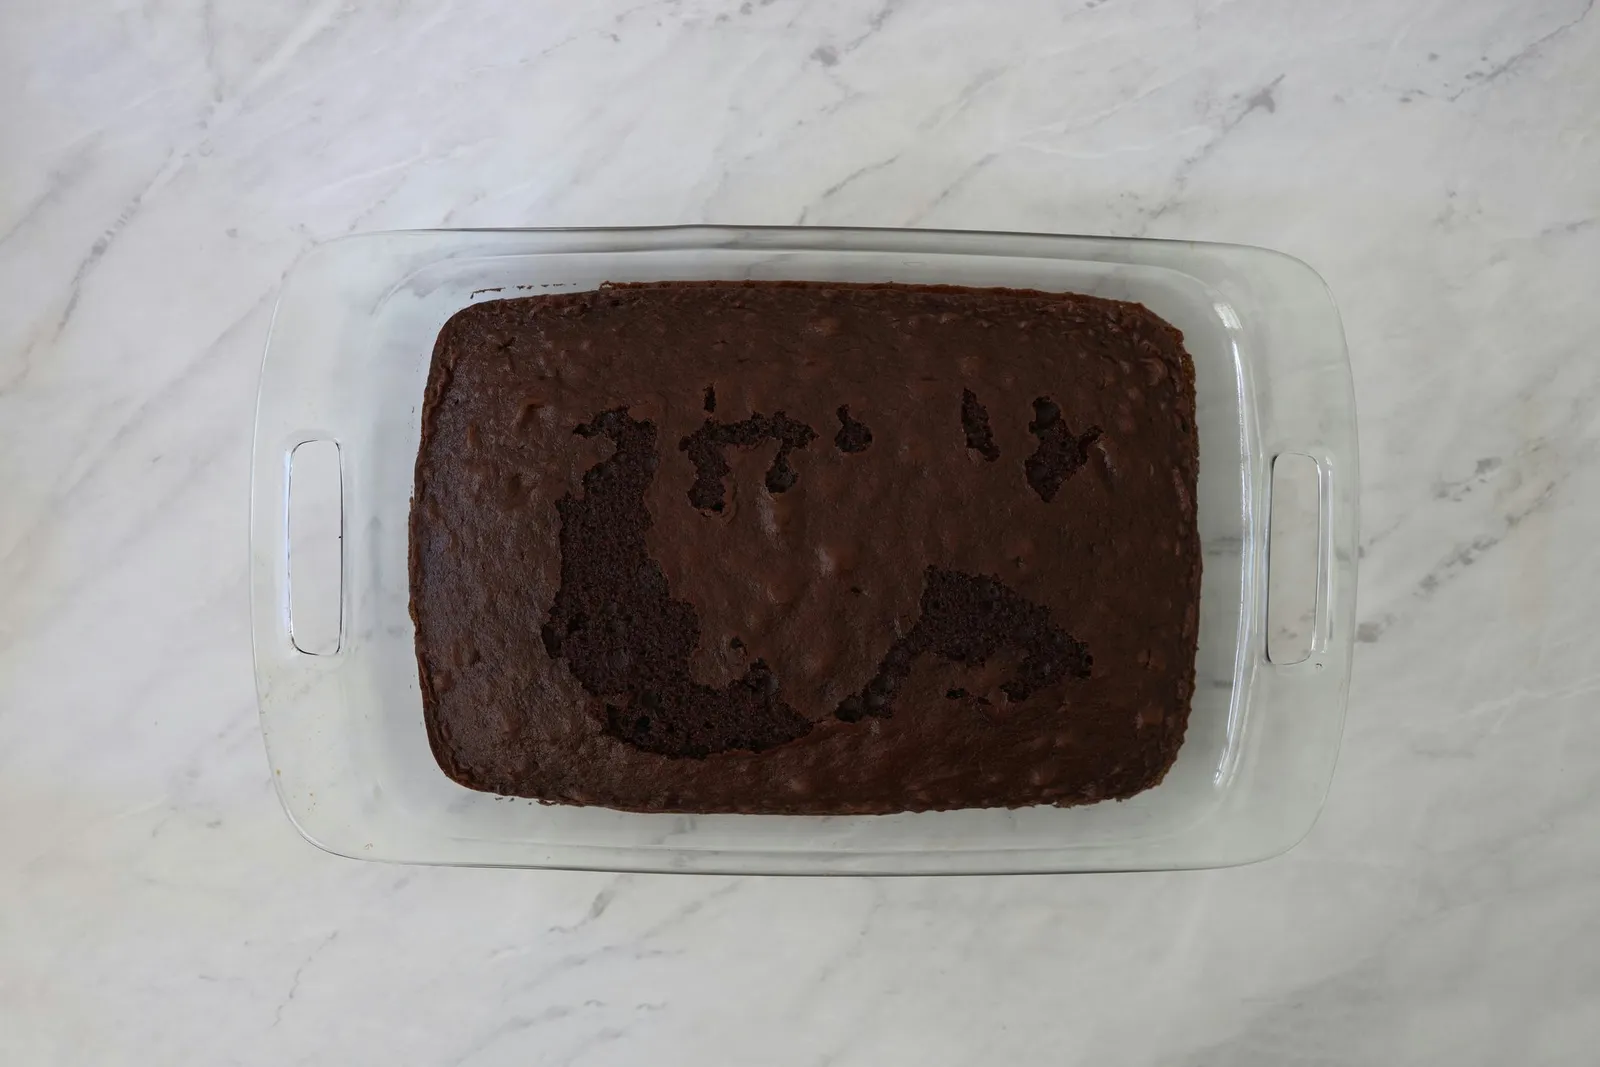
1. Bake the cake
Prepare a chocolate cake using a boxed mix or your preferred homemade recipe. Let it cool fully. I used a boxed mix baked in a 9-inch by 13-inch pan, which yielded 24 cake pops.
2. Crumble the cake
After cooling, transfer the cake to a large bowl and use a fork to break it into fine crumbs.
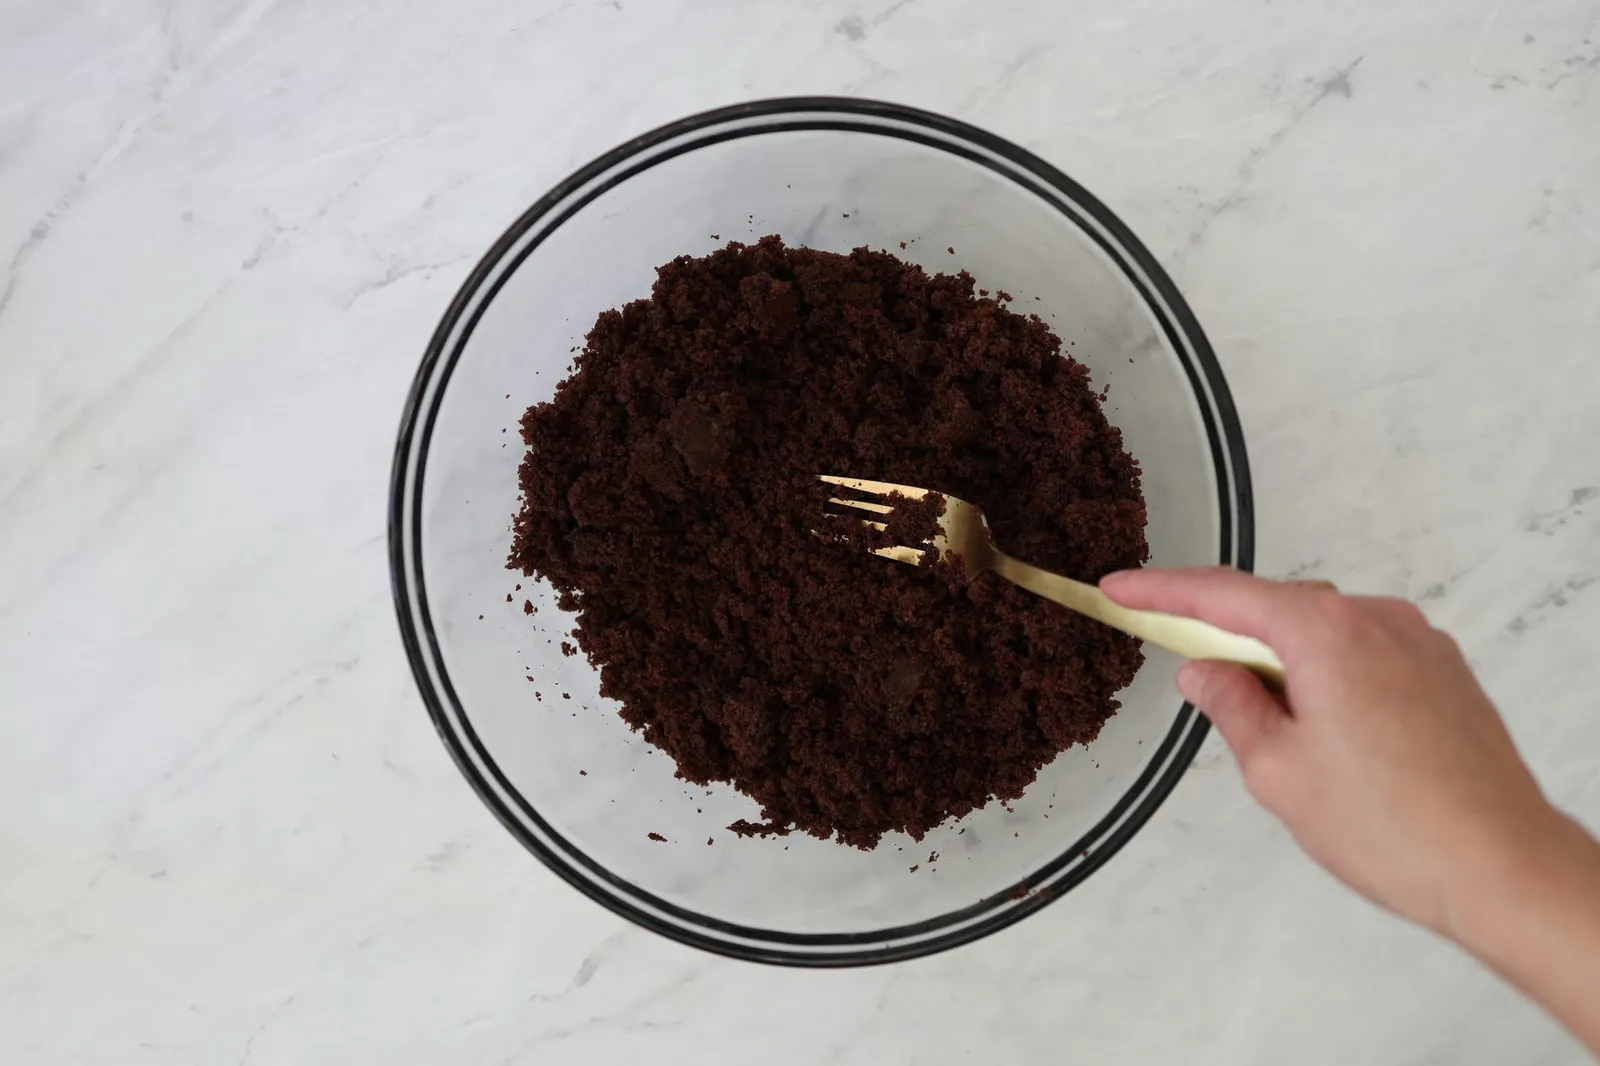
3. Add the frosting
Begin by mixing 2 tablespoons of chocolate frosting into the cake crumbs until well incorporated. If necessary, add more frosting one tablespoon at a time until the mixture reaches a cookie dough-like consistency (I used 4 tablespoons in total). The mixture should be moist enough to shape into balls but not so moist that it crumbles and loses form.
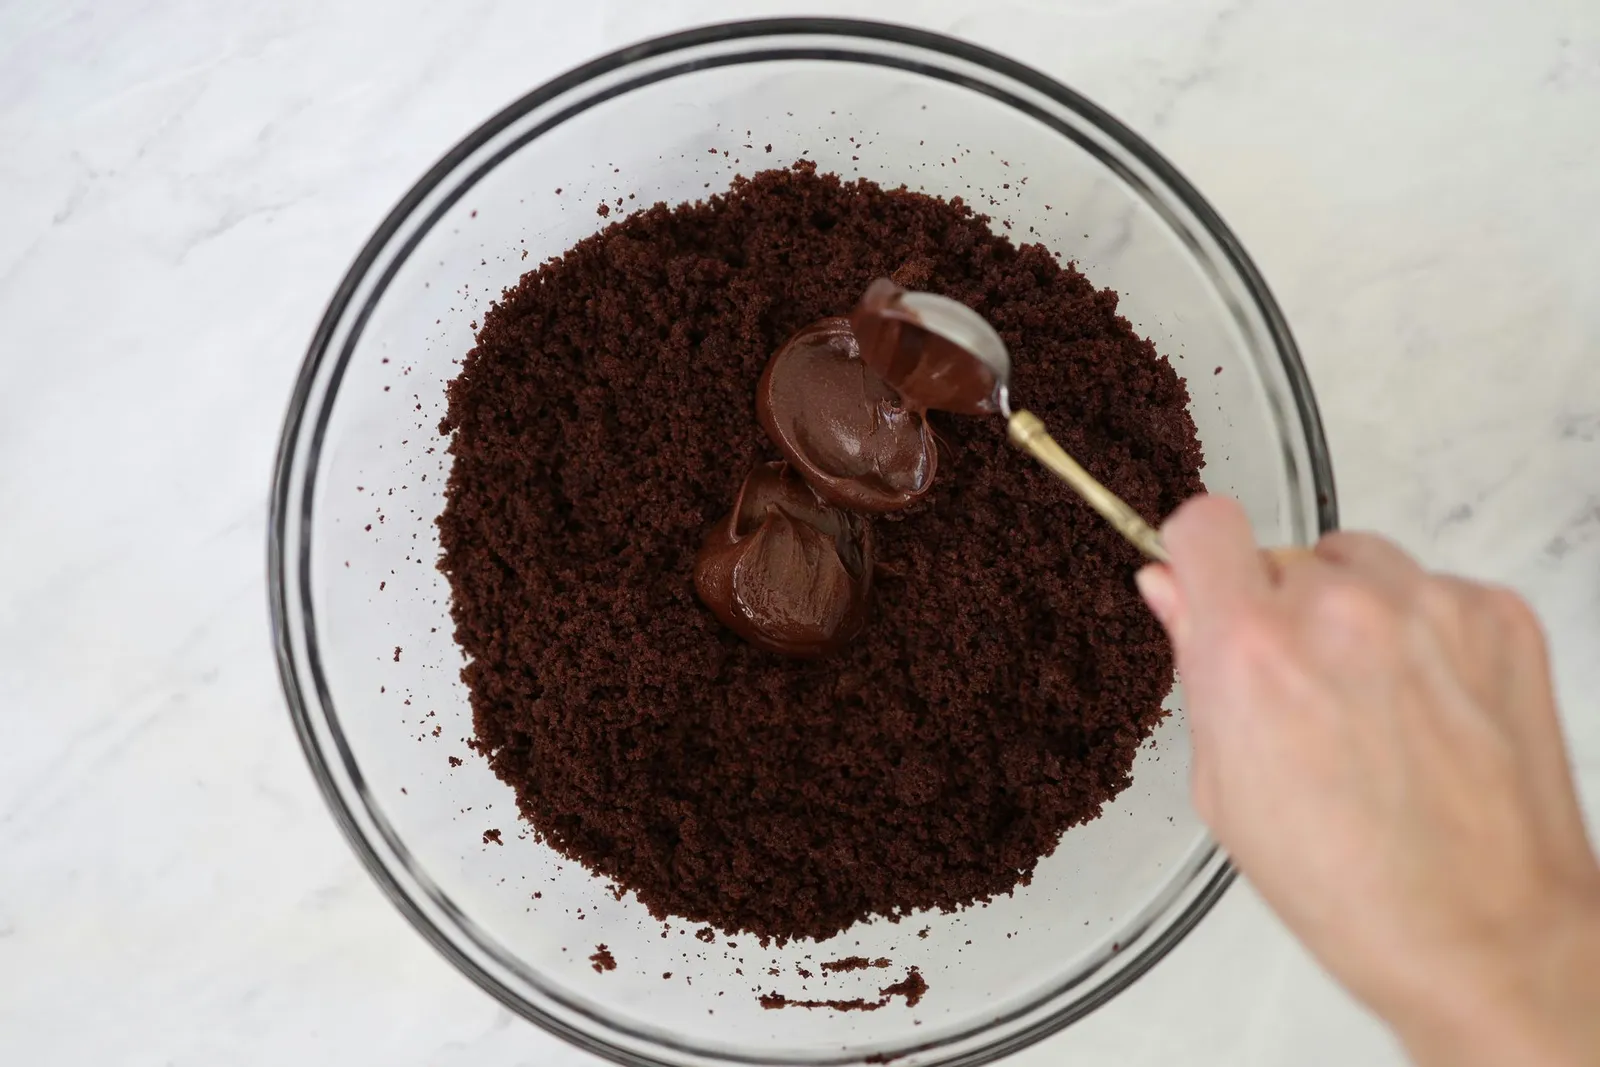
4. Roll the cake pops
Take a heaping tablespoon of the mixture and roll it by hand into an oval ball. Place it on a parchment-lined baking sheet. Repeat, spacing the pops an inch apart, until the sheet is filled. Freeze the cake pops for 30 minutes to firm them up, making them easier to dip in melted candy.
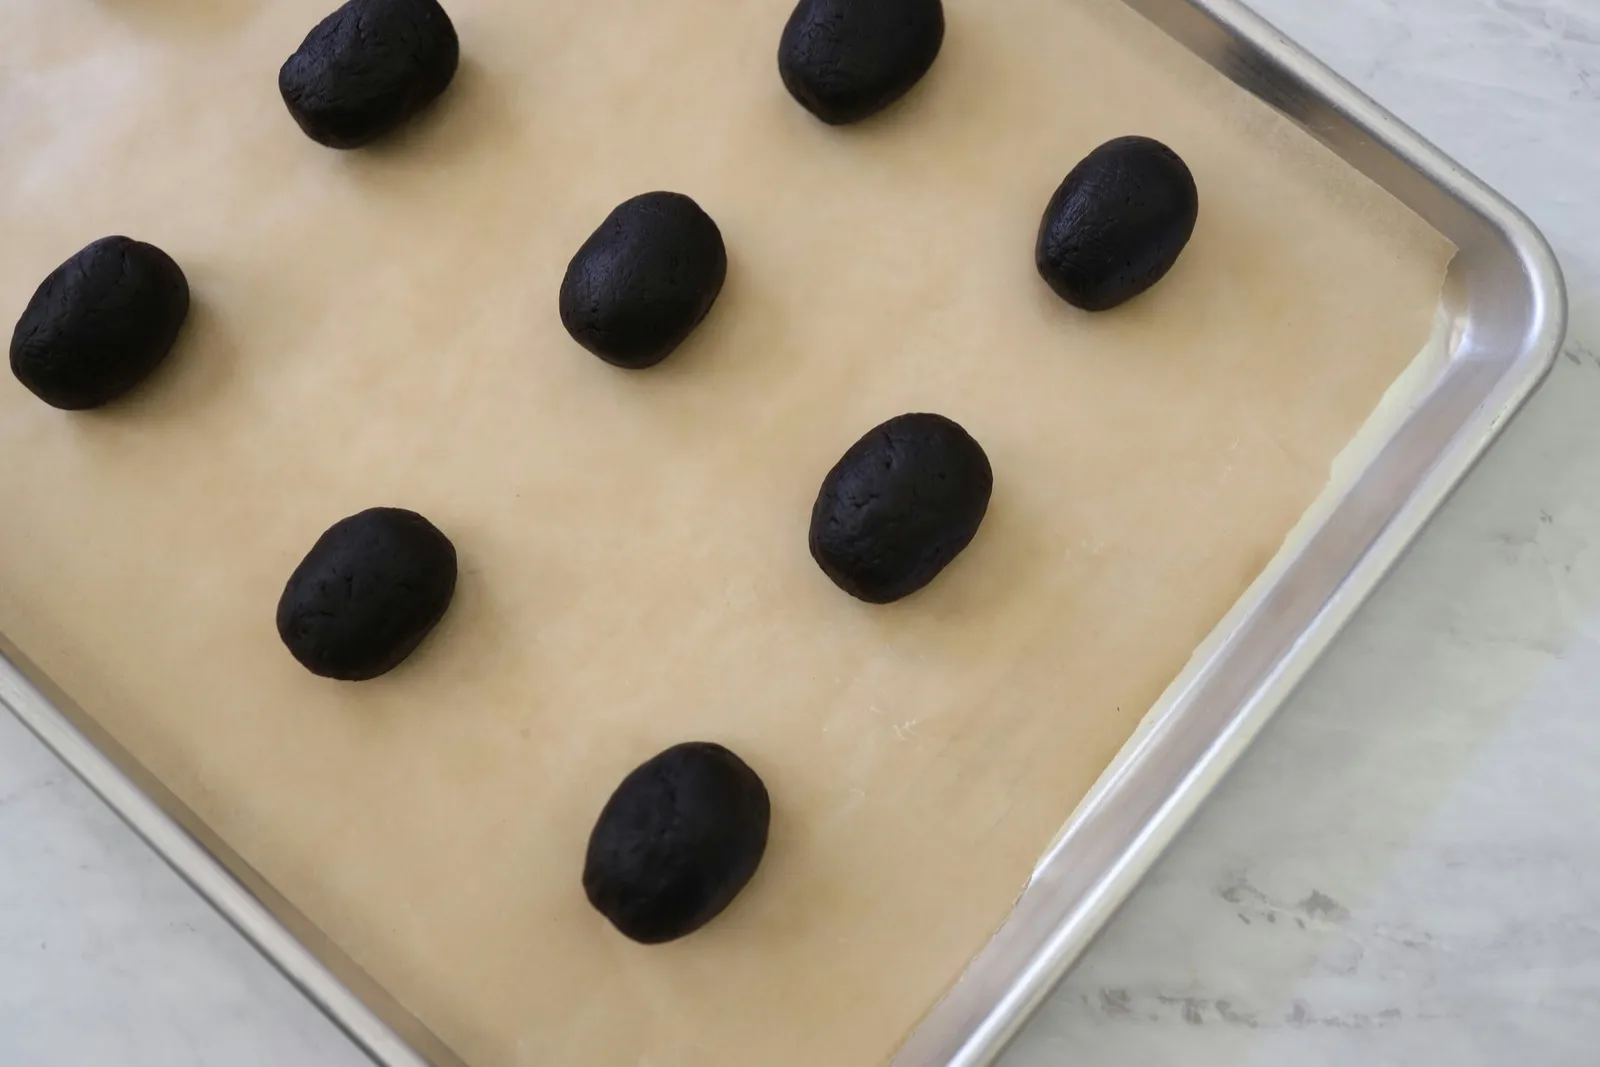
5. Melt the candy melts
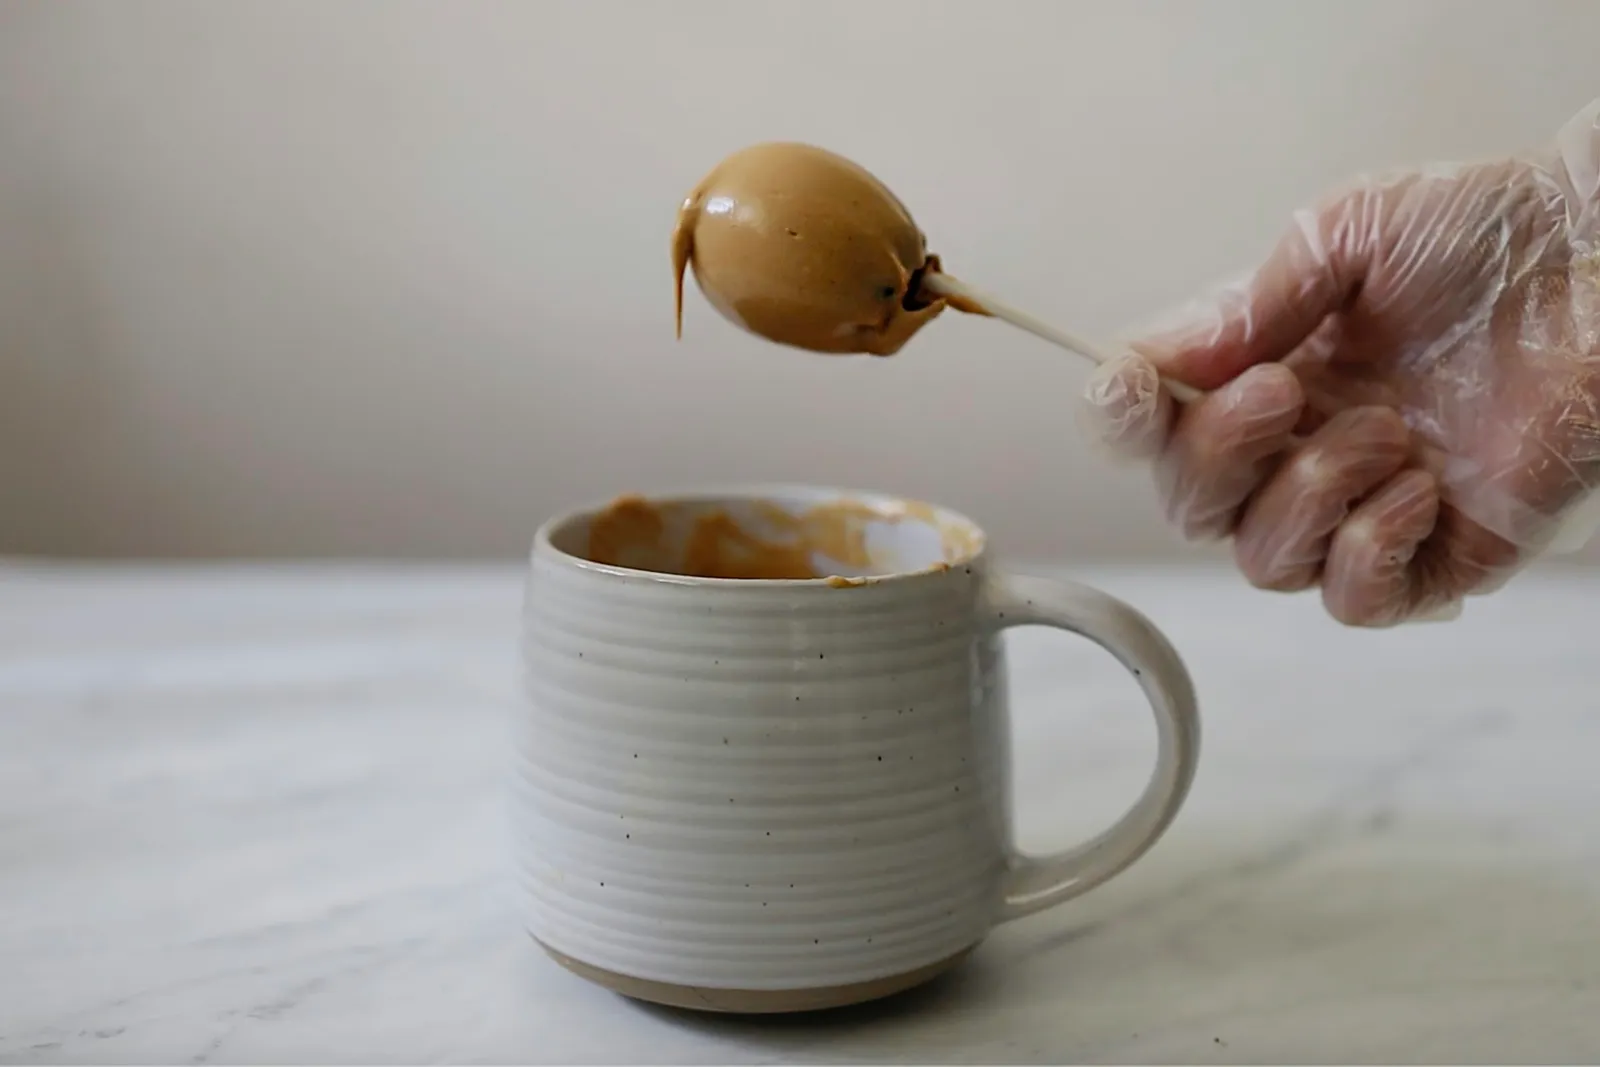
Empty a package of peanut butter candy melts into a microwave-safe mug (or a glass measuring cup). Microwave according to the package instructions. Using a mug or similar deep container allows you to fully submerge the cake pops and coat them in one dip.
6. Insert the treat sticks
Dip the tip of a treat stick into the melted candy and immediately insert it into the end of a cake pop, pushing it about halfway through the center. Let the cake pops sit for a few minutes so the candy hardens around the sticks.
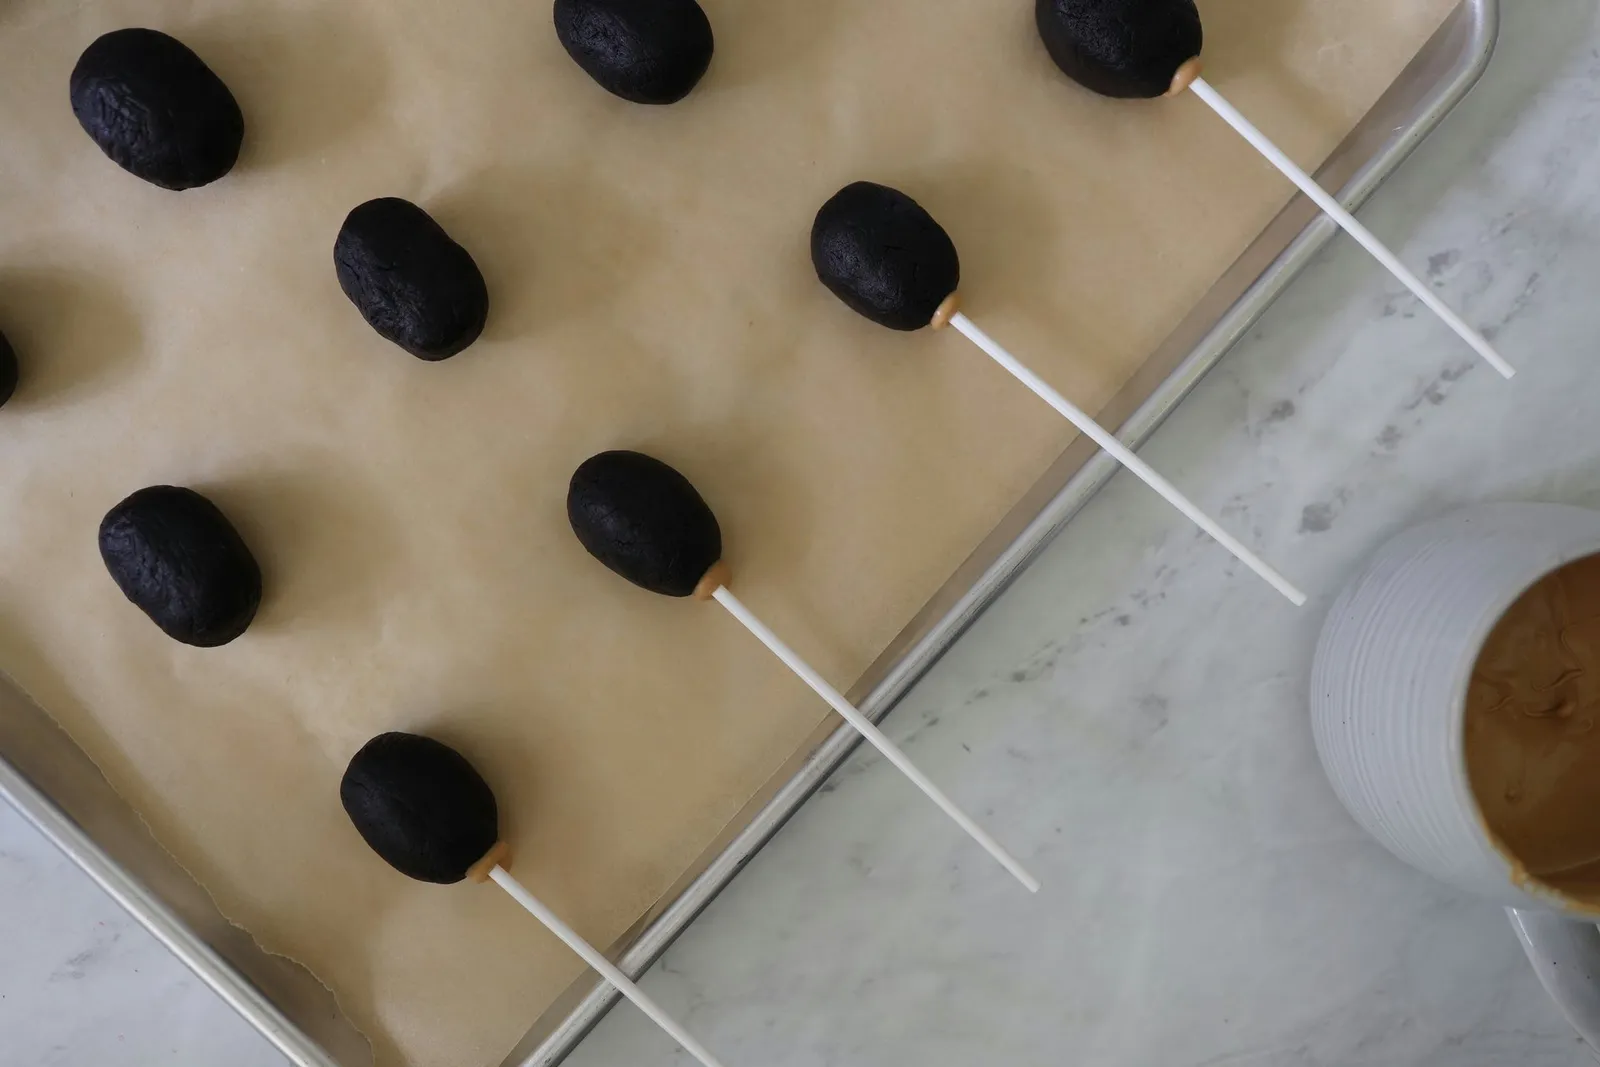
7. Dip the cake pops
Dip each cake pop into the melted peanut butter candy and gently swirl or tap off excess. Insert the treat sticks into Styrofoam, floral foam, or a cake pop stand to keep them upright while drying. Let the coating harden completely, about 15 to 20 minutes.
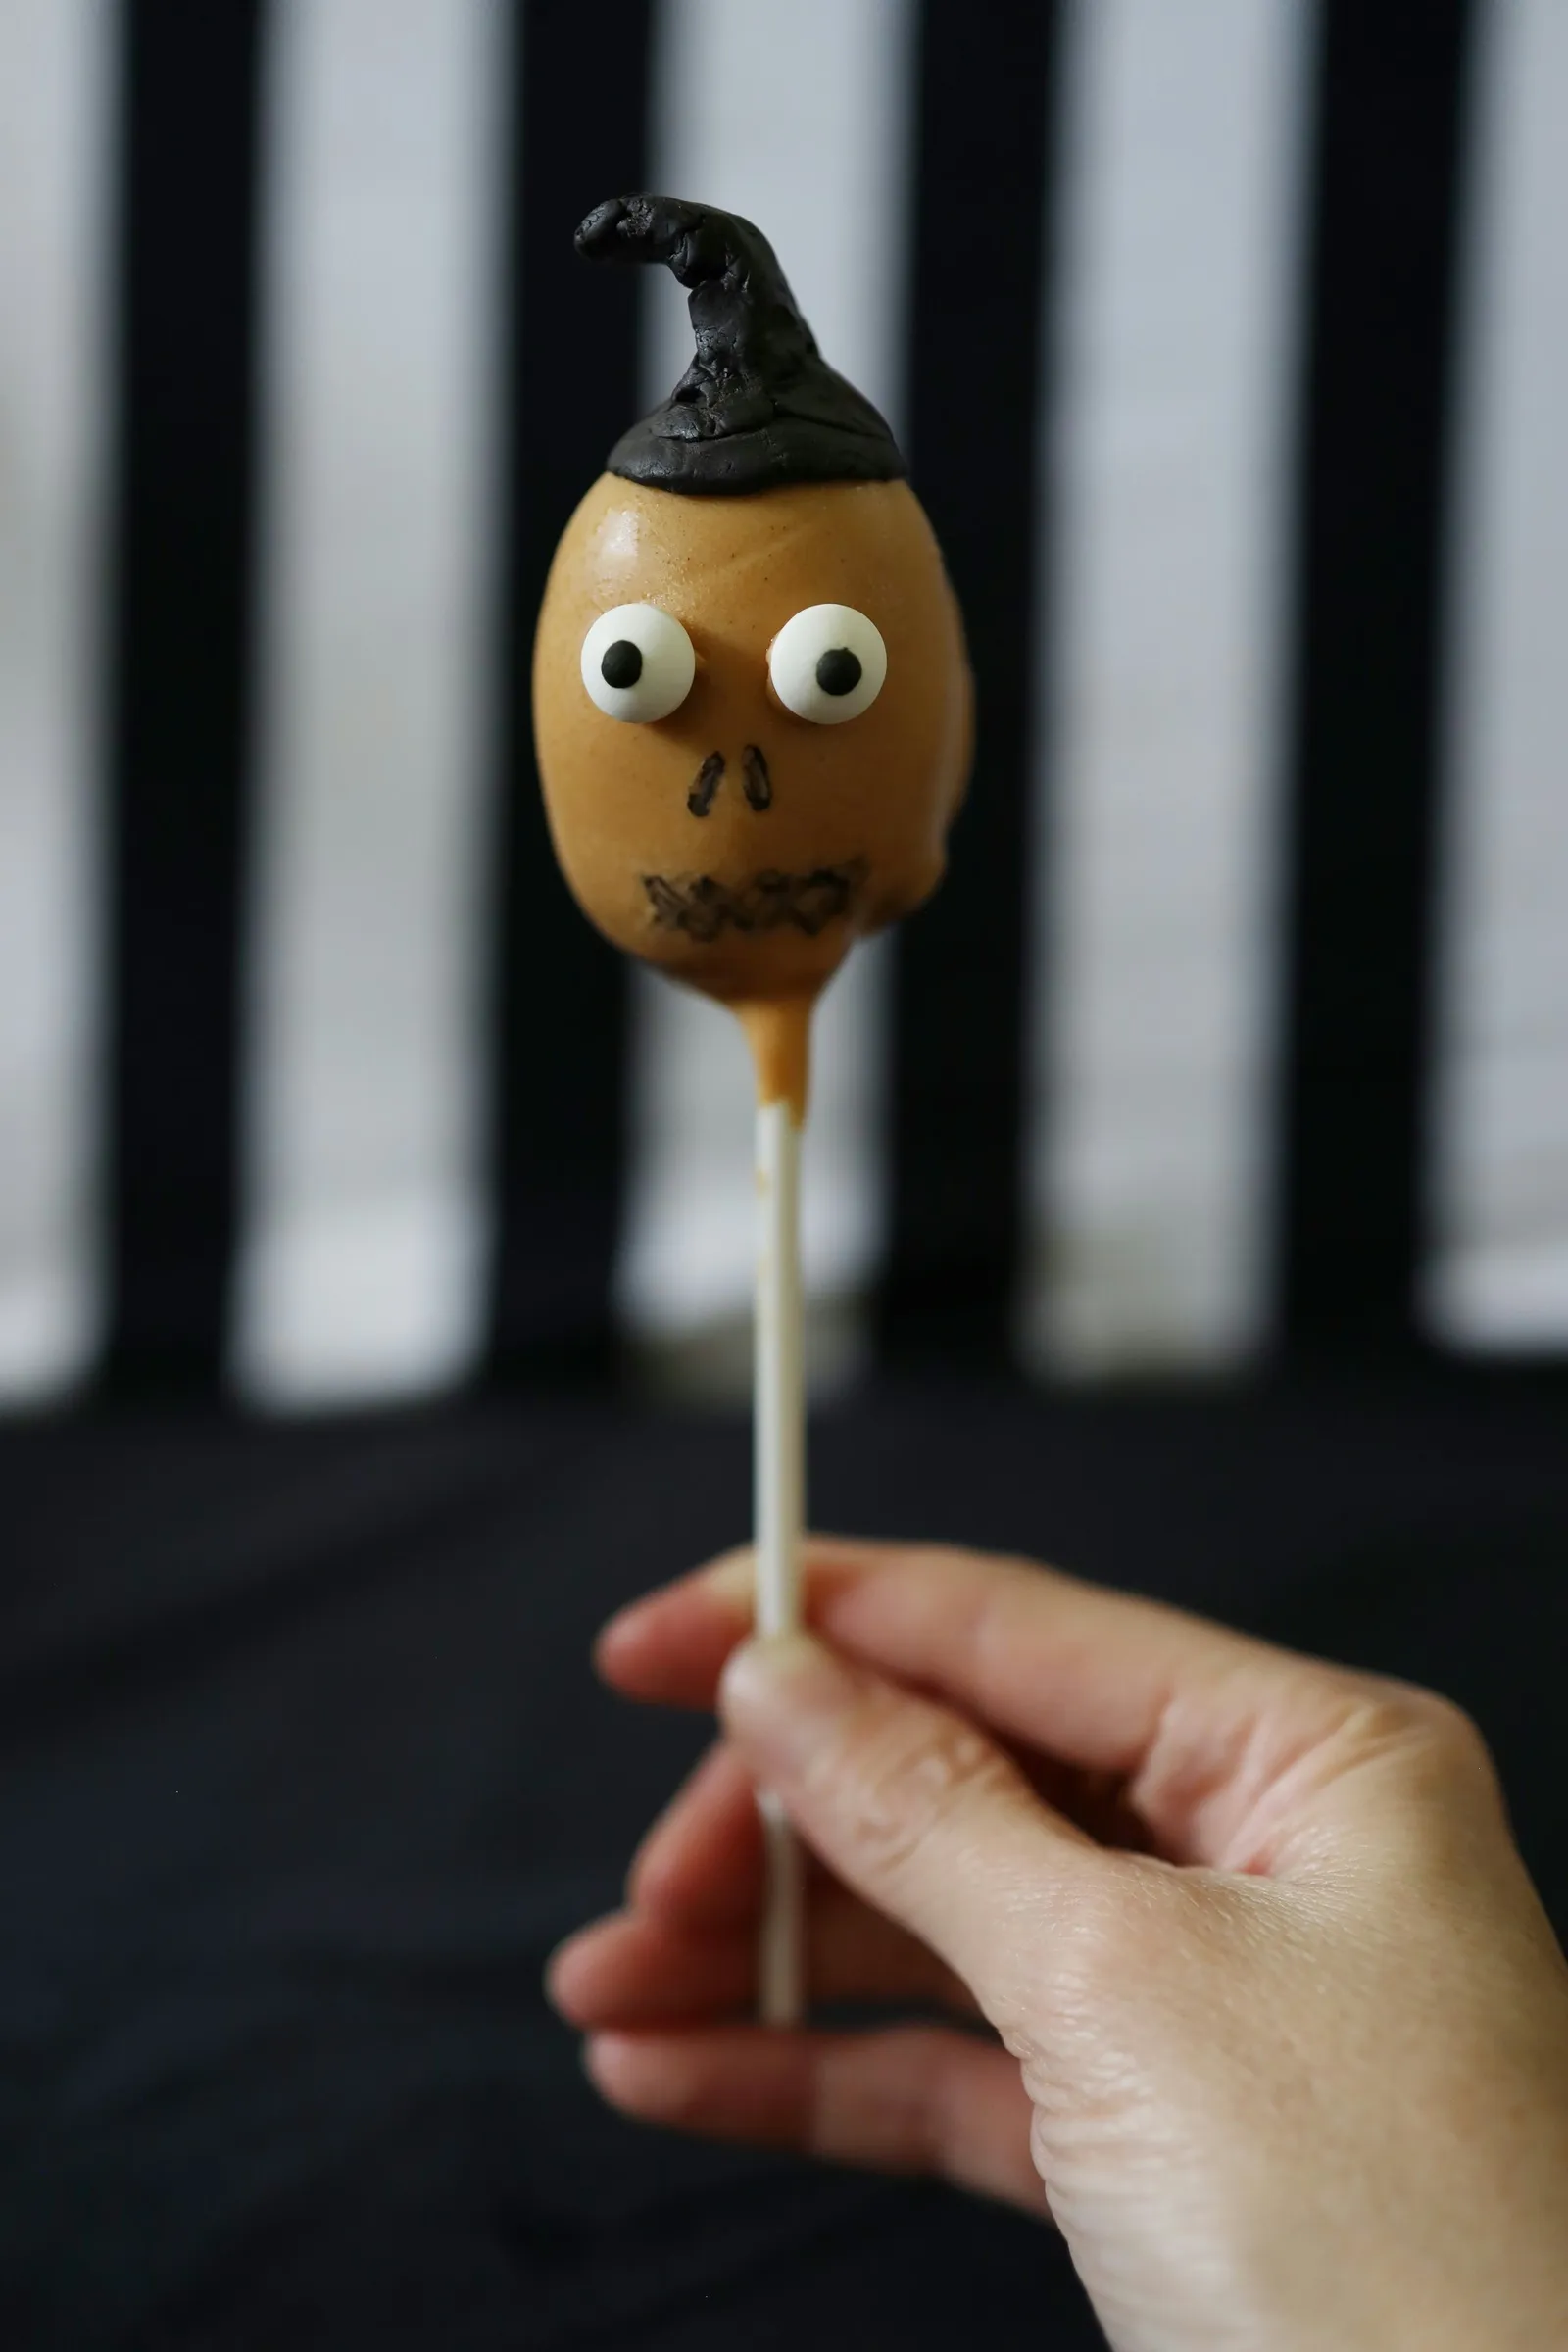
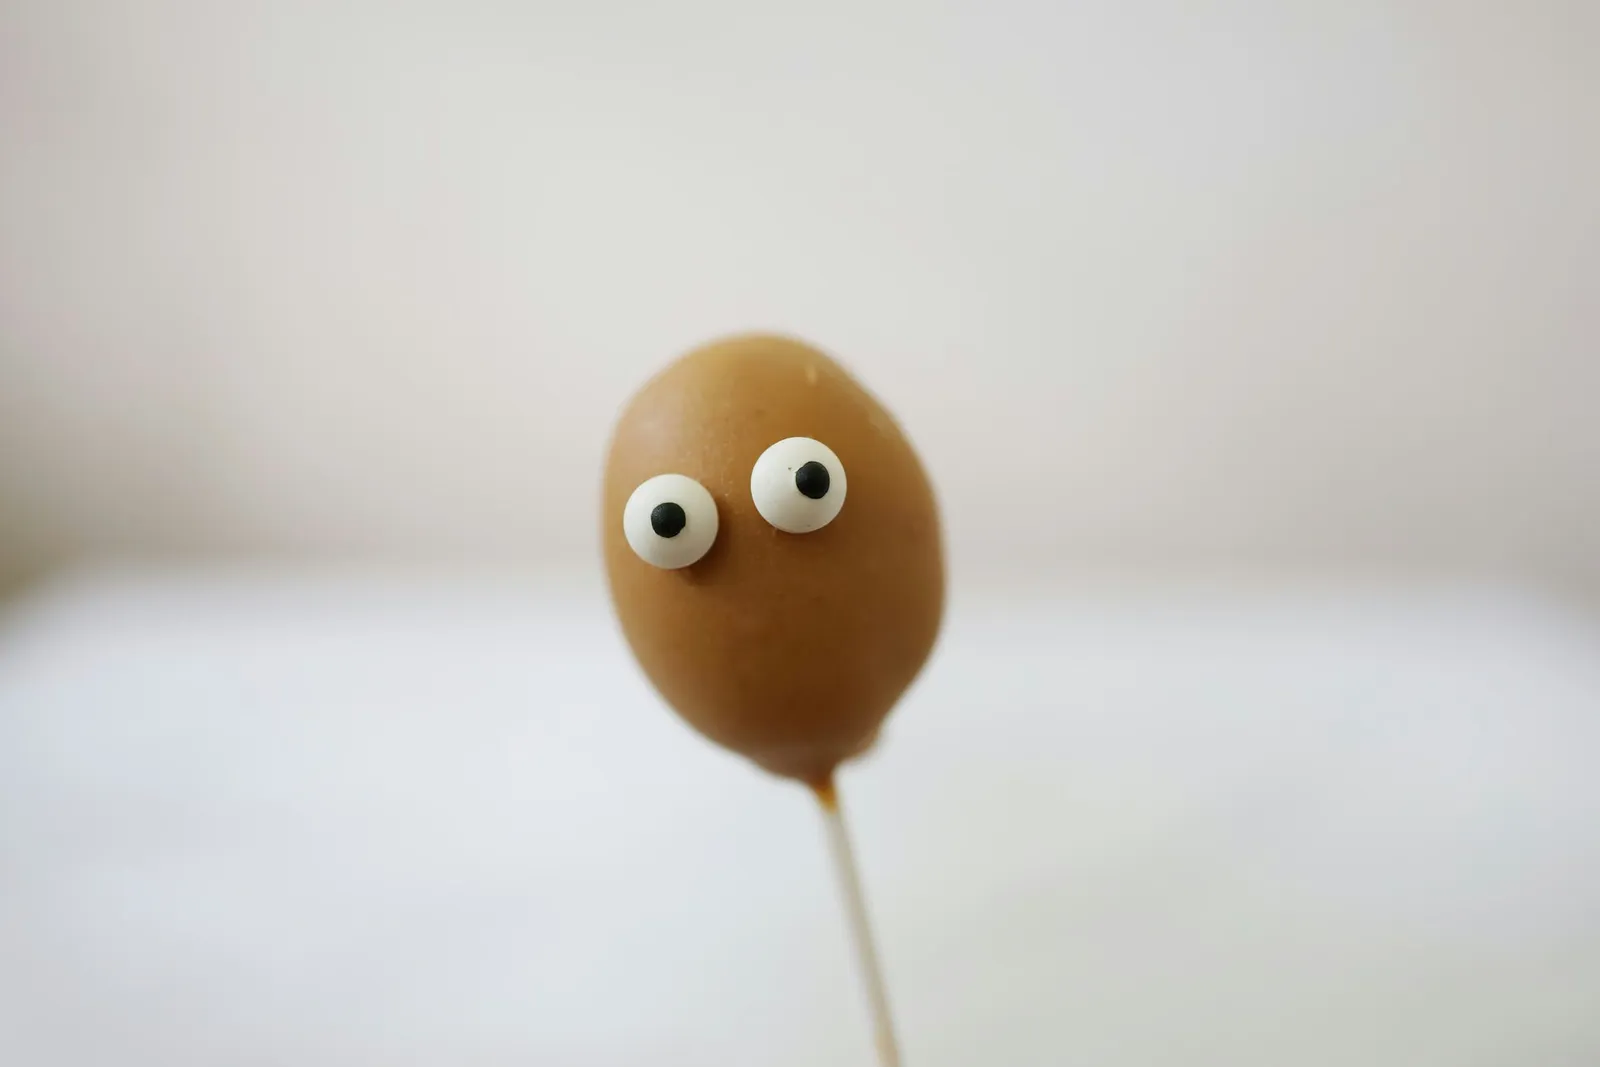
8. Add the eyes
Using a toothpick, place two small dots of melted peanut butter candy on the front of the cake pop, then press candy eyes onto the dots.
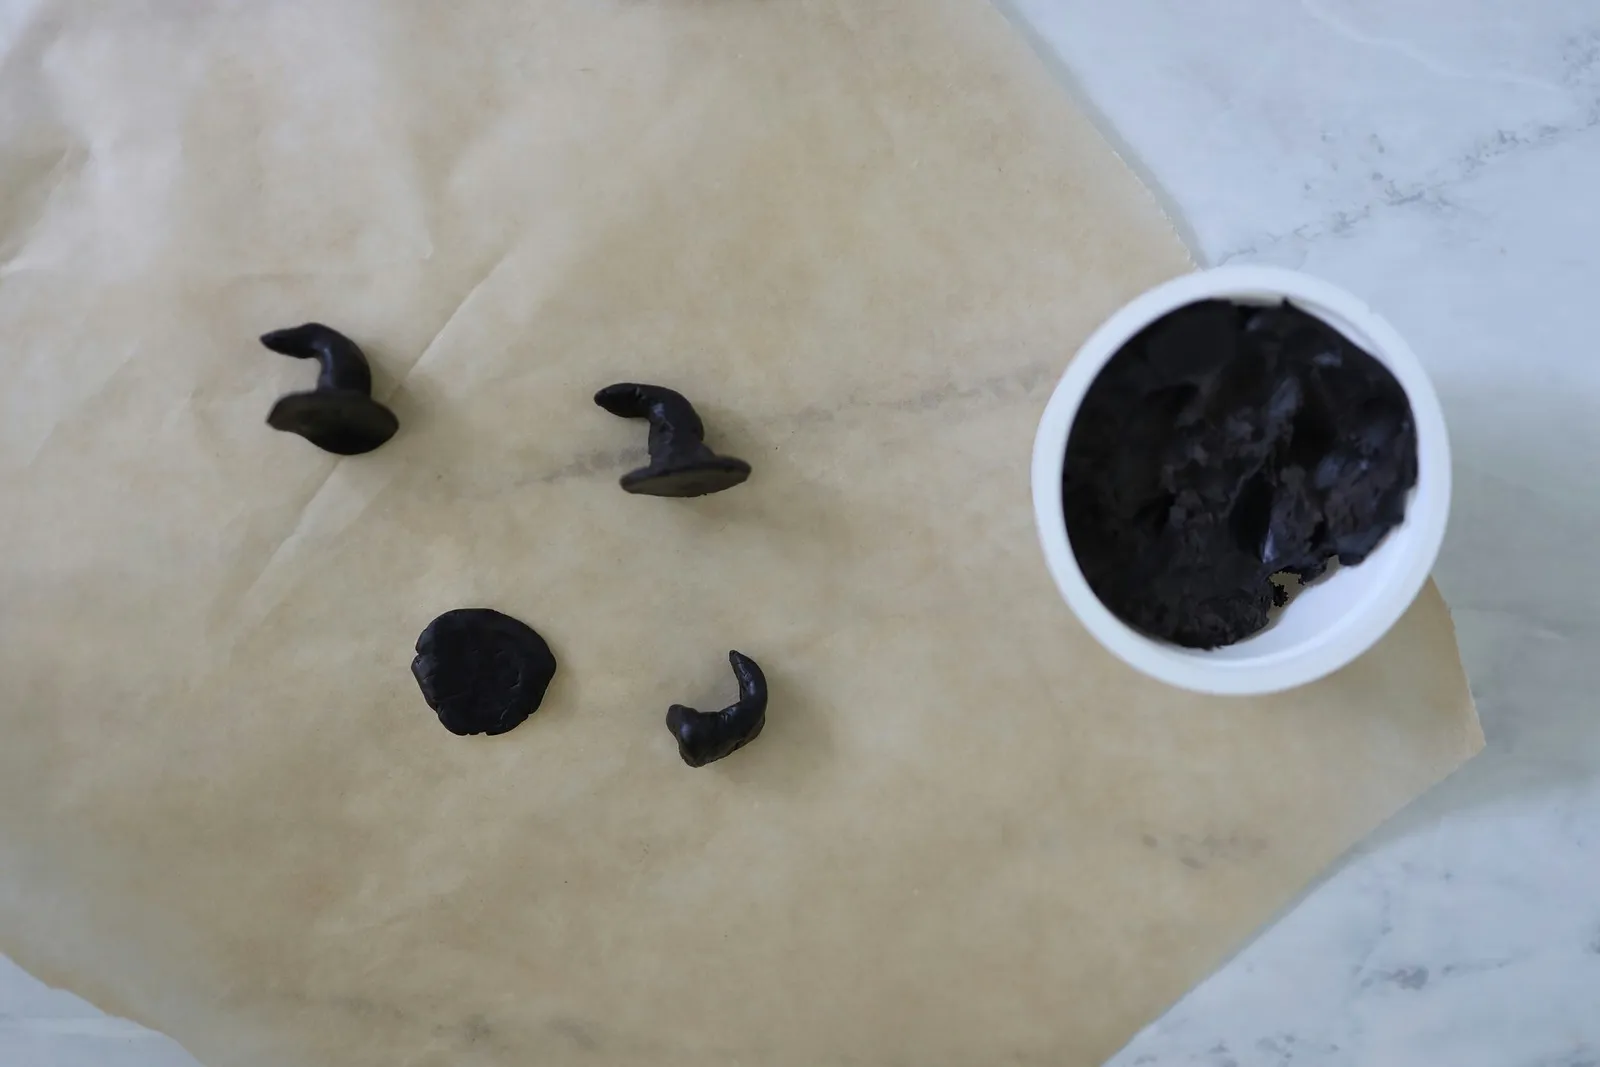
9. Make the hair
Pinch off a marble-sized piece of black modeling chocolate, put it on parchment paper, and flatten it into a disc about the size of a quarter.
Pinch off another marble-sized piece of modeling chocolate and roll it into a log about the size of a Tootsie Roll. Shape one end into a point and bend the log into an arch. Press the flat end onto the disc and smooth the edges together so they merge. The shape should resemble a witch's hat.
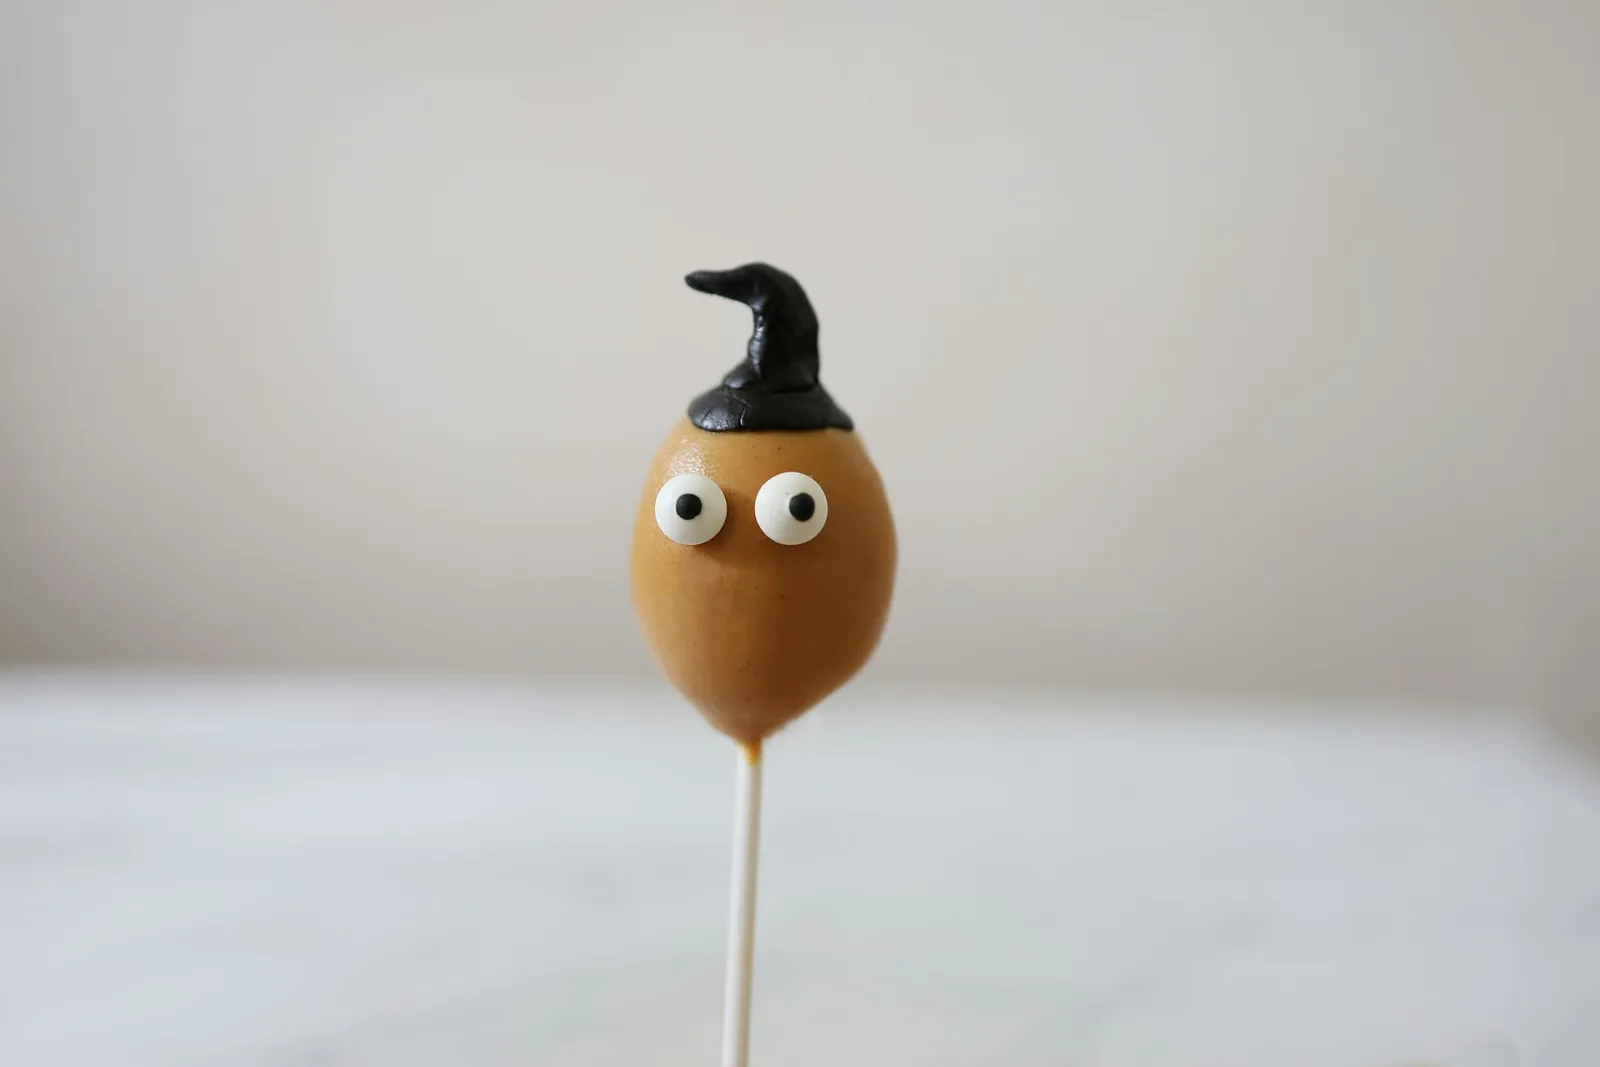
10. Attach the hair
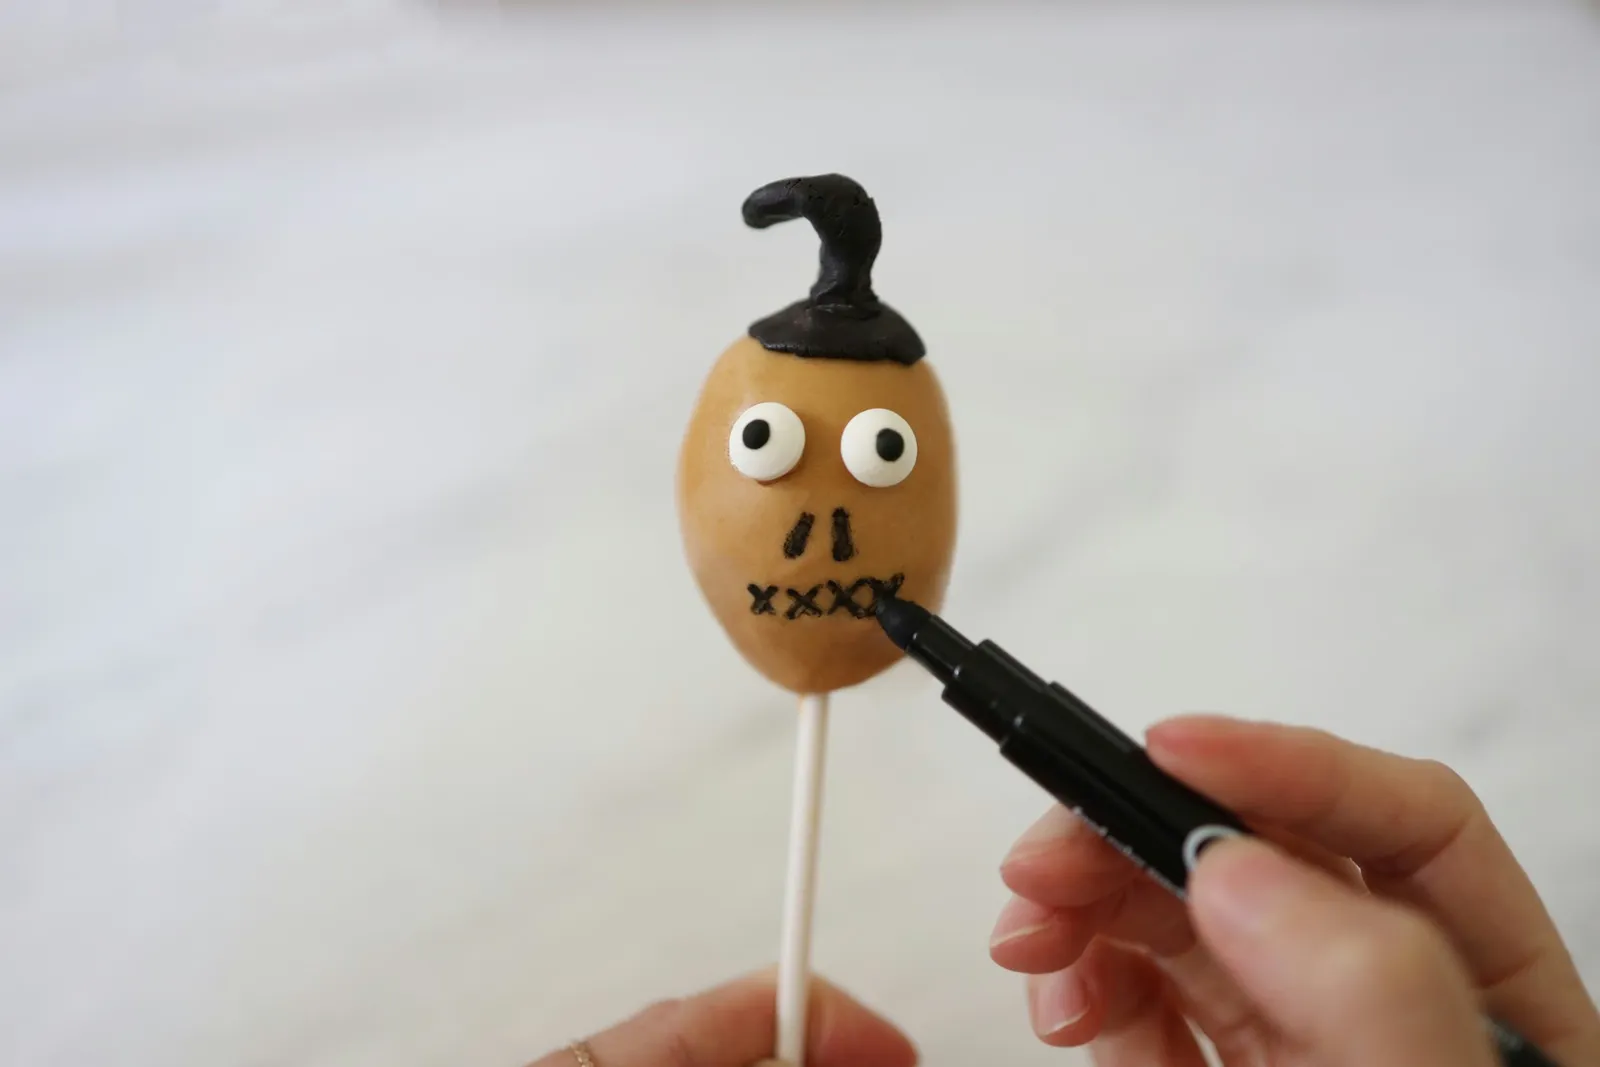
Place the flattened end of the hair on top of the cake pop and press firmly around the edges to secure it. The modeling chocolate is very pliable and will stick on its own, but you can also use a bit of melted peanut butter candy for extra hold.
11. Draw the nose and mouth
With a black edible marker, draw two nostrils under the eyes. The nostril shape should be an imperfect oval, with one slightly longer than the other. Then draw four small "x" shapes below the nostrils for mouth stitches. You may need to go over the nostrils and mouth stitches several times to achieve the desired color.
Arrange your finished shrunken head cake pops on a platter or stand and enjoy! They're so frighteningly delicious they might just "make your millennium."