Hand-Painted Reindeer Mugs: A Step-by-Step Guide
Create charming reindeer-themed mugs and saucers with this easy tutorial that requires no drawing skills. Perfect for holiday gifting, each set can be paired with a homemade hot chocolate kit.
By Jordan Lee8 steps
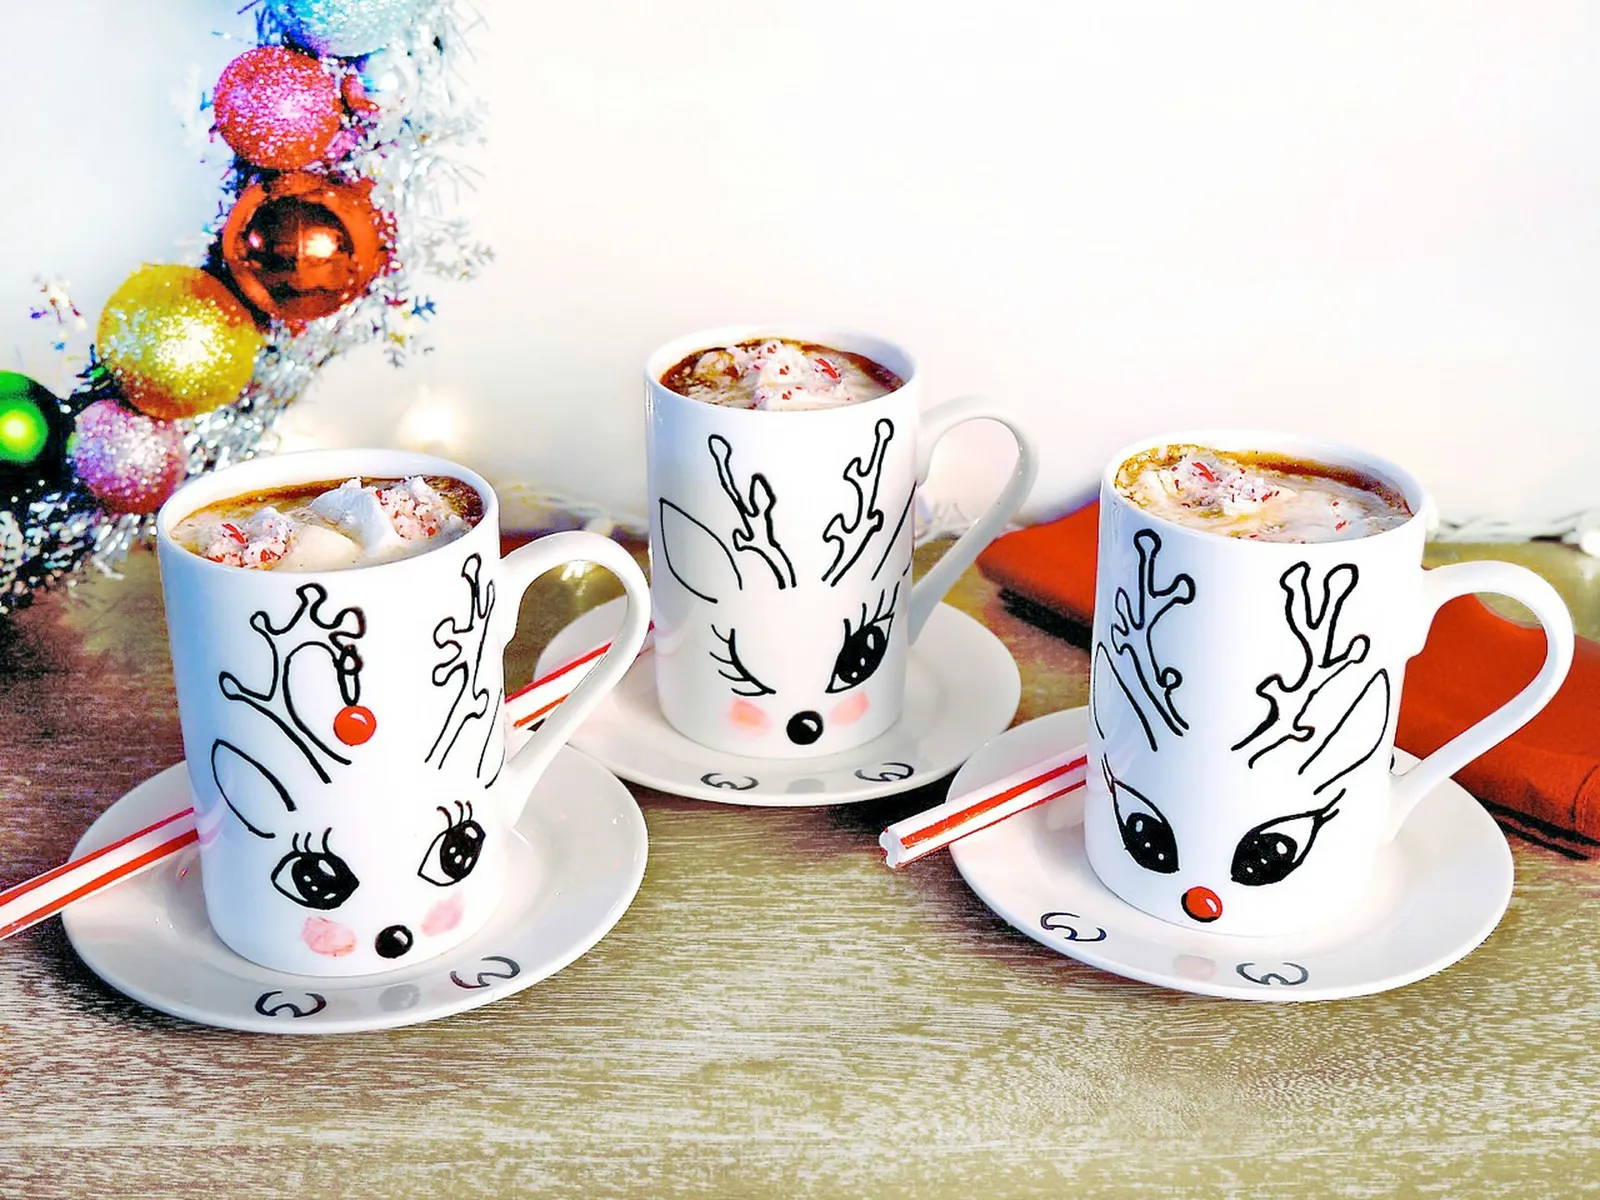
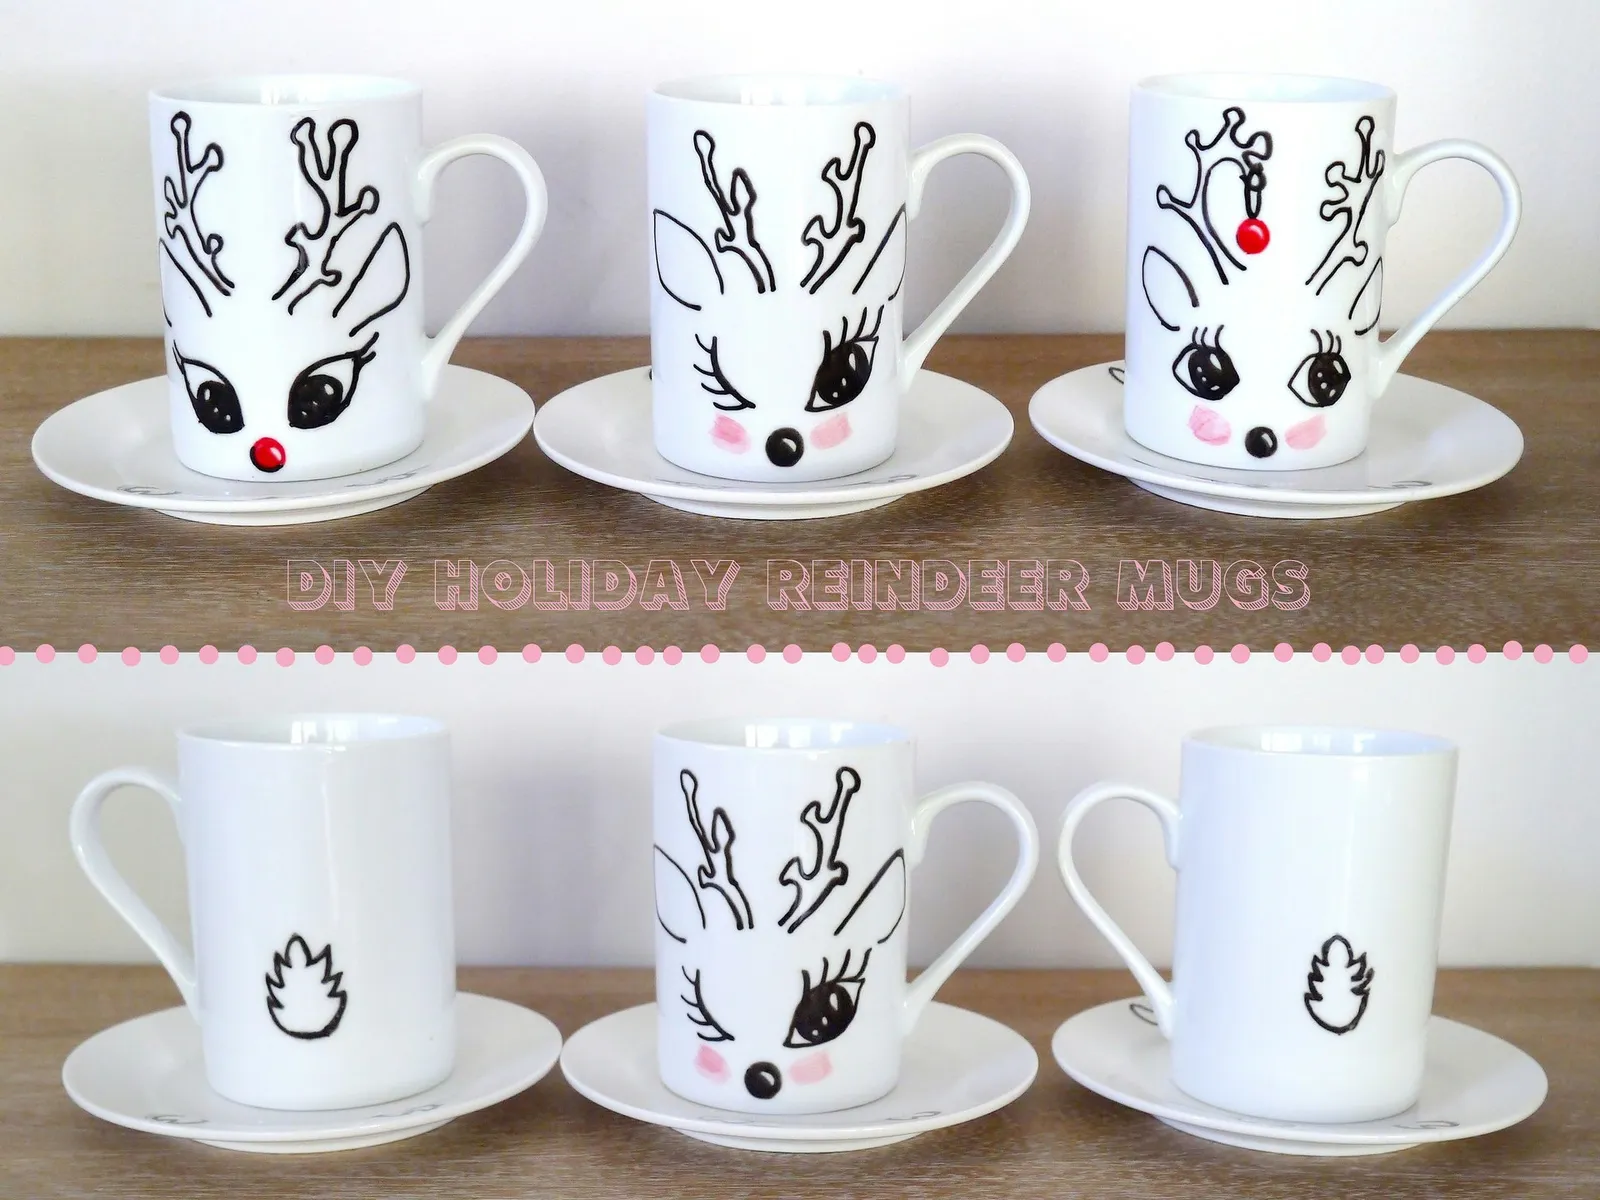
These delightful hand-painted reindeer mugs and their matching saucers are incredibly cute! Applying a template to a porcelain mug is a straightforward process that even beginners can handle, and you don't need any drawing ability. Give each mug along with a DIY hot chocolate kit, and you'll have a gift for everyone on your list.
Step 1: Transfer the Template with Carbon
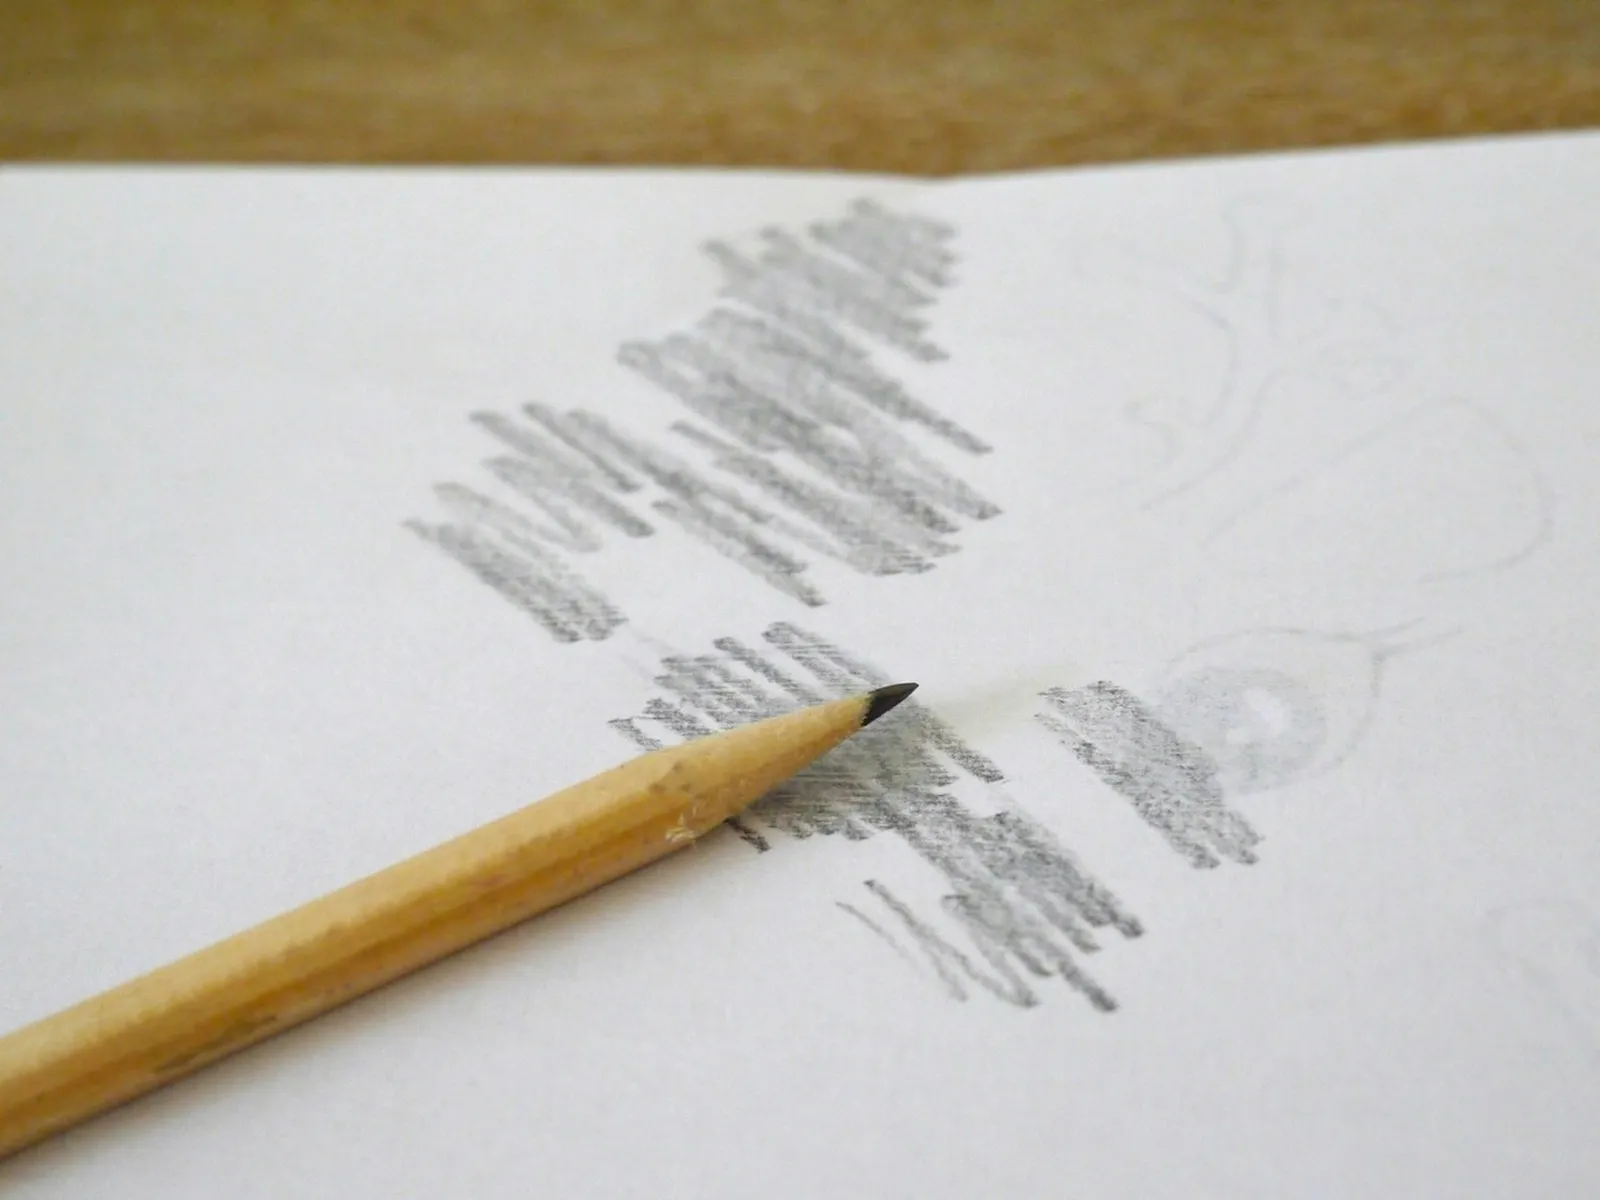
Flip the template over so the back side is facing up. Take a sharpened pencil and use its edge to scribble over the entire back of the reindeer figures. This technique is known as "carboning" the image.
Step 2: Cut Out the Template
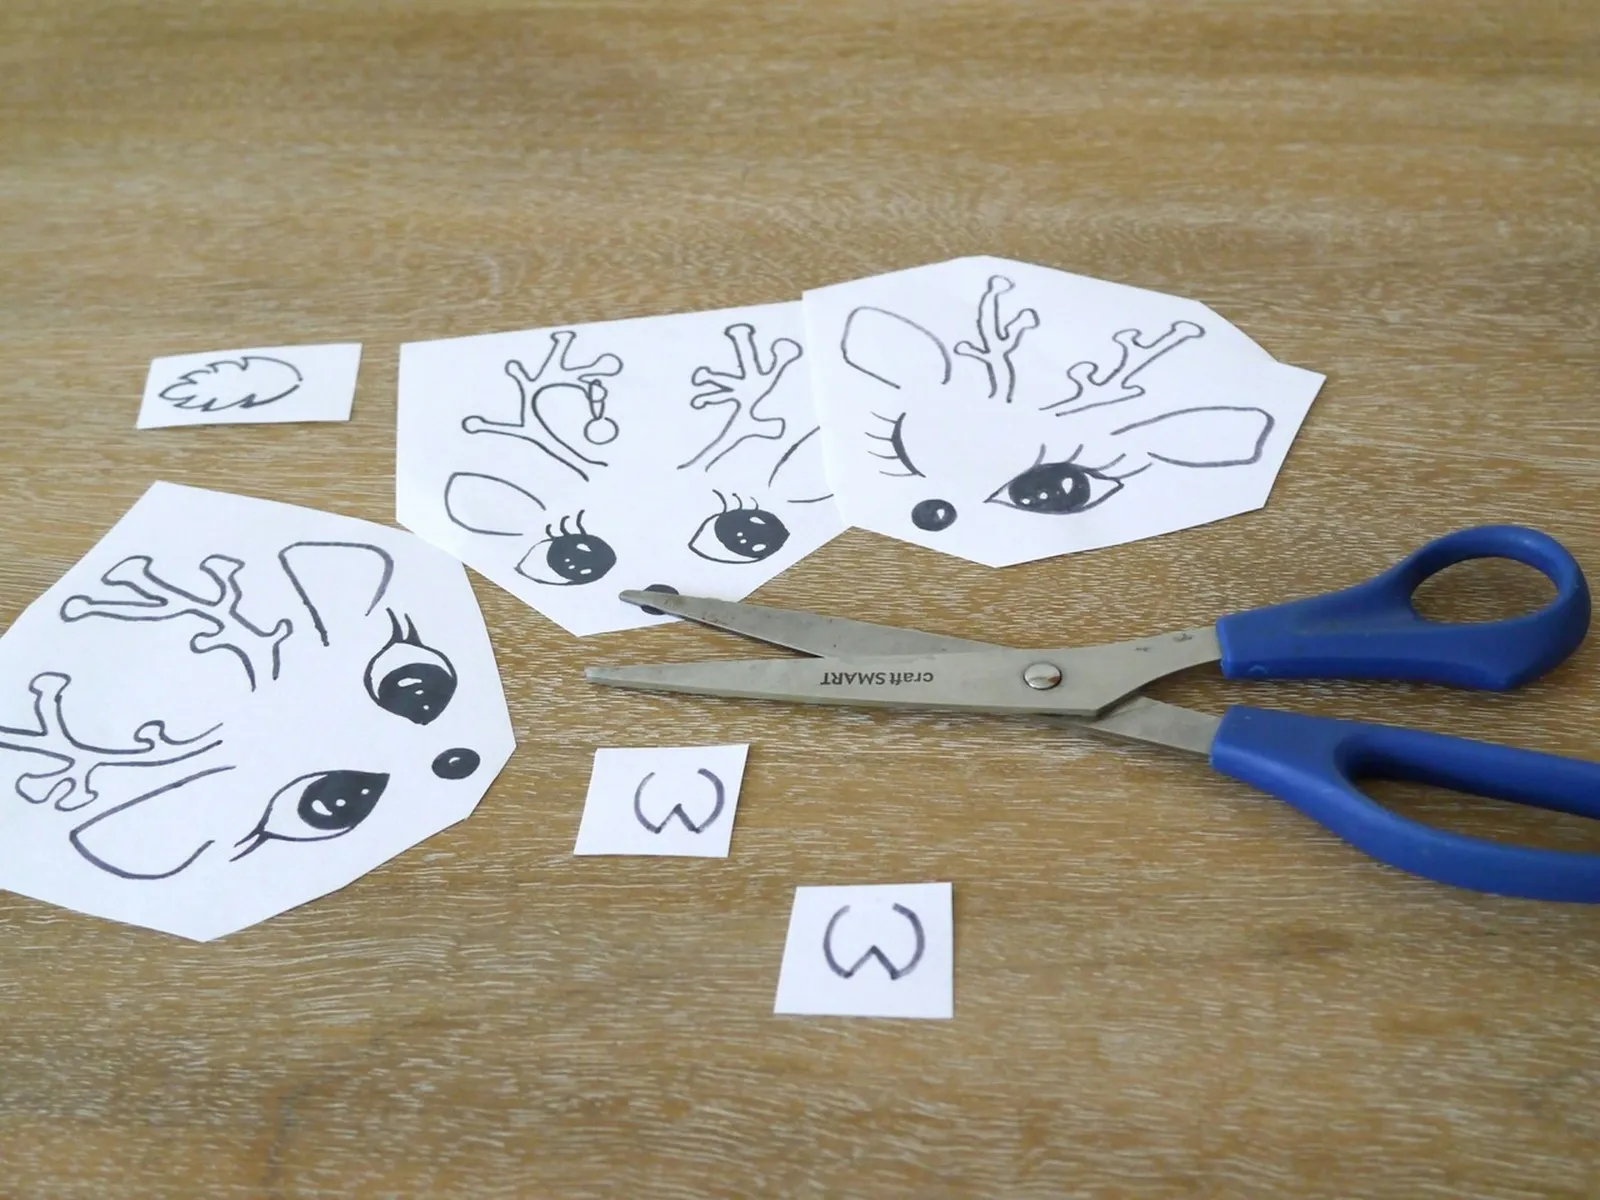
Flip the template back to the front and use scissors to cut out each of the images.
Step 3: Transfer Images to Mugs & Saucers
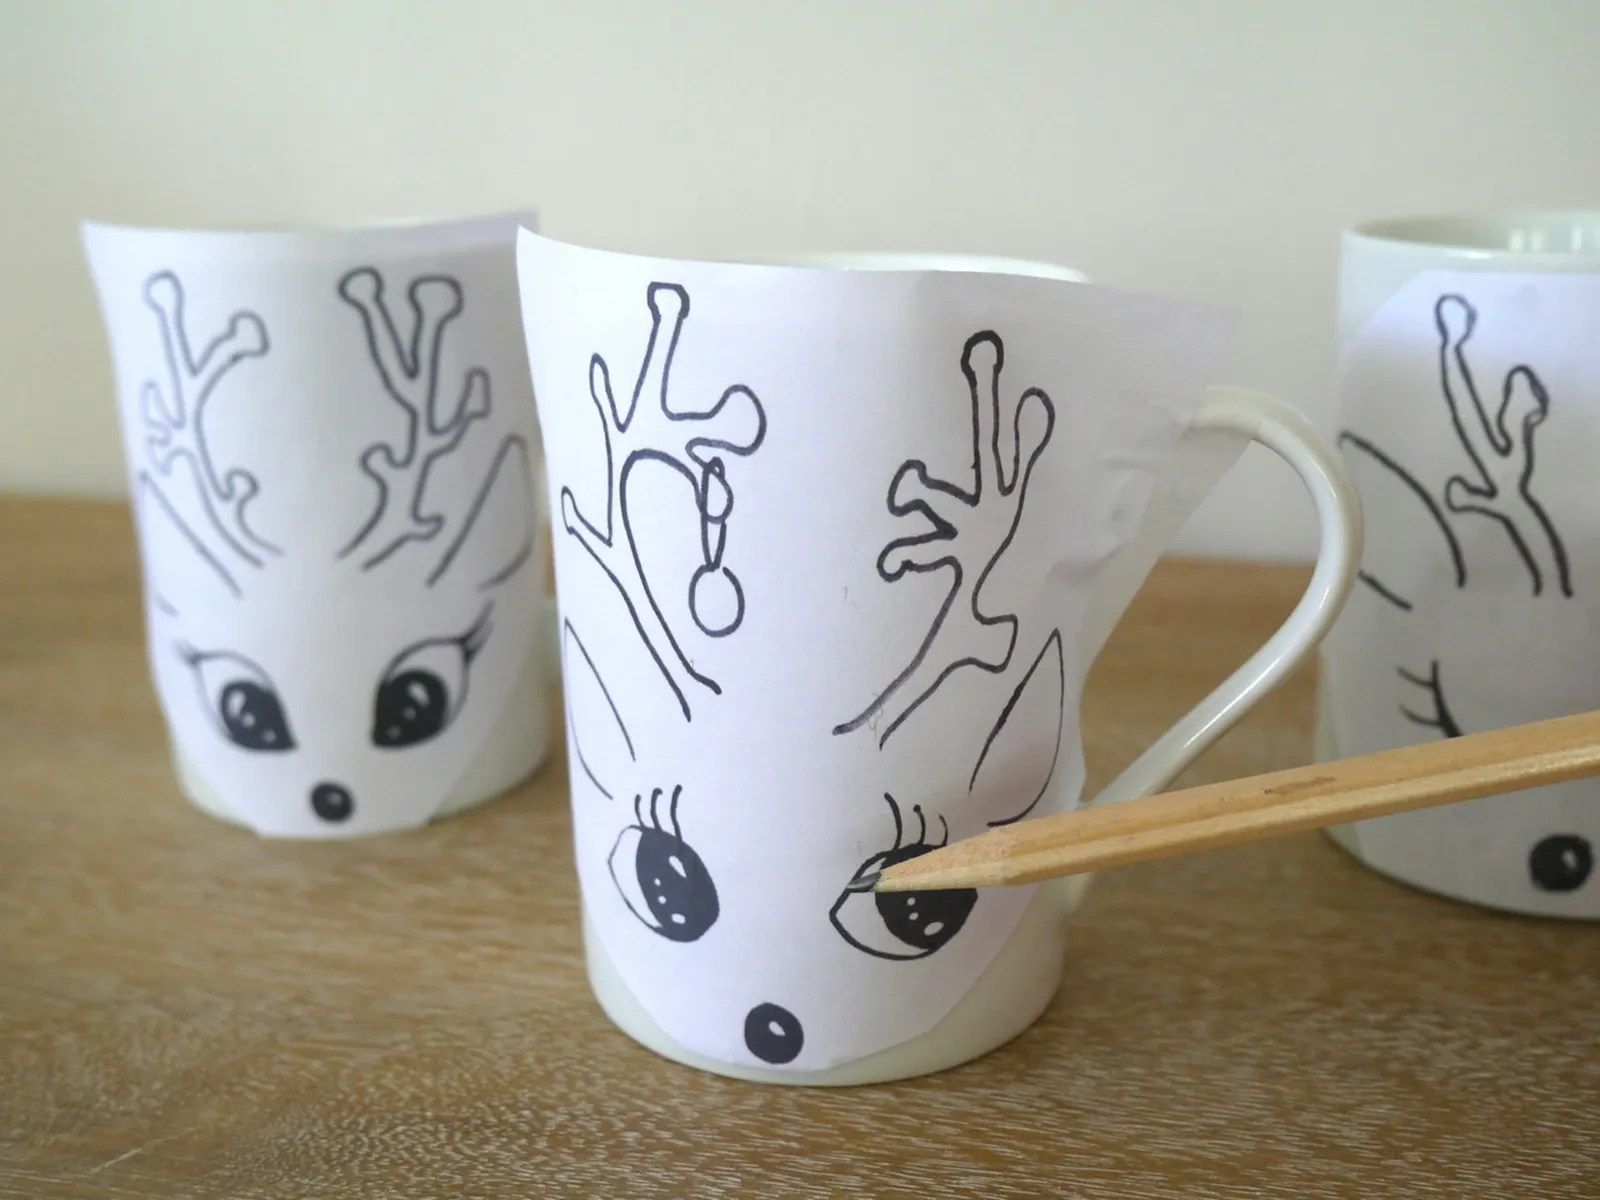
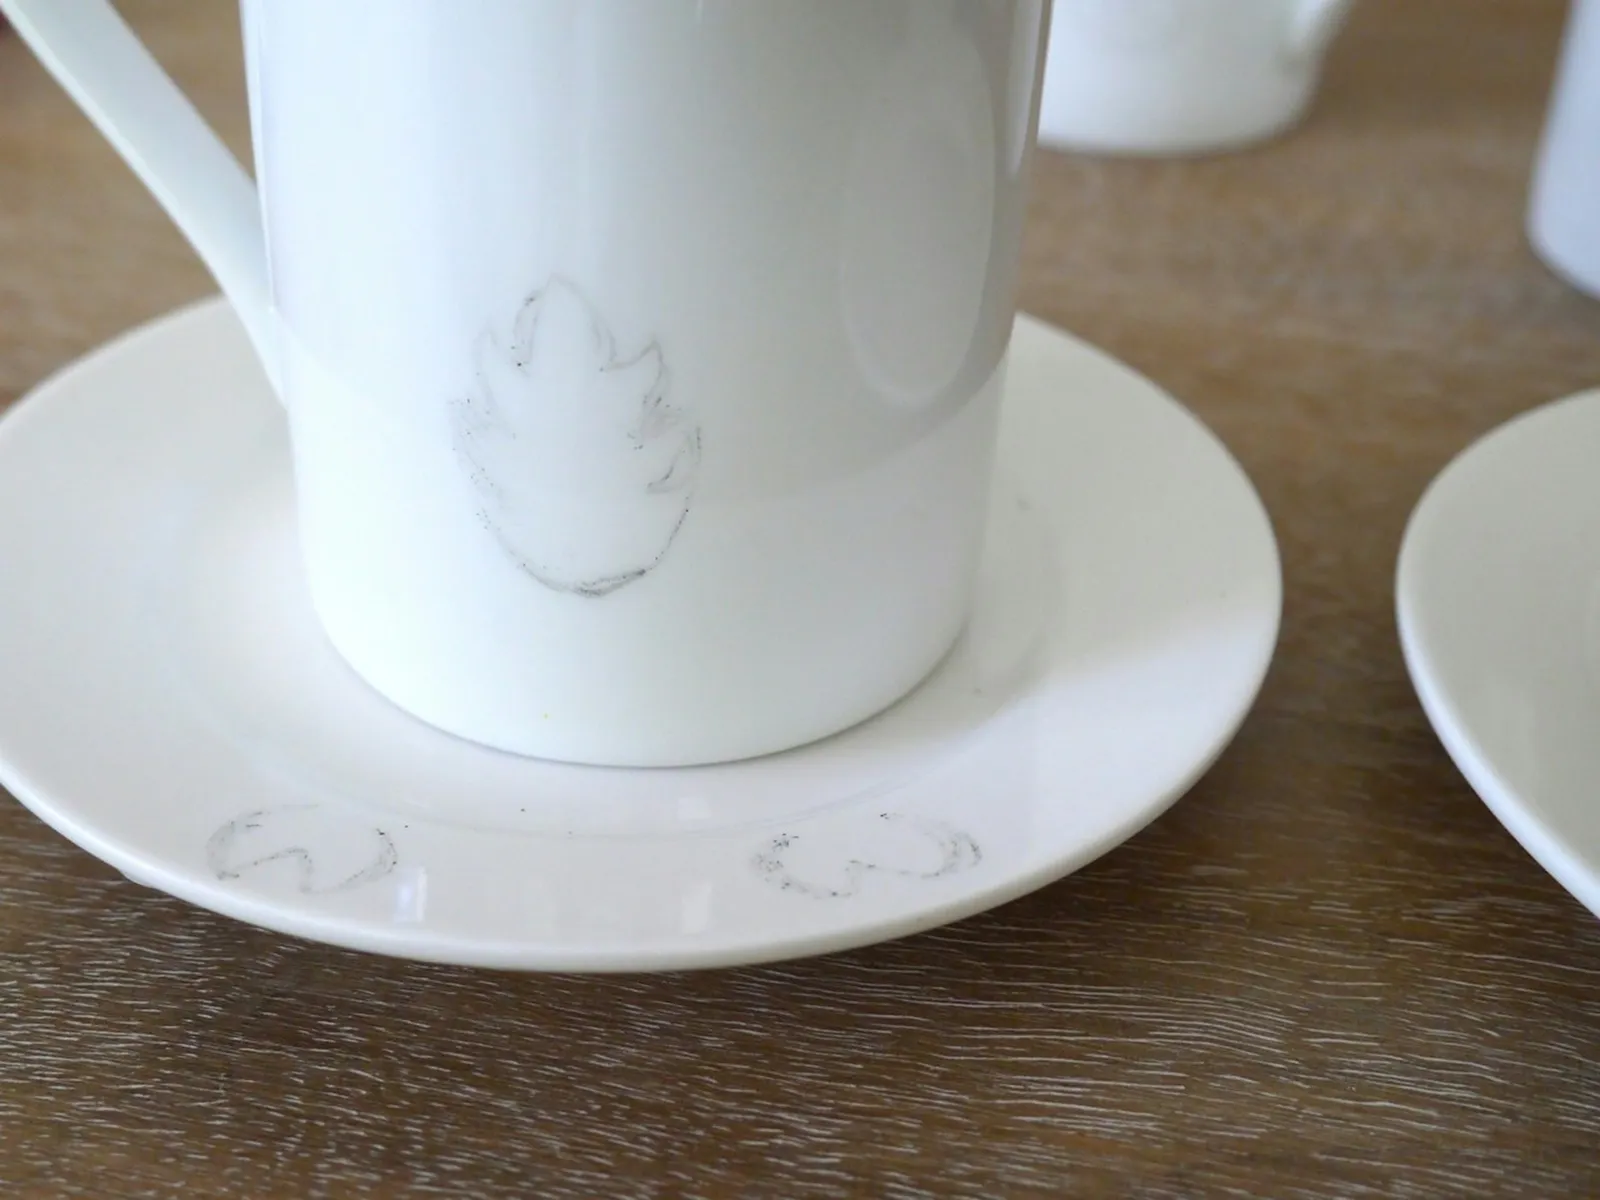
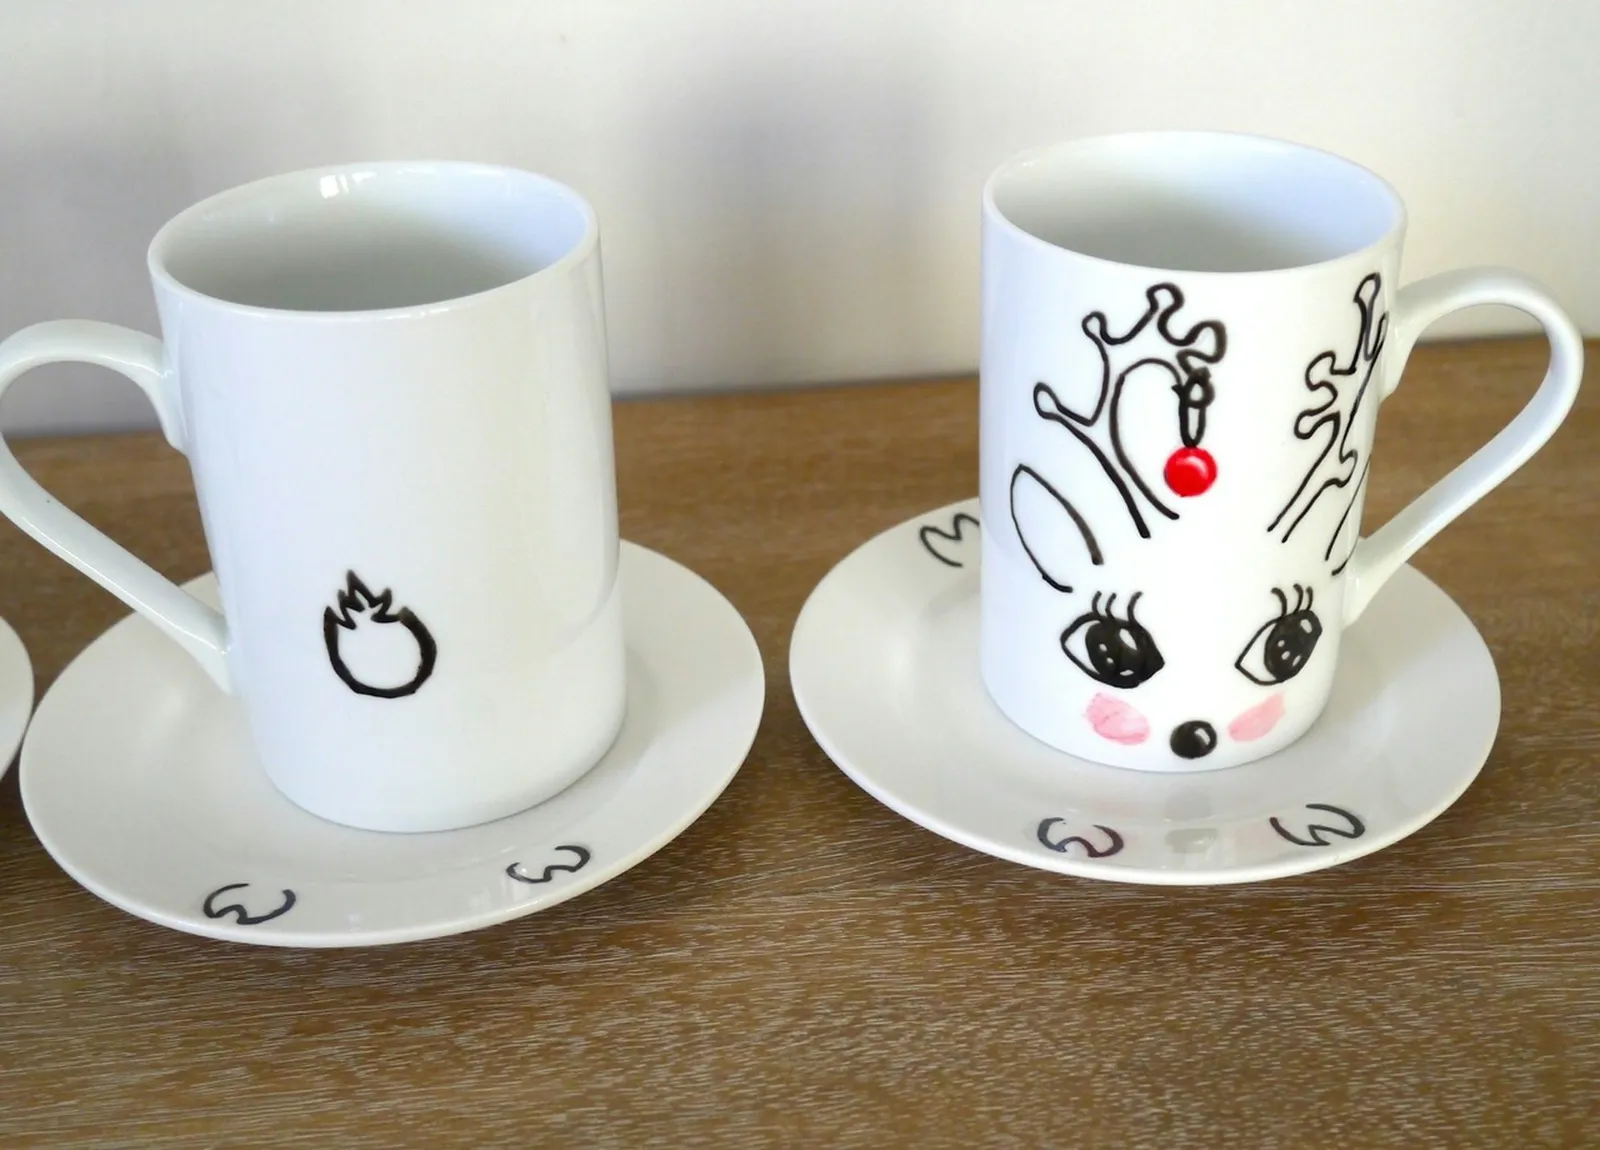
Position the templates on the mugs so that the reindeer noses sit just above the bottom rim, then tape them down. Make sure to tape the tail on the back of each mug and two hooves on each saucer. With medium pressure, trace over the template using a pencil. The graphite on the back will transfer to the mug, leaving a faint outline.
Step 4: Remove the Templates
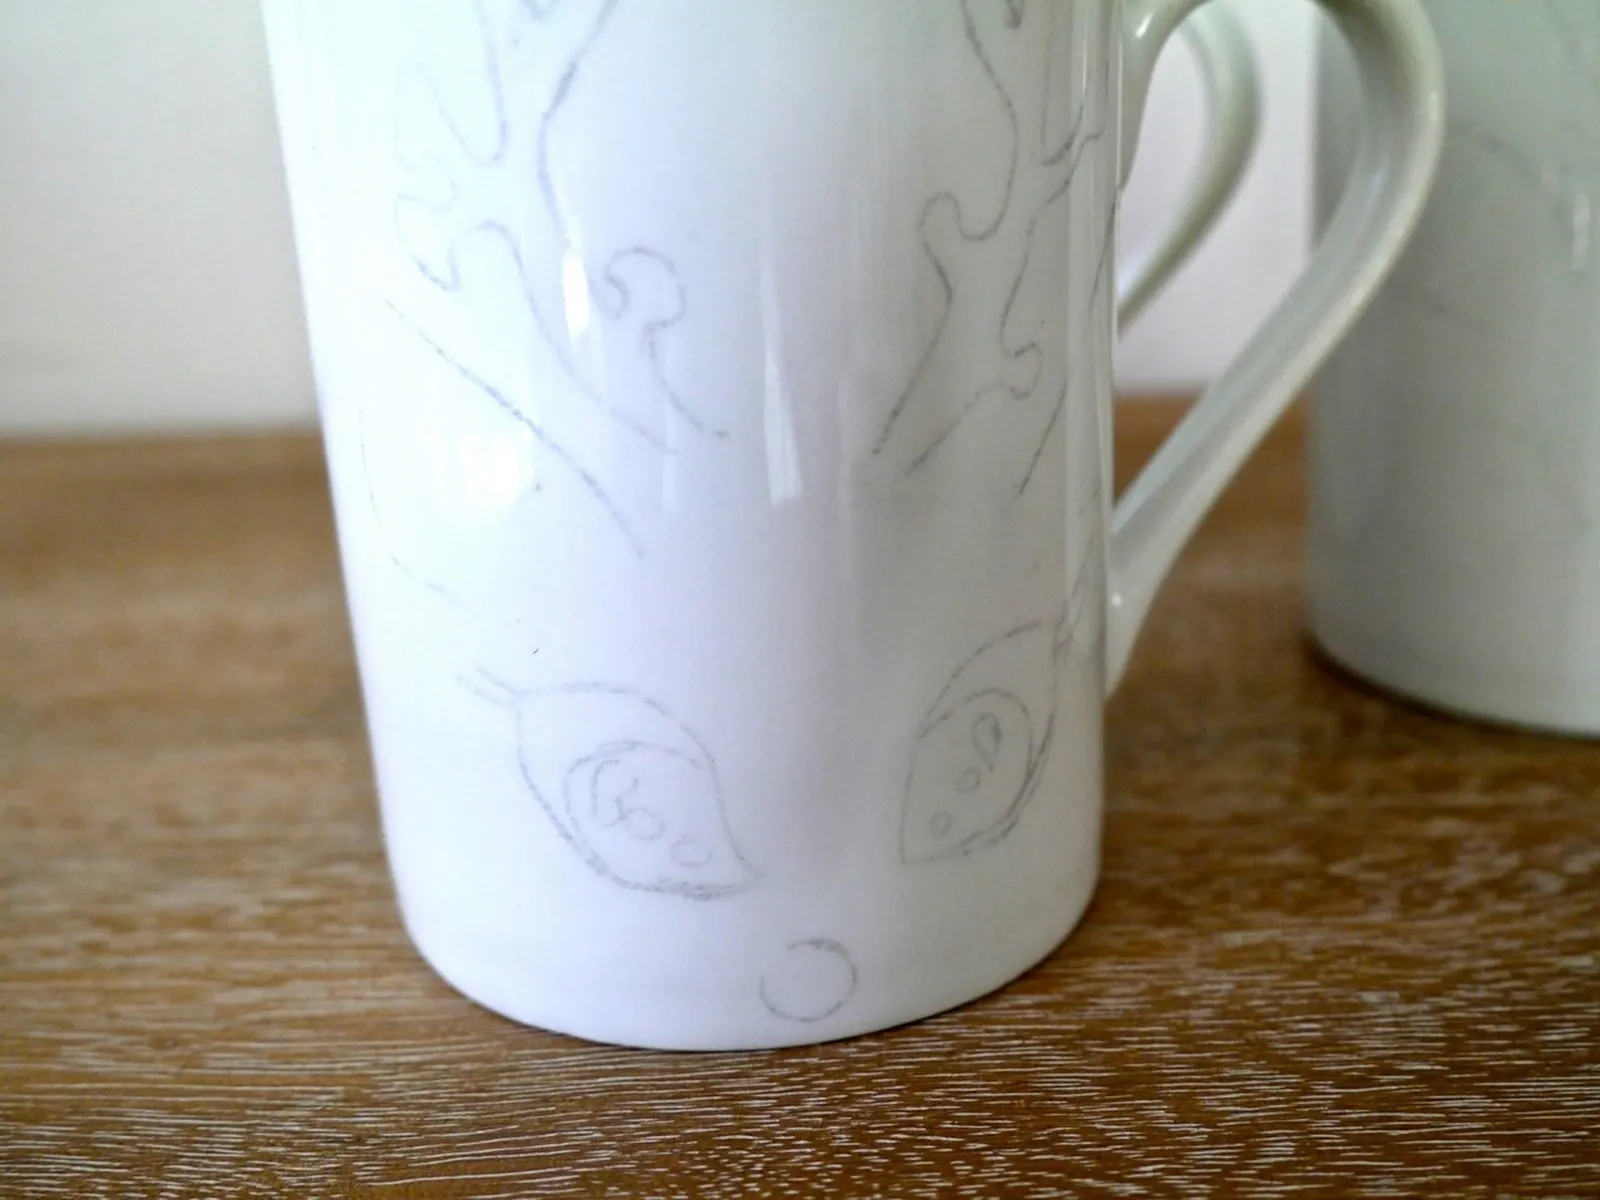
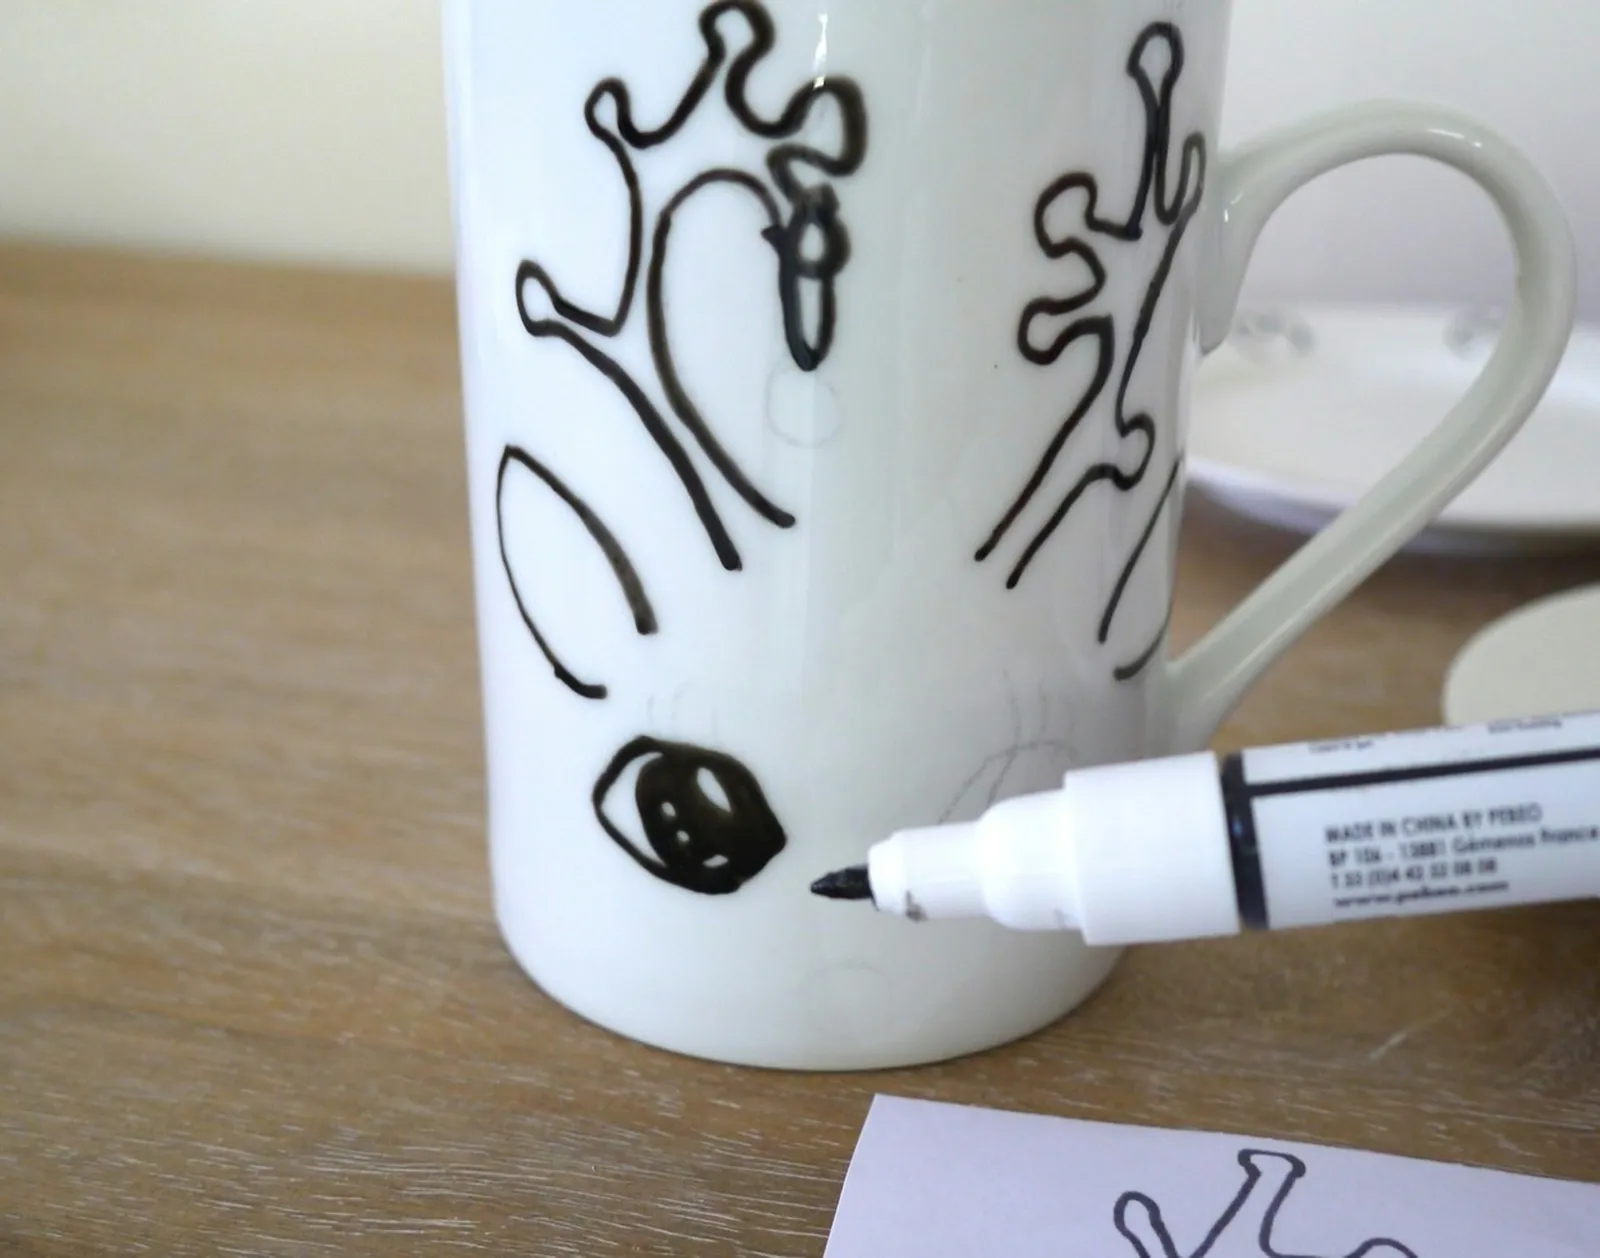
Gently peel off the templates from the mugs. The image will have transferred onto the mug. Now you can outline the drawing with a porcelain pen.
Step 5: Trace Images with a Porcelain Pen
Go over the transferred image with the black porcelain pen. Use the red porcelain pen to fill in one reindeer's nose to create Rudolph, and also the ornament hanging from the antler.
Step 6: Paint Blush on Cheeks
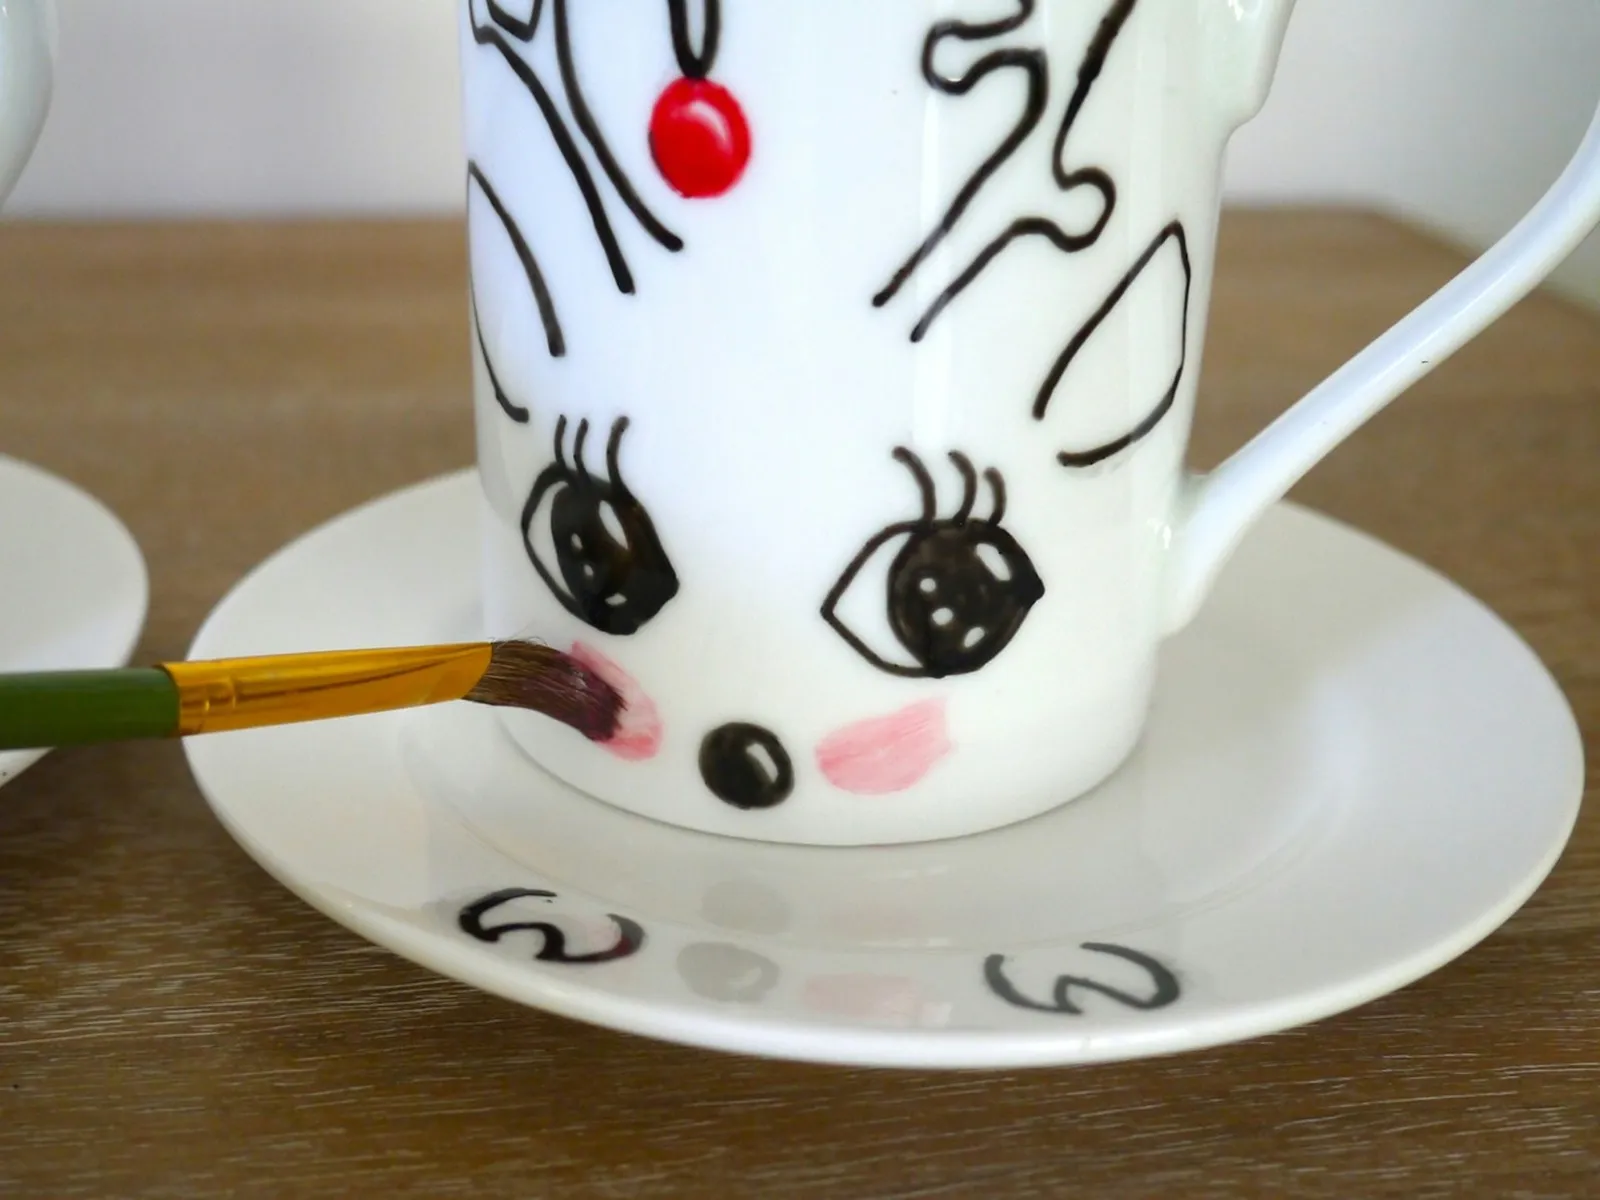
Dip a paintbrush into a small amount of red glass paint and apply it to the reindeer's cheeks. The glass paint gives a nice, thin blush. Rudolph can have blushed cheeks or not.
Step 7: Set Aside to Dry
When you're done, leave the mugs and saucers to dry for 24 hours before baking.
Step 8: Bake the Mugs & Saucers
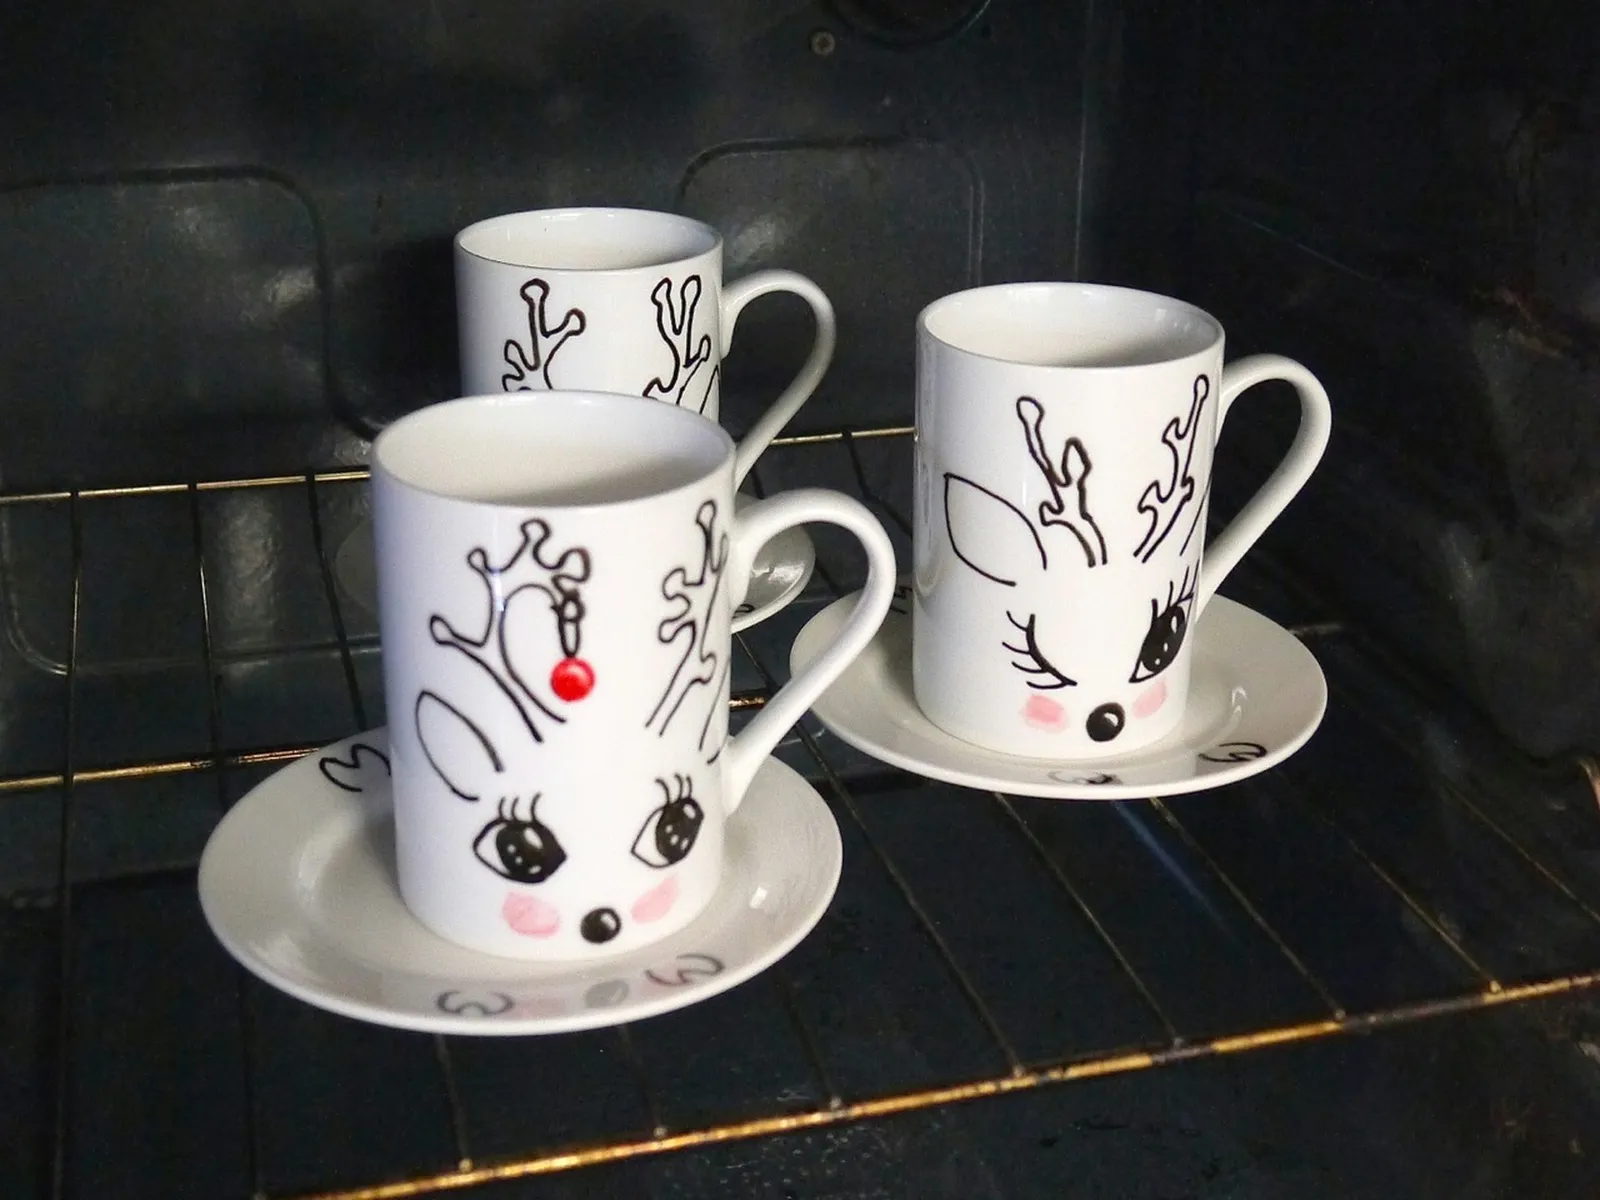
After the 24-hour drying period, use a dish cloth to wipe away any leftover pencil marks from the mugs and saucers. Then put them in a cold oven. Set the temperature to 350 degrees and set a timer for 50 minutes.
When the timer rings, turn off the oven and let the oven cool completely before opening it. The curing process needs a gradual increase and then decrease in temperature, so don't open the oven while they're baking.
Once the oven is fully cool, take out your mugs and enjoy a warm cup of peppermint hot cocoa, or wrap the matching sets as gifts!