A Guide to Restoring Vintage Soapstone Basins
Soapstone was a common material for sinks and countertops in the eastern United States around 1900. Despite losing favor in the 1920s to lighter, cheaper alternatives, its resilience and aesthetic appeal have attracted renewed interest. Because it resists staining and stands up well to wear, most damage is fixable with minimal work, making it a feasible project even for beginners.
By Finley Morgan11 steps
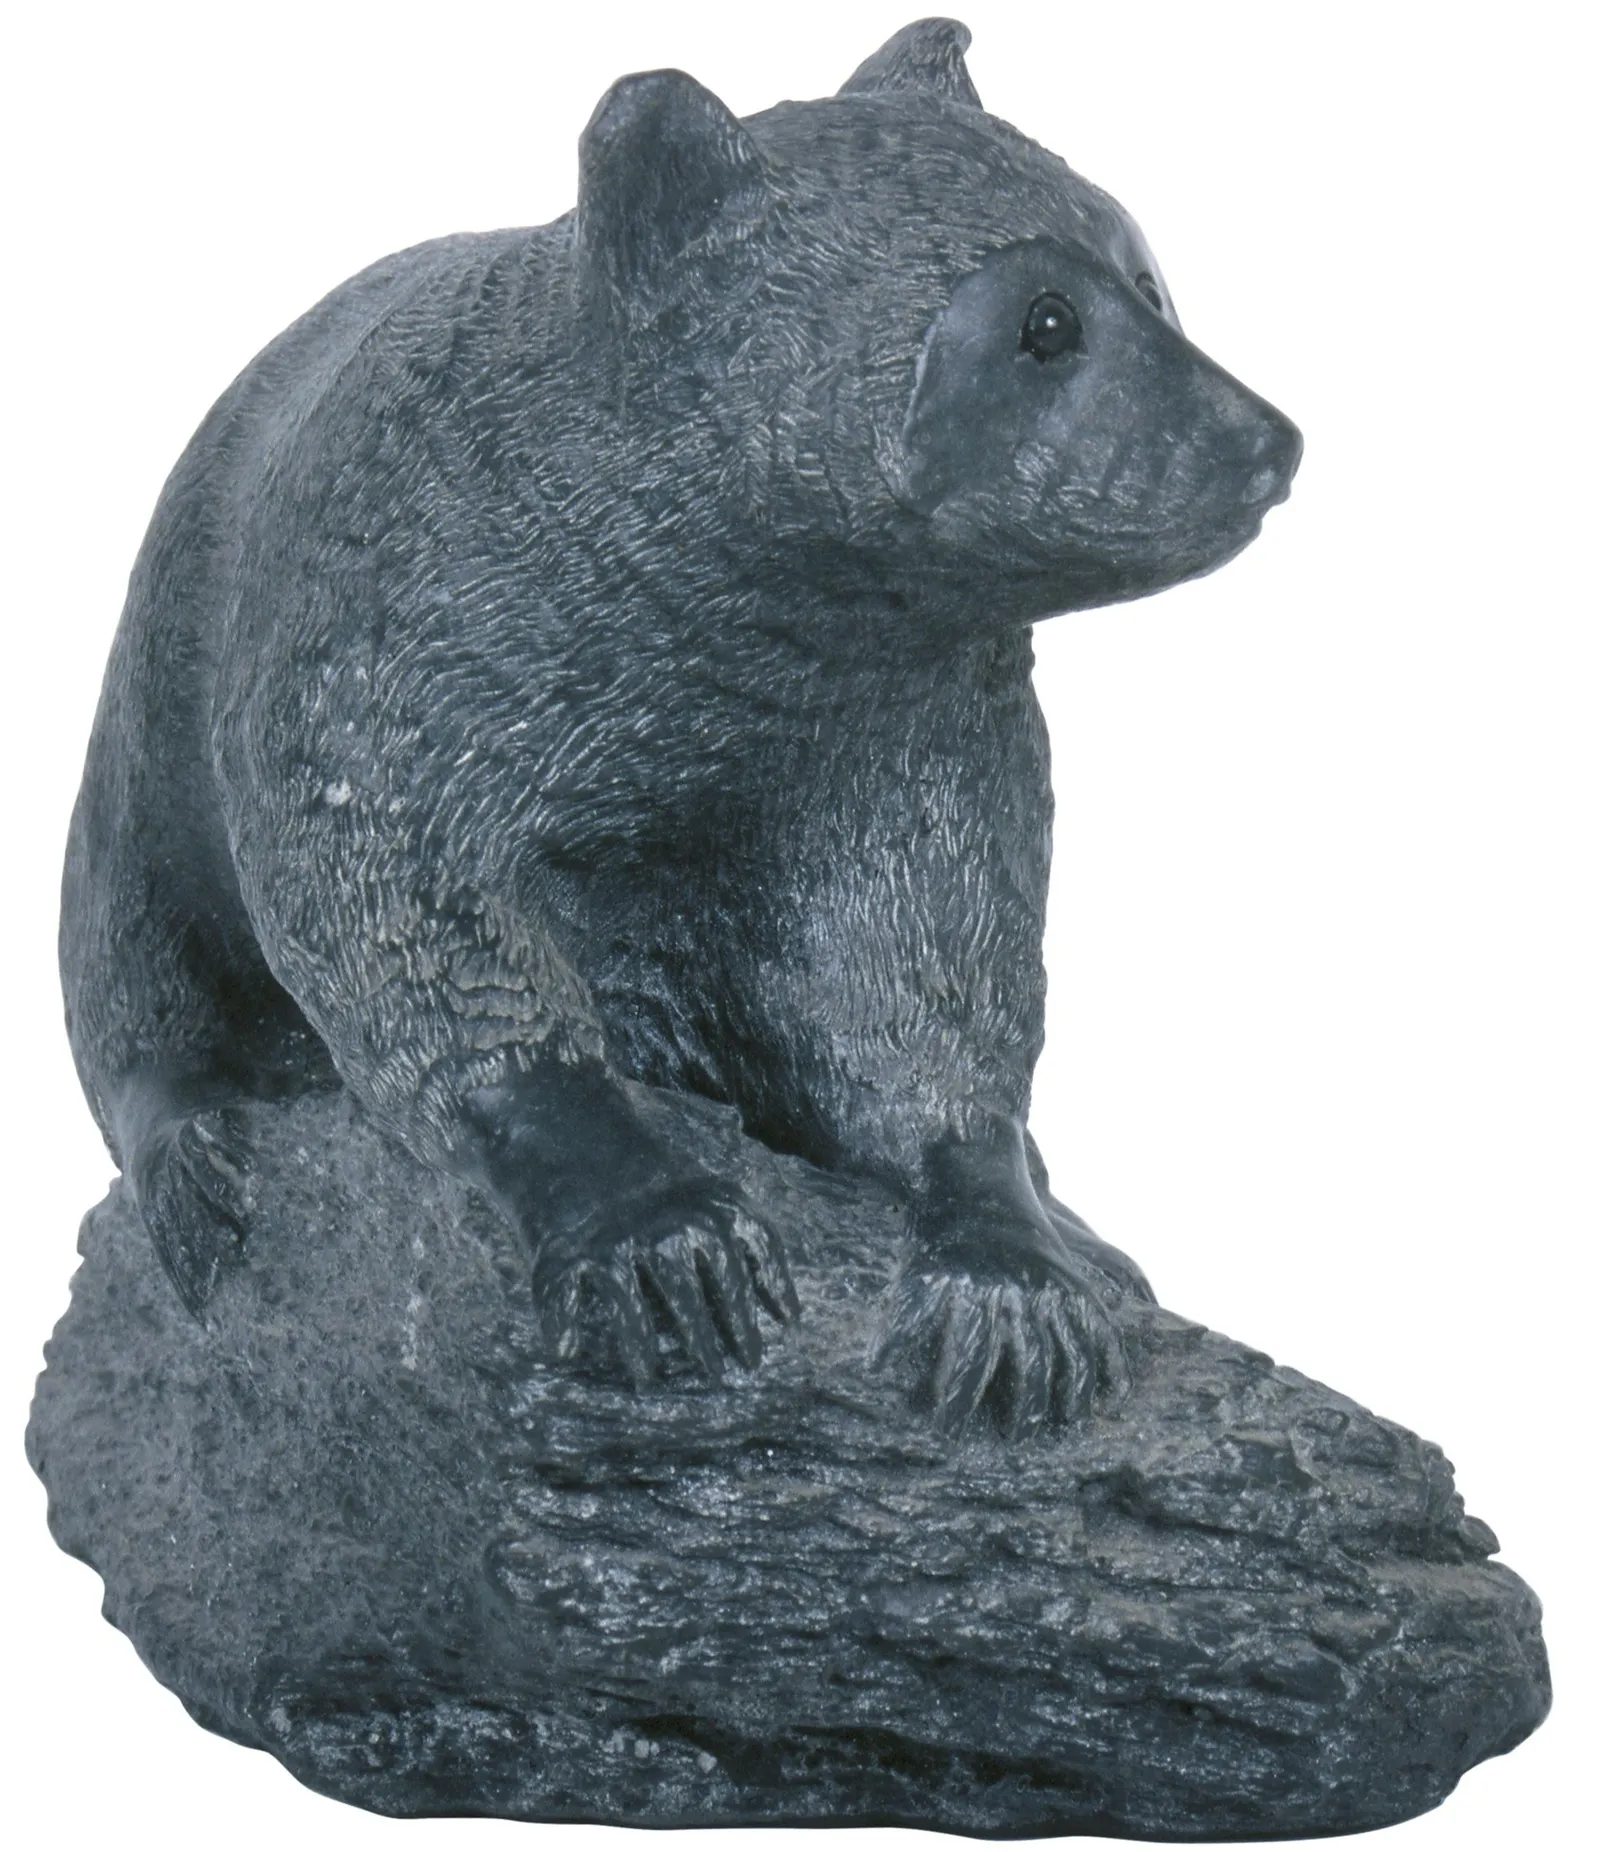
Soapstone makes beautiful, durable sculptures as well as architectural accents.
Around the start of the 20th century, soapstone was a frequent choice for sinks and countertops in the eastern United States. By the 1920s, its popularity waned as lighter and more affordable materials became fashionable. Yet soapstone's toughness and attractiveness have drawn a new following. It resists staining, is physically robust, and most harm can be fixed with just a little effort. Even beginners can successfully restore a soapstone sink.
Step 1
Scrub broken sections with a degreasing cleanser to prepare a clean surface for bonding.
Step 2
Put small soapstone pieces on a sturdy work surface and carefully crush them into powder using a hammer.
Step 3
On a disposable plate or similar surface, mix a little clear epoxy. Apply it with a brush to the edges of the broken area on both the sink and the detached piece.
Step 4
Put the broken soapstone piece back in its original spot and hold it with a clamp until the epoxy sets. Combine the powdered soapstone with the leftover epoxy and use this mixture to fill any visible cracks or chips. Let the epoxy cure for the time stated on its label.
Step 5
Sand the repaired area with fine 300- to 400-grit paper until it blends with the surrounding soapstone.
Step 1
Remove any old caulking that is crumbling, moldy, or deteriorated from the sink's seams.
Step 2
Clean the corners with a brush and mild detergent, then rinse and dry them completely.
Step 3
Apply new caulk to the seams using clear silicone or a color-matched compound. Lay down a thin, uniform bead along the seam, smooth it with your finger, and wipe off excess with a soft cloth.
Step 1
Sand any surface-stained areas of the sink. Begin with paper no coarser than 220 grit, move to 300 or 400 grit, and finish with 600 grit for polishing.
Step 2
Wash the sink with clean water and a gentle cleanser to eliminate any oil or film.
Step 3
Dampen a clean, lint-free cloth with mineral oil. Apply the oil evenly to the sink's interior and exterior, then wipe off any excess with a dry cloth.