Repairing a Collapsing Closet: A Step-by-Step Guide
Closets serve as essential storage solutions, frequently the sole built-in option in many residences. Over time, neglect can lead to issues. When shelves or rods start to droop or detach, the storage area you rely on needs immediate attention.
By Finley Morgan11 steps
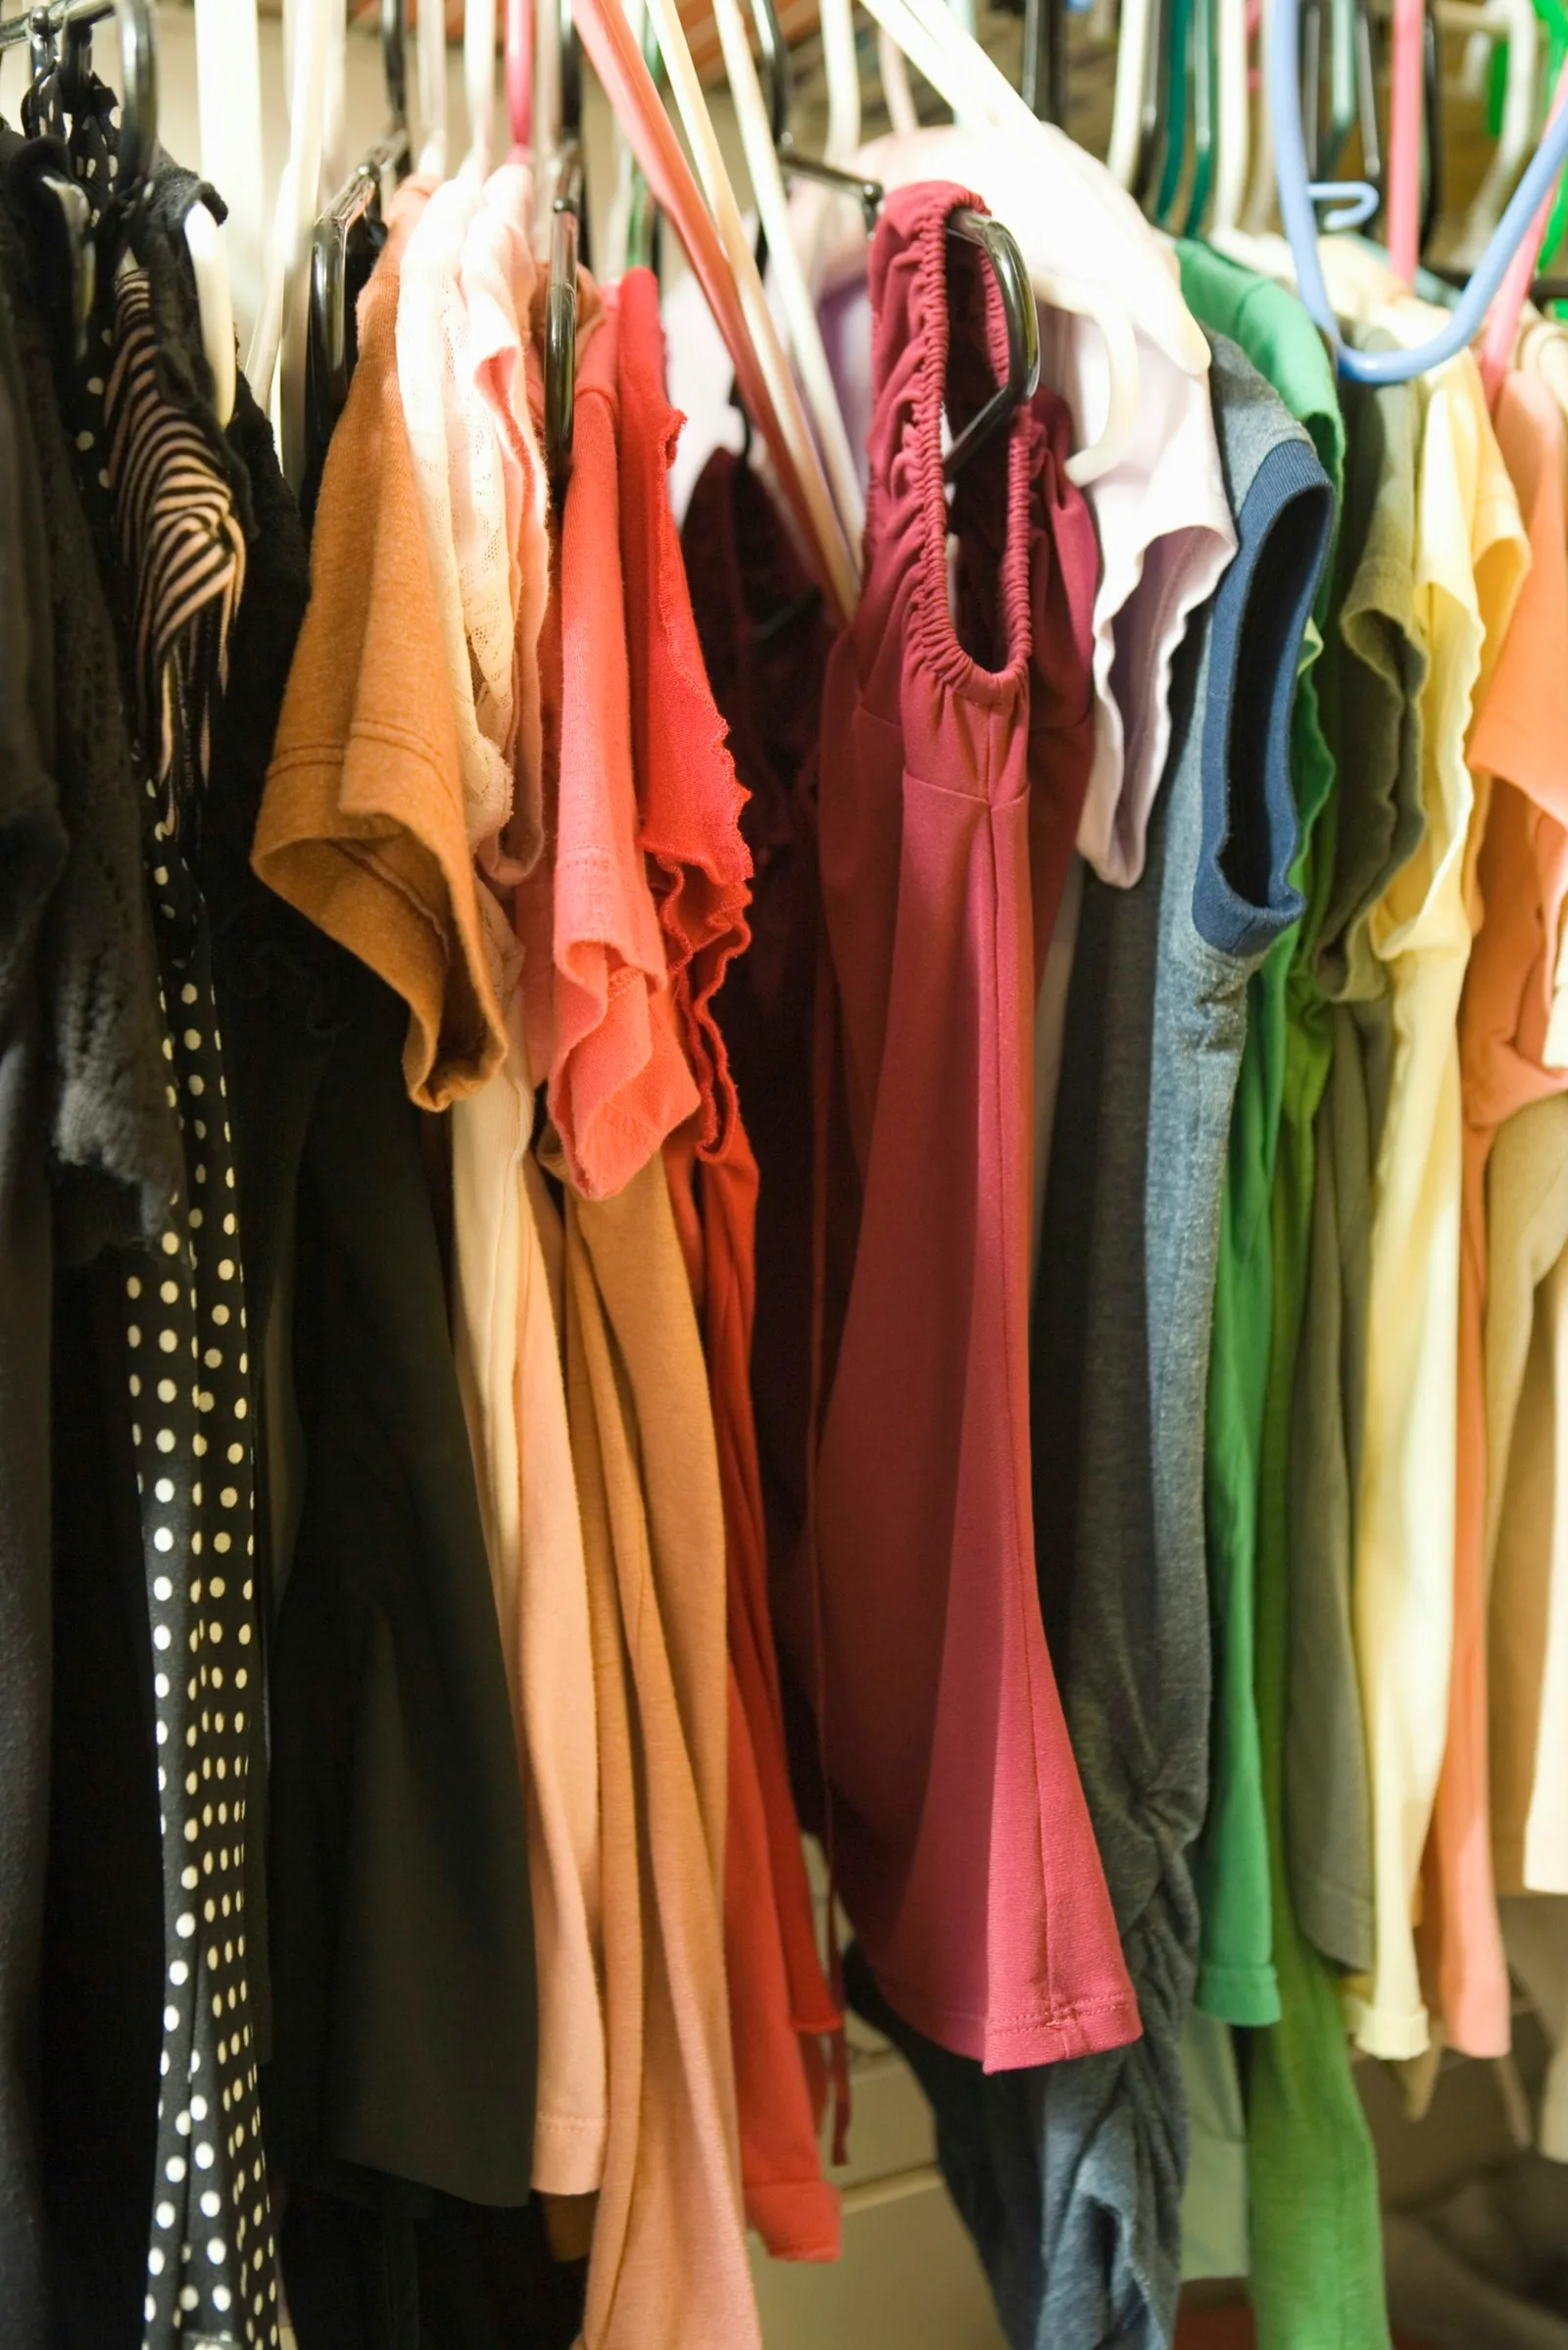
Keep your closets in good shape with easy and inexpensive fixes.
Closets act as vital storage zones; in many houses, they are the only built-in storage available. Frequently, upkeep for closets is overlooked as time passes. Once a closet's shelves or hanging rods start to droop or come loose, the storage capacity you depend on suddenly demands repair. In most cases, reattaching or swapping out supports, brackets, or rods offers a fast and low-cost fix.
Step 1
Take out the shelves you want to replace. Record the wall-to-wall and front-to-back dimensions of the spot where each shelf will go. Measure the actual surface precisely to ensure the best fit once the shelves are installed.
Step 2
Draw the outline for each measured shelf area onto plywood or another chosen wood. Choose a thickness that matches or exceeds the original shelf for optimal support. Cut the outlined shelf shapes from the wood using a circular saw.
Step 3
Take out and measure the shelf supports that require replacement. Measure the space where extra support is necessary along the back of the shelf, particularly if insufficient support led to the sagging or falling. Remember that side supports should run the full length of the shelf sides they hold up, unless a back support is also in place. Permit the side or back supports to be shorter so all supports align flush with the wall corners.
Step 4
Sand the wooden components and apply paint as preferred.
Step 5
Find the wall studs using a stud finder. Mark where the supports will go in the closet with a measuring tape and level, or use the pattern left by the old supports as a reference.
Step 6
Secure the supports in place along the marked lines with nails or screws. Place the shelves onto the supports.
Step 1
Examine falling closet rods to determine if you need to replace the rods, the rod brackets, or both. Buy and use brackets with larger openings if you intend to use a hanging rod with a bigger diameter.
Step 2
Take the hanging rods out of the closet. Remove any brackets you plan to replace using a screwdriver.
Step 3
Attach new brackets where the old ones were using wood screws and a screwdriver. Install the new brackets with the U opening facing upward onto the wooden side support on the closet wall, or fasten them to a marked spot where a stud is behind the wall.
Step 4
Fasten additional support brackets to the underside of a shelf, or attach longer supports to the back of the closet along a wooden support piece or where a stud is in the wall.
Step 5
Insert new hanging rods into the U-shaped brackets and over any extra supports you added to the shelf underside or the closet back wall.