Mounting a Low-Voltage Wall Box: A Step-by-Step Guide
For connections under 30 volts, a wall box mainly serves to hold the cover plate; it's a bracket that attaches to drywall rather than a full enclosure. In contrast, electrical codes mandate a junction box for every 120- or 240-volt connection to reduce fire risk if a connection fails.
By Jordan Ward4 steps
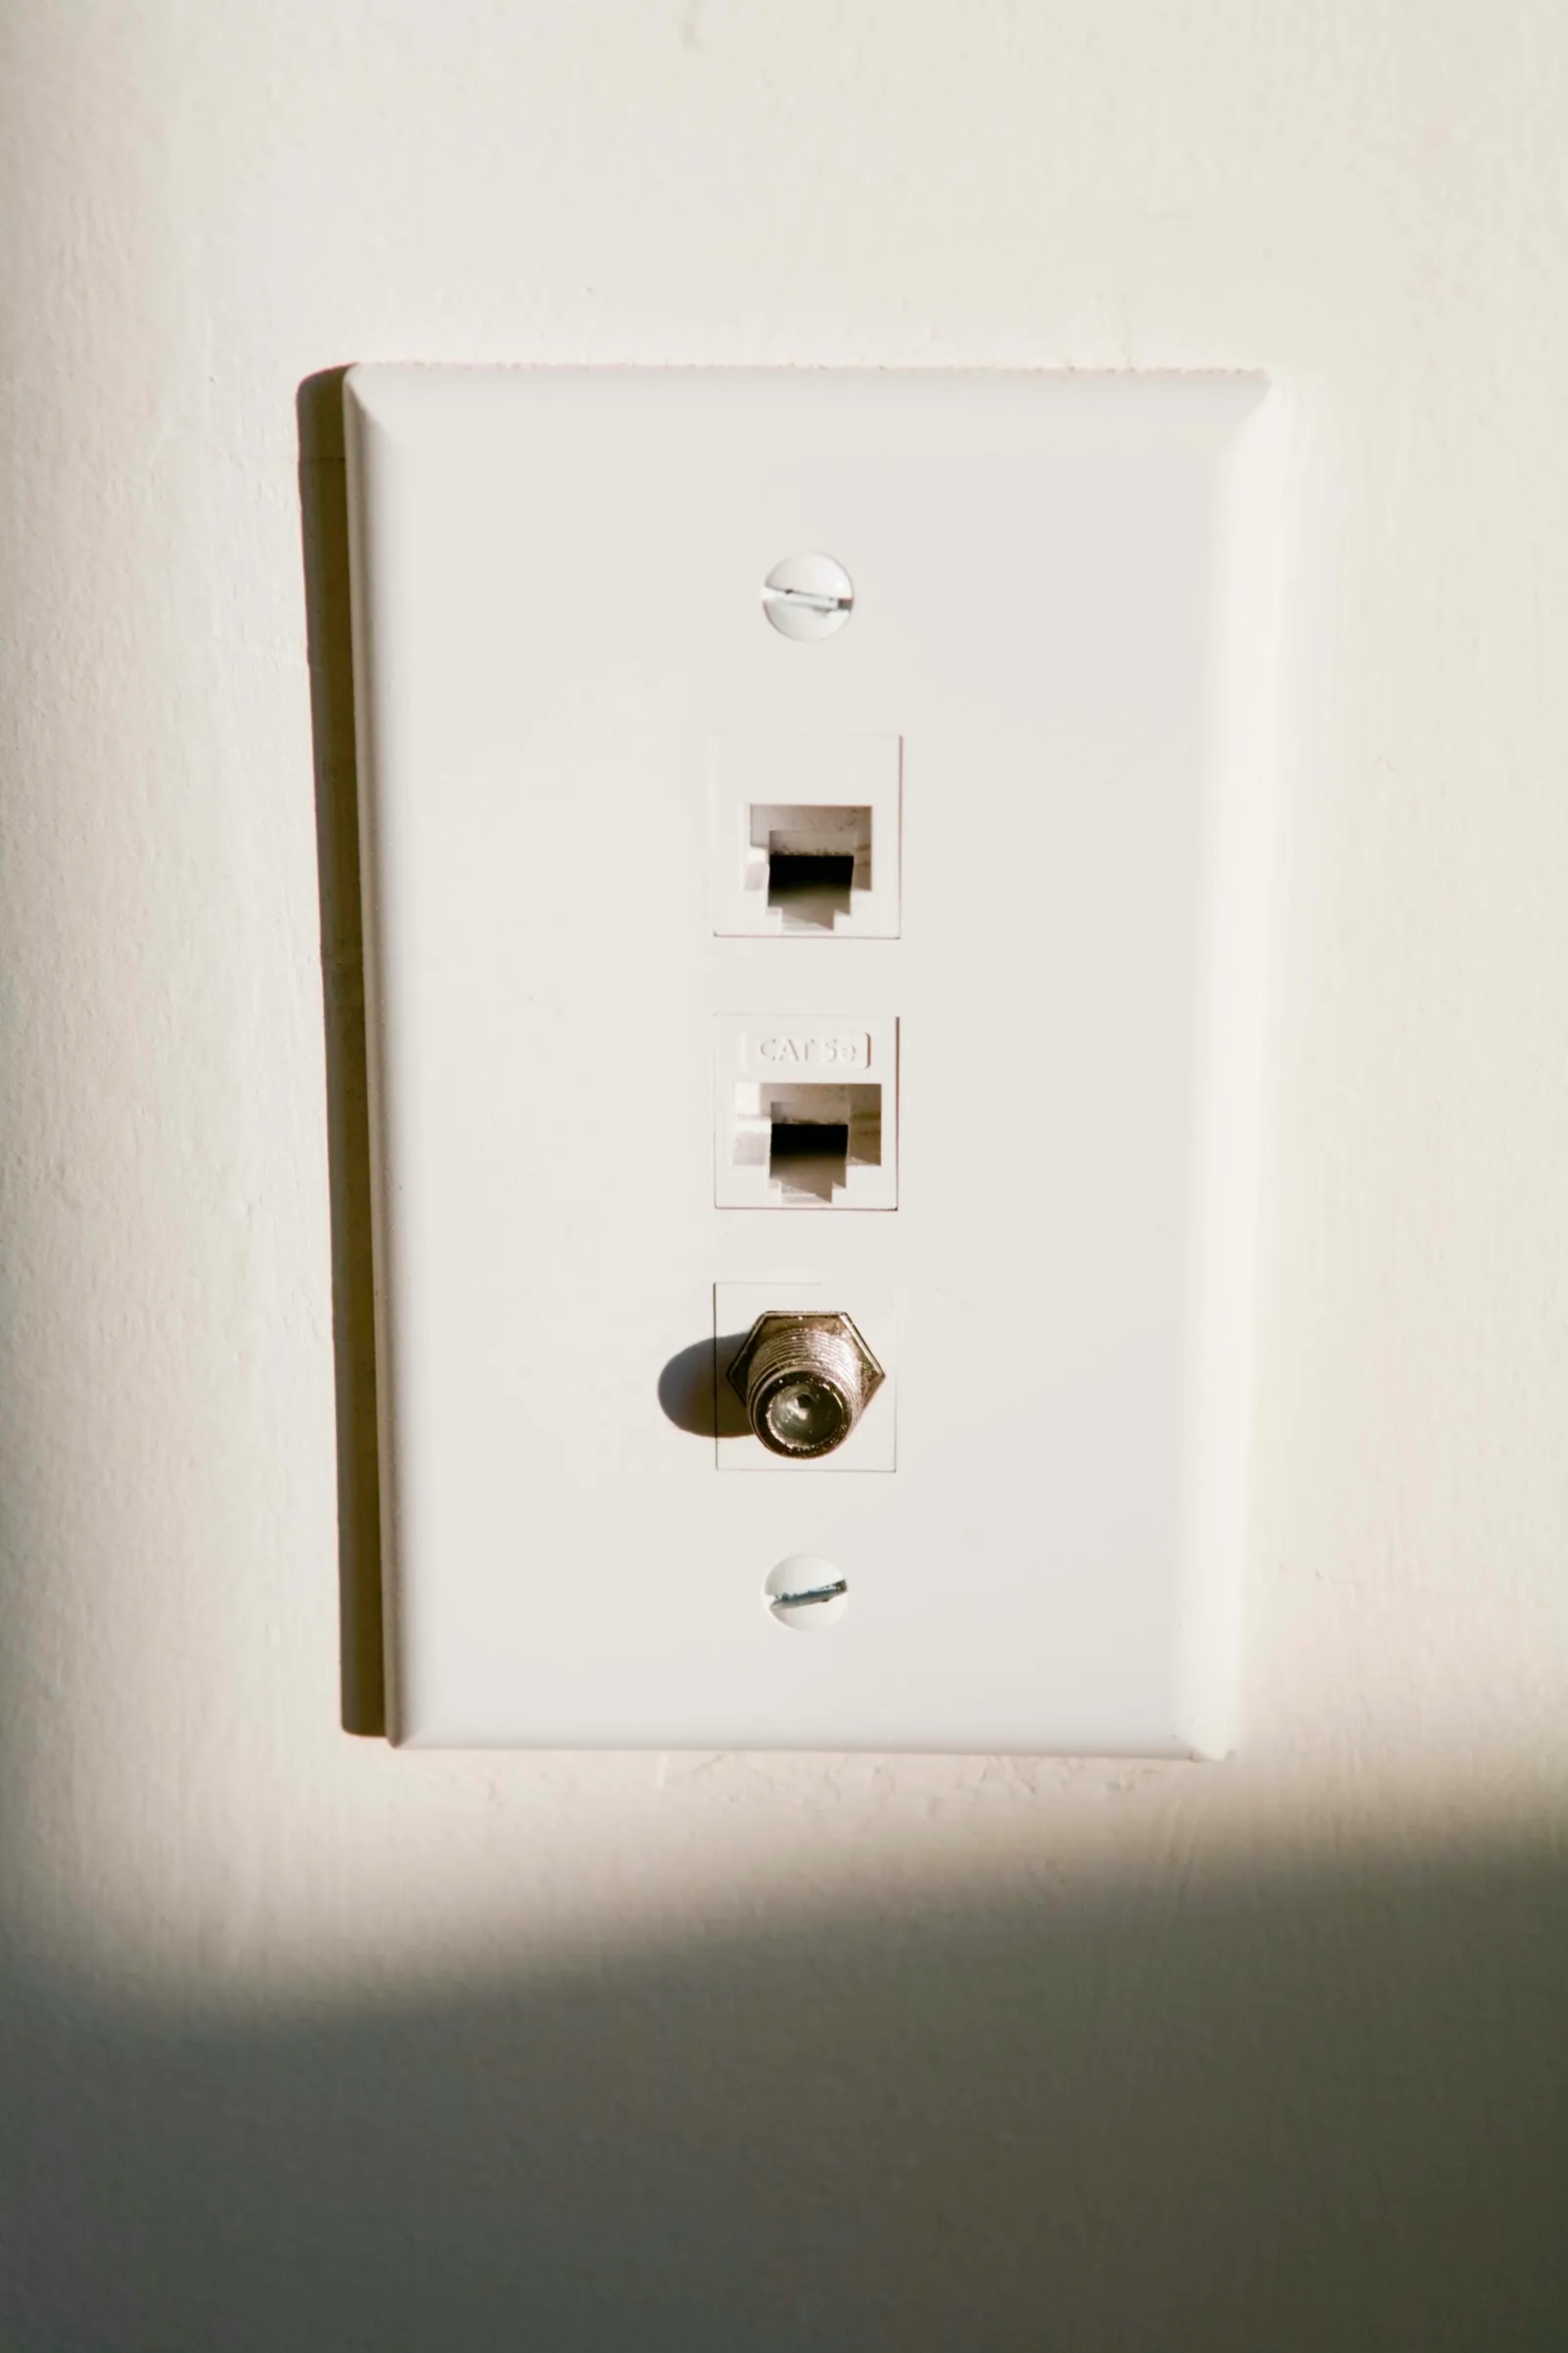
A 12-volt junction box provides support for the wall plate.
Putting electrical connections inside a junction box helps prevent a fire if a connection fails, and building codes require a box for every 120- or 240-volt connection. Since wires carrying less than 30 volts are less likely to start fires, a 12-volt wall box primarily exists to support the cover plate. It functions more as a bracket that you fasten to drywall than as an actual box. This type of bracket can be used for phone lines, cable TV, speaker wires, and wiring for 12-volt lighting fixtures.
Step 1
Hold the front of the bracket against the drywall where you want it. Put a torpedo level on the top edge and shift the box until the bubble is centered. Use a pencil to mark the wall through the reference hole near each corner. Take the bracket away.
Step 2
Using a ruler and pencil, connect the marks to create a rectangle. Verify that the top and bottom lines are level. If they aren't level, the cover plate will end up crooked.
Step 3
With a drywall saw, cut along the rectangle. Take out the cutout piece.
Step 4
Insert the bracket into the hole and use a screwdriver to turn the front screws clockwise. As you do this, the mounting brackets will automatically position themselves against the back of the drywall, and tightening the screw will hold the bracket in place.