A Step-by-Step Guide to Fitting a Union onto Copper Pipe
Sweating copper pipe fittings—soldering them with lead-free solder—creates a bond that cannot be taken apart. For situations where pipes must later be disconnected, such as at a water heater, a union is the answer: a fitting with two threaded halves joined by a central nut, available in copper or brass with slip joints for soldering.
By Cameron Mitchell7 steps
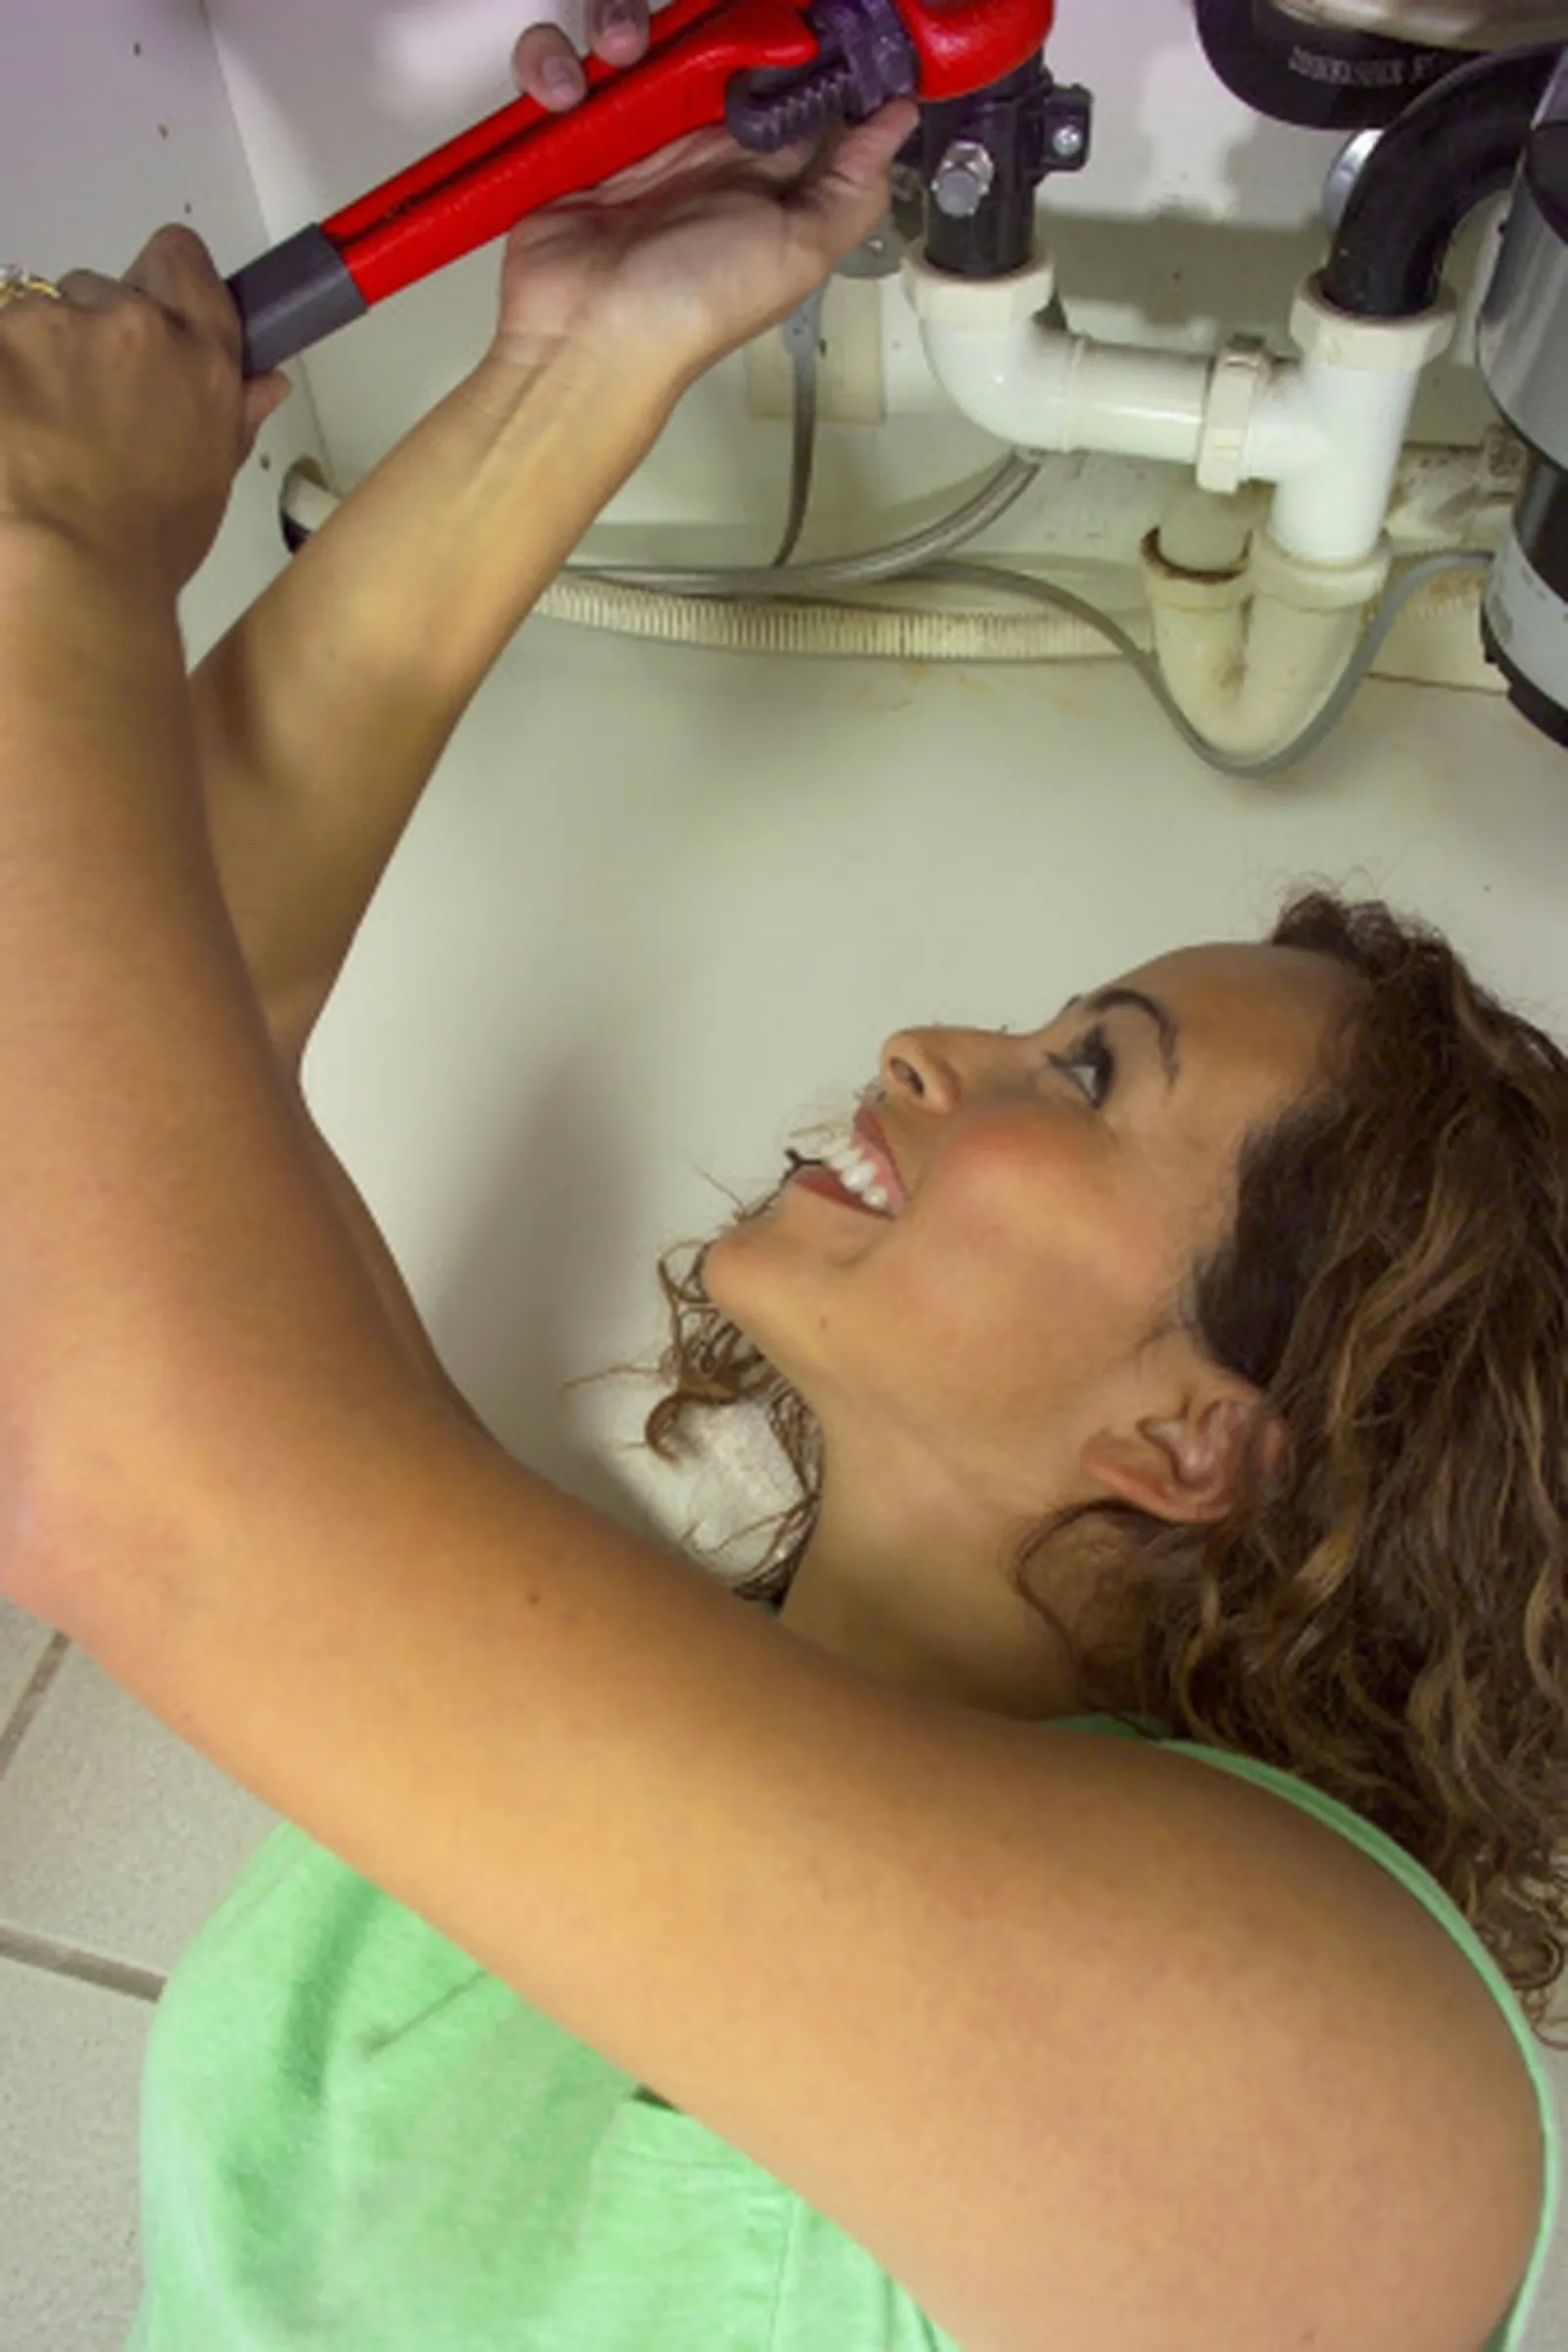
After you've soldered a union onto copper pipes, tighten it with a pipe wrench.
Sweating—the practice of soldering copper pipe fittings with lead-free solder—is the standard method for attaching them. Because a sweated joint is permanent, a union becomes necessary whenever pipes need to be separable, for example where they link up to an appliance that can be removed, such as a water heater. A union is a plumbing fitting of a distinct type: it consists of two threaded halves and a central nut that draws them together. Unions intended for copper pipe come in either copper or brass, and they feature slip joints that allow sweat connections to be made.
Step 1
When placing the union into an existing run of pipe, begin by cutting the copper with a pipe cutter. Shut off the water supply first. Loosen the cutter's drive, position the tool around the pipe, then tighten the drive until the blade meets the metal. Spin the cutter around the pipe, advancing the drive with each pass until the pipe comes apart. Catch the draining water in a bucket.
Step 2
Use a wire brush on the pipe ends to clear away oxidation, which helps the solder bond better. Certain pipe cutters come with a brush attached specifically for this task.
Step 3
To take apart a brass or copper union, unscrew the central nut and set it aside. With the small brush supplied with the flux, coat the inside of the slip fittings on both halves of the union as well as both pipe ends being joined. Push one half of the union onto the end of each pipe.
Step 4
Apply heat to one of the connections using a propane torch, keeping the flame roughly six inches away from the metal. The flux will darken, become liquid, and then start to bubble. Once that happens, pull the flame away.
Step 5
Right away, bring the tip of a coil of lead-free solder into contact with the joint. As it melts, the solder disappears into the joint, fusing the fitting to the pipe as it cools. Work the solder tip around the pipe so the solder fills every gap between fitting and pipe. After soldering one half of the fitting to its pipe, repeat the process on the other half and the other pipe. Allow the metal to cool for 10 to 20 minutes.
Step 6
Thread the nut onto one half of the union, then bring the pipes together and keep turning in the same direction. The other half of the union is cut with reverse threads, so turning in a single direction tightens the nut onto both halves at once. Once the nut is hand-tight, finish tightening it with a pipe wrench.
Step 7
Restore the water supply and inspect for leaks. Should the union leak, use the pipe wrench to tighten the nut further until the leak stops.