A Guide to Fixing Drywall Damage Near a Window Opening
Drywall consists of gypsum particles pressed together and wrapped in heavy paper, creating a smooth interior surface. However, this material is fairly soft and can be harmed by moisture. When a window area suffers an impact or a leak, the drywall may crack, disintegrate, or rot. Repairing it involves cutting out the affected portion and installing a replacement panel.
By Elliot Bailey12 steps
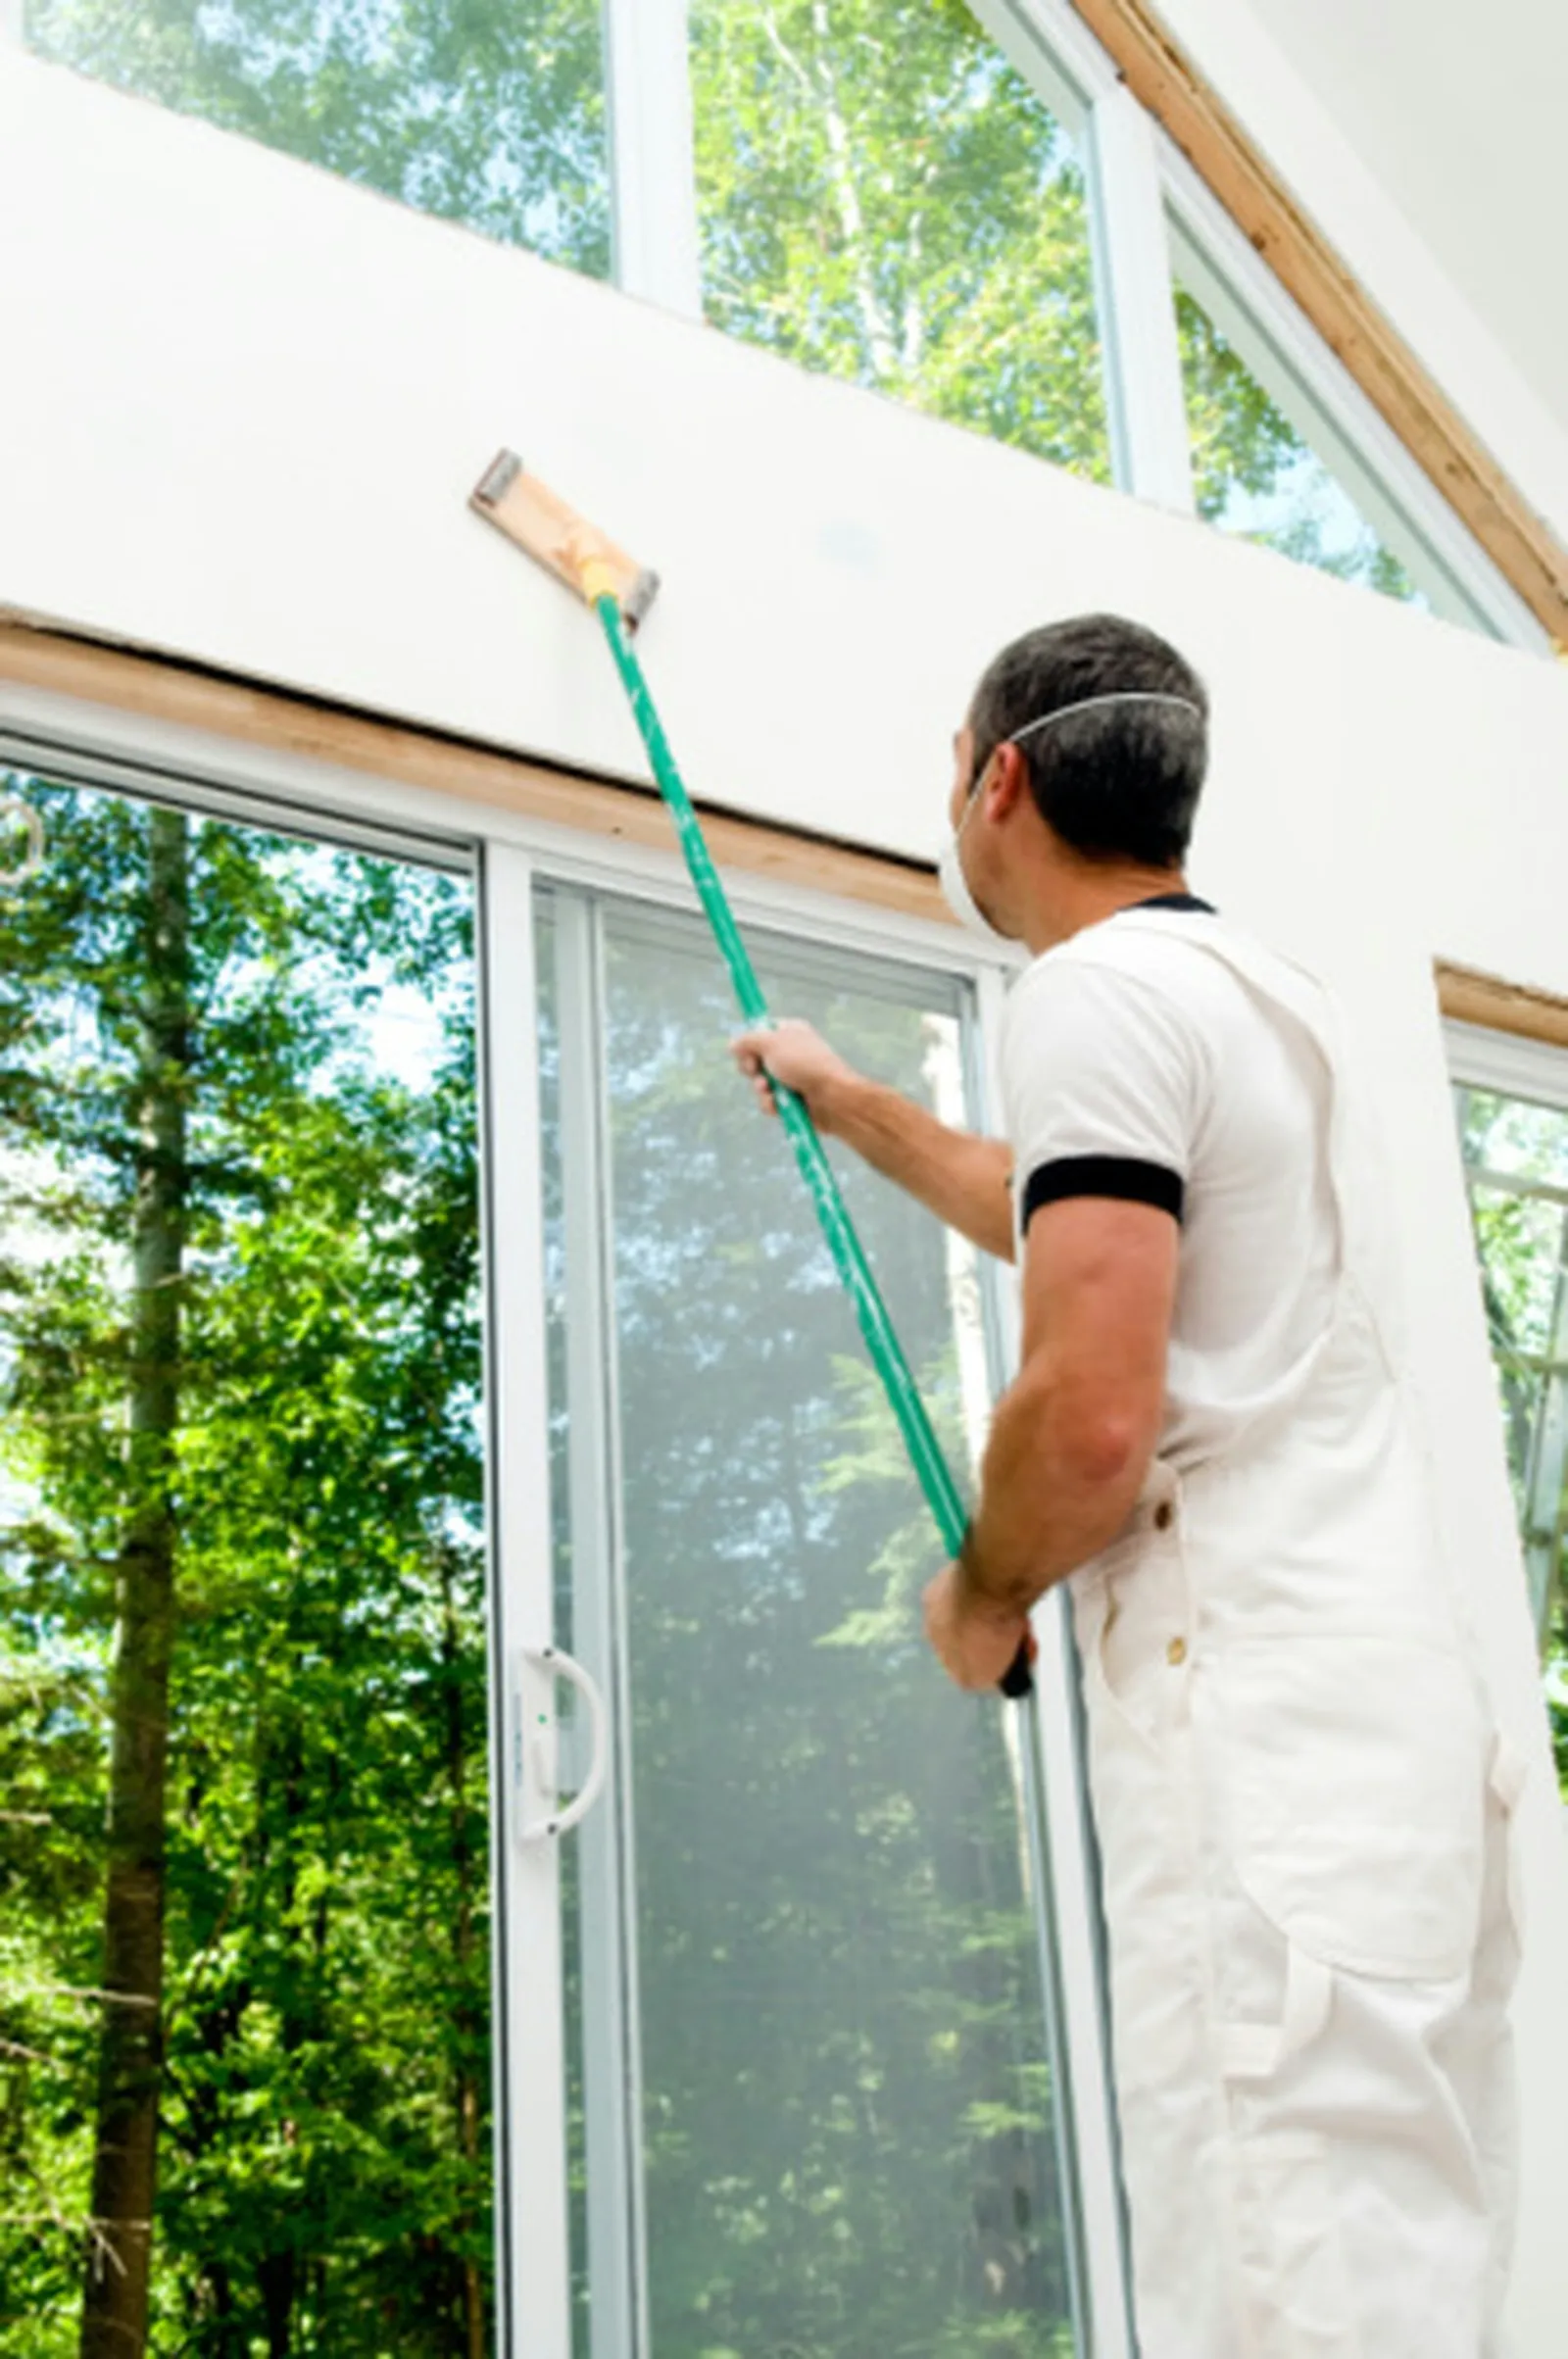
Repair damaged drywall around a window.
Drywall sheets are manufactured from gypsum particles that are tightly packed and then covered with a thick layer of paper, giving interior walls a smooth finish. The problem is that drywall is somewhat soft and does not stand up well to moisture. If something strikes the wall or a leak develops around a window, the drywall can break, crumble, or rot. One way to fix the wall is to take out the damaged portion and put in a fresh piece of drywall.
Step 1
Starting from the outer edge of the window, measure a rectangle that extends to the closest stud on the opposite side of the damaged area. To find that stud, you can tap the wall with your knuckles and listen for a "solid sound," or you can use an electronic stud finder.
Step 2
Take a carpenter's square and use it to draw a rectangle on a new piece of drywall that matches the measurements you took.
Step 3
With the utility knife, cut out the new drywall section. For a straighter cut, keep the edge of the carpenter's square along the line and cut right beside it.
Step 4
Set the freshly cut drywall rectangle on top of the damaged area and trace around its edges, marking an outline on the wall.
Step 5
Follow the line with your cut, then pry out the old drywall piece; take out any drywall screws that were holding it in place.
Step 6
Remove dust and debris from the opening, then set the new drywall section into the hole. Because you used that piece as a template, it should fit evenly within the opening.
Step 7
Drive screws through the new drywall and into the studs underneath, spacing them about one screw every 8 inches along the studs that run beneath.
Step 1
Cut pieces of drywall mesh tape and apply them over the new joints, but do not let the tape overlap. You will need four pieces, one for each side of the rectangle.
Step 2
Using a 6-inch taping knife, apply roughly ½ cup of premixed joint compound to the seams, pressing the semi-solid compound through the mesh and into the joint below. As you work, smooth the surface of the compound along the seam.
Step 3
Use a 10-inch taping knife to further smooth the wet compound. The wider knife helps create a flatter seam.
Step 4
Allow the joint compound to dry fully, then sand down rough spots with a drywall sander. Repeat the process by applying two more thin coats of drywall compound, letting each coat dry before sanding it smooth.
Step 5
Brush off any drywall dust and paint the repaired wall so it matches the existing wall.