A Guide to Maintaining a Cold Chisel's Cutting Edge
Cold chisels, named for their use on metal that hasn't been heated, are usually crafted from treated steel rods with hexagonal or octagonal shapes. One extremity is tapered and ground to a sharp edge, while the opposite end is flat with beveled edges to endure hammer strikes. The tool is heat-treated for strength, and the cutting angle is chosen based on the metal being worked. Regular sharpening keeps the chisel usable for years.
By Skyler Mitchell5 steps
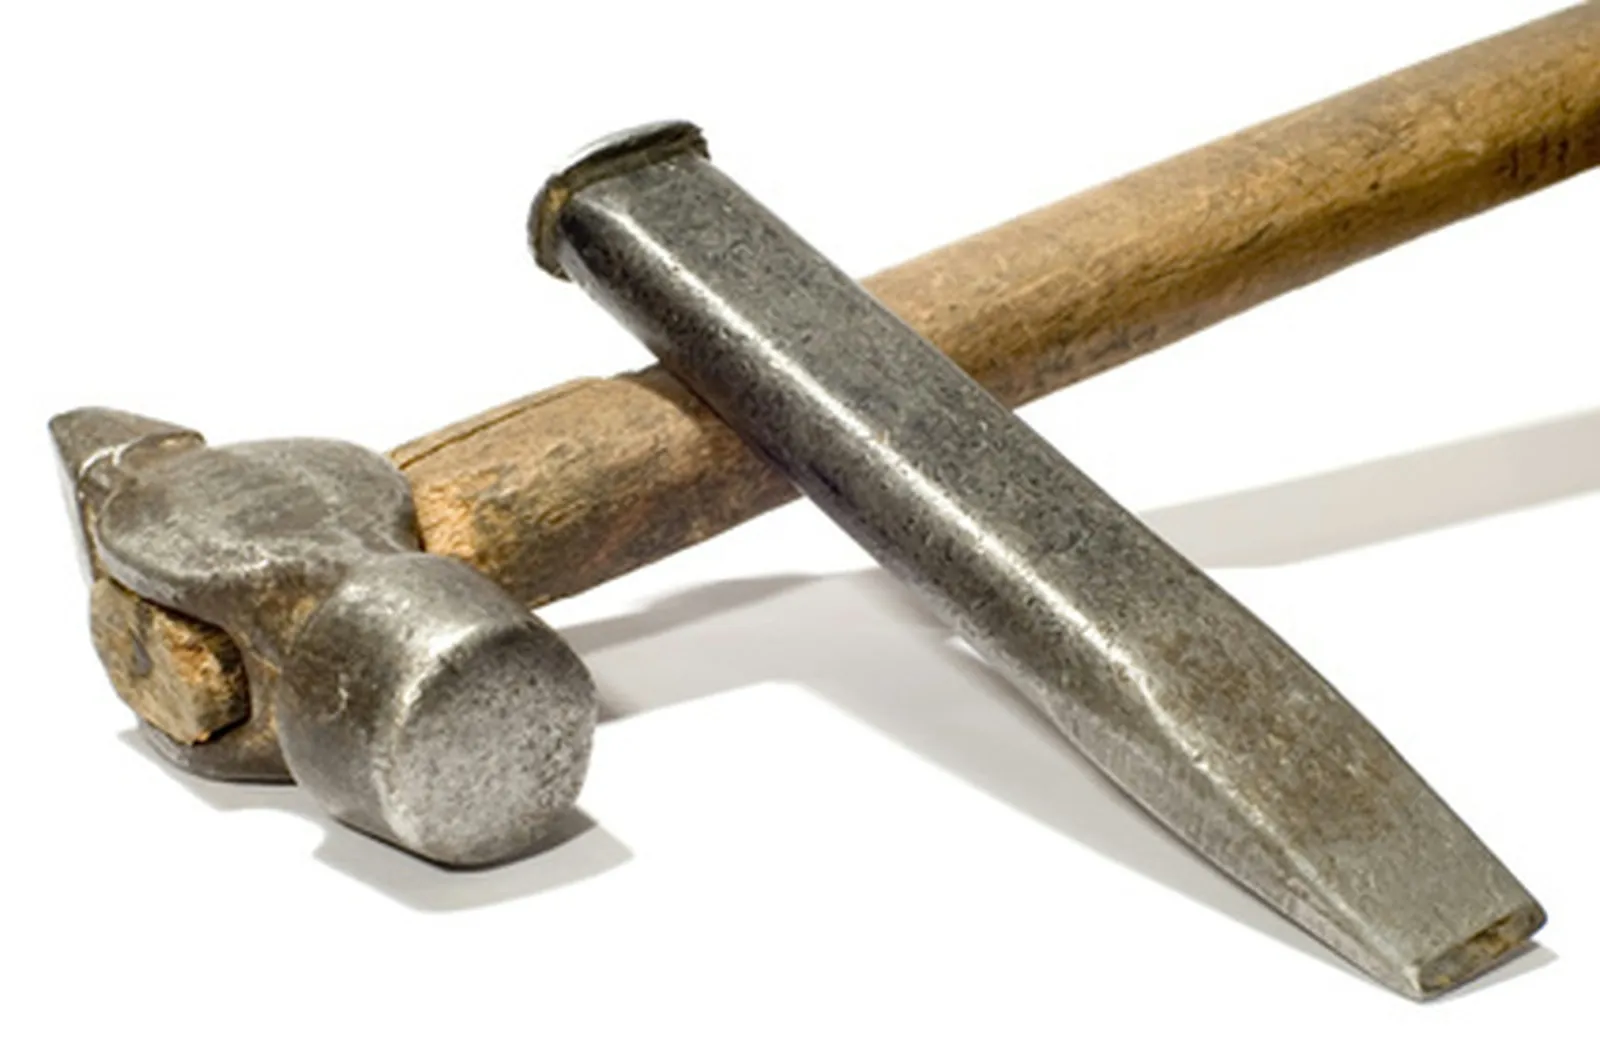
Cold chisel
The term "cold chisel" comes from its main application: shaping metal that has not been heated. These tools are generally produced from steel rods that have been treated and are either hexagonal or octagonal in cross-section. One end is tapered and shaped, then ground to form a sharp cutting edge. The opposite end is flat with slightly angled edges to handle repeated hammer impacts. The whole chisel undergoes heat treatment to increase strength, after which the cutting edge is ground in its final form. The angle of the cutting edge is selected according to the specific metal the chisel will be used on. Keeping a cold chisel sharp is a straightforward job, and doing it when needed will allow the tool to remain functional for many years.
Step 1
Put on safety goggles. Verify that your grinding wheel is fitted with a wheel suitable for metal and rated as fine or very fine. Start the grinder at its lowest speed. Hold the chisel so that you can comfortably press its cutting end against the grinder.
Step 2
Stand in a stable, comfortable position, then bring the cutting edge of the cold chisel into contact with the side of the grinding wheel. Two things need to be achieved. First, avoid letting the cutting end overheat, as this can significantly weaken it. Second, work toward a smooth, sharp edge.
Step 3
Keep a 45-degree angle between the grinding wheel and the chisel's cutting edge. A different angle is acceptable if that matches how the chisel was originally ground. Aim to reproduce the factory grind by sliding the chisel horizontally back and forth across the wheel's face while maintaining a constant contact angle.
Step 4
Take the chisel away from the wheel often to prevent excessive heat from building up. Inspect the chisel's face regularly until you can see a new edge that is both smooth and sharp. When you are done, the new edge should closely match the factory edge.
Step 5
Continue moving the chisel across the grinding wheel's face at a 45-degree angle (or the angle that replicates the factory grind). Remove and reapply the chisel end to the wheel as needed to achieve the desired smooth, sharp result. After finishing, turn off the grinder and wipe the chisel with a dry cloth that has a few drops of light lubricating oil on it.