Testing a 12-Volt Light with a Voltmeter: A Step-by-Step Guide
A 12-volt light's brightness reflects the voltage present at its rear terminals, and these lights typically draw power from a 12-volt battery that is controlled by a switch. By measuring both the battery's voltage and the voltage at the bulb's terminals, you can determine whether the light itself is functioning properly.
By Avery Morgan5 steps
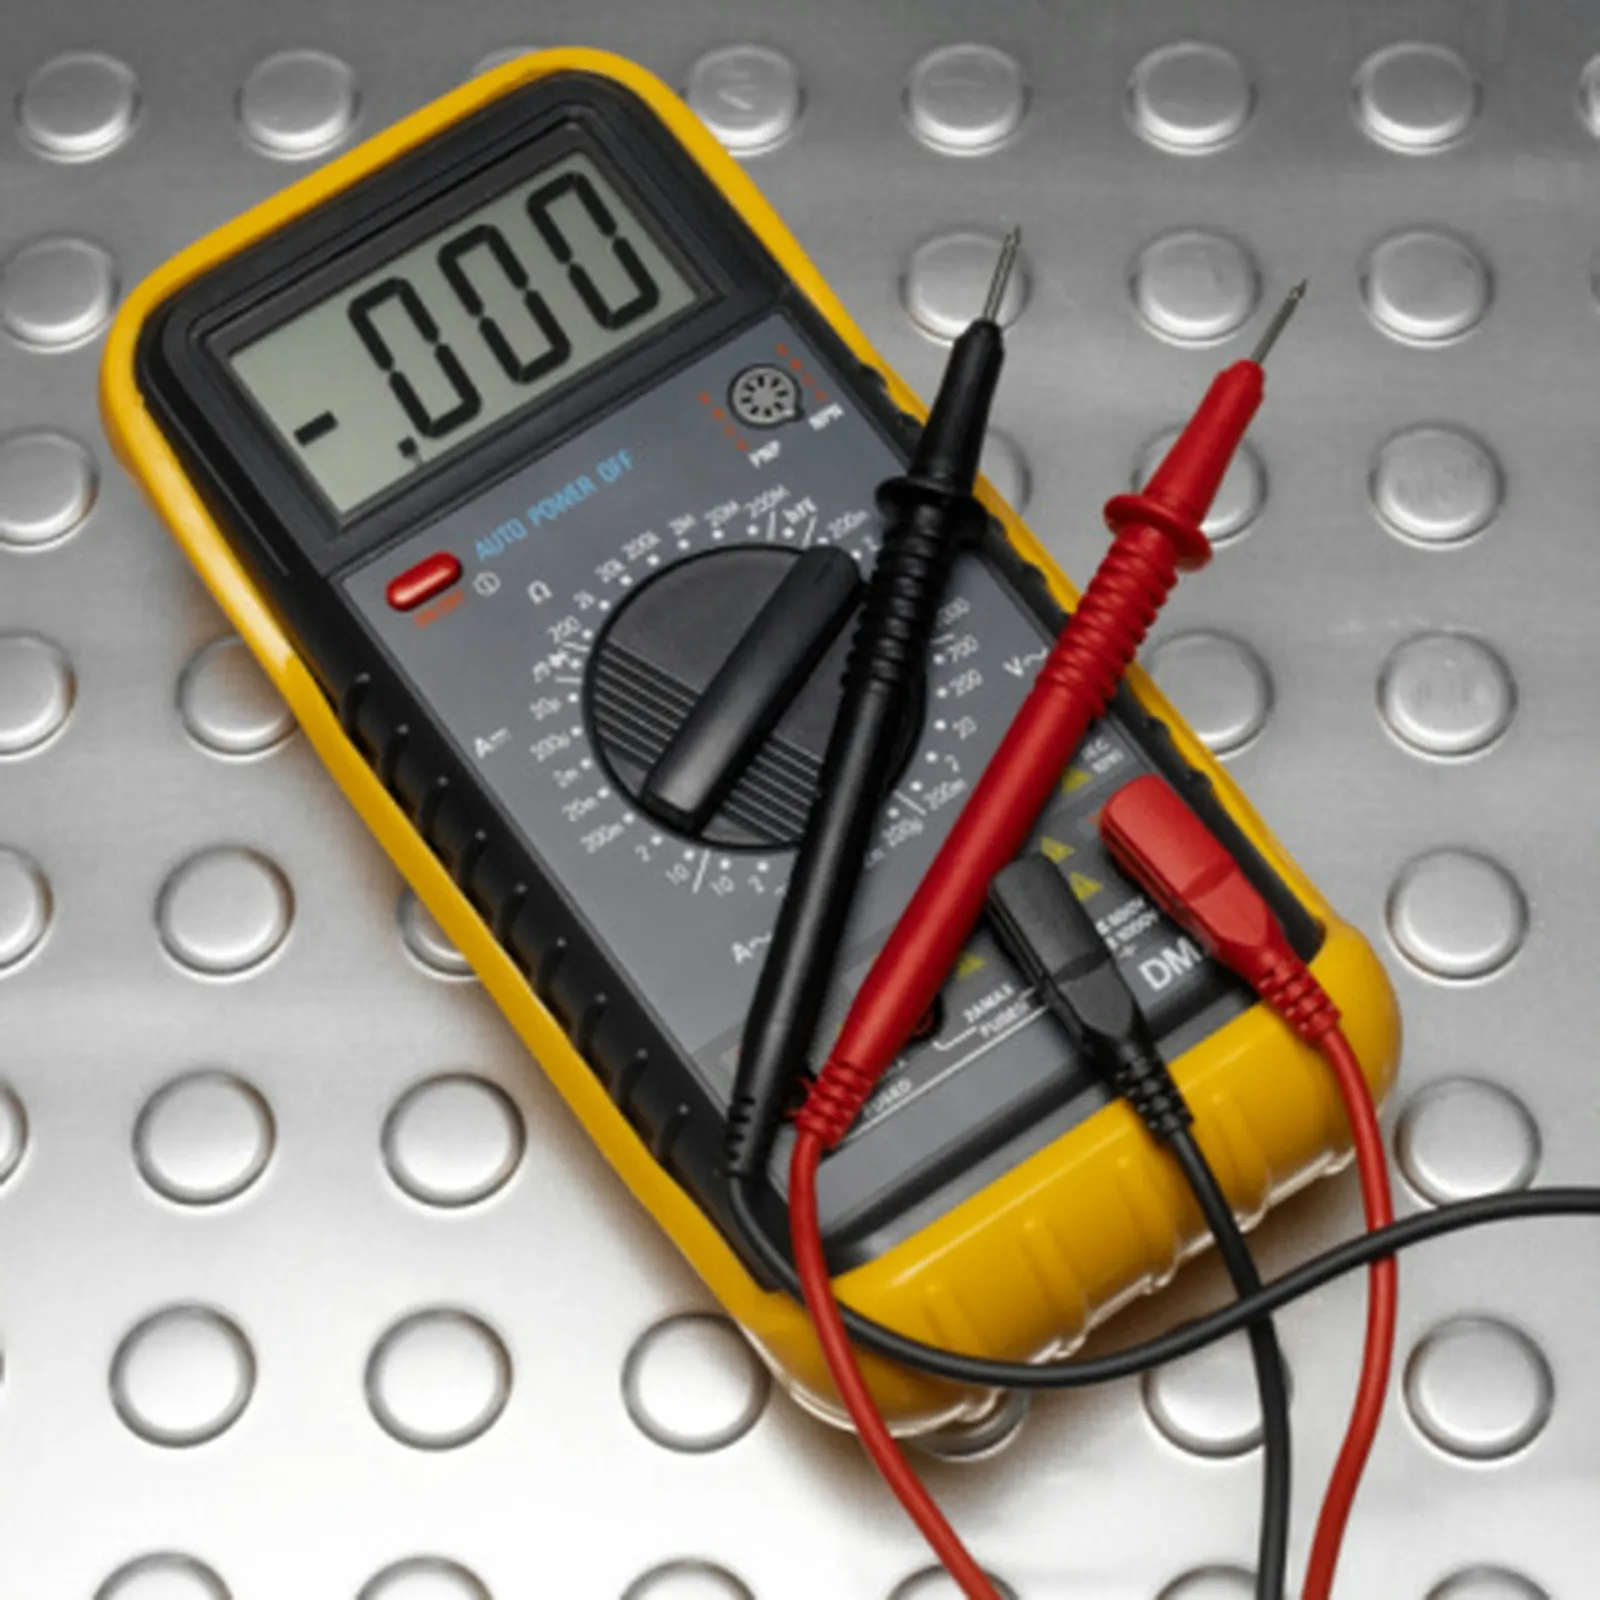
Note the display reading -0.00 on the voltmeter.
To produce light, every 12-volt lamp needs electrical current. How brightly the bulb glows corresponds to the voltage that arrives at the terminals located on the back of the light. Usually, a 12-volt battery is the source of this electrical power, and a switch is used to activate or cut off that power. By checking the voltage coming from the power source as well as the voltage reaching the bulb's terminals, you can figure out whether the 12-volt light is in working order or faulty.
Step 1
Plug the red test lead into the voltmeter port labeled "volt." Put the black test lead into the port marked "com" and make sure it is secure. Rotate the main dial on the front of the voltmeter to the "DC volt" setting.
Step 2
Bring the red probe of the voltmeter into contact with the positive (+) terminal of the 12-volt battery. Then press the black probe against the negative (-) terminal of the battery. The reading on the voltmeter display needs to be above 12.0 volts. Should the reading fall below 12.0 volts, the battery needs to be charged.
Step 3
Detach the leads from the battery. Access the rear terminals of the 12-volt light under test. Since 12-volt lights serve a wide range of purposes, refer to the manufacturer's operating instructions for guidance on how to reach the terminals on your particular light.
Step 4
Activate the switch that controls the 12-volt light. Place one voltmeter lead on one of the light's connector terminals. Then place the remaining lead on the other connector terminal of the light.
Step 5
Check what the voltmeter display shows. The reading should match the voltage you observed in Step 2. If the display shows the same voltage as in Step 2 and the light still fails to illuminate, the light is defective and needs to be replaced. If the display shows 0.0 volts, then the switch or the wires going to the bulb are experiencing a problem.