Everlast Roofing: A Step-by-Step Installation Guide
This guide covers the tools and steps for installing Everlast metal roofing panels. The panels are lightweight and durable, with a pre-applied corrosion inhibitor and interlocking ribs for a watertight seal. Their light color reflects heat and reduces noise. The process involves inspecting the roof, applying underlayment, installing drip edge, laying panels, and finishing with ridge caps and vent boots.
By Rowan Rivera10 steps
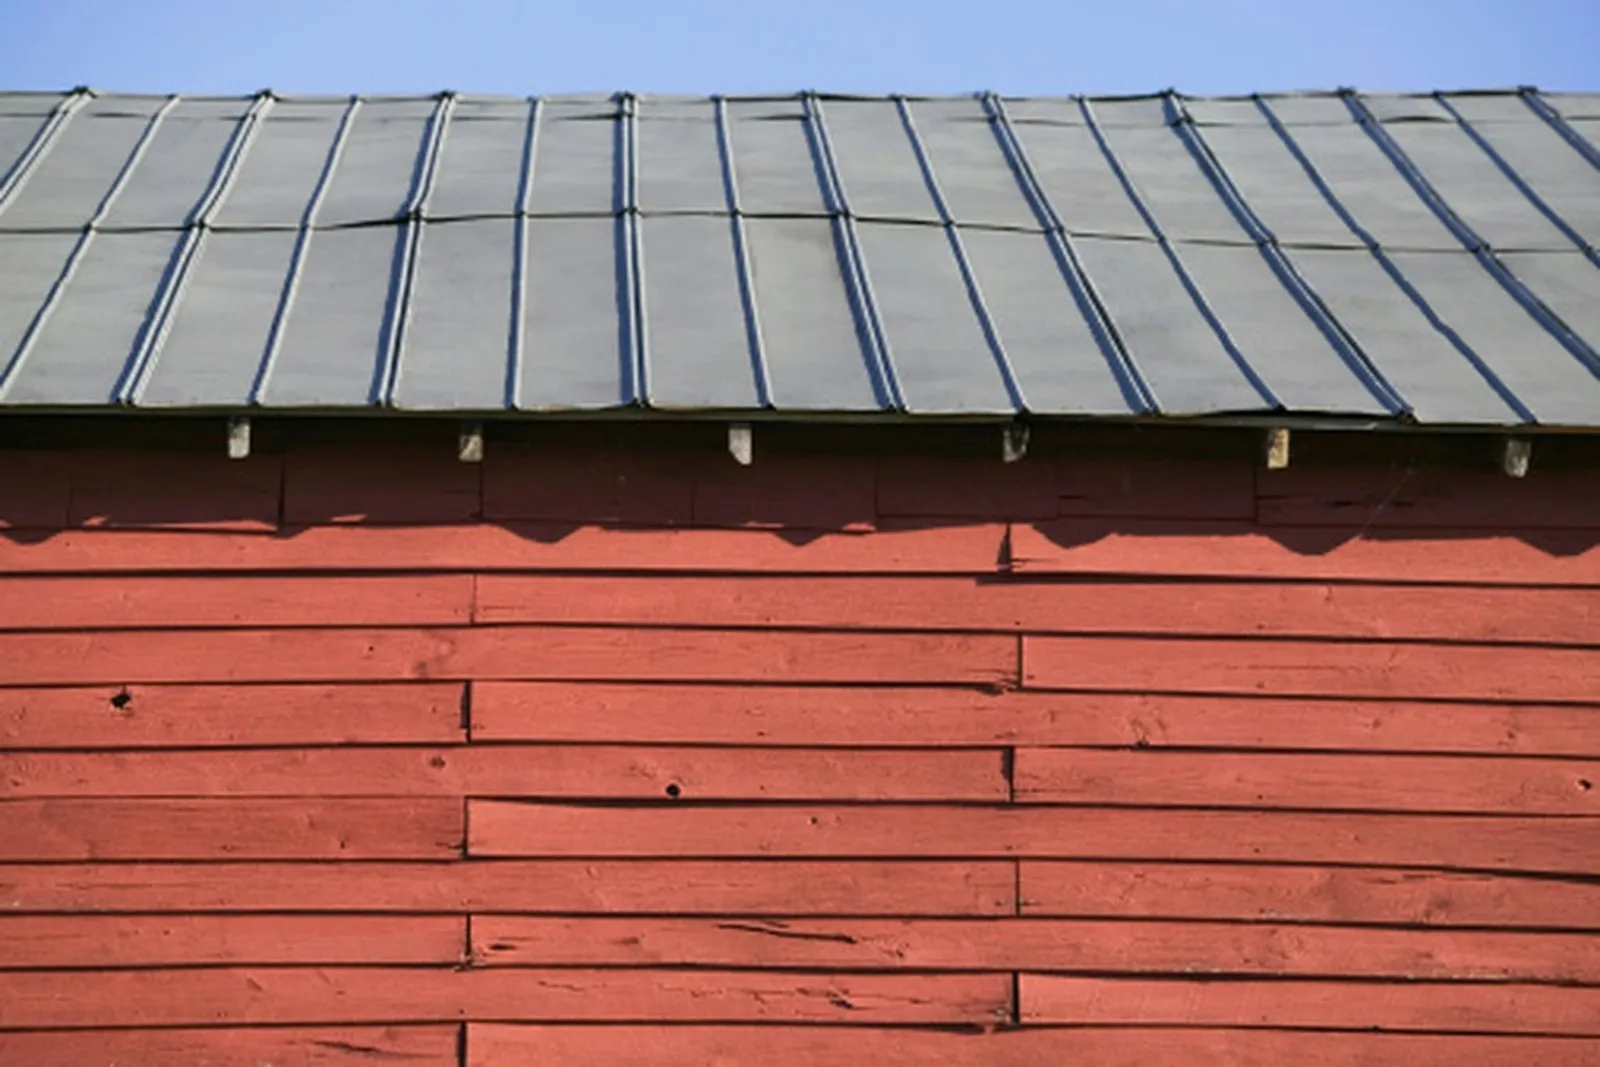
Metal roof panels can save cash on energy costs.
Everlast metal roof panels are lightweight, durable, and built to last. Each panel comes with a factory-applied corrosion inhibitor to prevent rust, and the interlocking ribs create a watertight seal across the roof. The light-colored metal reflects heat away and helps dampen outside noise. Metal roofing is offered in many colors, is energy efficient, and may cut a homeowner's energy bills by a significant amount. With its potential cost savings and long lifespan, Everlast roofing seems like a sensible option.
Step 1
Check the existing roof for any damage. Complete all necessary repairs before you begin installing the metal panels. Use a hammer to drive down any nails that are sticking up. Take out any vents, pipes, or protrusions that are no longer needed.
Step 2
Use a push broom to sweep the roof surface clean of dirt and debris.
Step 3
Cover the flat portion of the roof with waterproof underlay material. Overlap each row by 2 inches. Trim the material around vents and protrusions with a roofing knife so it fits properly. Fasten the underlay with a hammer and 1/2-inch roofing nails.
Step 4
Use a tape measure to determine the length of the roof edge. Cut metal drip edge flashing to size with metal shears. Attach the flashing along the roof edge using a hammer and 1/2-inch roofing nails.
Step 5
With a chalk box, snap a vertical chalk line 1/4 inch from the low edge of the roof. Start laying Everlast metal panels at the low edge and work your way up to the peak. Set the first metal panel square to the eave. Allow 1 inch of the panel to extend over the roof edge. Fasten the metal panel with a drill and 1-1/2-inch galvanized metal screws. Drive the metal screws through the peak of the rib at intervals of 12 to 16 inches.
Step 6
Place the second panel above the one you just installed. Overlap the panel edge by 12 inches. Use a drill and 1-1/2-inch galvanized metal screws to secure the metal panel. Drive the metal screws through the peak of the rib at intervals of 12 to 16 inches. Keep aligning and installing panels until you reach the roof's peak. Measure the length needed for the final top panel and mark it with a pencil. Cut the panel to size with metal shears and install it using the drill and galvanized metal screws.
Step 7
Begin the next row of metal panels at the low edge of the roof. Fit the first rib on the left side of each panel over the last rib on the right side of the panels already installed. Repeat Step 6 for each row until all metal panels are in place. Use metal shears to trim panels around pipes and in valleys.
Step 8
Snap a chalk line vertical to the ridge line along the roof's peak. Place the foam closure strip that came with the ridge cap metal along the chalk line.
Step 9
Set the first metal ridge cap end piece at one end of the ridge line. Let it overhang the roof edge by 6 inches. Press the metal ridge cap down firmly onto the foam closure strip. Fasten the ridge cap with a drill and 2-inch galvanized metal screws. At each rib, drill a screw through the metal cap and foam closure strip. Continue until the metal ridge cap is installed all the way across the roof's peak. Trim the last ridge cap to fit the end with metal shears. Leave a 6-inch overhang. Use a bend-down tool to bend the overhanging edge of the end caps downward. Secure the metal with a drill and 2-inch metal screws.
Step 10
Attach rubber boot kits to all vent pipes. Push the rubber boots down firmly over the vent pipes. Use a caulking gun to apply a generous bead of roofing caulk around the base.