Crafting Tissue Paper Blooms to Decorate Parade Float Structures
Float builders often turn to paper blossoms to clad the wire armature of a parade entry. These blooms can be made inexpensively at home from tissue paper and twist ties.
By Toby Green7 steps
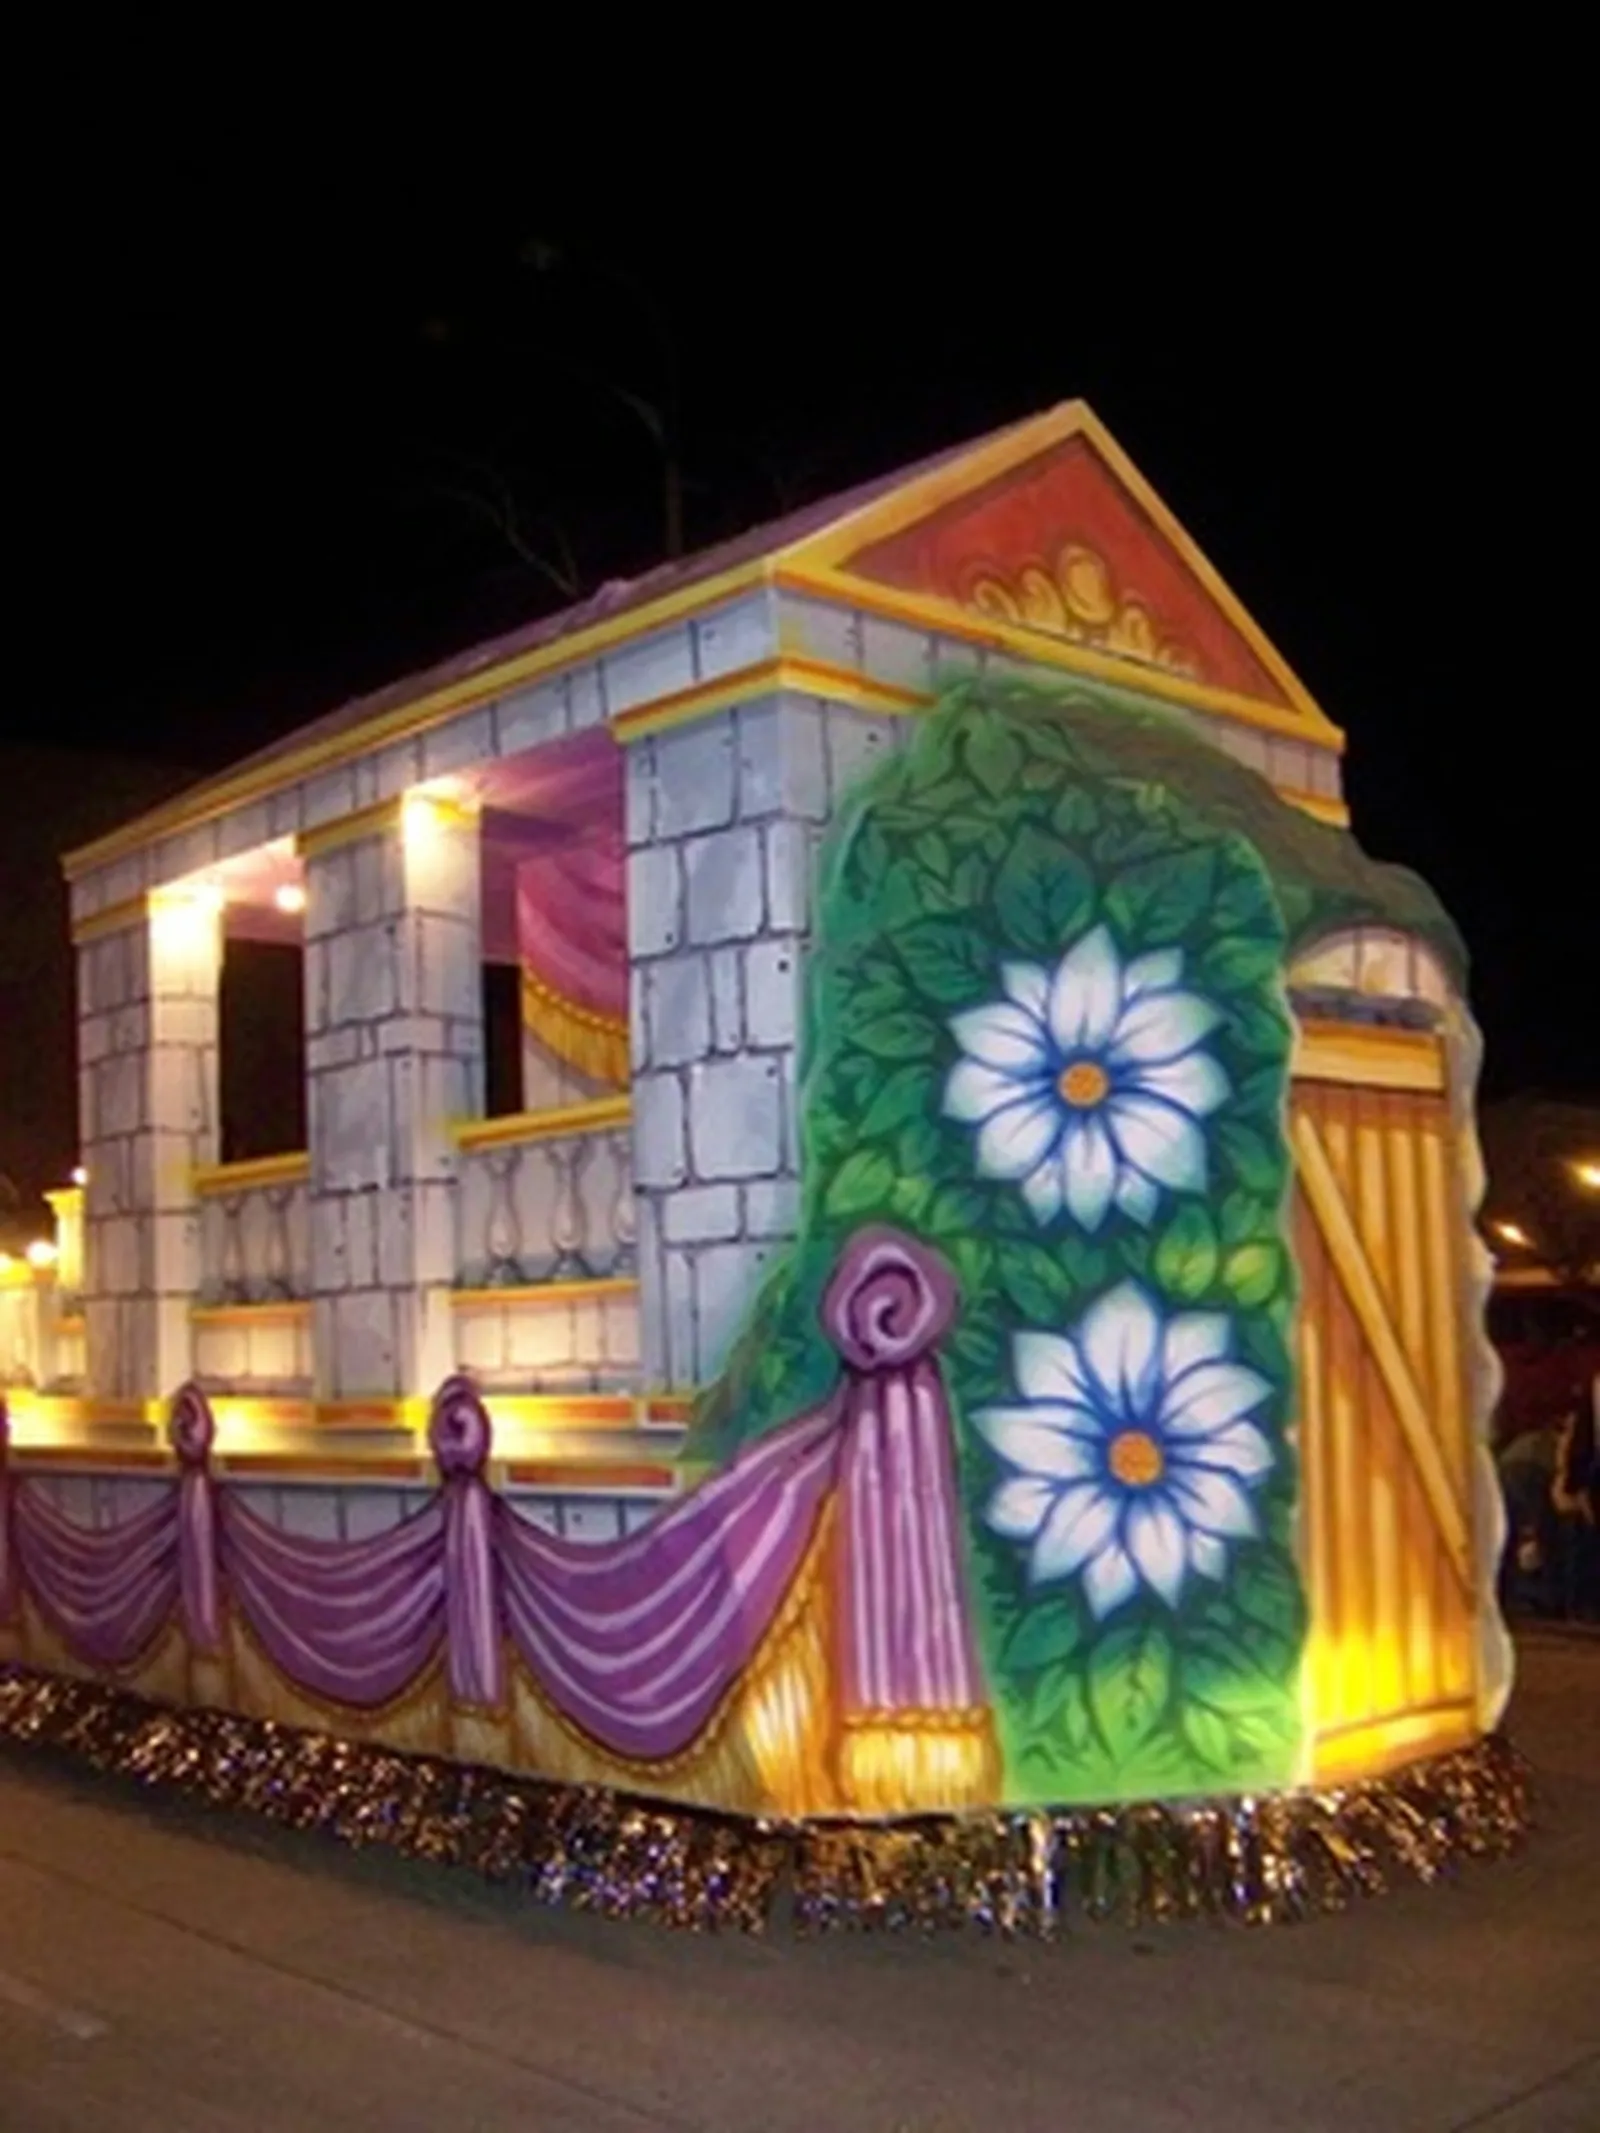
One of the ways to decorate a parade float is to cover it with paper flowers.
Paper flowers are a common choice among those who build parade floats, since they can be used to clad the wire armature of an entry. Creating these blooms at home is inexpensive when you rely on tissue paper and twist ties. Because a float covered in flowers demands a large quantity of them, it helps to have many people on hand both to craft the flowers and to fasten them onto the float's structure. Choose tissue paper of the non-bleed variety, so that rain or damp air will not damage the float.
Step 1
Place several sheets of tissue paper in a stack. Consider whether you want one color throughout or a mix of colors. Since this paper becomes the flower's petals, decide at this point if you want the bloom to be multicolored or single-colored.
Step 2
Slice the stacked paper into squares. Keep in mind that bigger squares yield bigger flowers. Produce a handful of sample flowers first to figure out which size suits your float.
Step 3
Fold the square of stacked sheets back and forth in an accordion style. Turn one edge up roughly an inch, then rotate the paper and fold the same distance in the opposite direction. Keep folding this way until the entire square is folded into a tidy, long, narrow rectangle.
Step 4
Use scissors to shape the short edges of the rectangle, giving the petals an interesting look. You may cut points, scallops, or fringes. This step is not required, though, and may be skipped.
Step 5
On one of the long sides, snip a small triangle from the middle to create a notch. Be careful not to cut all the way through the rectangle.
Step 6
At the spot where the triangular notch sits, twist a twist tie tightly around the paper's middle. This becomes the flower's stem and the point where it will be attached to the float frame.
Step 7
Holding the flower by its twist ties, carefully draw each layer of tissue paper upward toward the center. This causes the paper to separate into petals. Shape the petals so they appear natural.