Loom-Knit Your Own Striped Tote: A Beginner-Friendly Guide
Discover how to create a stylish striped bag on a rectangular knitting loom using only the basic knit stitch, and finish it with leather straps and rivets.
By Sage Cooper5 steps

If you're just starting out with a simple knitting loom, the usual first projects tend to be chunky hats or flat scarves. But you can elevate your skills by making a striking striped tote, all while sticking to a beginner-level stitch. These cozy knitted bags are great as holiday gifts for friends, or as a set to keep in the car for eco-conscious shoppers.
Step 1: Casting onto the Loom
Step 2: Knitting rows
For the first row, wrap all the pegs again so that each peg has two loops.

With your loom hook, lift the bottom loop over the top loop and off the peg, letting it fall to the inside of the loom.

Do this on every peg to finish the first row.

Step 3: Casting off
After the last row, bring the yarn end behind the second-to-last peg.

Wrap the yarn around the peg and knit as if making a stitch in a row.



Use the loom hook to catch the finished stitch and move it to the last peg.

Knit the last peg, then return the finished stitch to the second-to-last peg.



Continue these steps until you have a bound edge and your knitting is free from the loom.

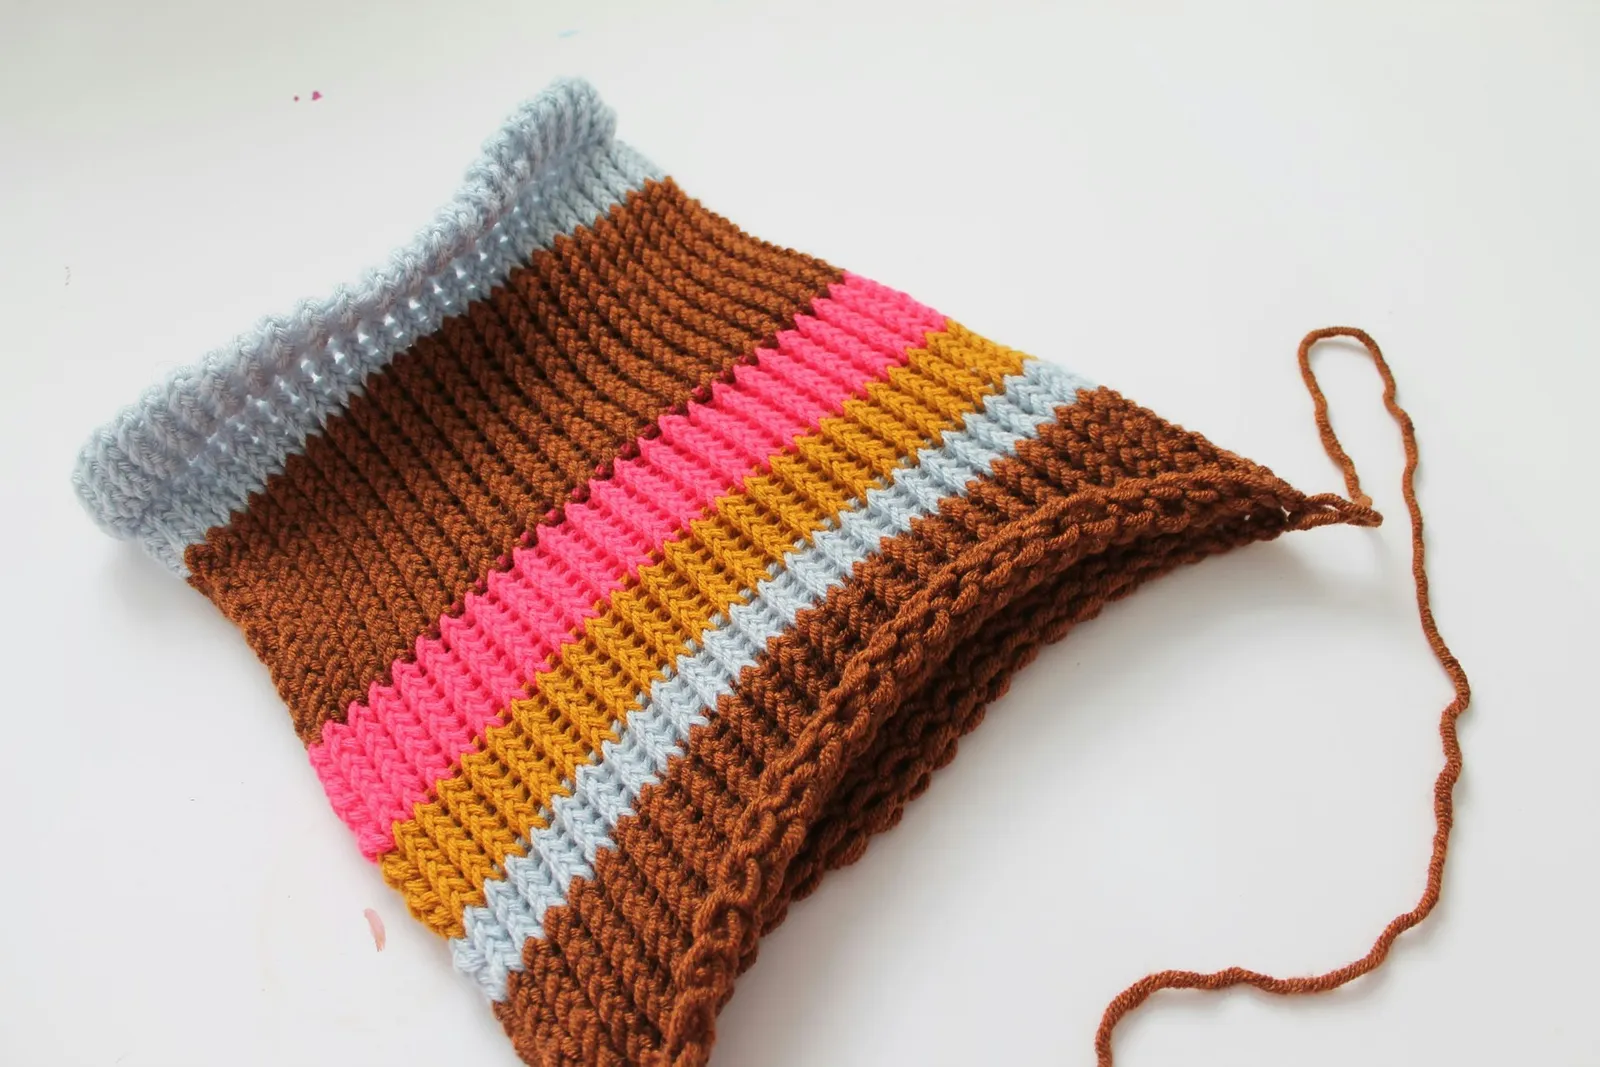
Step 4: Create bottom seam
Cut a long piece of yarn and thread it through the yarn needle. Turn the knitting inside out and sew the opening with a simple whip stitch, so the seam ends up on the inside of the finished bag.

Step 5: Attach shoulder straps
Decide where the straps should go and measure. Push the strap ends through gaps in the knitted fabric and fasten them with metal rivets.

The completed bag is a perfect all-purpose carryall for trips to the farmers' market or a day at the beach. You can customize the shape and color by trying different yarn textures and loom sizes.


If you have any questions about a step in this project, feel free to ask in the comments below.