DIY Guide: Creating a Carmen Miranda-Inspired Fruit Hat
Carmen Miranda, a celebrated singer and actress from the 1930s and 1940s, started her career in Brazil before gaining fame in New York and American cinema. Women in the United States admired her fashion sense, particularly her iconic fruit hat, which became a signature accessory. This guide provides instructions for making a personalized version of her famous hat at home.
By Robin Young7 steps
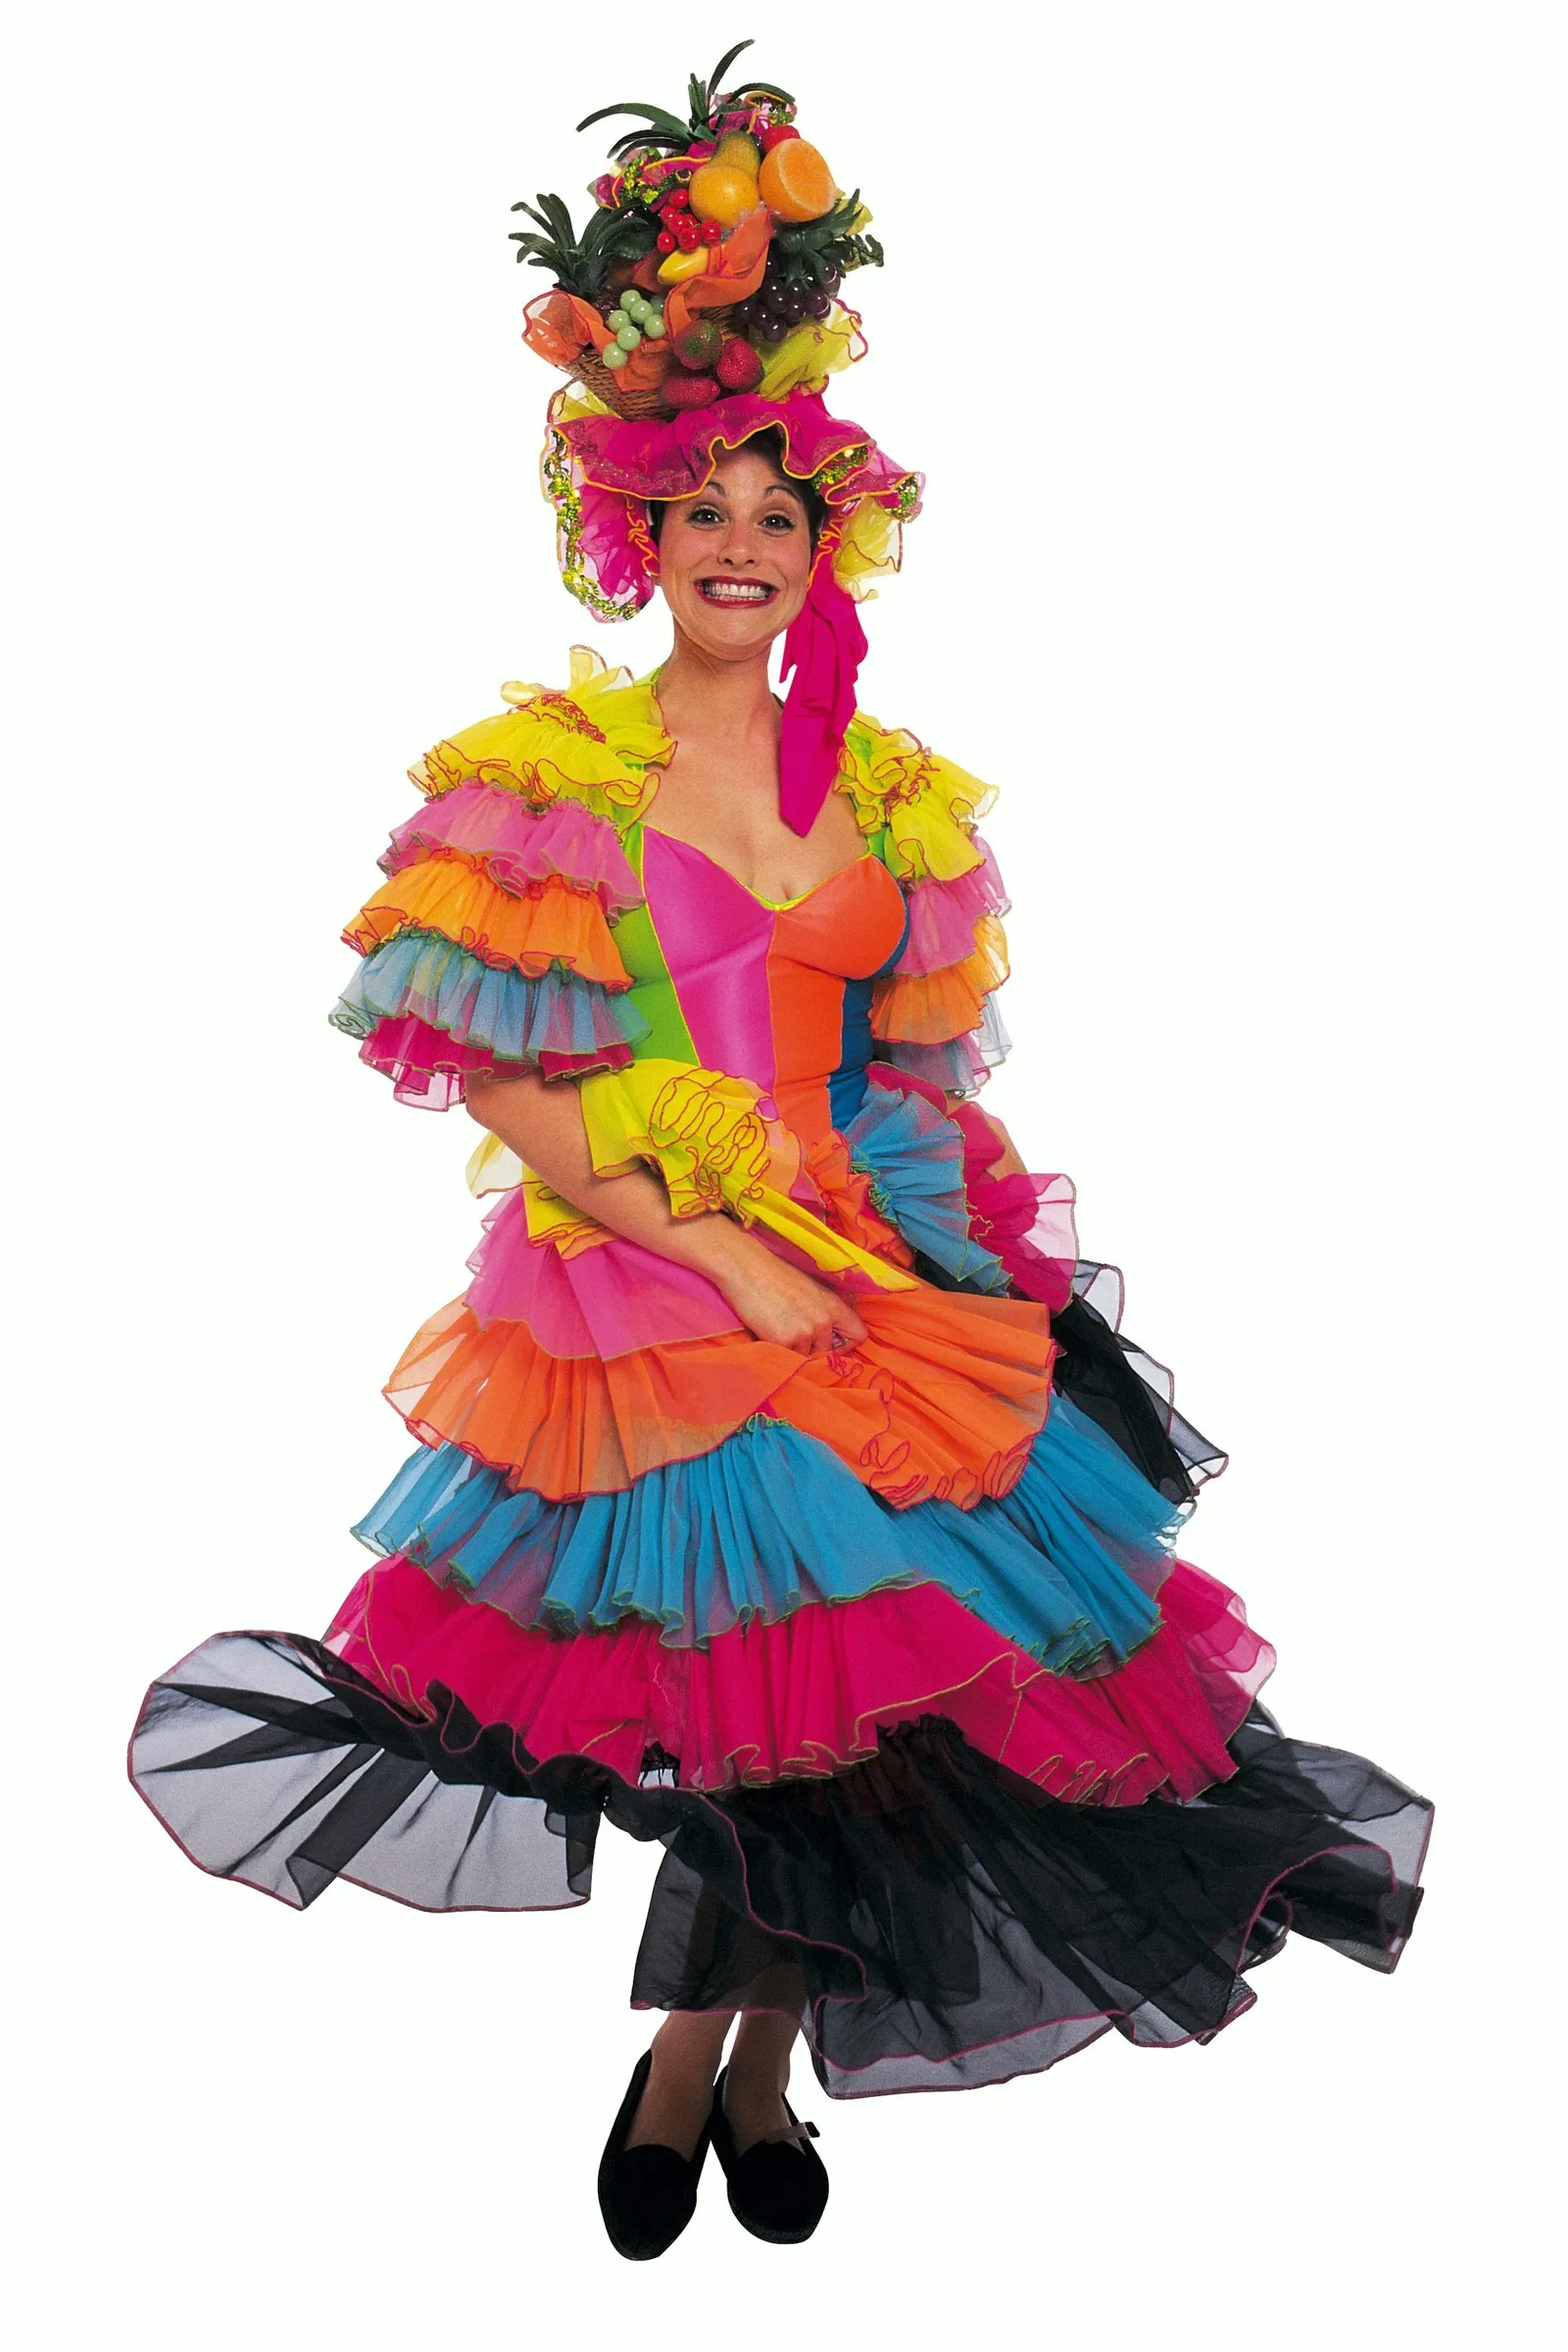
A fruit hat can add the finishing touch to your costume.
During the 1930s and 1940s, Carmen Miranda was a well-known singer and actress. She spent her early life in Brazil, where she launched her career, and later moved to New York, becoming a prominent figure in American movies. American women looked up to her as a style icon, copying her looks in their own clothing. Her fruit hat stood out as one of her most distinctive accessories, eventually becoming closely associated with her. While these hats are occasionally available in costume stores, you can create a personalized one at home for much less money.
Step 1
Take the nylon scarf and wrap it around the hat so that it fully covers the hat. Thread your needle with the clear thread and fasten the scarf to the hat by sewing a few small stitches through both the hat and the scarf. Since the fruit will also be sewn through the scarf and hat, you don't need to worry too much about securing the scarf right now. At this stage, it just needs to be attached at a few spots.
Step 2
Choose the biggest piece of artificial fruit and position it where you want it on the hat. Usually, bananas are the largest fruits used on a fruit hat.
Step 3
Push the needle into the bottom of the large fruit to make a guide hole for sewing. Then, insert the needle into the bottom of the fruit again to create a second guide hole about an inch away from the first one.
Step 4
Bring the needle up through the bottom of the hat near where the fruit will go. Pull it through and then insert it into one of the guide holes in the fruit. Bring the needle out through the second guide hole and pull the thread through the fruit. Next, insert the needle back into the hat and pull the thread tight until the fruit is securely attached. Do this a few more times to make sure the fruit is firmly in place.
Step 5
Follow the same method from steps 2 to 4 to attach the next largest fruit. Once that's done, keep sewing on more fruit pieces until everything is attached.
Step 6
Thread the artificial grapevine through the fruit pieces that are sewn onto the hat. Use the grapevine to cover any empty spots not filled by fruit.
Step 7
Secure the grapevine to the hat by pushing the needle from the underside of the hat to the top. Loop the thread around the grapevine and then push the needle back into the hat. Continue this process for the rest of the grapevine until it is firmly attached.