Sewing a Pleated Cheer Skirt on Your Own
Instead of paying a seamstress or tailor, you can sew a pleated skirt for cheerleading yourself, whether it's for a costume or a competition. The process might seem daunting, but a pleat is simply a fold in the fabric, so it's more manageable than you might expect.
By Charlie Watson10 steps
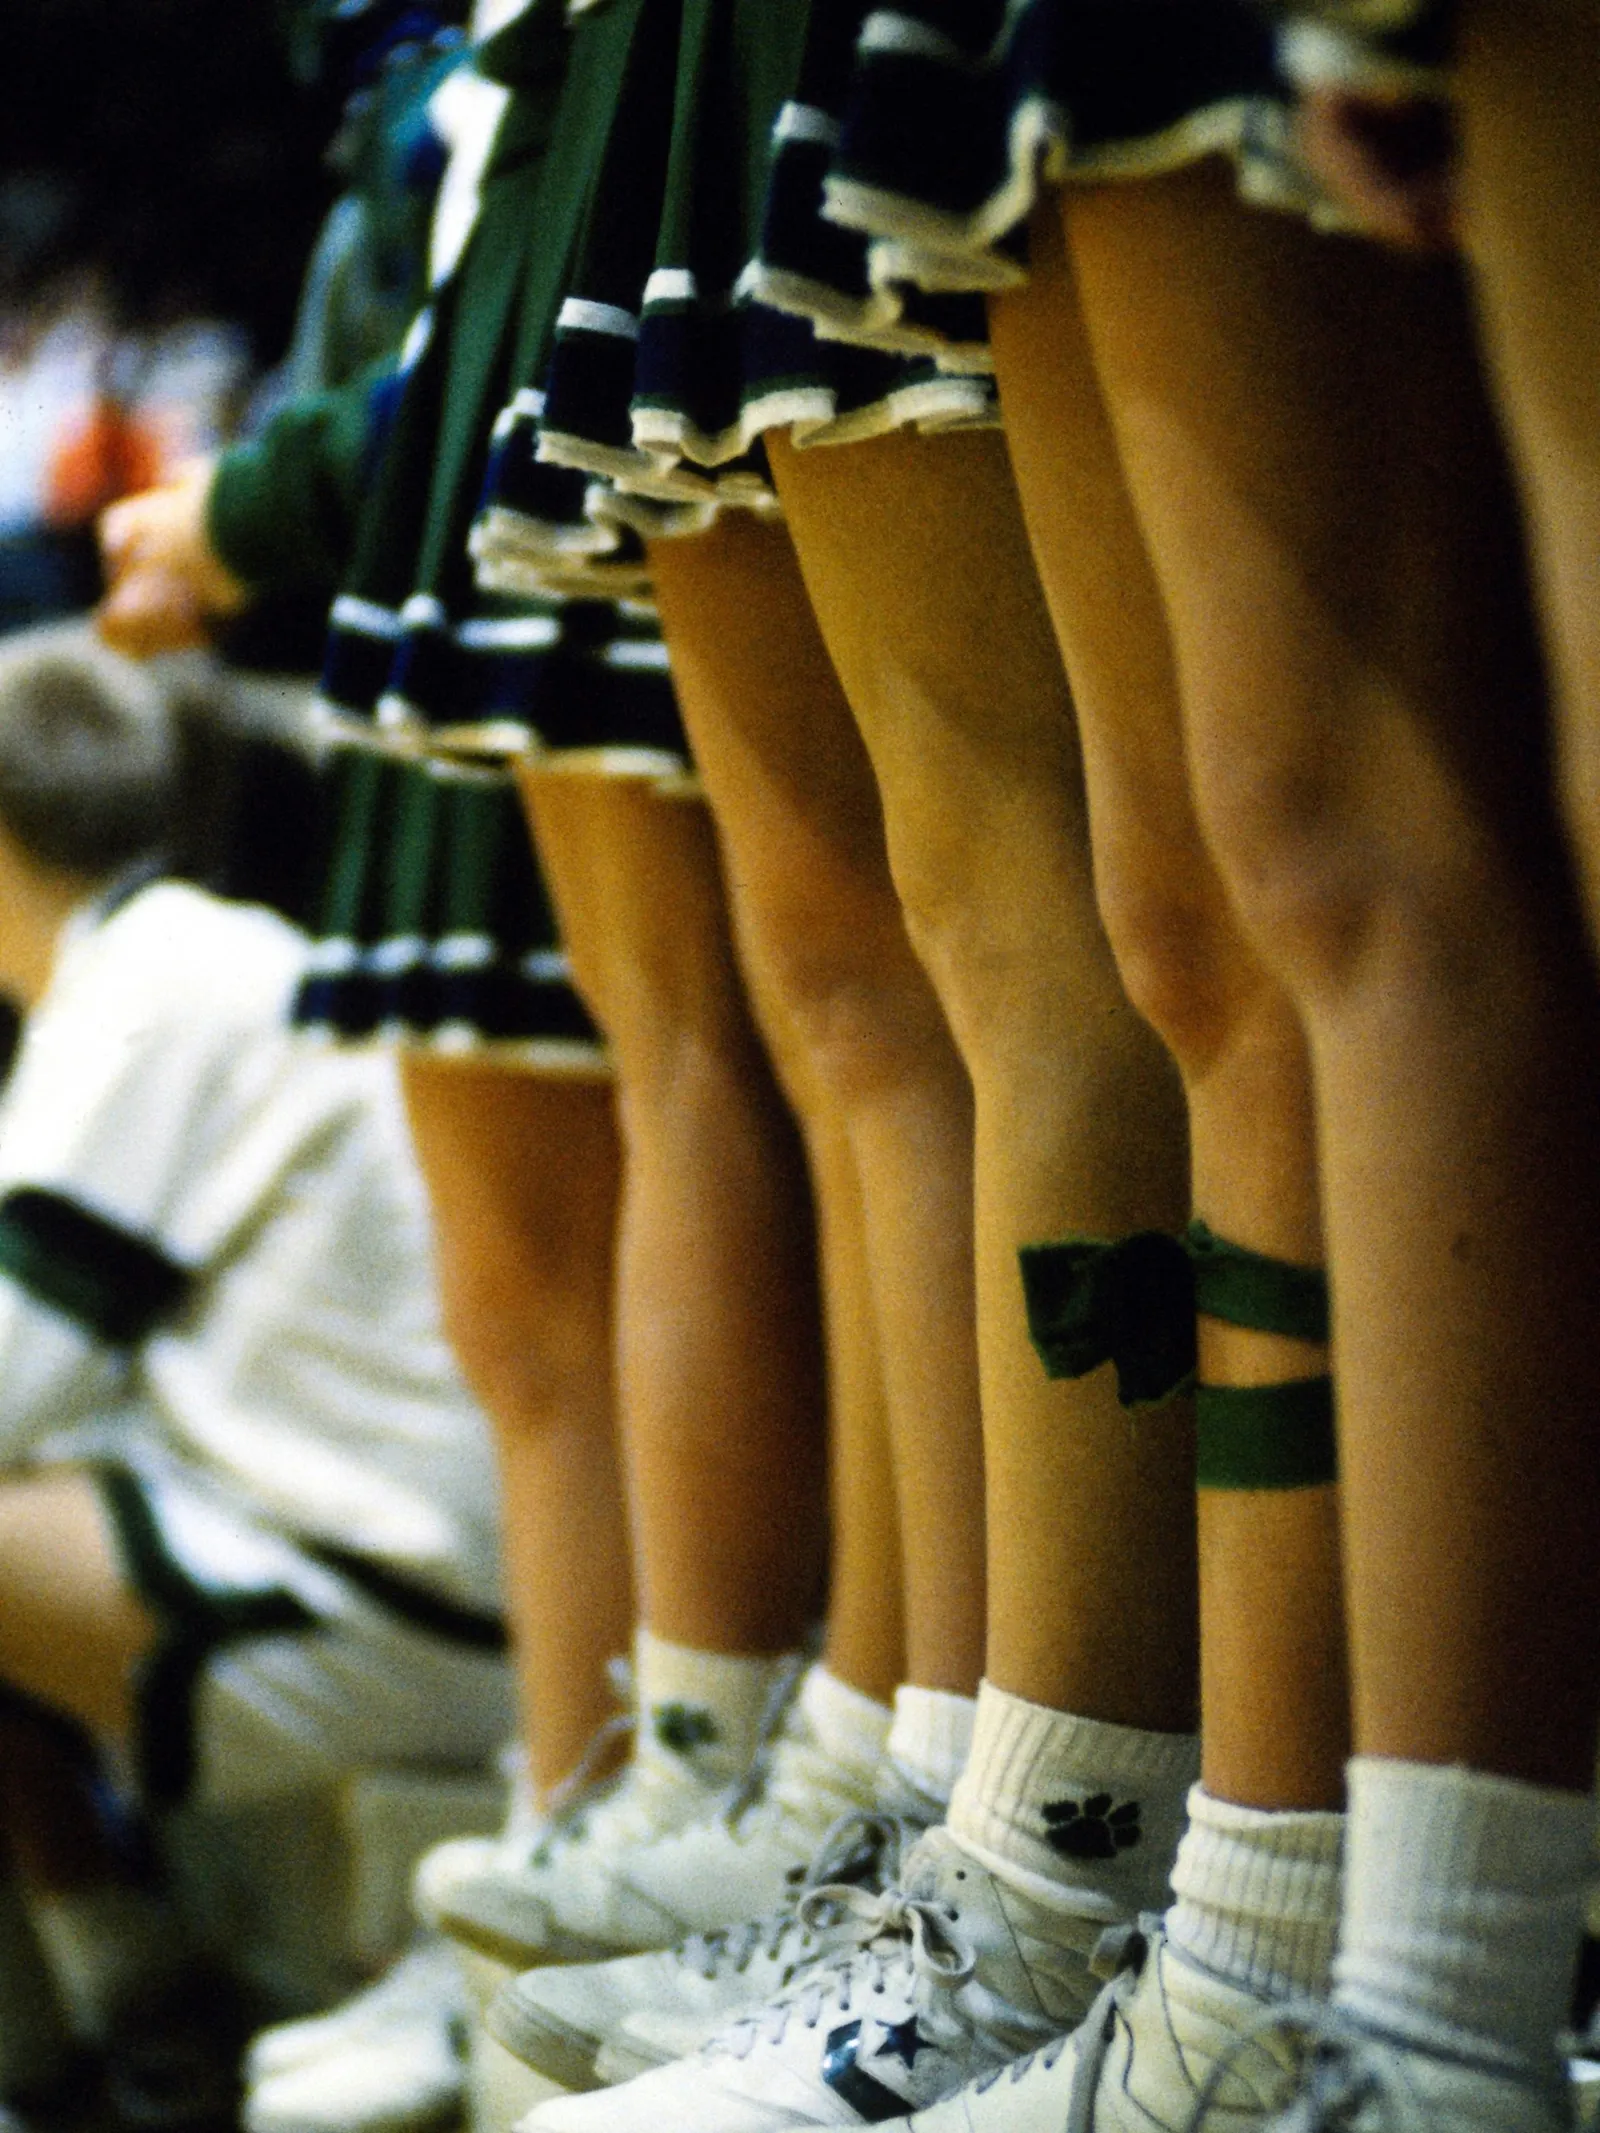
Learn how to sew your own pleated cheerleader skirt.
If you need a pleated skirt for a cheerleading costume or competition, you can create one yourself rather than hiring a tailor or seamstress. Sewing a pleated skirt might appear difficult, but a pleat is essentially just a fold in the fabric, and making one is simpler than you likely imagine.
Step 1
Take the waistline measurement. Then measure the skirt's length by going from the waist down to where you want the hem to fall on your legs.
Step 2
Increase the skirt length by 1.5 inches. For the waist, triple the measurement and then add 1 inch. For instance, a 24-inch waist becomes 73 inches after multiplying by 3 and adding 1 inch. If the skirt length is 20 inches, adding 1.5 inches gives 21.5 inches.
Step 3
Using these measurements, cut the fabric—in this example, 21.5 inches by 73 inches.
Step 4
With the right sides facing each other, fold the fabric into a tube that will form the skirt's body. Sew the seam where the two edges meet, but leave a 7-inch gap for the zipper.
Step 5
Sew a 1.5-inch hem along the bottom edge of the skirt.
Step 6
Flip the skirt inside out. Create pleats that are 1 or 2 inches wide across the skirt's body, securing them with pins. Use an electric iron to press the pleats. Then stitch along the top edge of the skirt to hold the pleats in place.
Step 7
Cut a piece of fabric that is 5 inches wide and as long as the waistline measurement.
Step 8
Place the waistband over the skirt's top edge, with 2.5 inches extending down the front and 2.5 inches on the back. Fold the raw edge under by 1/2 inch, so that a 2-inch waistband remains on both the front and back of the skirt.
Step 9
Sew along the folded edge, 1/8 inch from the waistband's edge, to secure it.
Step 10
Add the zipper and the hook-and-eye closure.