Sewing an Elastic Waistband onto a Gathered Skirt: A Beginner's Guide
Learn how to add an elastic waistband to a simple gathered skirt, including a trick to prevent the elastic from twisting. This easy waistband project is perfect for those new to sewing.
By Finley White10 steps
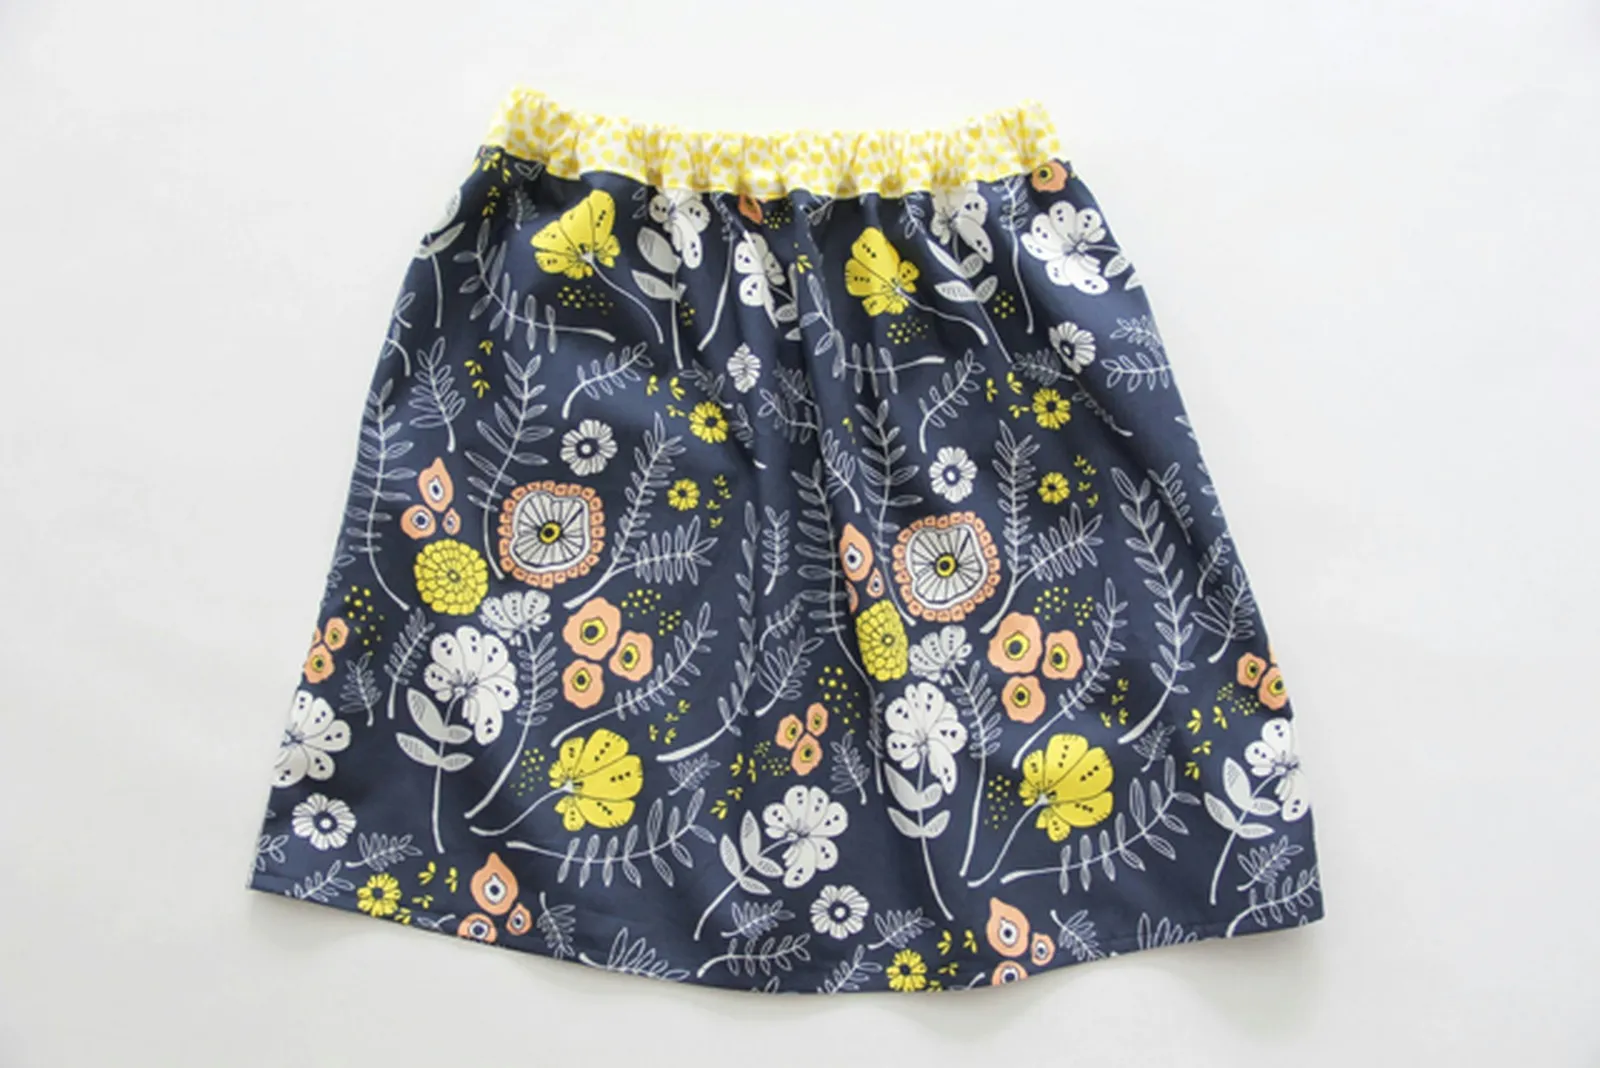
If you want your skirt to fit perfectly, sometimes the only thing you need to do is swap out the old waistband. Adding an elastic waistband is a straightforward sewing task that results in a comfortable, attractive, and durable skirt. You can attach an elastic waistband to any gathered skirt with a small amount of fabric, some elastic, and basic sewing abilities. This simple DIY sewing project takes roughly 30 minutes.

Step 1: Cut Out the Waistband Fabric
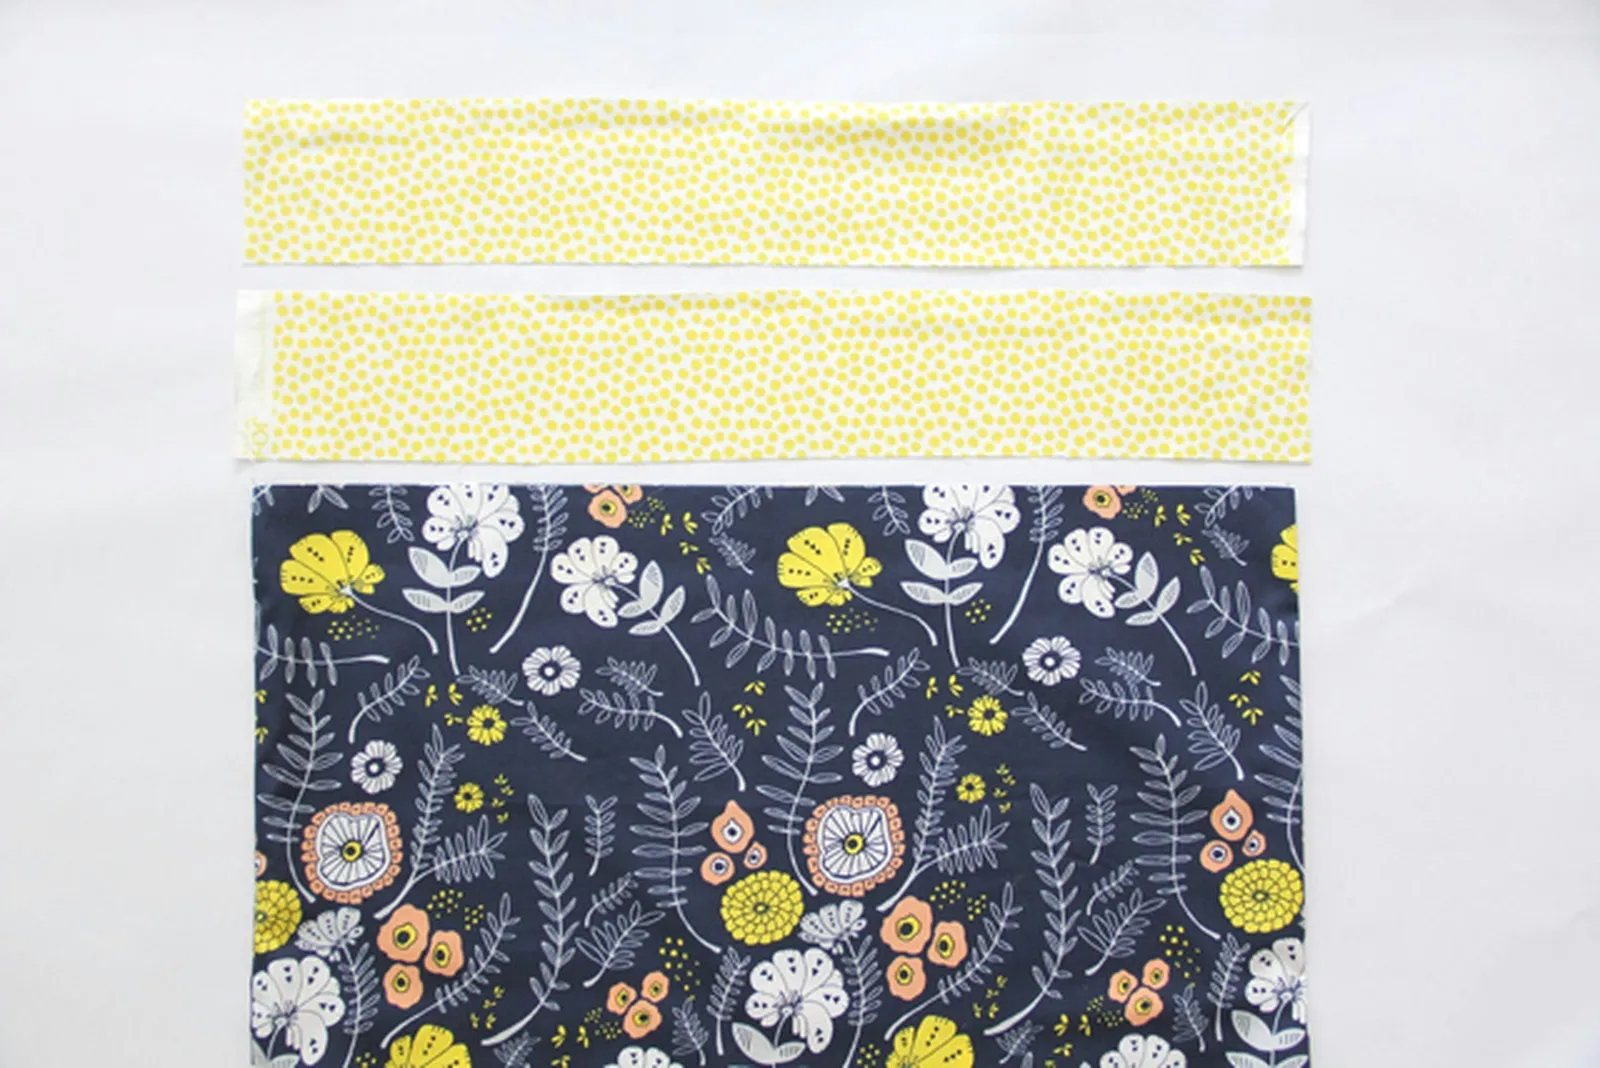
Take the width measurement of the skirt's top edge. Cut two pieces of waistband fabric that are the same width as the skirt, plus an extra 1 inch on each side for seam allowance. The fabric waistband should be 3 1/2 inches long.
Step 2: Sew Front and Back Waistband Together
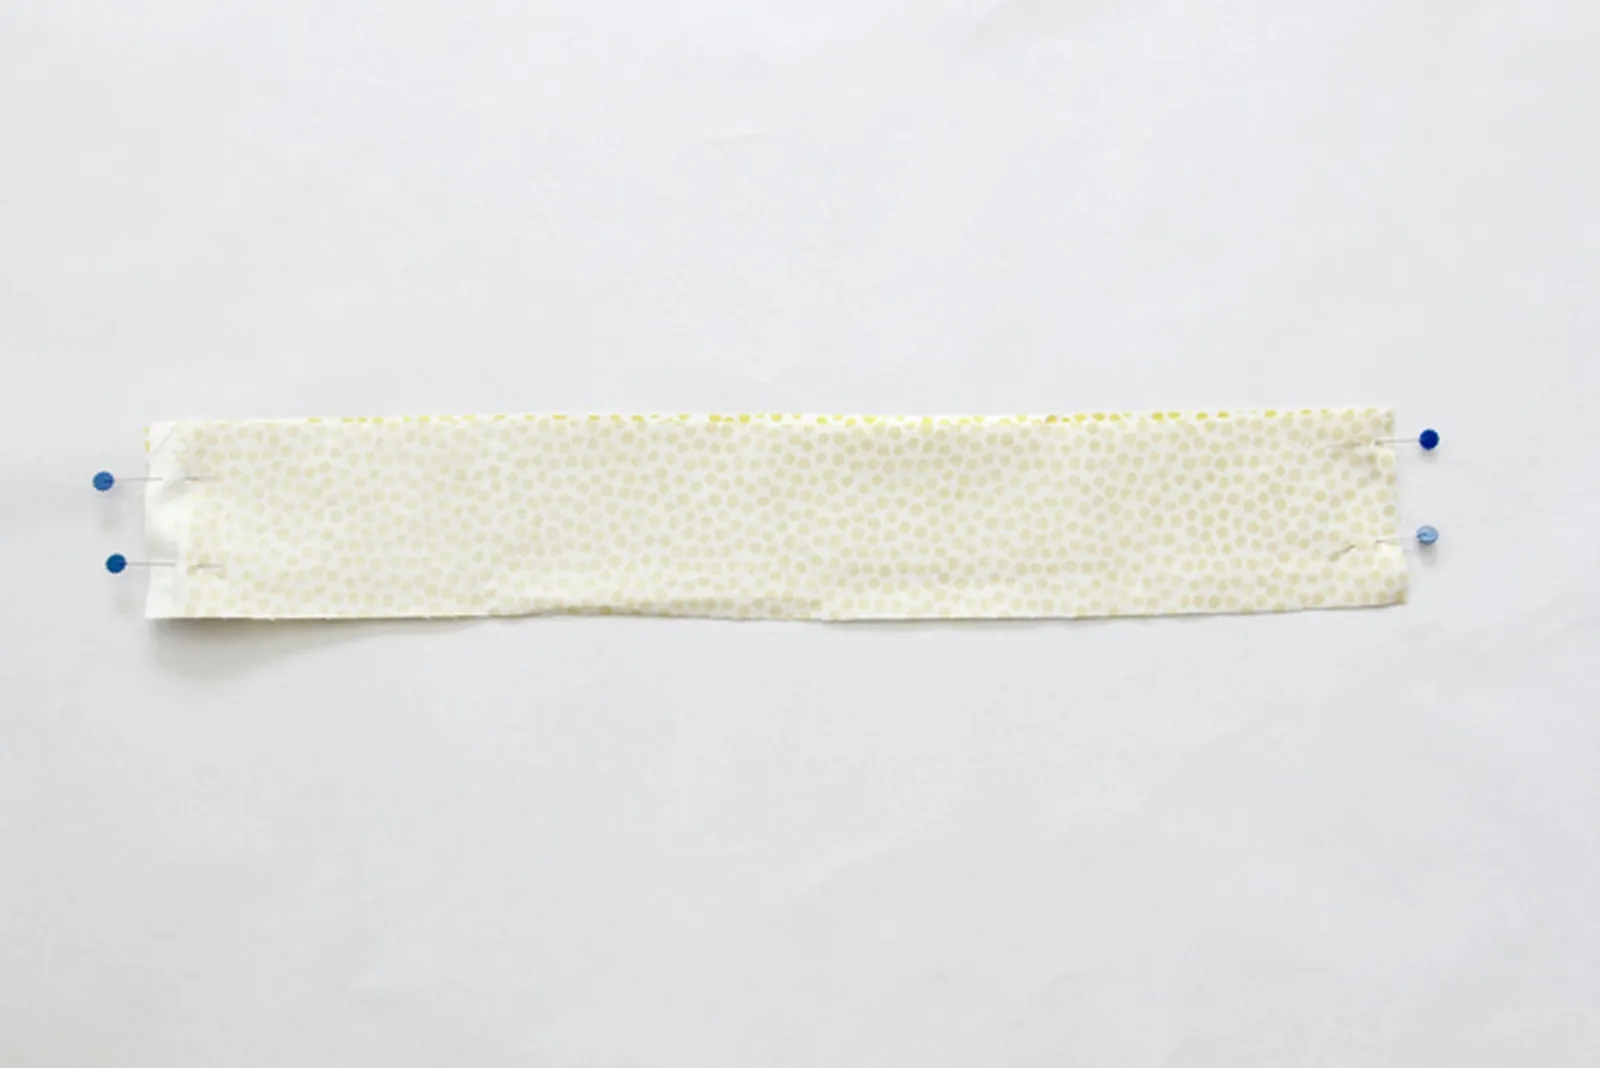
Put the two waistband pieces together with their right sides facing each other. Pin the side seams and stitch them with a 1/2-inch seam allowance. Press the side seams open.
Step 3: Press the Waistband
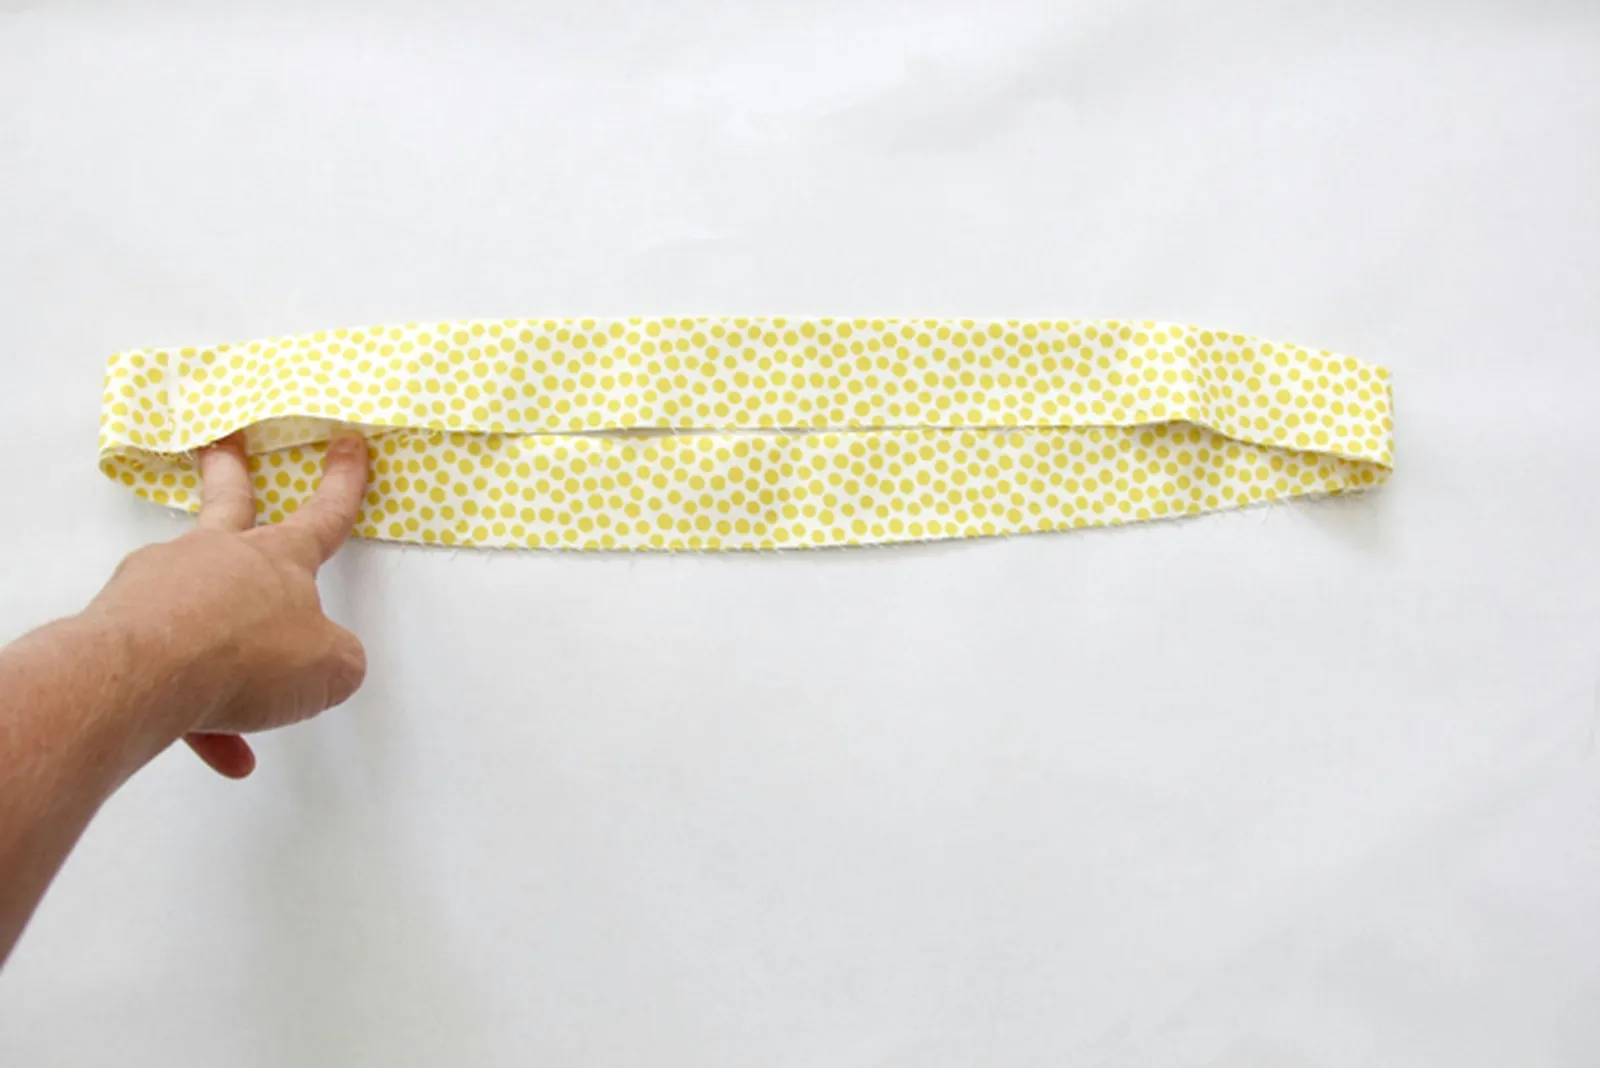
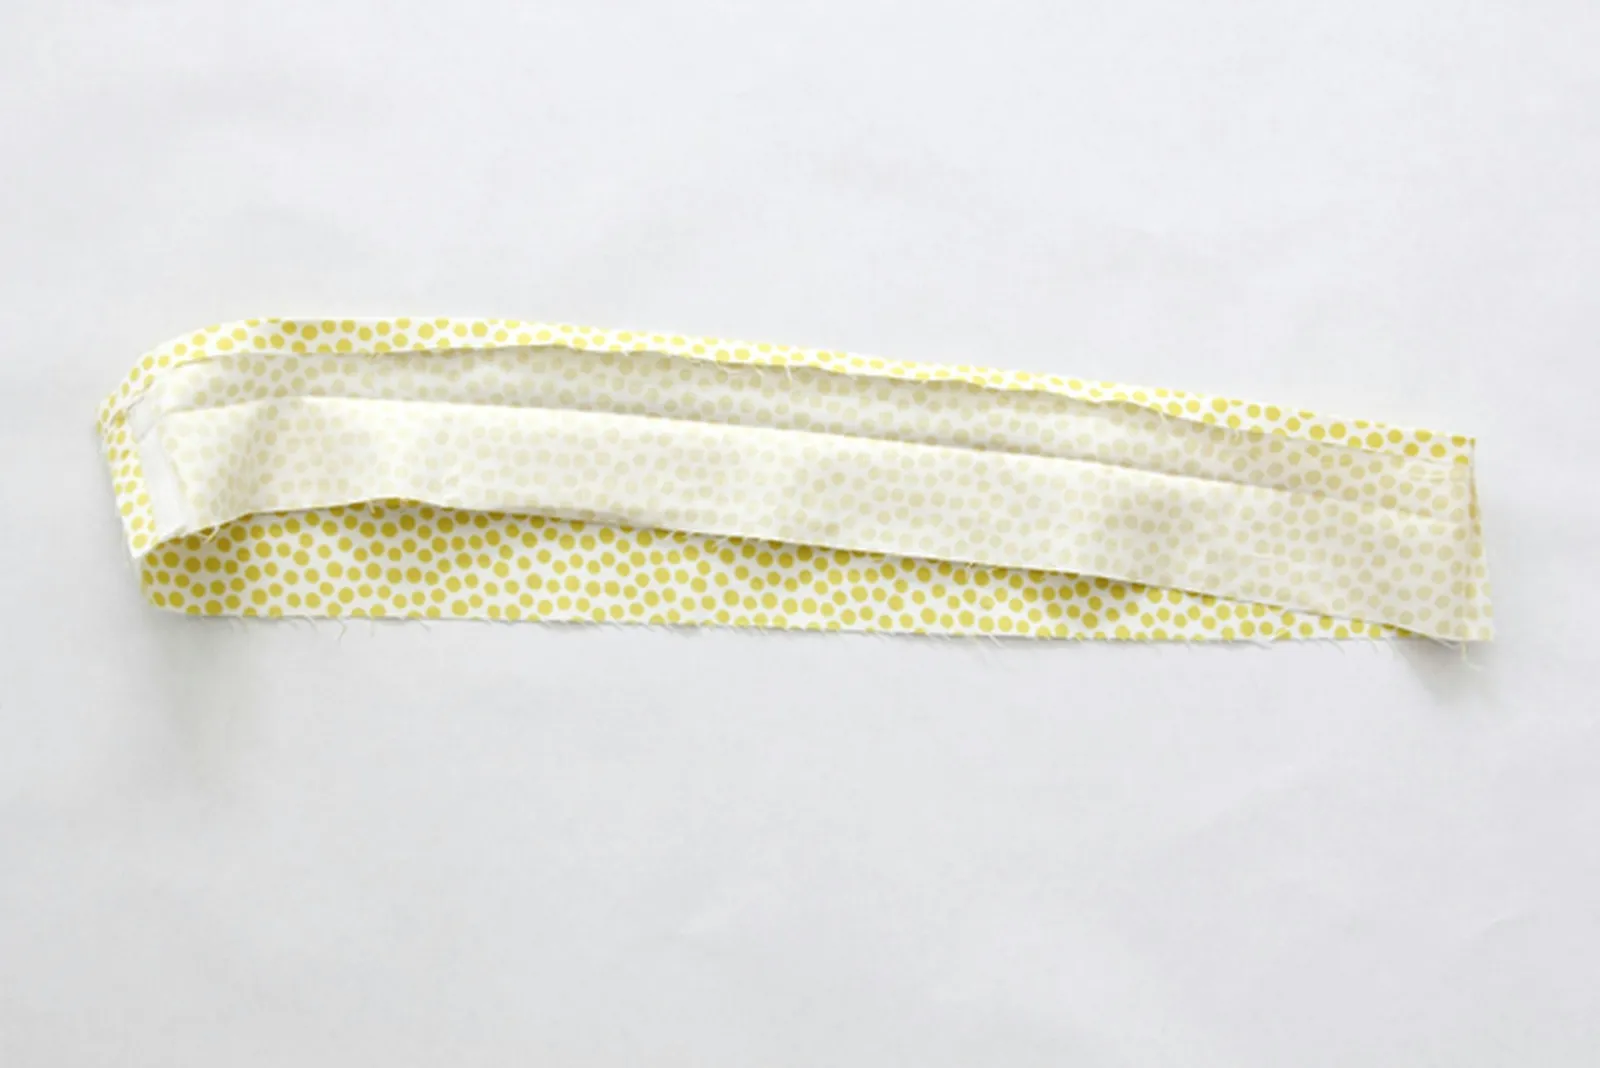
Fold the waistband in half with wrong sides together, aligning the bottom raw edges. Press it to create a fold along the top edge. Then unfold the pressed waistband. Fold the top edge of the waistband 1/4 inch toward the wrong side of the fabric and press.
Step 4: Sew Waistband to Skirt
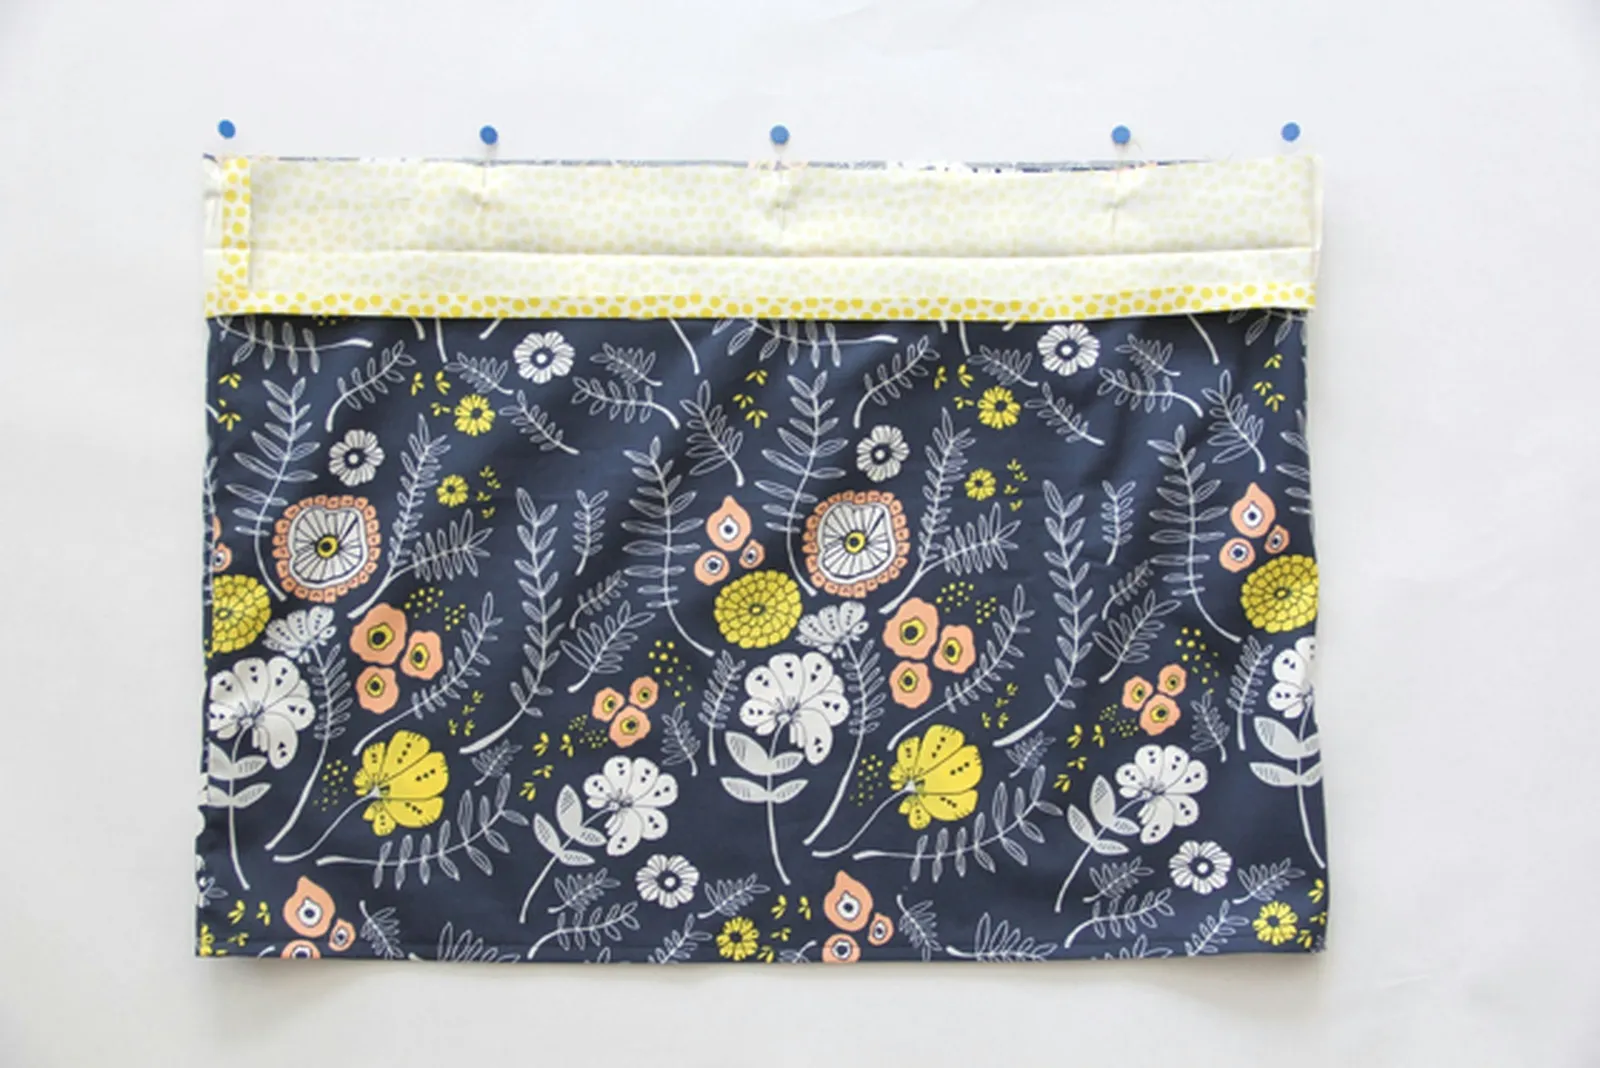
Take the unfolded waistband and place it around the top edge of the skirt, right sides together, matching the raw, unpressed edge and the side seams. Pin all around and sew with a straight stitch using a 1/2-inch seam allowance. After sewing, press the seam upward.
Step 5: Create Casing for Elastic
Fold the waistband toward the inside of the skirt. The middle pressed seam will become the top of the skirt waistband, and the folded bottom edge will be on the inside of the skirt, covering the raw sewn waistband edge. Pin the waistband in place along the bottom edge. Sew around, but leave a 2-inch opening so you can insert the elastic.

Step 6: Measure and Cut Elastic
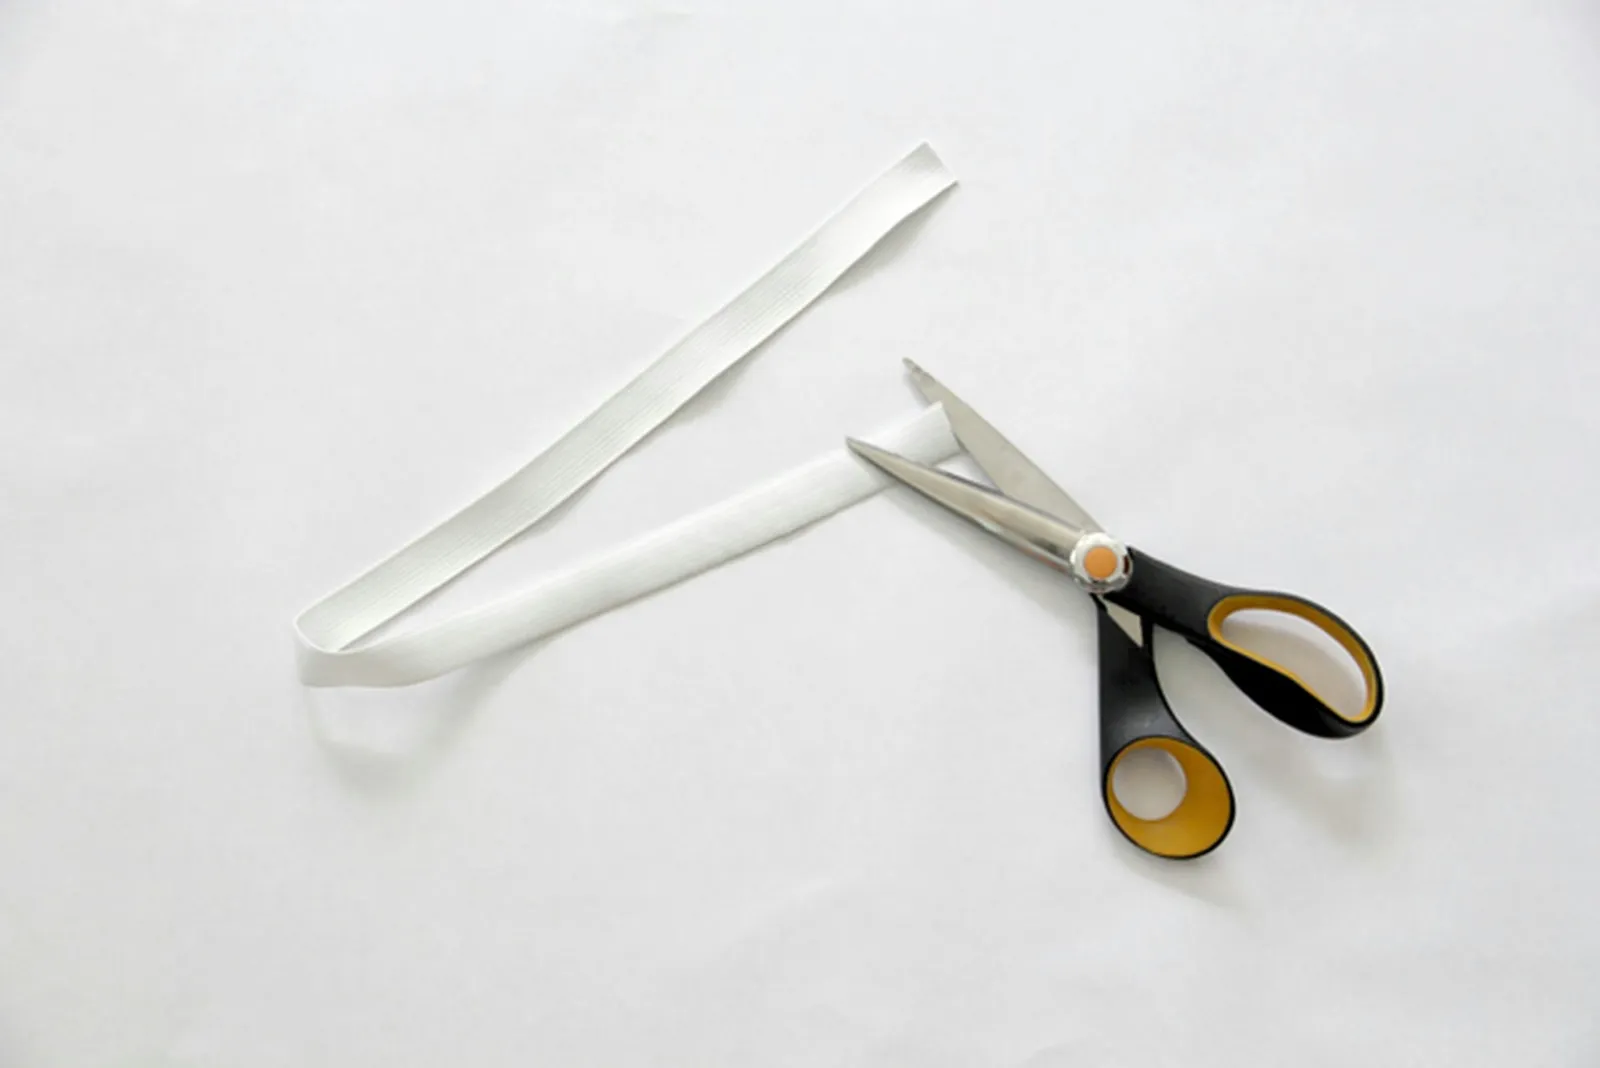
Measure around your waist, then subtract 2 inches from that number. Cut the elastic to this length.
Step 7: Insert the Elastic
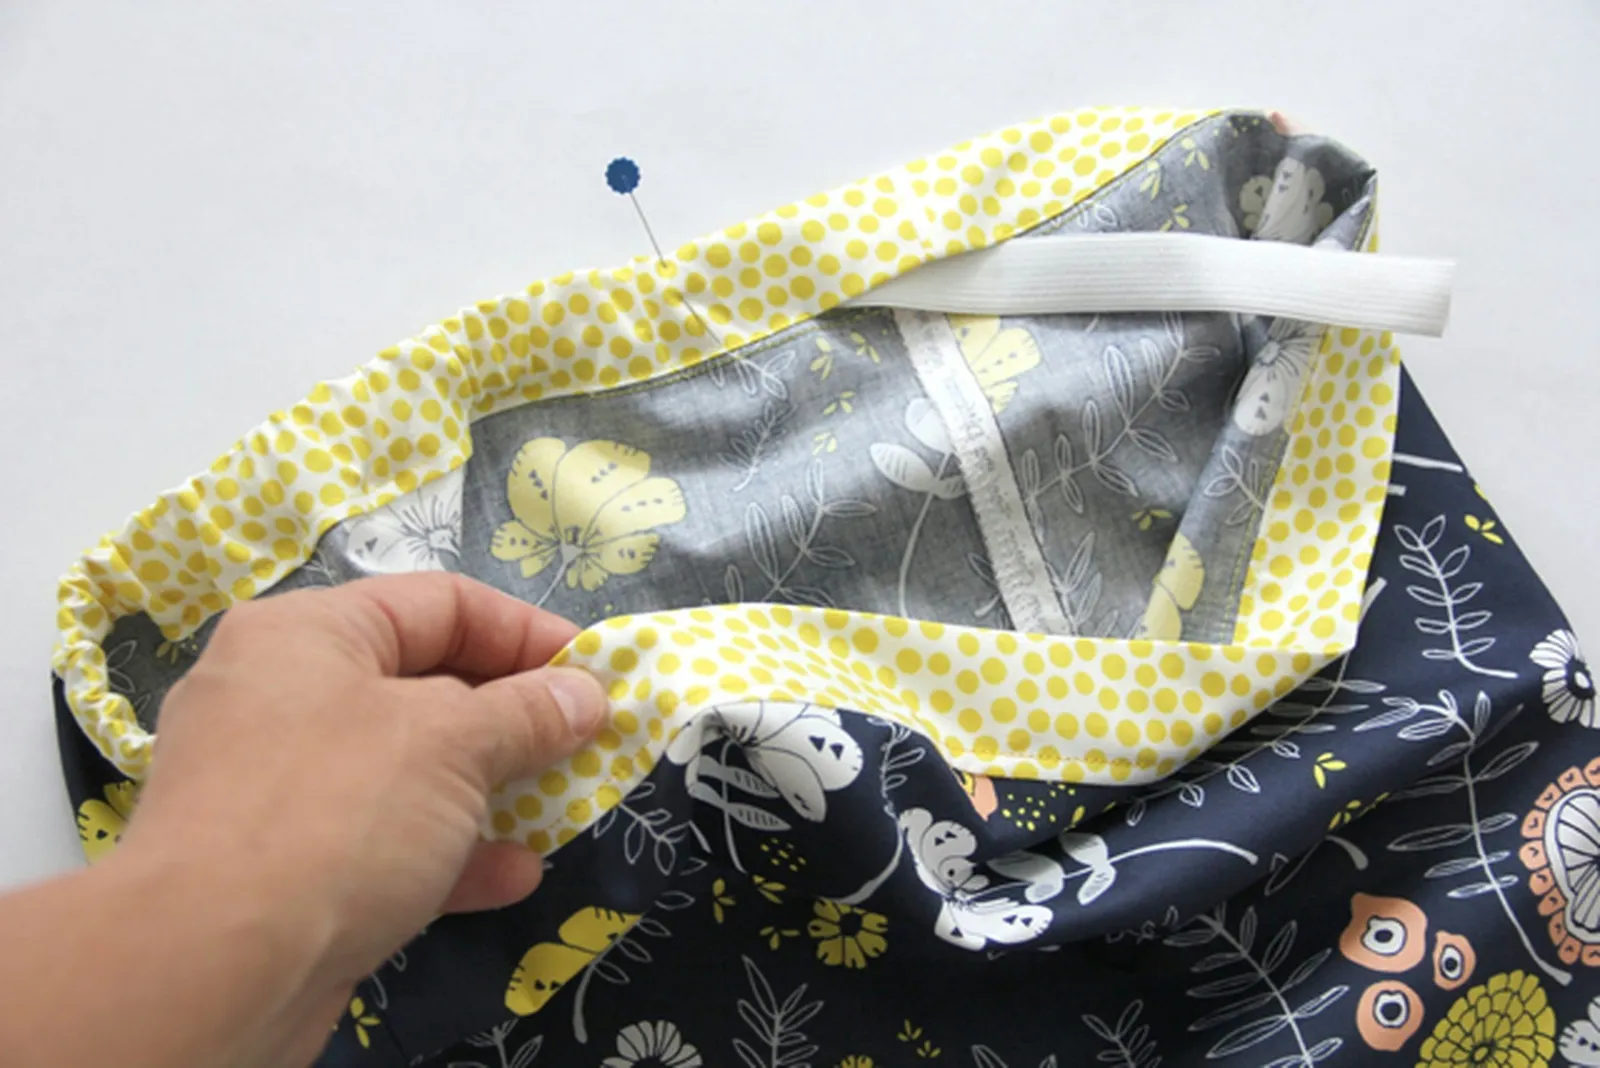
Attach a safety pin to one end of the elastic. Push the elastic into the opening of the waistband casing and guide it through the waistband, being careful not to let it twist as you pull it through.

As you pull the elastic through, make sure the other end doesn't slip into the casing. To prevent this, pin the other end of the elastic to the opening in the waistband. Keep working the safety-pinned end of the elastic all the way through.
Step 8: Sew Elastic Ends Together
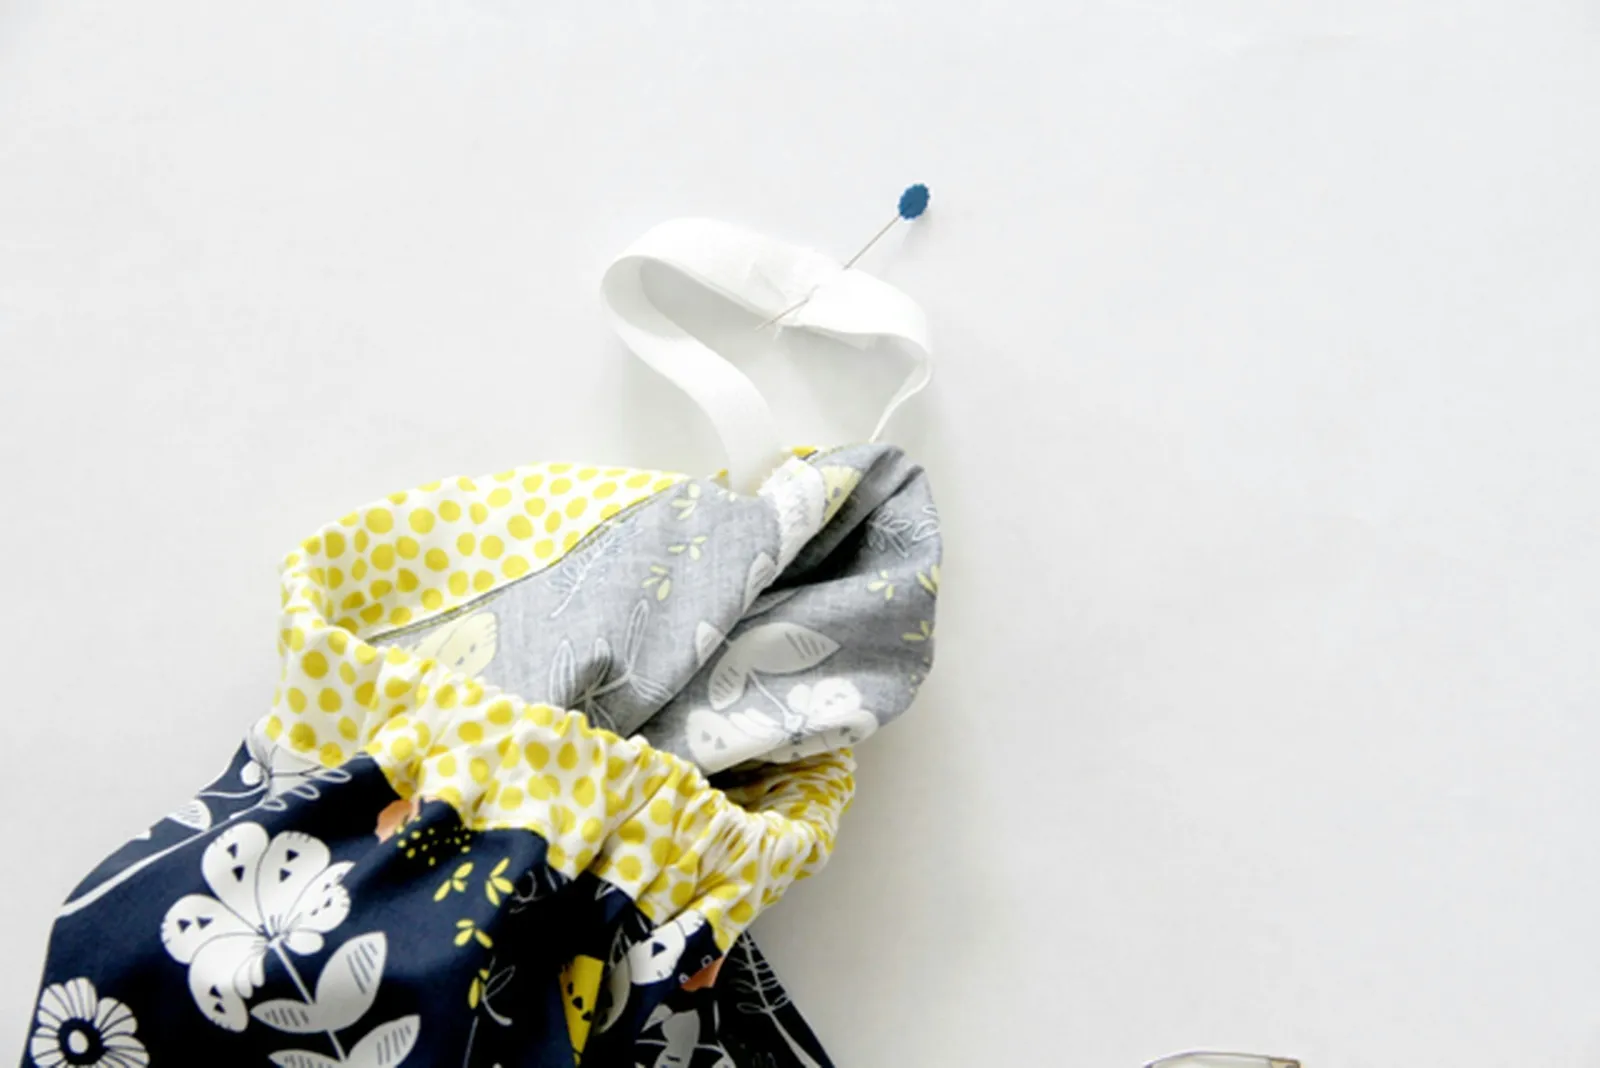
After the elastic is completely through, take out the pin that was holding the elastic in place. Check that the elastic isn't twisted anywhere inside the casing. Overlap the ends of the elastic by 1/2 inch and pin them together. Sew around the overlapped elastic with a straight stitch or zigzag stitch to secure it.
Step 9: Finish Sewing Waistband Closed
Pull the elastic fully into the waistband, and pin the waistband opening shut. Sew the opening closed using a straight stitch.
Step 10: Follow this Simple Trick to Keep an Elastic Waistband from Twisting
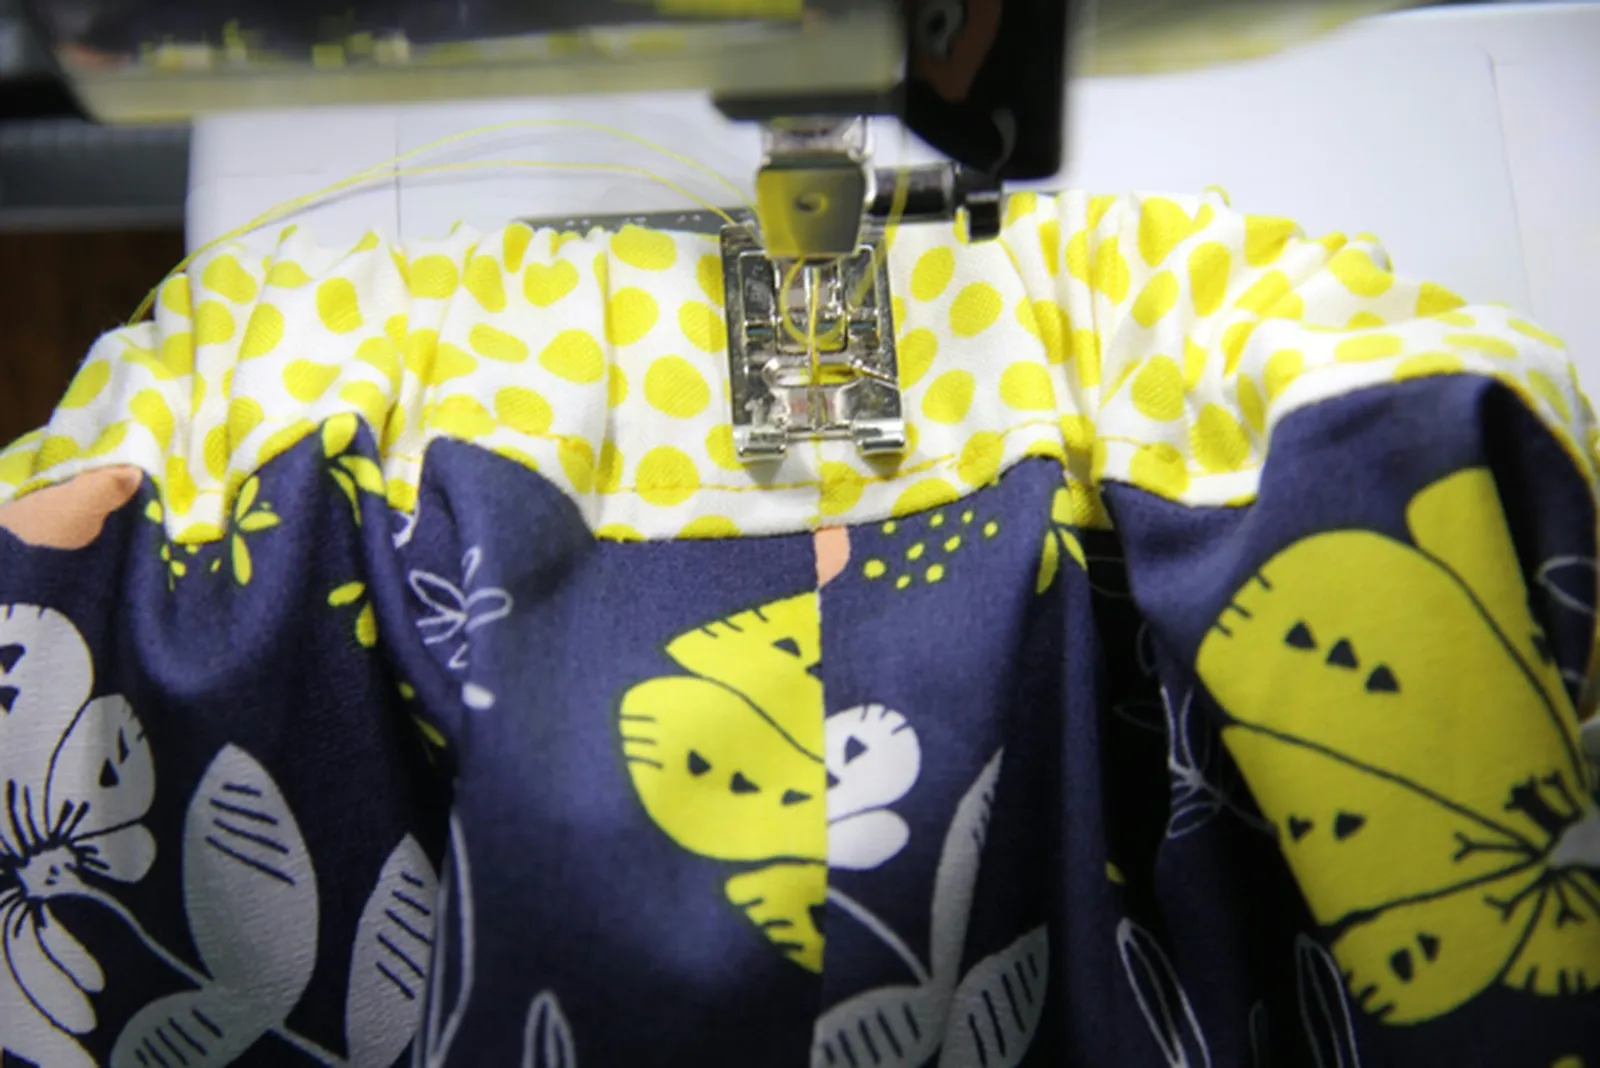
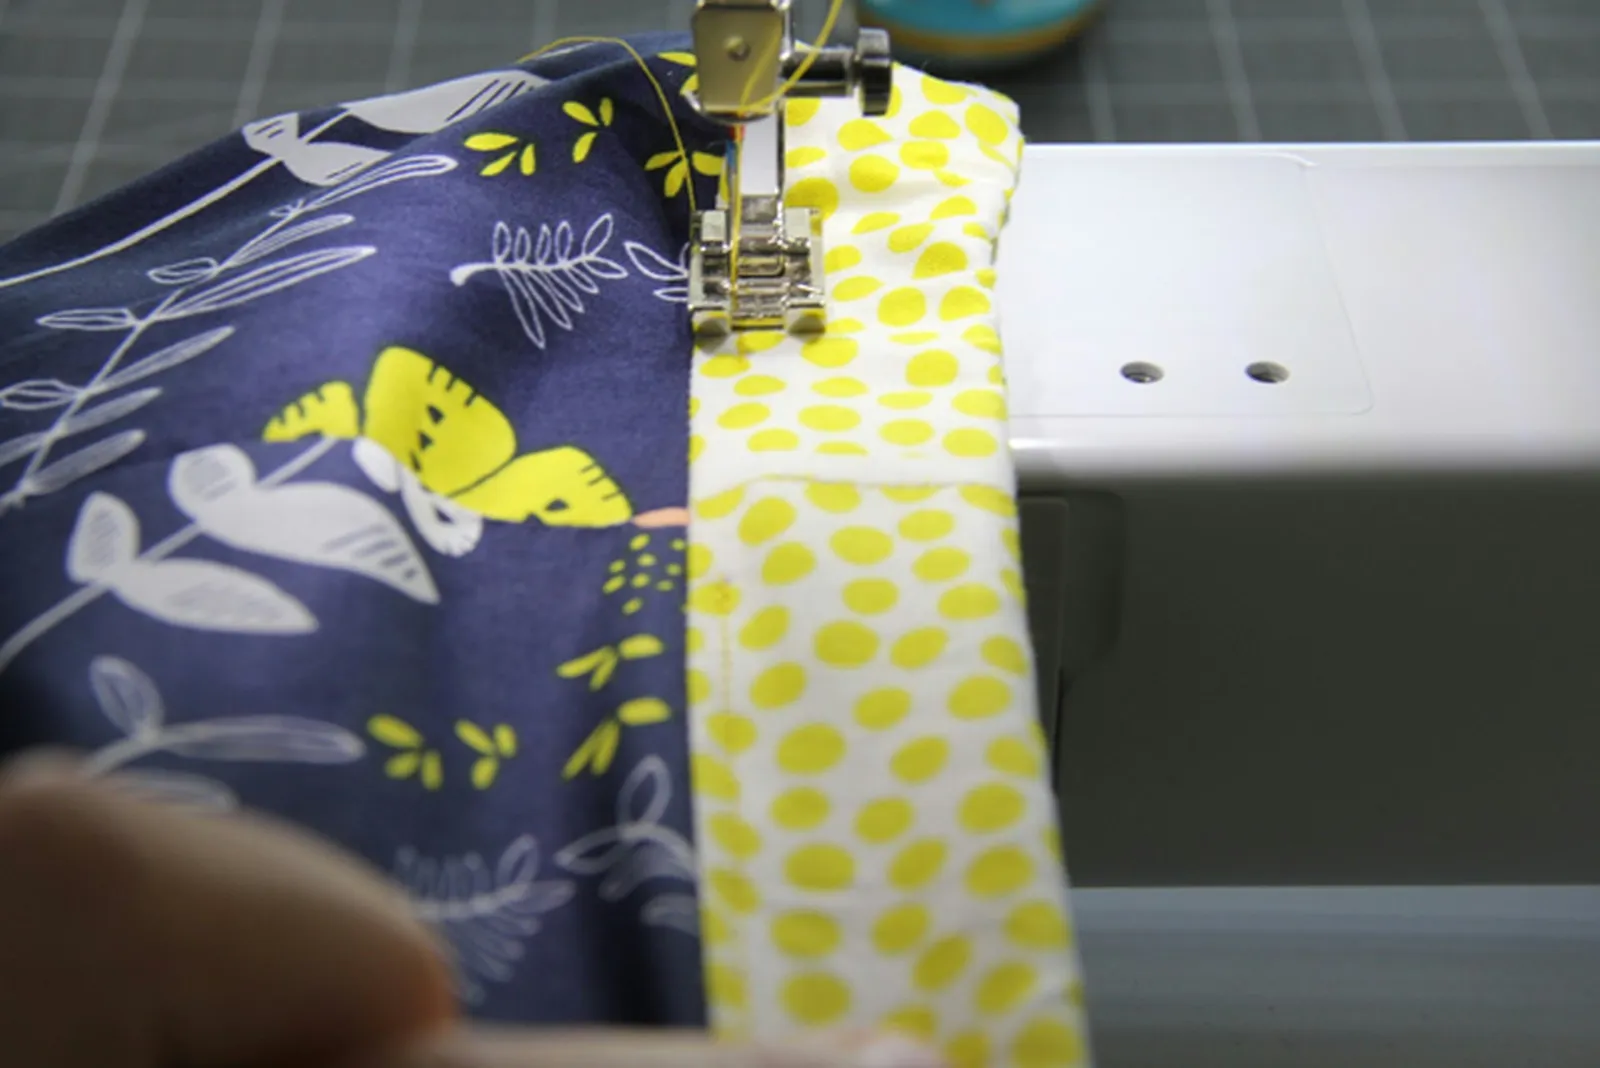
To prevent the elastic waistband from twisting later, I like to use this easy trick. First, stretch the elastic waistband and make sure the skirt's gathers are even all around. Once the skirt is even, sew a straight line down the side seam of the waistband, being careful to sew directly over the seam, on both sides of the skirt. Press the skirt when you're done and enjoy!