Singer Sewing Machine: Core Operating and Care Procedures
The fundamental techniques for running and maintaining a Singer sewing machine stay largely consistent across different model numbers and manufacturing years. Whether your machine arrived new recently or has been passed down through decades, the core procedures for winding bobbins, threading, adjusting stitches, managing tension and performing routine upkeep follow the same general pattern established long ago.
By Rowan Davis

The fundamental techniques for running and maintaining a Singer sewing machine stay largely consistent across different model numbers and manufacturing years. Whether your machine arrived new recently or has been passed down through decades, the core procedures for winding bobbins, threading, adjusting stitches, managing tension and performing routine upkeep follow the same general pattern established long ago. Although the first Singer sewing machine reached the market over a century ago and tremendous changes have occurred since then, the essential operating and maintenance steps have for the most part remained consistent from the beginning.
The rules for using and taking care of your Singer sewing machine have not changed over the years.
Winding the Bobbin
Step 1

Threading the bobbin is one of the easiest steps in getting your sewing project started.
Set an empty bobbin onto the bobbin pin.
Step 2
Rotate the balance wheel in your direction to release the needle mechanism.
Step 3
Push the bobbin winder until it clicks into position. Different models place the bobbin winder in varying locations.
Step 4
Press the foot pedal to begin winding the bobbin. On newer Singer sewing machines, the winding process stops on its own once the bobbin is full. When working with an older Singer sewing machine, you need to monitor the bobbin and halt the process manually. Very old machines require winding the bobbin by hand; in that situation, purchasing a separate bobbin winder may be worthwhile.
Step 5
Put the bobbin into the bobbin case and thread it by holding the case in one hand while pulling the thread end through the slit until it settles into position. Draw out roughly six inches of thread. Then place the bobbin case into the bobbin shuttle located beneath the needle throat plate.
Step 6
Shut the throat plate.
Step 7
Turn the balance wheel in the opposite direction until the needle mechanism engages again.
Threading the Machine
Step 1
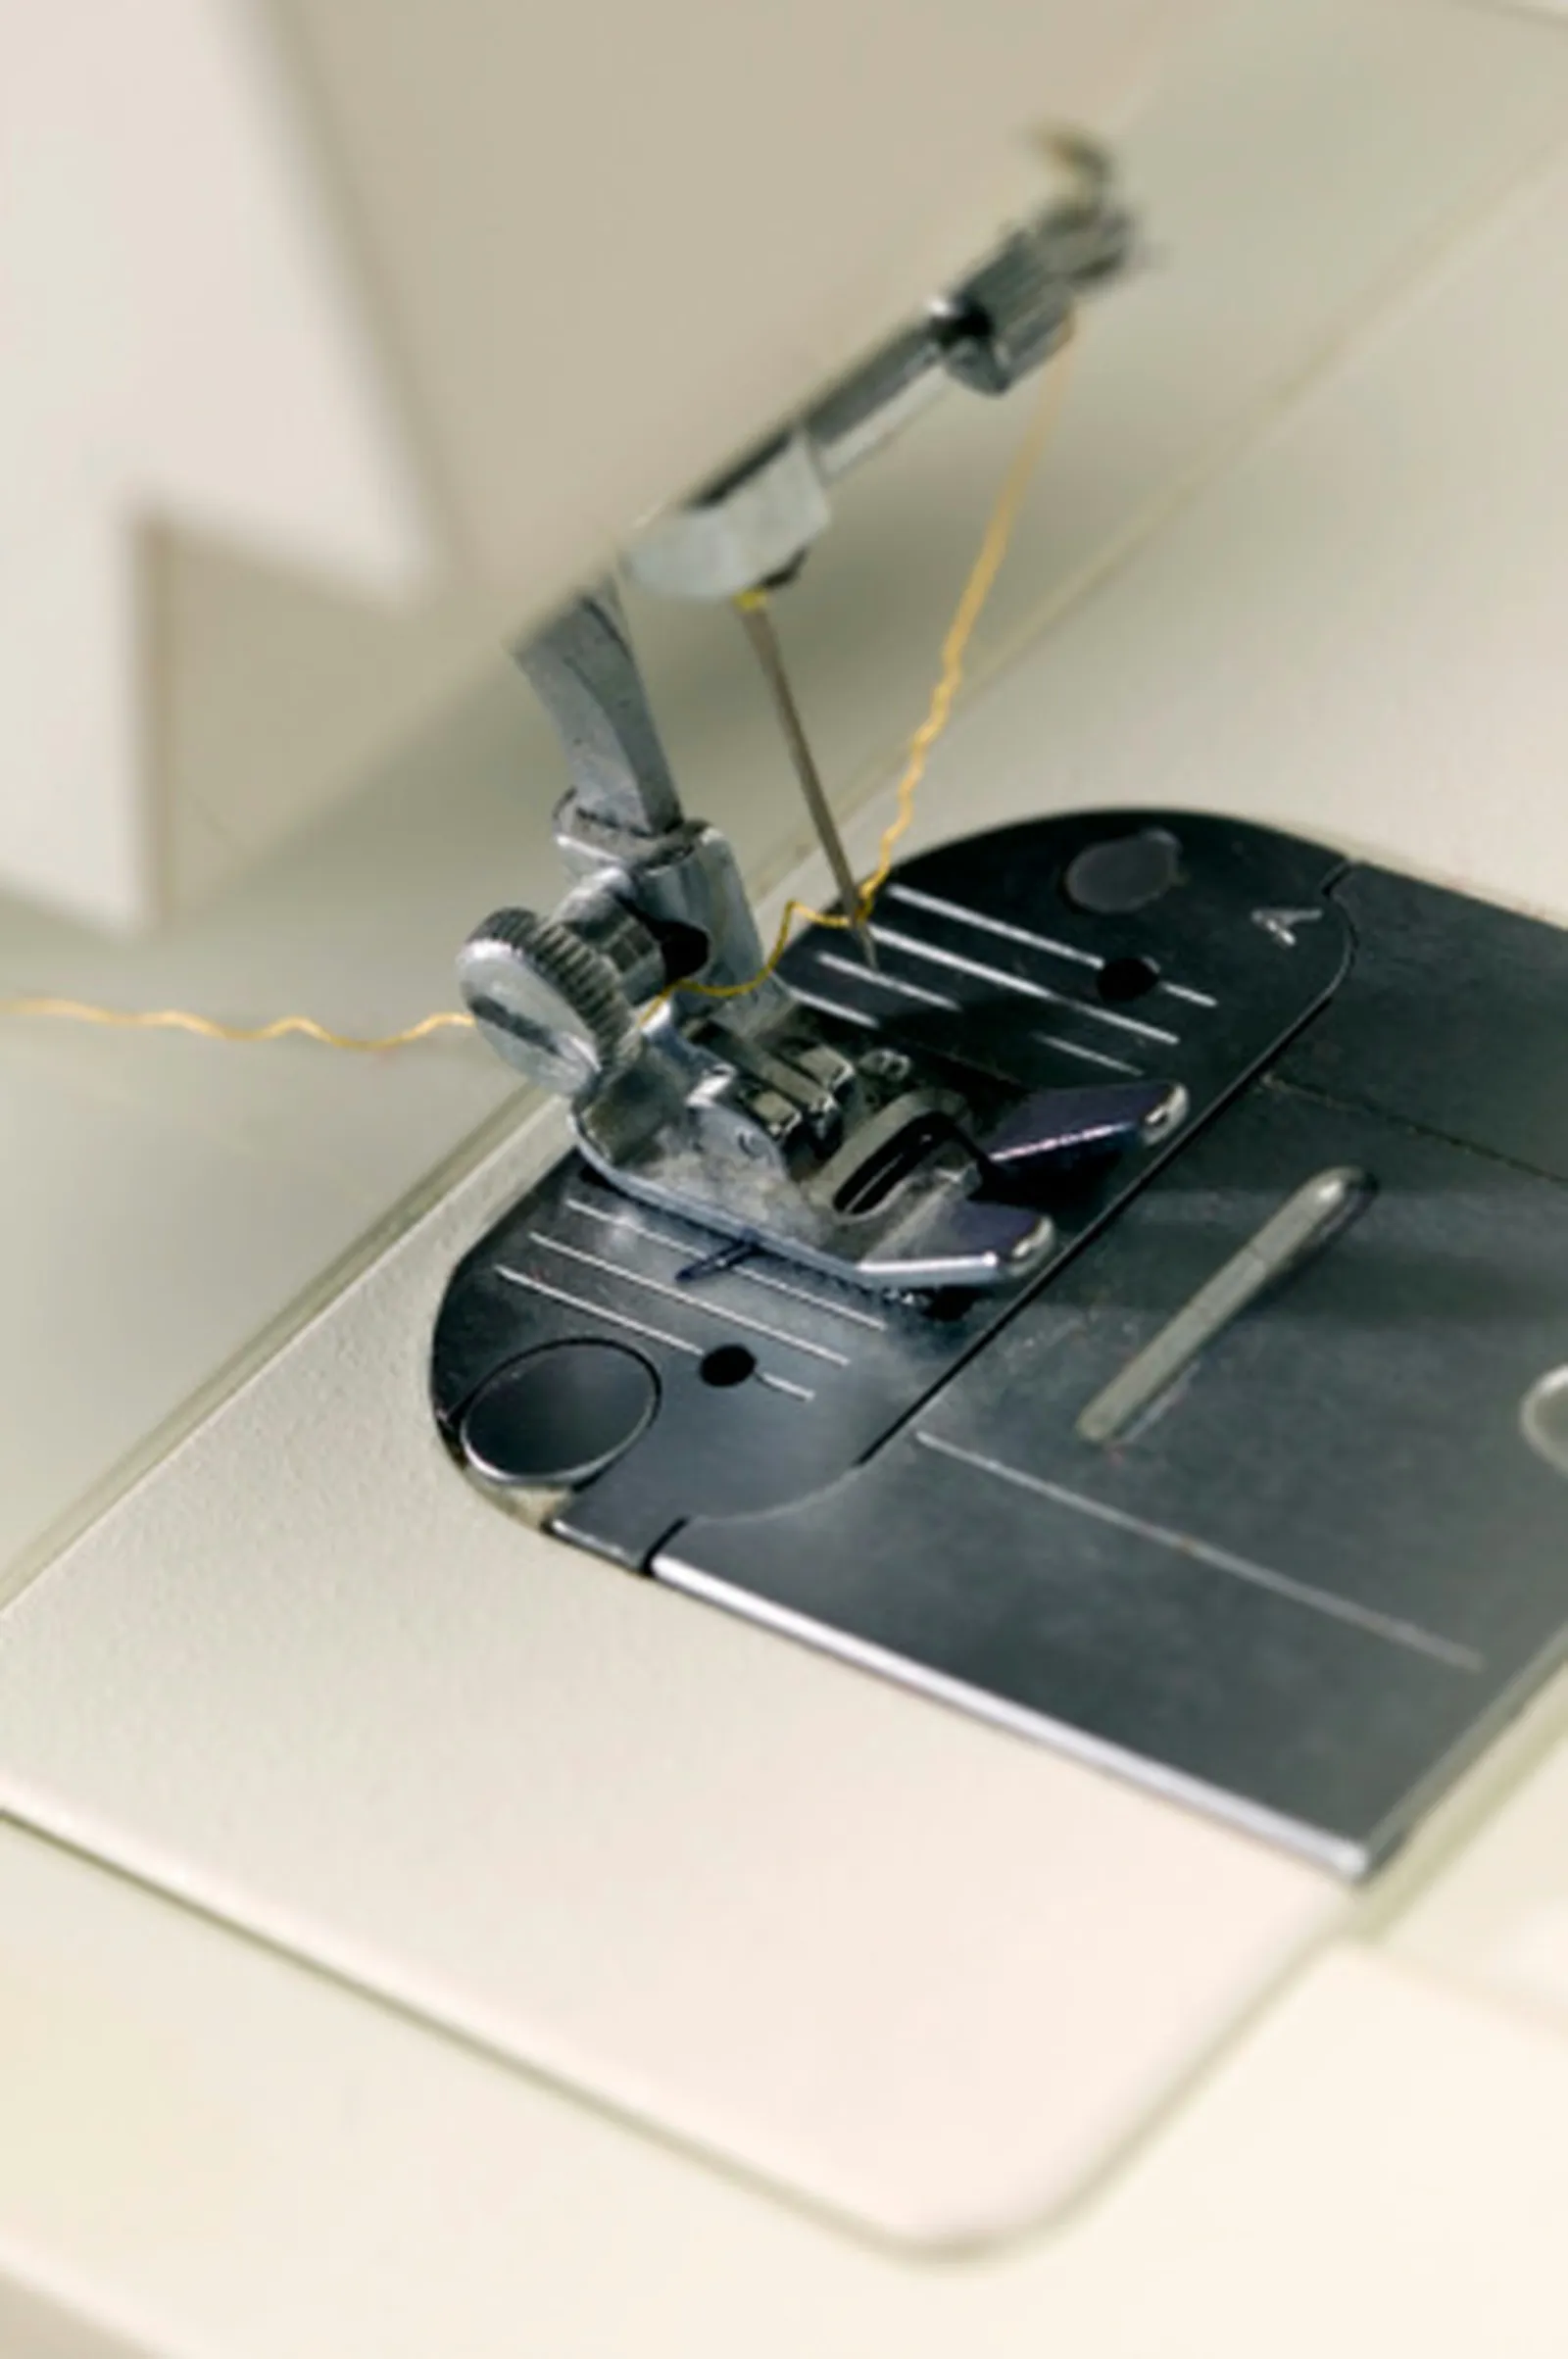
Threading the needle properly can be tricky, but it's not difficult.
Set a spool of thread onto the thread spindle. The thread spindle will be positioned either vertically or horizontally, depending on how old your Singer sewing machine is.
Step 2
Before you begin threading, take a moment to observe where the thread guides are located.
Step 3
Guide the thread end through each thread guide one by one, ensuring the thread passes between the discs of the tension adjuster.
Step 4
If needed, use a needle threader to pass thread through the needle. On most Singer sewing machines, the needle is threaded from the outside in -- that is, left to right. Some older models, however, may call for threading from right to left. Observe where the flat end of the needle sits and how it is positioned; that will serve as your guide. When threading your Singer sewing machine, the thread should always travel toward the flat end of the needle.
Step 5
Rotate the balance wheel one complete turn toward you so the bobbin thread is drawn up through the throat plate.
Setting Stitch Length and Width
Step 1

The right stitch setting makes a big difference in how your finished sewing project will turn out.
Rotate the stitch length dial to the setting you want. The type of fabric and the particular sewing project you are working on will determine this setting.
Step 2
Set the stitch width guide when doing zigzag stitching. Older machines may not offer this option. Newer sewing machines provide a wide range of zigzag stitch options -- generally, the newer the machine, the more choices available.
Step 3
Be sure to move the setting back to the straight stitch position once you have finished.
Adjusting Tension
Step 1

Sewing with the wrong tension could mean disaster for your sewing project.
Set the tension adjustment dial to the level best suited to the fabric and thread you are using.
Step 2
To adjust bobbin tension, turn the screw on the bobbin case either clockwise or counterclockwise, depending on whether you need to tighten or loosen it.
Step 3
If your Singer sewing machine features an automatic tension adjustment function, this step can be skipped. Newer sewing machines come with automatic tension, so you do not need to worry about adjusting it on your own.
Routine Cleaning and Care
Step 1
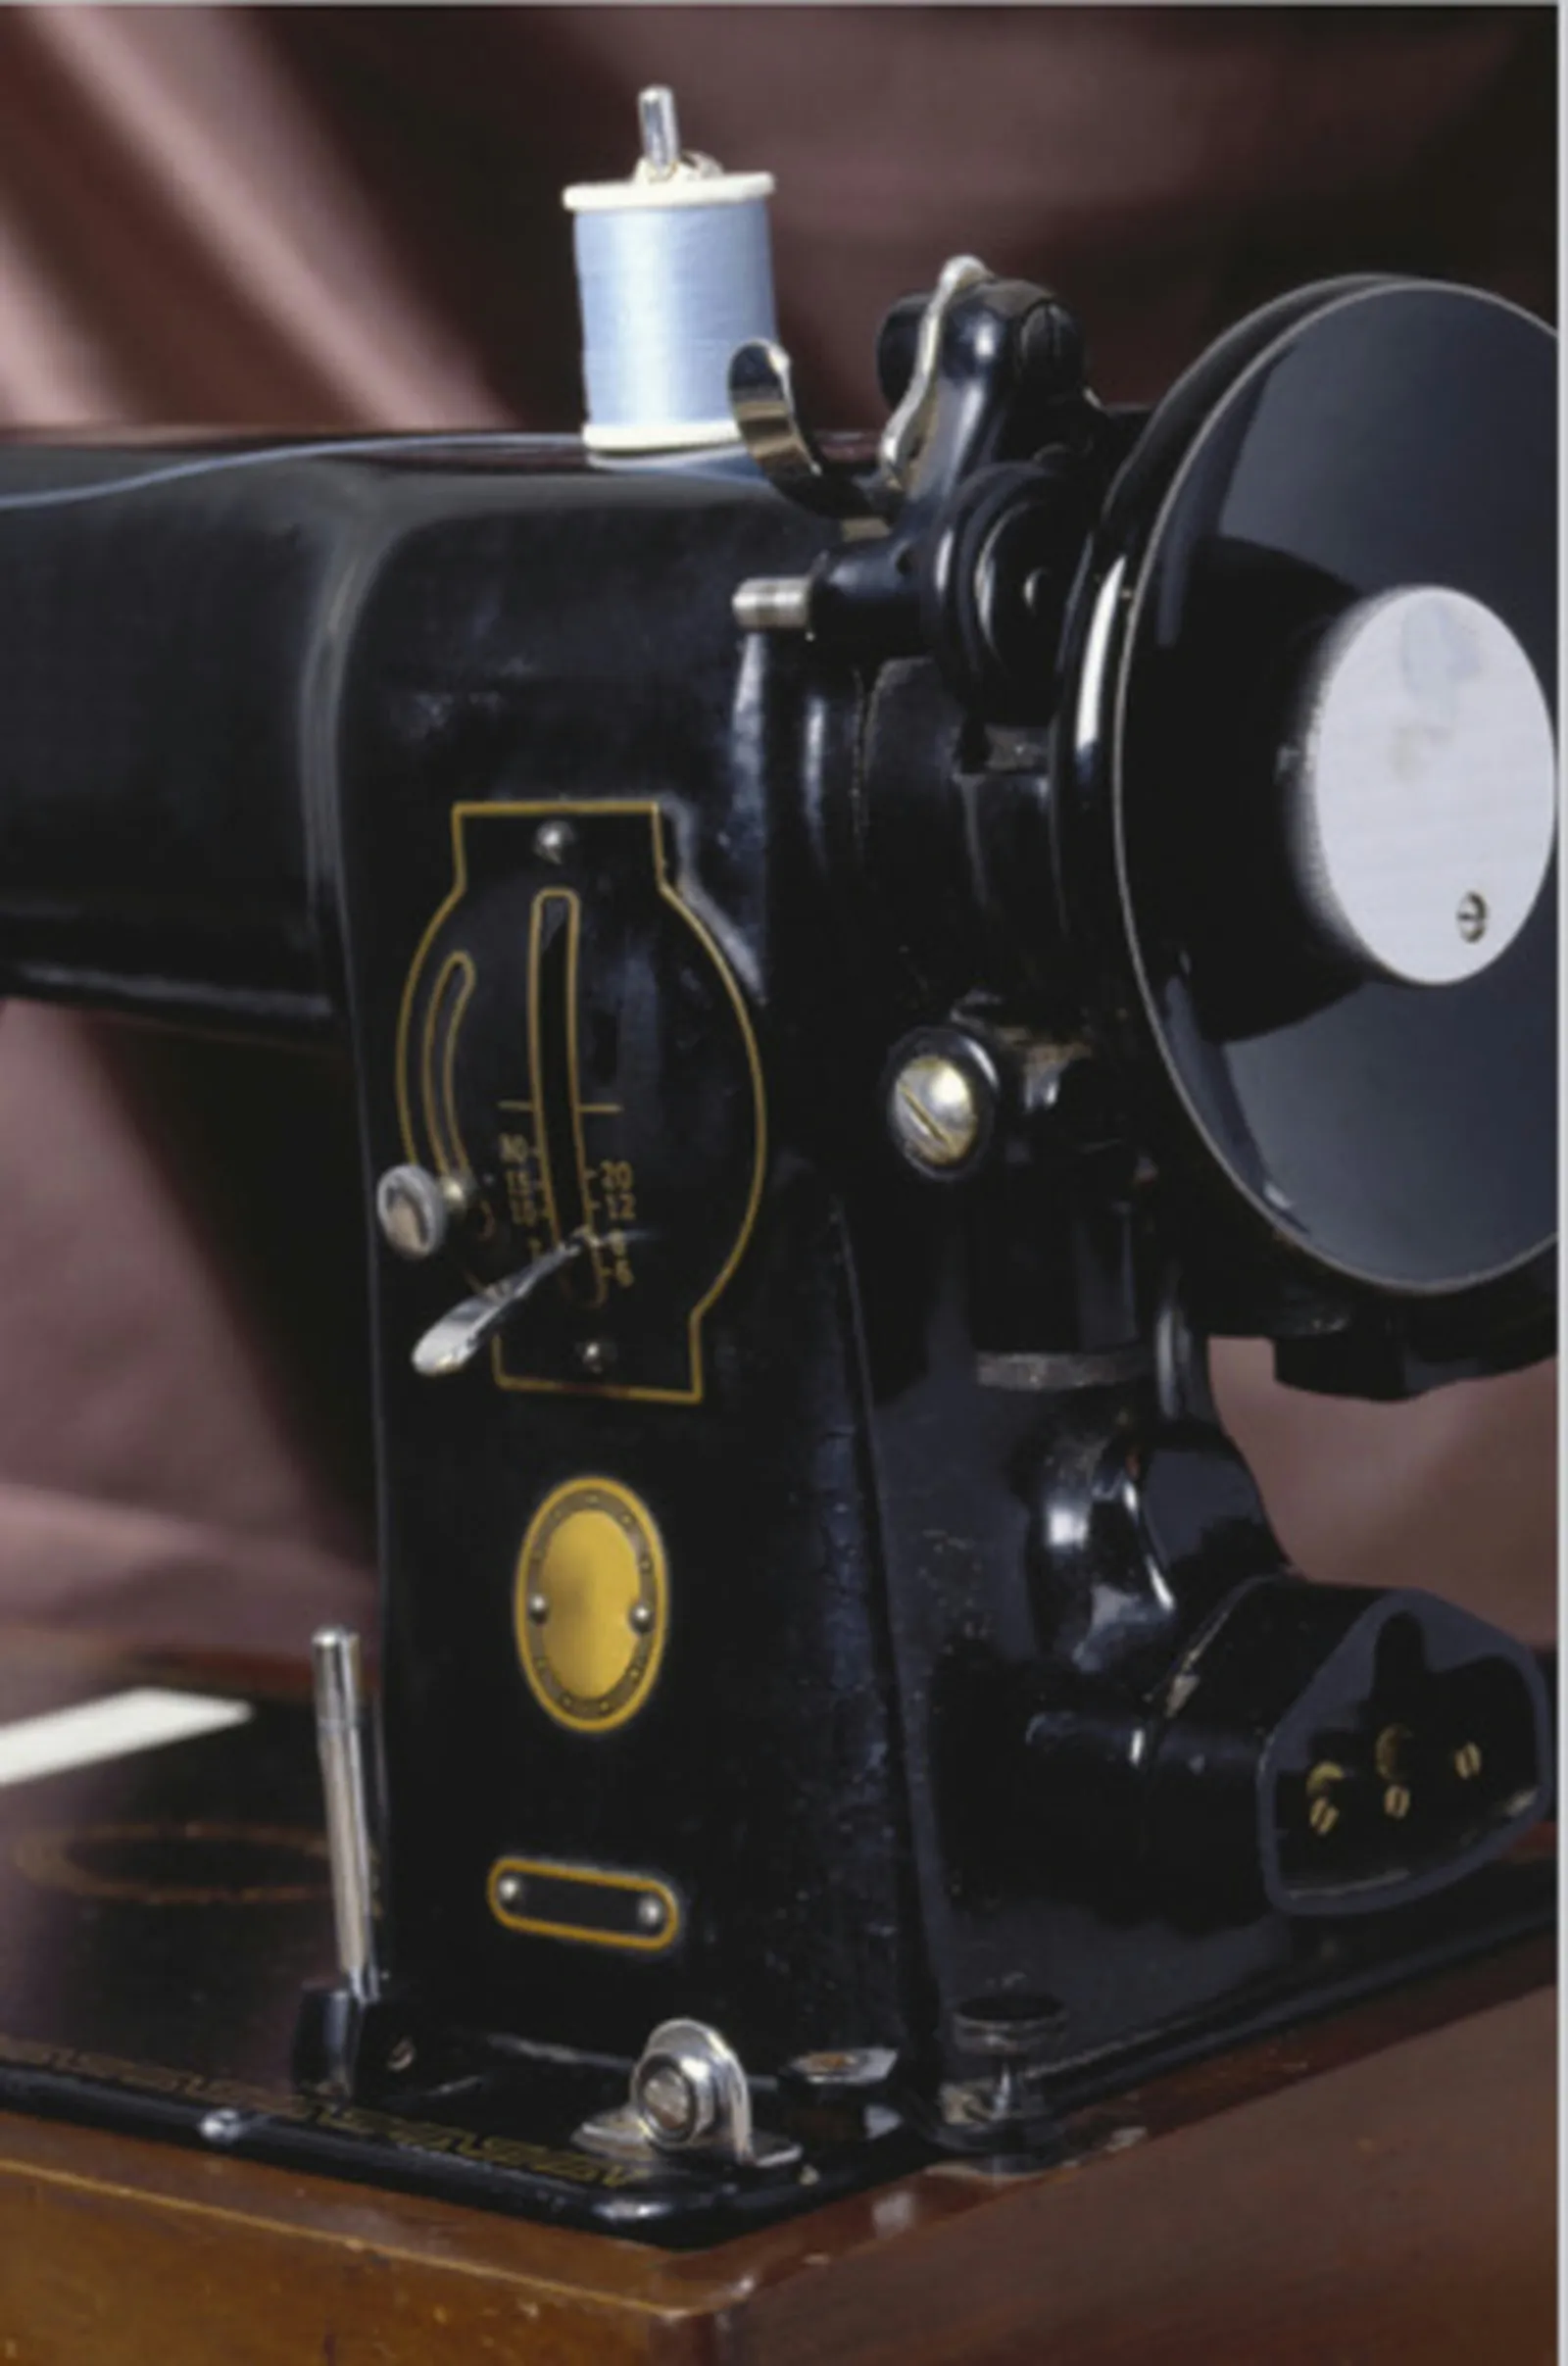
A well cared-for sewing machine will give you many years of service.
After each use, use a brush and soft cloth to remove dust, lint, thread snips and debris.
Step 2
Apply a lightweight oil to lubricate your Singer sewing machine at regular intervals. The oil points on the top and underneath the machine are generally easy to locate.
Step 3
When not in use, protect your Singer sewing machine by covering it. Lower the needle and leave the machine on the straight stitch setting.