Create Retro Wall Decor Using Free Paint Swatches
Toby Wood
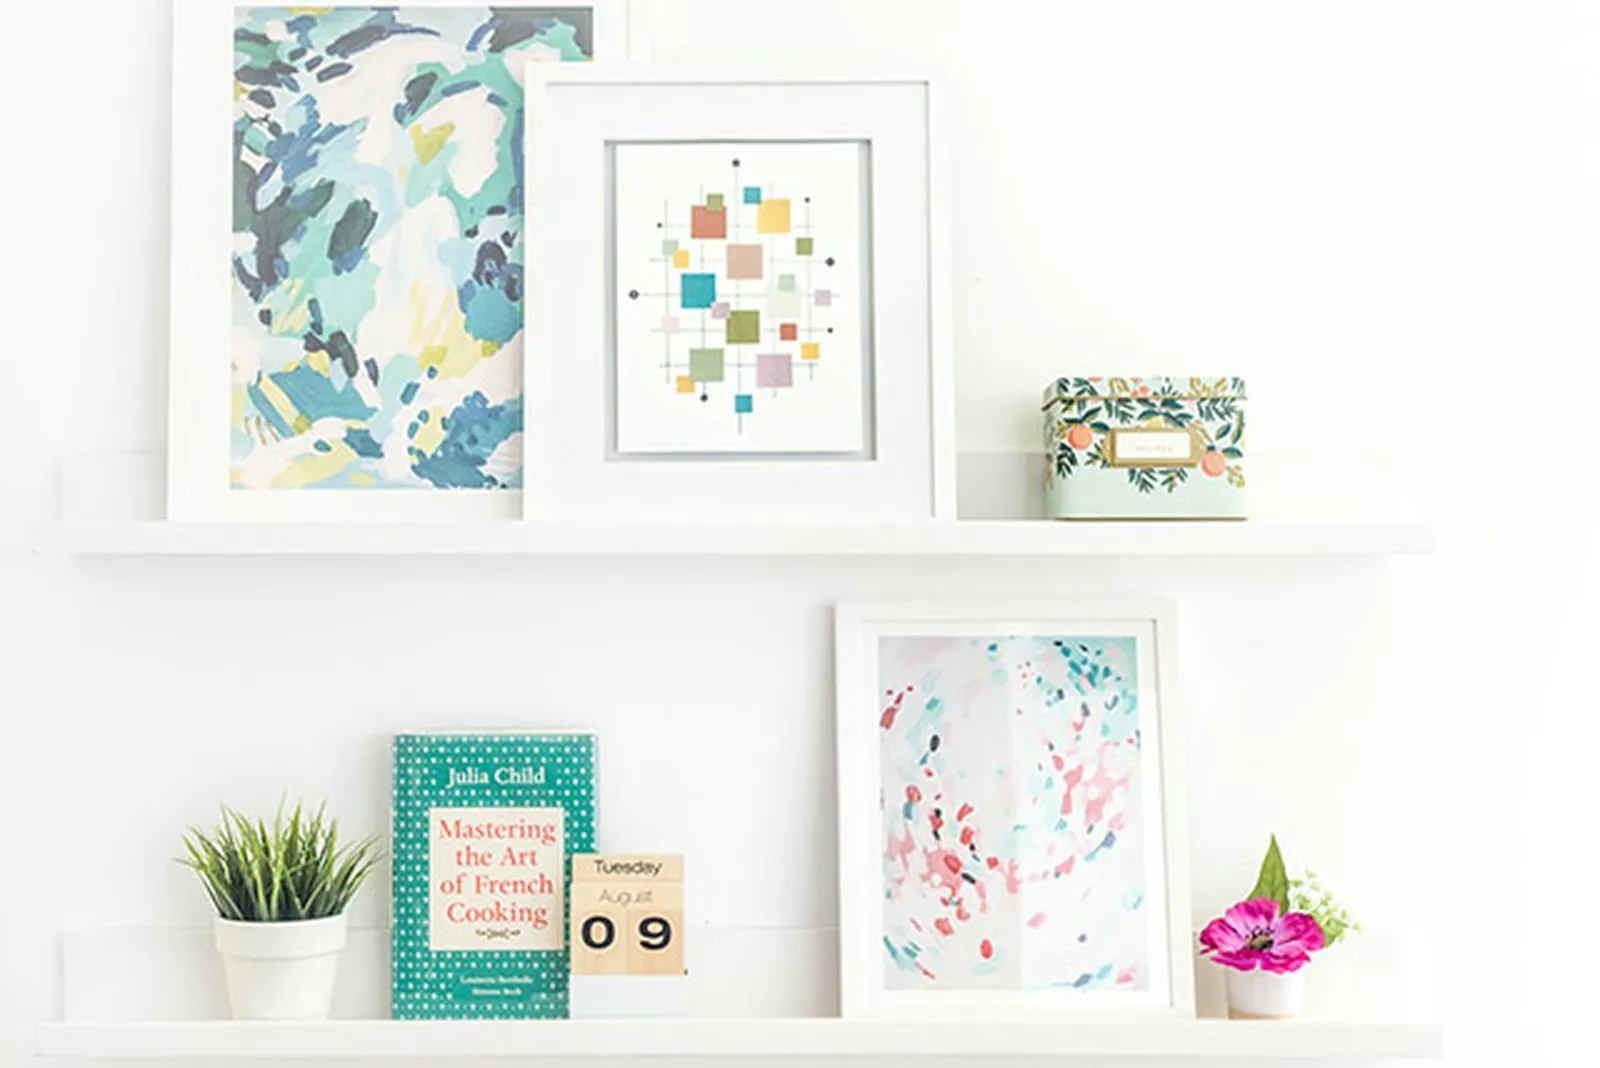
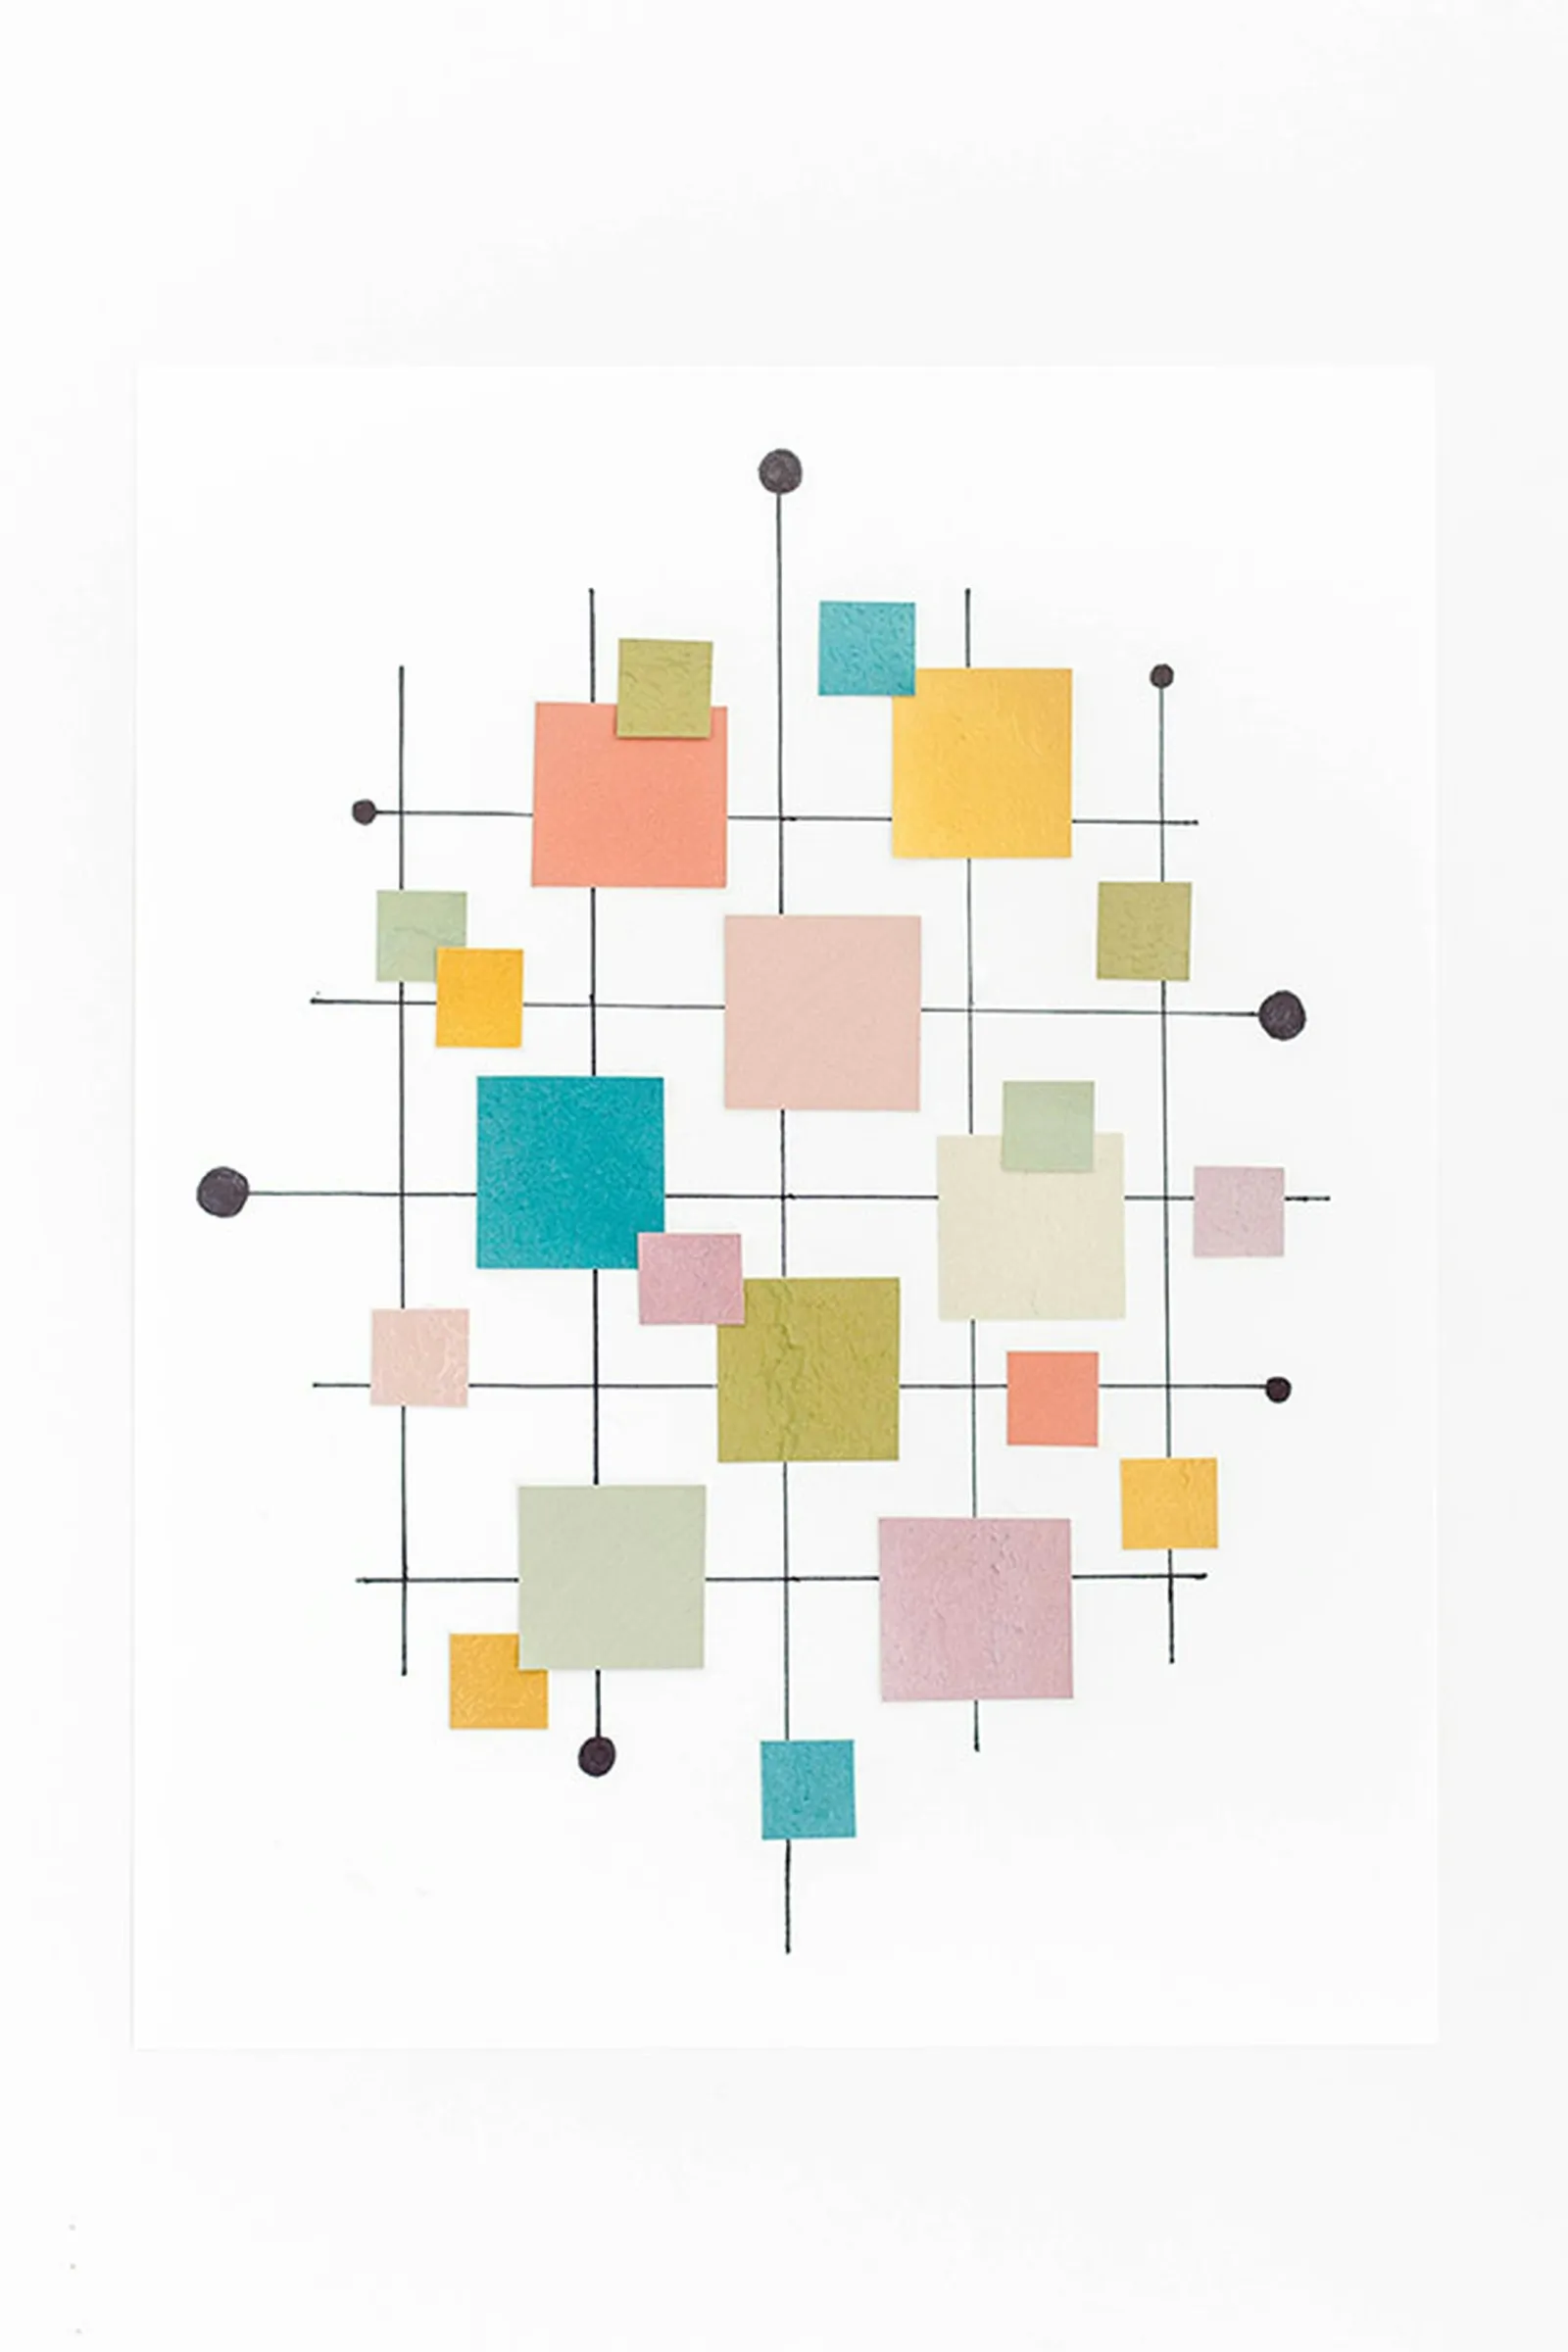
Genuine mid-century pieces often come with a hefty price tag when bought from auction houses or antique shops. However, you can avoid that cost entirely by using complimentary paint swatches from a hardware store to achieve a similar aesthetic. Continue reading for a detailed, step-by-step guide that demonstrates how to craft a unique, retro-style artwork with materials you probably already possess.
Step 1: Select Your Color Scheme
Create a harmonious color palette by choosing paint chips. These are typically available at no cost from most hardware and home improvement retailers.
Step 2: Mark Lines on the Reverse Side of the Paint Chips
Turn the paint chips over onto a flat surface, then use a straight edge and marker to draw lines on the back to split them into equal segments.
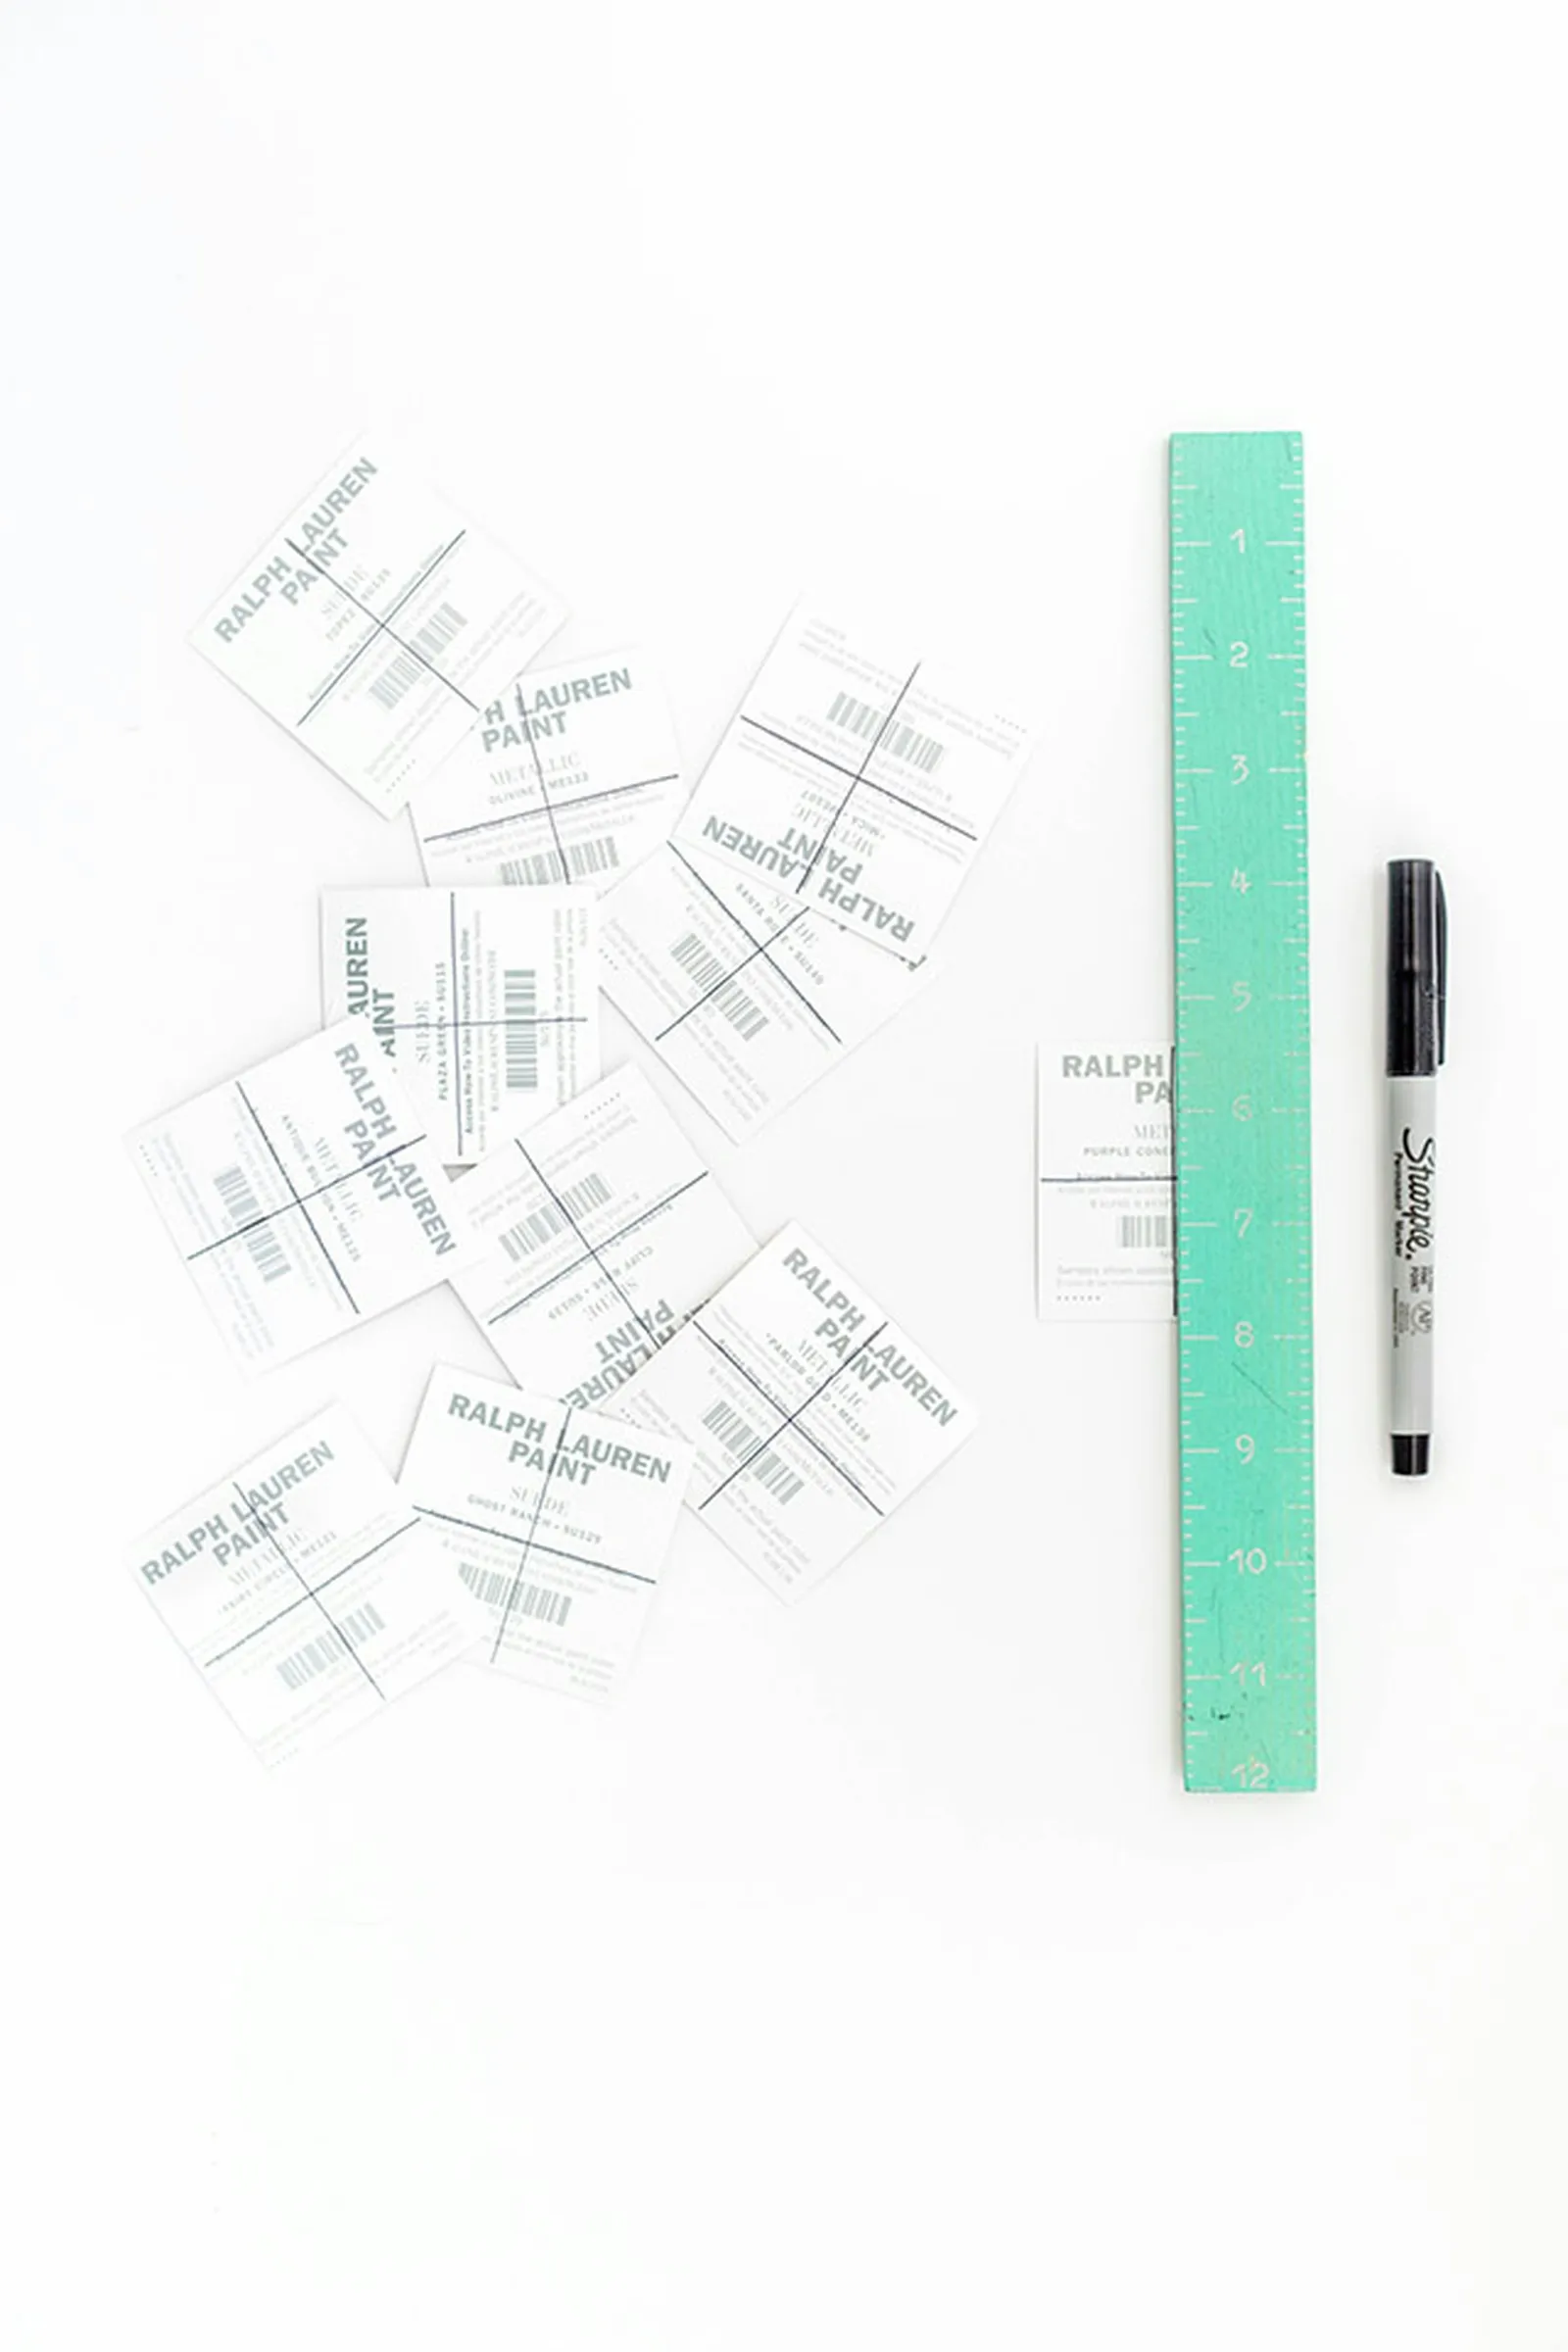
Step 3: Trim the Paint Chips to the Required Sizes
Use scissors to cut along the lines you drew on the backs of the paint chips. For the tiniest pieces, cut the resulting squares into even smaller squares. This project requires two different sizes of cut paint chip squares.
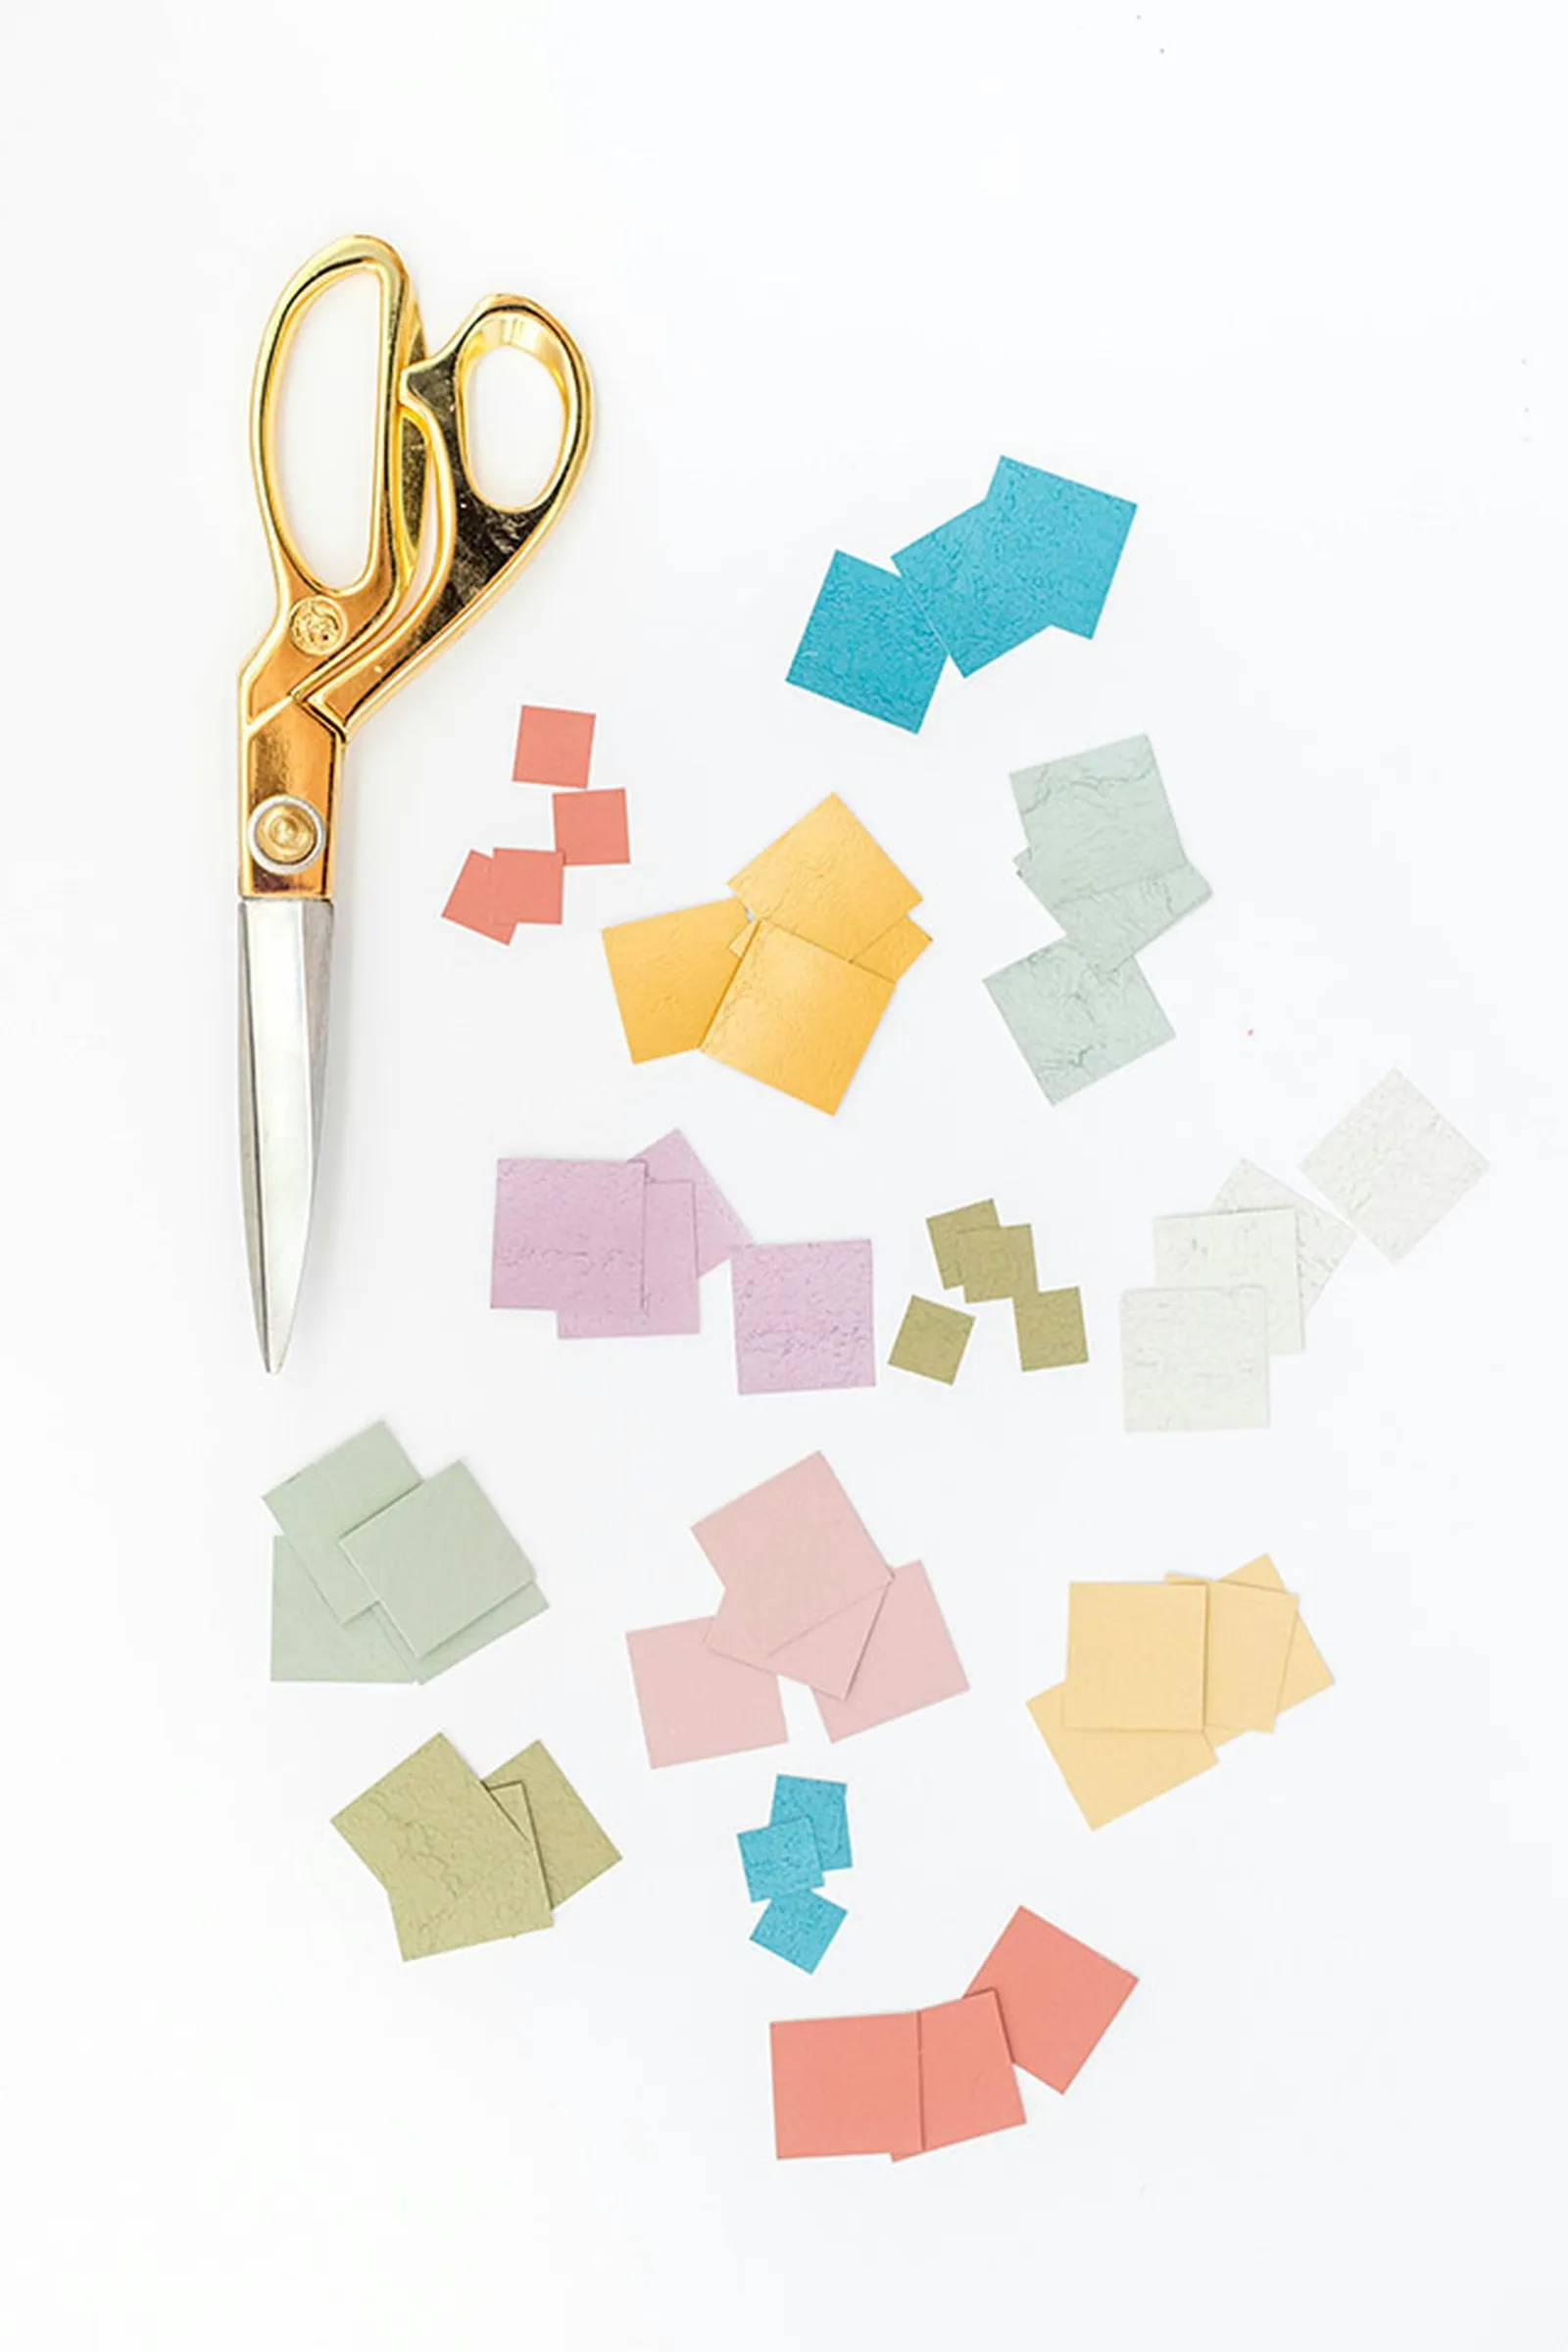
Step 4: Create a Grid on White Cardstock
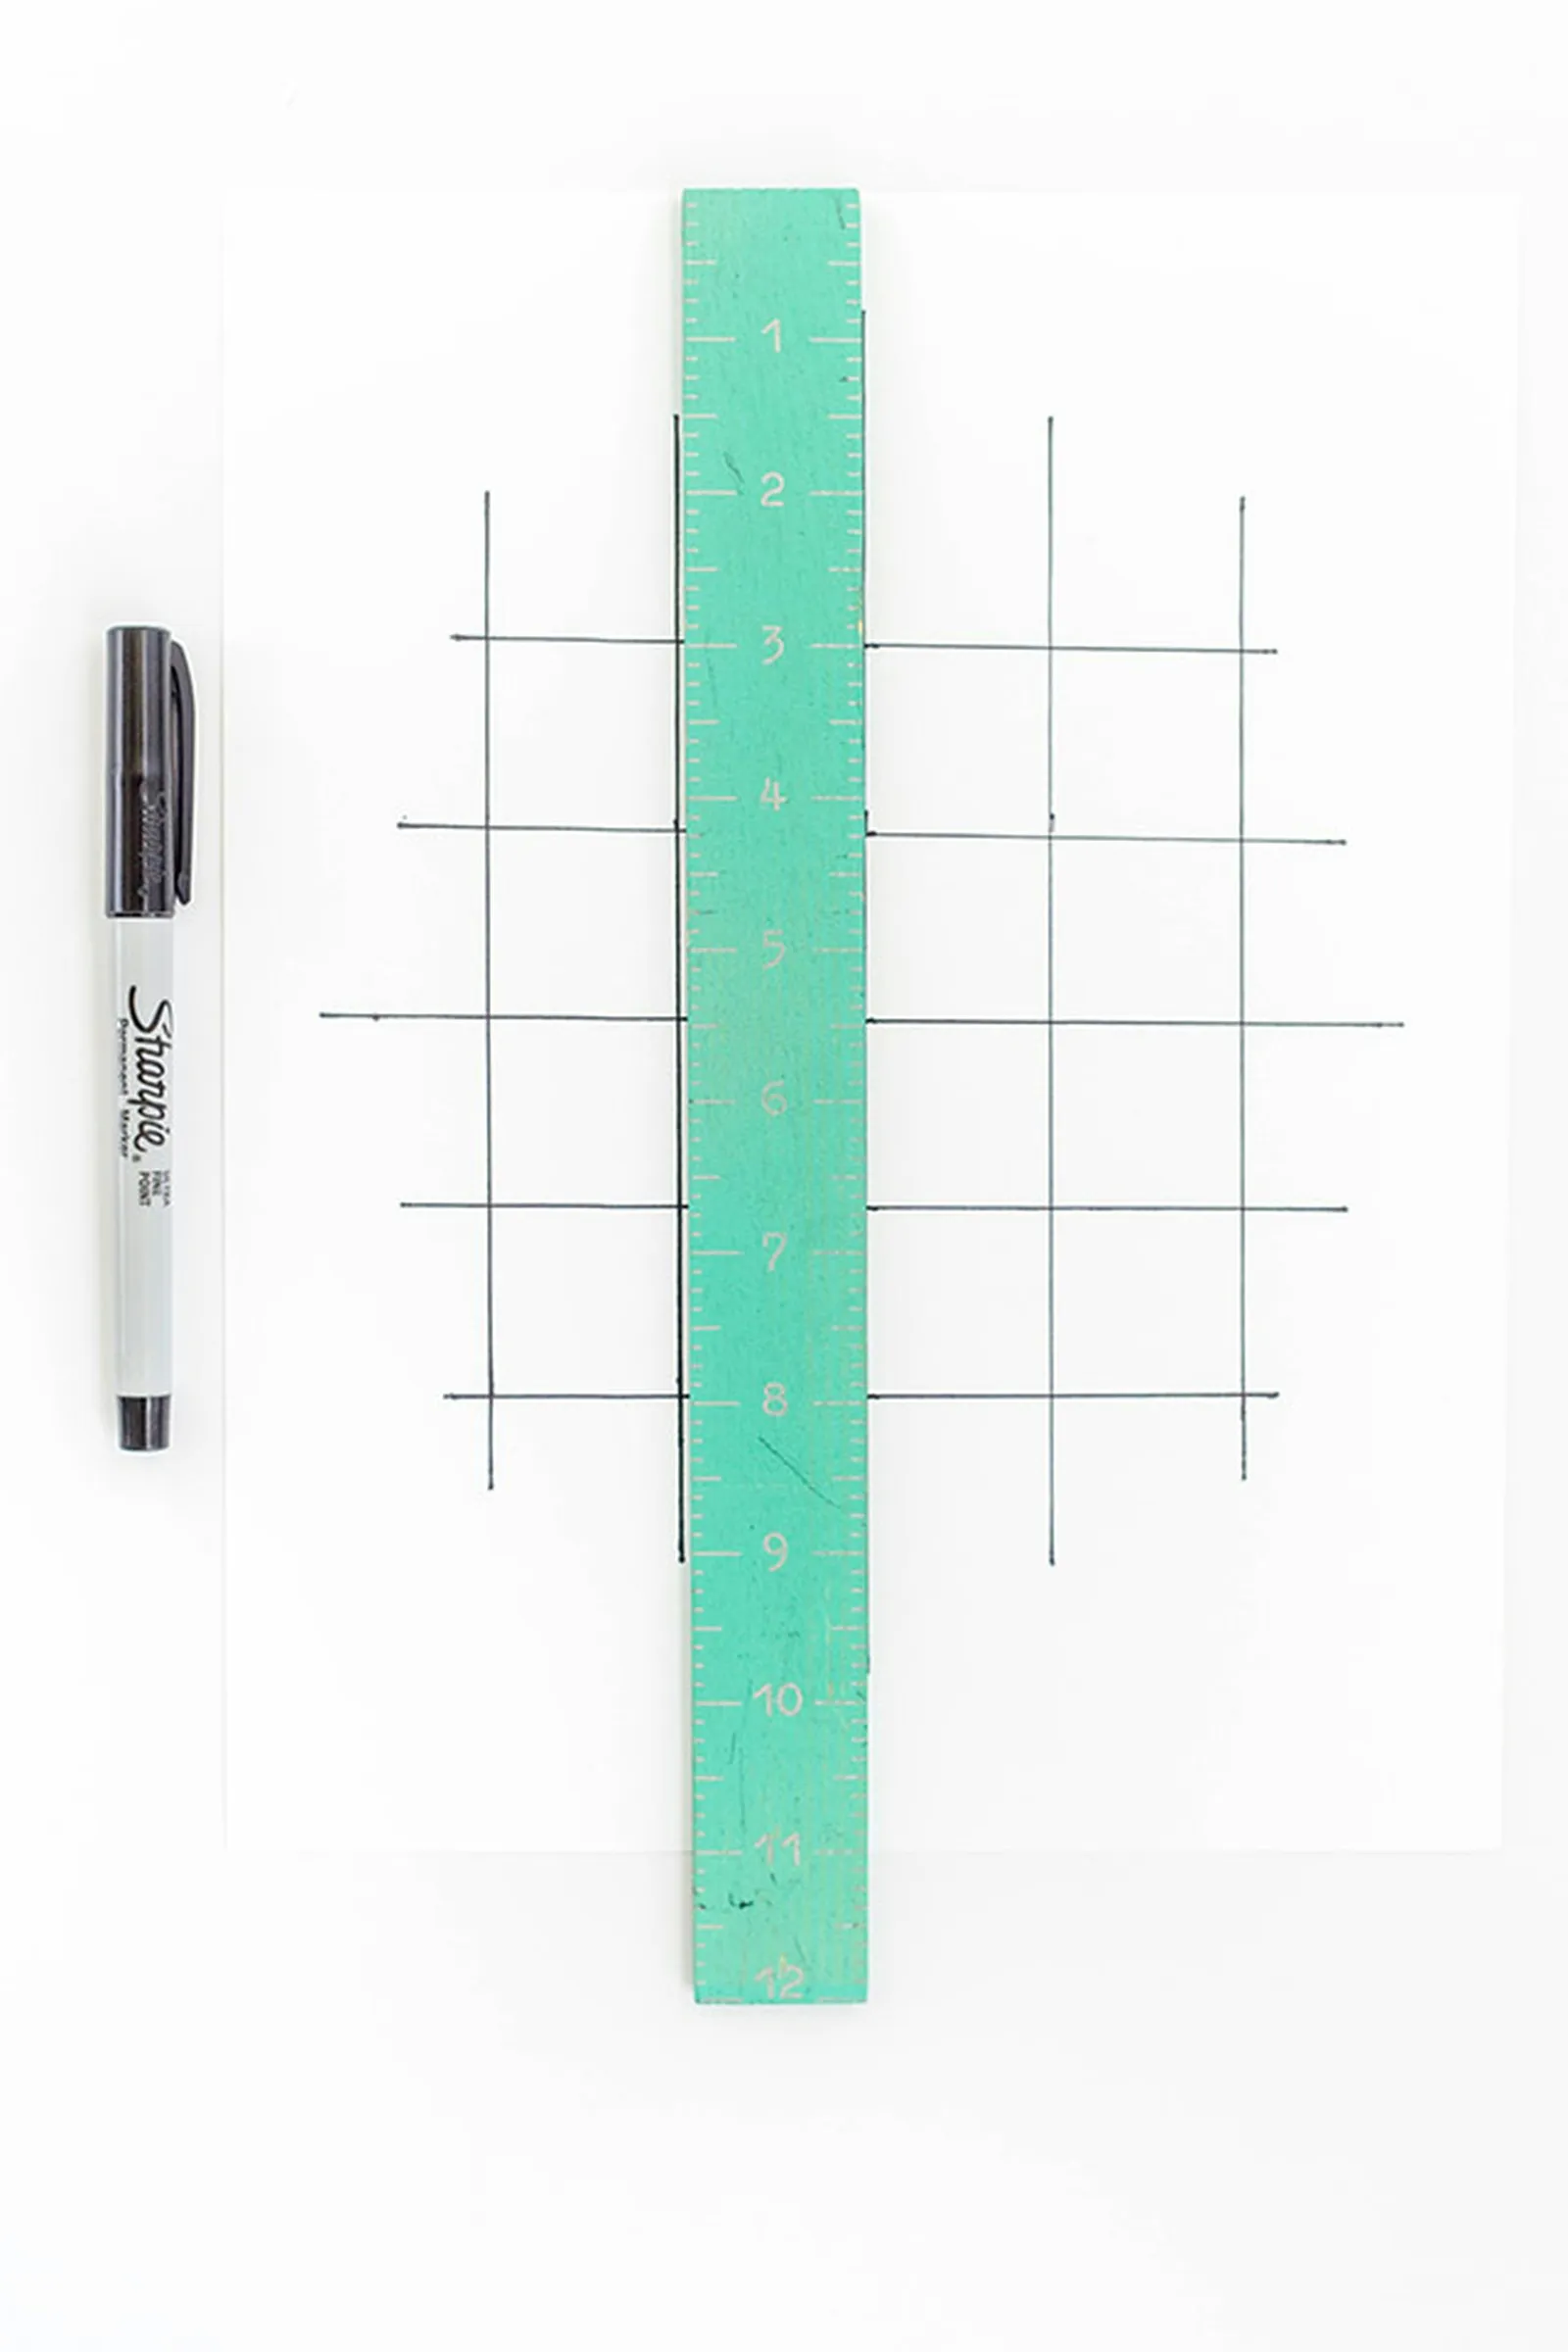
Using a fine-tip permanent marker, draw a grid pattern on a piece of thick white cardstock. For this particular design, the central lines should be longer than the ones on the outside. As you move toward the paper's edges, make the lines gradually shorter.
The spacing between your lines will be determined by the size of your paint chips. Ensure that the lines are spaced at least as far apart as your largest cut squares.
Step 5: Arrange the Paint Chips
Place your paint chips one at a time onto the gridded cardstock until the layout pleases you. Begin with the largest cut squares.
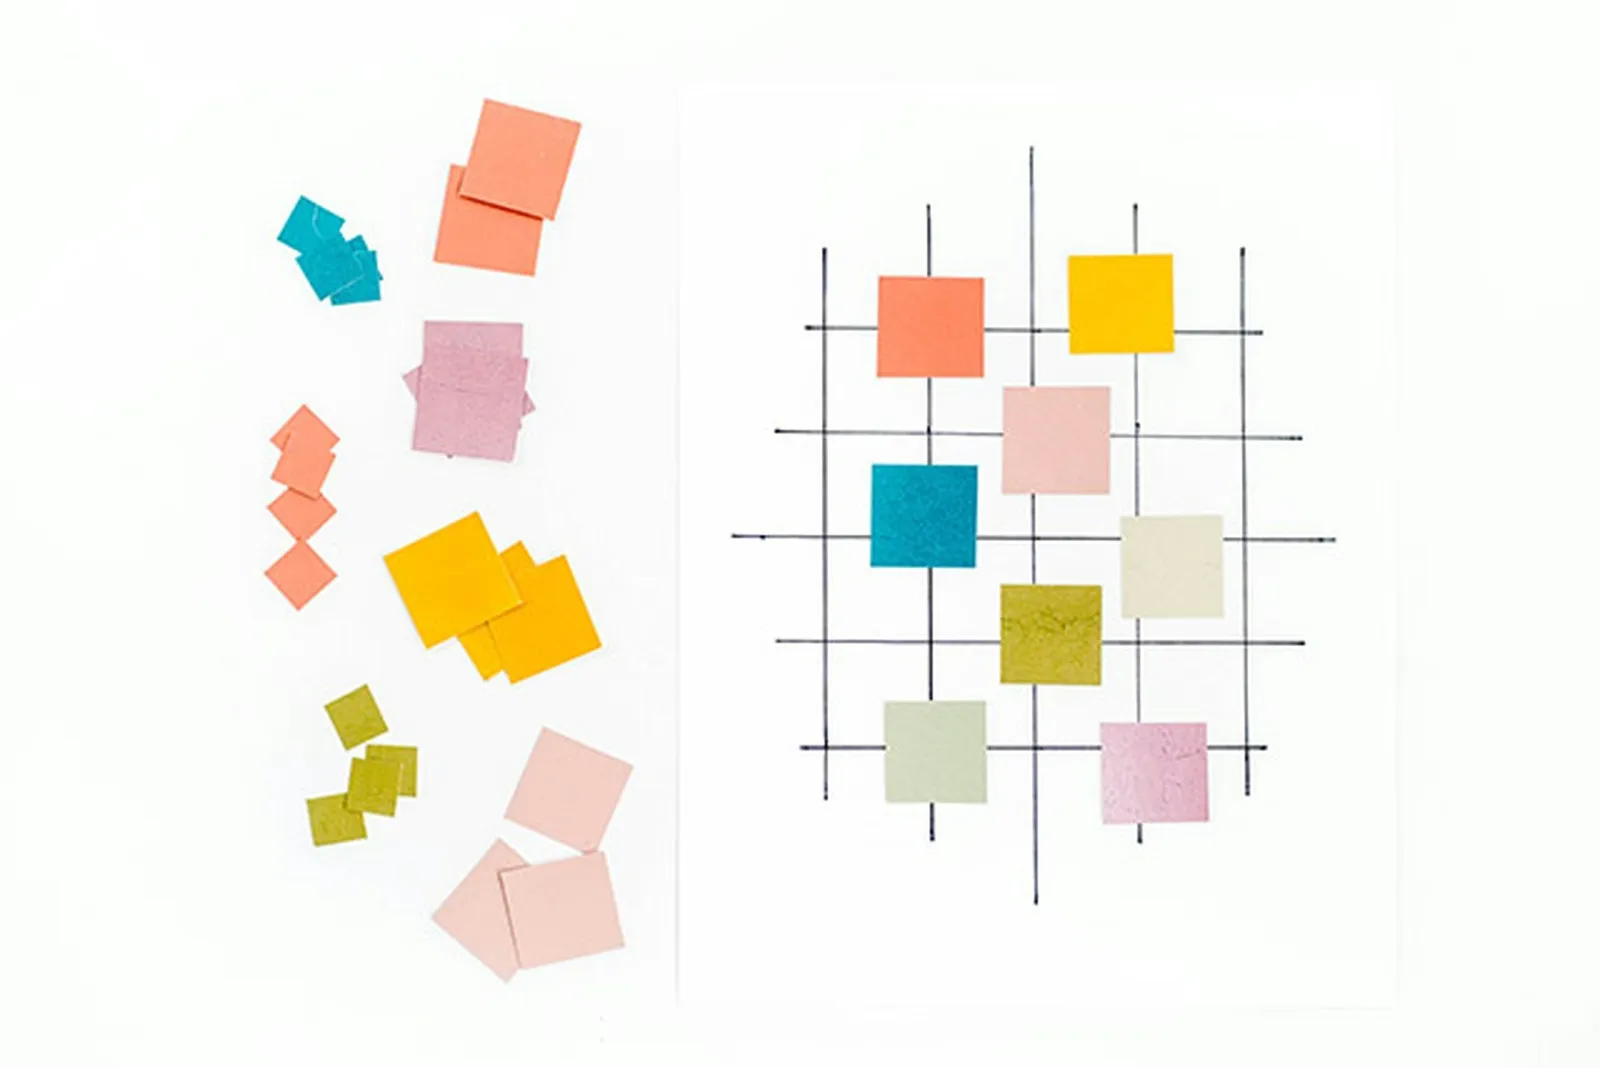
Step 6: Affix the Paint Chips to the Paper
Arrange the smaller cut squares, and adjust them until the overall design looks right. Once satisfied, secure the paint chips to the cardstock with double-sided tape.
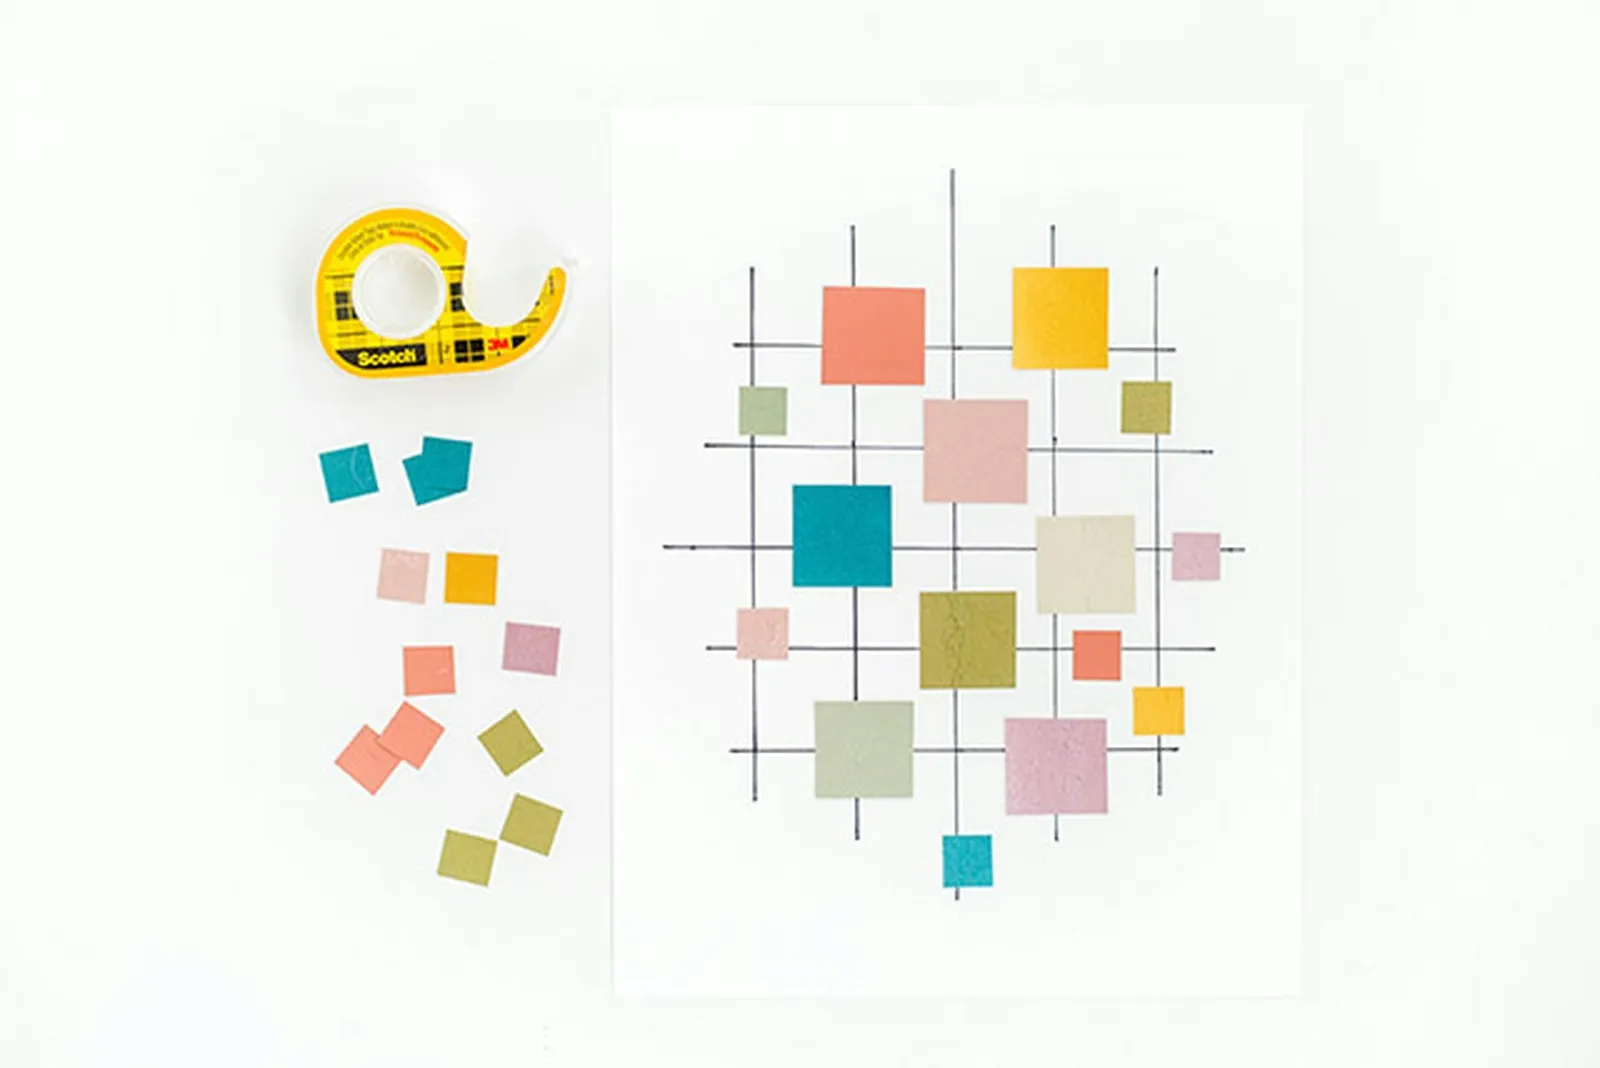
Step 7: Add Final Touches
If you like, stack a few additional small cut squares on top of the first layer, and then draw small circles on some of the lines near the grid's edges.
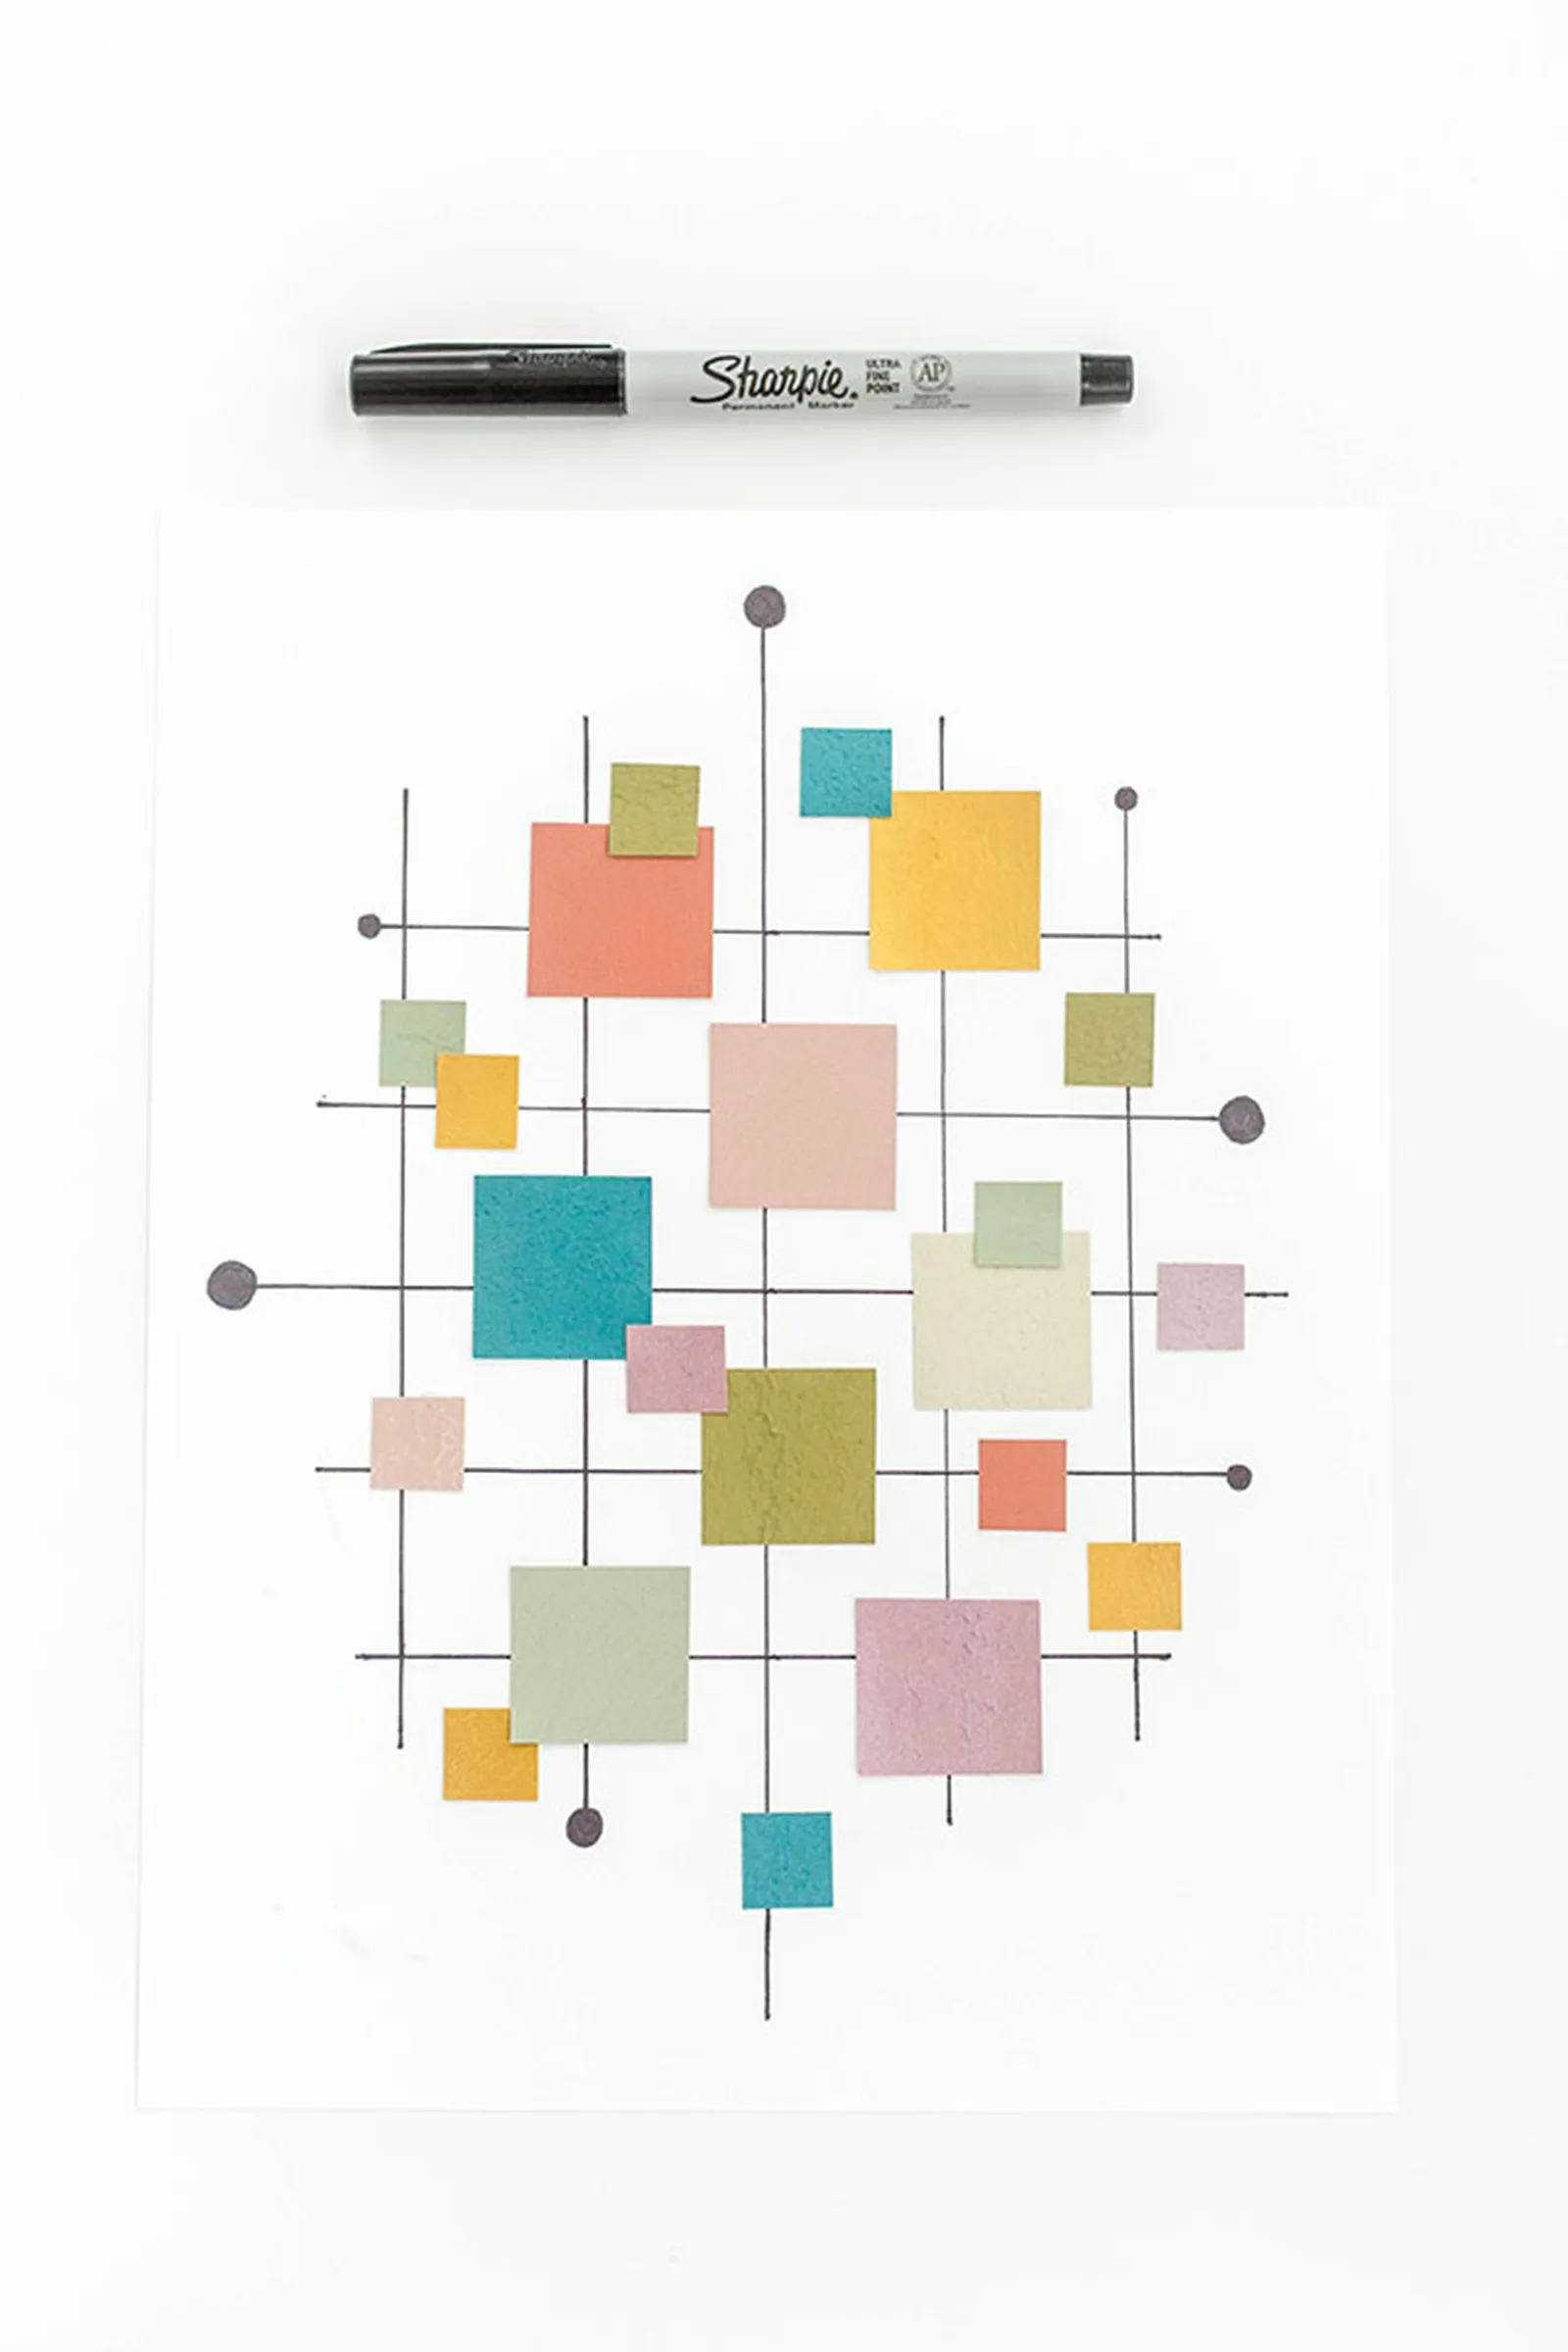
Step 8: Frame Your Artwork Right Away
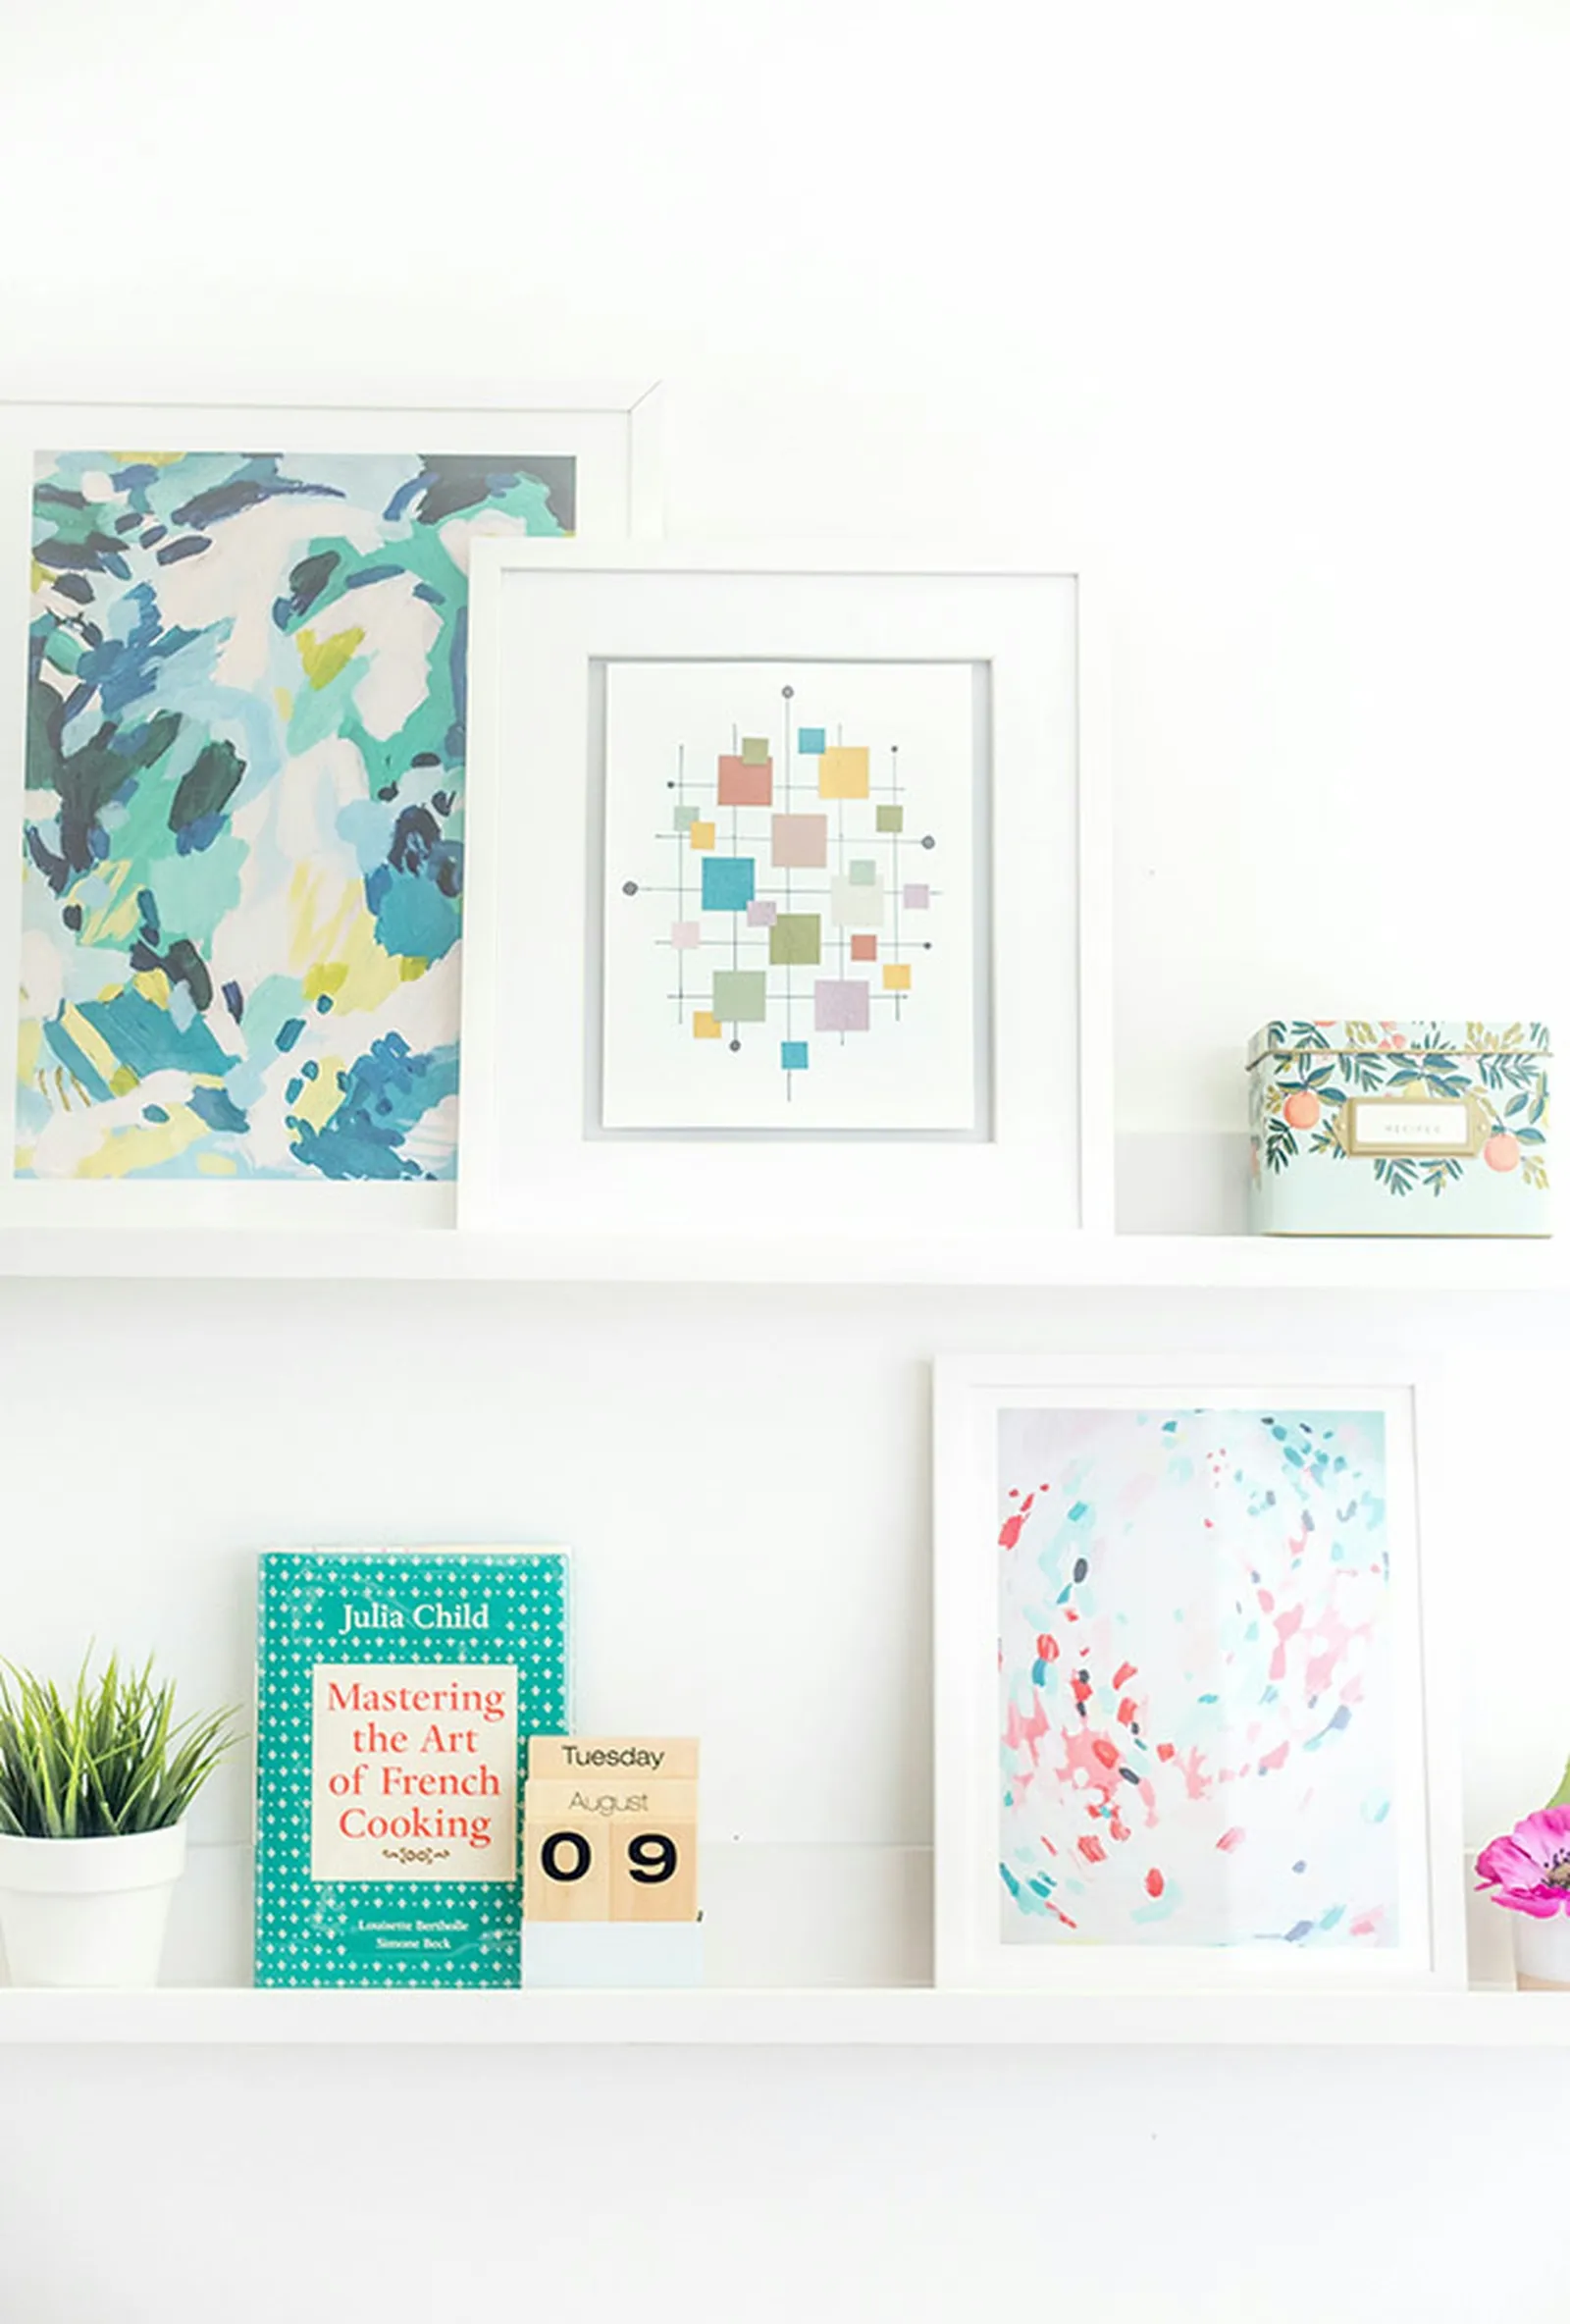
Since this project uses no glue or wet paint, you can frame it as soon as you finish. Just place the DIY print in a frame and hang it on the wall with your other mid-century art and accessories!