DIY Yarn Pompom Bookmarks for Book Lovers
Turn leftover yarn into charming pompom bookmarks with this simple tutorial. Perfect for adding a handmade touch to your reading time.
By Jordan Lee
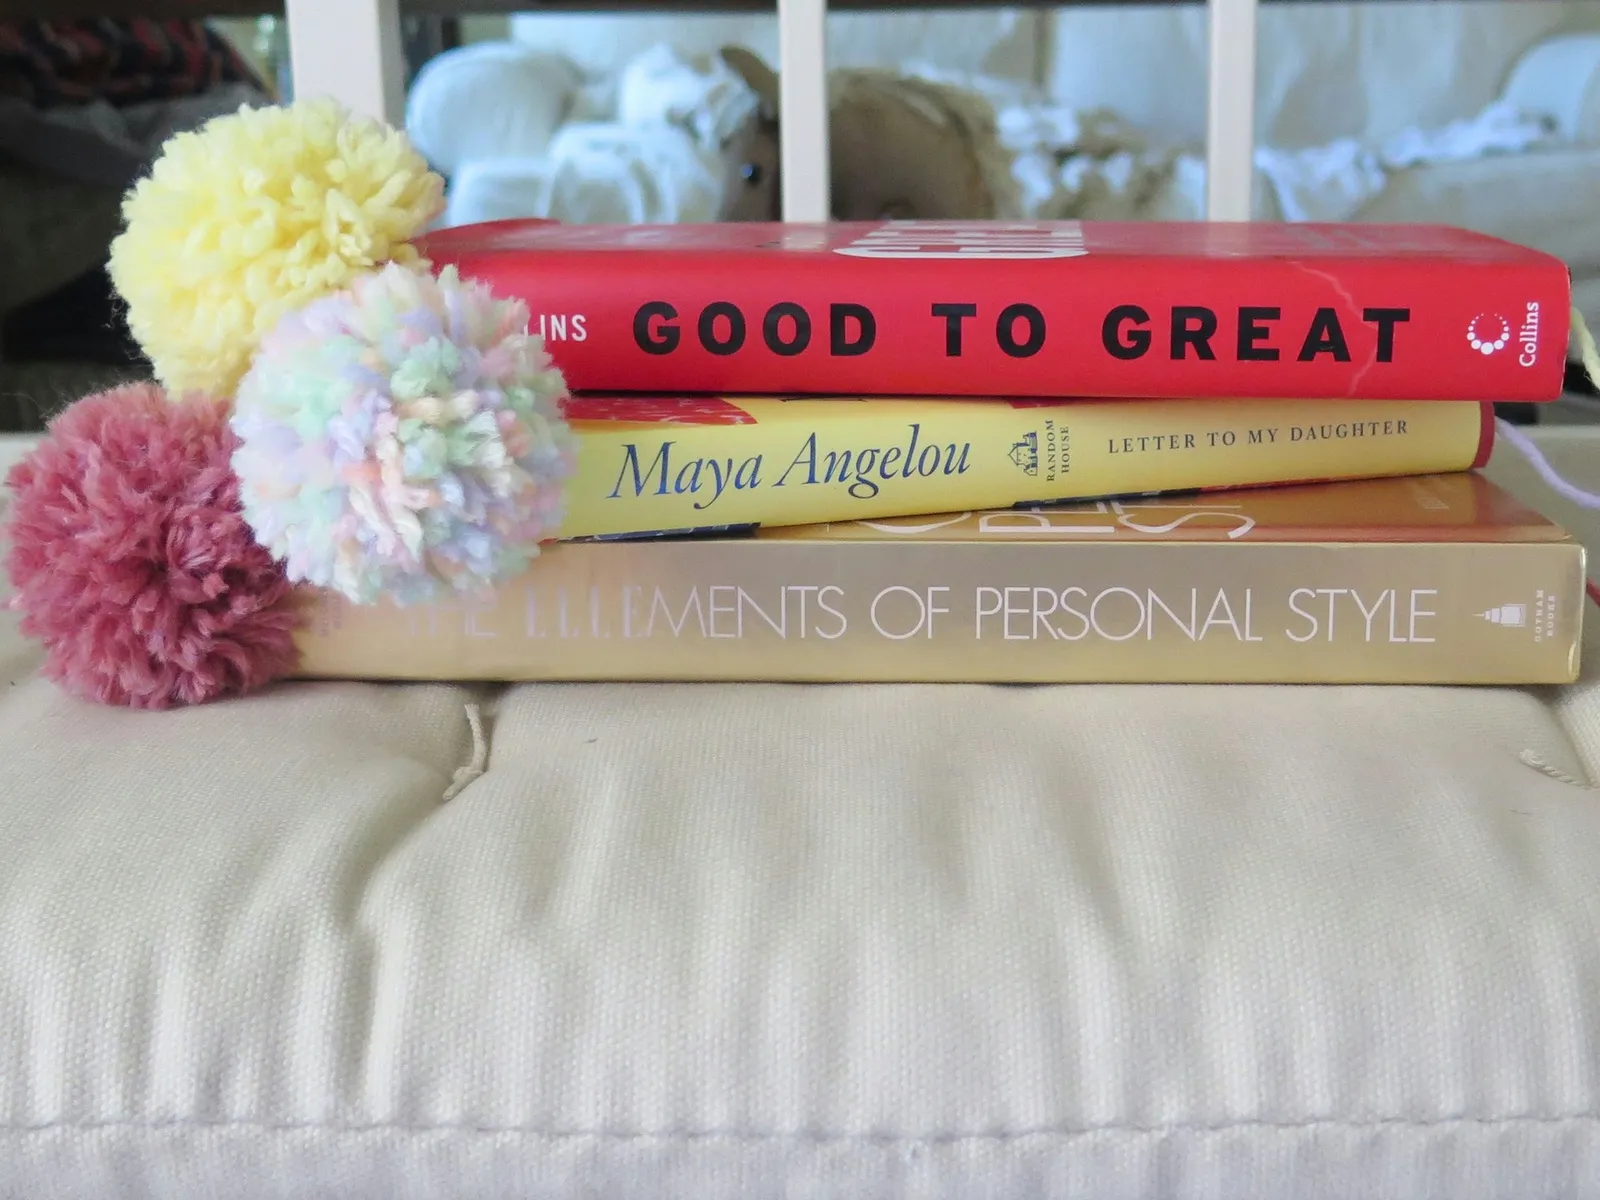
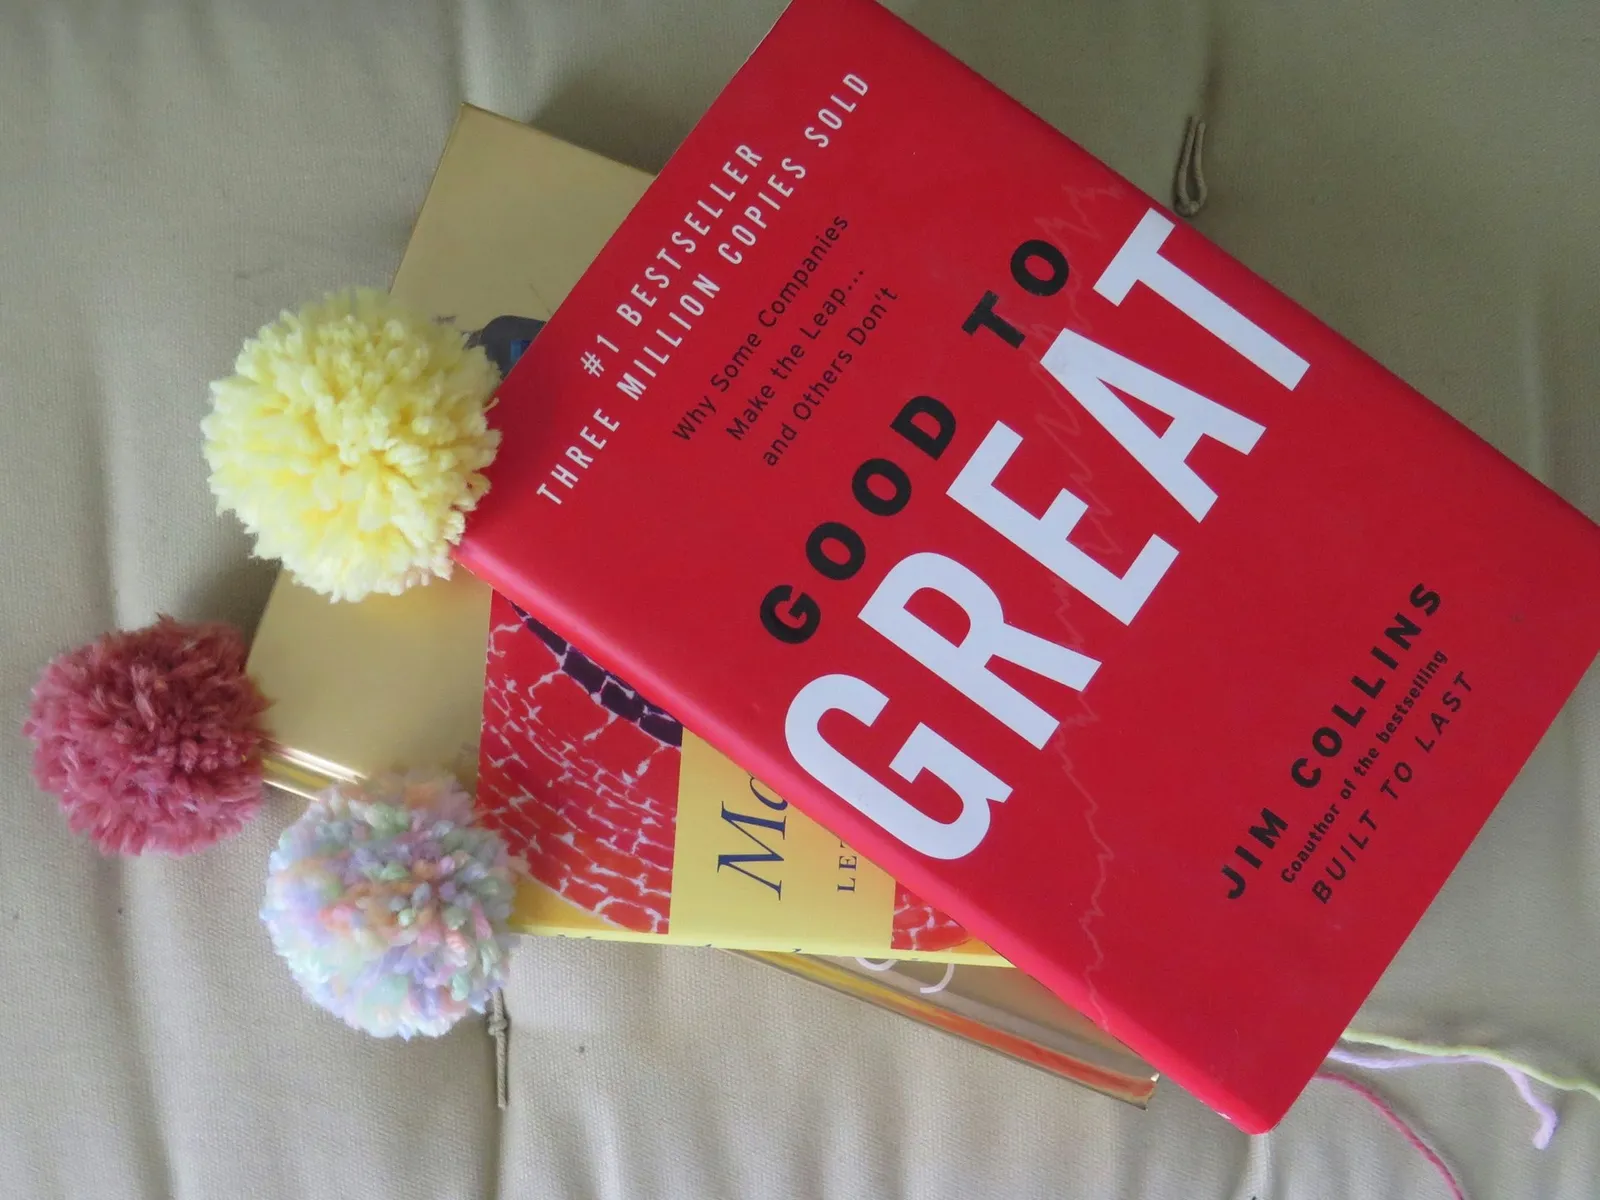
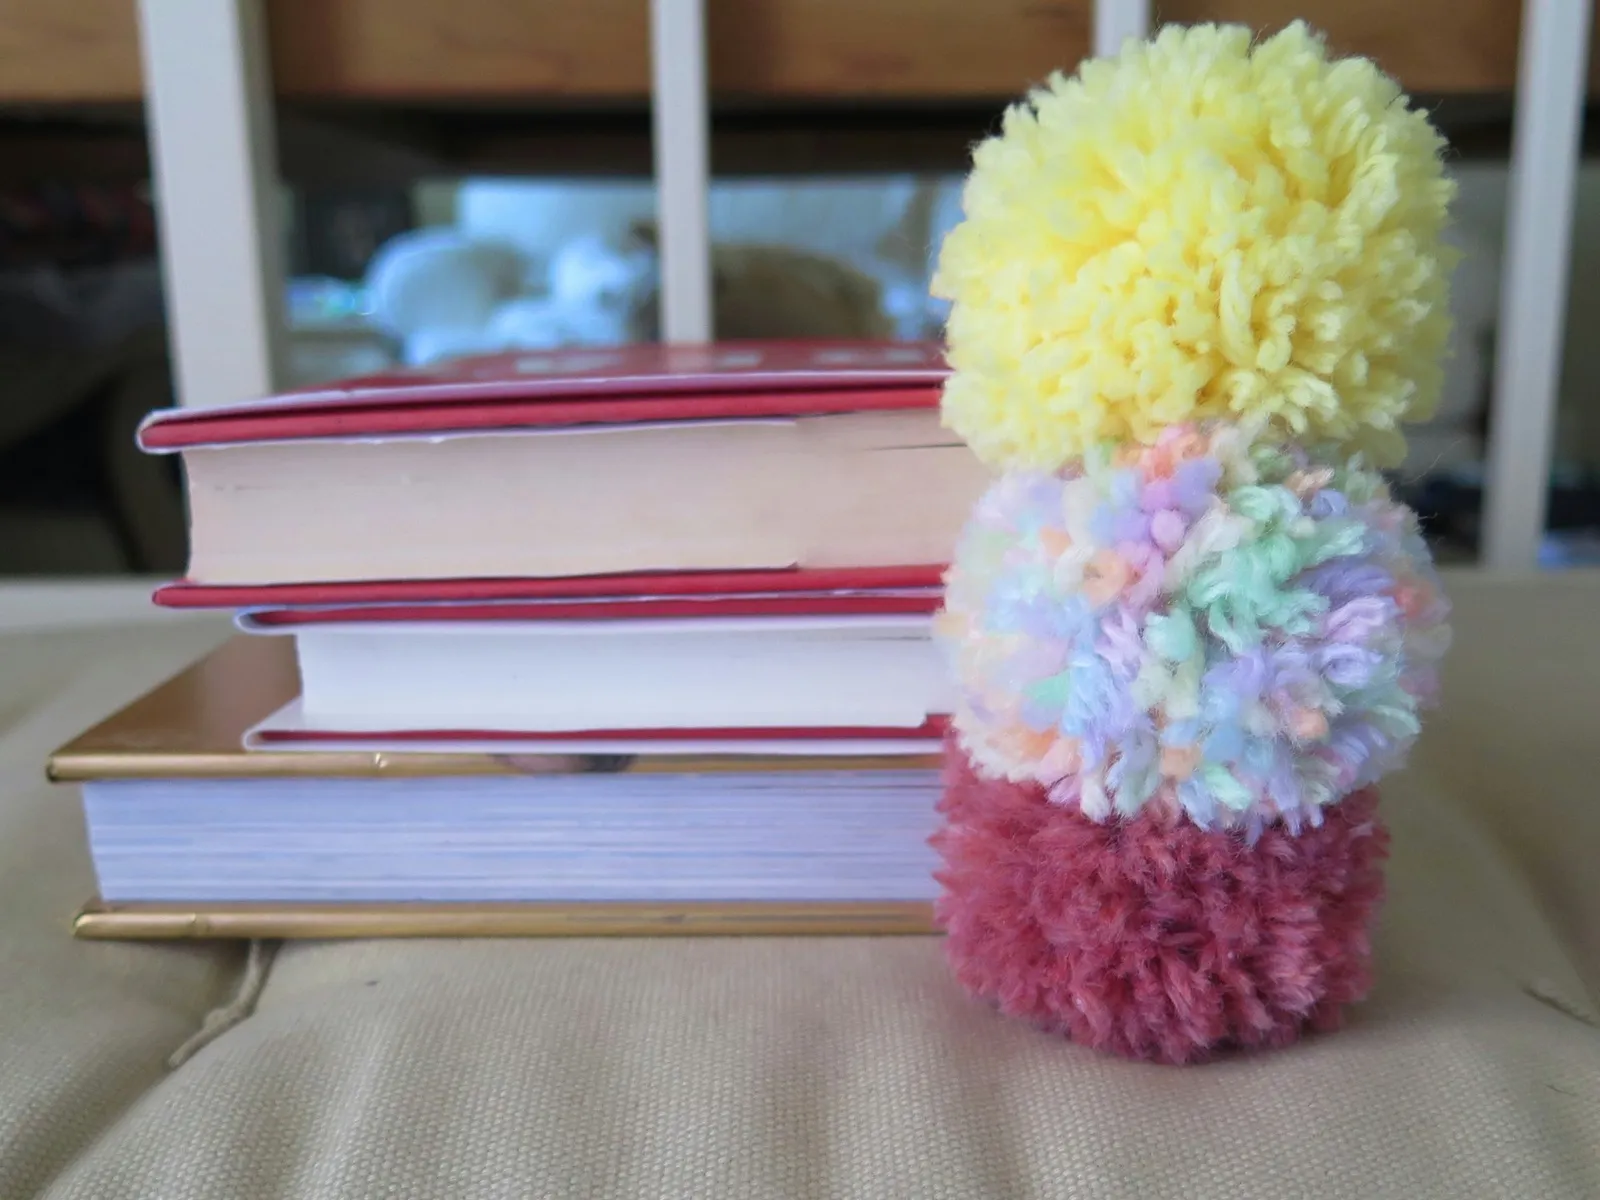
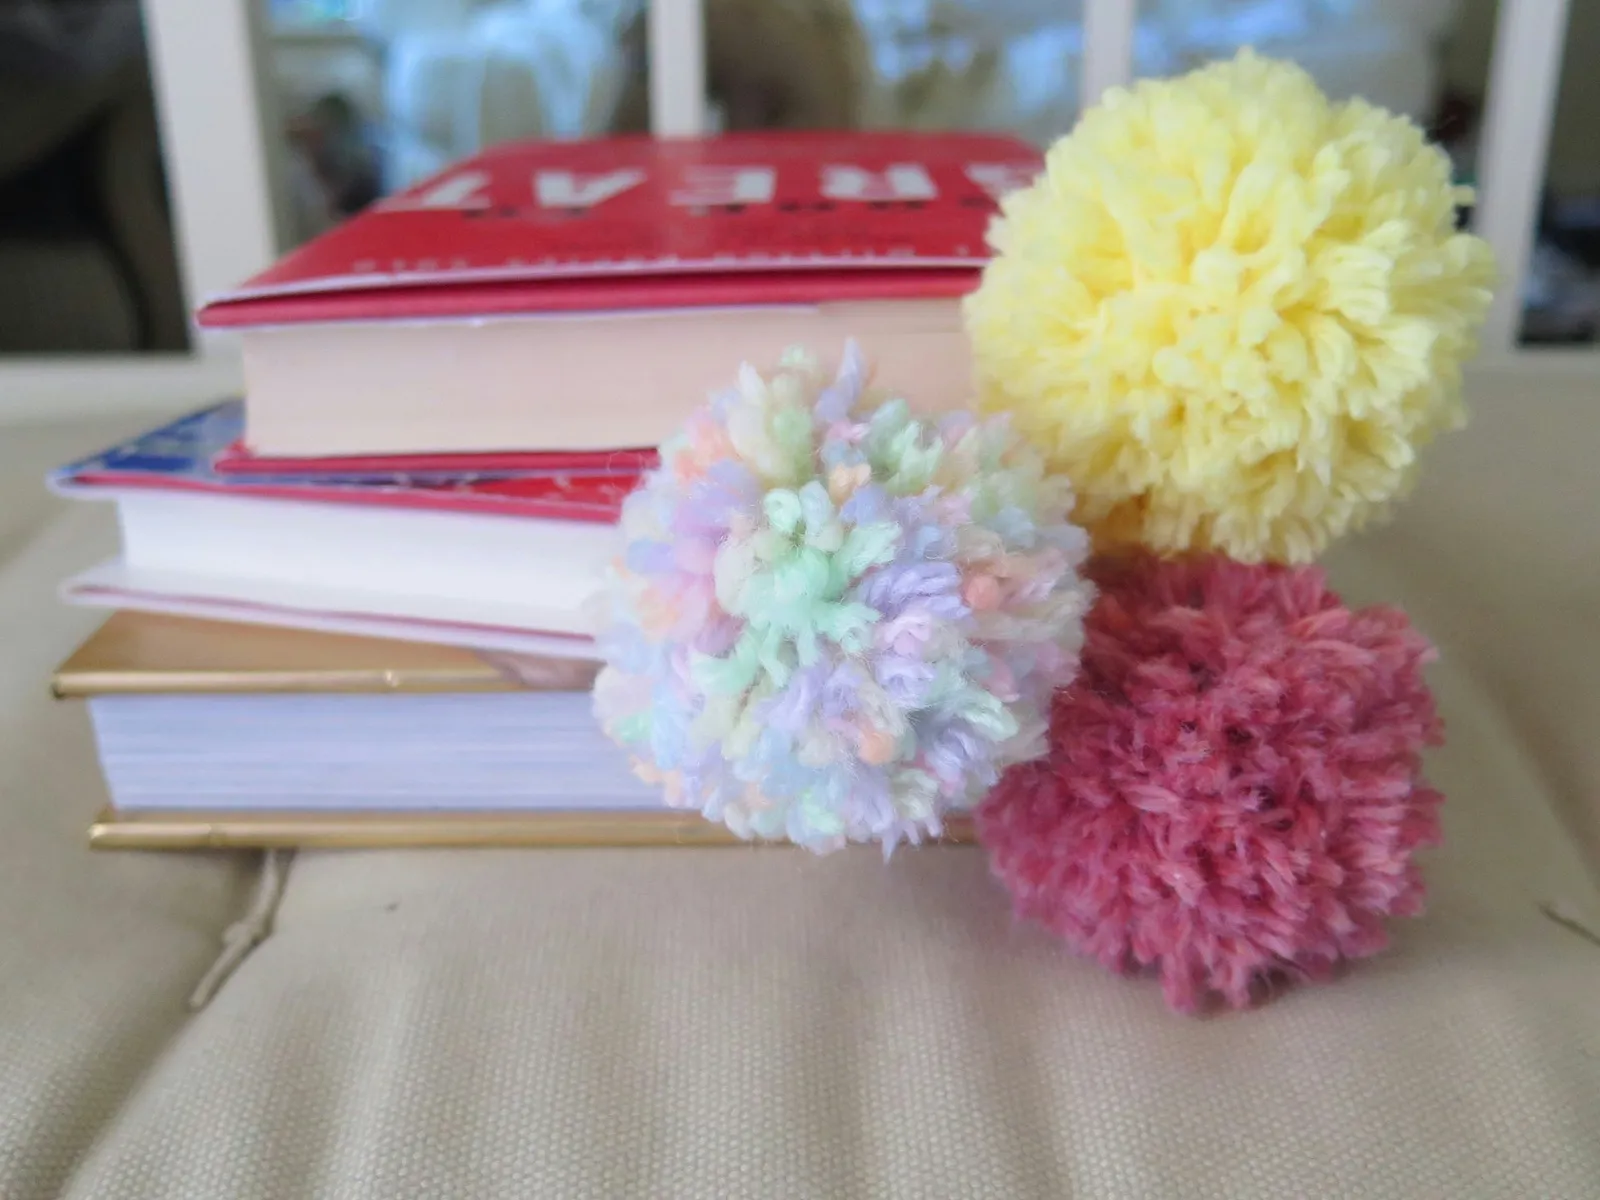
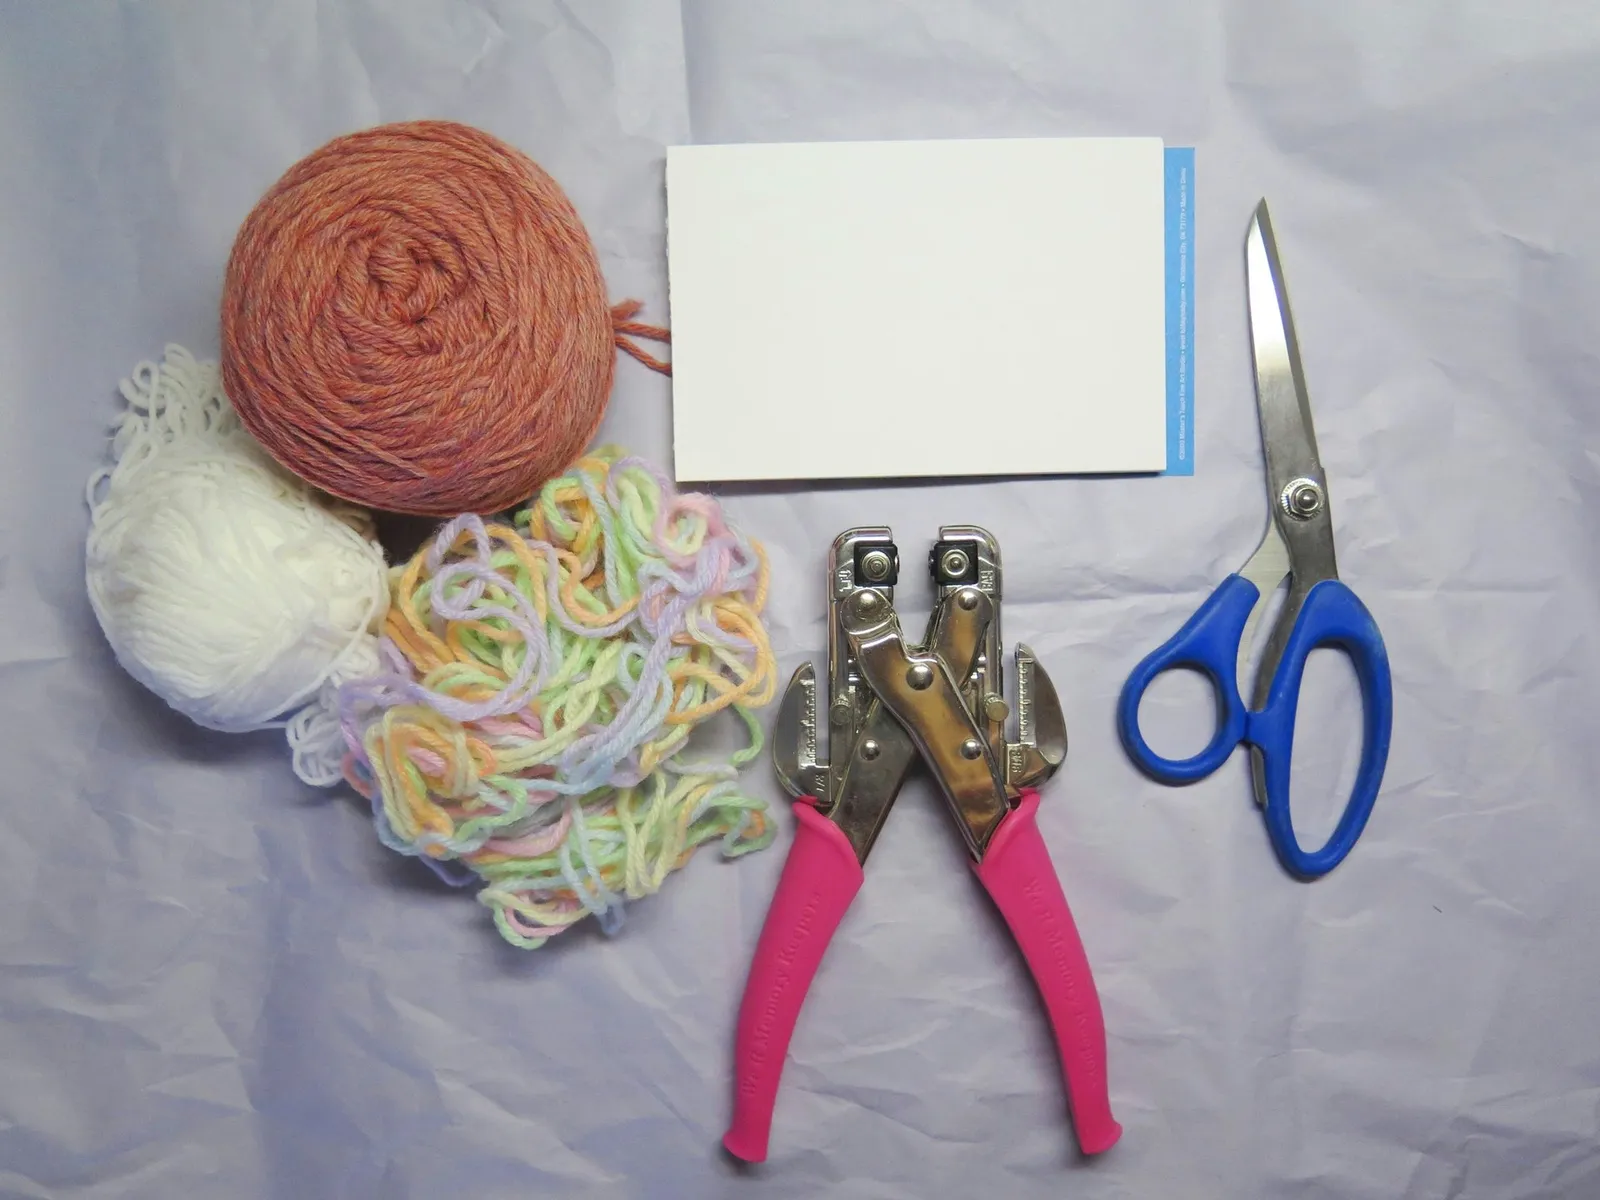
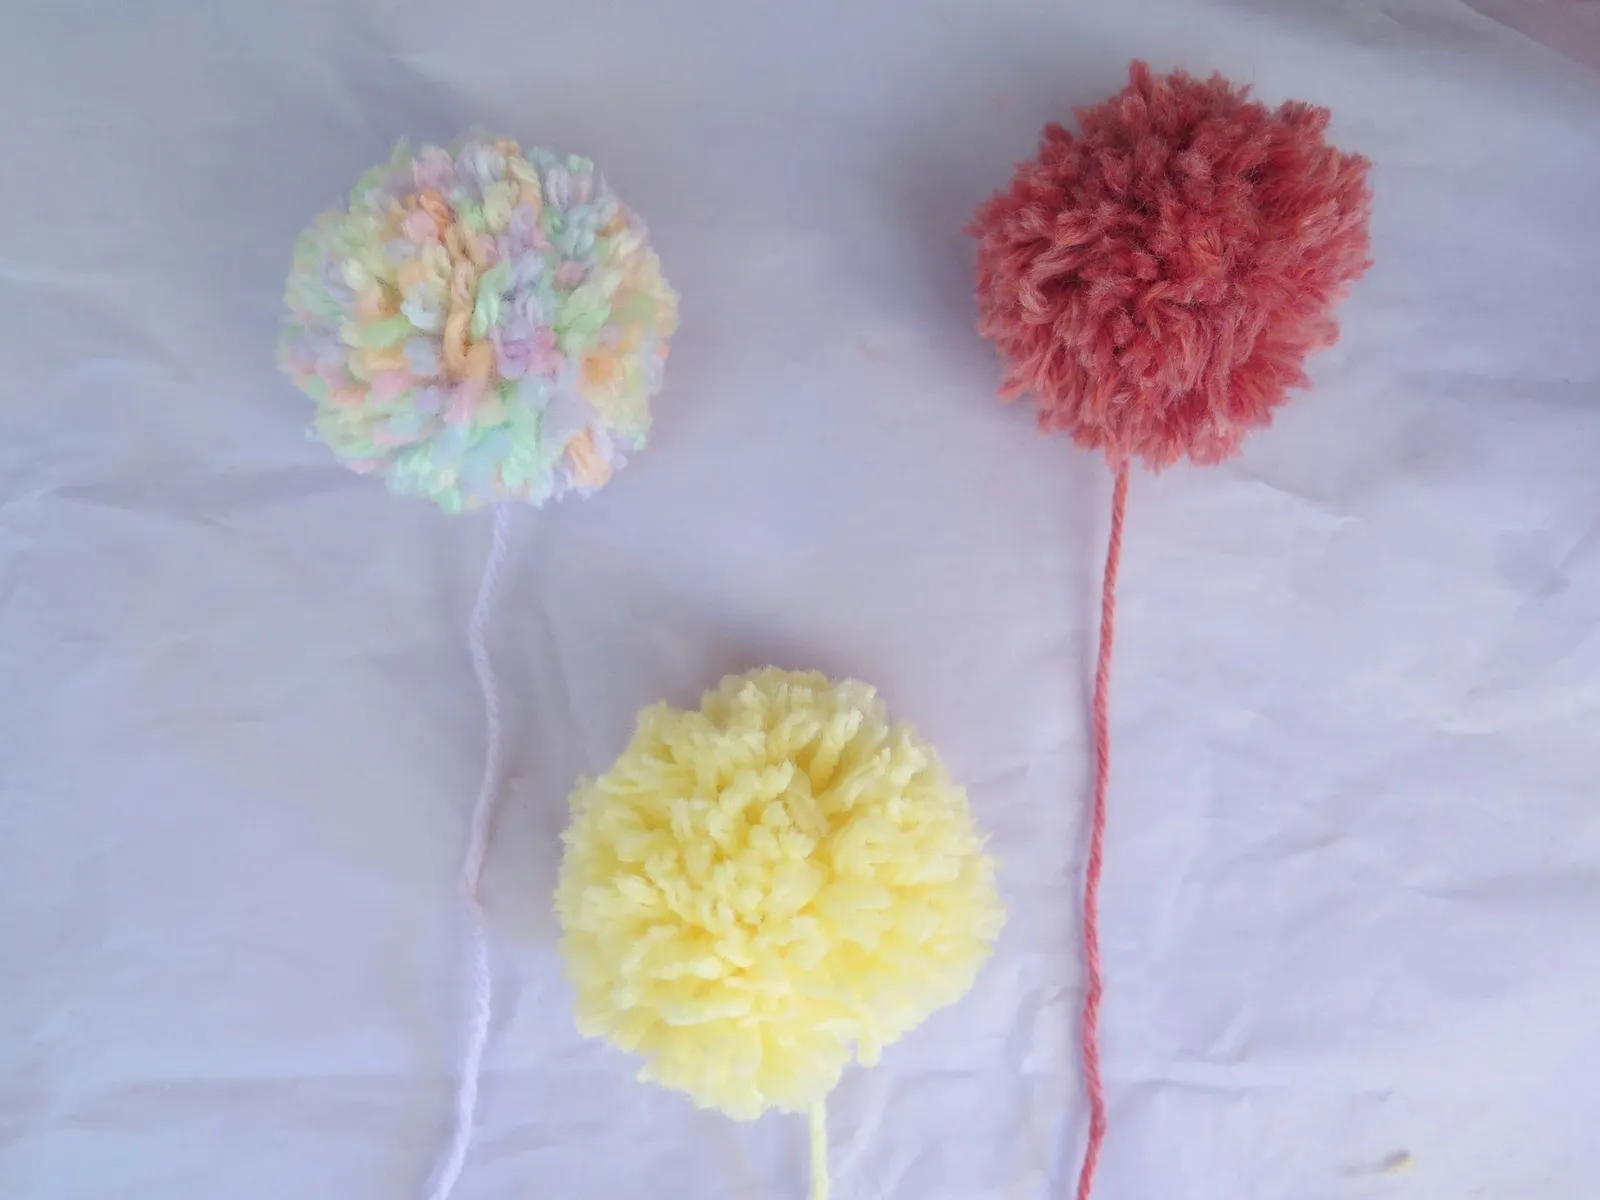
Add a playful splash of color and character to your books with these simple pompom bookmarks. The only materials required are yarn, your hands, and a pair of scissors. It really is that straightforward! Feel free to experiment with different yarn shades to match various book covers. This project is a great DIY activity to enjoy with children or friends, especially as a back-to-school craft.
1. Wind the yarn around your fingers
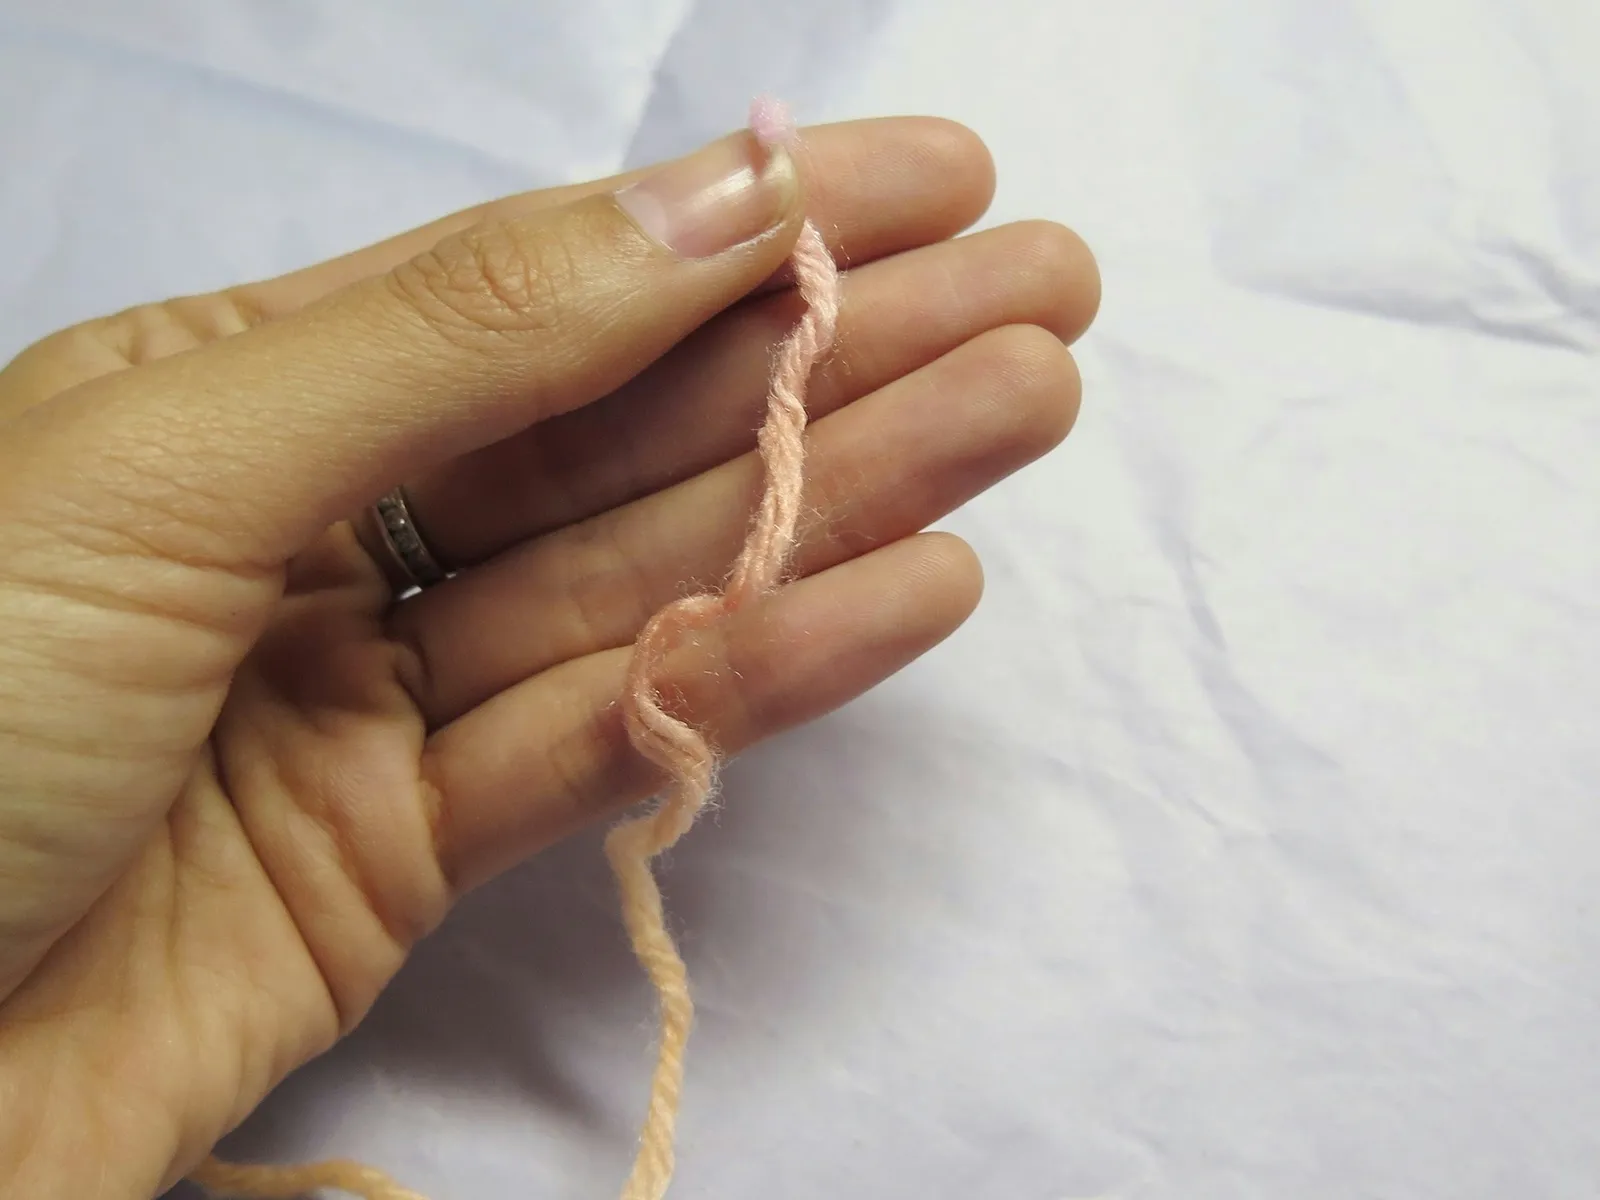
Start by holding a strand of yarn between your thumb and index finger.
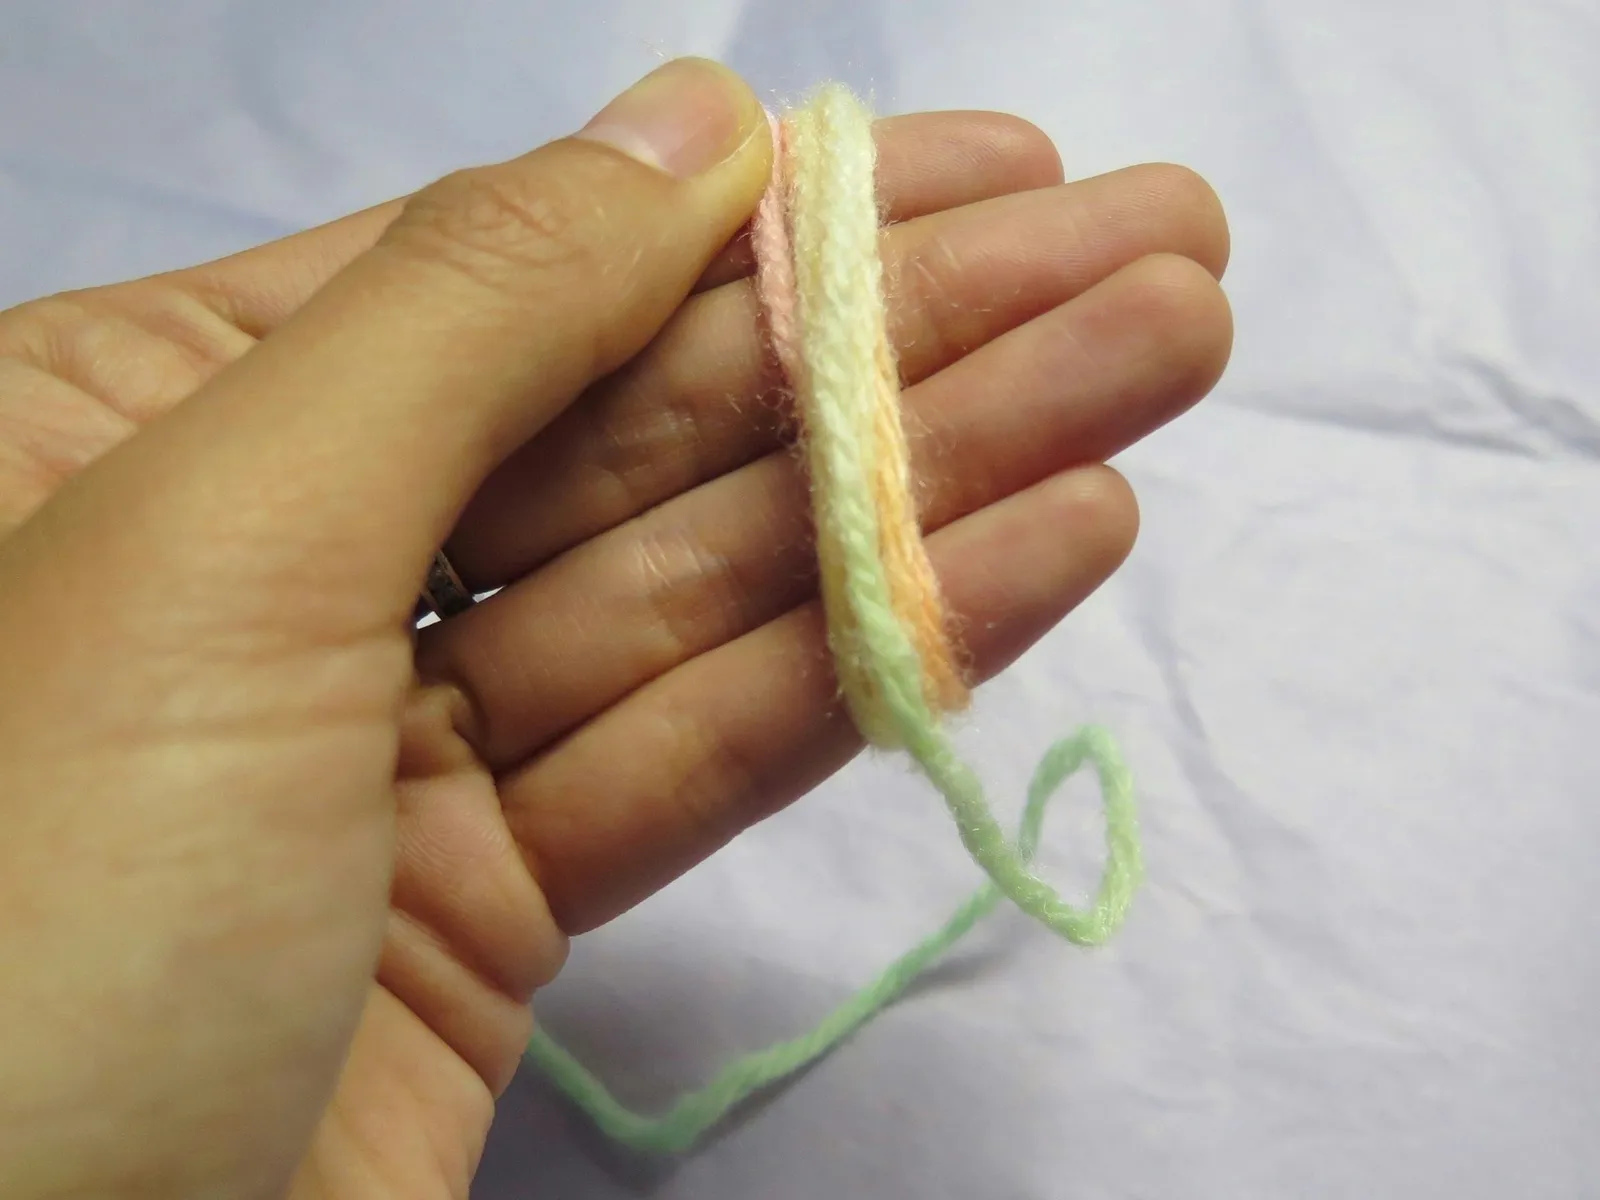
Wrap the yarn around four fingers. You'll need to wrap it at least 90 times. Keep your fingers straight and close together as you wrap.
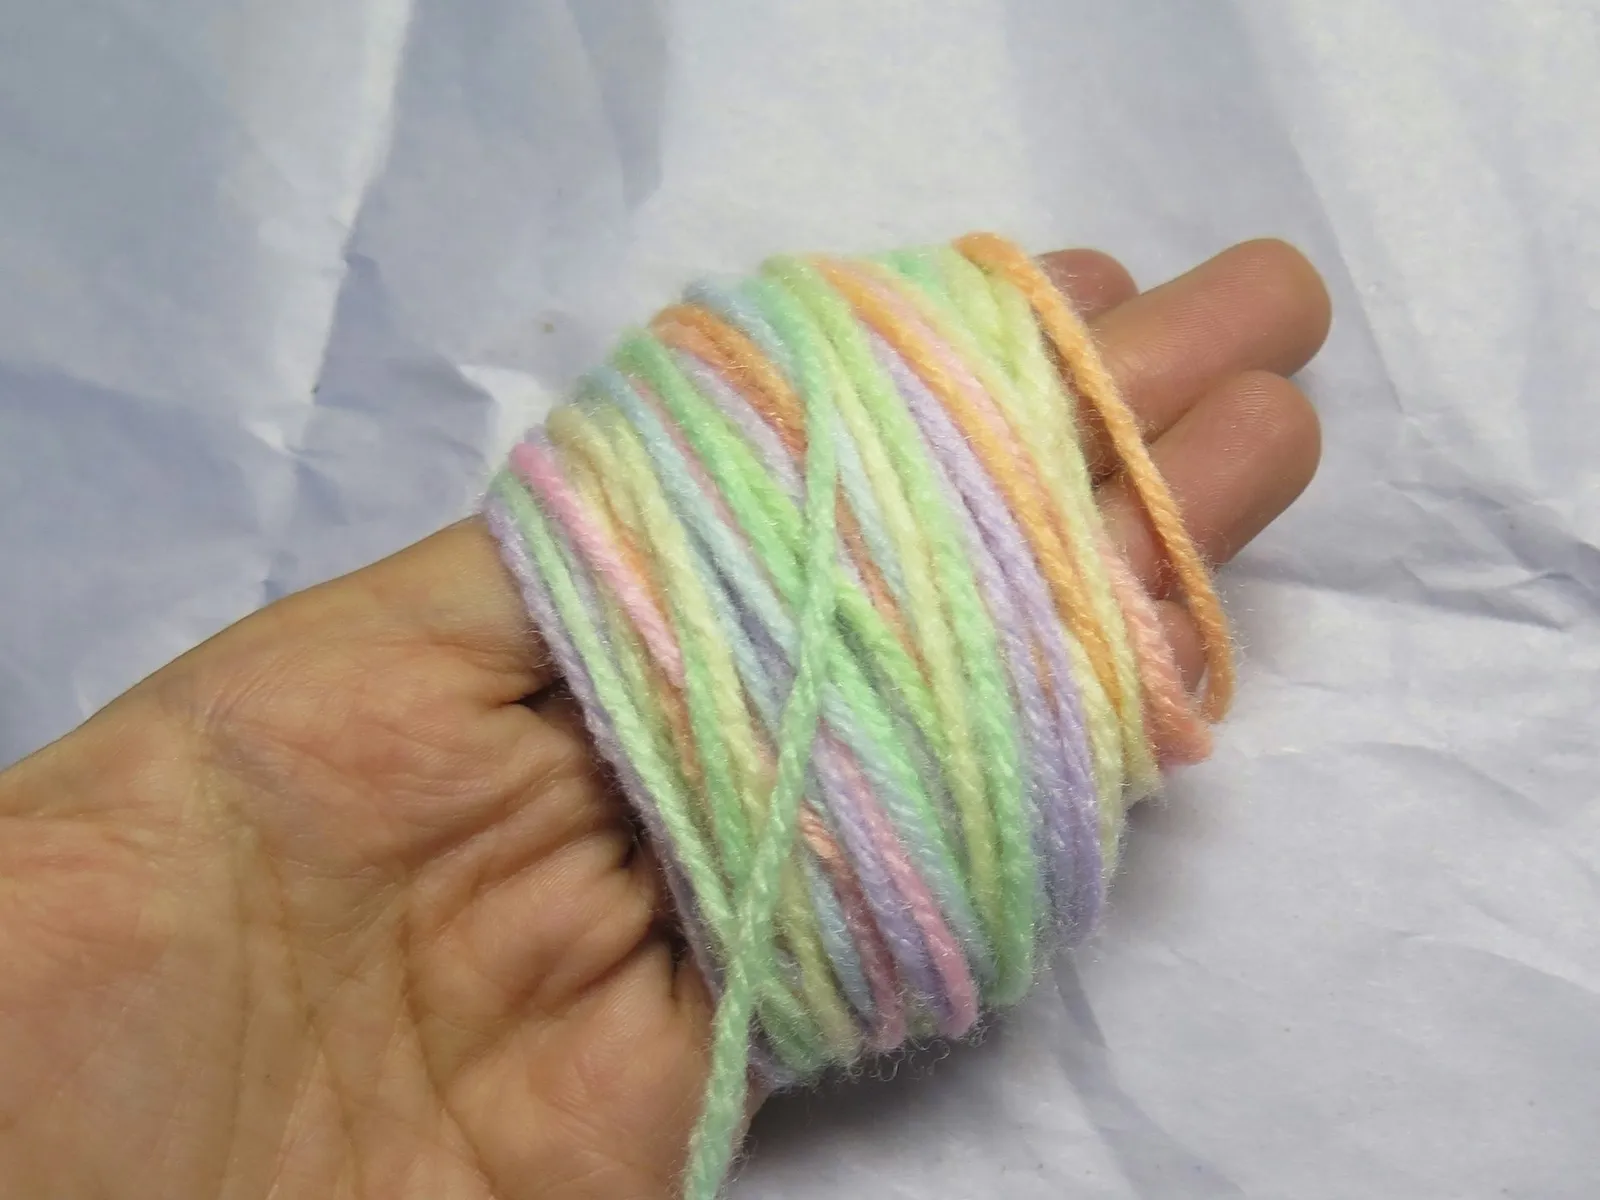
2. Slide the yarn off your fingers
Gently slip the wrapped yarn off your fingers, then use scissors to cut the yarn end.
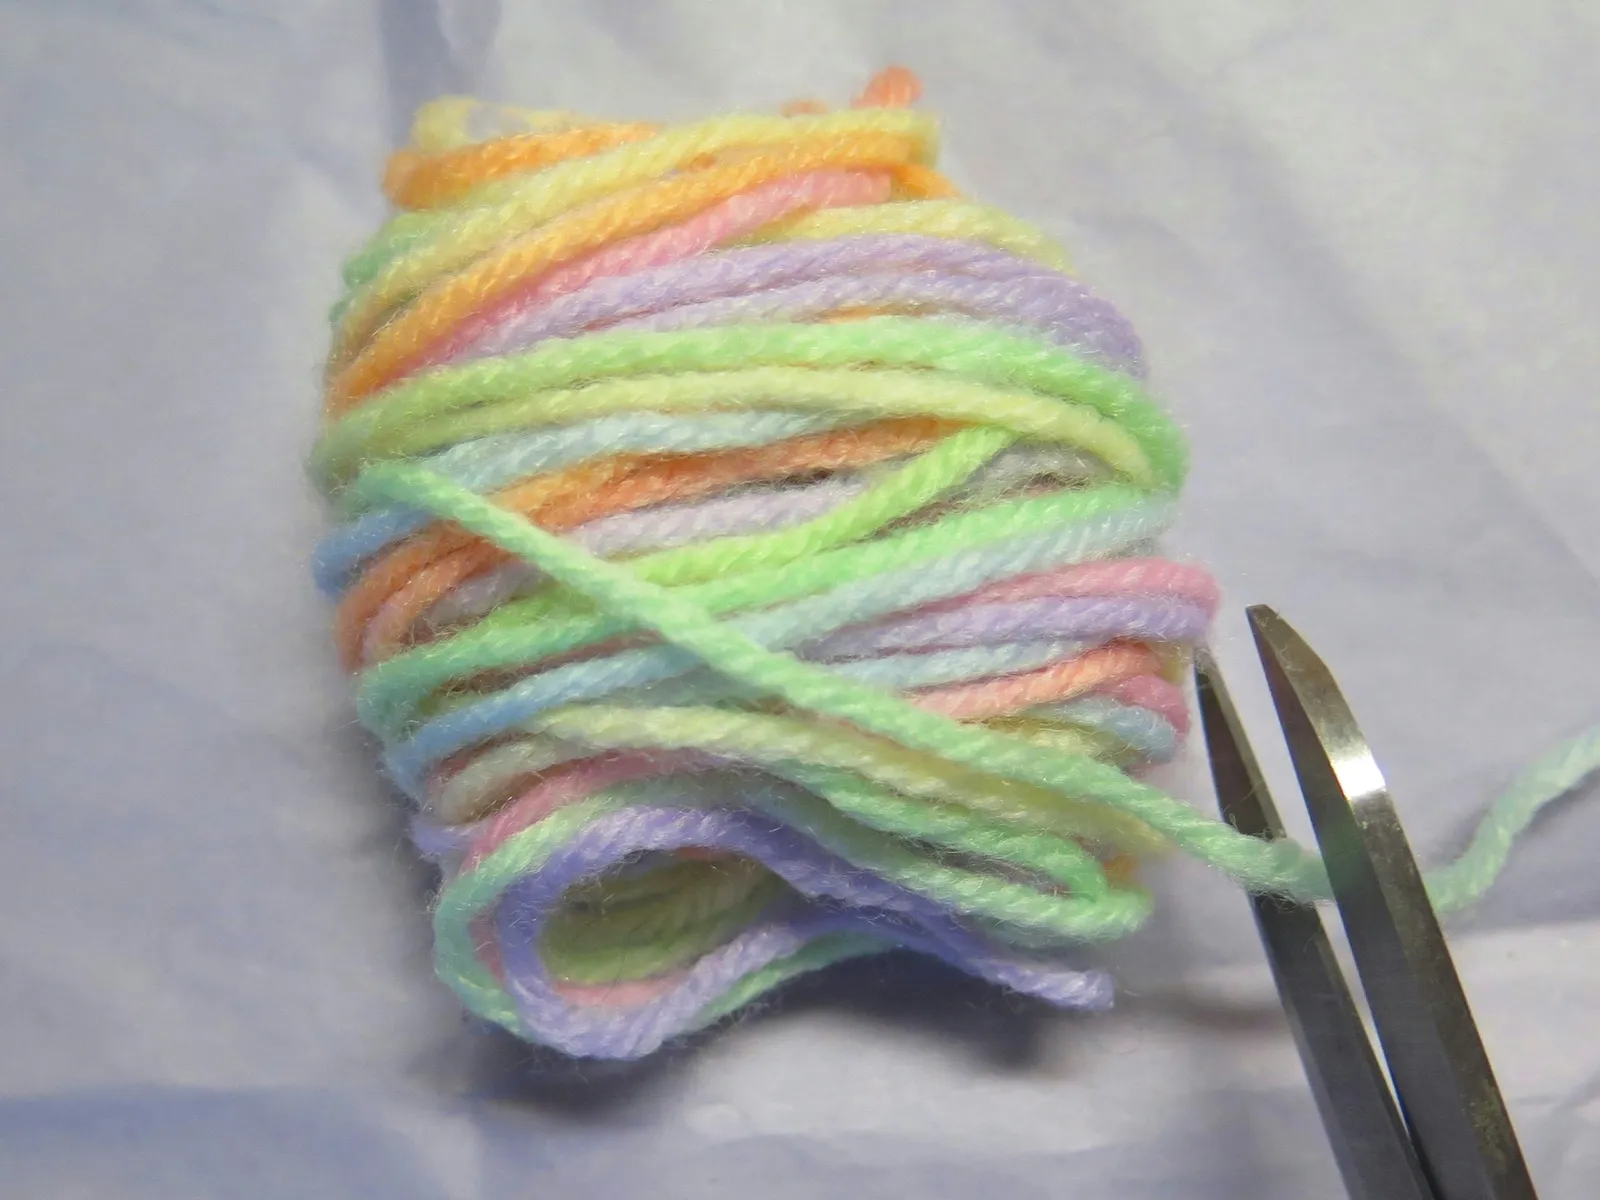
3. Secure the wrapped yarn
Set the bundle of wrapped yarn aside, and cut a separate 12-inch piece of yarn. Place this 12-inch piece horizontally on a flat surface.
Next, lay the yarn bundle horizontally on top of it, centered.
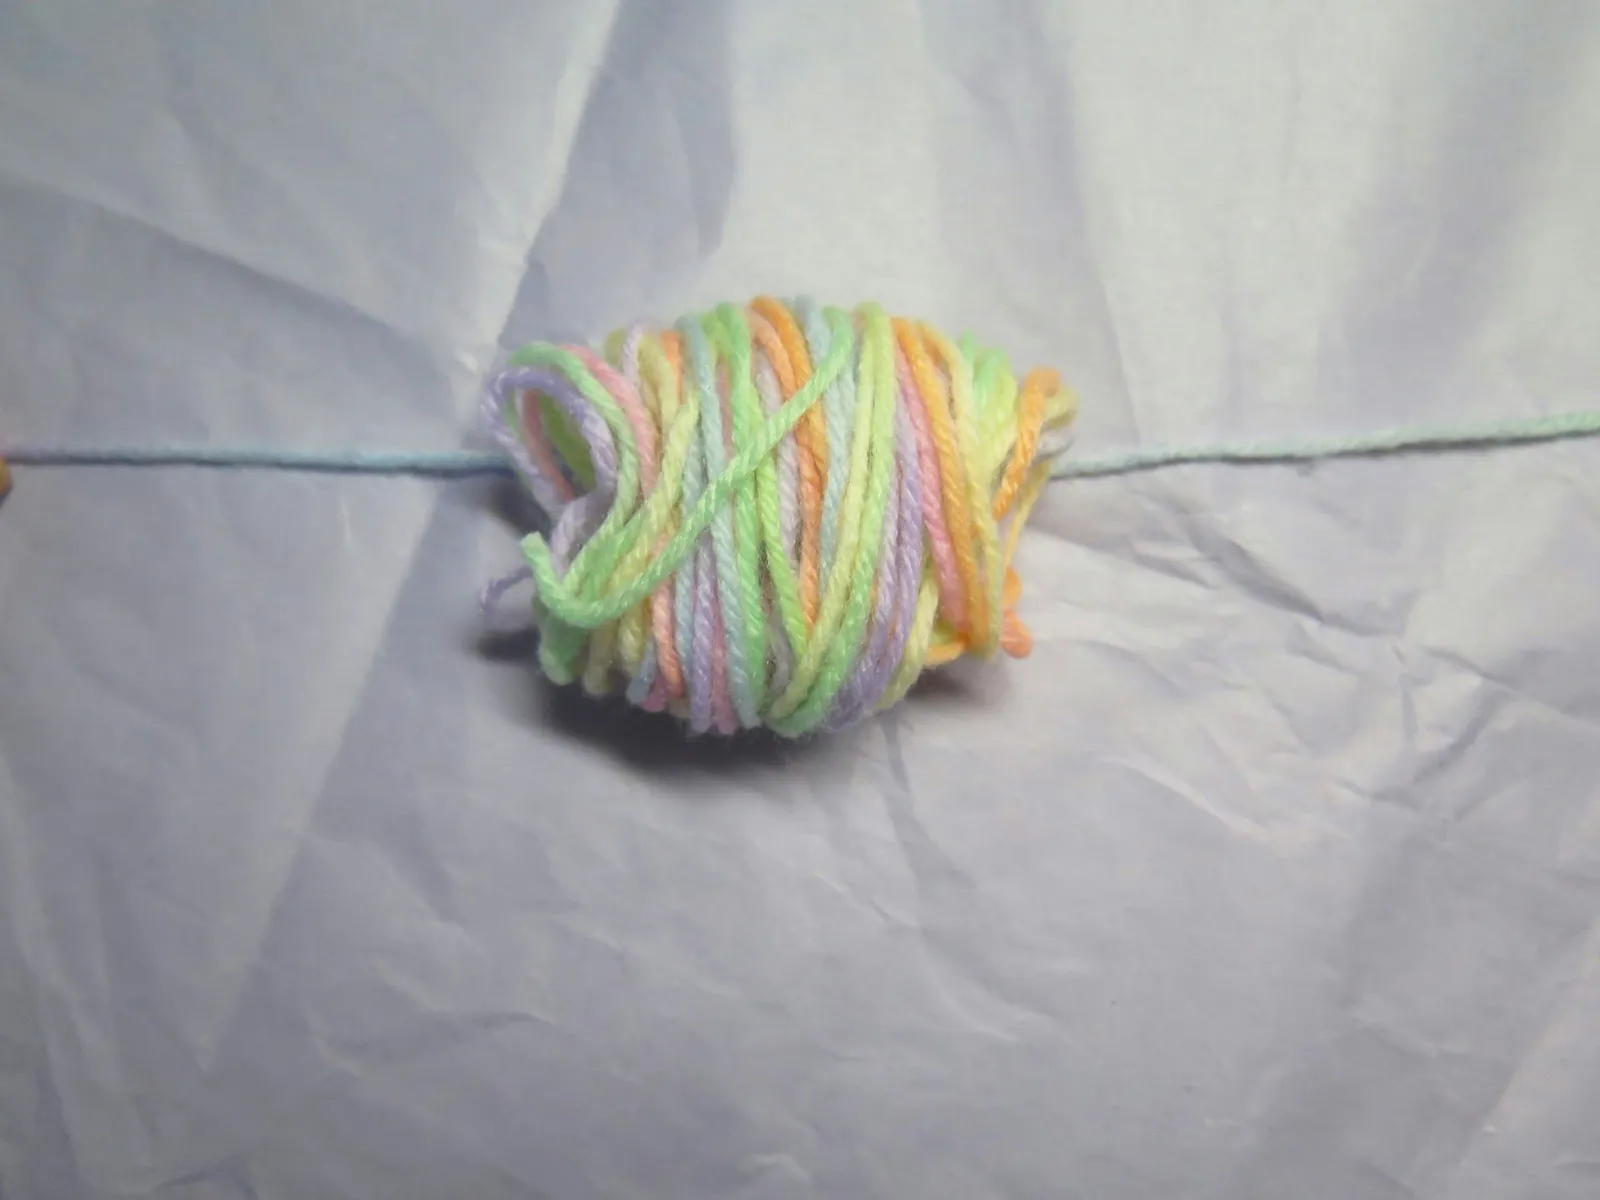
Take both ends of the 12-inch yarn and tie them tightly around the bundle, finishing with a double knot.
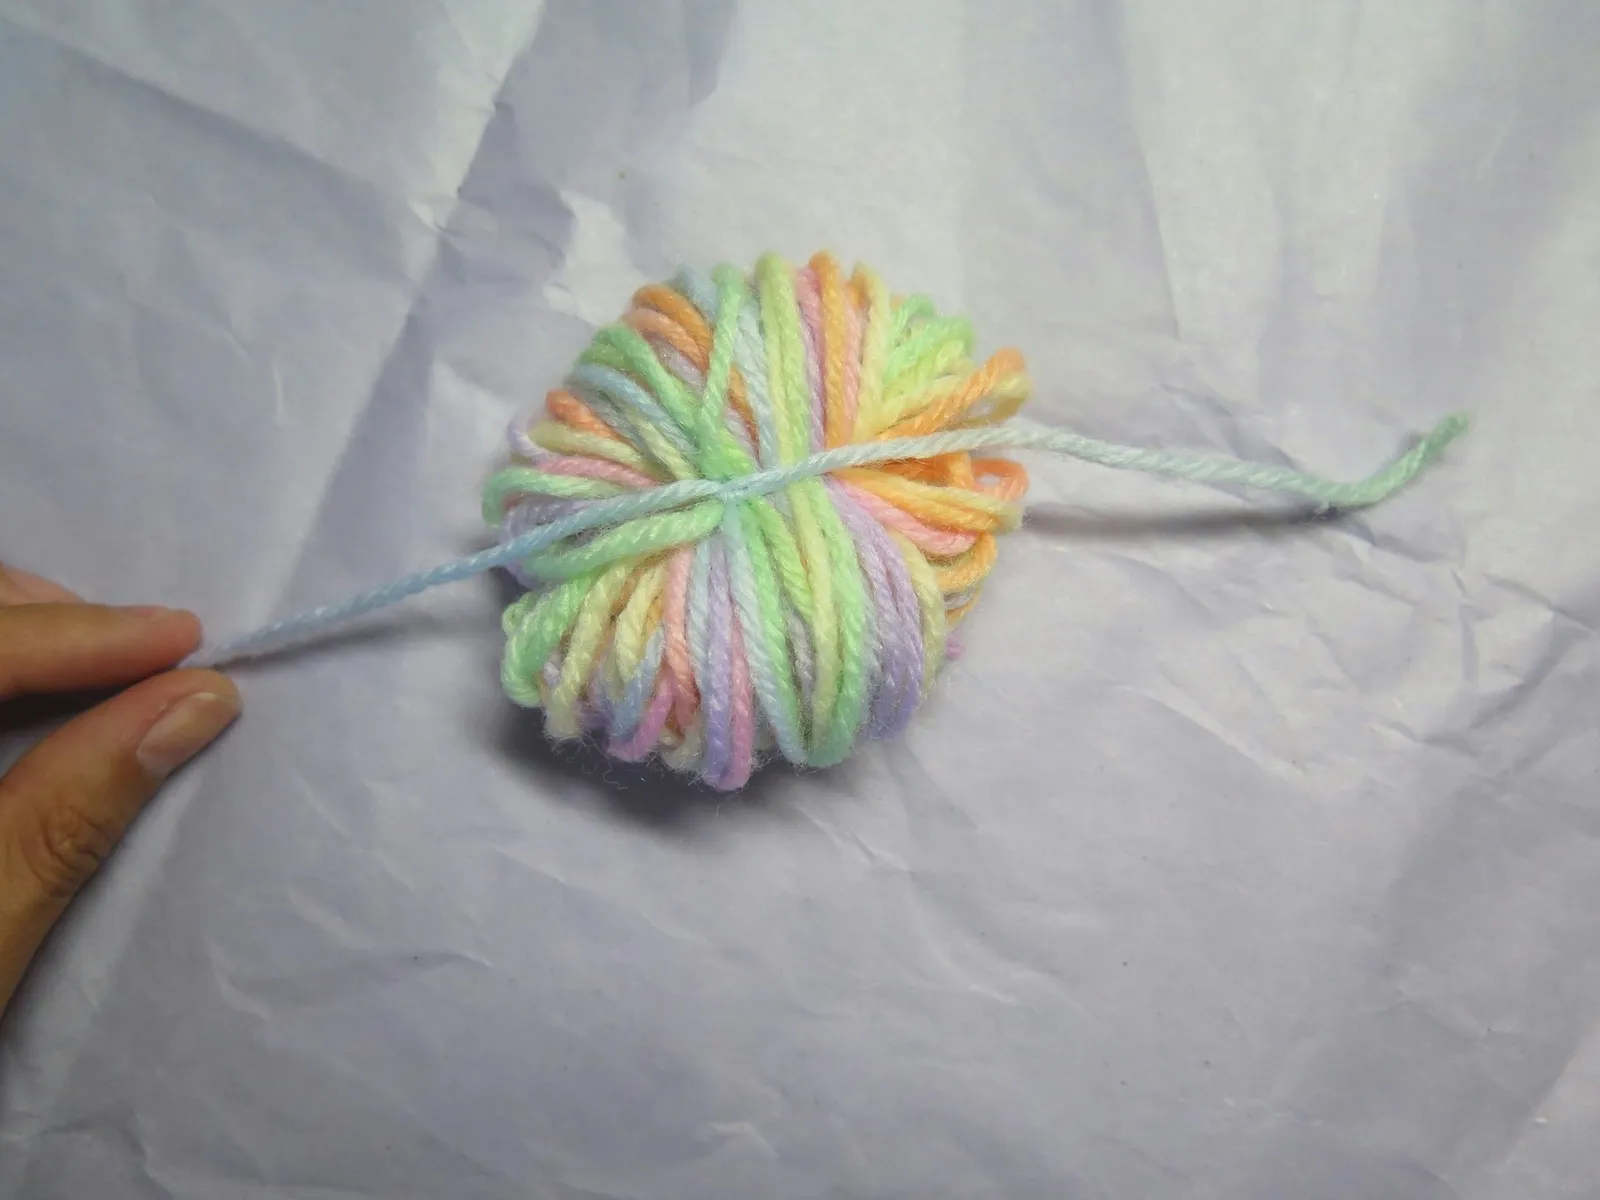
4. Attach a tail to the yarn bundle
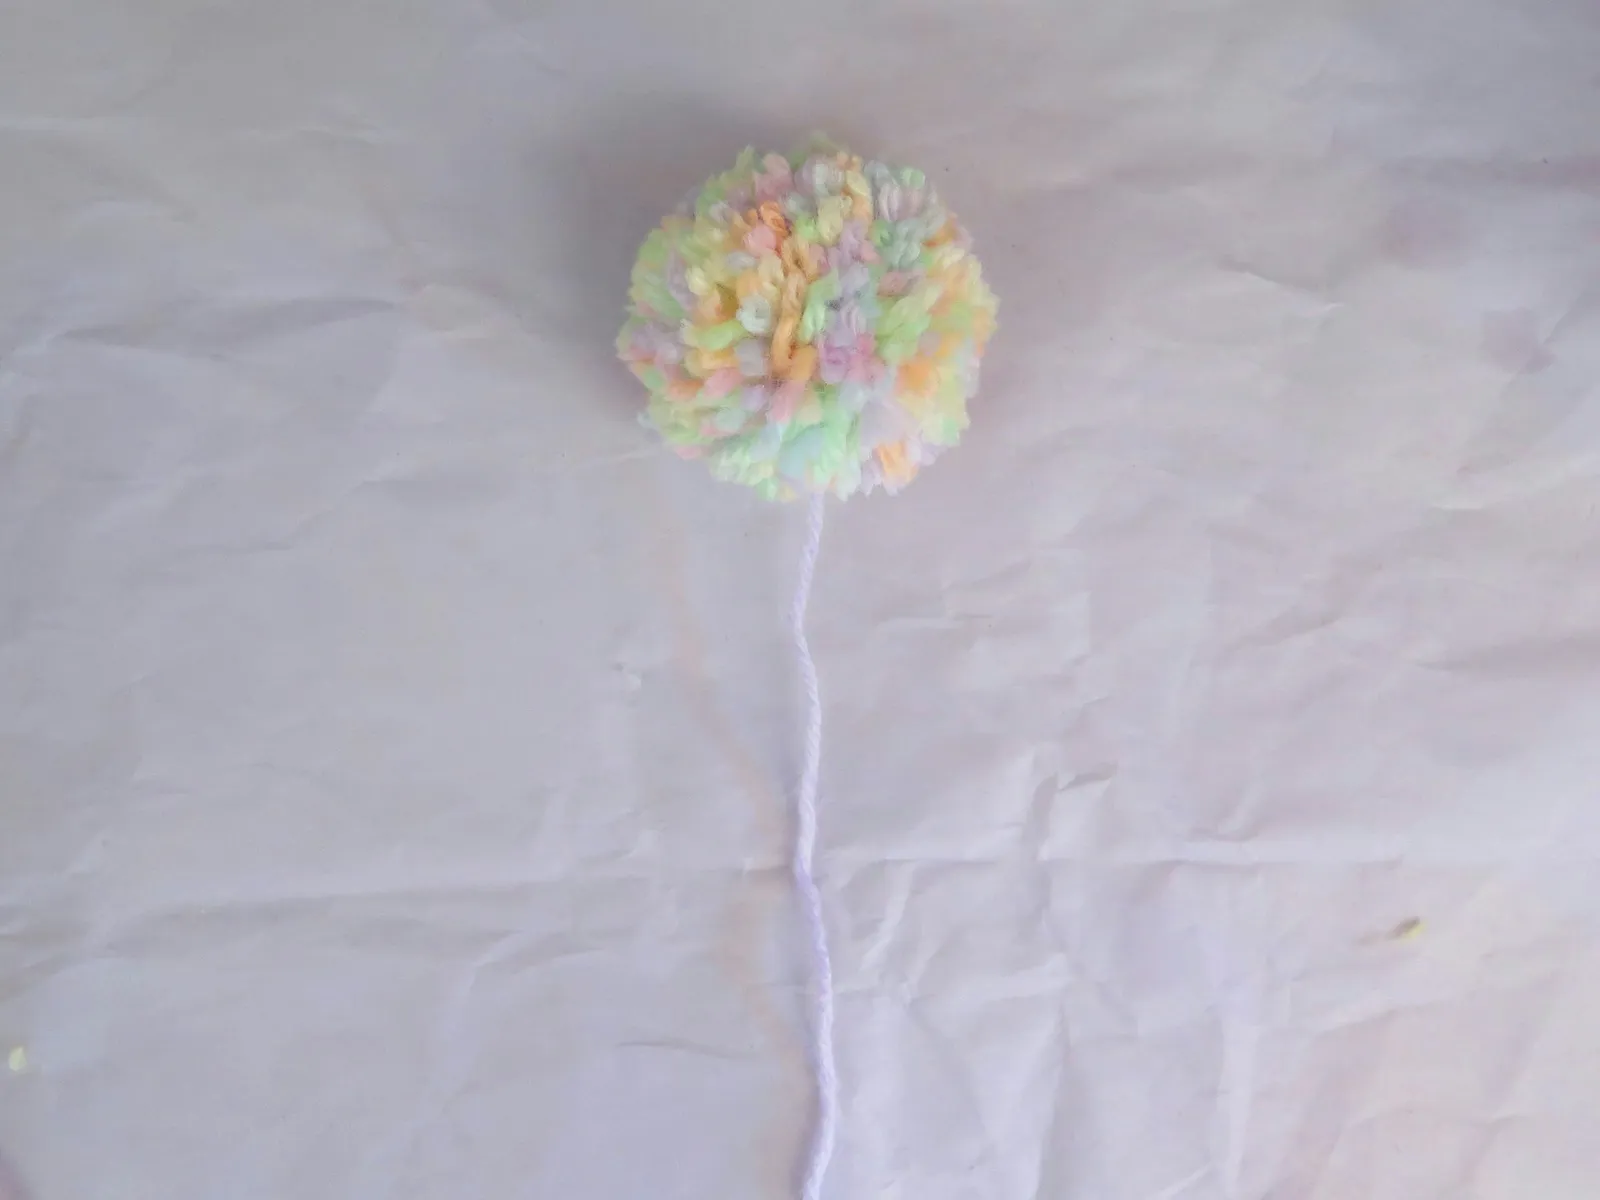
Cut another piece of yarn measuring 15 inches. Place it vertically over the double knot at the center of the bundle, leaving about 2 inches sticking out at the top and the rest hanging down as a long tail.
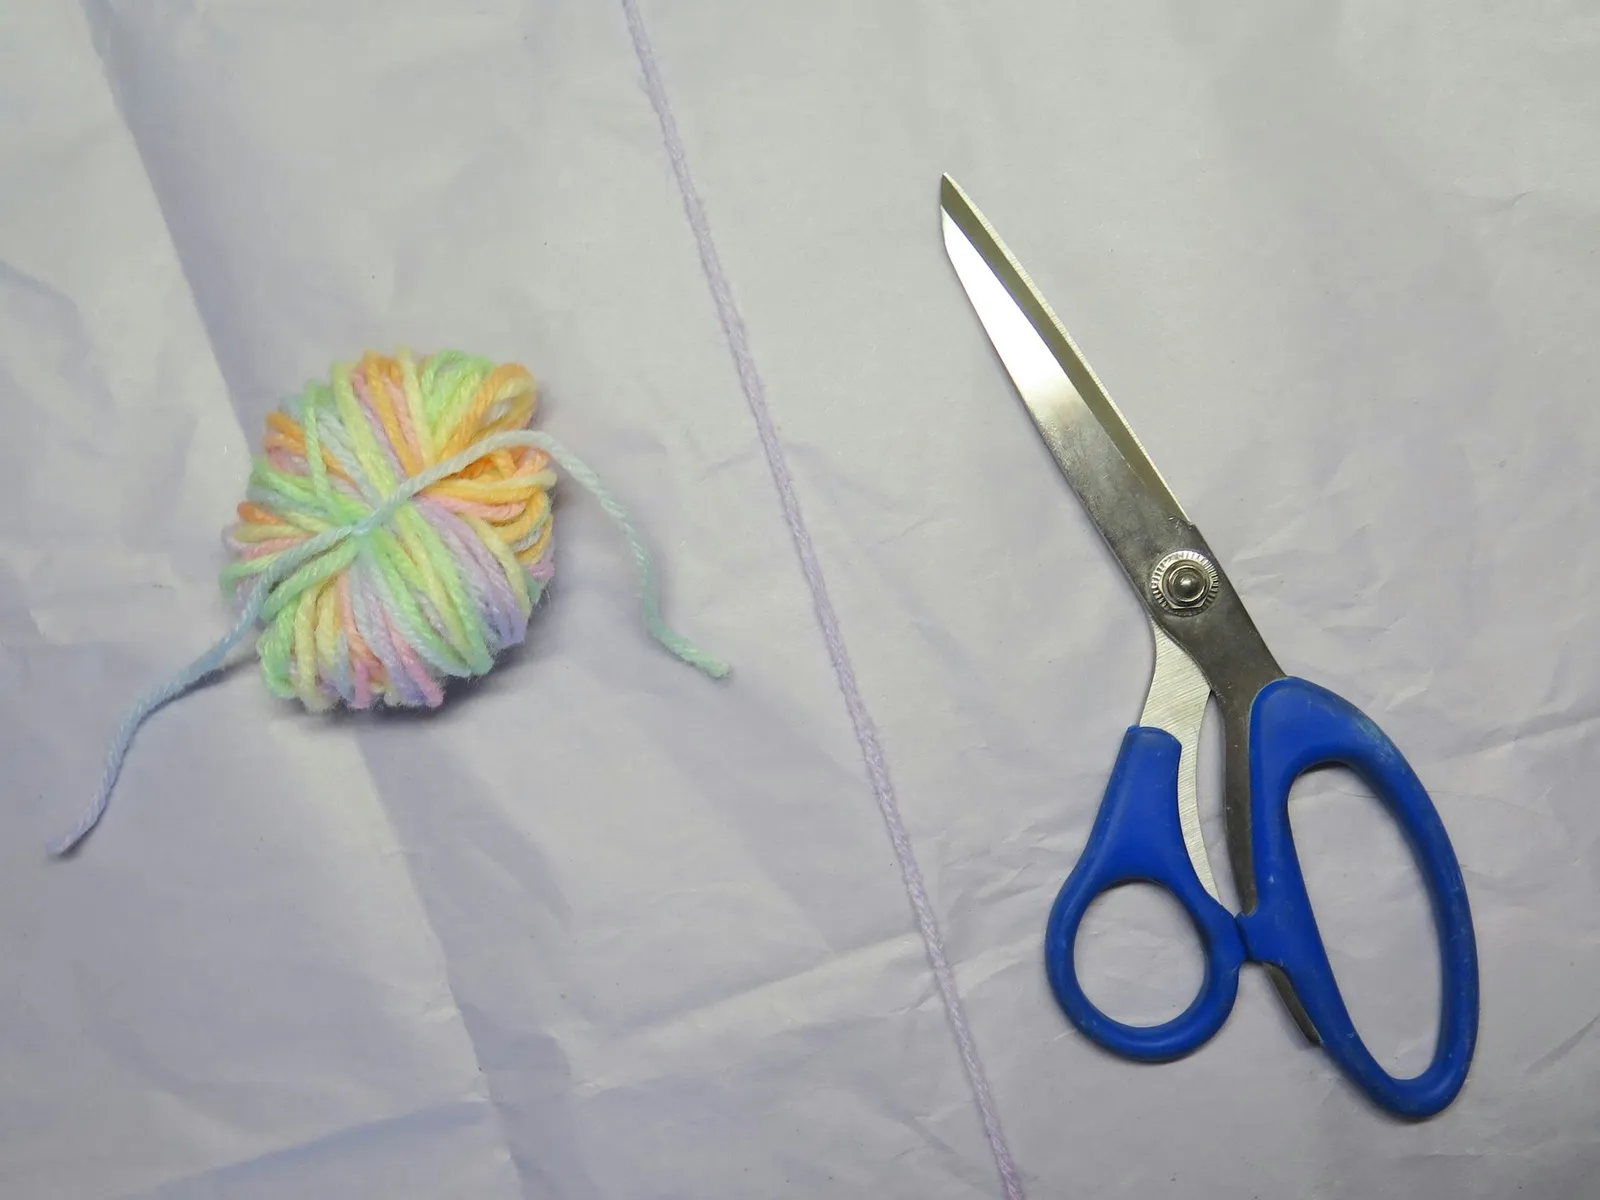
Using the ends of the double-knotted yarn, tie another double knot around the 15-inch piece.
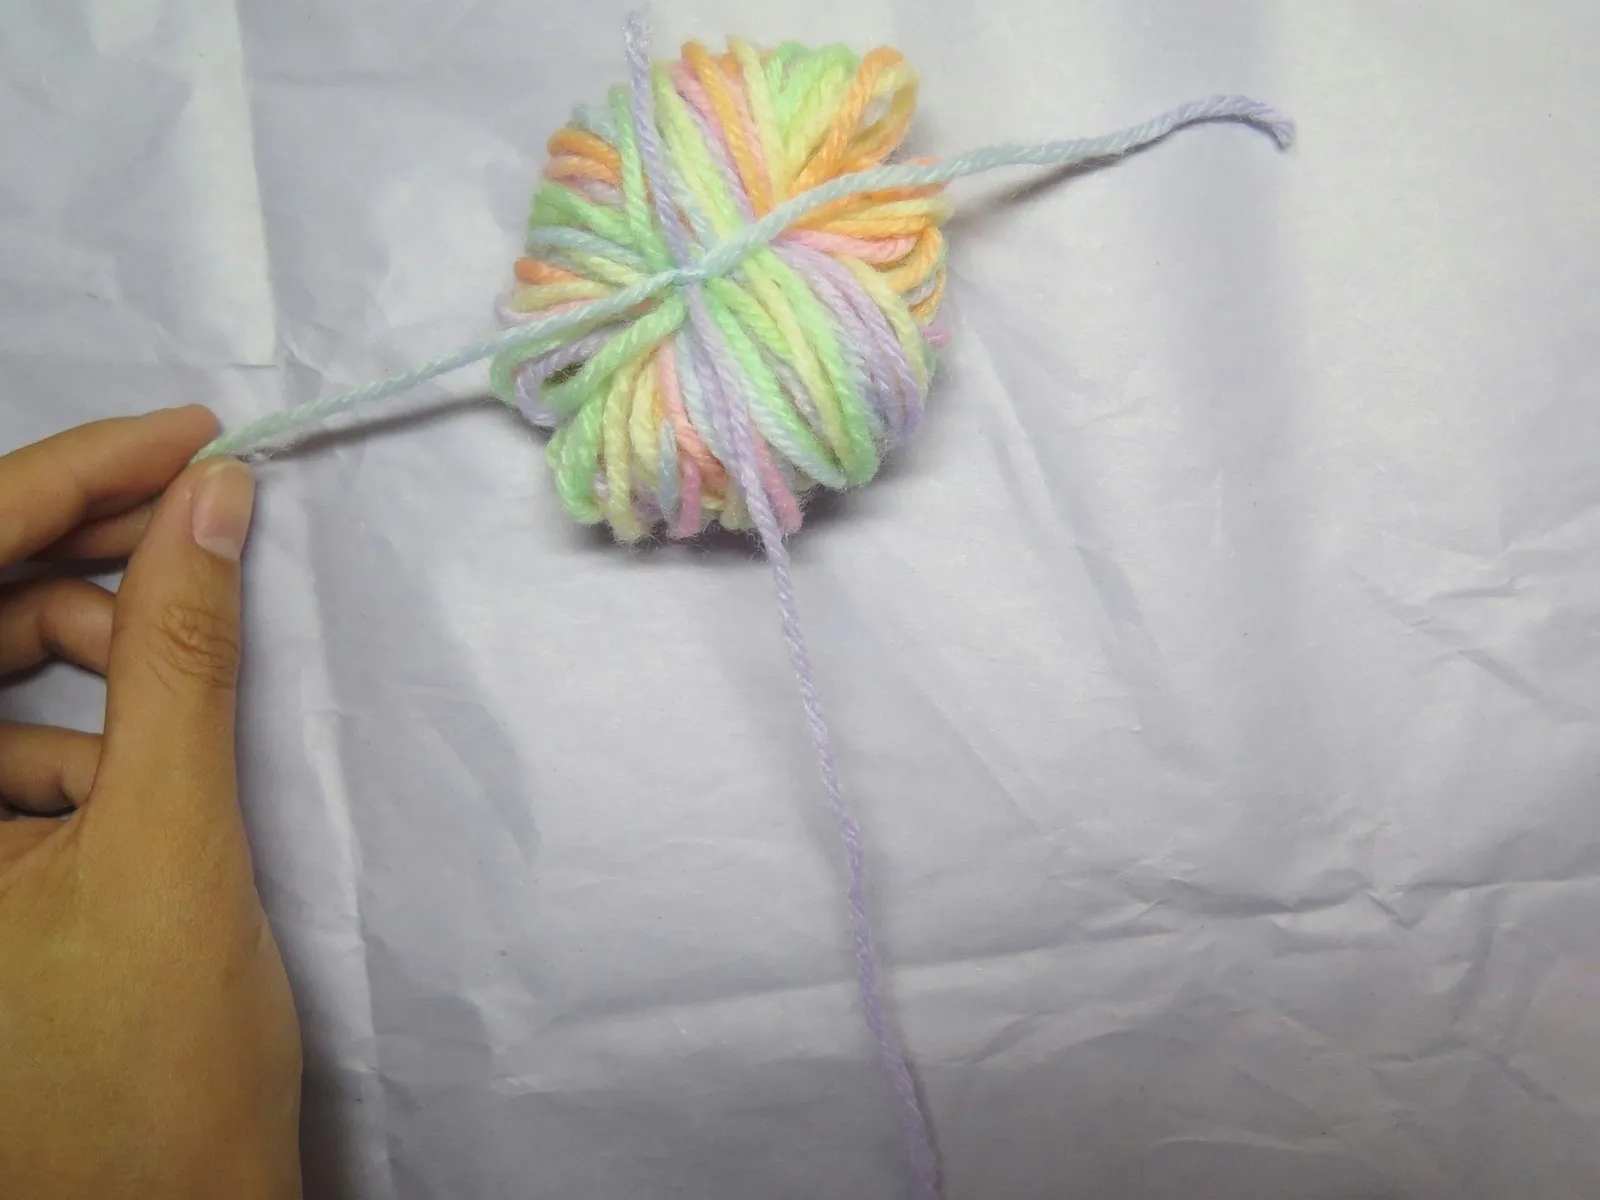
5. Cut the yarn loops
With scissors, cut through all the loops of the yarn bundle. If you miss any loops on the first pass, go back and snip them.
6. Shape the pompom
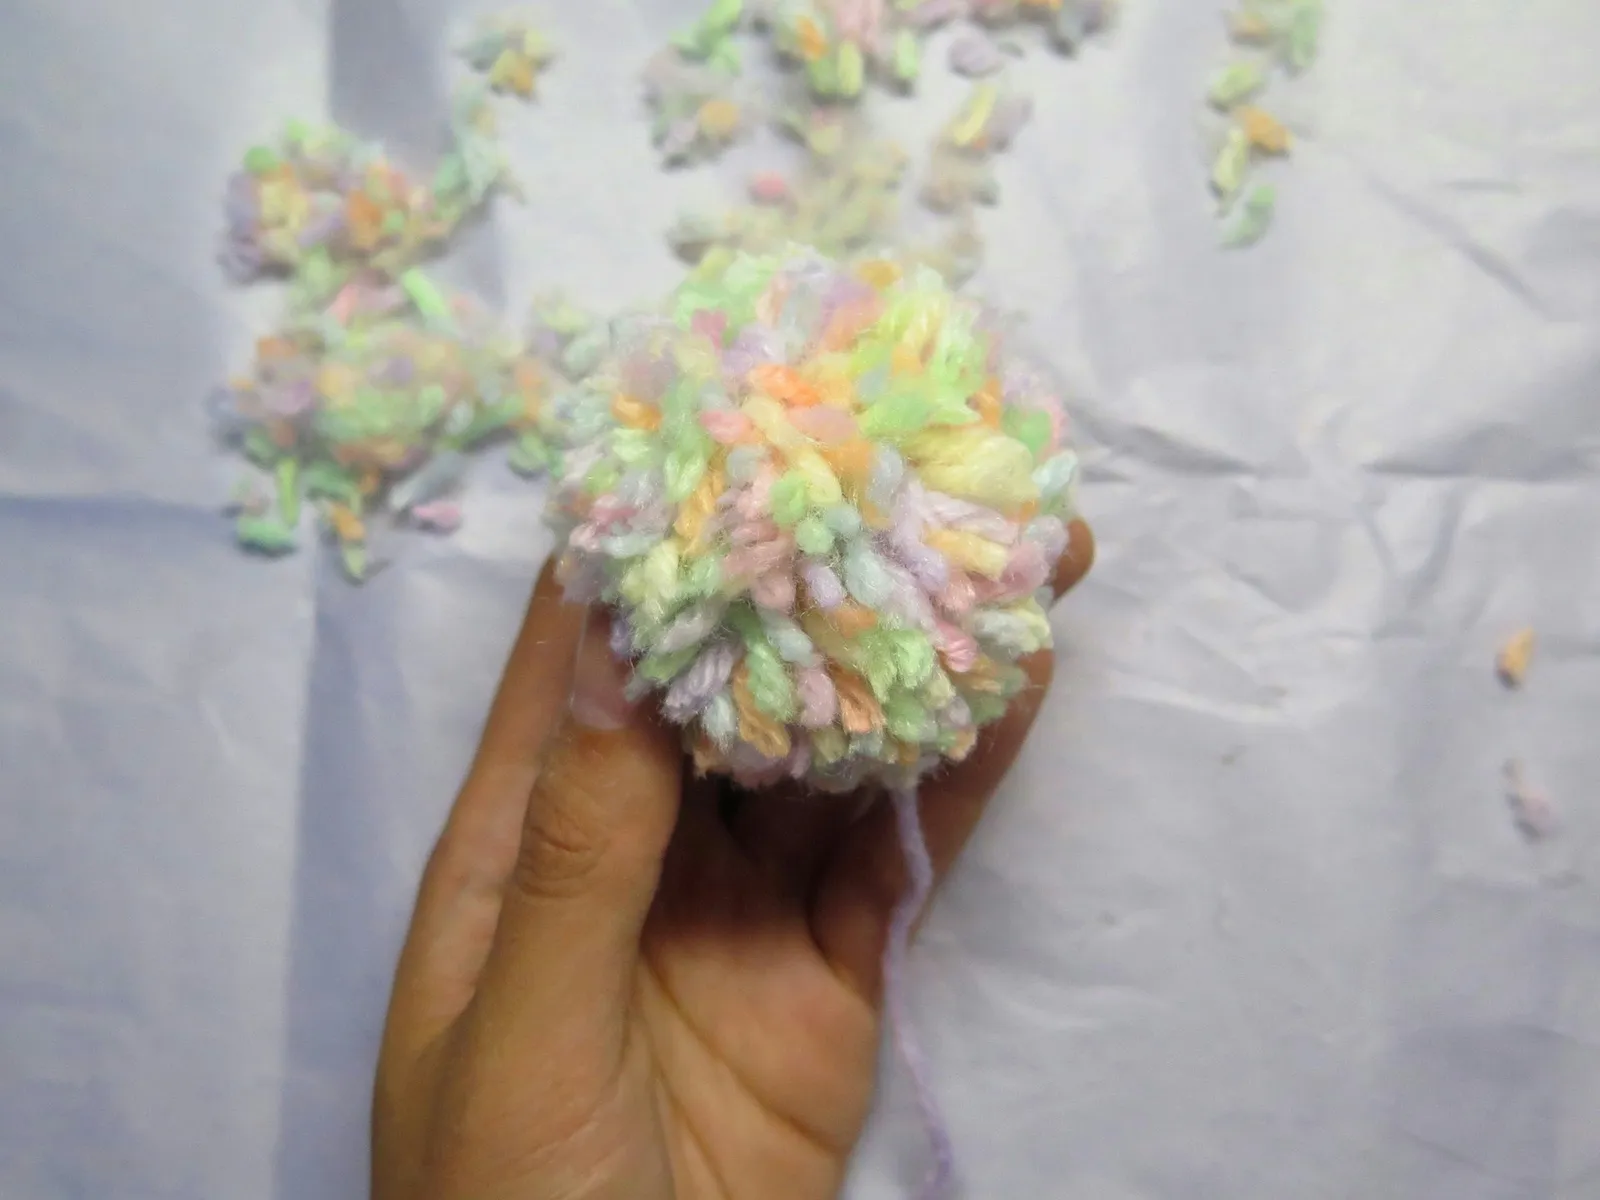
To achieve a fluffy pompom, carefully trim the uneven yarn strands.
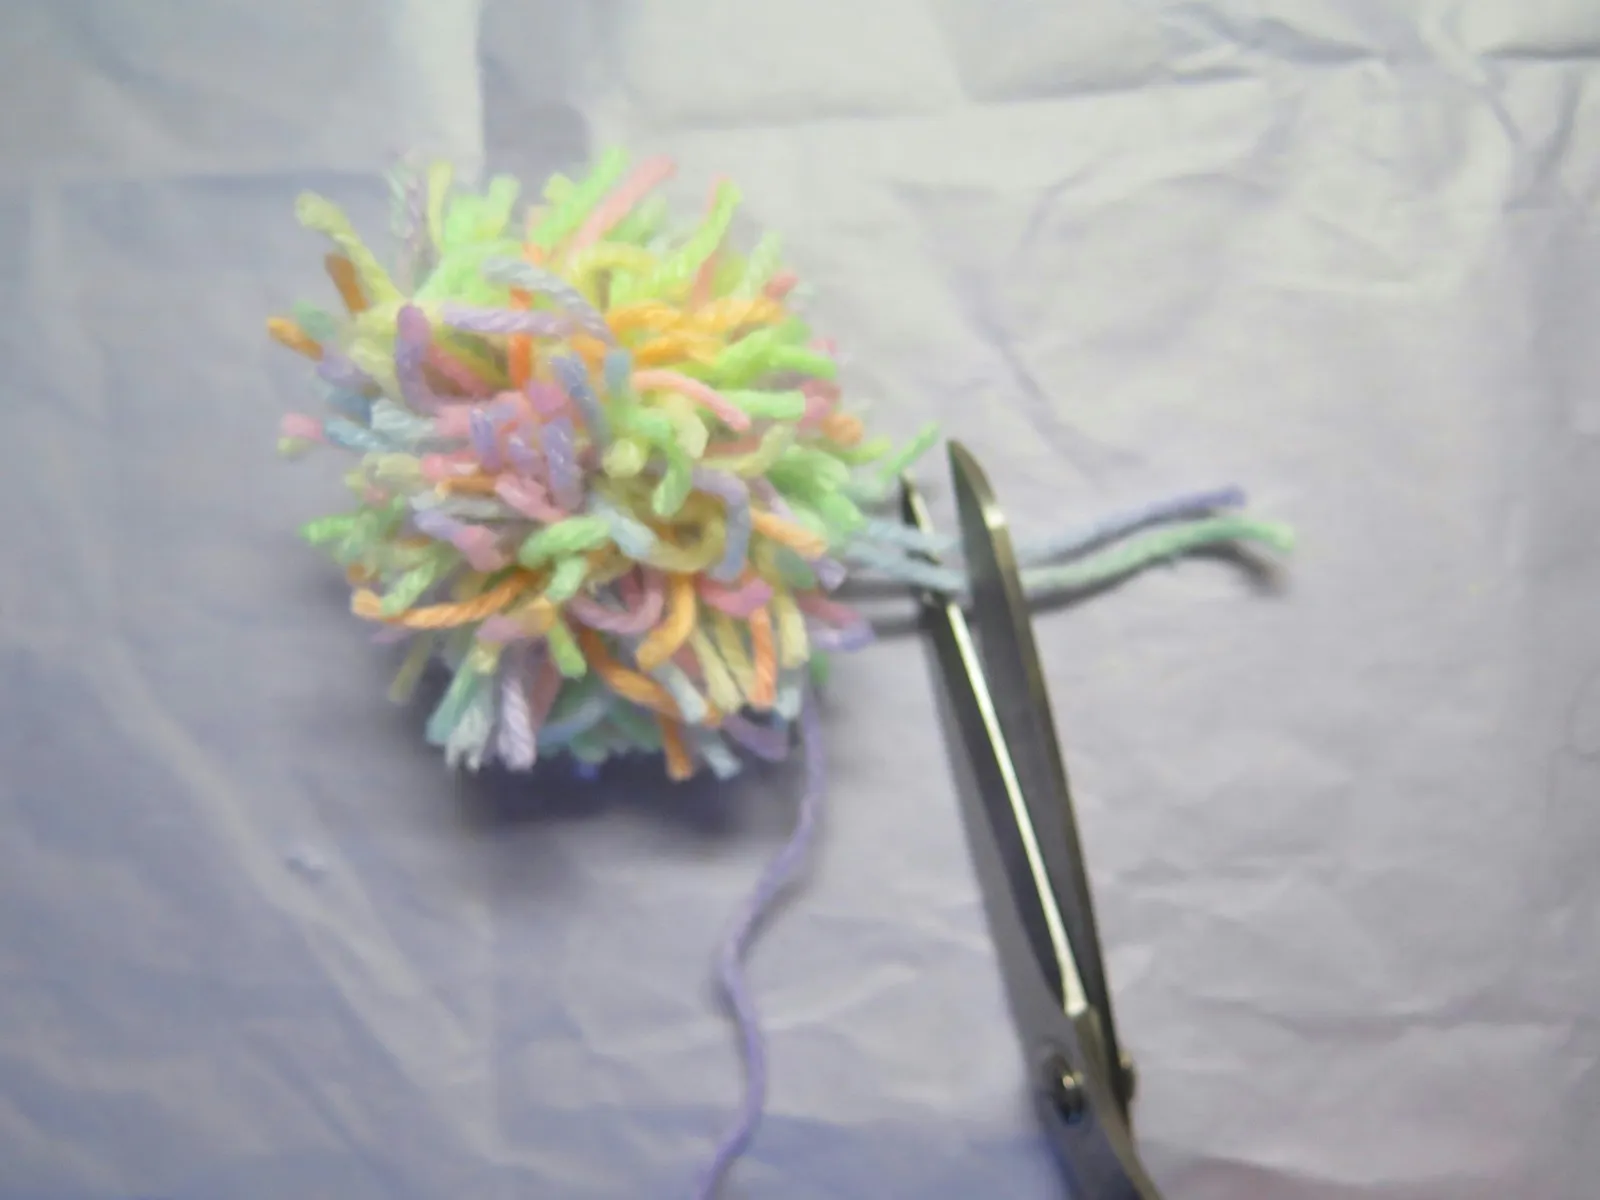
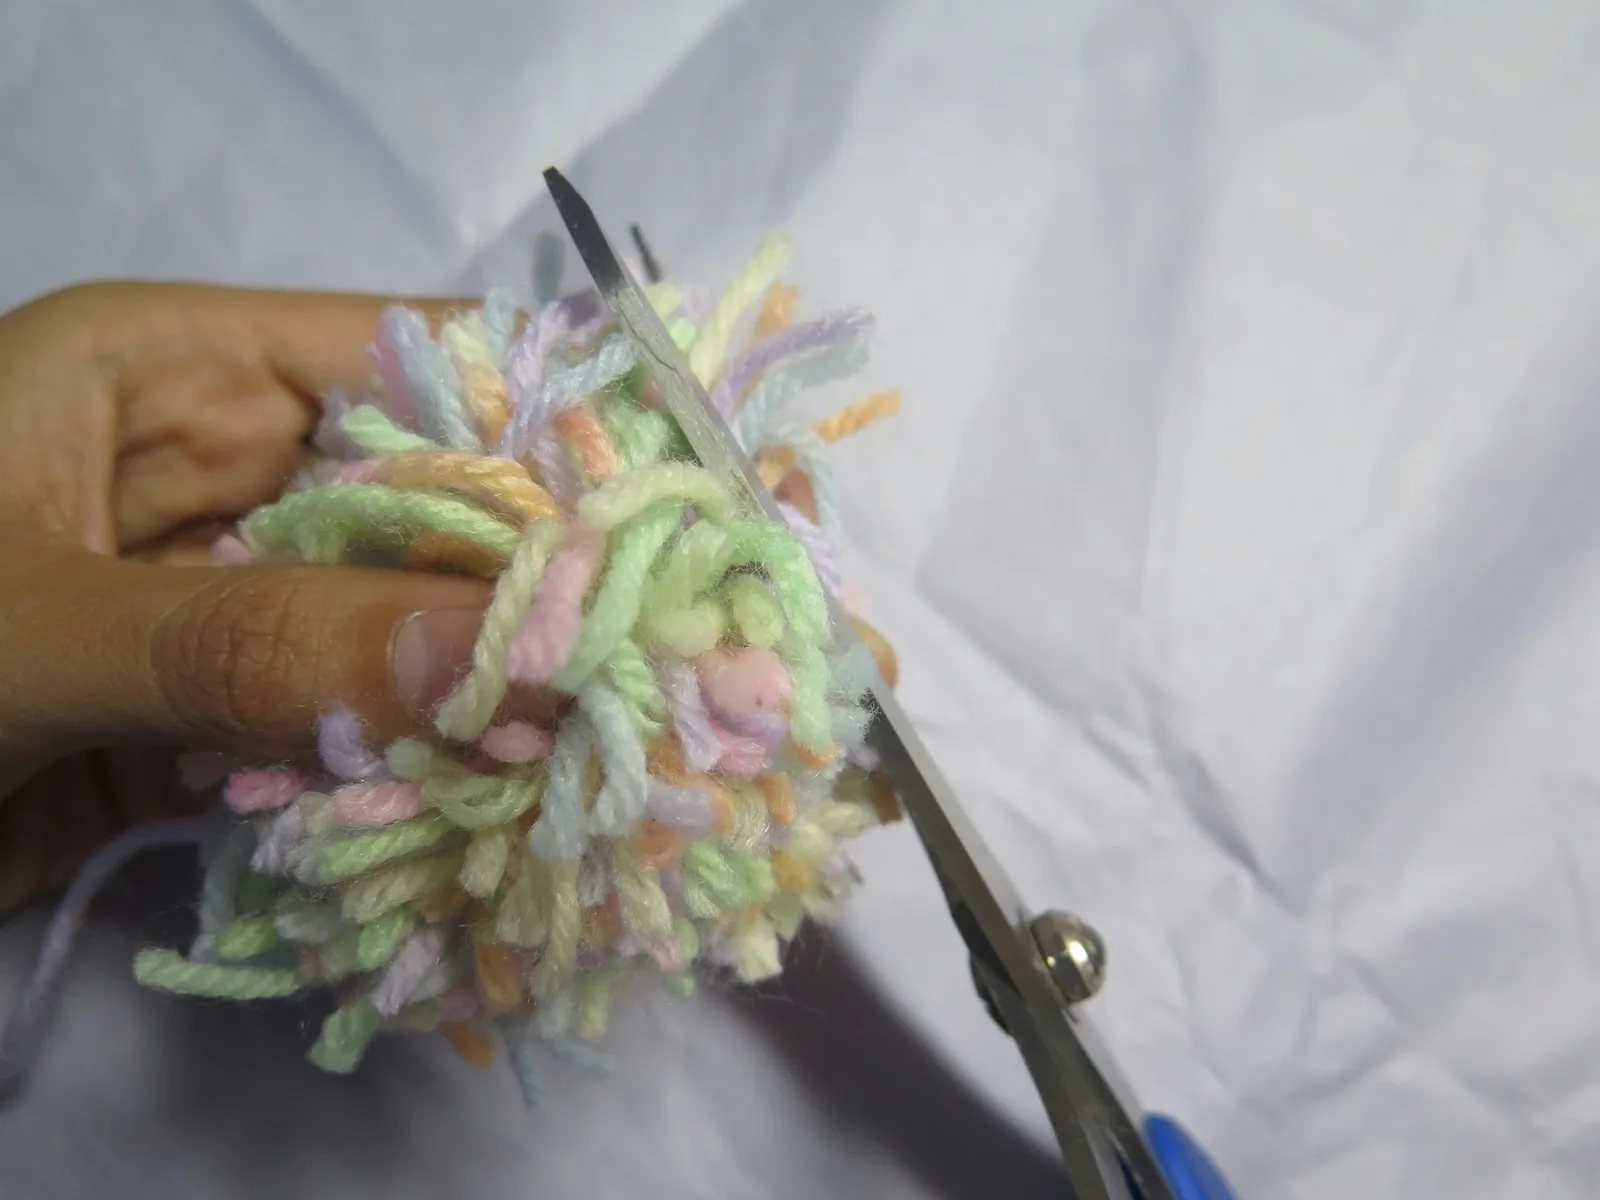
7. Add card stock paper (optional)
8. Use in your books
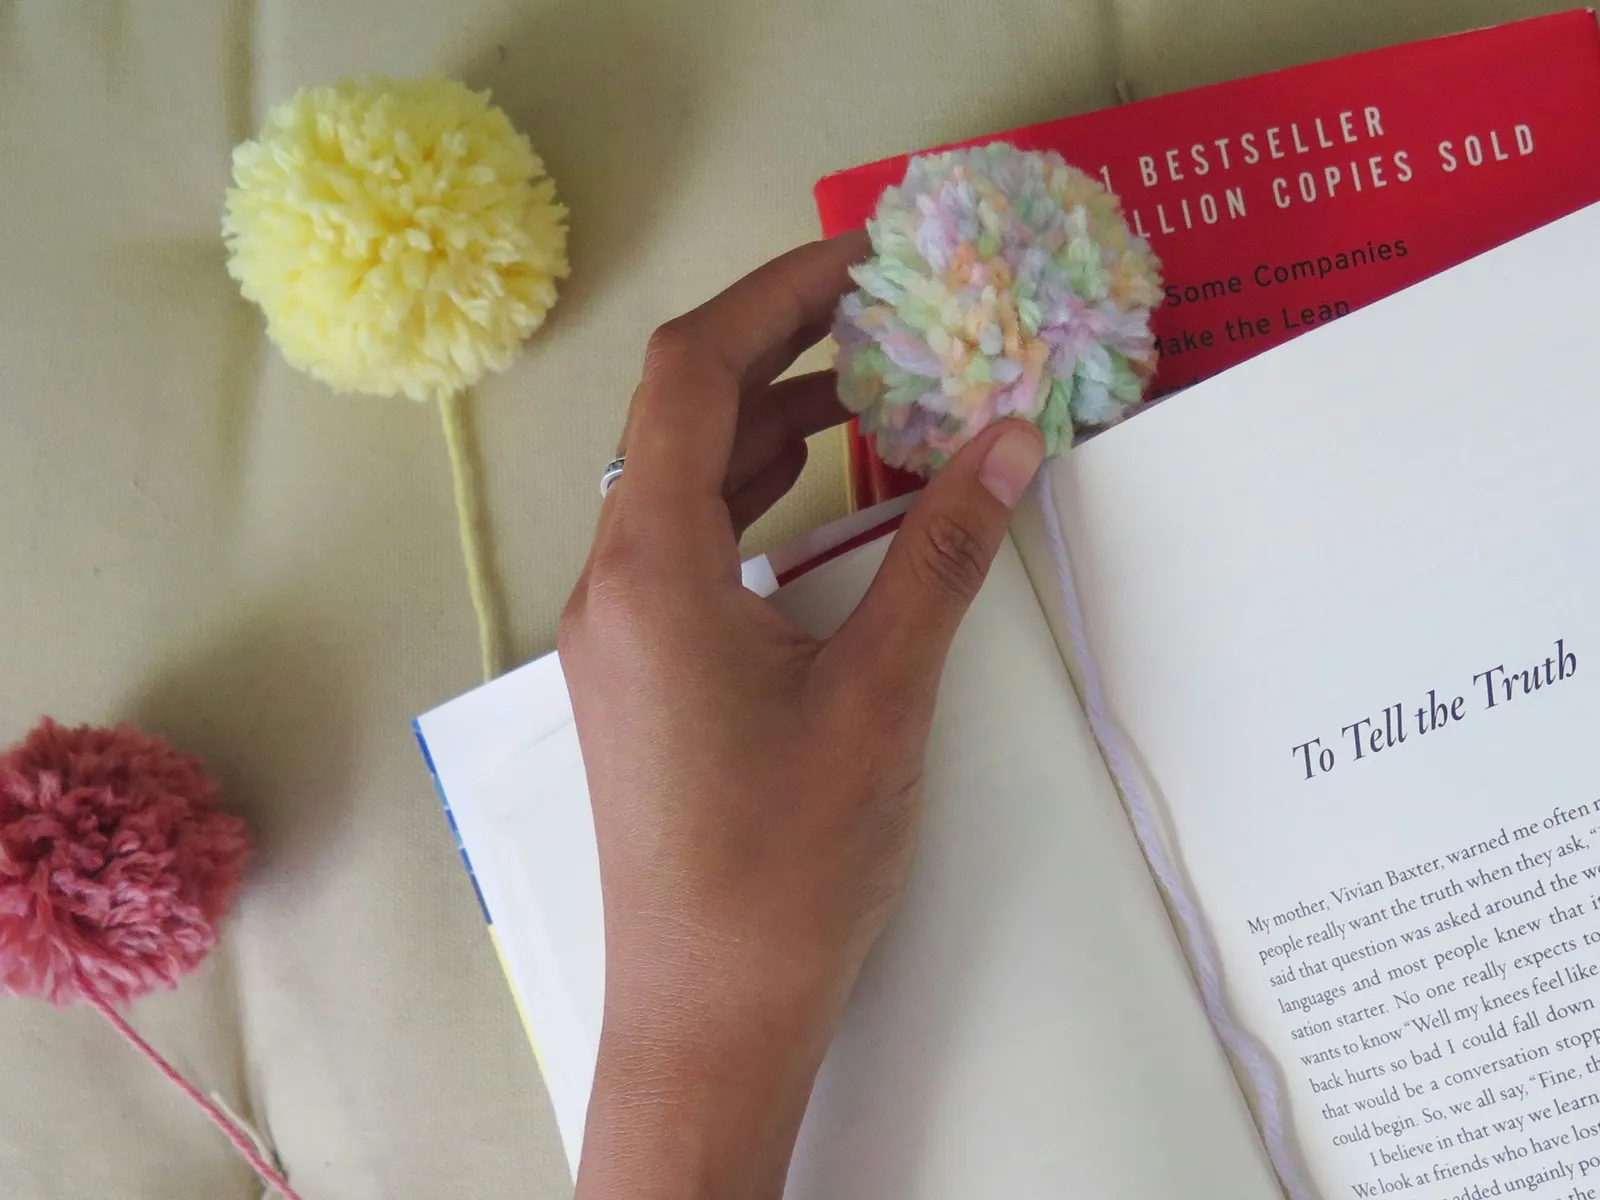
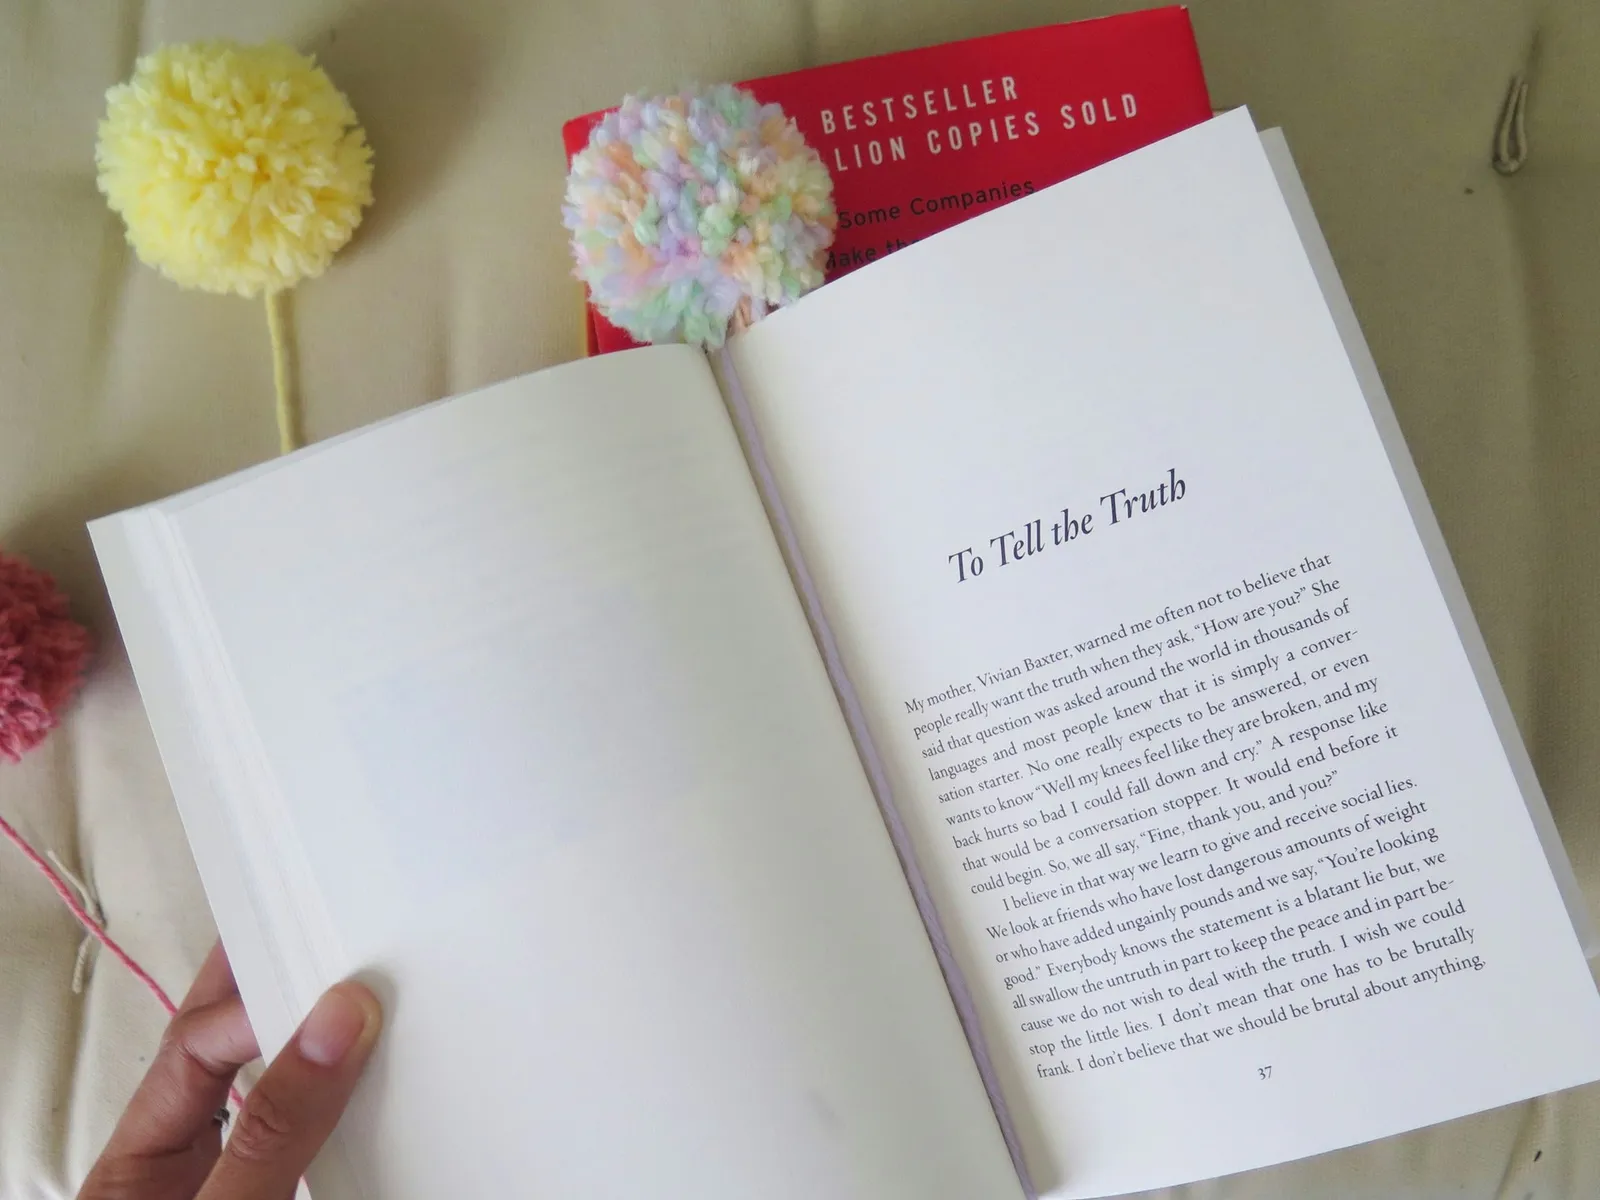
To mark your page, position the yarn pompom at the top of the page and tuck the tail or the card stock bookmark into the book's center crease.