Turn a Secondhand Headboard into a Stylish Upholstered Bench
Discover how to repurpose an old twin headboard into a comfortable, custom bench using basic tools and materials.
By Logan Hill8 steps
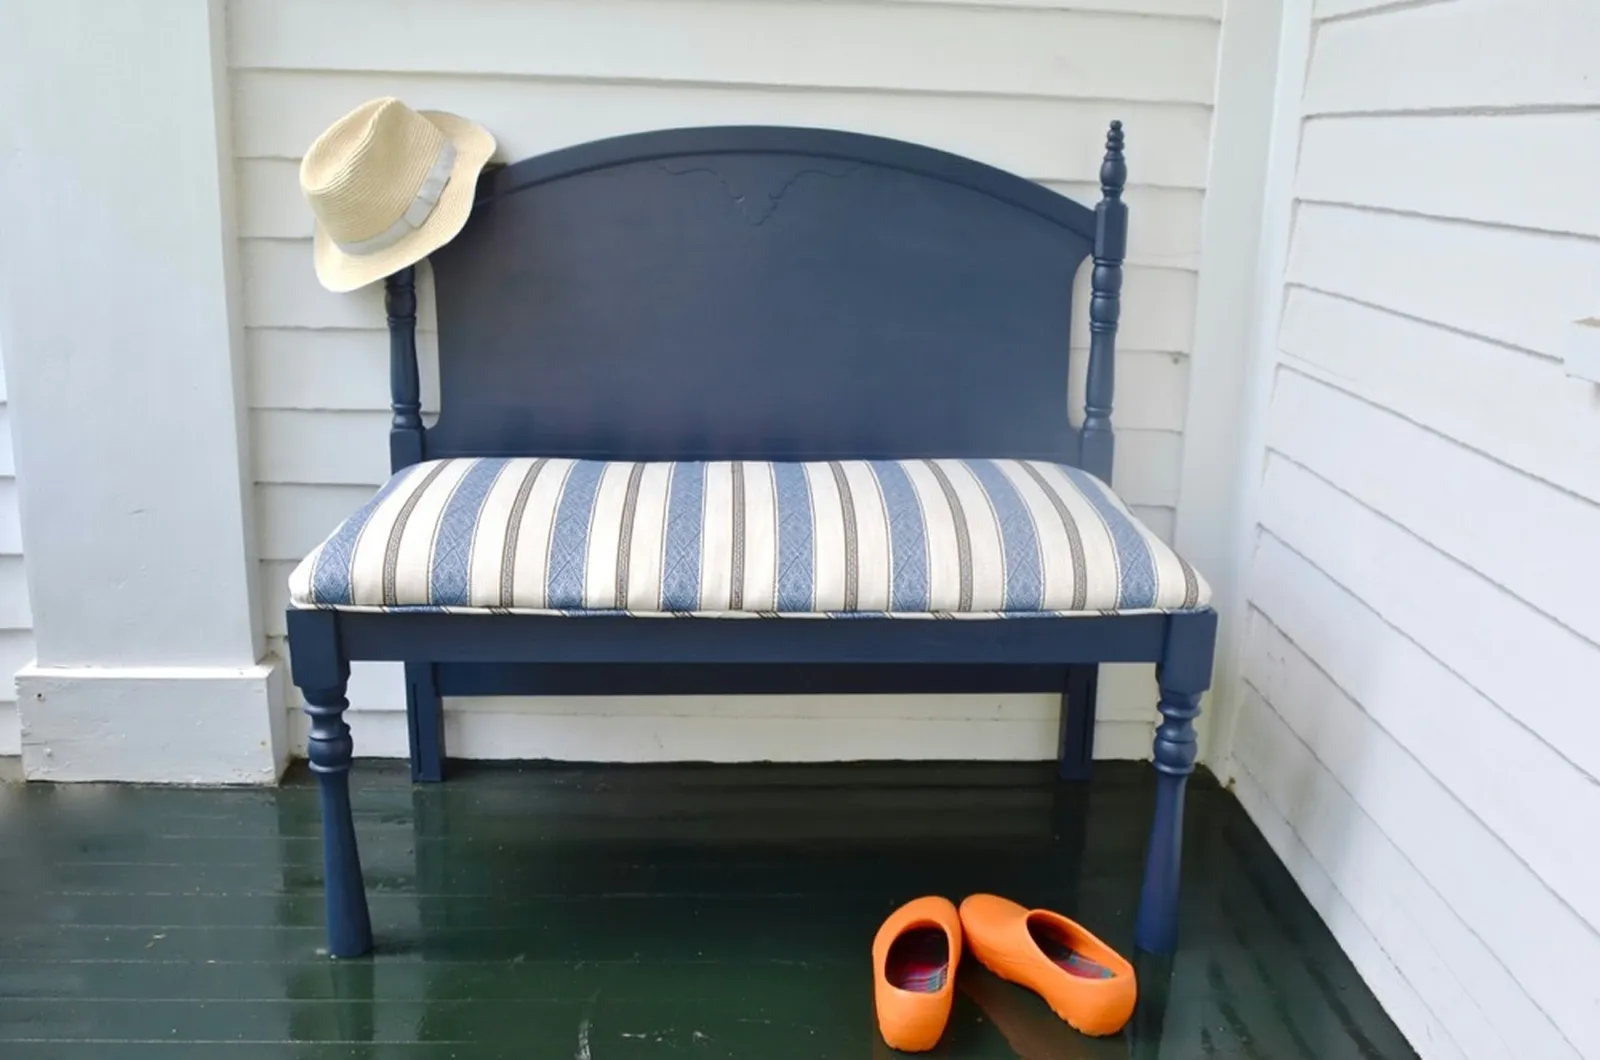
If you spot a twin-size headboard at a flea market or thrift shop, don't overlook it even if you're not redecorating a bedroom. By gathering a handful of readily available supplies, you can turn that salvaged piece into an attractive and practical upholstered bench.
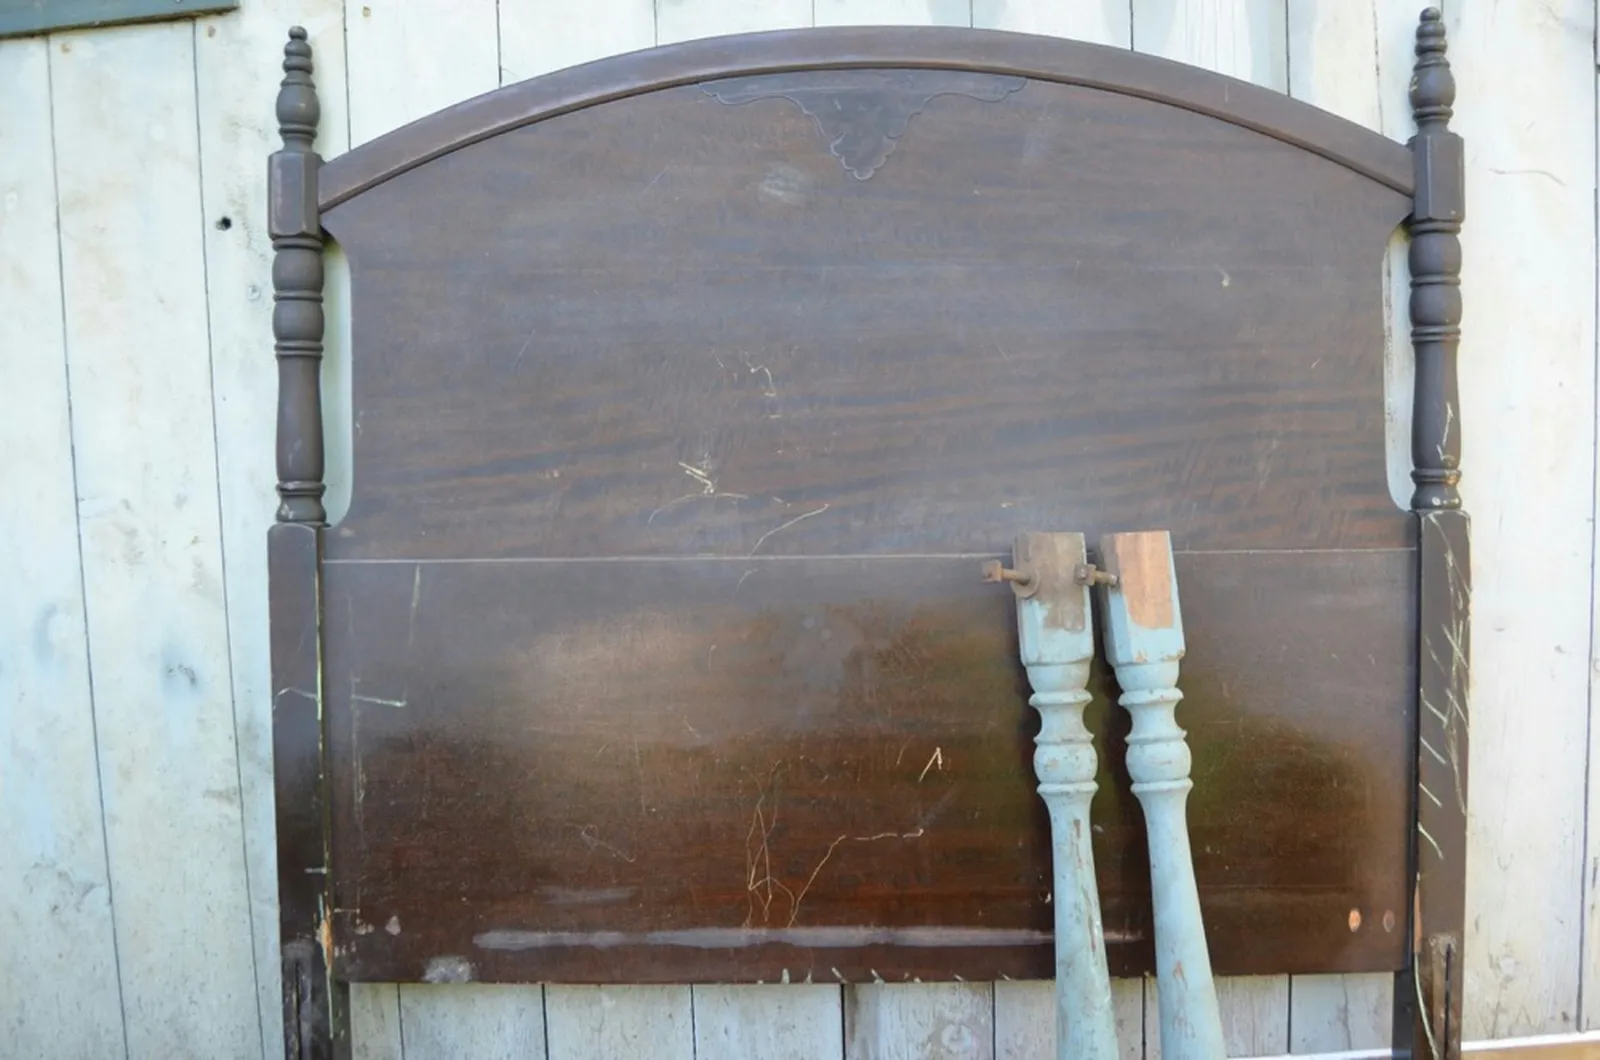
Step 1: Prepare the Legs and Frame Pieces
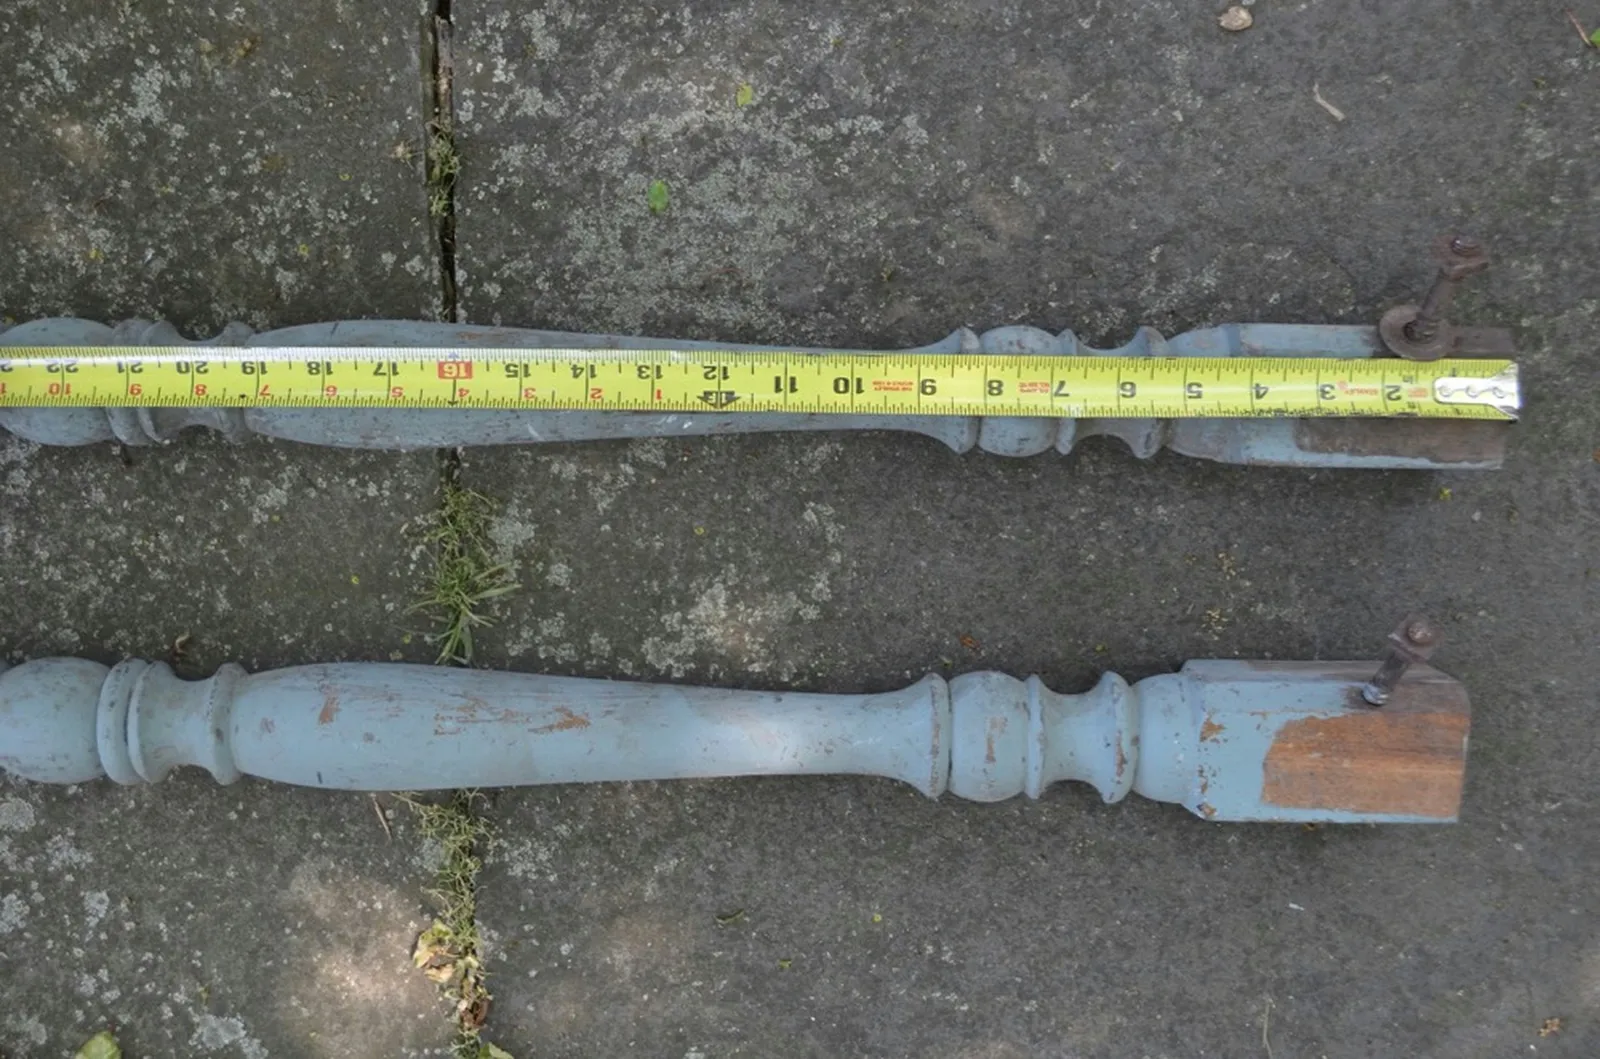
Start by trimming each table leg to 18 inches, which is a typical bench height. A miter saw will help you achieve clean, square cuts.
For the side frames of the seat, cut two 1 x 4 pine boards to 17 inches long; this results in an 18-inch-deep seat. Then cut the front frame to match the length of your salvaged headboard. Our bench is 41 inches wide.
Step 2: Create Pocket Holes in the Seat Frames
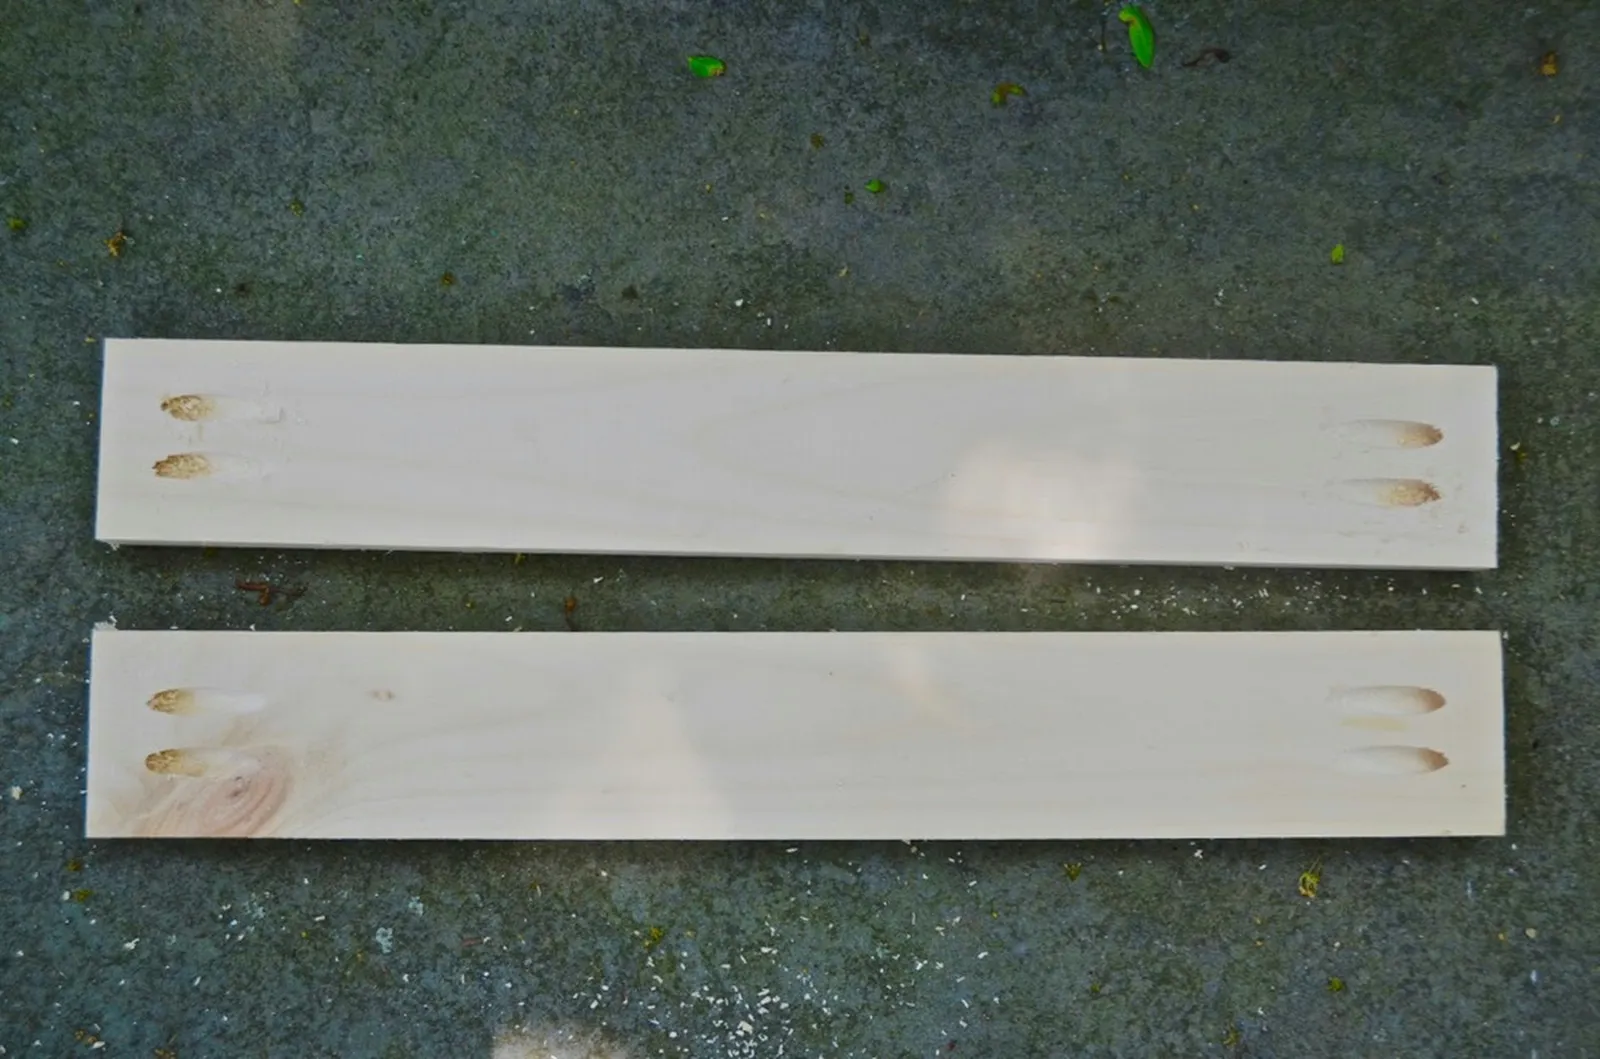
With the Kreg jig, drill two pocket holes into each end of all three seat frame pieces—the two sides and the front.
Step 3: Join the Side Frames to the Bench Legs
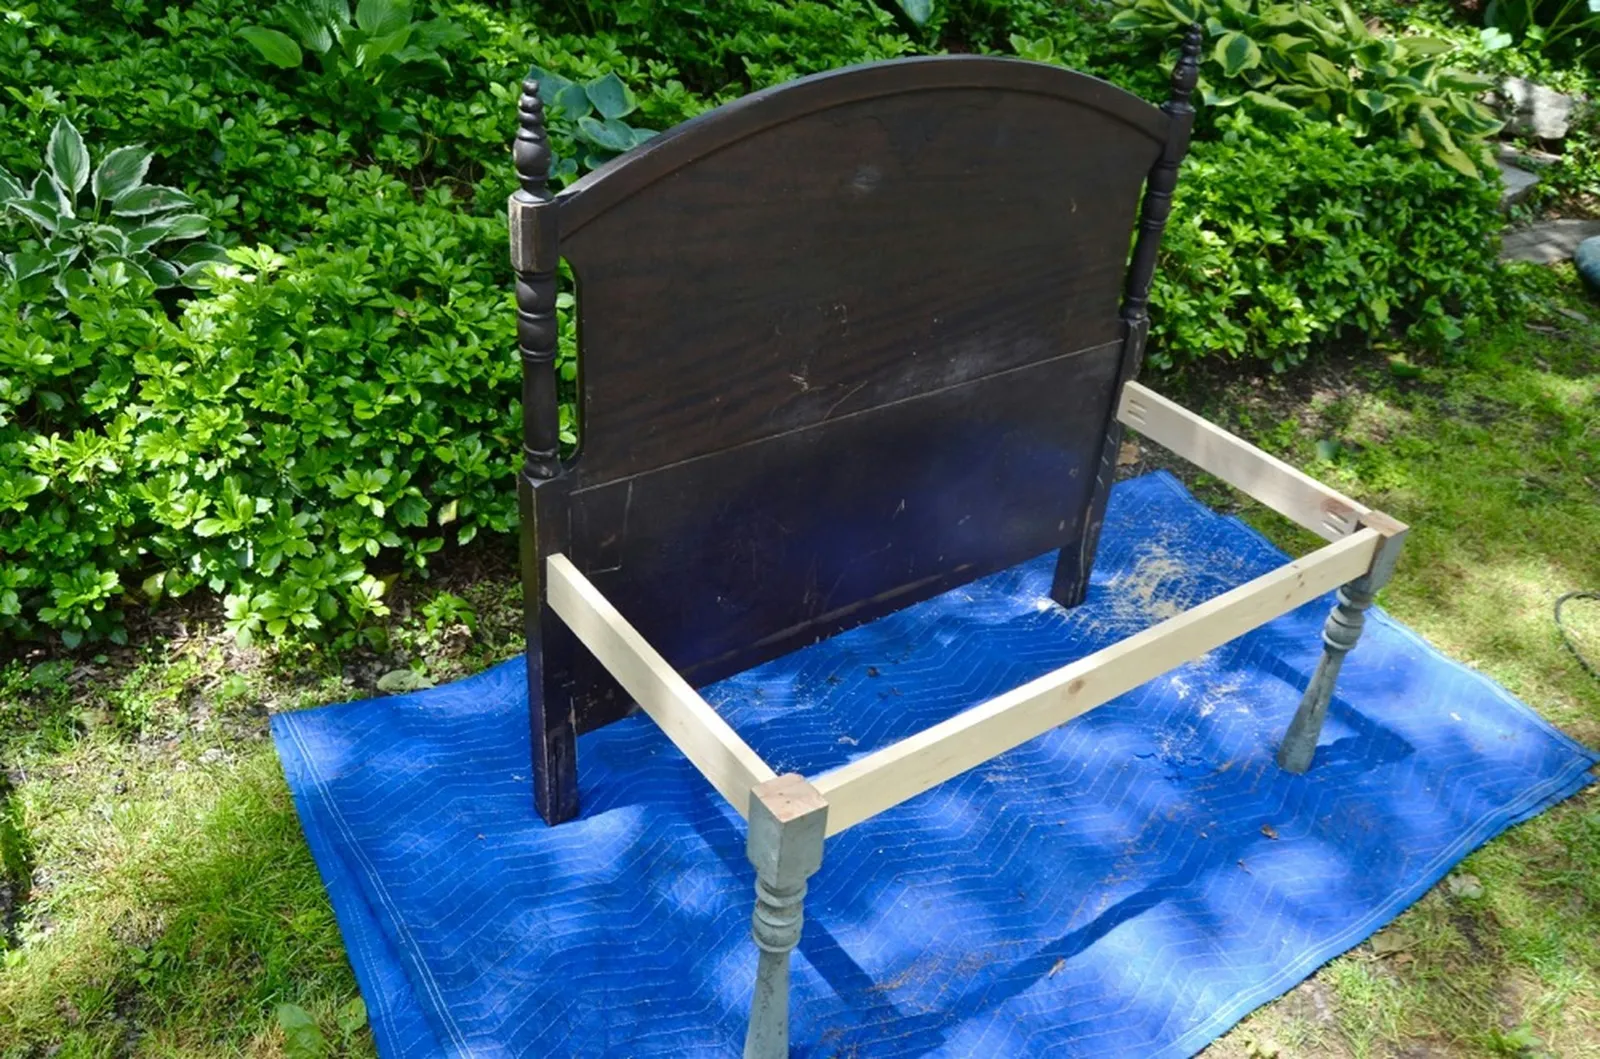
Using 1 ¼-inch Kreg screws, secure the side frames to the table legs. Ensure they are placed at the same spot on the face of each leg, with the top of the frame pieces sitting flush with the tops of the legs.
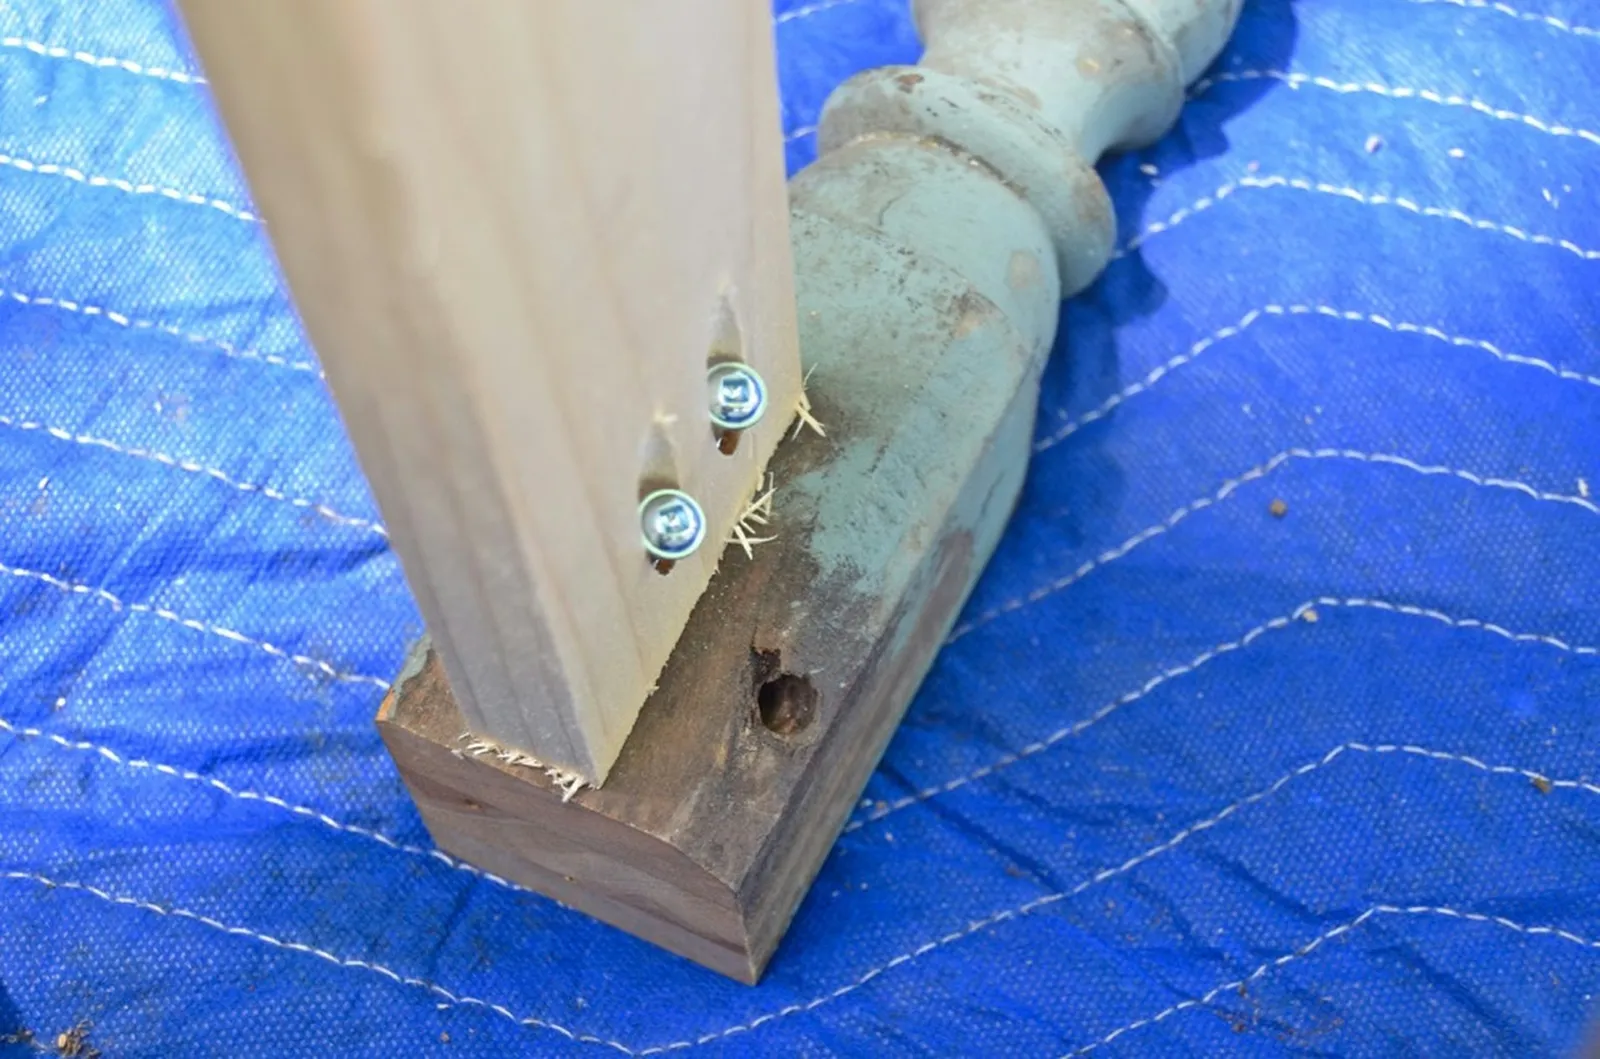
Attach the front frame to the two table legs with the same 1 ¼-inch Kreg screws. You now have three sides of the bench assembled.
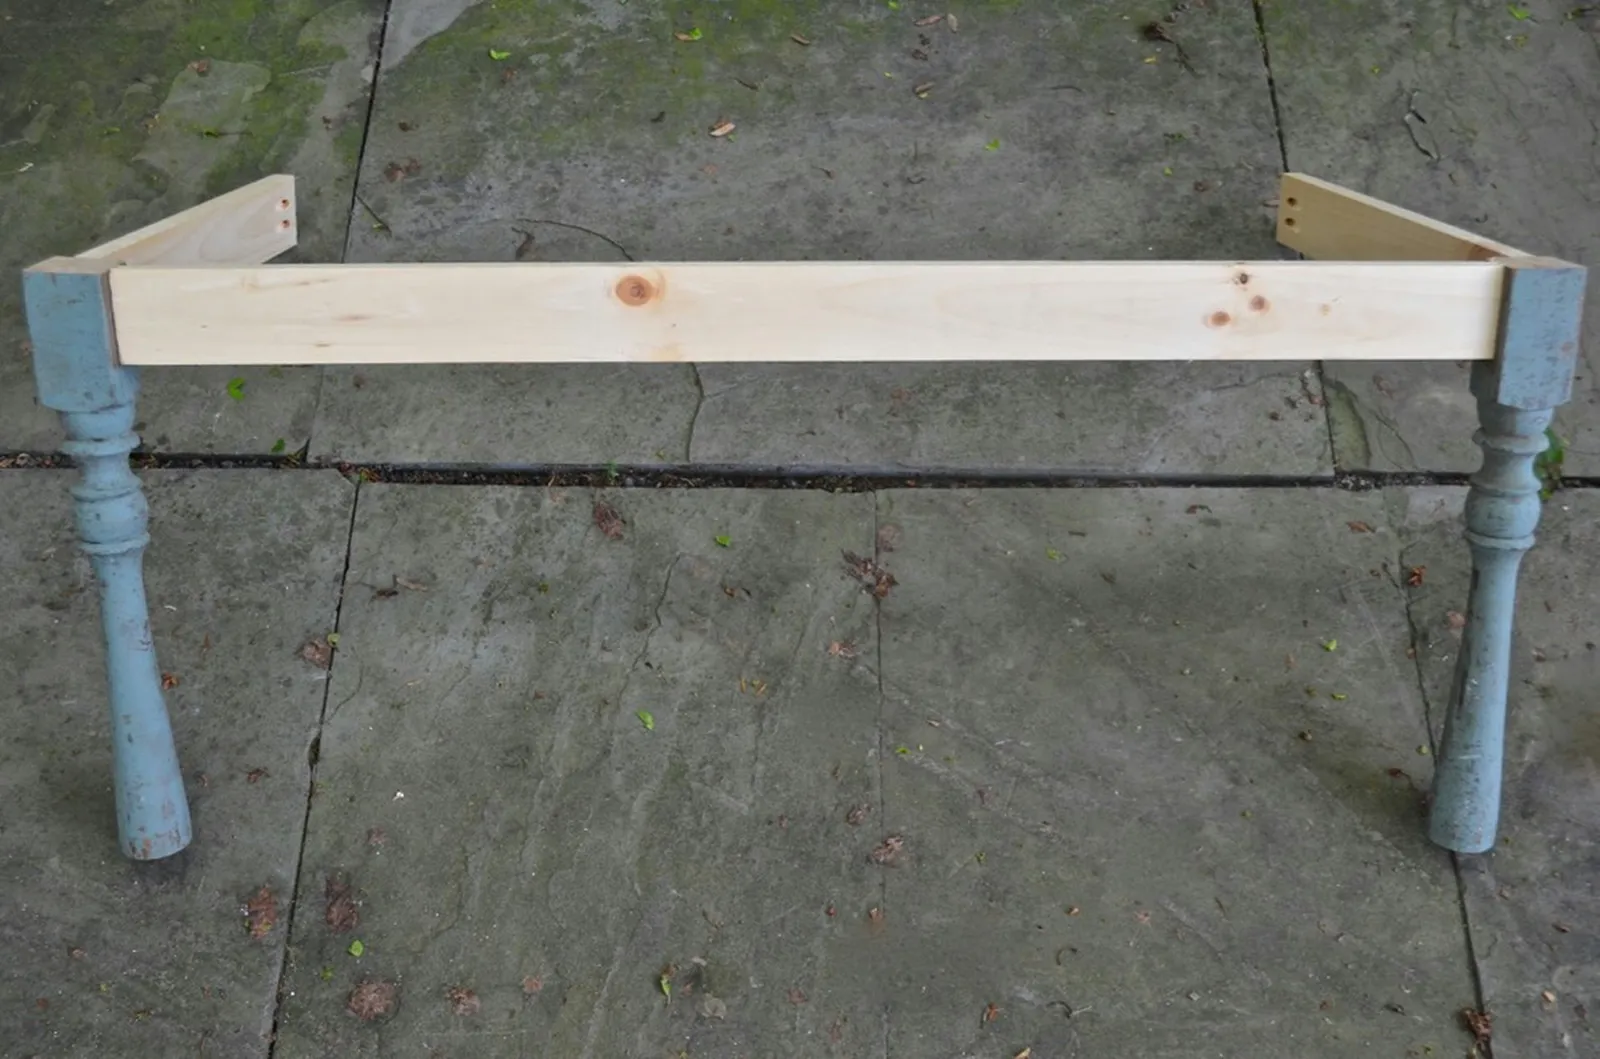
Still using the same-sized Kreg screws, fasten the two side frames to the headboard. To keep the bench level, attach the side frames at the same height as they are on the legs—18 inches in our case.
Step 4: Install a Support Beam
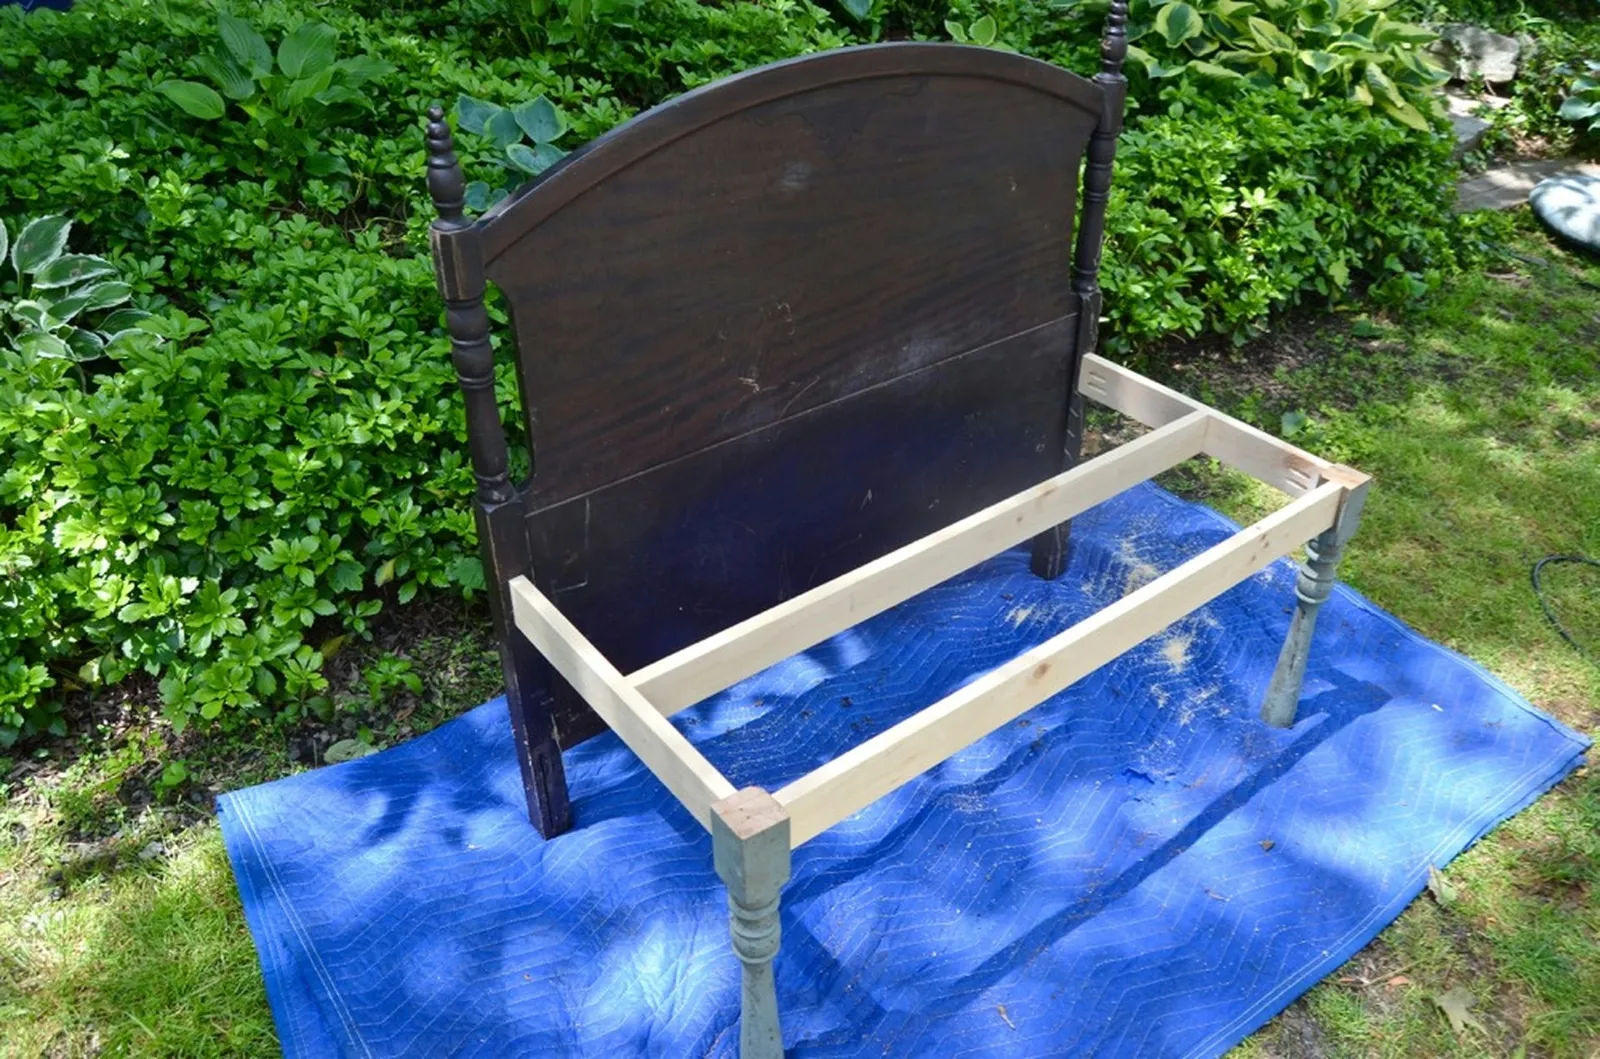
Measure the distance from the inside edge of one side frame to the inside edge of the other, then cut a 1 x 4 cross beam to that length. Attach this support piece across the middle of the seat frame using pocket holes and Kreg screws.
Step 5: Sand, Prime, and Paint
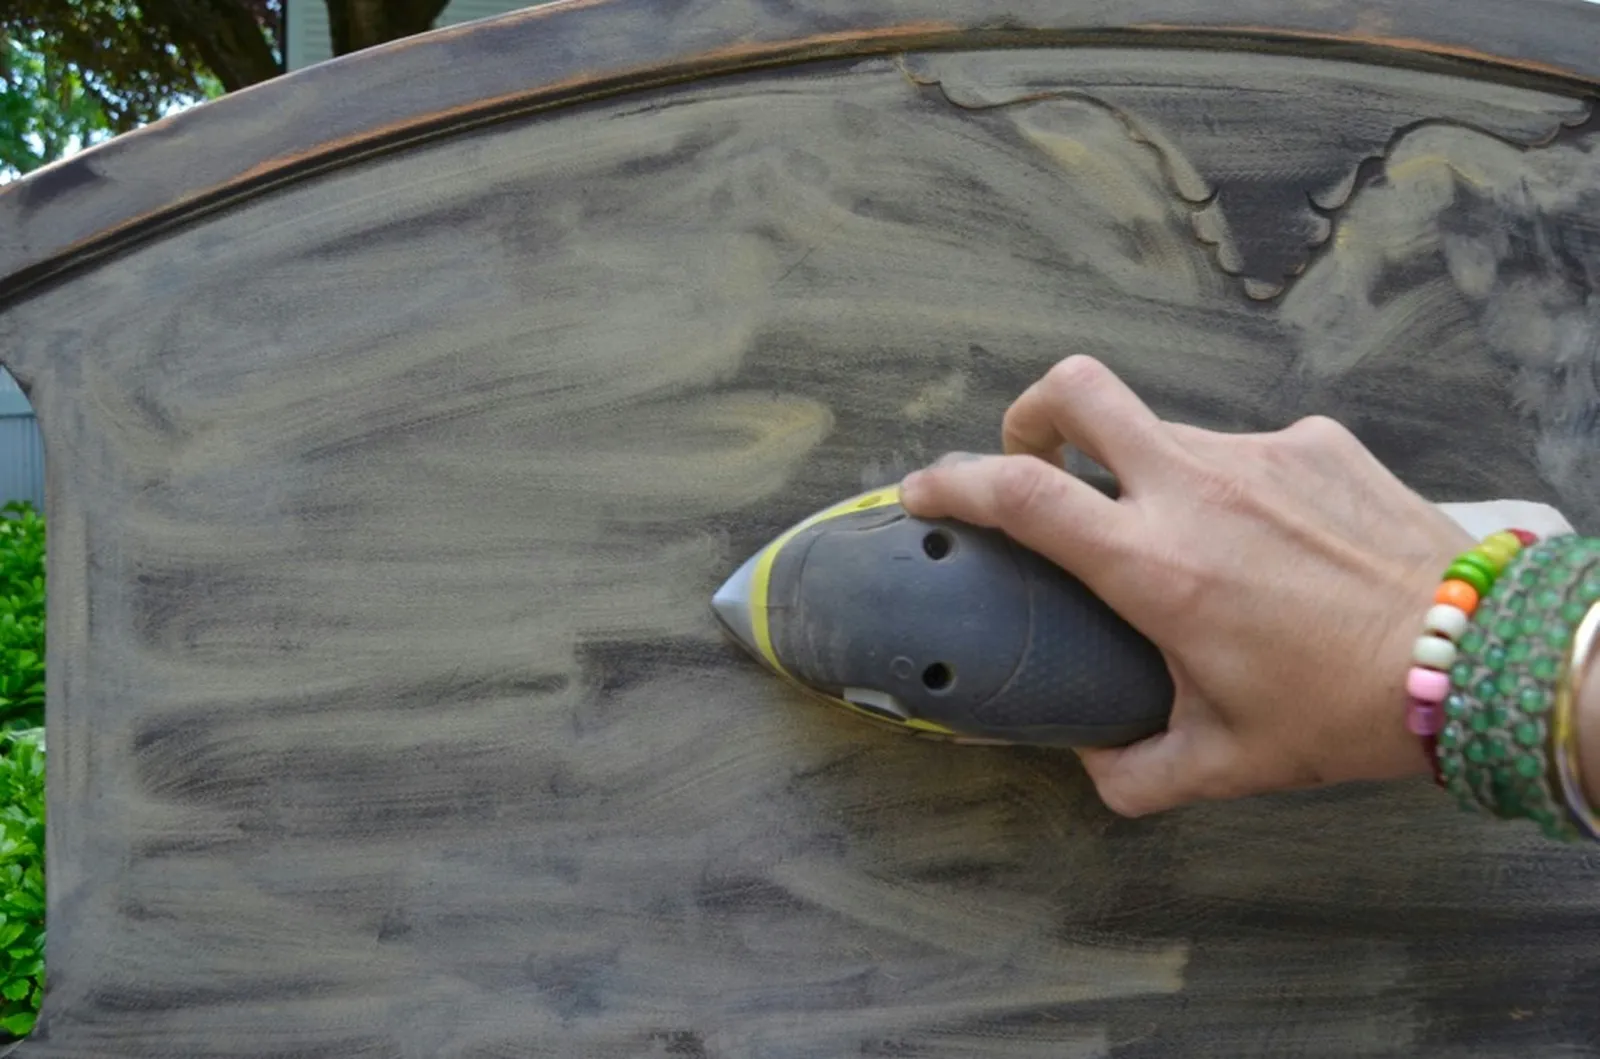
Take fine-grain sandpaper and sand the wood to create a slightly rough surface so paint will stick. Make sure to wipe away all dirt, grime, and dust with a damp cloth before you prime and paint.
Step 6: Build the Upholstered Seat
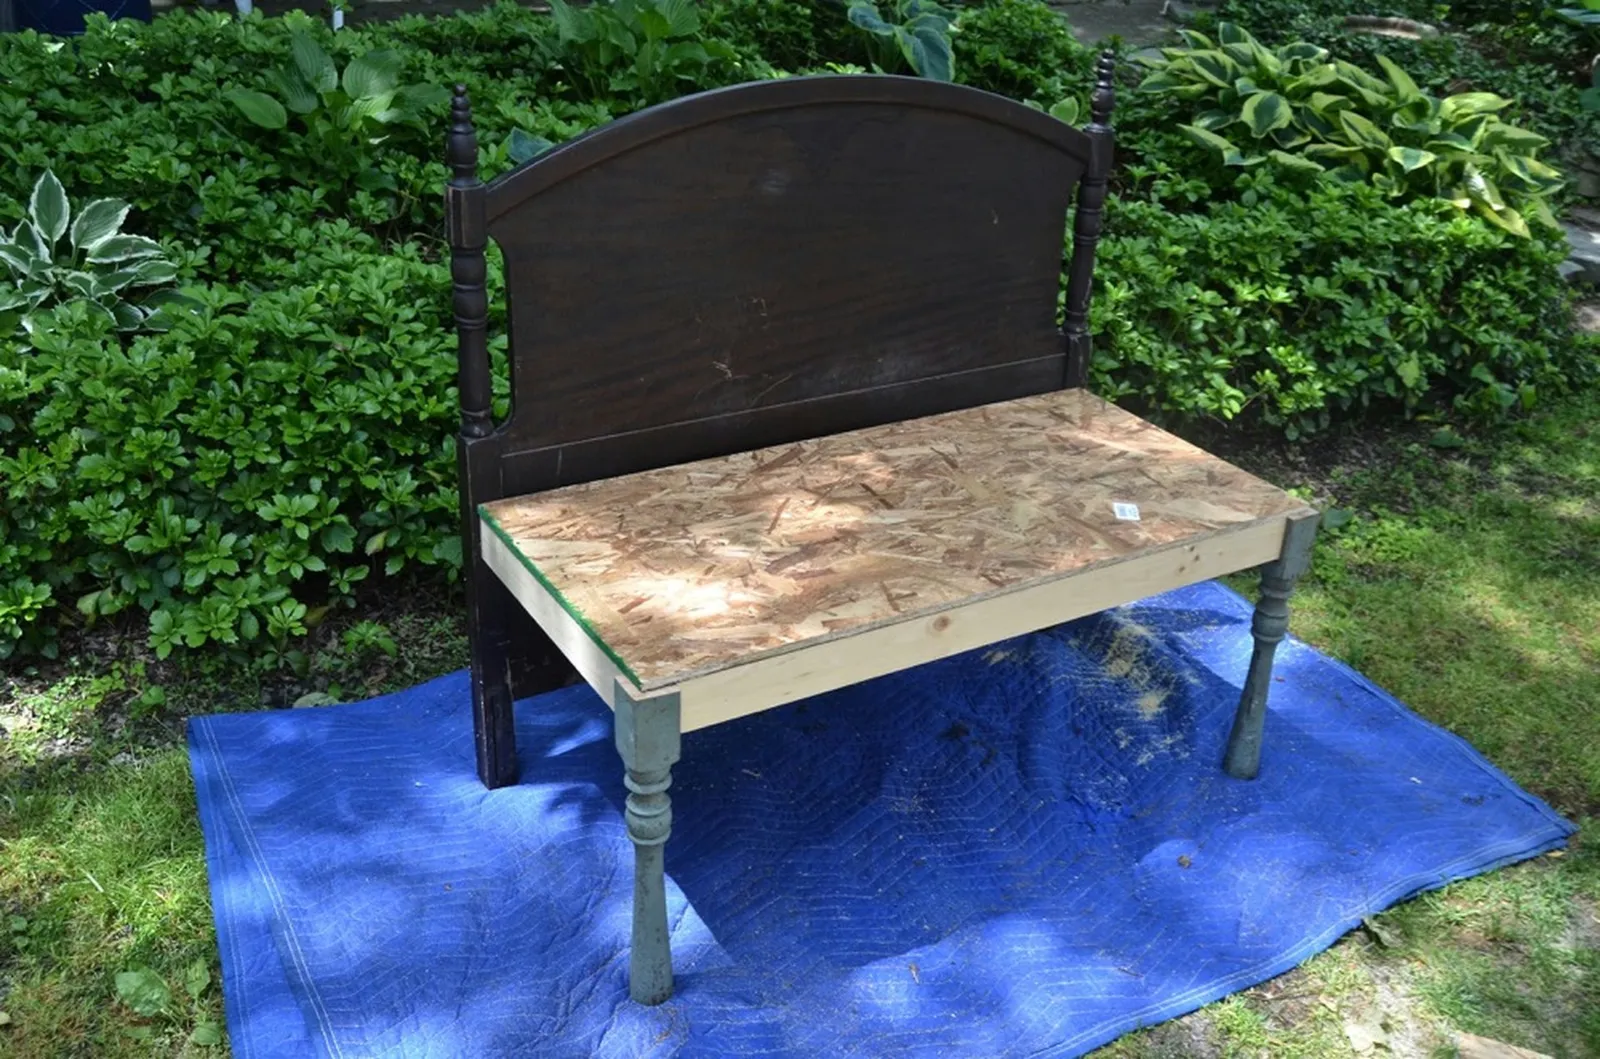
Cut the plywood to form the seat's base. The edges should line up flush with the corners of the table legs while slightly overhanging the frame pieces.
Cut the foam for padding. If you're using upholstery foam, cut it exactly to the size of the plywood. If you're using an egg-crate mattress, fold the foam in half and cut it to fit the plywood. Then cut a third piece of foam, leaving an extra 6 inches on all four sides.
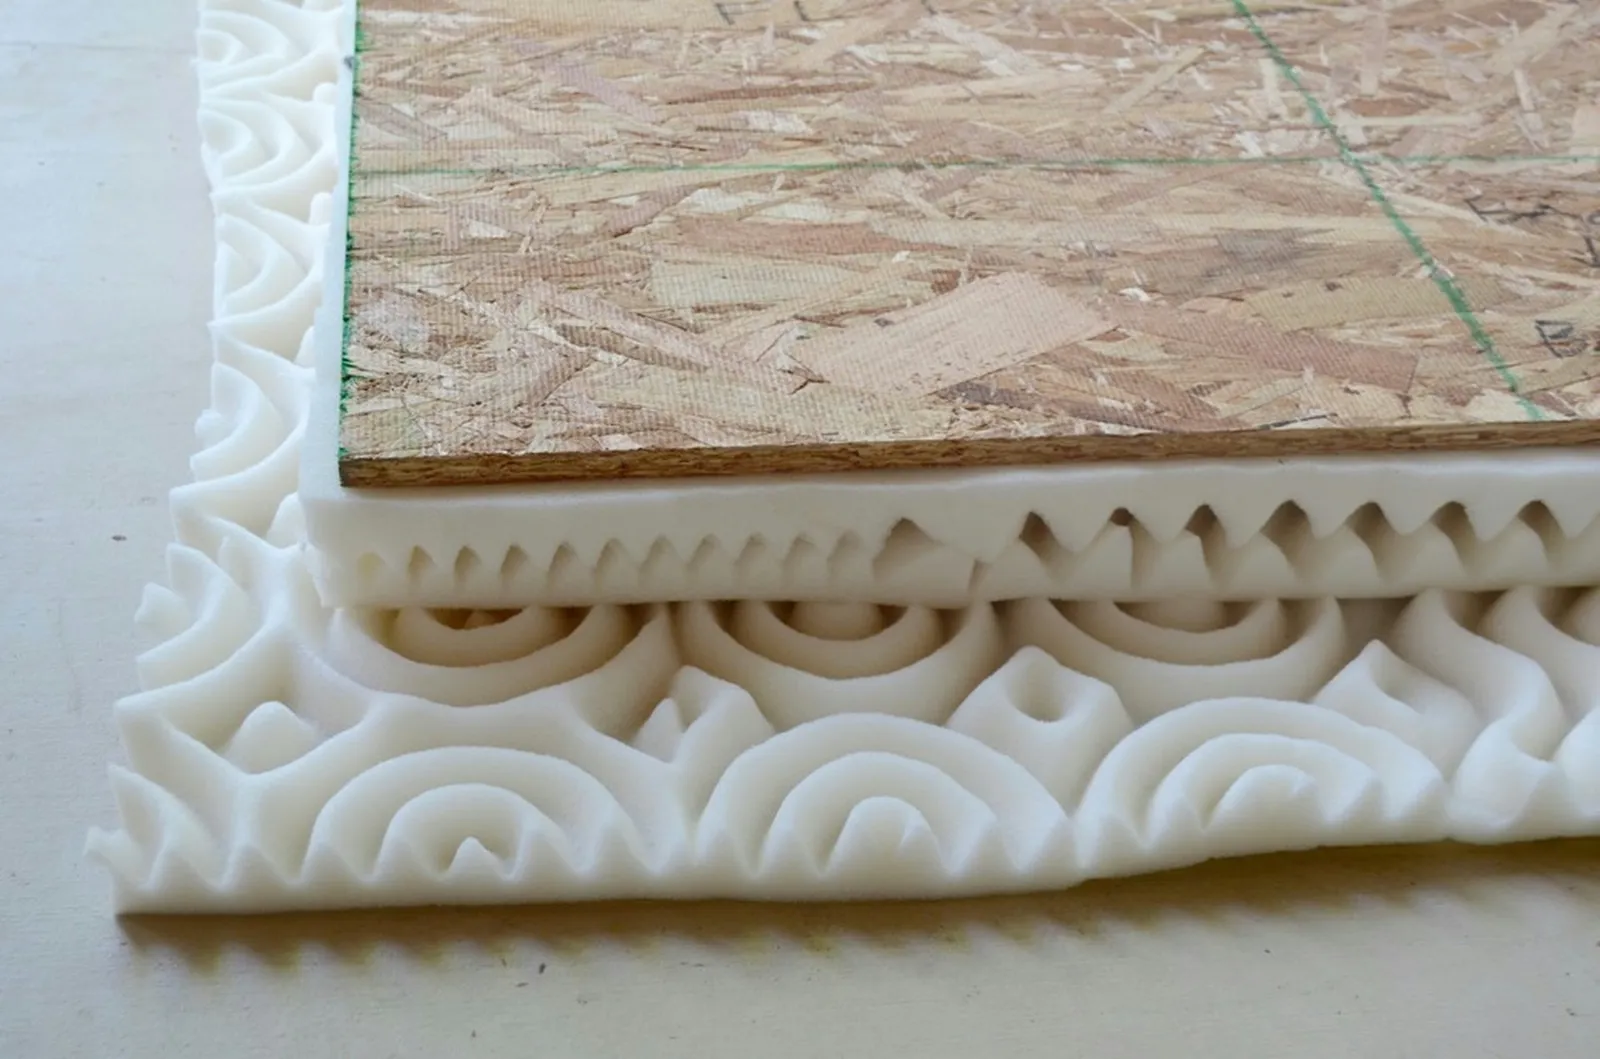
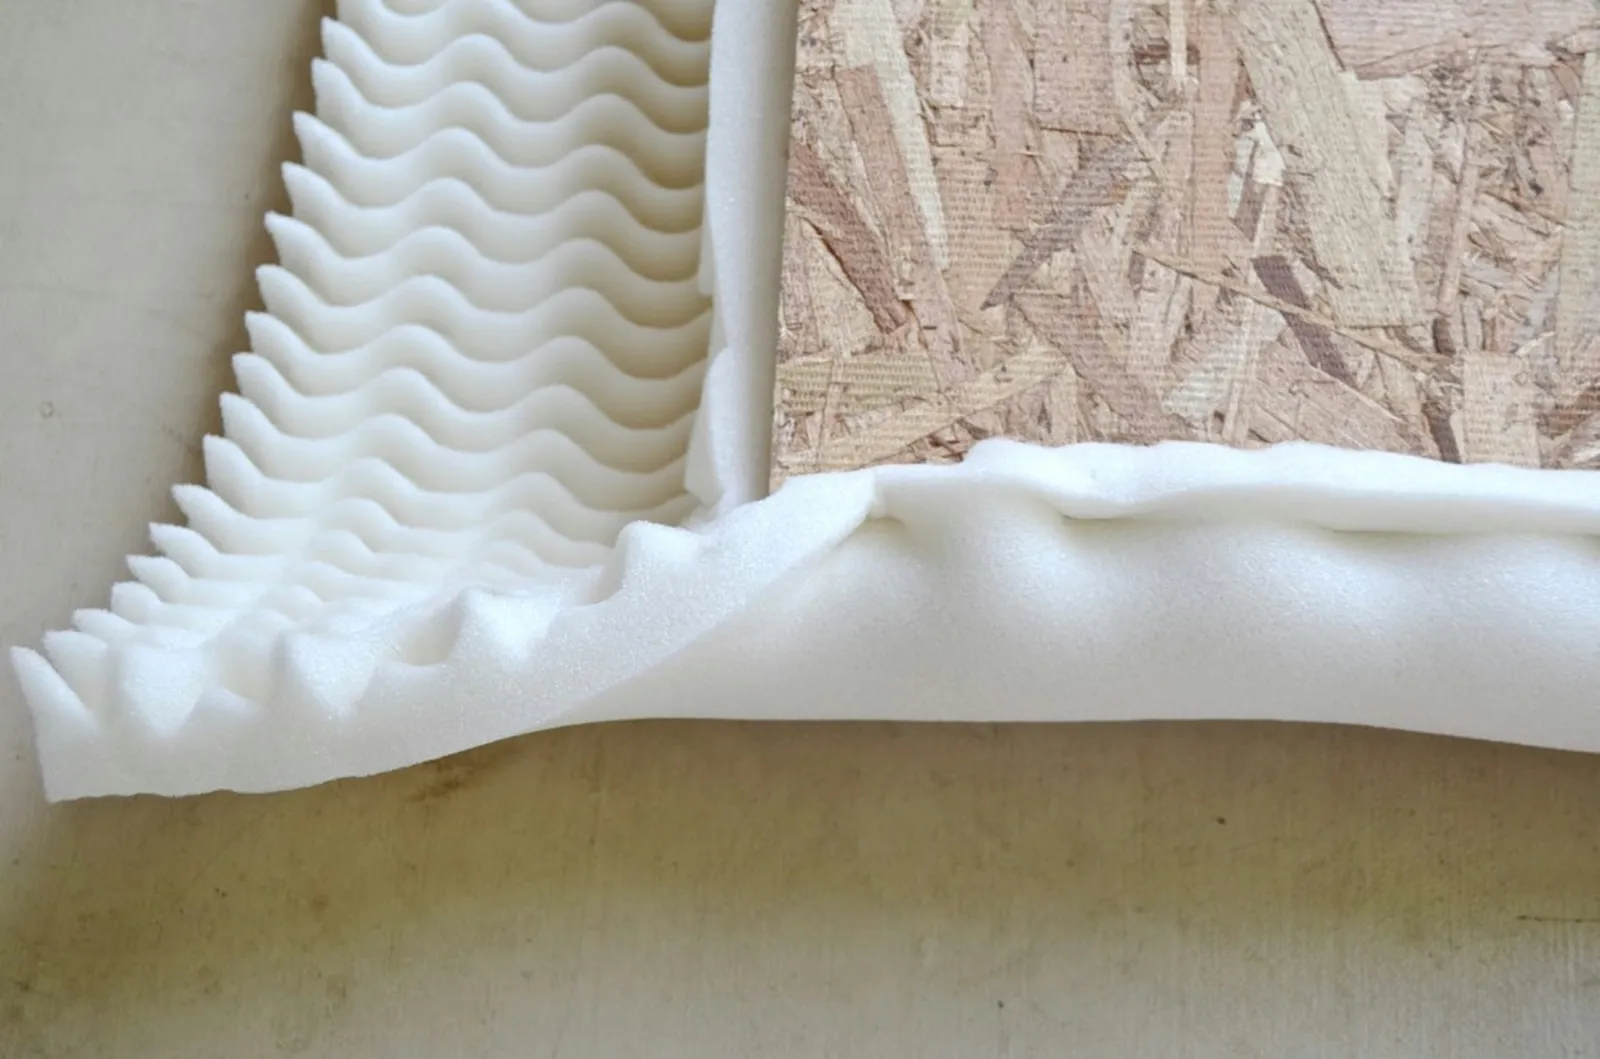
Wrap the larger foam piece around the first two layers, and staple the layers to the underside of the plywood. Begin at the middle of each side and work toward the corners, keeping the foam taut and free of wrinkles or bunches.
Cut the fabric with an extra 6 inches on all four sides.
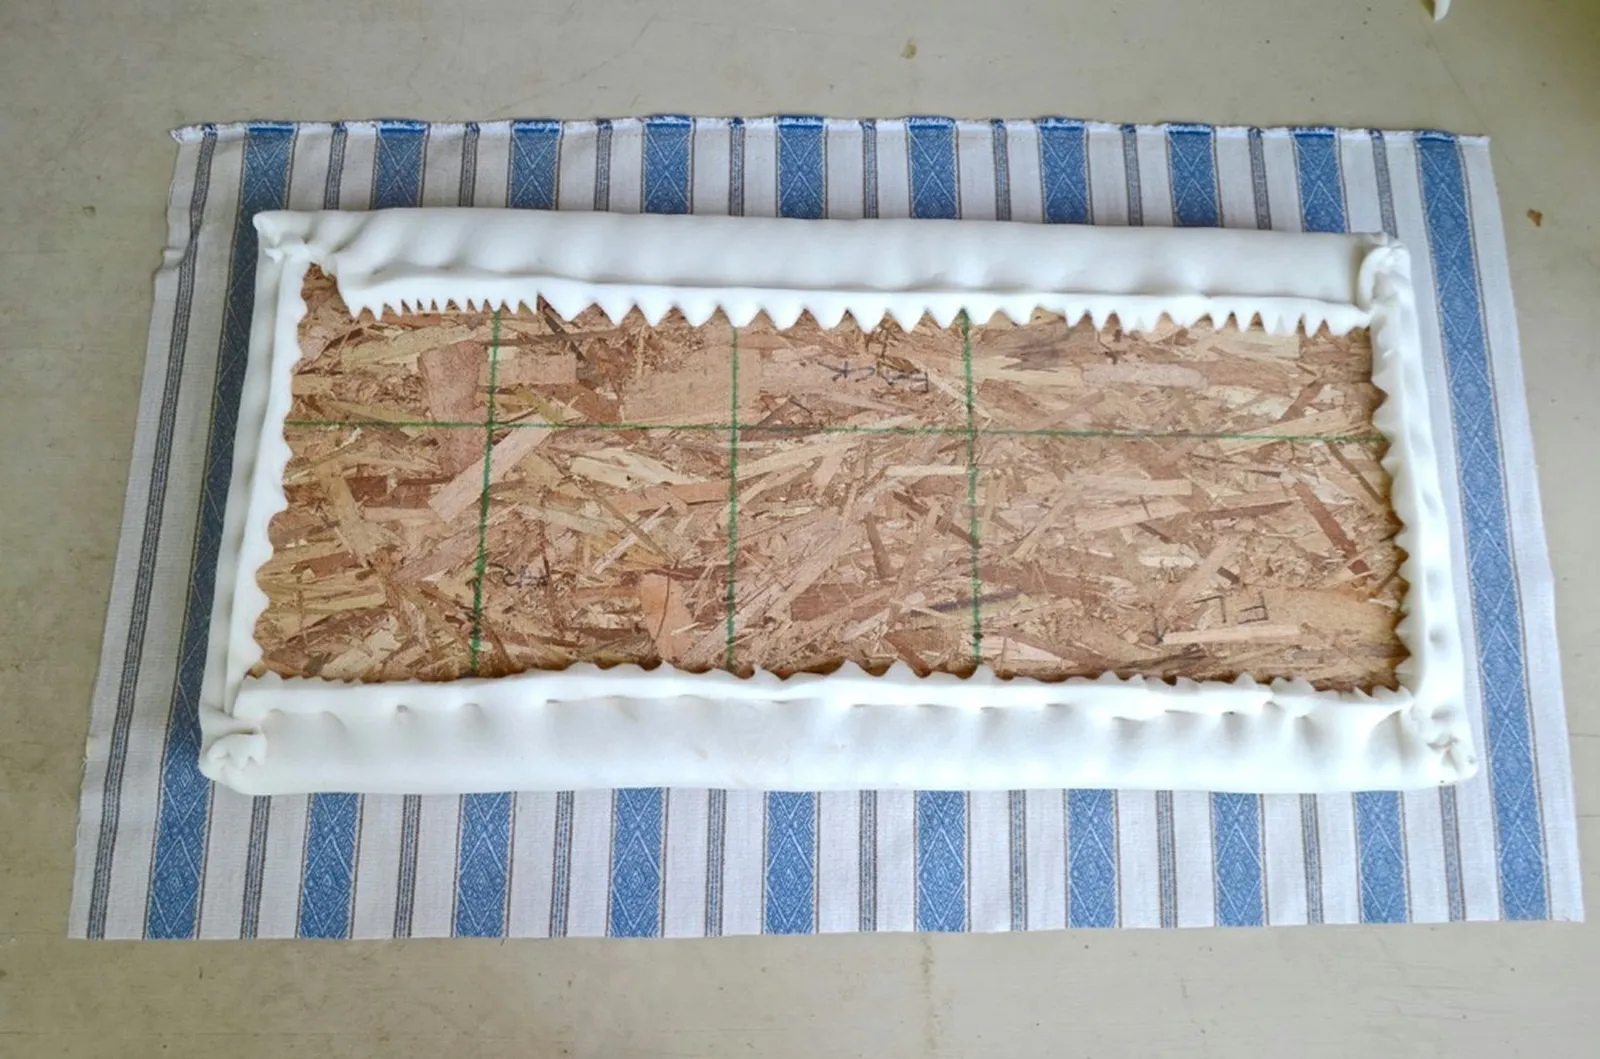
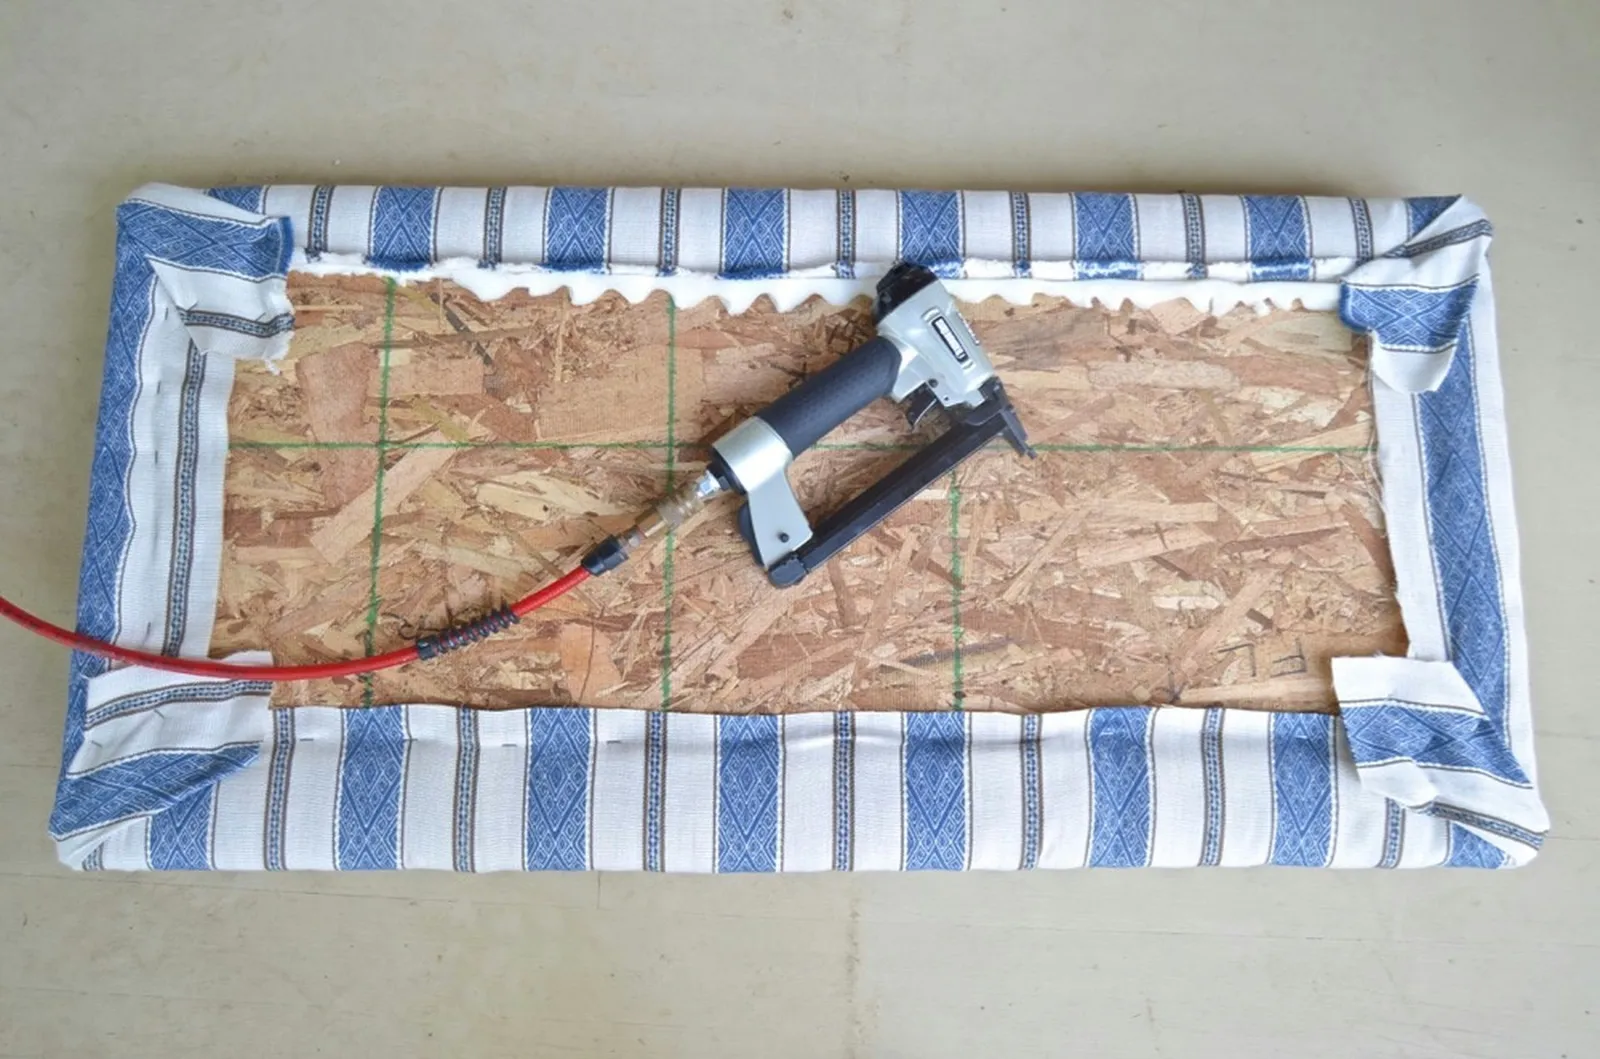
Pull the fabric snugly around the seat and fasten it to the underside of the plywood with a staple gun. Start in the middle and move side to side, pulling the fabric as smooth and tight as you can around the foam.
Step 7: Add Piping (Optional)
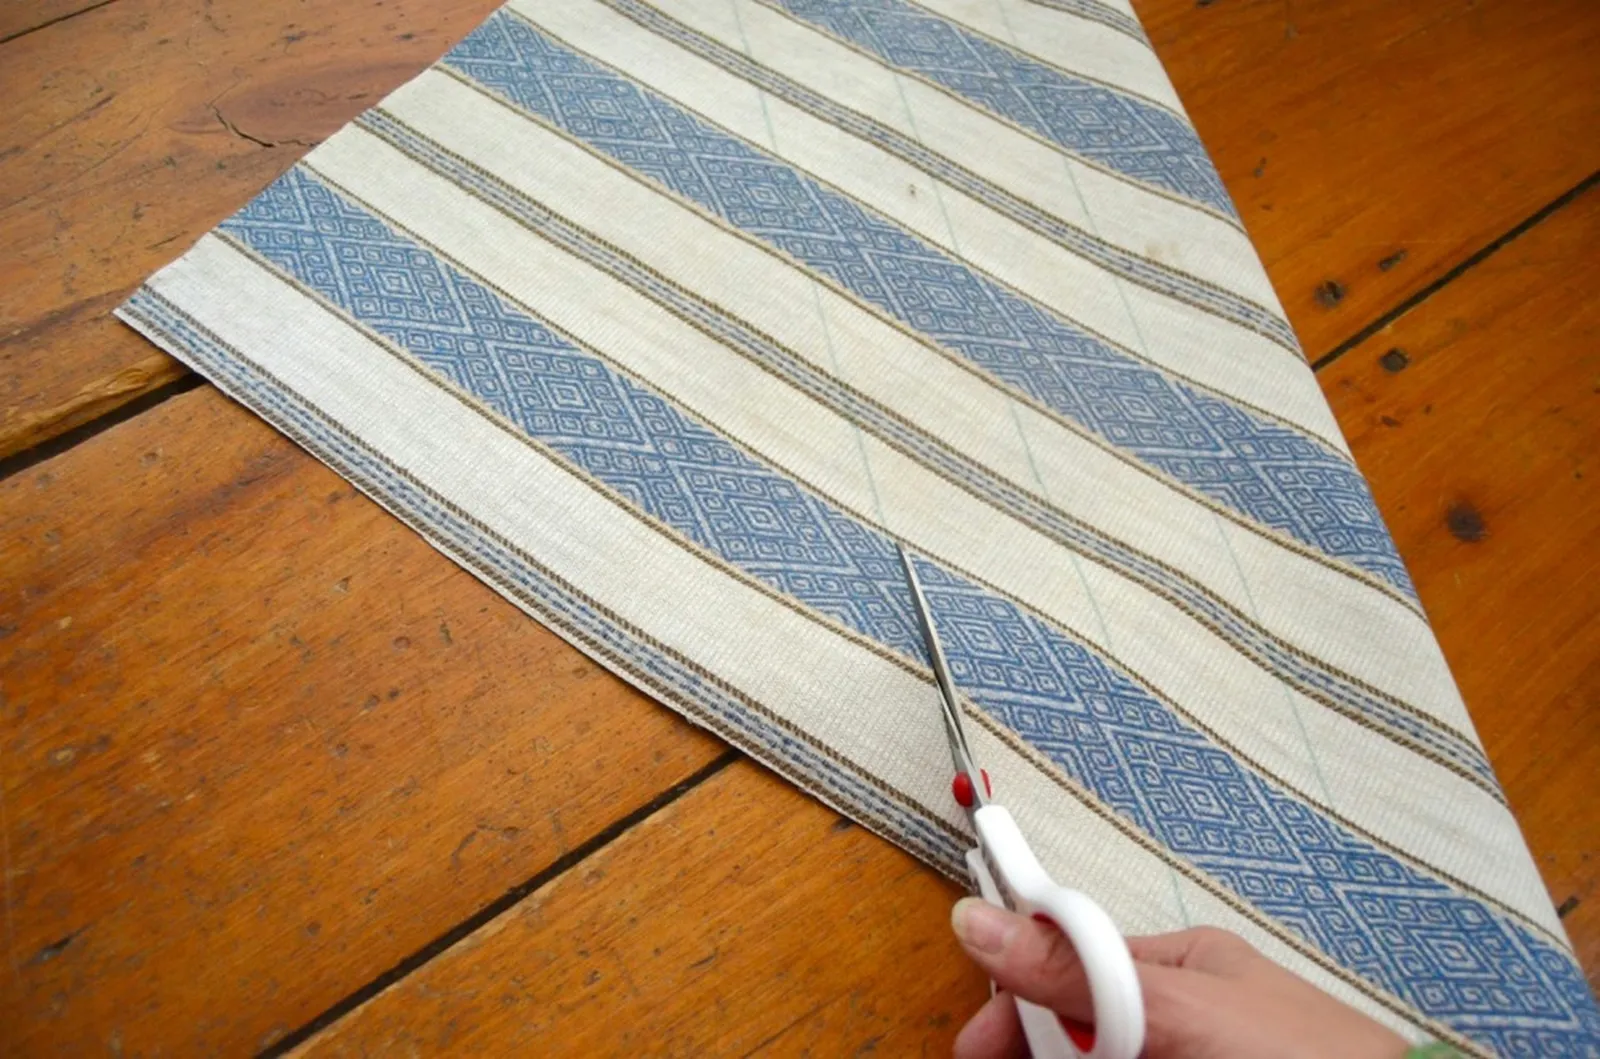
To make piping, cut 2-inch-wide fabric strips on the diagonal across the pattern.
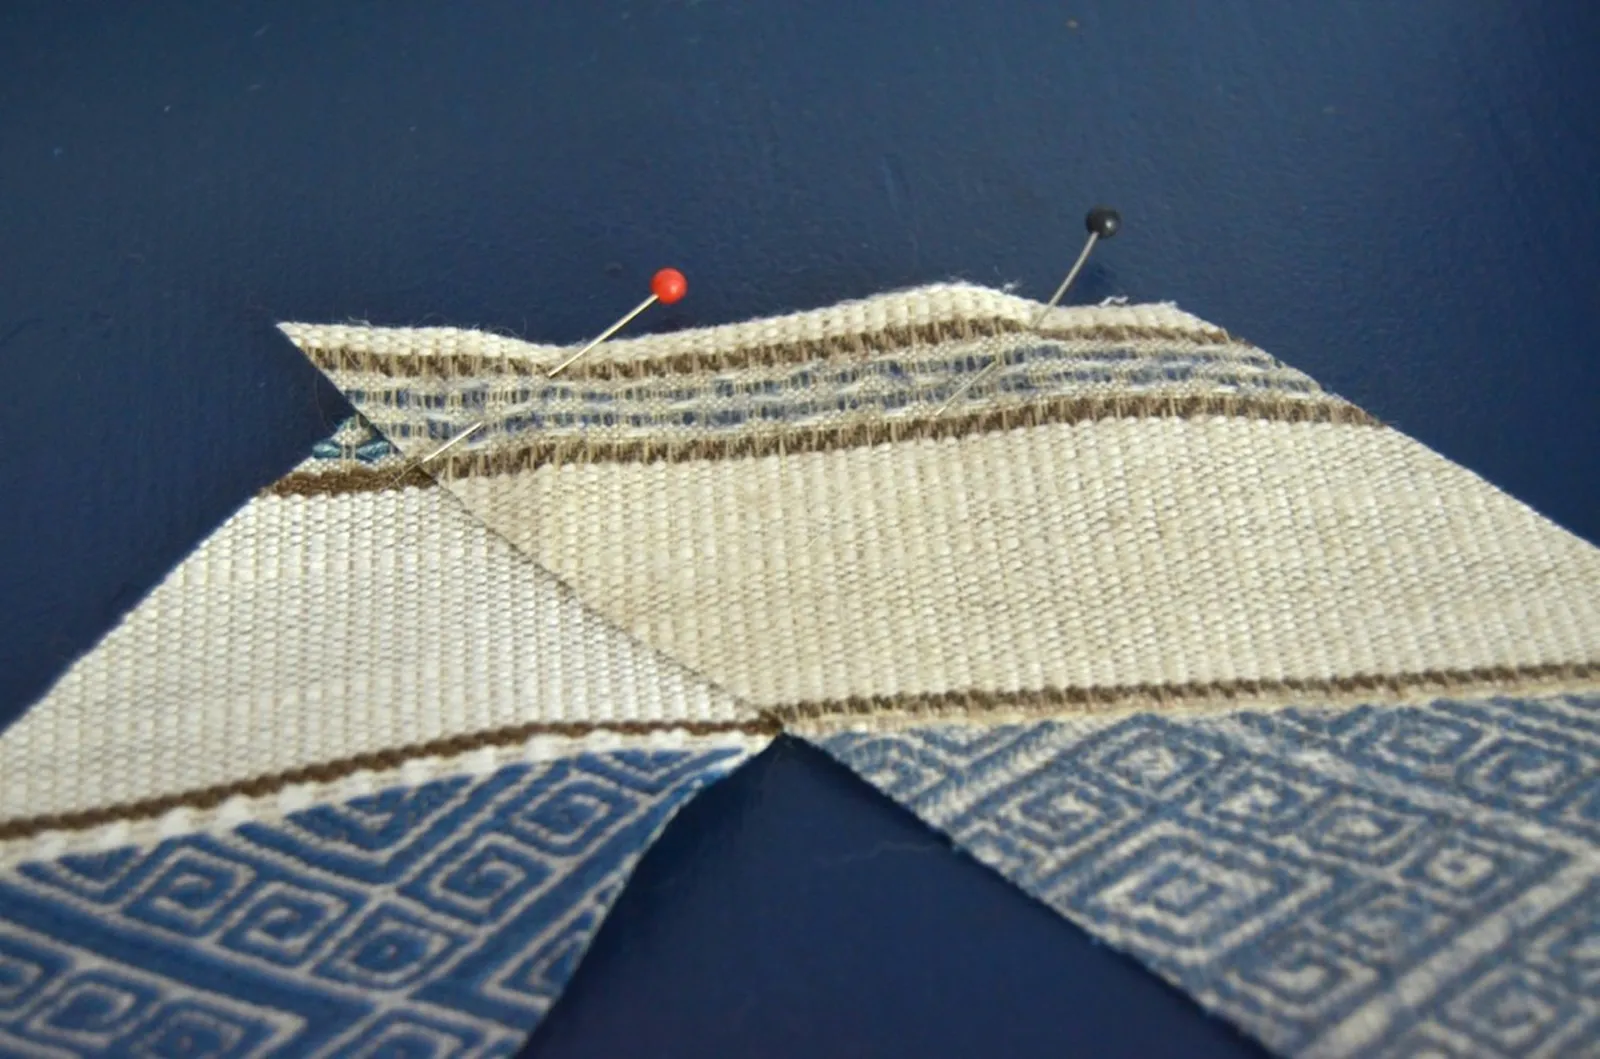
Sew the strips together end to end.
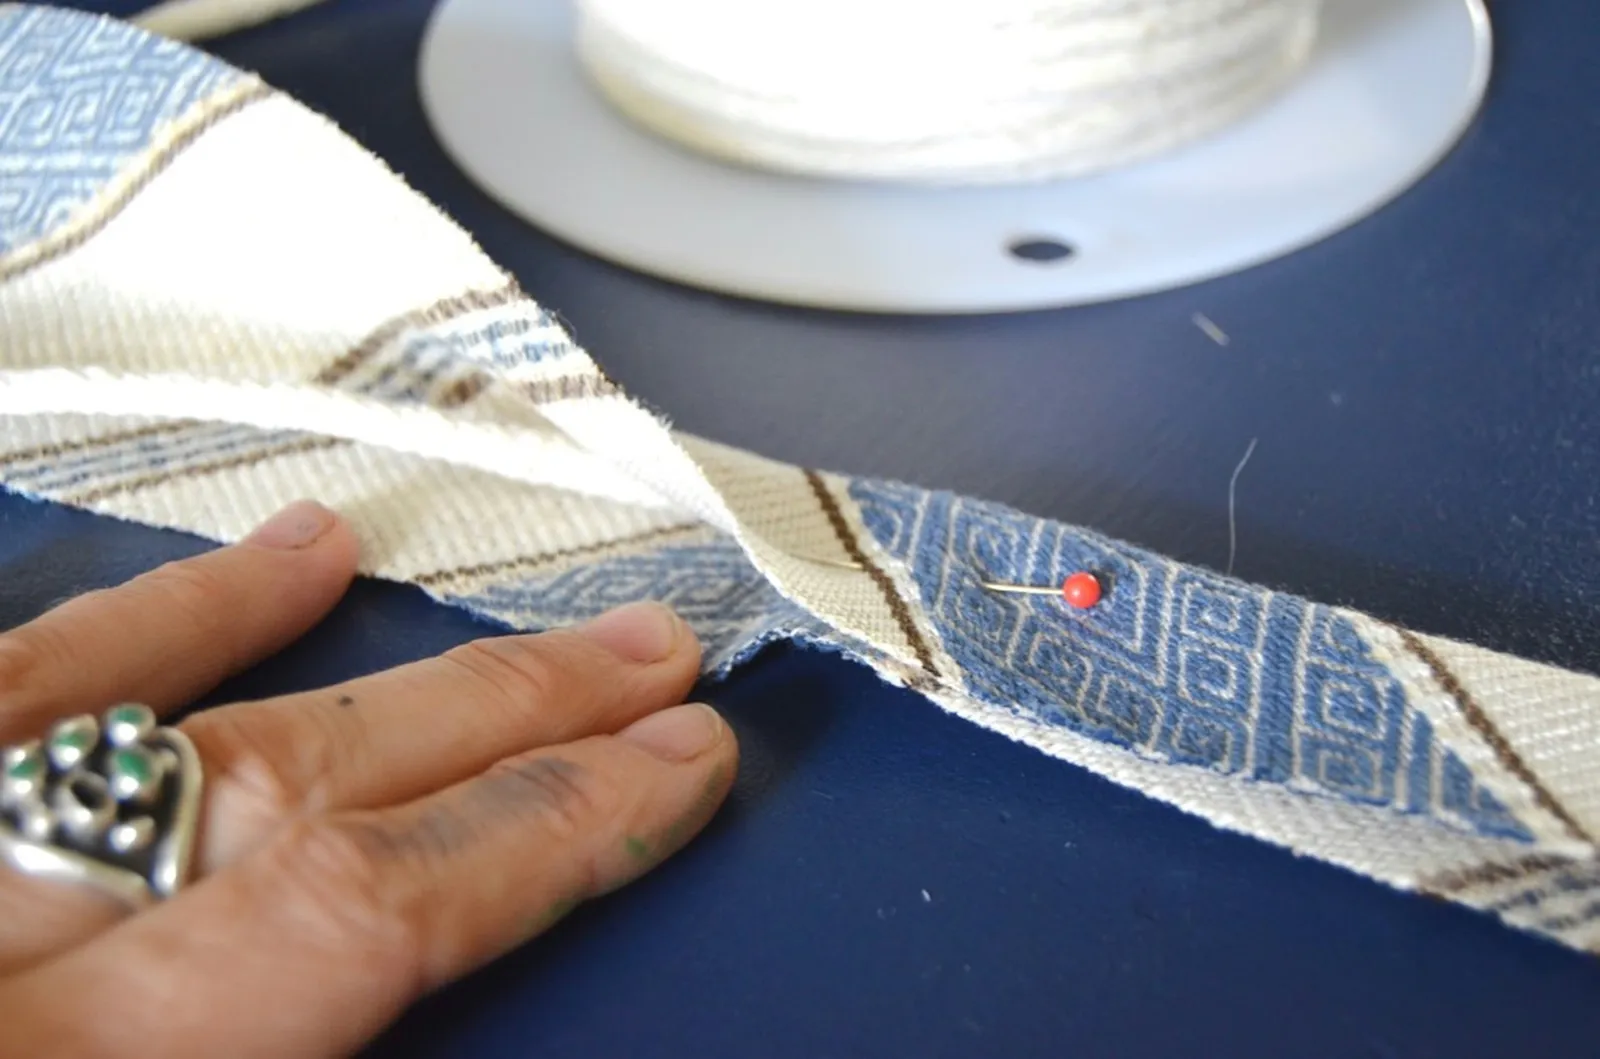
Fold the bias strips around the piping cord and sew the fabric closed as close to the cord as possible.
Step 8: Secure the Seat to the Bench
Screw the inside corner braces onto the bench's frame members—one on each side frame, one on the front frame, and one on the cross beam.
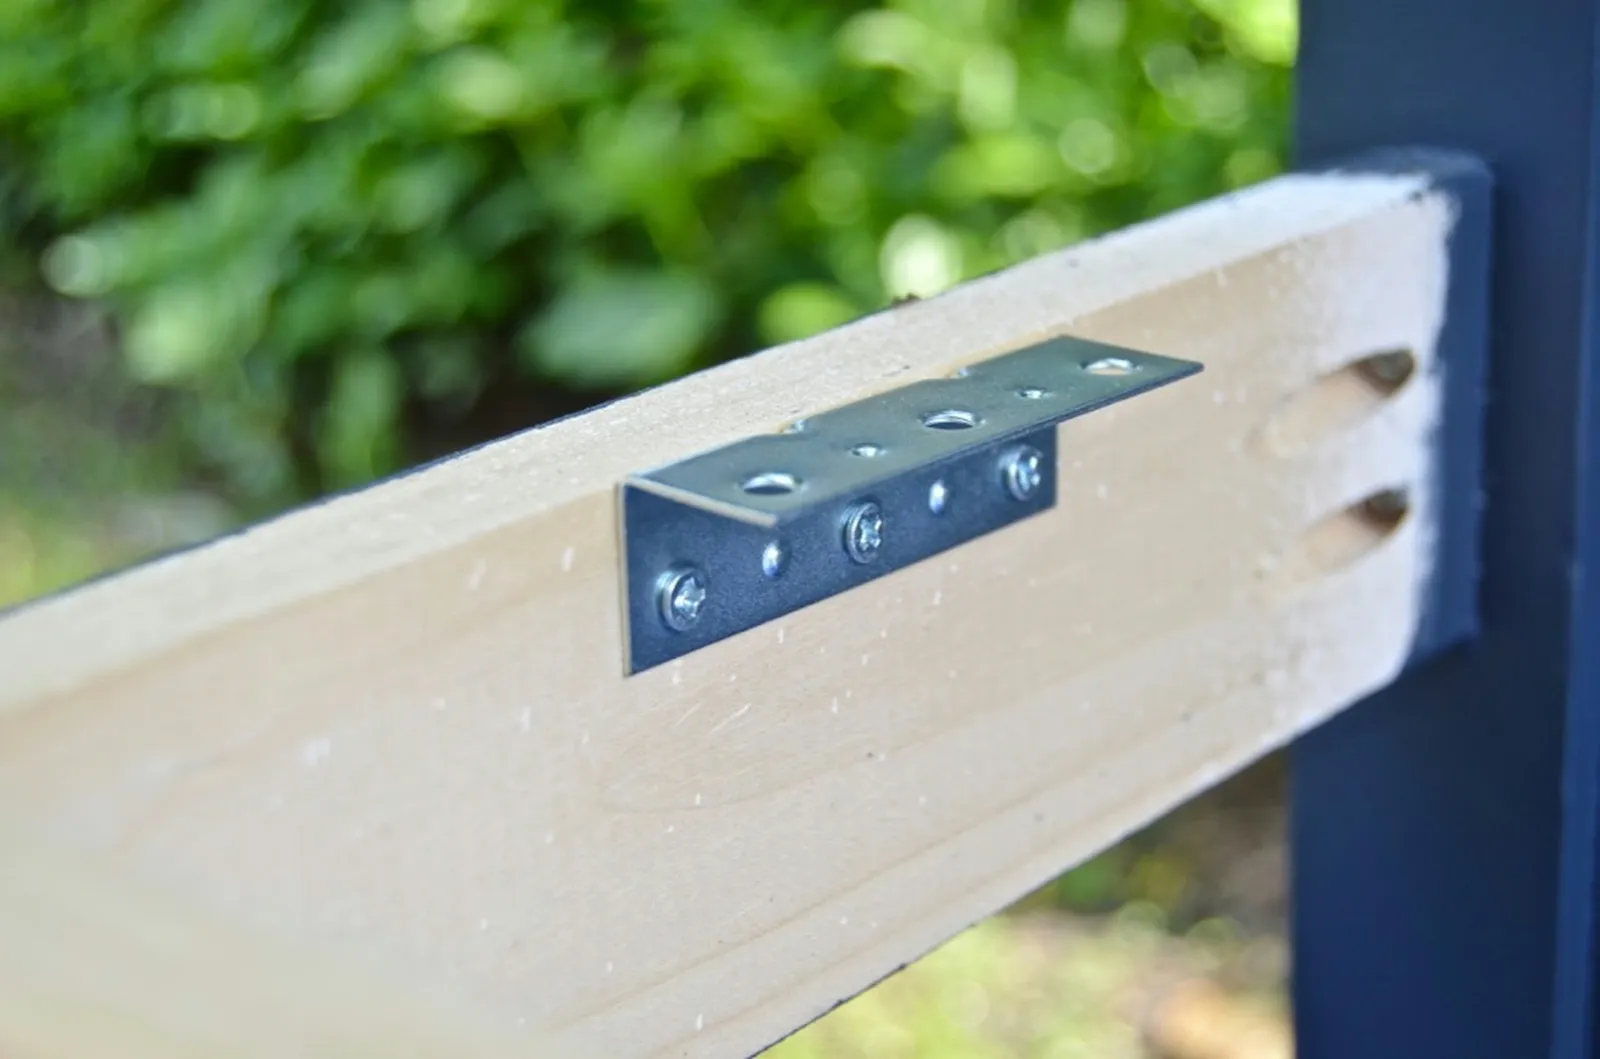
Set the upholstered seat on the bench and fasten it by driving screws up through the inside corner braces into the plywood seat base.
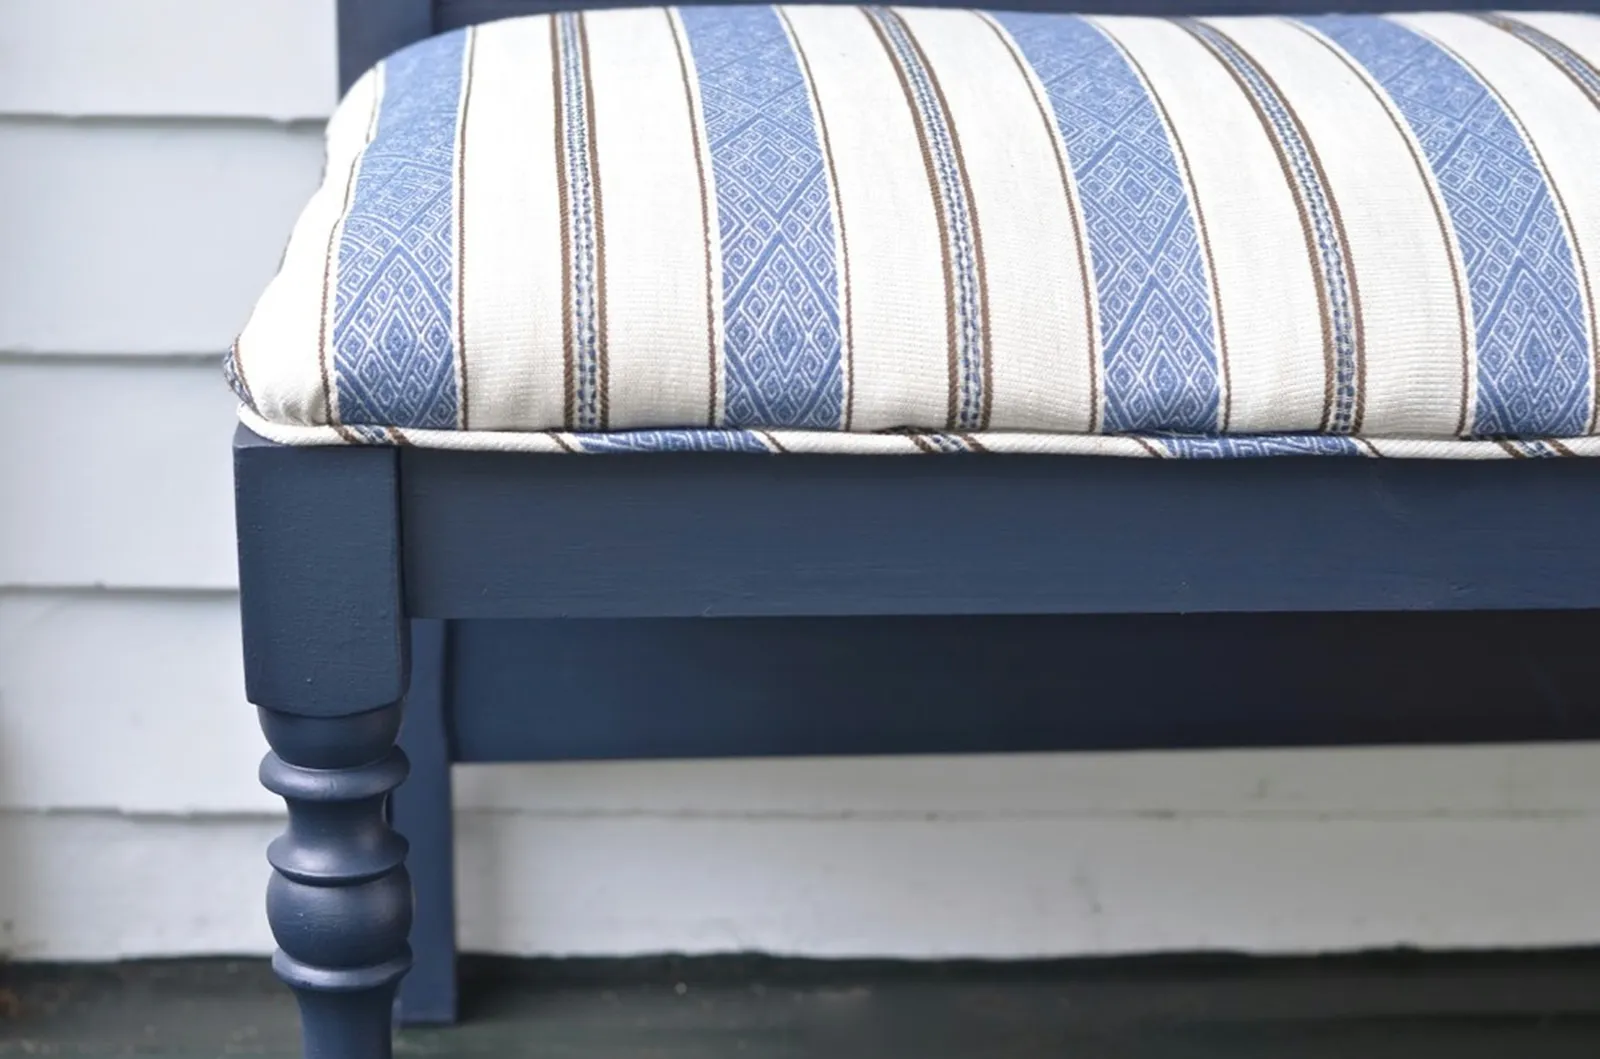
Your project is done. This bench was assembled in a single afternoon. With a salvaged headboard and a few supplies, you can create your own chic upholstered seat.
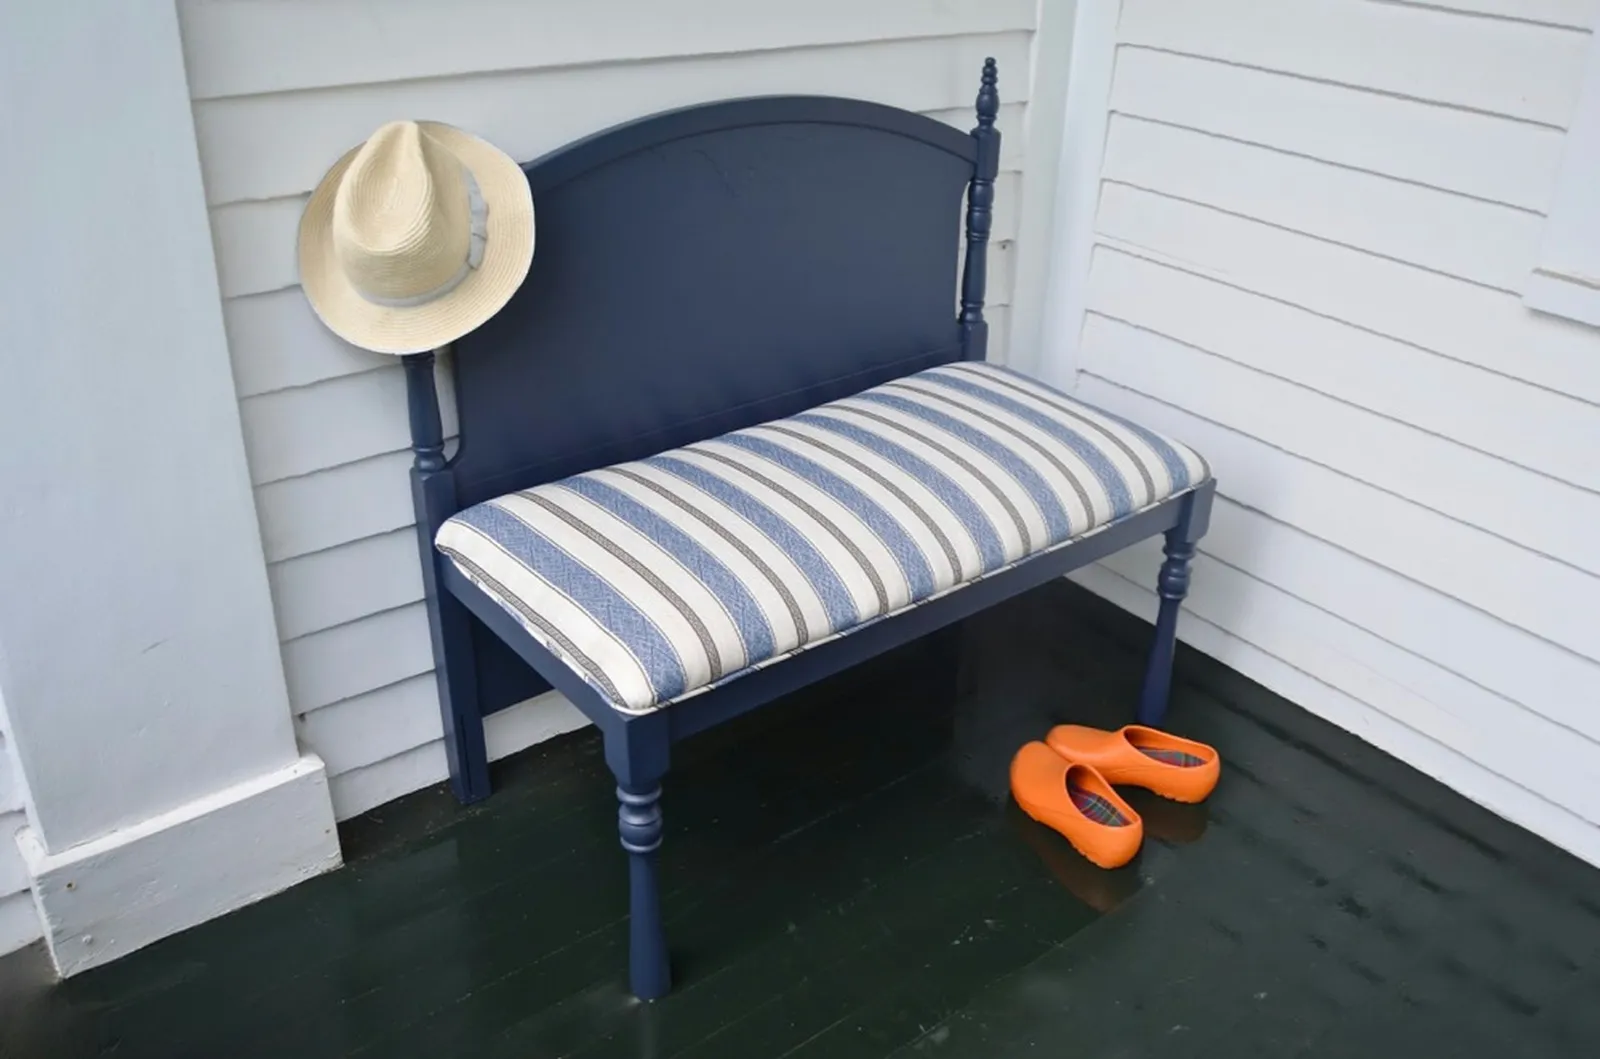
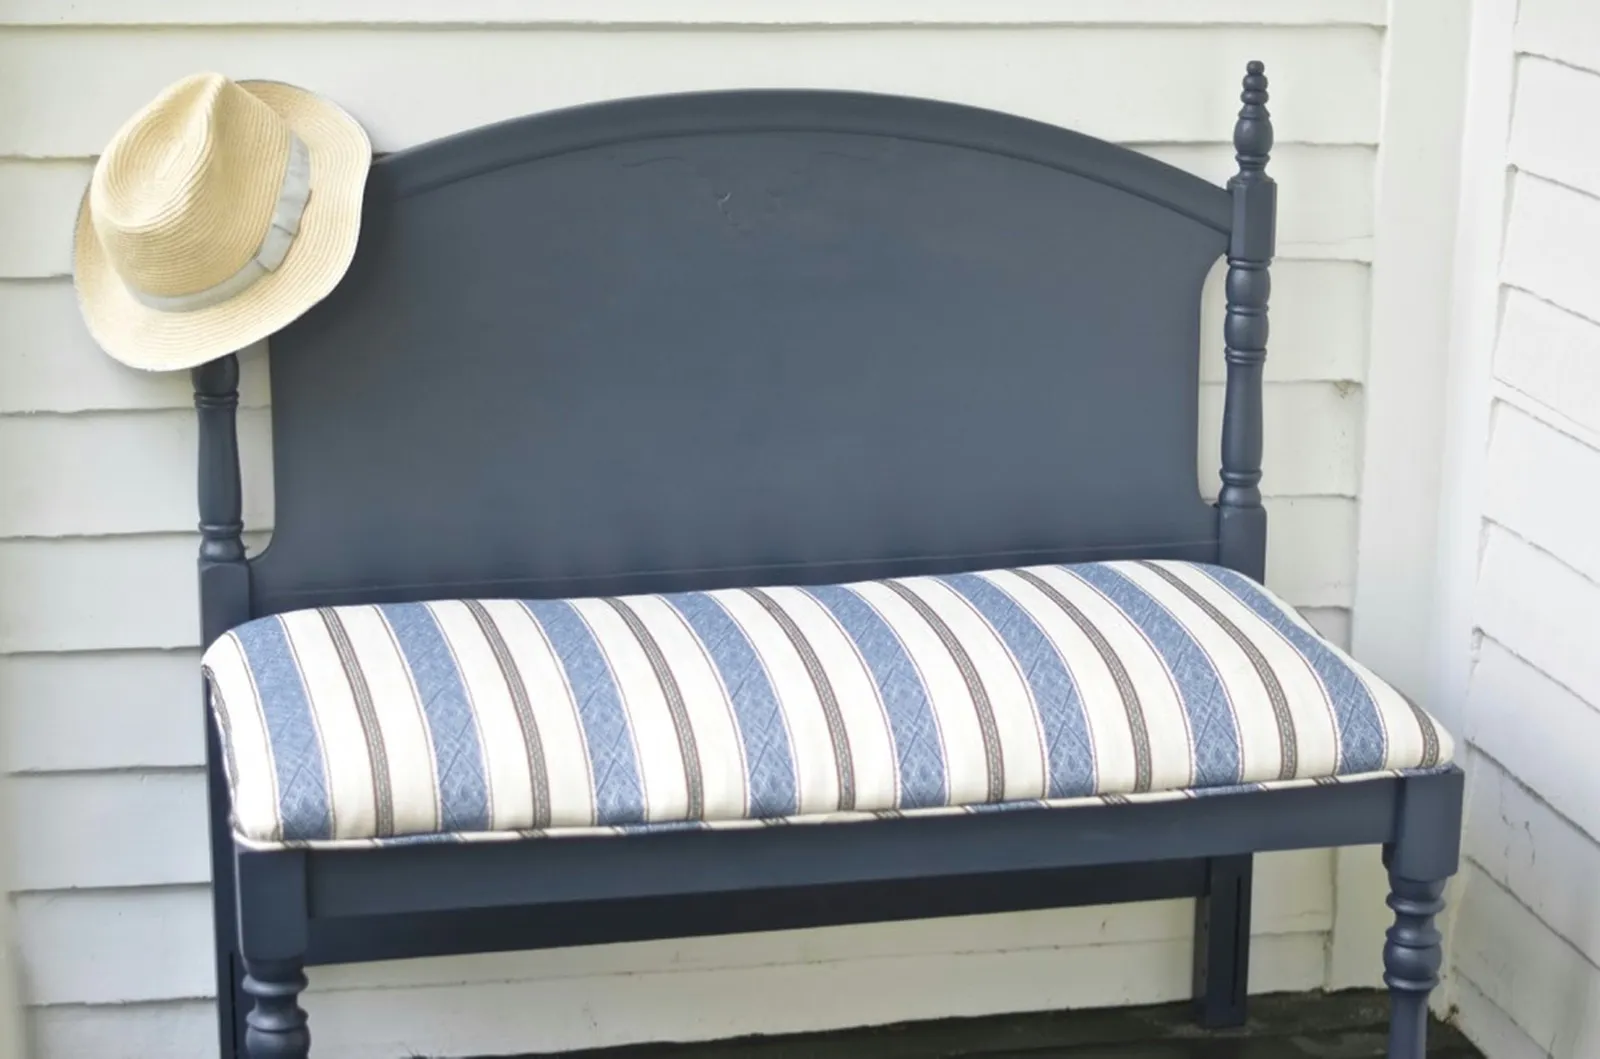
The bench's clean lines and compact size allow it to fit in many spots around the home. Whether placed in a room, at a dining table, or on a front porch, it's a straightforward way to give a discarded headboard a new purpose.