Two Ways to Harden Salt Dough Creations: Oven vs. Air
Salt dough offers a safe, non-toxic option for kids' crafts, letting them build figures, jewelry, or ornaments and reuse the dough as needed. Drying can be done in the oven or by letting pieces sit out in the air; the oven approach tends to preserve finished items longer and reduces the chance of bubbling.
By Logan Hill5 steps
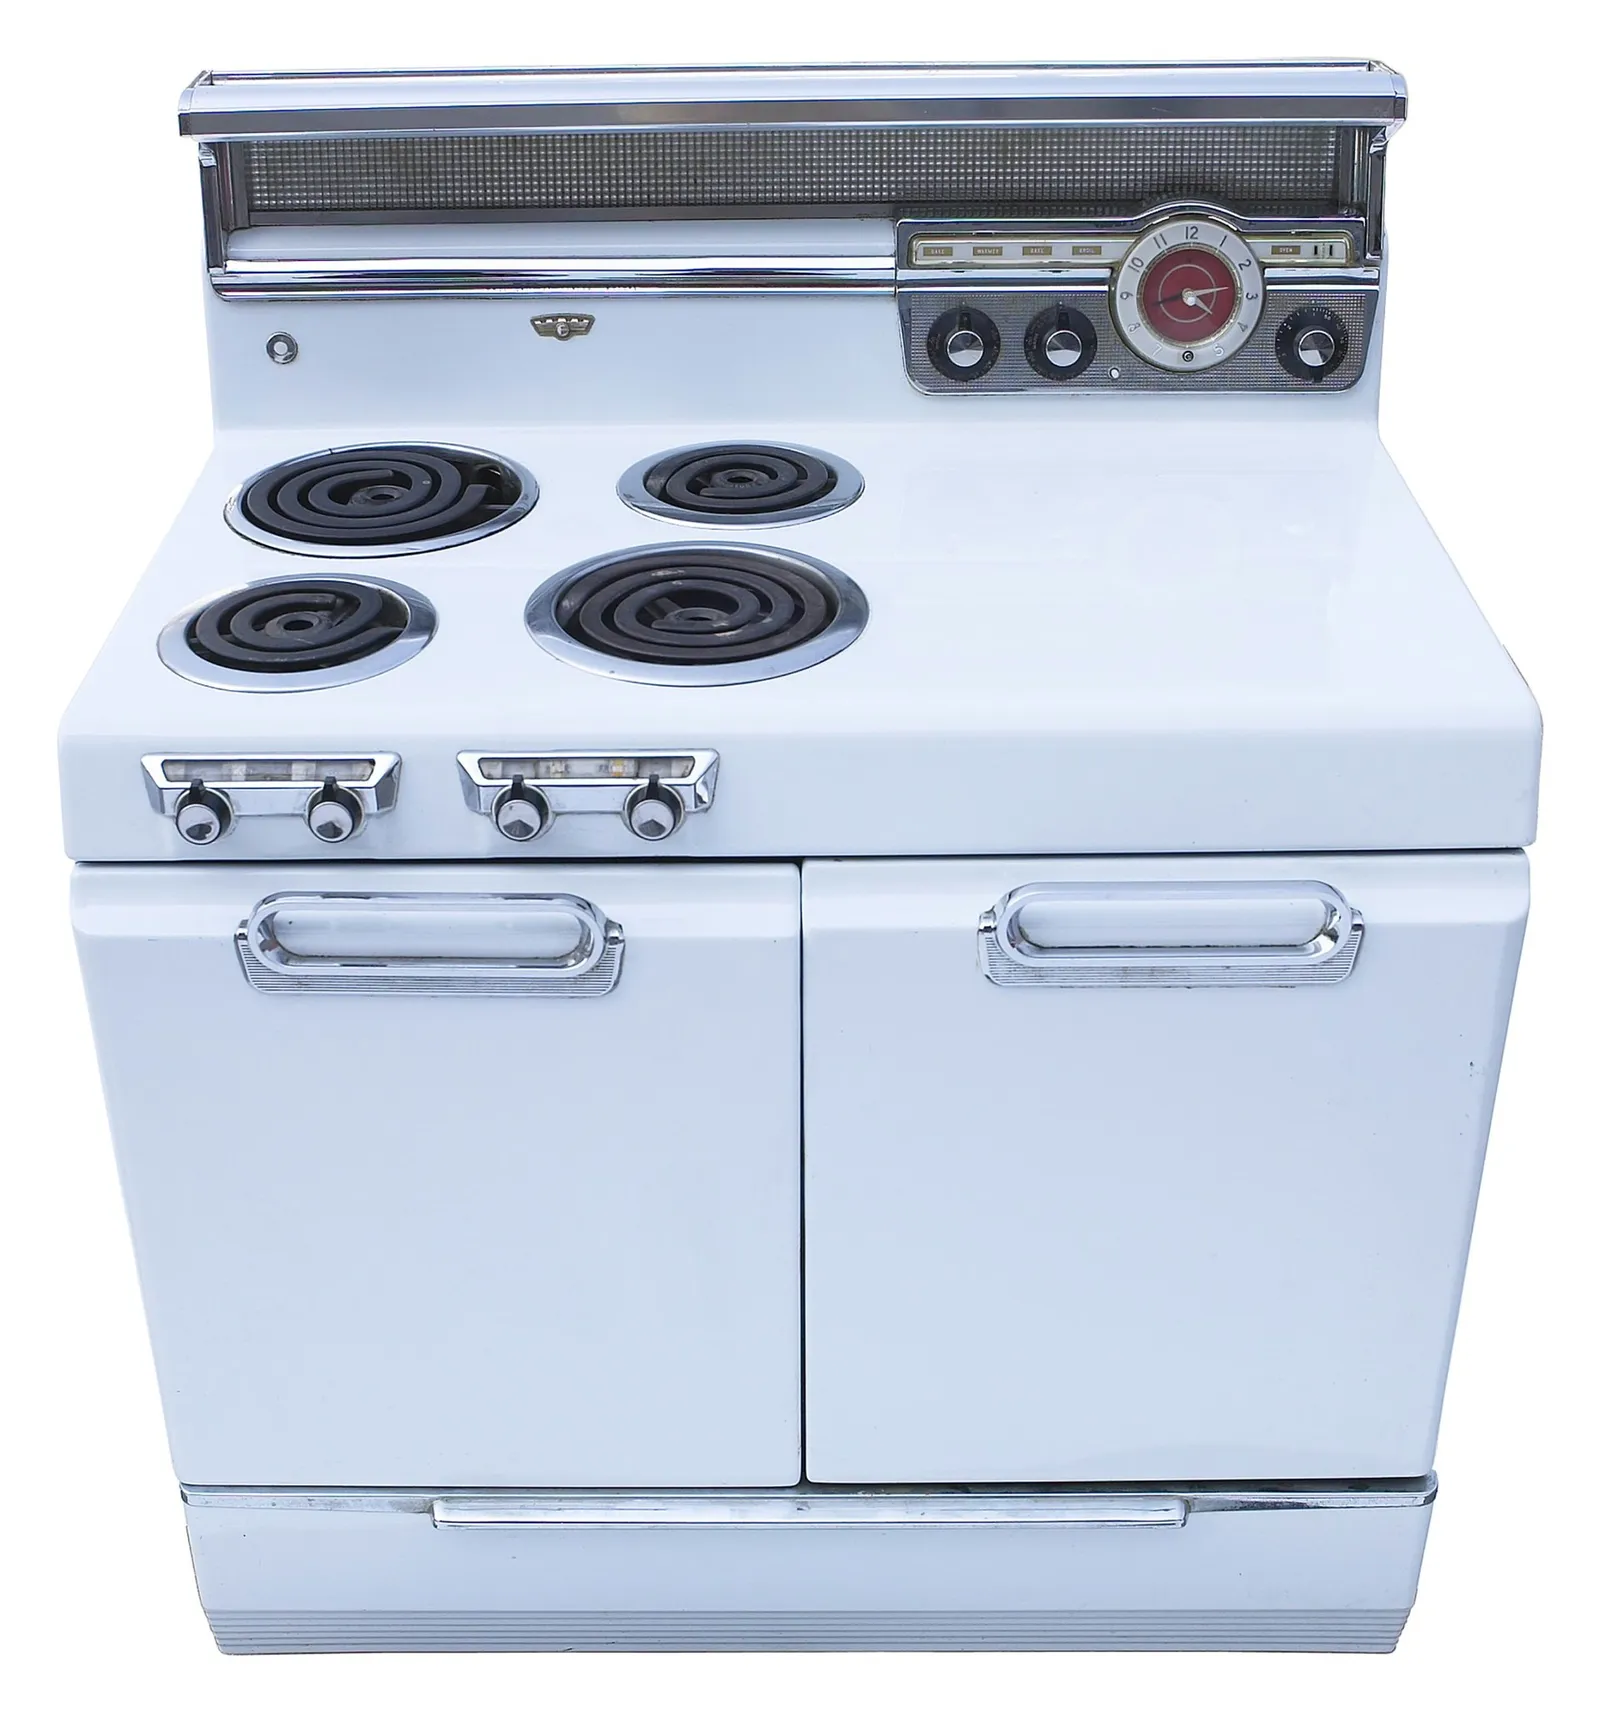
Dry salt dough in your oven.
Because it contains no toxic ingredients, salt dough works well as a craft material for kids. They can shape it again and again, keep it stored in between play sessions, or use it to create ornaments, jewelry, and three-dimensional figures. When it comes to drying the finished pieces, the two most frequently used approaches are oven drying and air drying. Of the two, oven drying is preferable: it helps creations last longer and is less likely to produce bubbles.
Step 1
Set your oven rack to the center position. Heat the oven to 250 degrees Fahrenheit.
Step 2
Cover a baking sheet with parchment paper. Arrange your salt dough pieces on the sheet, spacing them apart.
Step 3
Put the baking sheet holding the salt dough pieces onto the center rack of the oven. Shut the oven door and let the pieces cure for no less than 30 minutes before you check on them.
Step 4
Wearing oven mitts, take the baking sheet out of the oven. For larger pieces, rotate them every 30 minutes so they cook evenly. Smaller pieces do not need to be turned.
Step 5
Smaller salt dough pieces need three hours of cooking, while larger ones require four hours. Once the time is up, remove the baking sheet from the oven. Let the salt dough pieces cool down fully before lifting them off the tray.