Making Vinyl Decals Adhere More Effectively
Vinyl stickers can enhance the look of a car or a room, but their staying power depends on proper surface preparation and application. This guide walks through the steps for both automotive and wall surfaces, including the tools you'll need and the techniques that help the adhesive bond securely.
By Reese Wilson6 steps
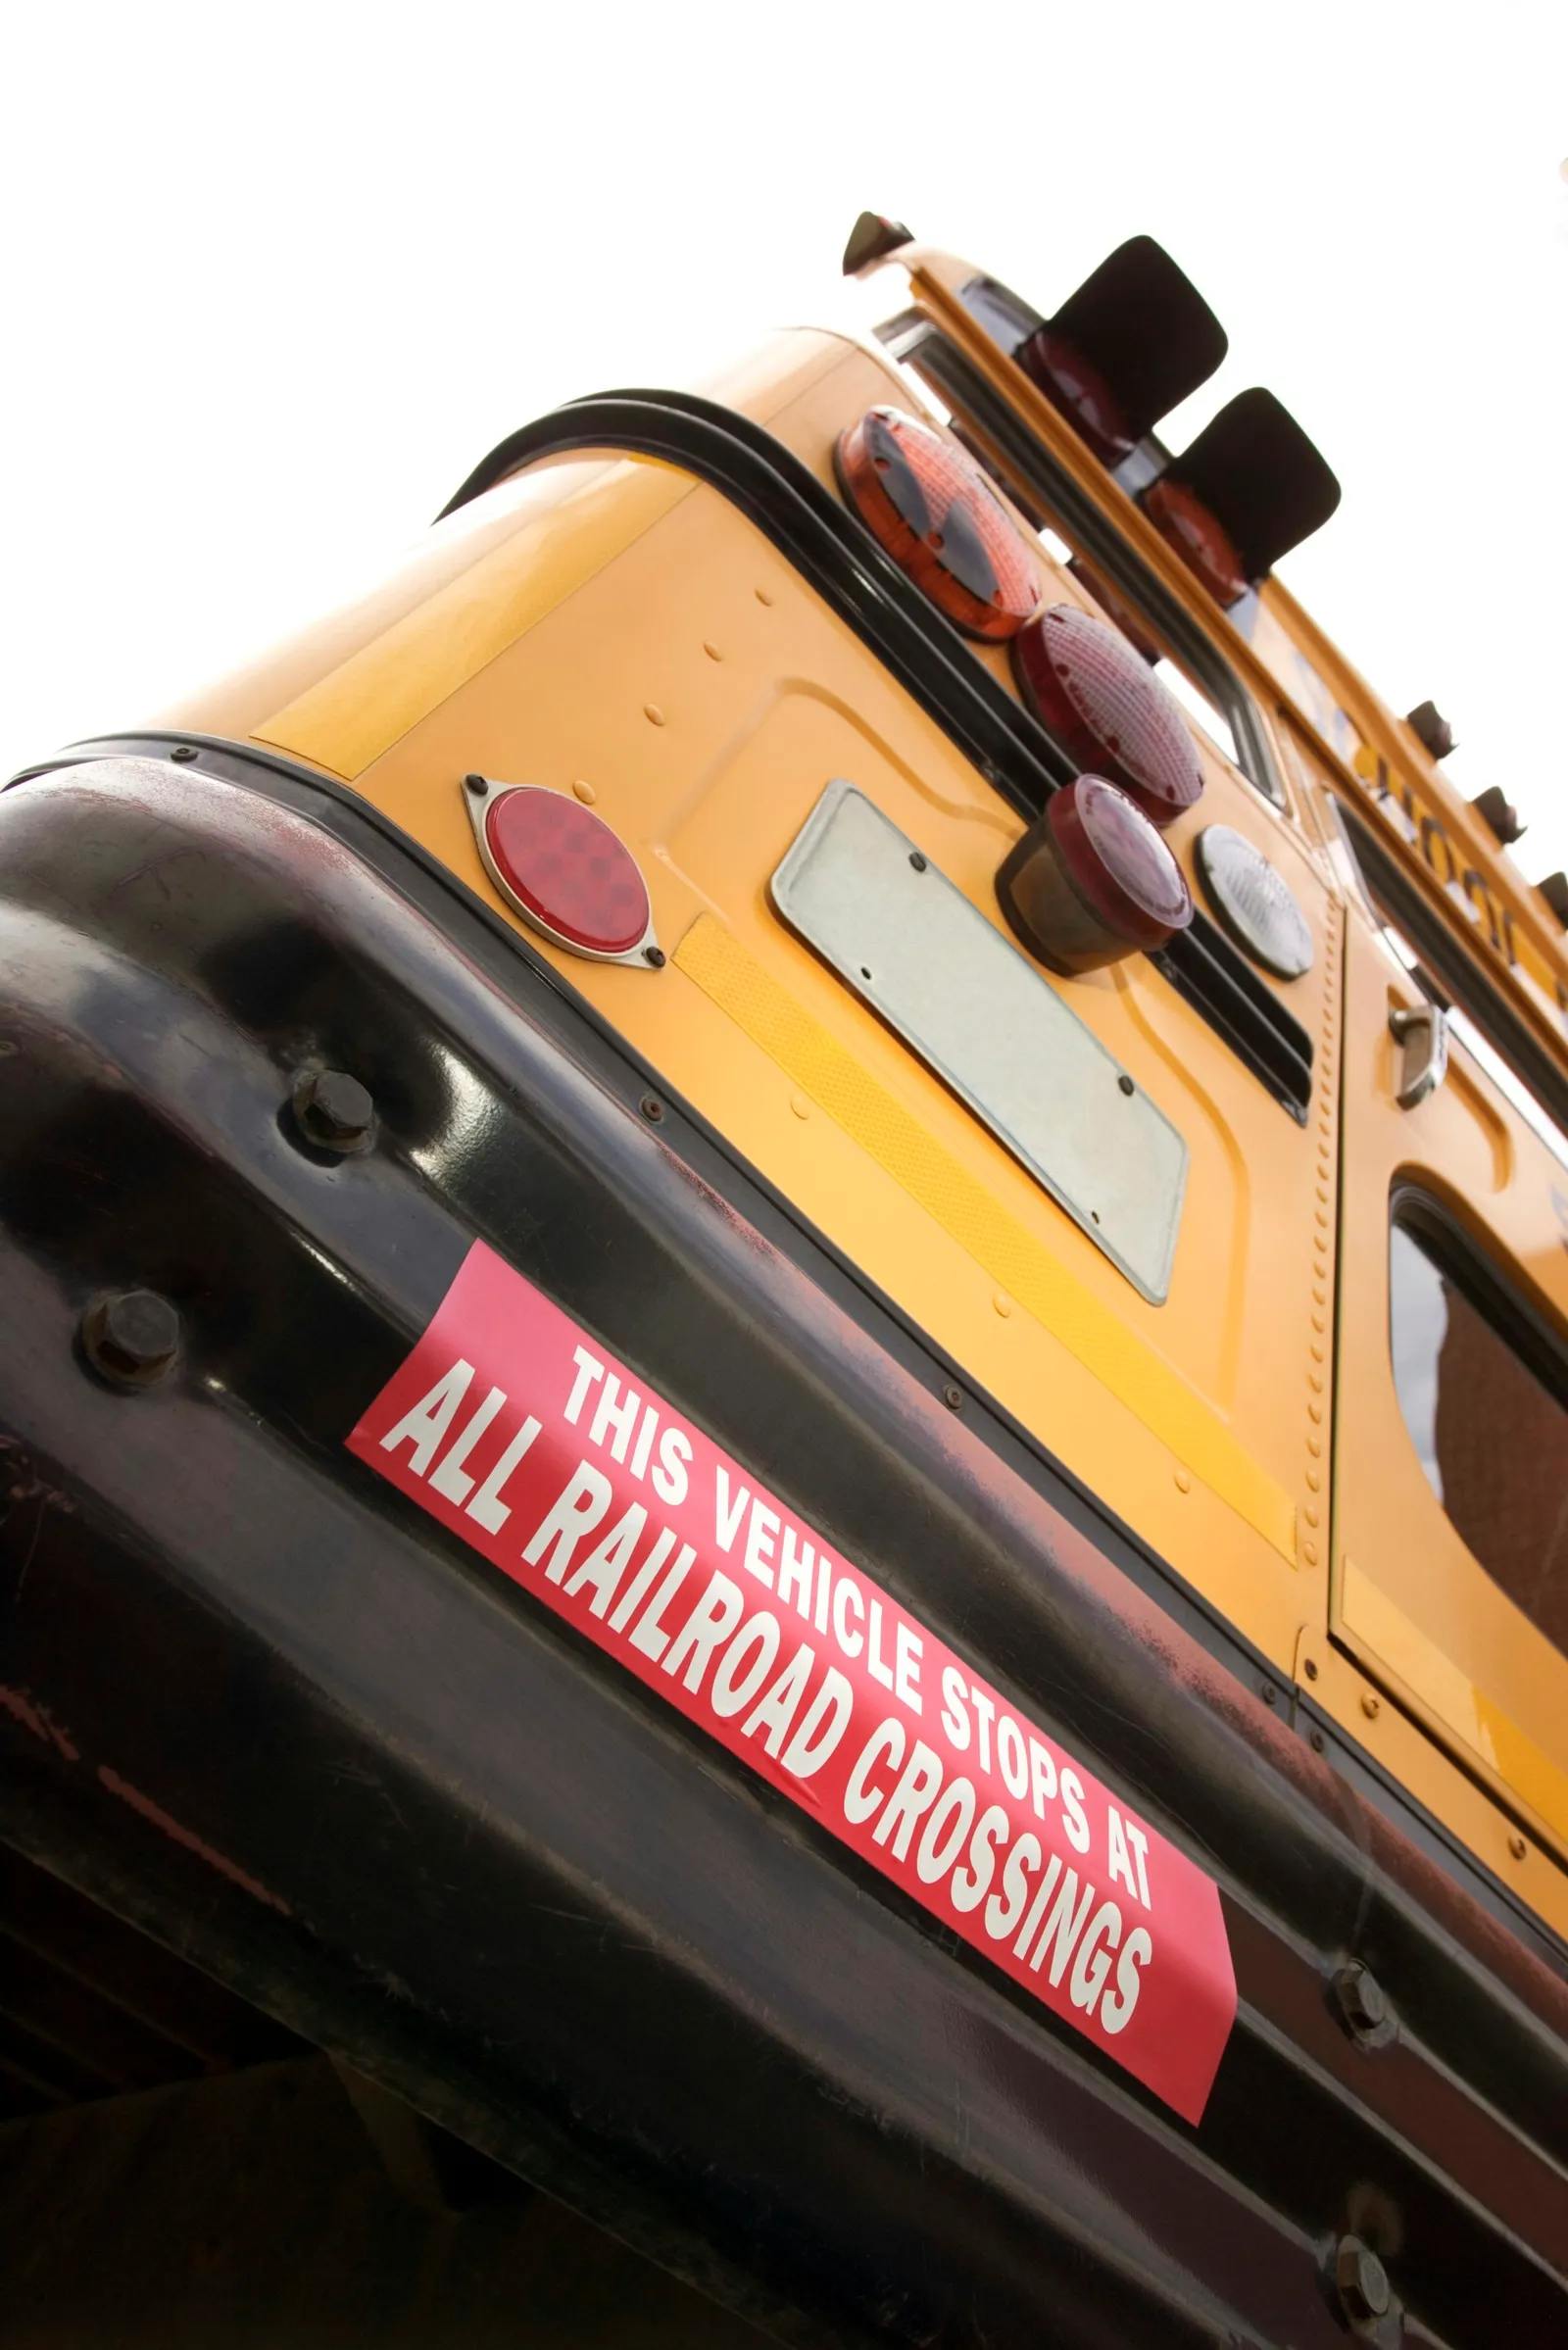
Give warnings to fellow drivers via vinyl stickers.
Vinyl stickers offer a fun, artistic way to spruce up a car or an interior wall. For them to look sharp and stay put on a bumper, proper adhesion is key. Similarly, placing a rock and roll sticker on a bedroom wall can show off your musical taste and give the room a personal touch.
Step 1
During summer, park in a shaded spot so direct sun doesn't heat up the metal or glass. Choose a cooler part of the day, like early morning or evening, to apply the sticker to your bumper. In winter, aim for the warmth of midday. Both hot and cold extremes can weaken how well the sticker sticks.
Step 2
Wash the bumper or rear window glass using warm water and a little mild liquid dish soap. Scrub the area where the sticker will go with a wet sponge. Then dry it with a lint-free cloth. A clean surface helps the sticker bond more strongly.
Step 3
Moisten a second lint-free cloth with rubbing alcohol. Wipe it once across the cleaned area in a single direction. The alcohol keeps dirt, dust, or debris from settling on the spot before you apply the sticker. Press the sticker evenly onto the clean surface.
Step 1
Use warm water and mild liquid dish soap to clean the wall. Rub a damp sponge over the area where the sticker will be placed. Dry with a lint-free cloth. Let the wall dry completely for two hours.
Step 2
Press the sticky side of the sticker firmly and flat against the wall.
Step 3
Take a dry rubber squeegee and run it over the exposed vinyl from right to left, applying firm pressure. Do this two or three times. The squeegee increases adhesive pressure and polishes the vinyl, bringing out a bright shine.