Building a Double Helix: Clay-Based DNA Model Construction
Deoxyribonucleic acid serves as the fundamental molecule of heredity, with its base sequence along the sugar-phosphate framework encoding instructions for biological functions. Constructing a physical representation of DNA's structure can aid in comprehending how the molecule operates during transcription and replication, as noted by the U.S. National Library of Medicine. Inexpensive materials such as colored modeling clay and floral wire make it possible to assemble a hands-on DNA model.
By Avery Evans7 steps
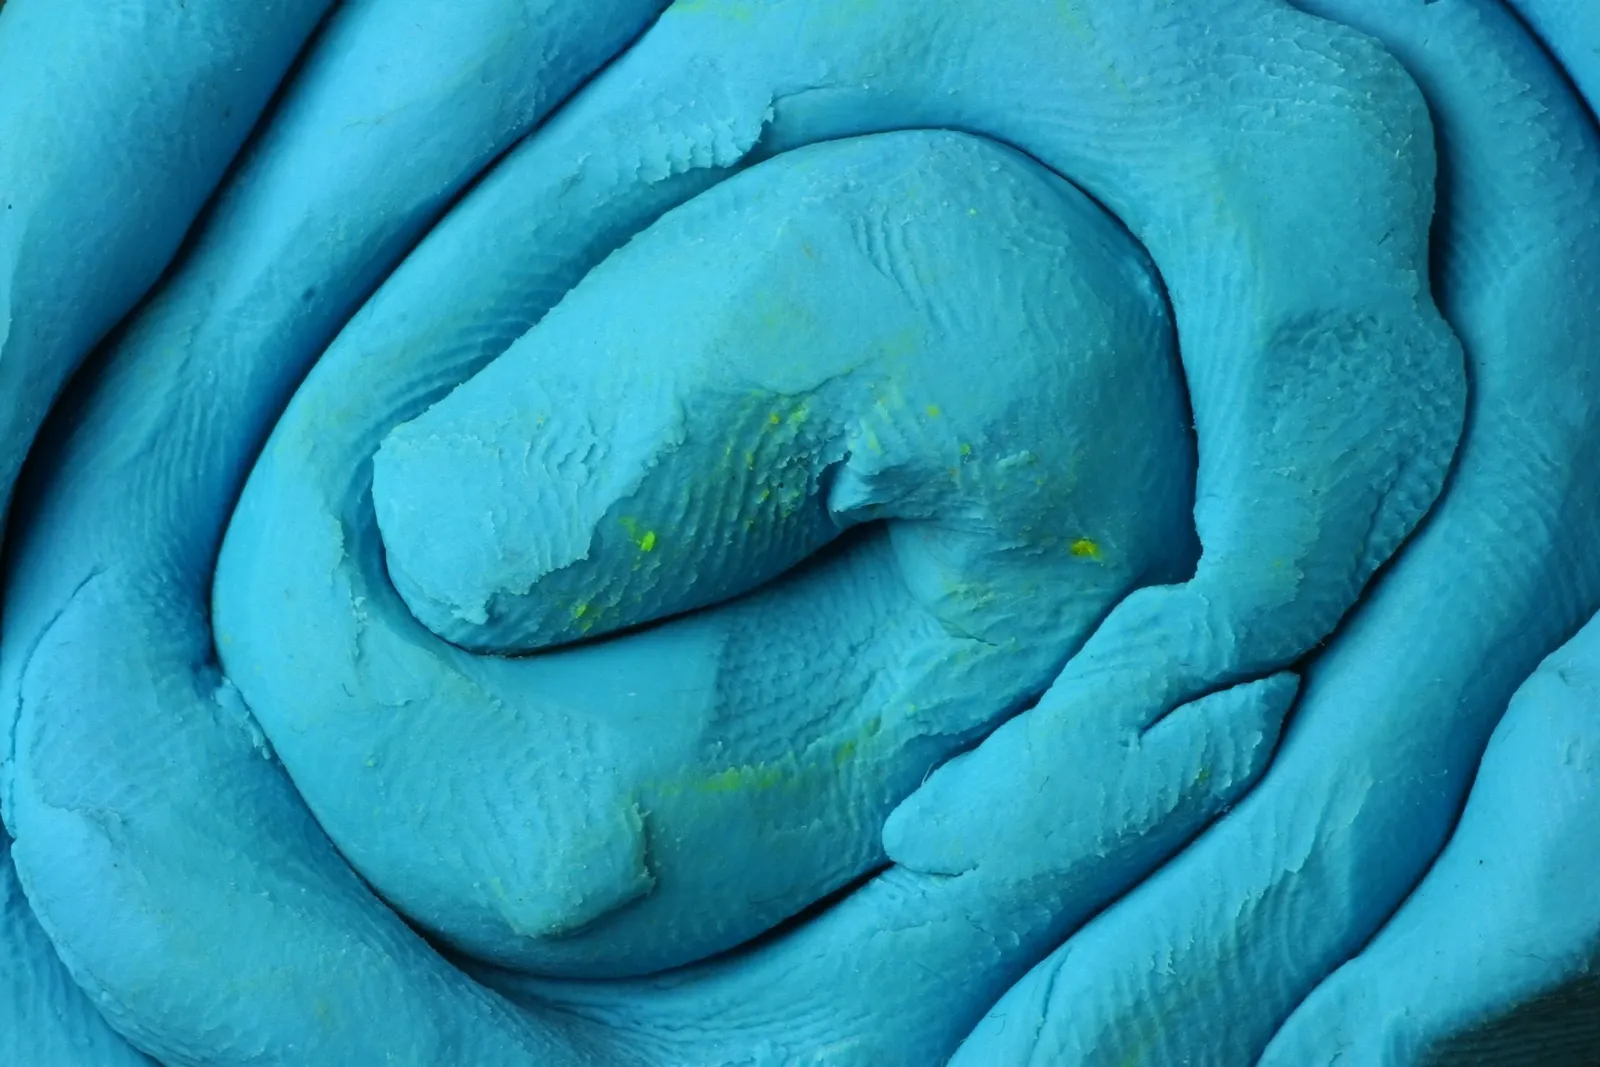
Deoxyribonucleic acid, commonly called DNA, is widely described as the fundamental molecule of life. The sequence of bases positioned along the deoxyribose-phosphate framework encodes the information required for biological processes. According to the U.S. National Library of Medicine, examining the DNA molecule's structure helps build a deeper understanding of how DNA functions during transcription and replication. One way to gain that understanding is by constructing a DNA model that can be physically handled and studied up close. Colored modeling clay and floral wire offer accessible, low-cost supplies for building such a model.
Step 1
Choose which colors will stand for each major part of the DNA molecule. As an example, black could be used for the deoxyribose backbone, white for the phosphate groups that connect deoxyribose units, red for adenine, blue for thymine, green for cytosine, and yellow for guanine.
Step 2
Take the black clay (or whichever color was selected for deoxyribose) and roll it into balls measuring three-quarter inch in diameter. Then roll the white clay, representing phosphate groups, into balls that are quarter-inch in diameter.
Step 3
Thread the black and white clay balls onto a piece of floral wire, alternating between the two colors. Repeat this process with a second length of floral wire. The first clay ball on both wires should be the same color, and the color pattern on the two wires should match up when they are held side by side. When done, leave at least one inch of bare wire at the end of each piece.
Step 4
Roll the red, blue, green, and yellow clay into balls that are half-inch in diameter. Push these balls onto toothpicks so that each toothpick carries a pair consisting of either adenine and thymine, or cytosine and guanine. With the color scheme described above, that means each toothpick gets a red ball paired with a blue one, or a yellow ball paired with a green one. Position the clay balls close to each end of the toothpick, leaving the middle section of the toothpick exposed.
Step 5
Take one toothpick with its clay balls and push one end into a black clay ball near the end of the first floral wire. Then push the other end of that toothpick into the corresponding black clay ball on the second floral wire.
Step 6
Keep adding toothpicks to the model, introducing a small twist between each one. To depict DNA in a relaxed state, make one full twist for every 10 to 11 base pairs. When viewing the DNA molecule from top to bottom, the twist at the top should rotate in a counter-clockwise direction.
Step 7
Gently push the exposed ends of the floral wire into the floral foam pad. How deep the wire needs to go depends on how long the floral wire is. If the model is large, a dowel rod might be necessary to provide additional support to the DNA model.