DIY Paper Coin Wrappers: A Step-by-Step Guide
Turn spare change into neat rolls using only printer paper and a few basic supplies. This method works for pennies, nickels, dimes, and quarters.
By Quinn Hayes
Coin rolls help you organize your loose change and add up your money.
Having loose change scattered around the house can seem like it adds up to very little. However, rolling that change in paper wrappers is an effective way to organize it and see its actual value. With standard printer paper, you can make your own coin wrappers, and when you have enough rolls, you can deposit them at the bank. For instance, a full roll of quarters amounts to $10.
The tutorial provided here shows you how to create wrappers in various sizes to fit whatever coins you have, whether they are pennies, nickels, quarters, or other denominations. So gather your coins and some printer paper, and let's begin rolling. Keep in mind that this guide is meant for typical U.S. coins, not rare or collectible ones that might require more careful handling.
1. Prepare your coins
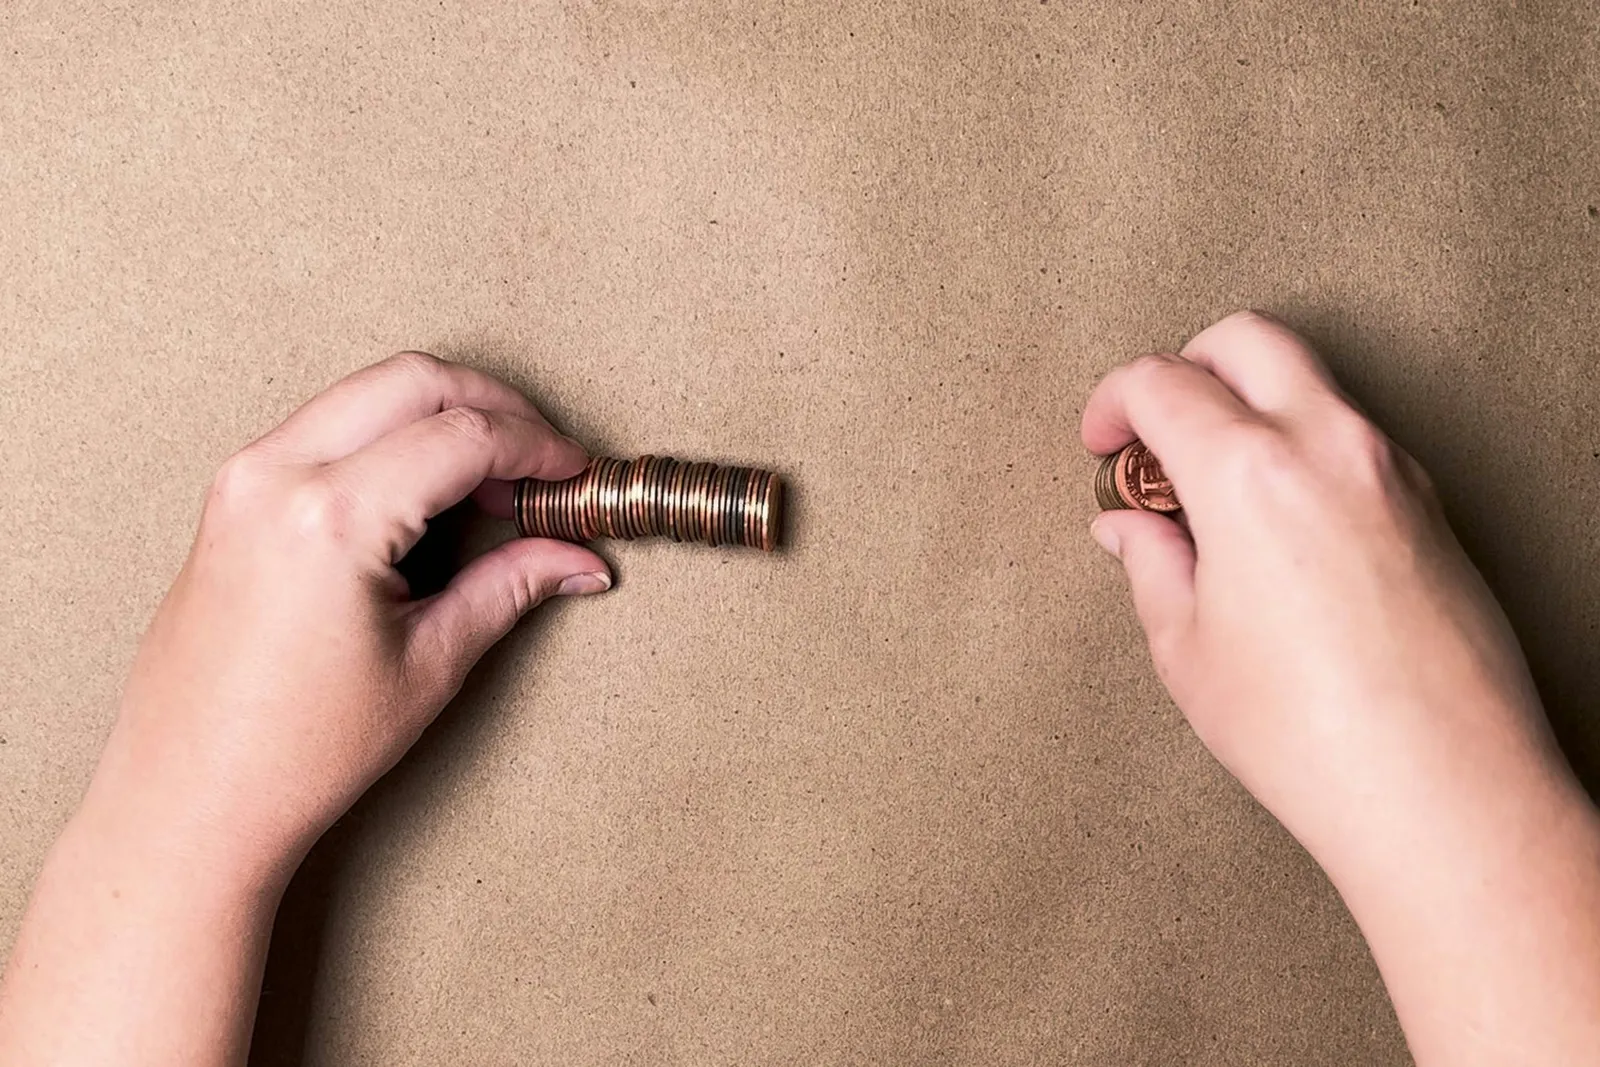
Determine how many coins are needed for a standard roll by consulting the list below. In this example, we are using 50 pennies.
Standard coin roll quantities
Refer to this quick reference to know how many coins to count for each roll type:
- Pennies: 50 coins
- Nickels: 40 coins
- Dimes: 50 coins
- Quarters: 40 coins
- Half-dollar coins: 20 coins
- One-dollar coins: 25 coins
2. Form a coin stack
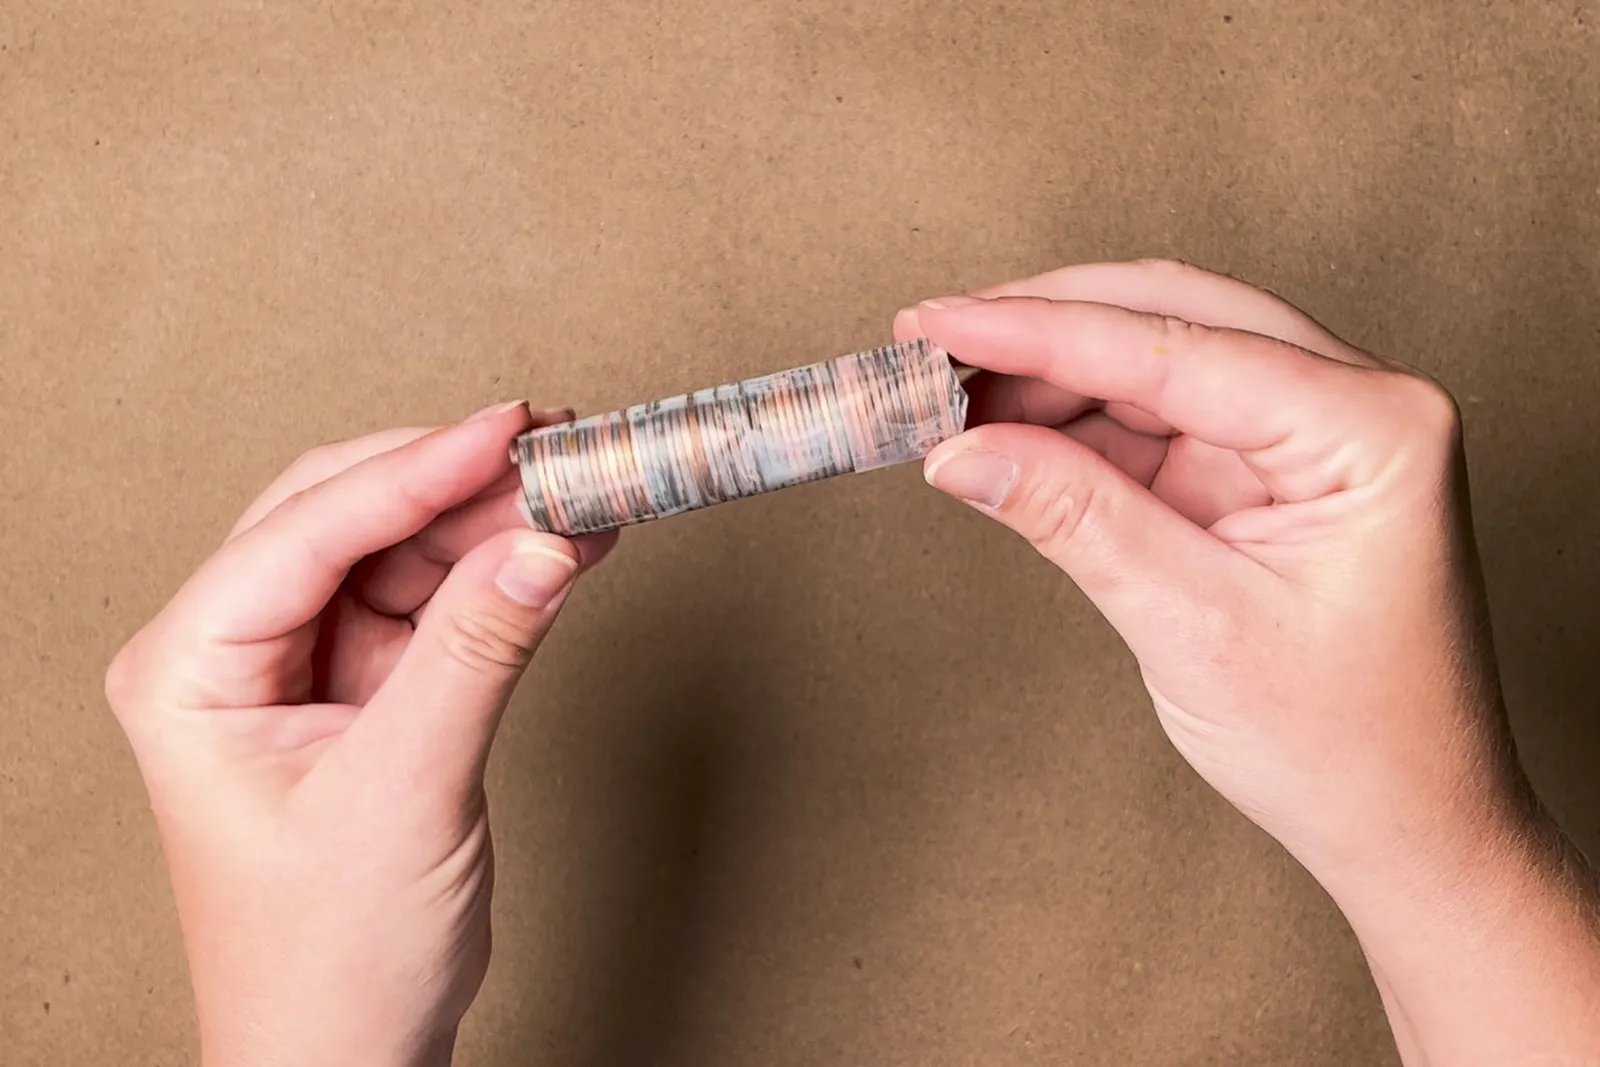
Arrange the coins into a stack and secure them with tape, applying it both around the circumference and across the ends so the stack holds together. This taped roll will serve as your model for making paper tubes to hold the coins.
3. Wrap the paper around the coins
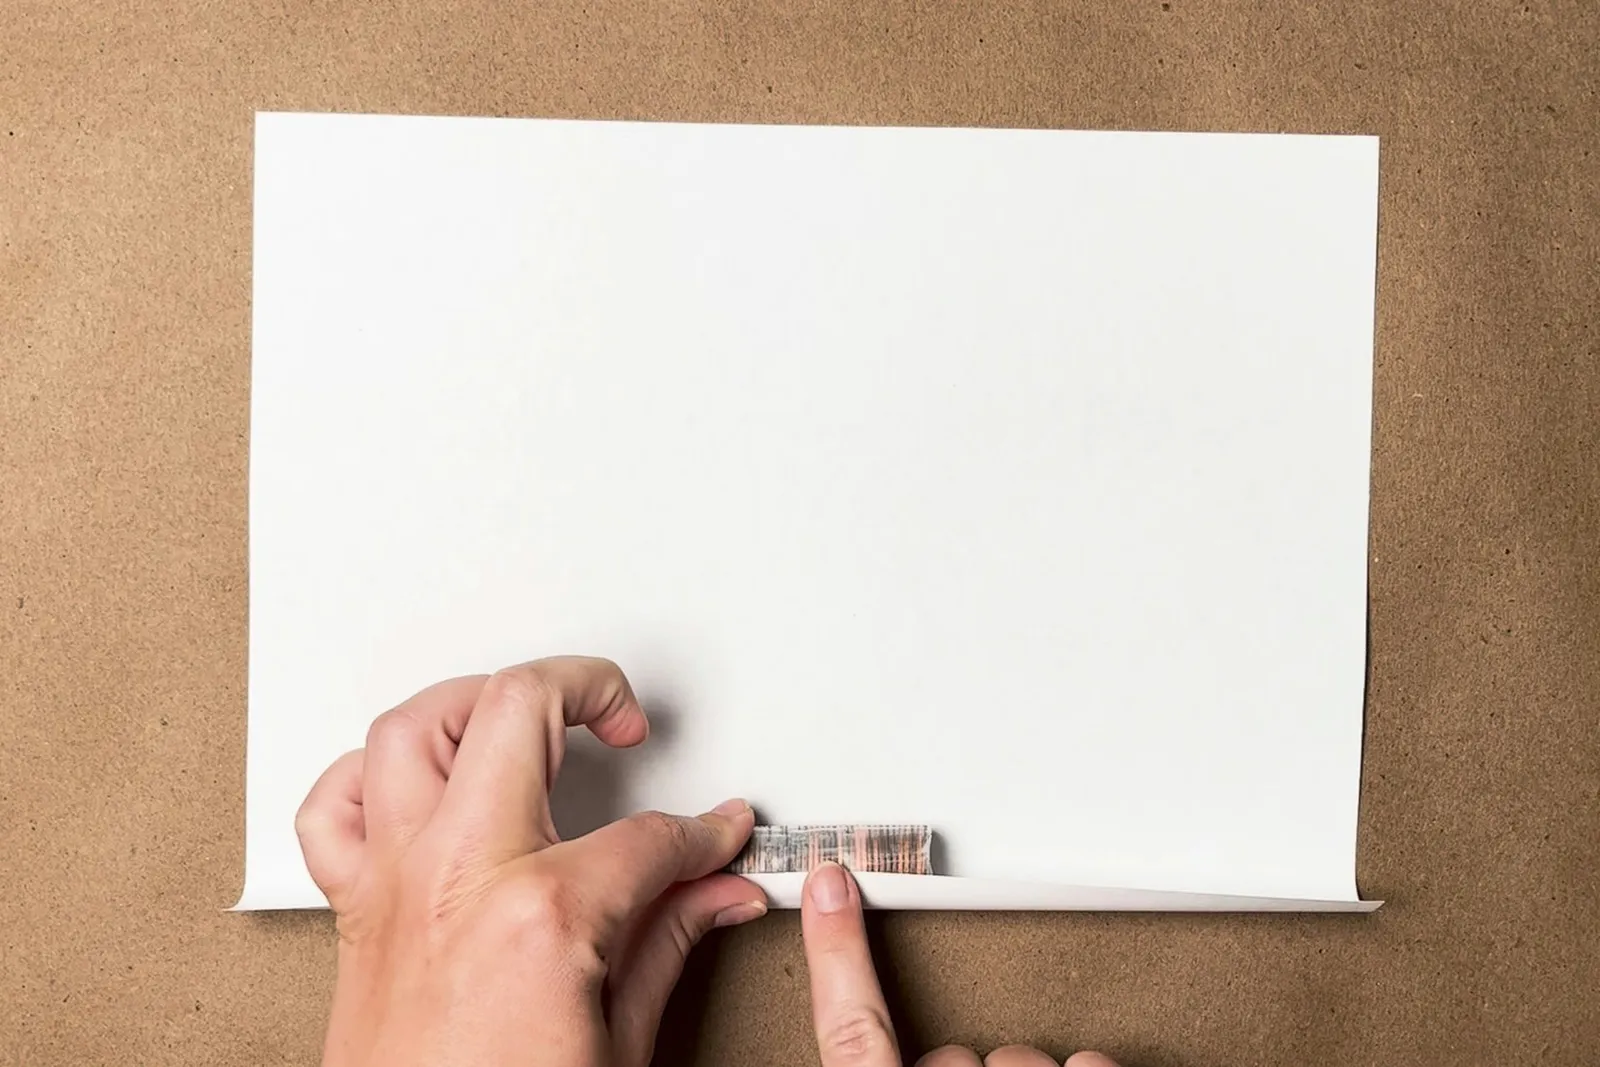
Place the taped coin roll on a sheet of 8.5 by 11-inch printer paper, aligning it with one of the longer edges. Tape that edge to the coin roll, then roll the stack until you reach the opposite edge of the paper.
Value of a full roll
If you are curious about the total worth of a roll, here is a helpful reference:
- Roll of pennies: 50 cents
- Roll of nickels: $2
- Roll of dimes: $5
- Roll of quarters: $10
4. Cut away extra paper
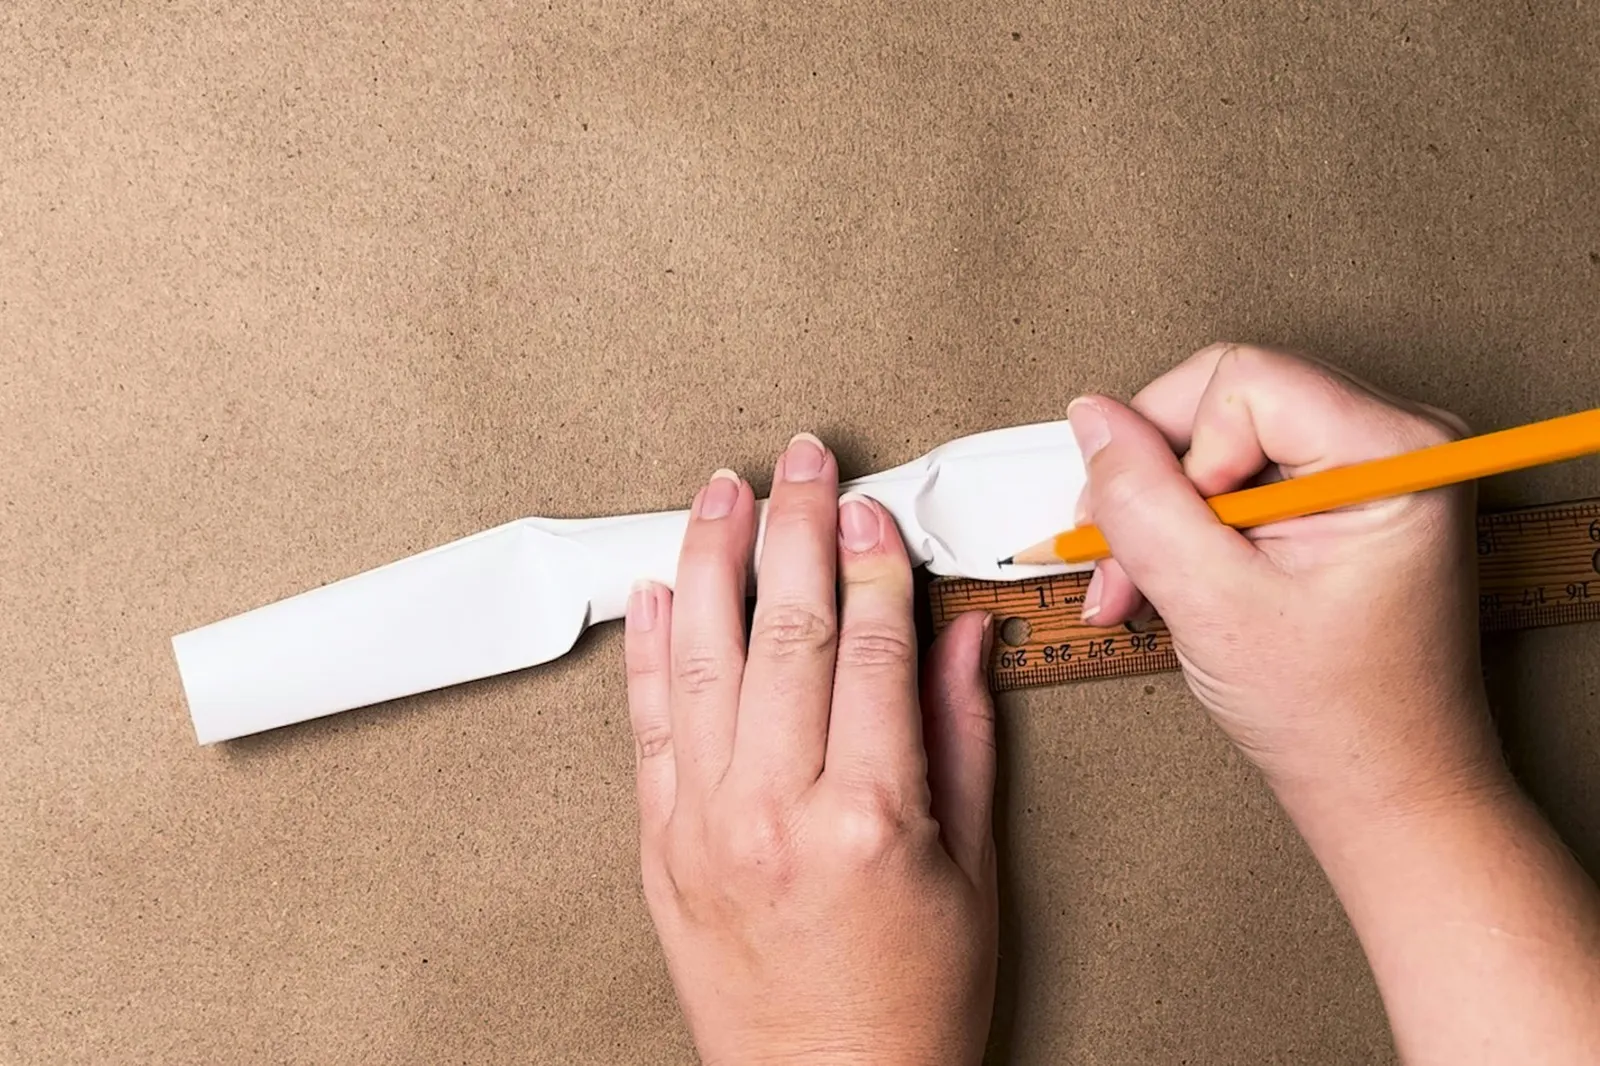
After rolling, there will be leftover paper extending from both ends of the roll. Use scissors to trim these edges so that about half an inch of paper remains on each side of the coin roll.
5. Fold the ends
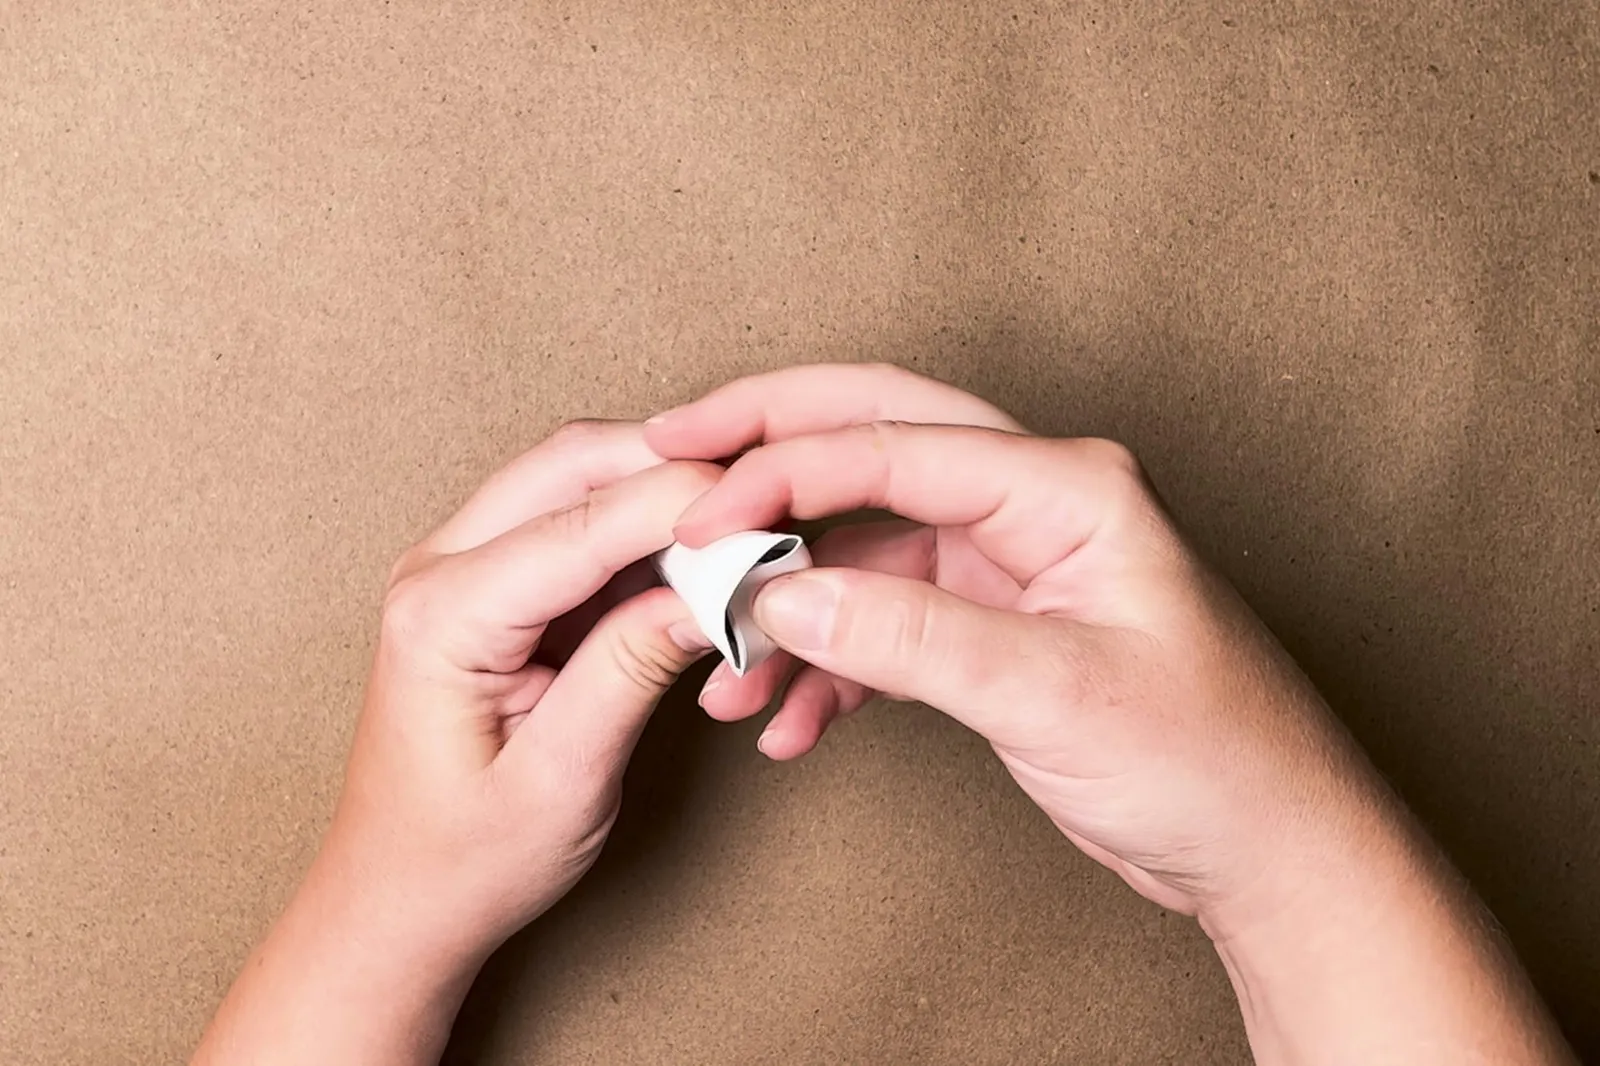
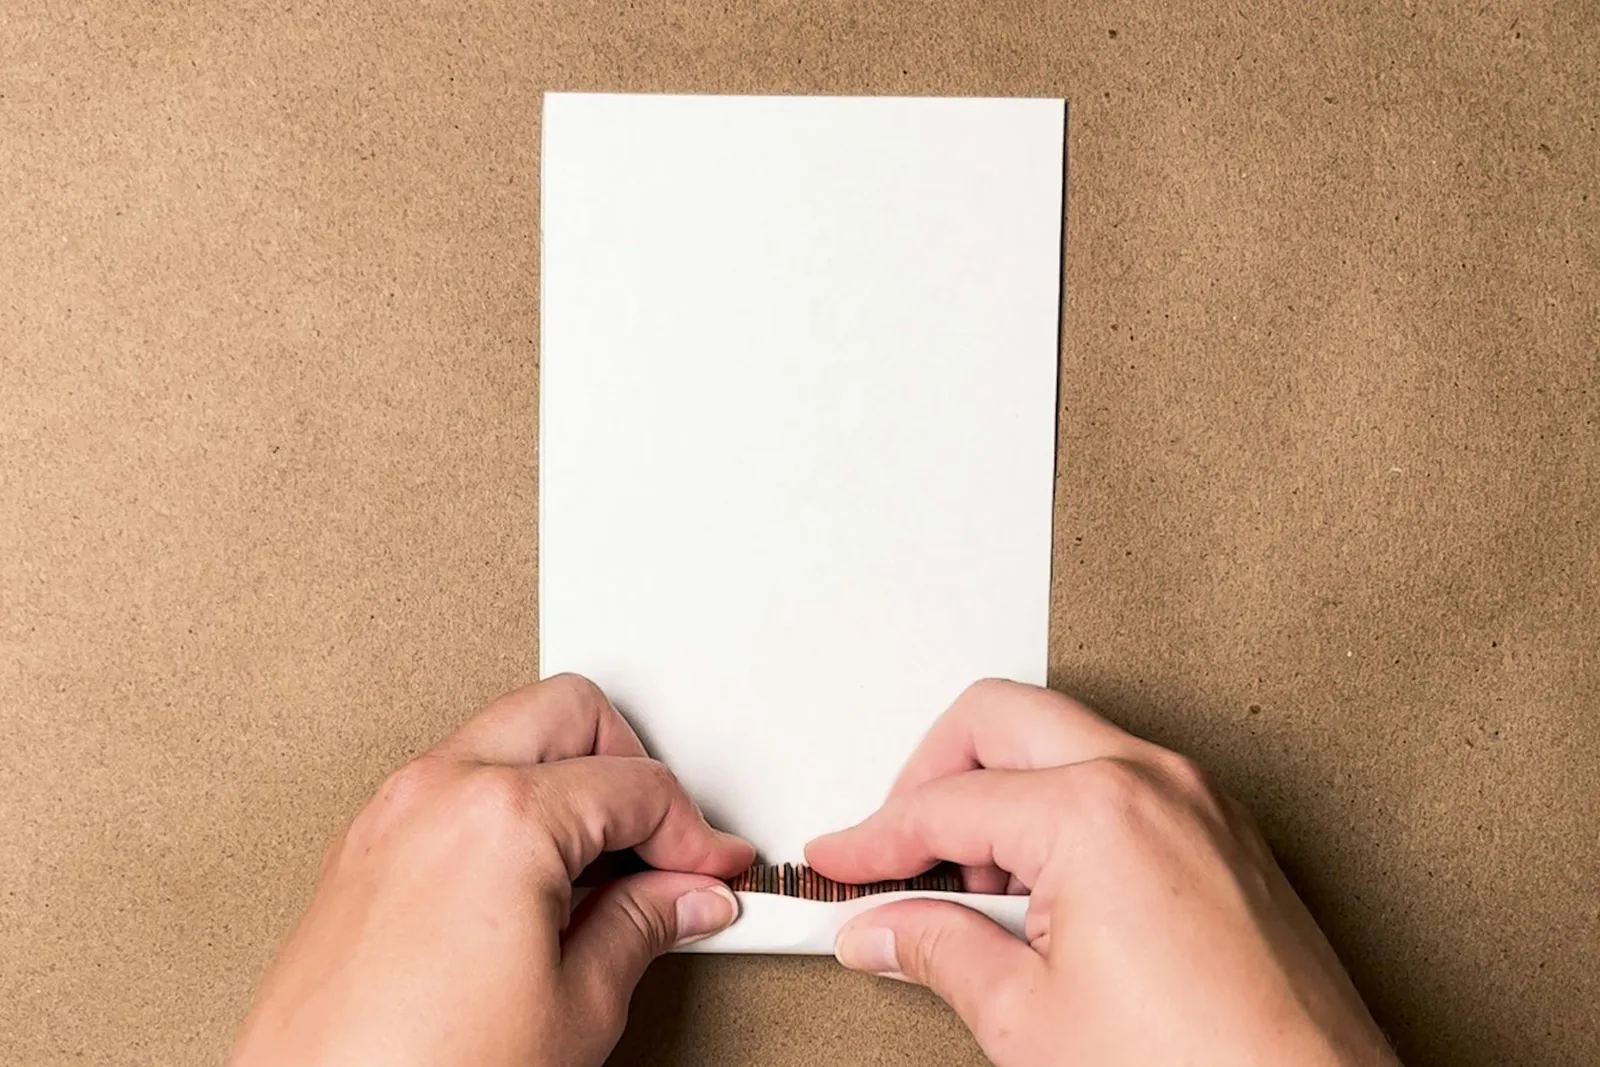
To close the ends, press one side of the paper down so it meets the edge of the outermost coin, then press the opposite side down similarly. This will create two flaps sticking up; fold these down to secure the roll. Repeat this process on the other end of the wrapper.
6. Unroll and remove tape from the coins
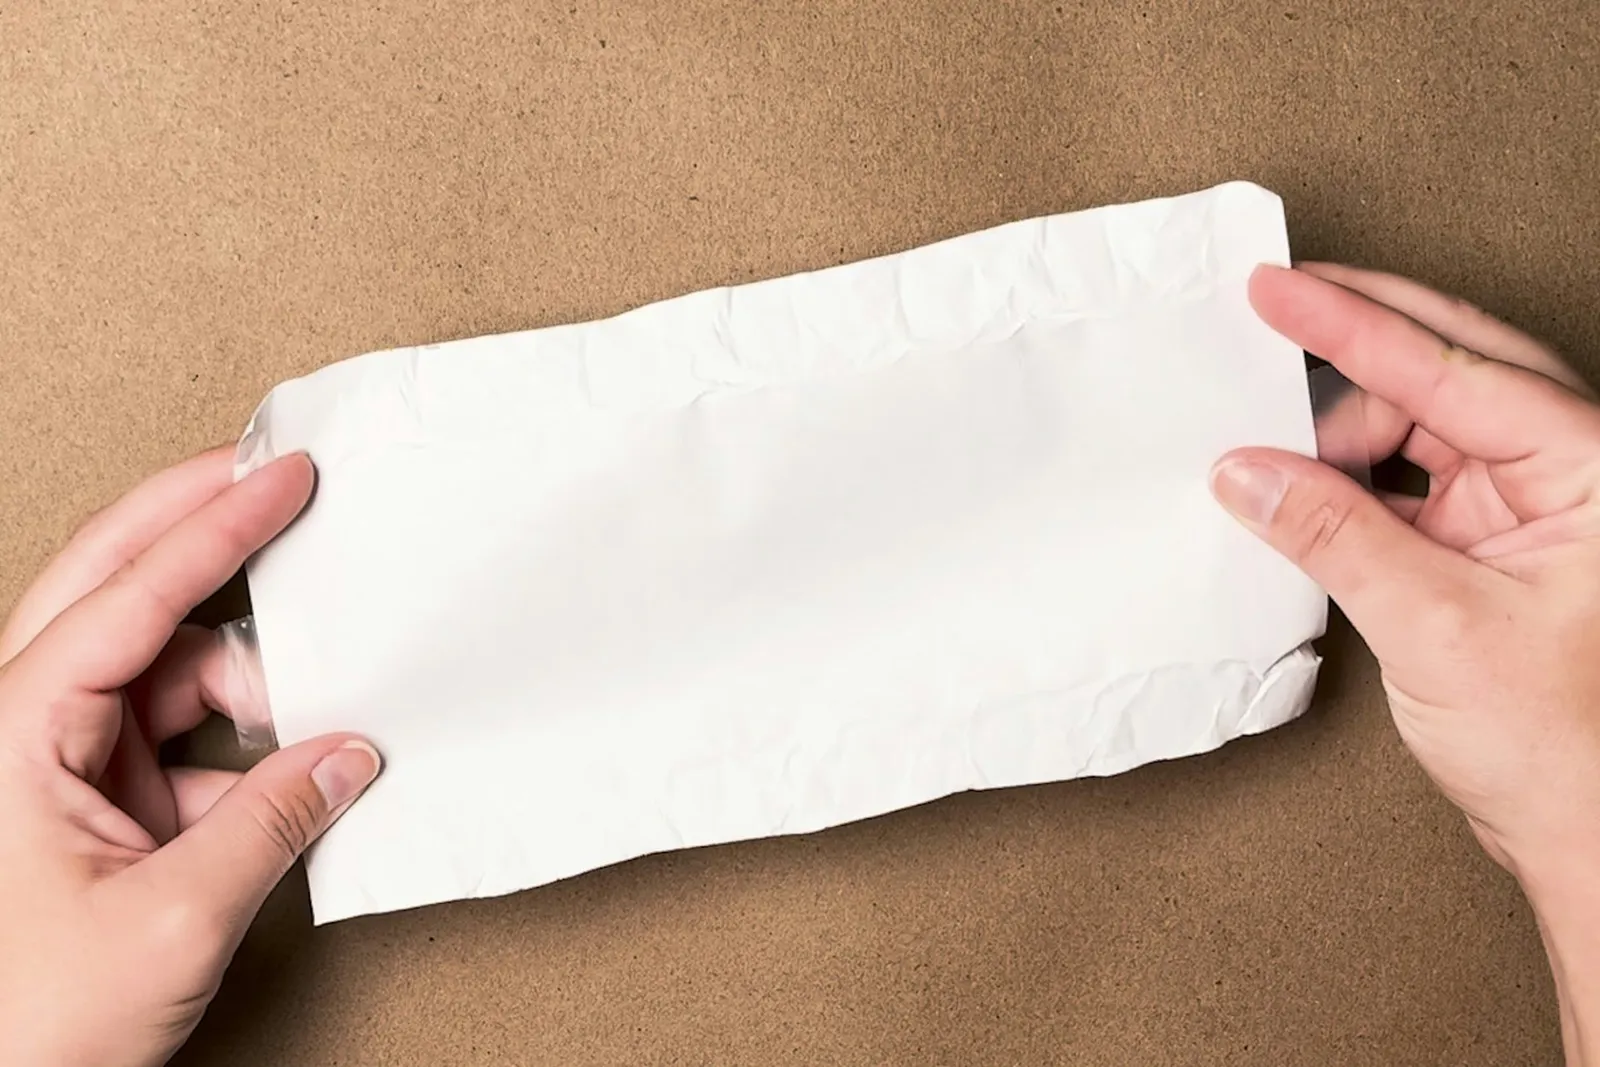
You have now completed your first paper coin wrapper. Use it as a template for additional wrappers. To do this, unfold the ends, unroll the paper, and take off the tape from the coins.
7. Make more wrappers
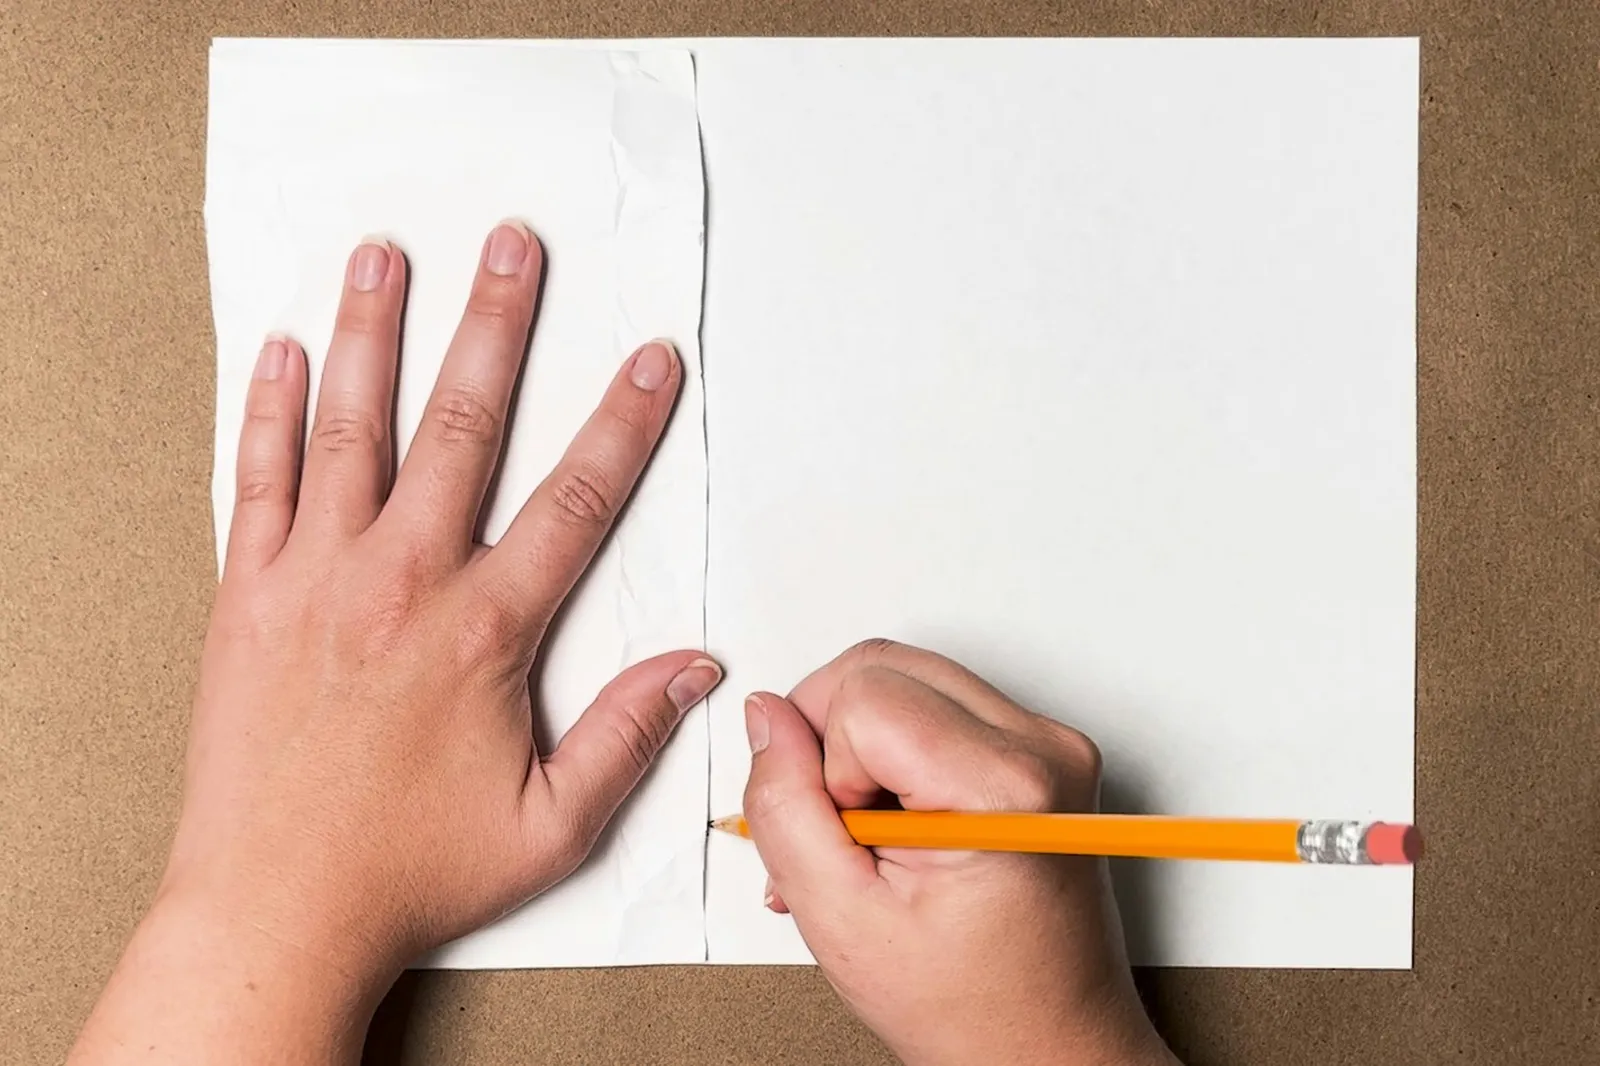
To produce additional rolls, trace the unrolled wrapper onto a new sheet of paper. Use this size for all future wrappers, and label it according to the coin type (pennies, nickels, dimes, or quarters). Typically, you can get two wrappers from a single sheet of printer paper.