DIY Summer Party Hats: Two Festive Designs to Craft
Get ready for warm-weather celebrations by making your own party hats. Choose between a beach ball design or an upside-down ice cream cone, and you'll instantly feel the festive spirit once you put one on.
By Robin Adams11 steps
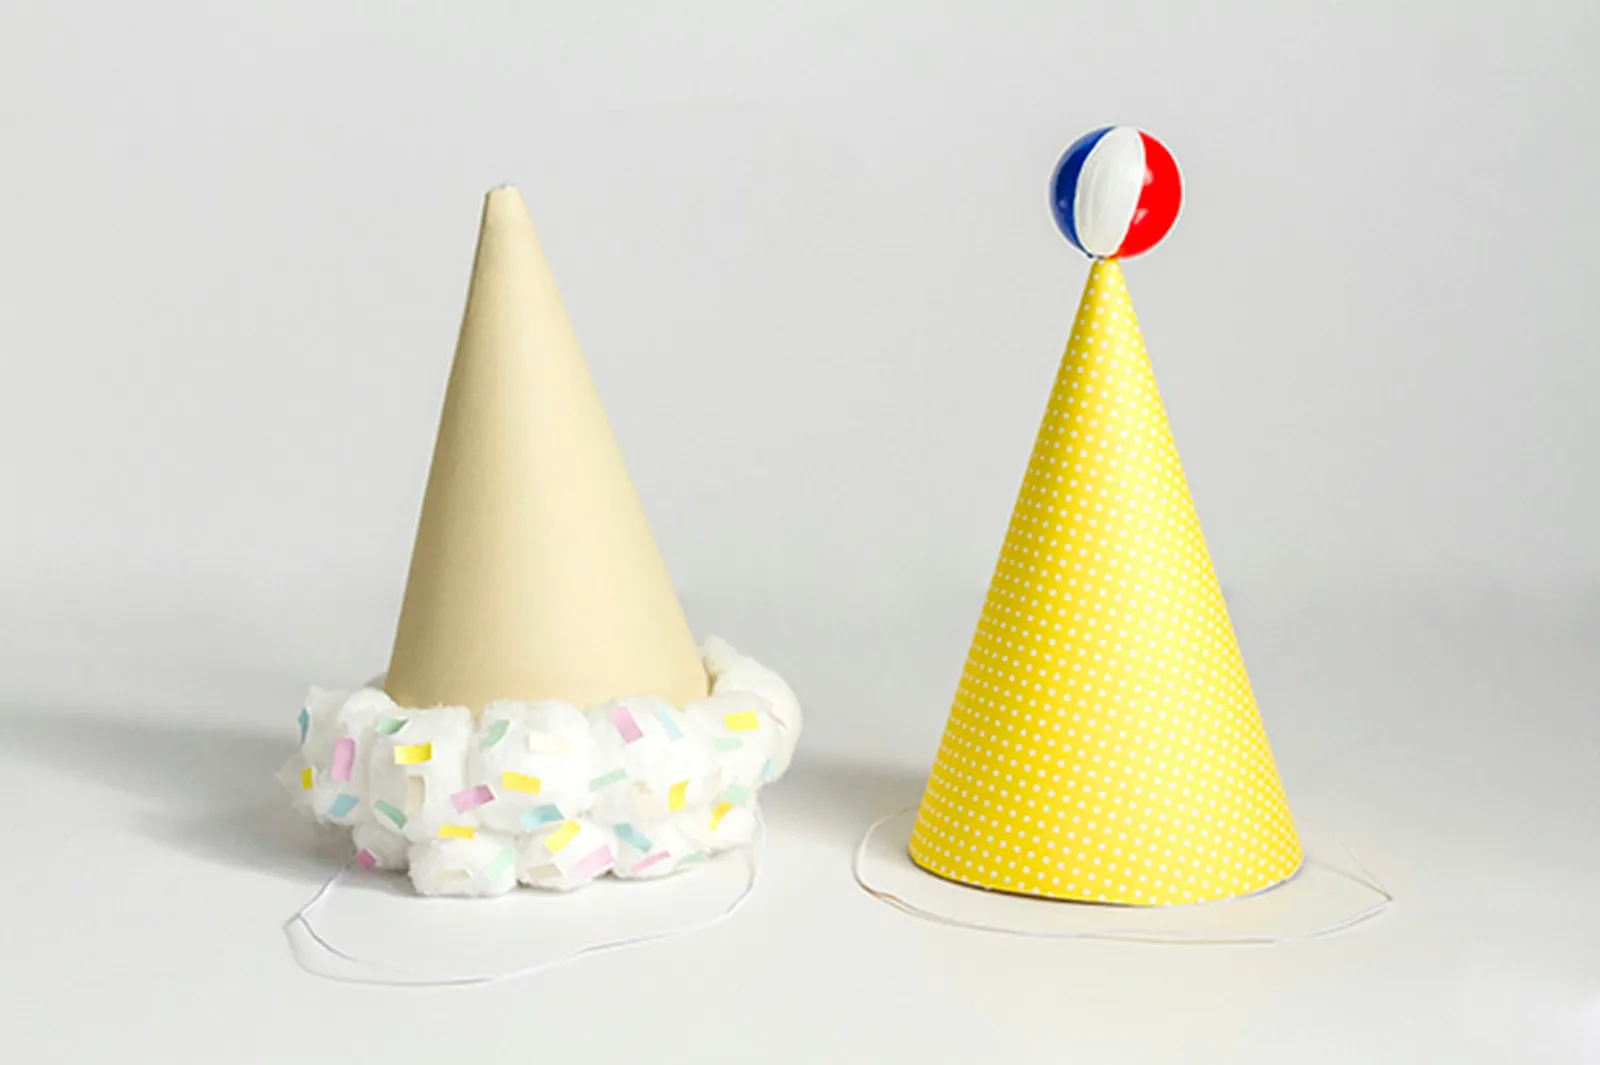
Create festive hats for your next summer season soiree.
Celebrate the sunny season with these two DIY party hat projects. You can pick either the beach ball-themed hat or the upside-down ice cream cone; either way, you'll feel ready to party the moment you put it on. If you like, you could even host a craft gathering—simply invite some friends and set out the materials. Below you'll find the instructions for each hat, step by step.
Materials Needed:
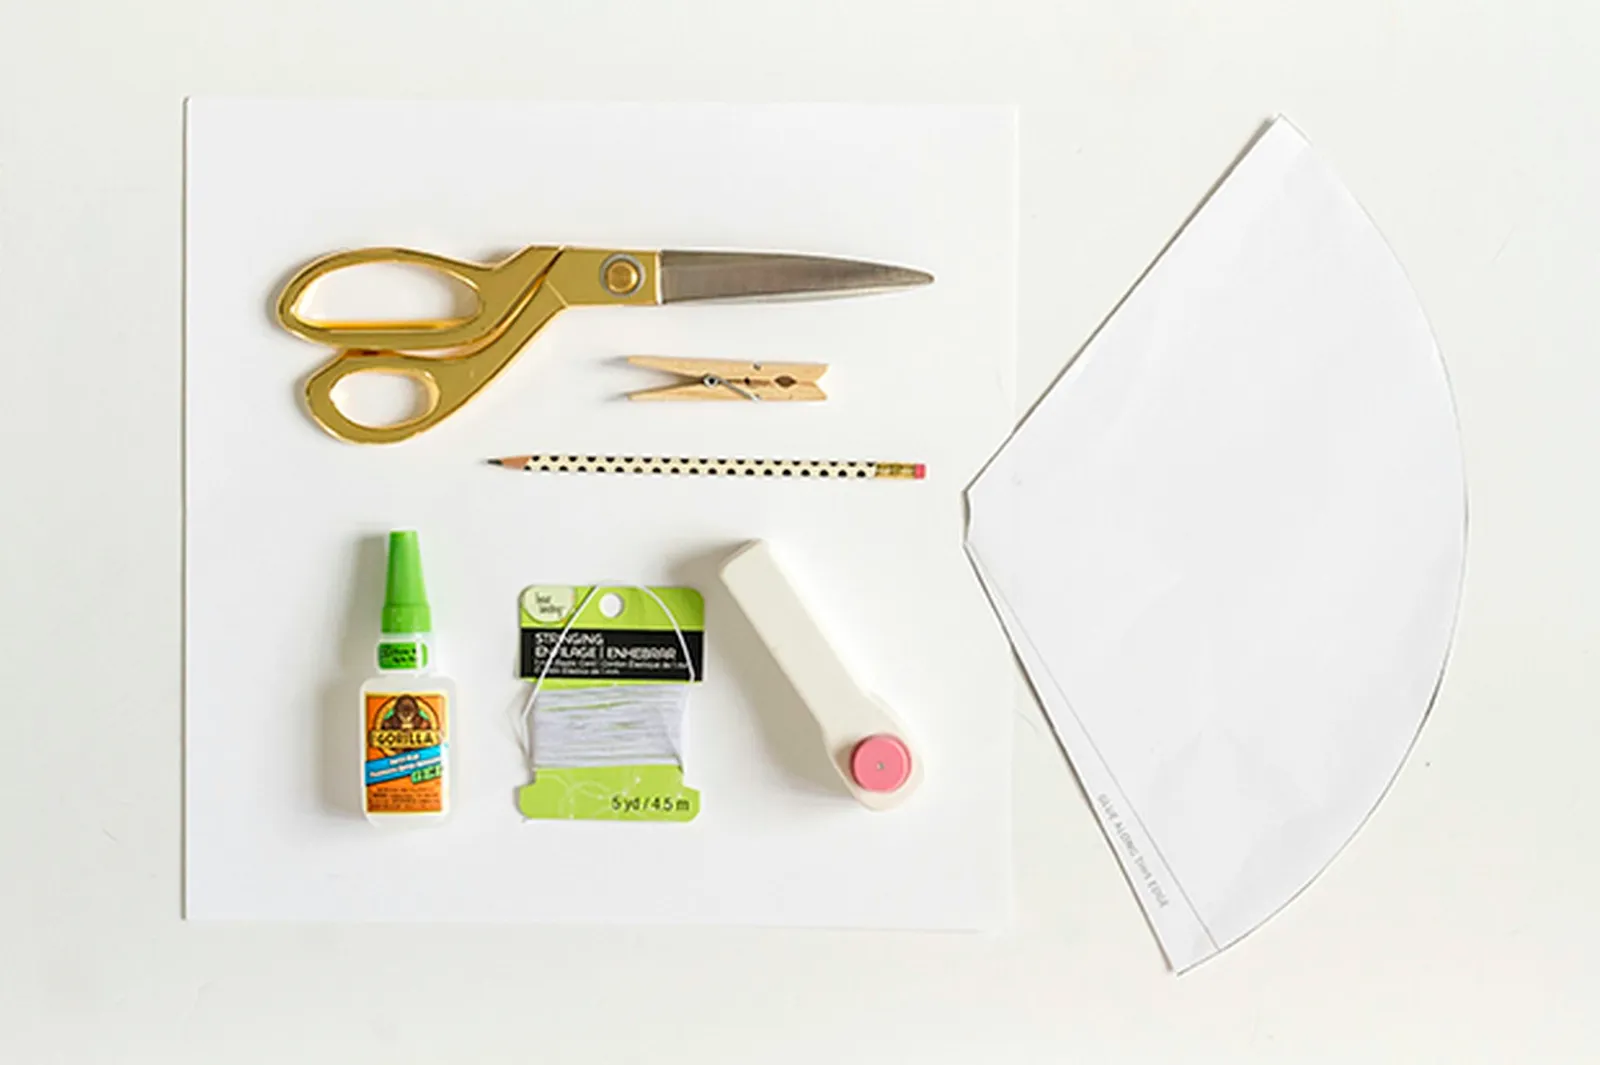
Gather your supplies to make the paper hats.
Both hats begin with a basic paper hat that you make yourself. To create that base, collect the following items:
- White cardstock paper
- Paper party hat template (download available)
- Scissors
- Super-hold glue
- Wooden clothespin
- 1/8-inch hole punch
- Elastic cord
Step 1: Trace And Cut Hat Shape
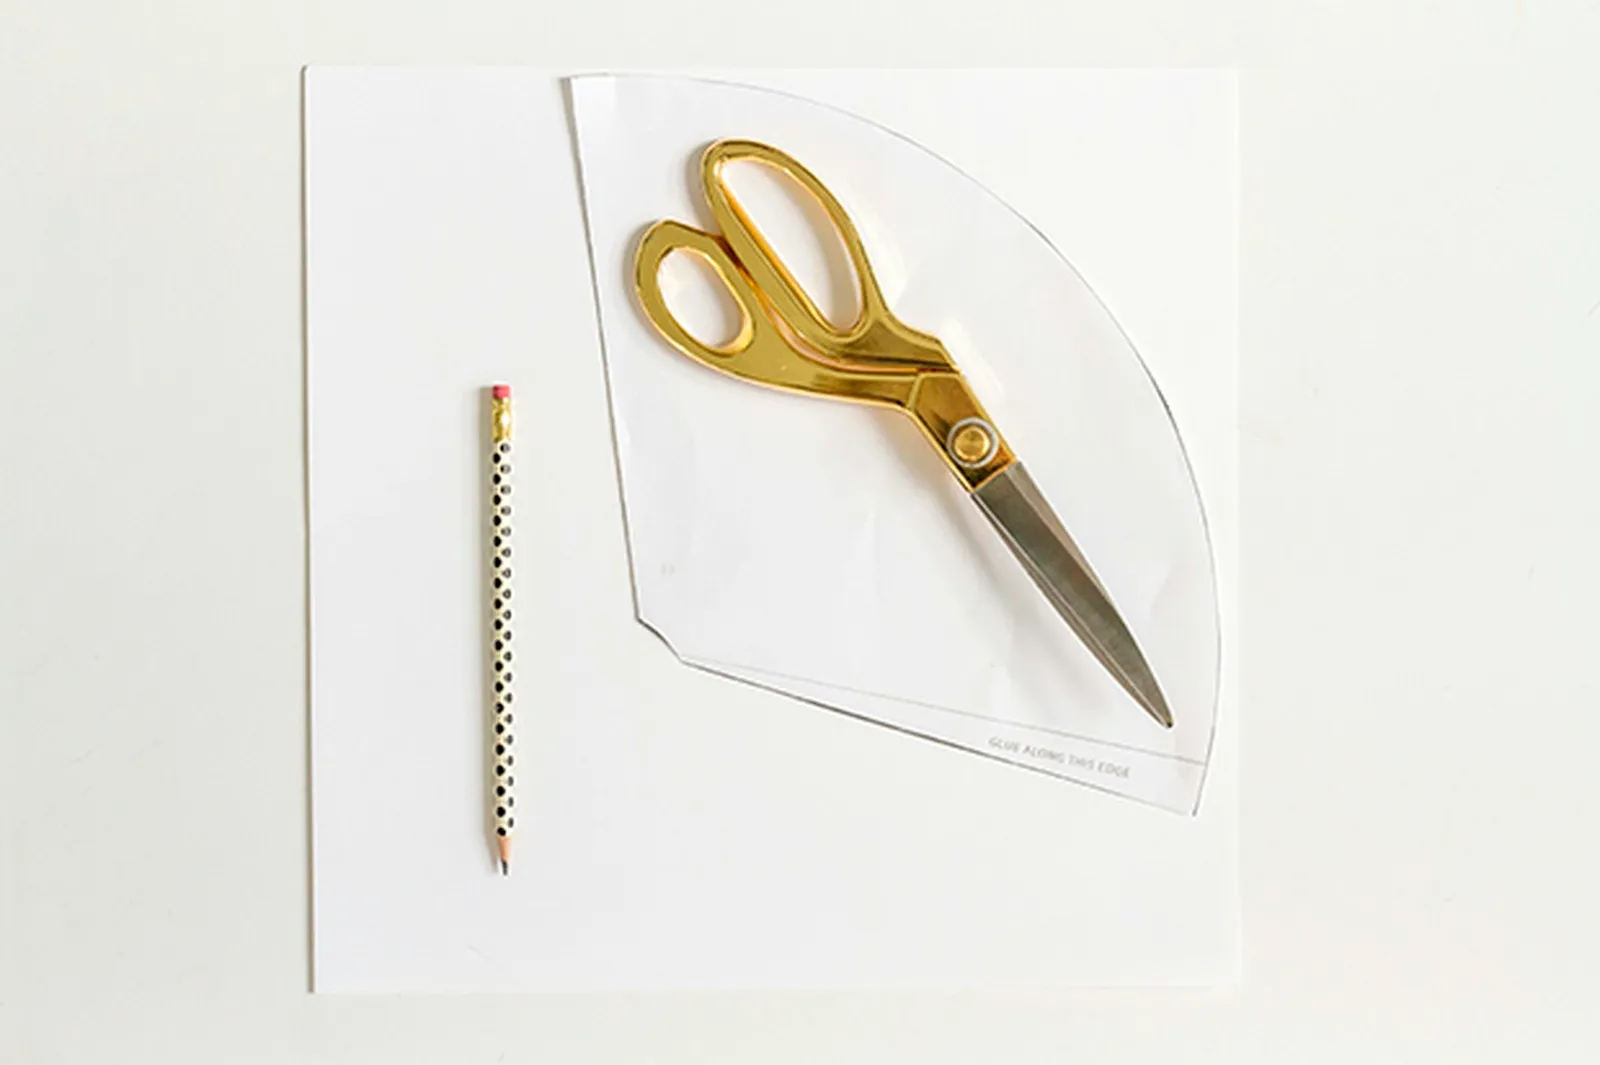
Print the template, trace it on paper and cut it out.
After printing and cutting out the paper party hat template, use a pencil to trace its outline onto a piece of white cardstock. Then cut the shape out from the cardstock.
Step 2: Glue The Edges Together
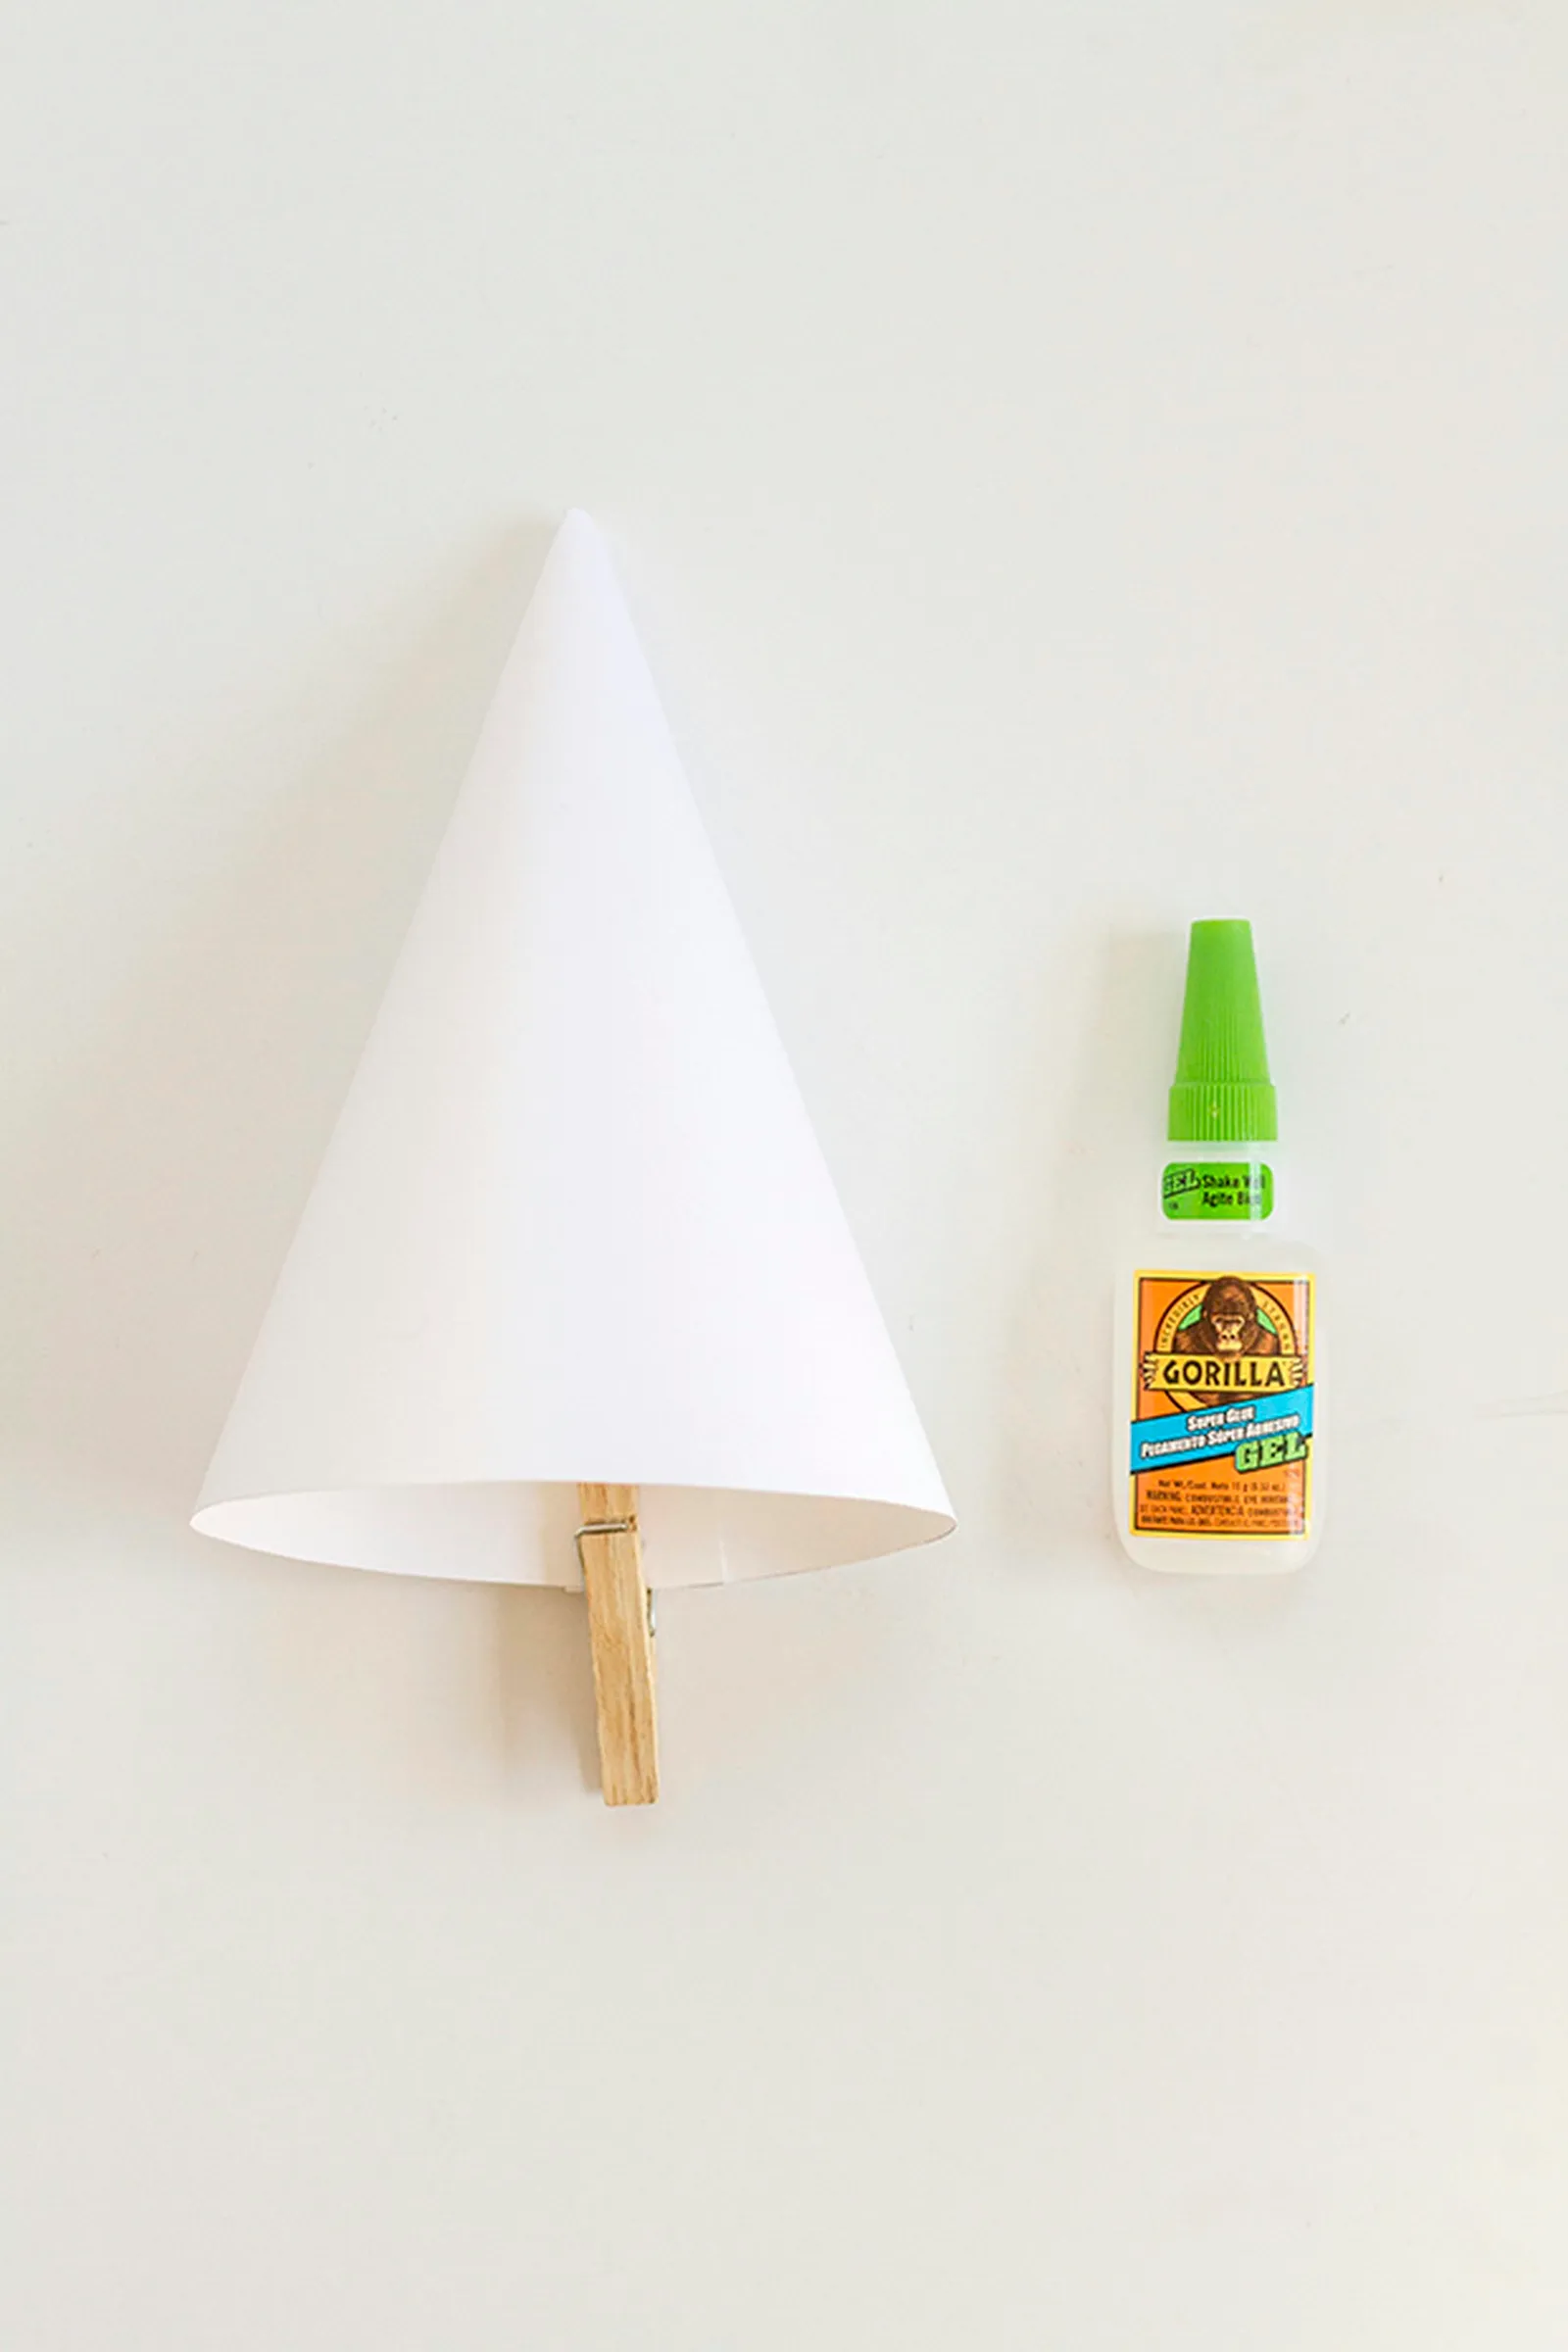
Use glue to finish the cone shape.
Apply a strip of super-hold glue along one straight edge of the cut-out hat. Bend the paper so the two straight edges meet, overlapping them so the glue adheres to the underside. Press the edges together with your fingers for 30 seconds to let the glue begin to set, then secure with a wooden clothespin while the glue finishes curing. Wait 30 minutes for the hat to dry completely before handling it.
Step 3: Add An Elastic Strap
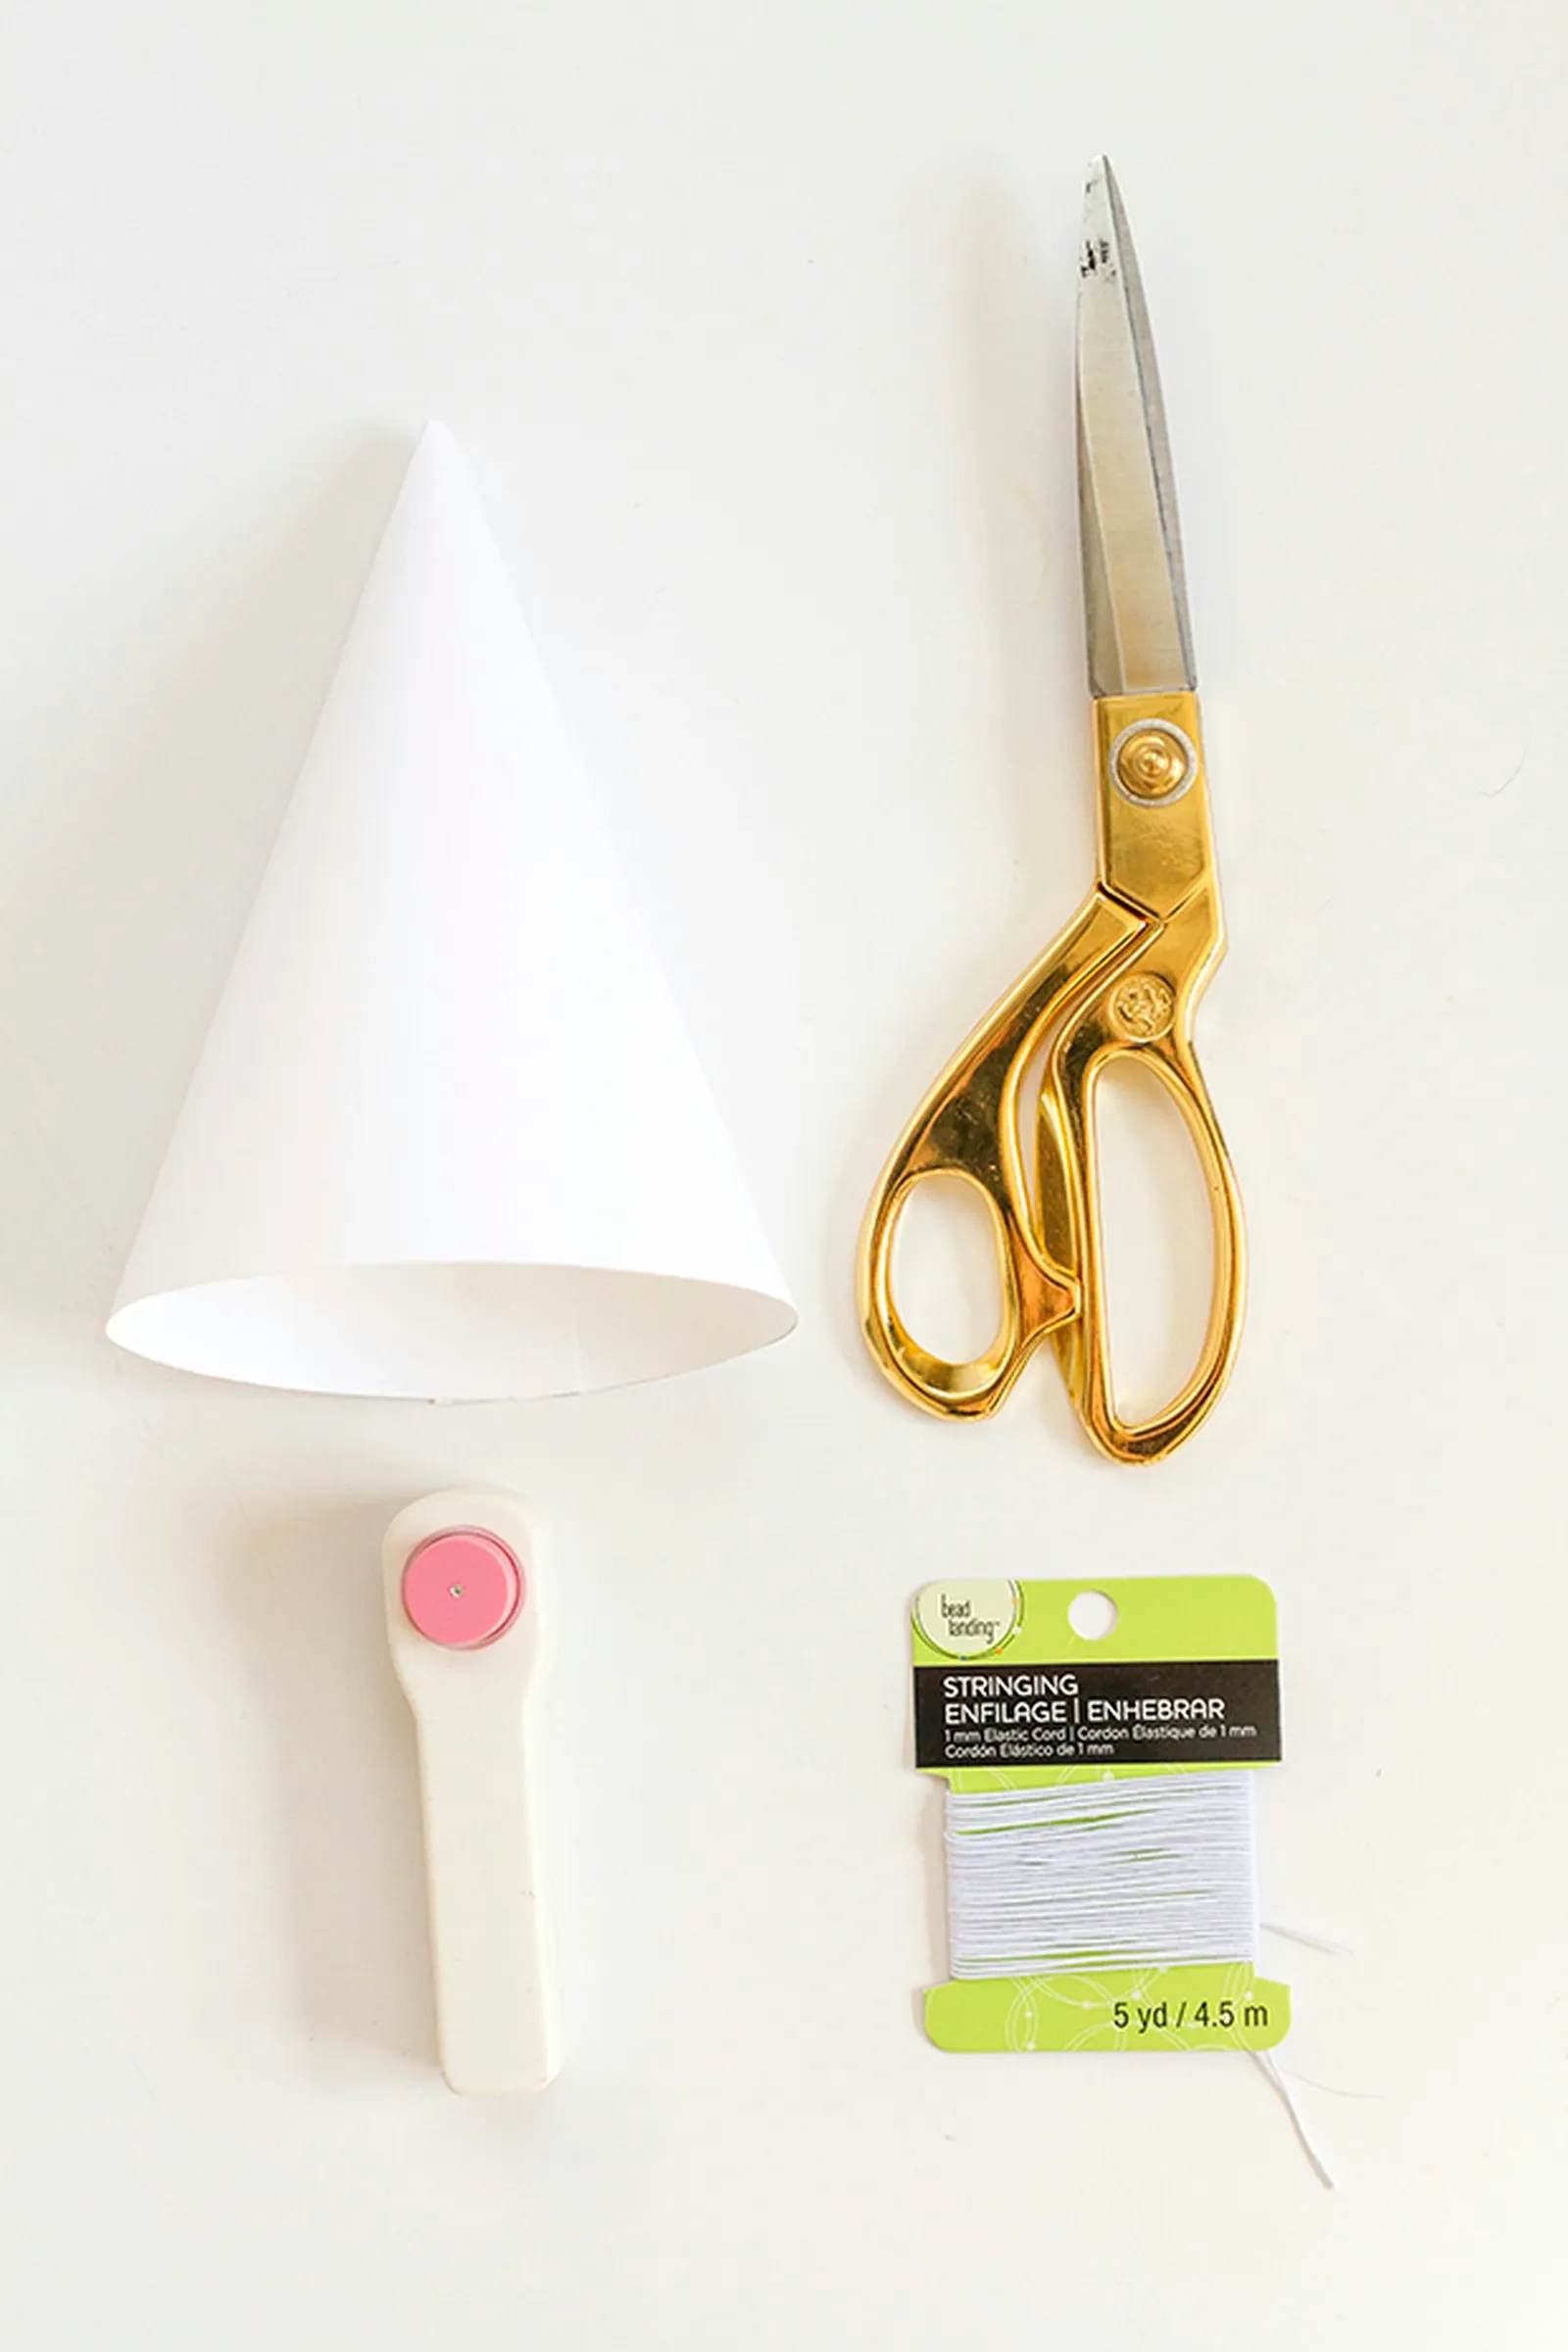
Add an elastic strap so that the hat stays in place.
Using a 1/8-inch hole punch, make holes on opposite sides of the paper, positioning each about 1/2 inch up from the bottom edge. Cut a 12-inch length of elastic cord and thread each end through the holes from the outside toward the inside. After pulling the cord through, tie a thick knot at each end so the strap won't slip when lightly tugged. Since you're making two themed hats, you'll need to repeat this entire process a second time.
Party Hat DIY #1: The Beach Ball Hat
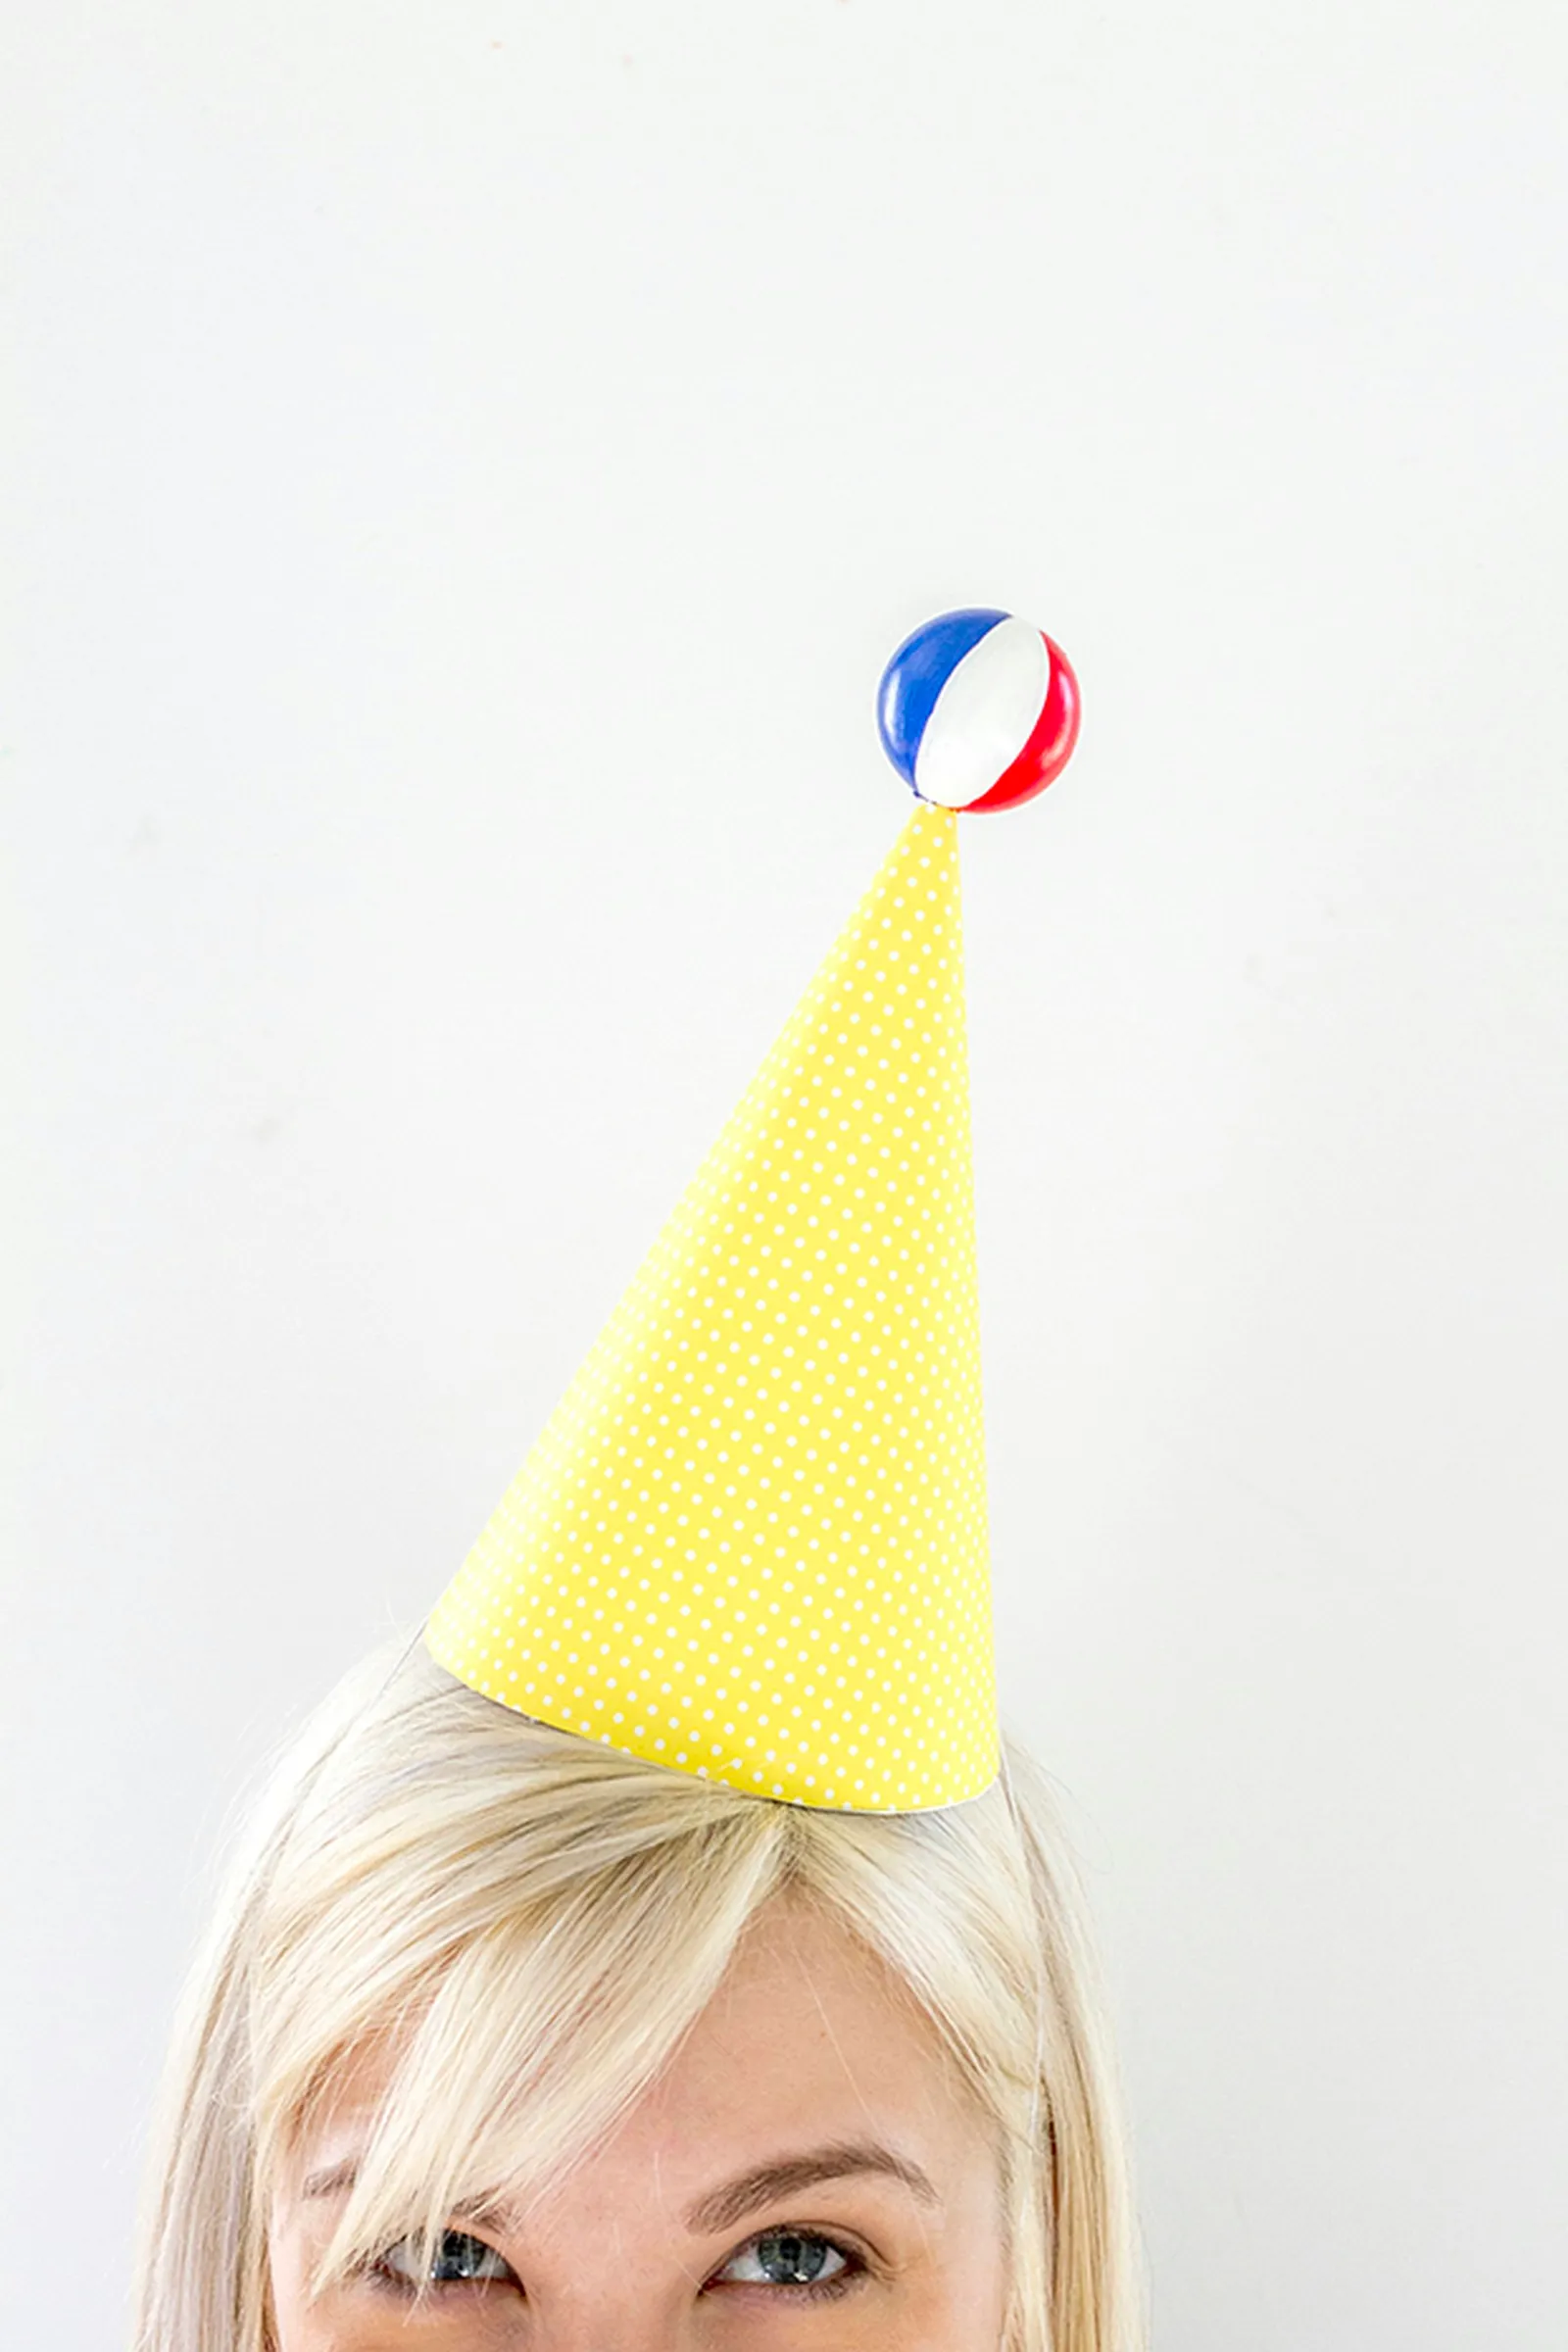
Miniature beach balls bring maximum fun to the party.
Nothing captures the spirit of a summer party quite like a beach ball—so why not wear one on your head?
Step 1: Create The Beach Ball
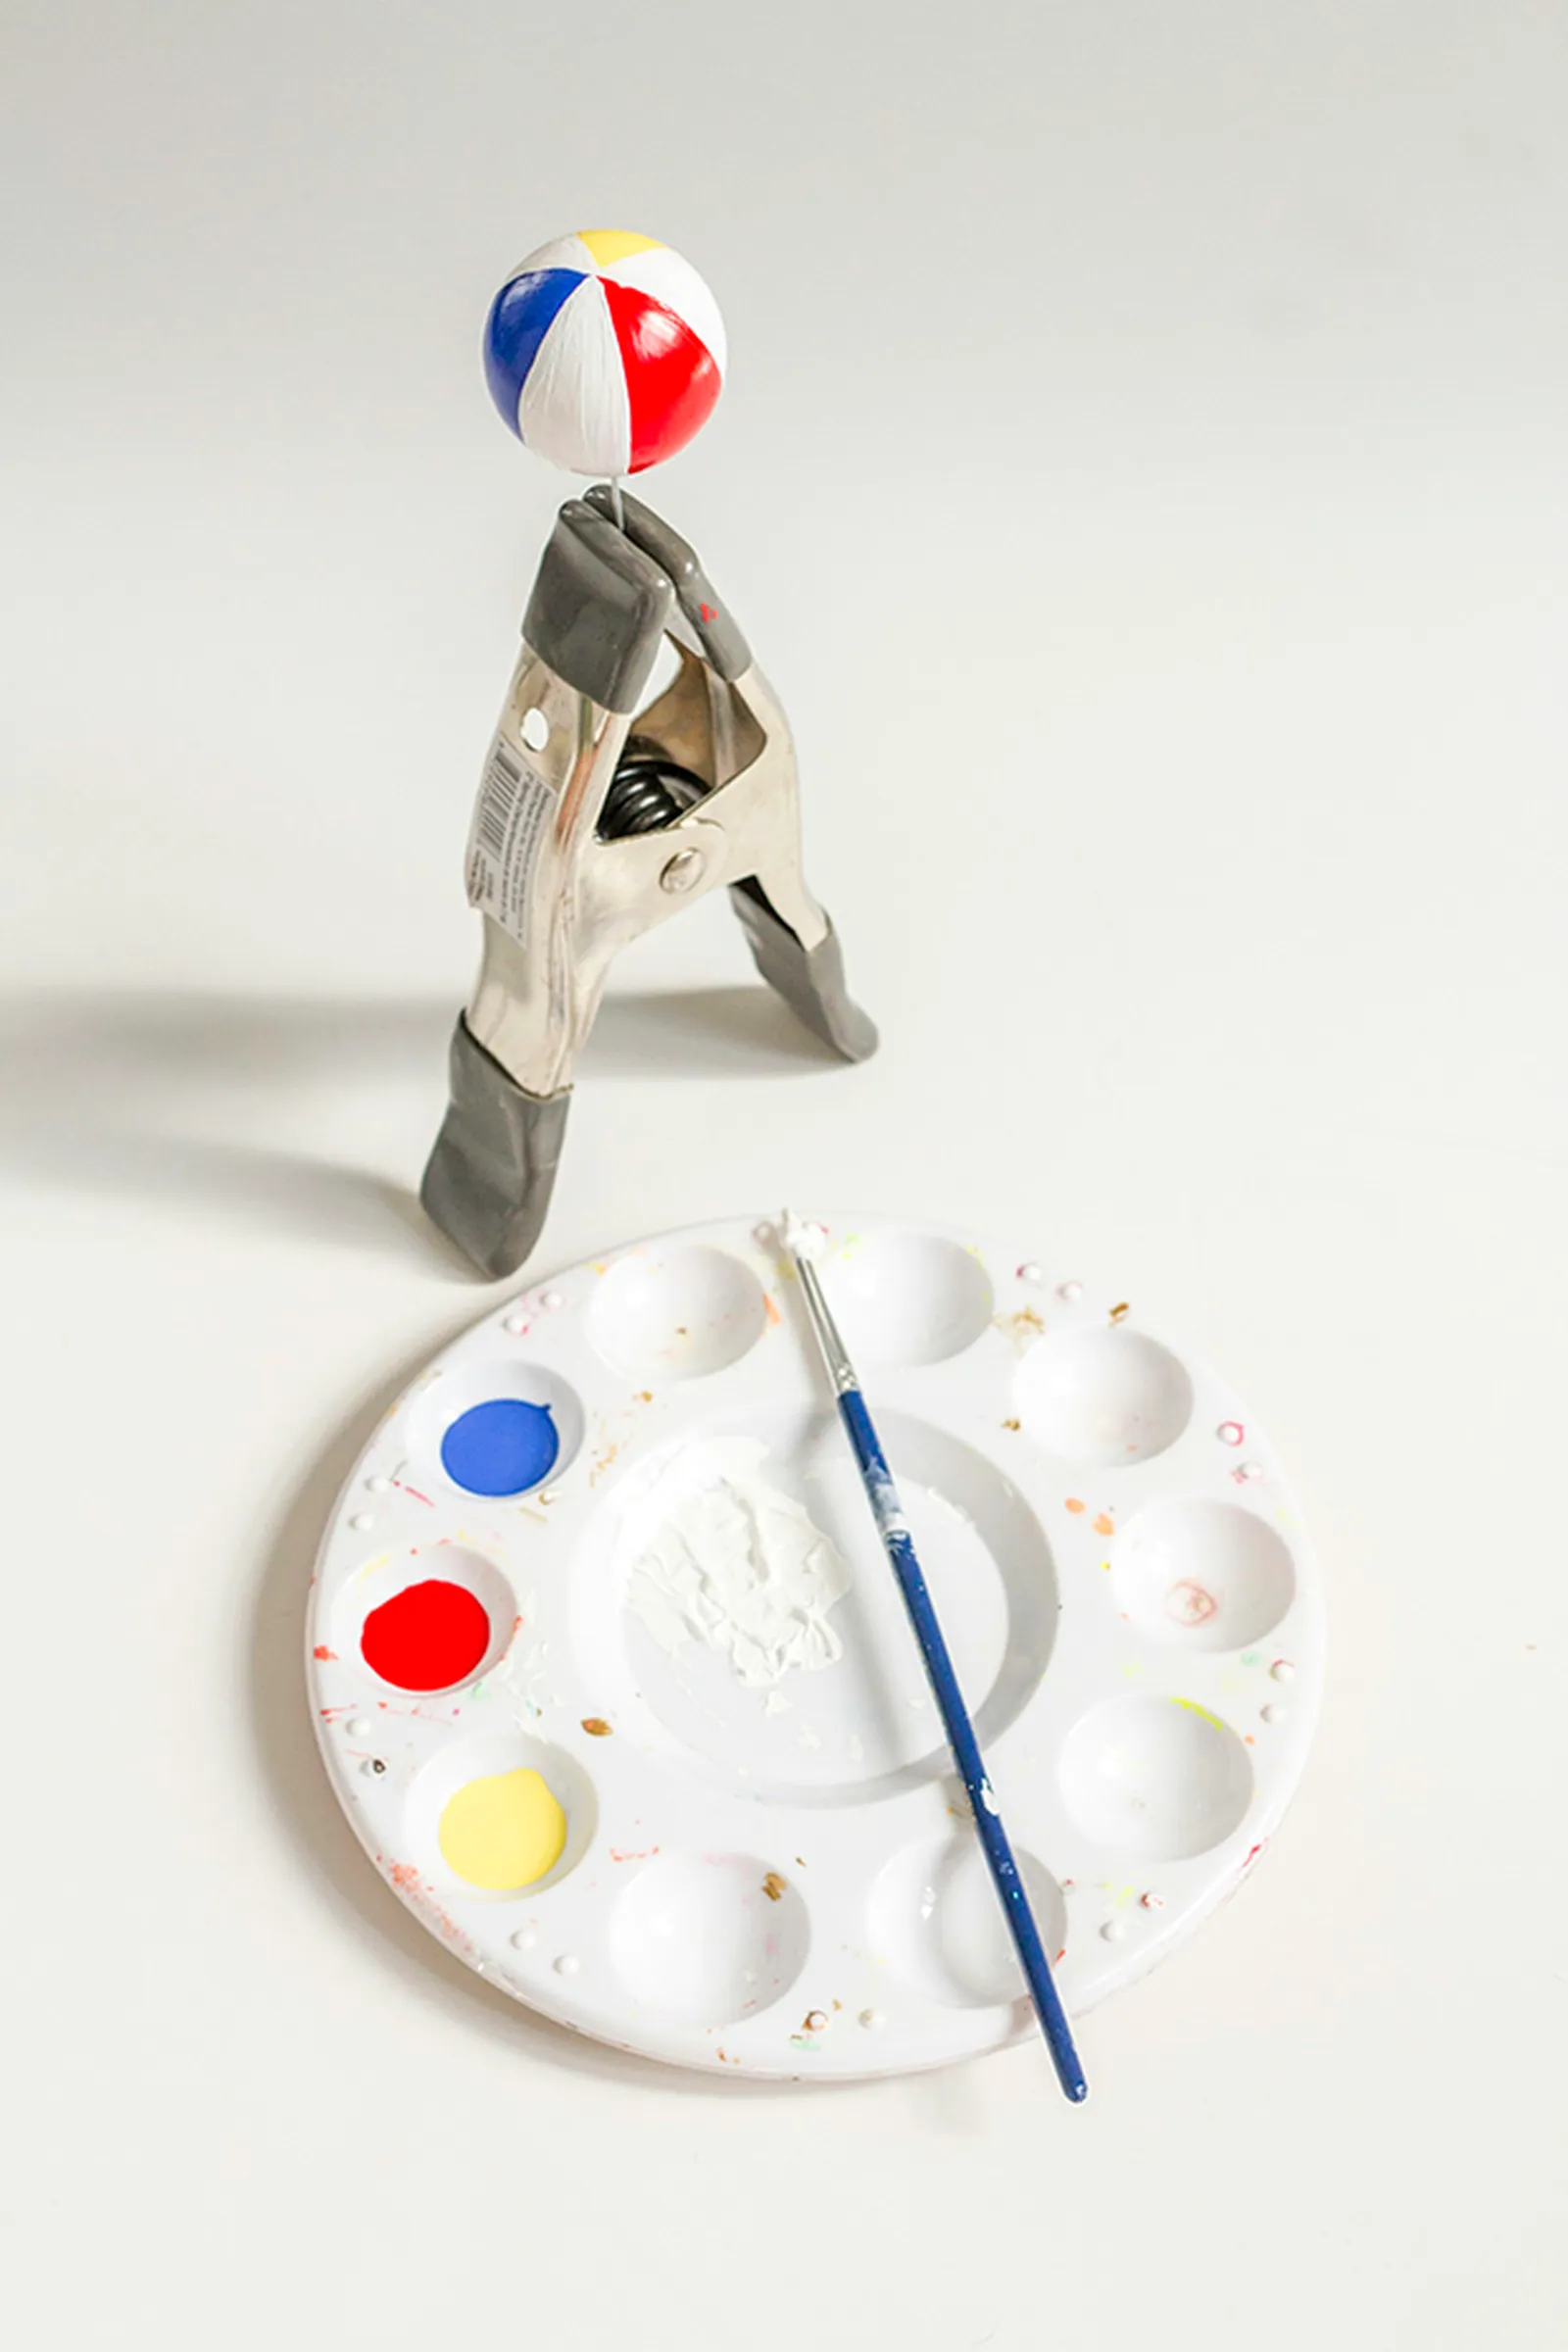
Paint a ping pong ball in primary colors to mimic a real beach ball.
Start with a ping pong ball and push a piece of 12 gauge craft wire through one end. Pushing the wire through the seam of the ball tends to be easiest. If you need help getting the hole started, a needle can be used.
Then, using a detail paint brush, apply sections of primary-colored acrylic craft paint. To keep your fingers away from the wet paint, clamp the wire so you can hold the ball at a distance while painting. Apply 1–3 coats until the white surface of the ball is no longer visible through the paint. To finish, add a white dot at the top where the colors converge, imitating the look of an actual beach ball.
Let the ball dry for 1 hour before touching it.
Step 2: Attach The Ball To The Hat
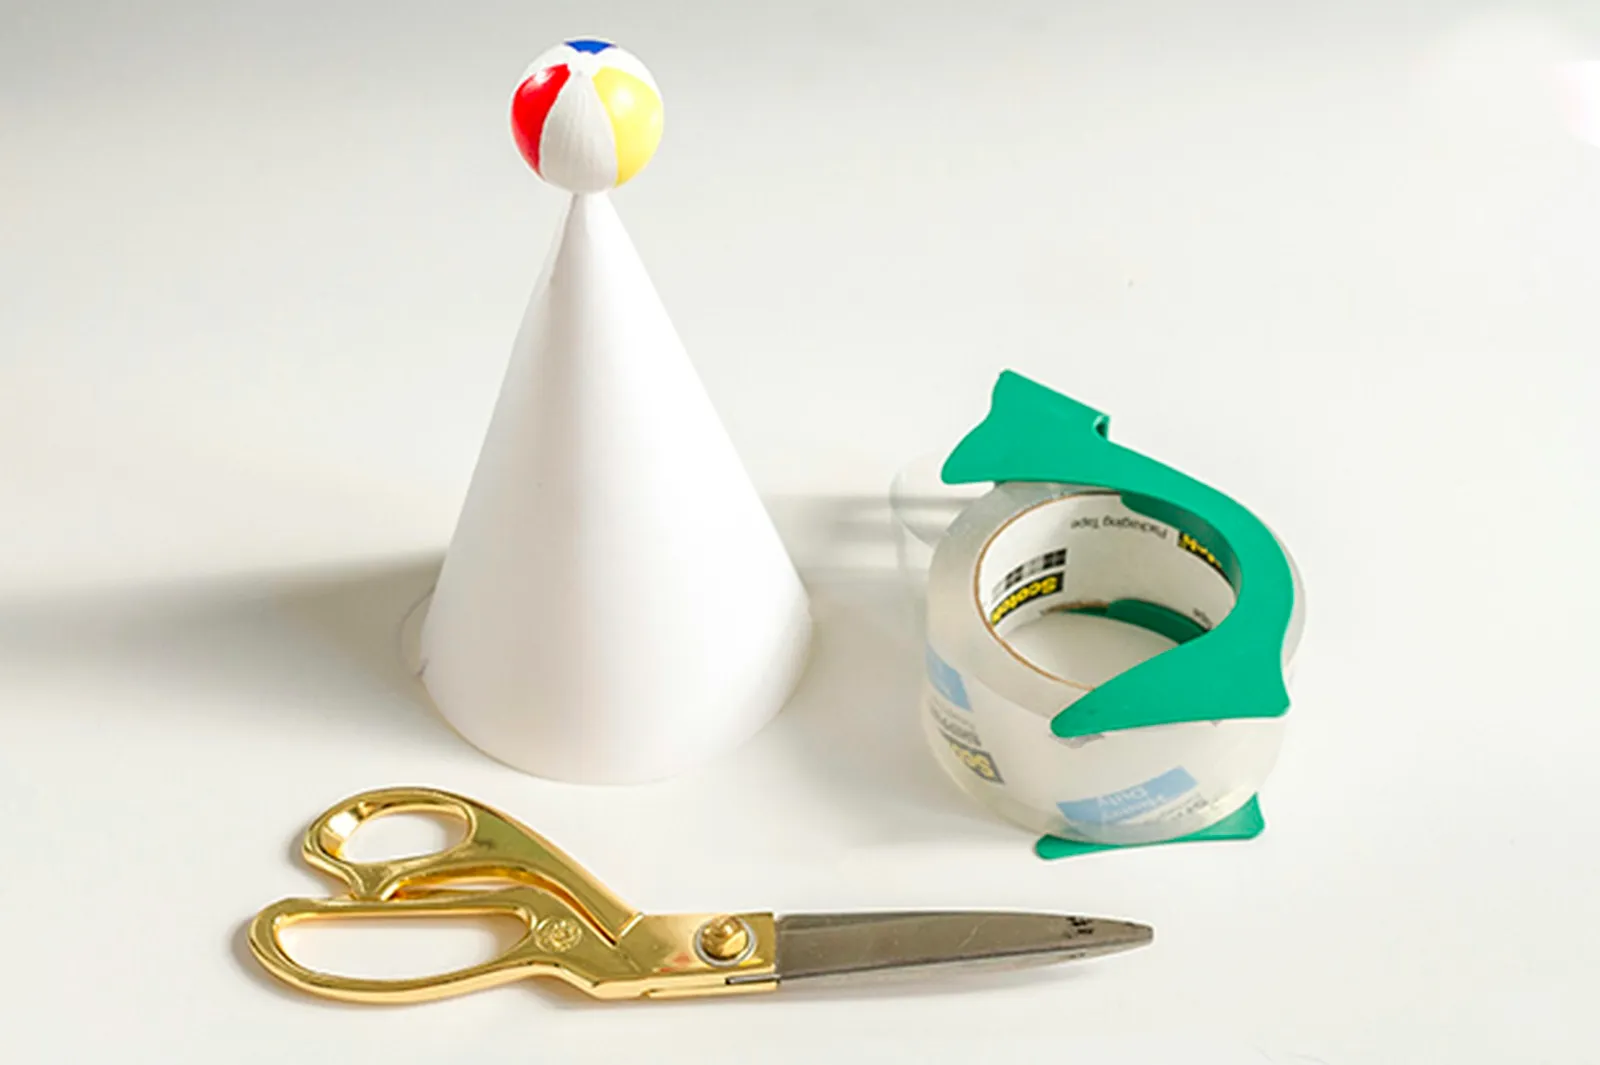
Use a wire and packaging tape to adhere the ball to the top of the hat.
Keep the wire in place through the painted ping pong ball, and push it down into the top of the paper hat form you made. Hold it steady with your fingers, then use scissors to cut a piece of heavy-duty clear packaging tape. Slide the tape inside the hat and press it over the wire, securing the wire to the paper hat.
Step 3: Retrace The Template
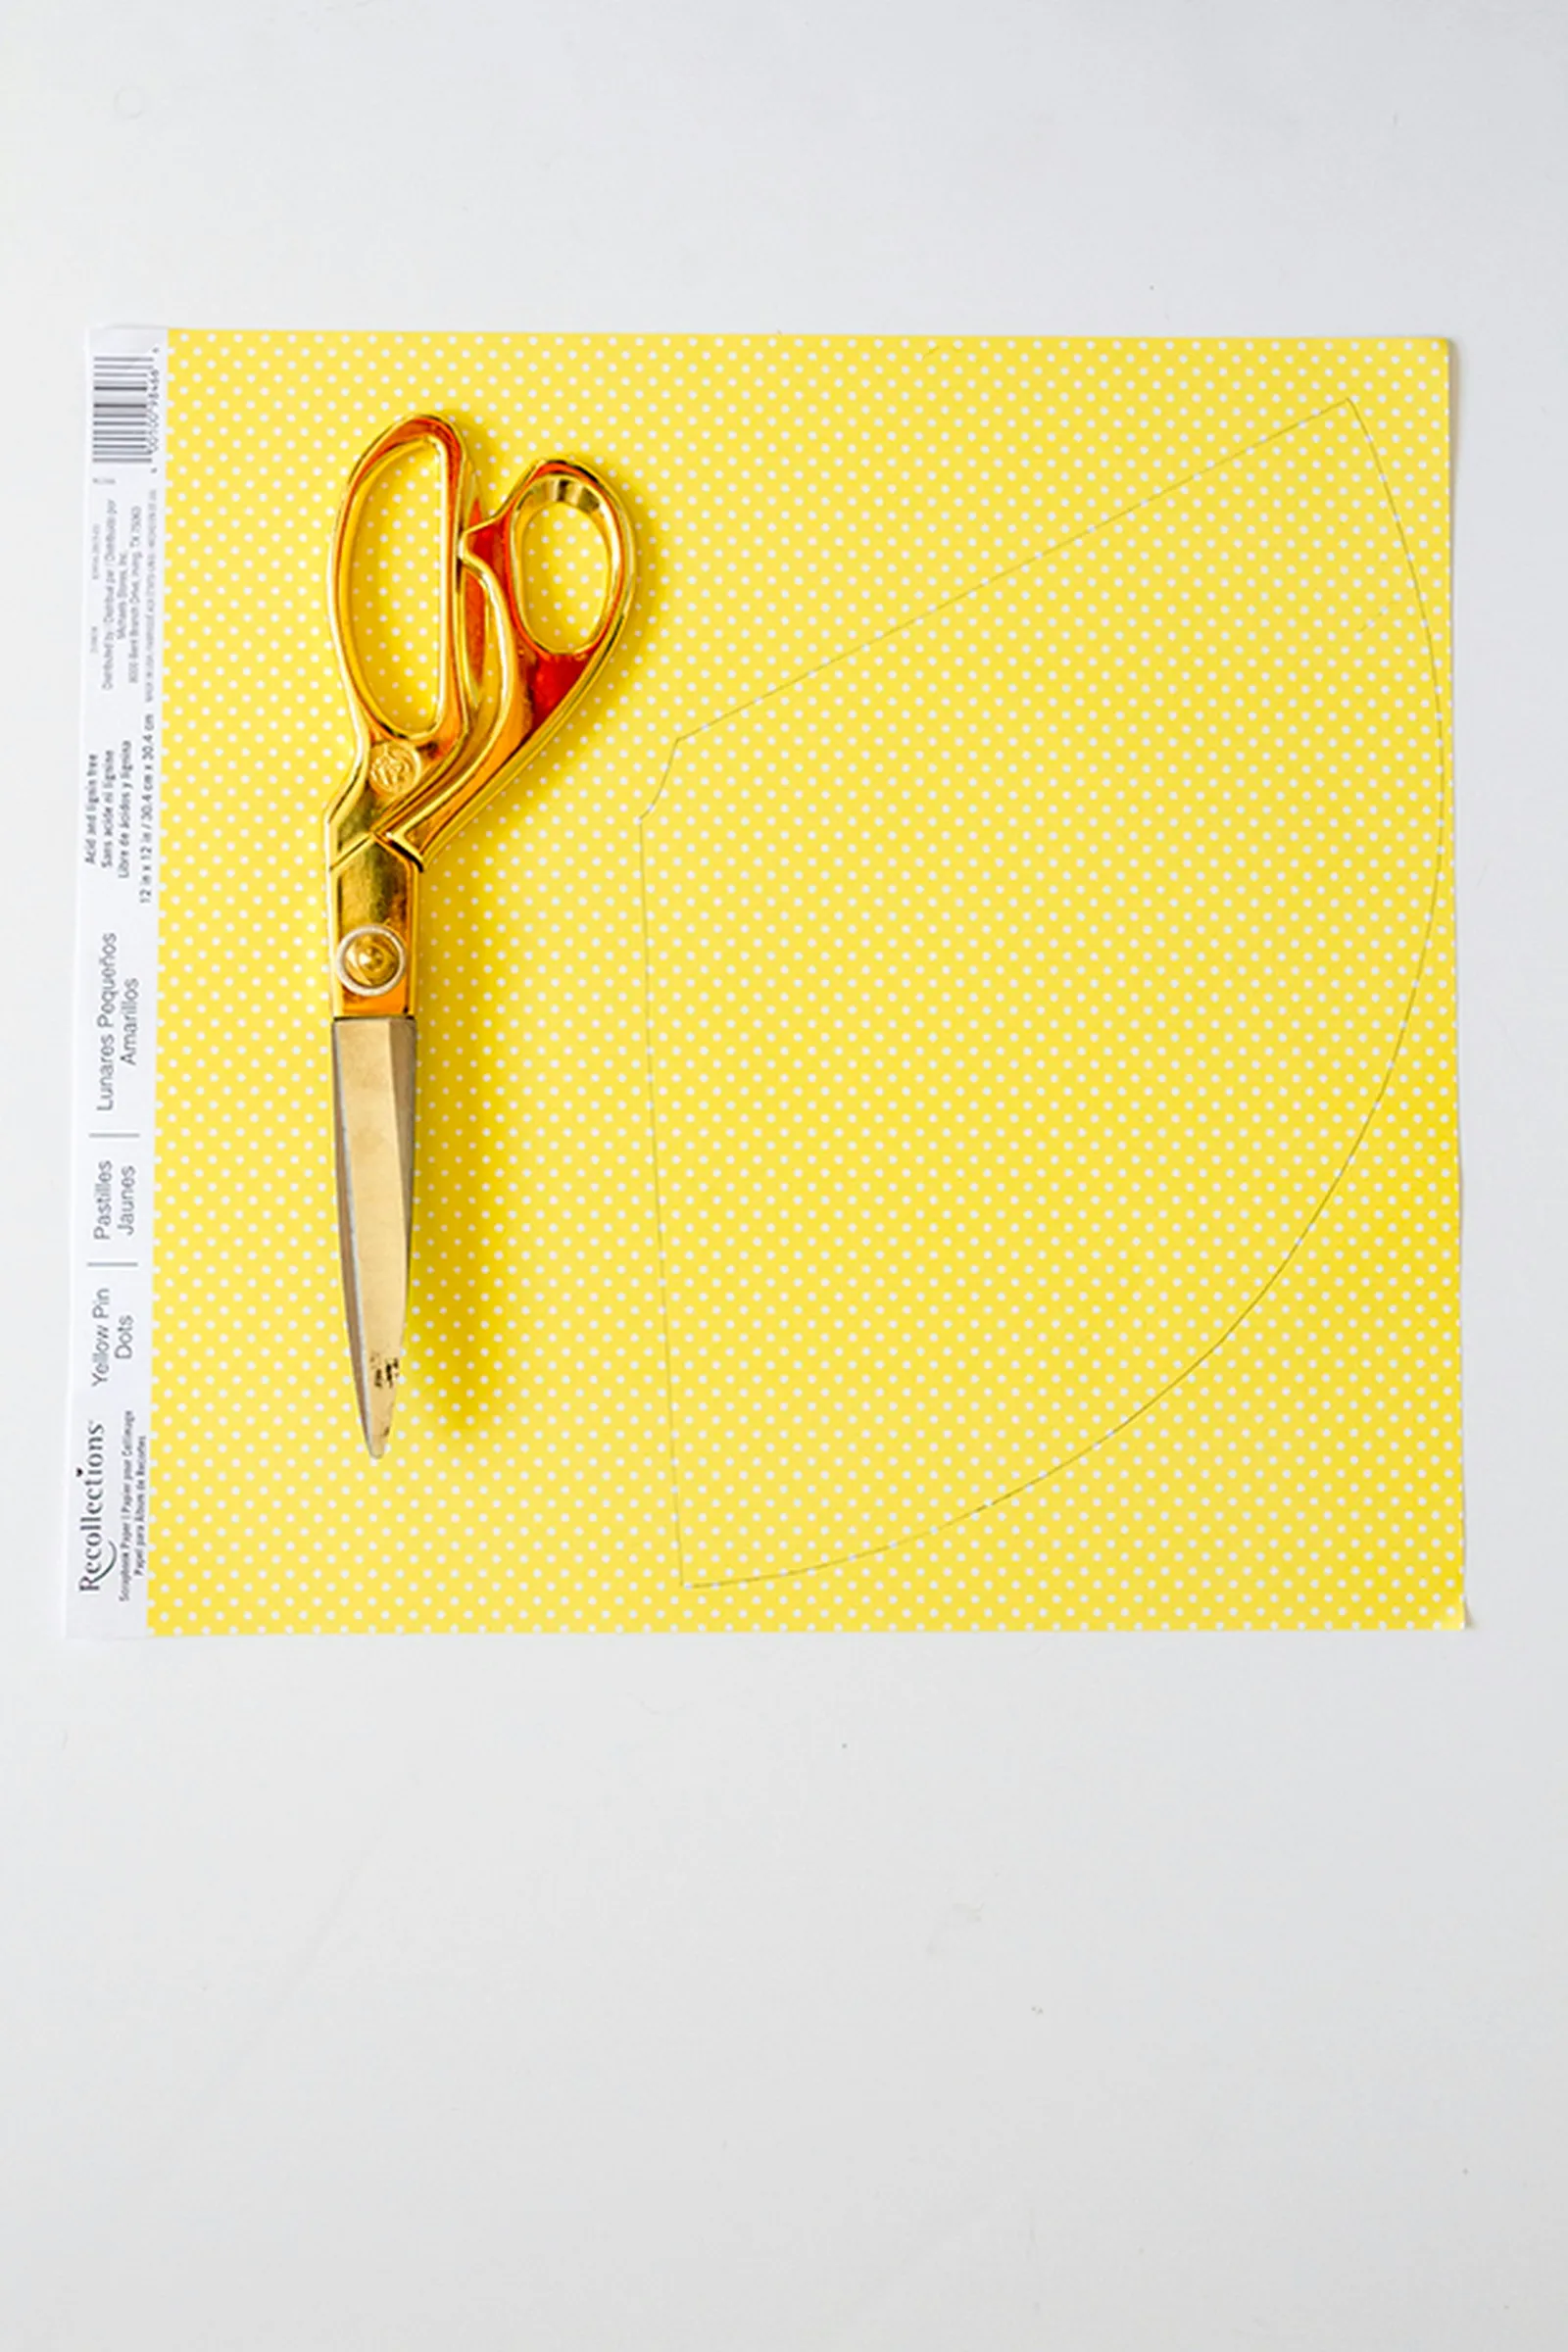
Trace the paper hat template on a piece of patterned paper and glue it on top of the white paper form.
Take the original paper party hat template and trace it again onto a fresh sheet of color-coordinated cardstock. Cut out the shape with scissors. Glue this top layer onto the white paper hat form and let it dry for 30 minutes.
Step 4: Try The Hat On
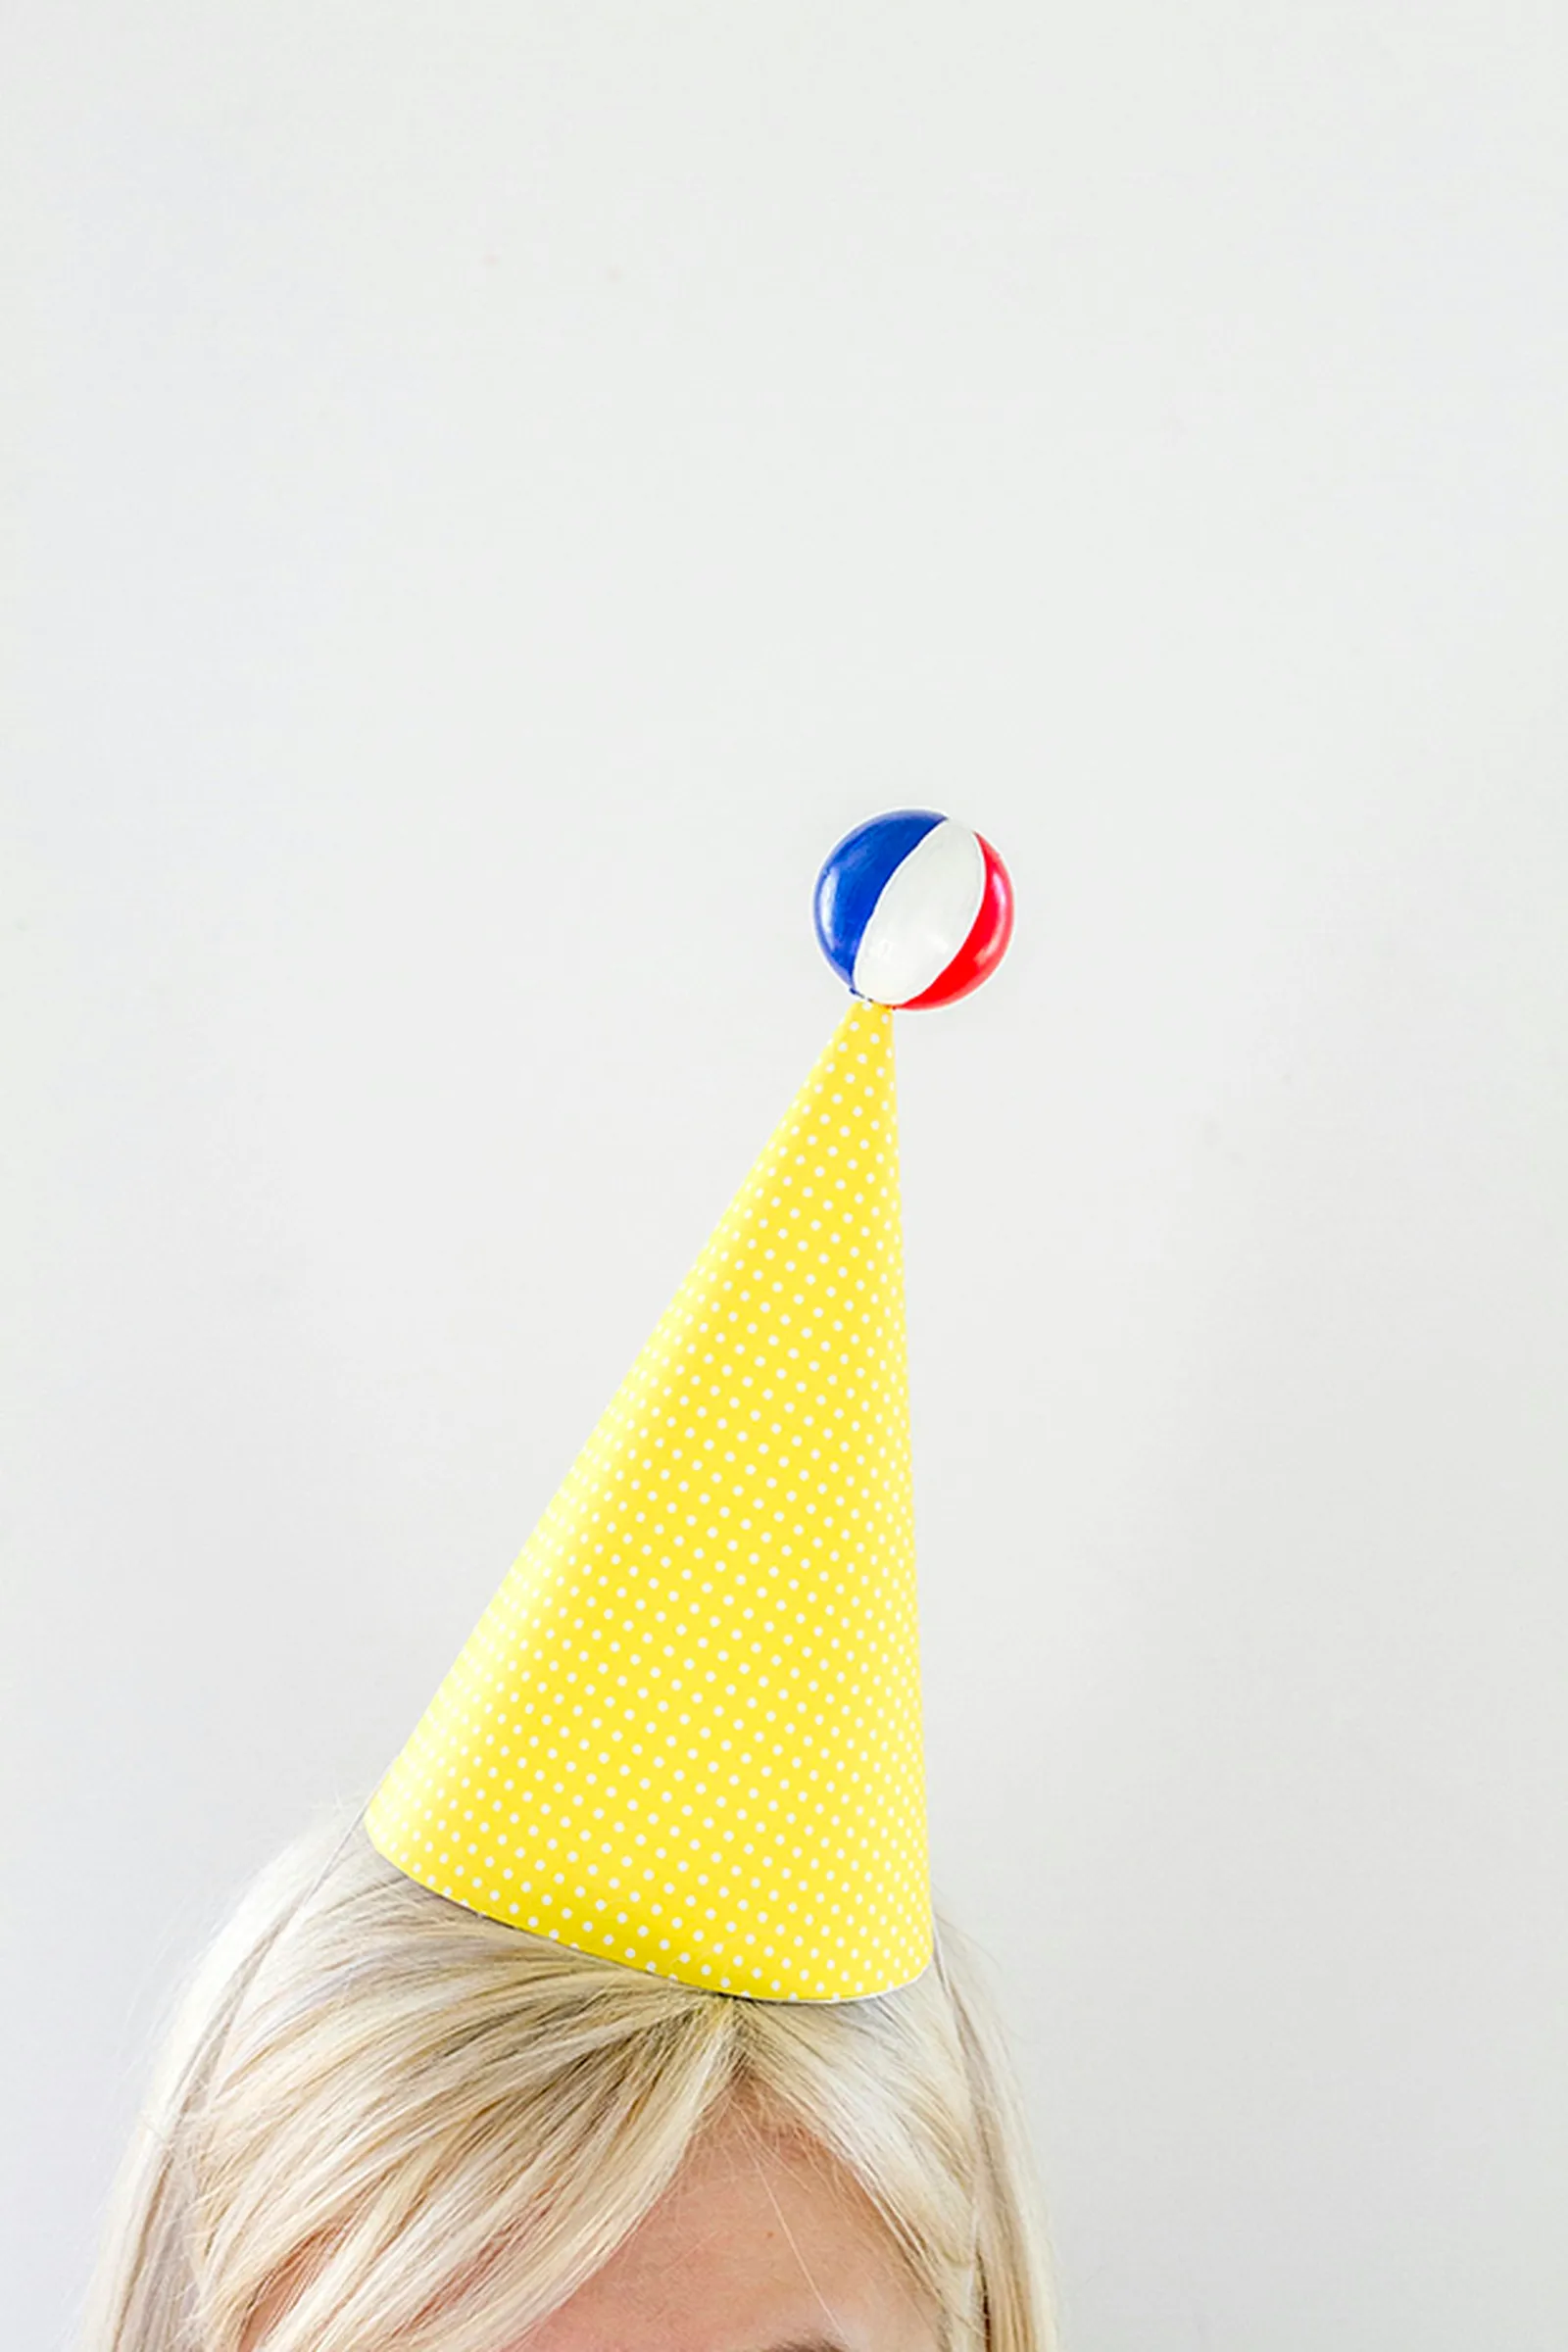
Wear the beach ball-topped hat with pride.
Put the strap under your chin and wear your beach ball-topped hat to your next summer get-together. Make several so your guests can join in the fun!
Party Hat DIY #2: The Ice Cream Cone Hat

Create your own upside-down ice cream cone party hat.
An upside-down ice cream cone design is ideal for summertime parties.
Step 1: Create the Party Hat Base
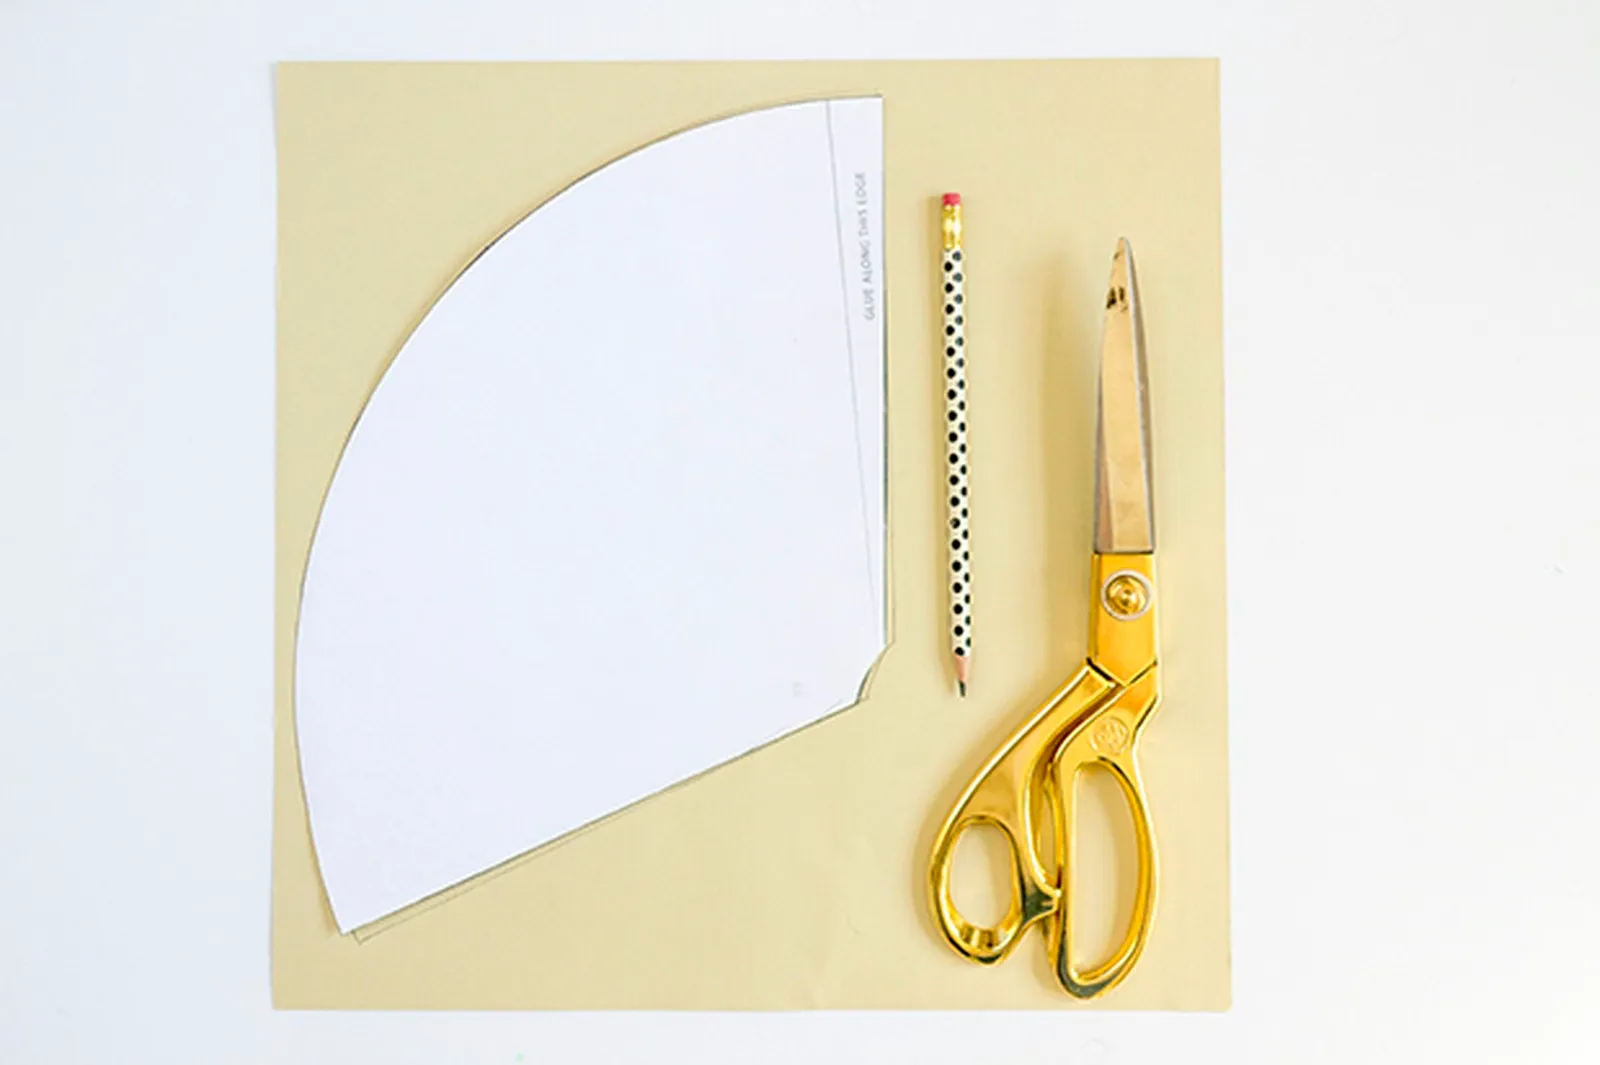
Retrace the paper hat template onto a piece of cream-colored cardstock paper.
For the upside-down ice cream cone, trace the original paper party hat template onto a sheet of cream-colored cardstock and cut it out with scissors. Aim to match the paper color to that of a real ice cream cone. Glue this top layer over the white paper hat form and let it dry for 30 minutes.
Step 2: Add Cotton Balls To The Rim
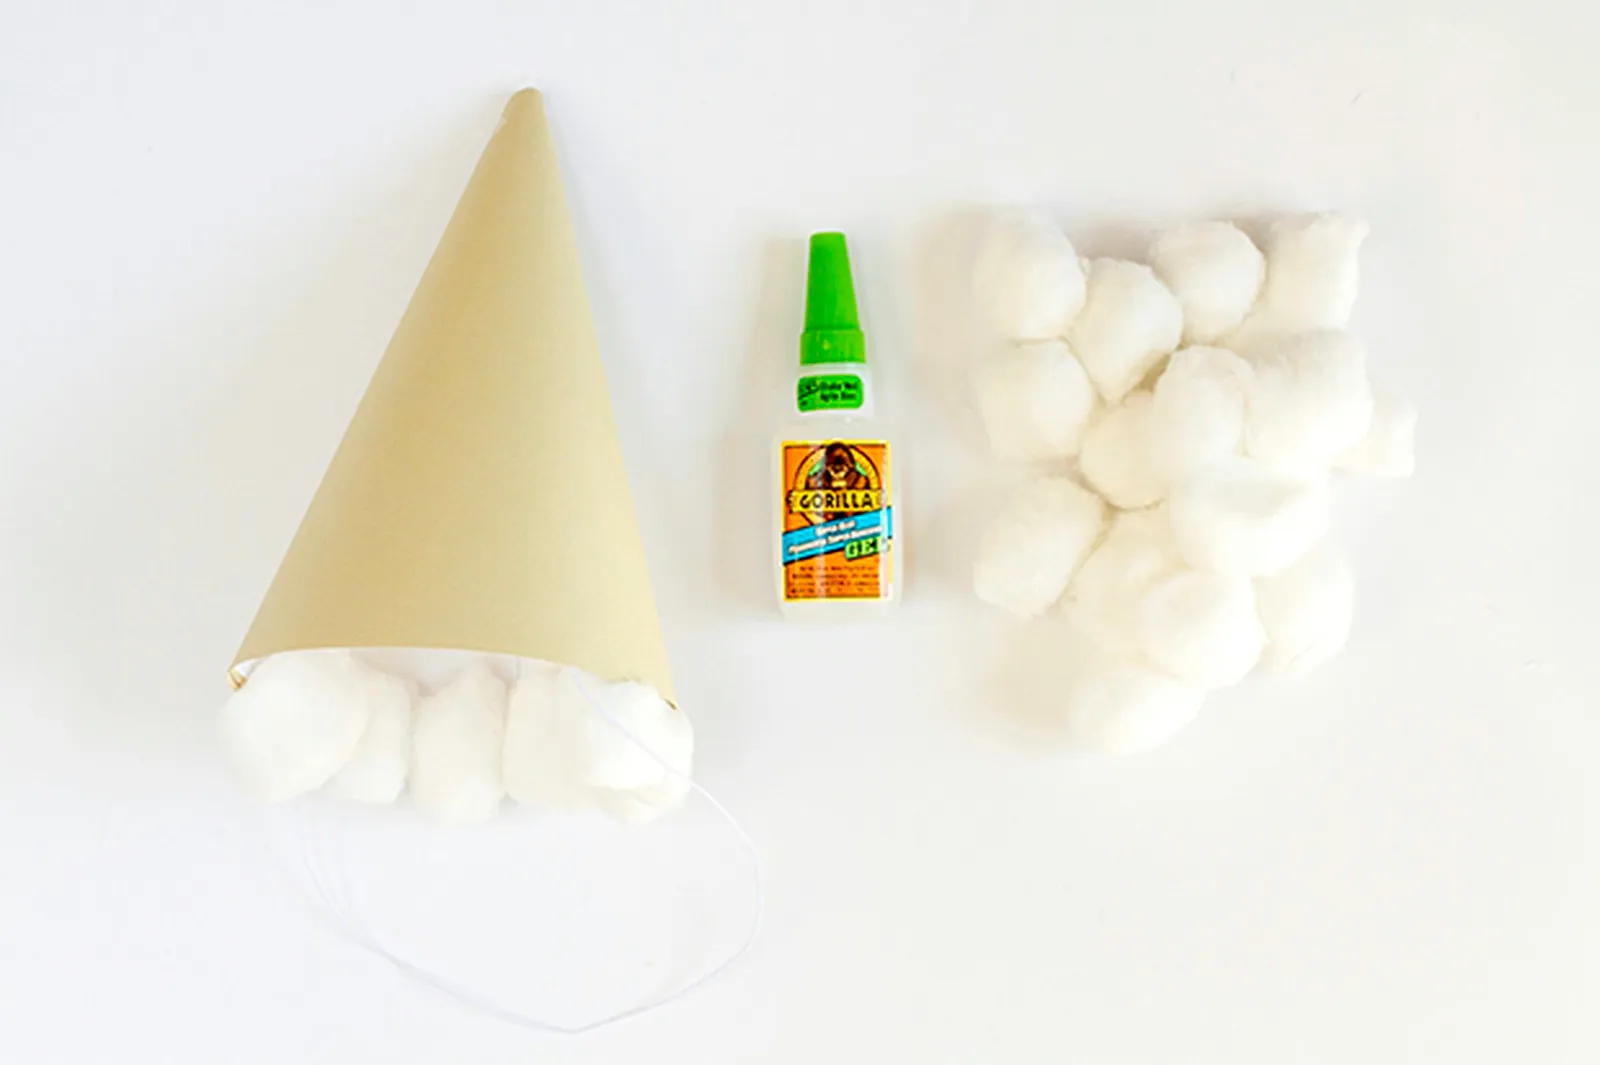
Use glue to attach cotton balls to the rim of the paper hat to mimic ice cream scoops.
Apply a line of super-hold glue along the inside bottom edge of the paper party hat, then press white cotton balls onto it. Hold each cotton ball for 30 seconds before adding the next. After filling the inside rim with cotton balls, run another line of super-hold glue along the outside edge of the hat and press on additional cotton balls. Hold each of these for 30 seconds as well.
Step 3: Cut Out Colored Paper Sprinkles
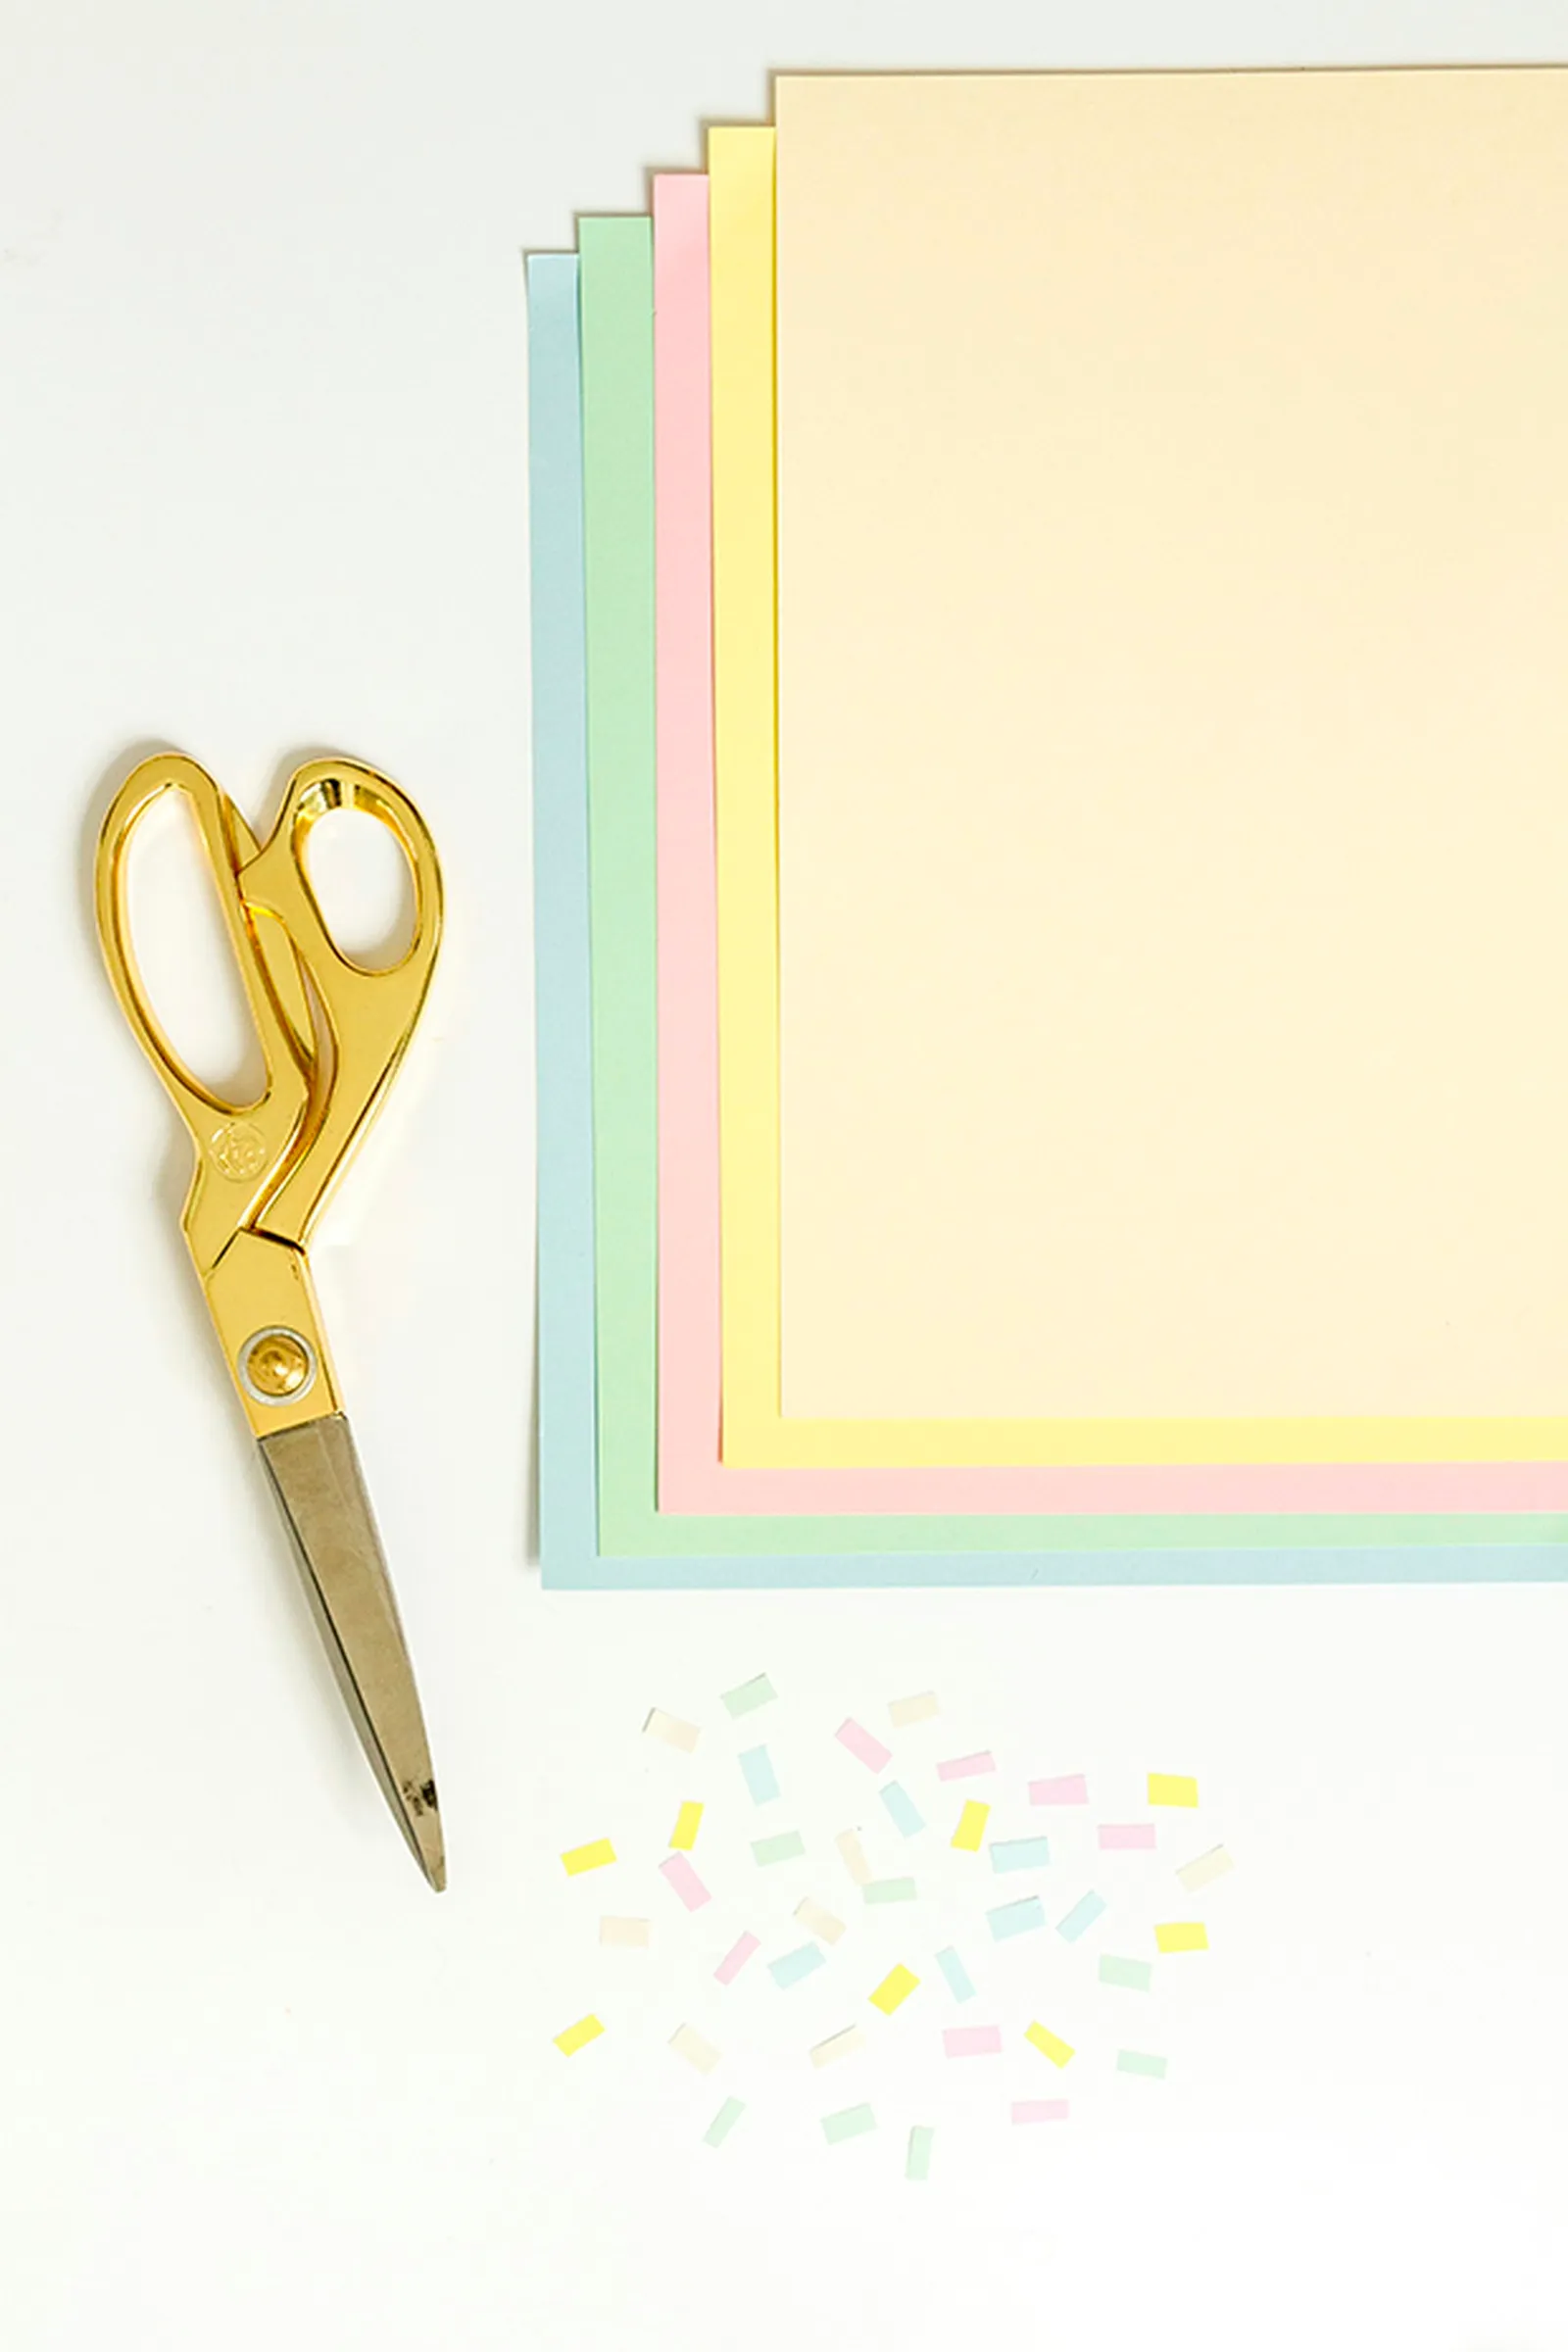
Cut colorful cardstock paper to look like sprinkles, and glue it on the cotton balls.
Using scissors, cut sprinkle-shaped confetti from colorful cardstock paper. Attach the paper sprinkles to the cotton balls with more super-hold glue, as if they were scoops of ice cream. Let everything dry for 30 minutes before handling.
Step 4: Try The Hat On

The upside down ice cream cone motif is perfect for summer time.
Put the elastic strap under your chin, and enjoy your creation when party time arrives.