Creating Custom-Painted Nike Air Force 1s: A Step-by-Step Guide
Turning a pair of Air Force 1s into wearable art is achievable with basic painting skills and the right materials. You'll need leather-specific acrylic paint, a leather preparer, and an acrylic sealant. The creative possibilities are virtually limitless.
By Taylor Mitchell
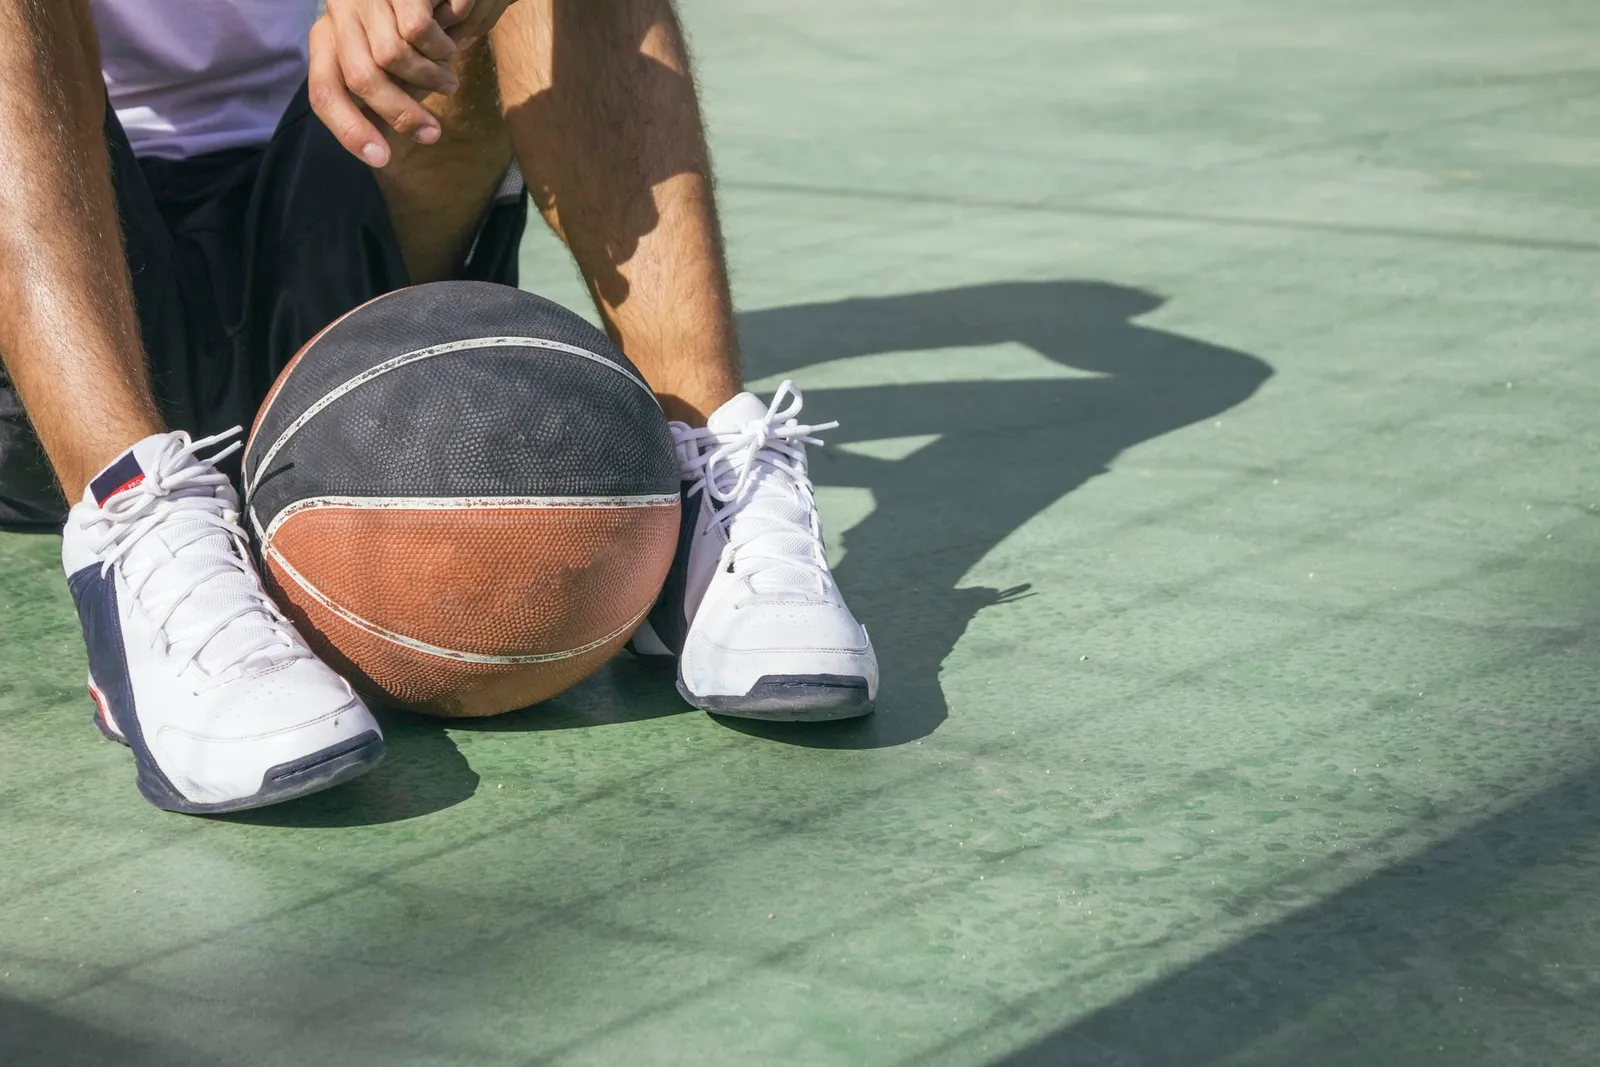
You can paint your Nike Air Force Ones.
Nike Air Force 1s have remained a favorite for decades thanks to their timeless athletic silhouette and wide array of colorways. For sneaker enthusiasts with an artistic streak, they also serve as an excellent canvas for creating one-of-a-kind painted designs. Even people with limited painting experience can handle this project, though it demands patience, attention to detail, and advance planning to produce results that look good and hold up over time. Using the right materials is essential—particularly acrylic paint made for leather surfaces.
Sketch Out Your Concept First
Starting with an all-white pair of Air Force 1s tends to yield the best outcome. Begin by gathering design ideas online, and explore the customization tool on Nike's Air Force 1 product page, which you can use even without making a purchase. Put your concept on paper as a rough drawing, and if you like, trace the outlines of the shoe's individual panels and swoosh logo onto the paper. Fill in the paper sketch using colored pencils or markers so you can visualize the final look, and refine the design as needed before you touch the actual shoes.
Getting the Shoes Ready
The upper of Nike Air Force 1s is made entirely of leather, and new pairs come with a waxy protective finish. This coating needs to be stripped away before you paint; otherwise, paint won't be able to soak into the leather. Apply a leather preparer or deglazer according to the product's directions—typically, this means rubbing it across the entire shoe using a soft cloth. Even if your shoes aren't new, running through this step is still worthwhile to clean and prep the surface.
As an alternative, acetone or isopropyl alcohol can strip the protective layer in much the same way. When handling these harsh chemicals, be sure to work in a space with good airflow and wear gloves and eye protection.
Applying the Paint
Stick to acrylic leather paint rather than standard acrylic paint, and choose brushes or sponge applicators sized appropriately for your design. Many custom Air Force 1 designs begin with color-blocking, which works well because stitching divides the shoe into distinct sections. Paint in single layers, allowing each one to dry completely before adding the next. Several thin coats will give you better results than a few thick ones, so don't rush the process.
Use painters' tape to mask off areas you aren't painting at the moment, or to produce clean straight lines in your design if that's what you want. Stencils, stamps, and similar tools can also be helpful. Test your techniques on paper before applying them to the shoes.
Sealing and Protecting the Finished Shoes
An acrylic sealant applied at the end will help your painted Air Force 1s stay looking sharp for as long as possible. These products come in spray-on and brush-on versions, with finish options including regular, matte, satin, and gloss. After painting, wait a minimum of 24 hours before applying the sealant, following the manufacturer's directions. Then allow another 24 hours to pass before you actually wear your customized sneakers.