A Step-by-Step Guide to Applying White Paint on Stair Risers
The vertical faces of your steps, known as stair risers, are visible to anyone climbing your staircase. Painting them white can create a seamless flow. Proper surface preparation, priming, and painting are essential for a durable finish.
By Alex Ross6 steps
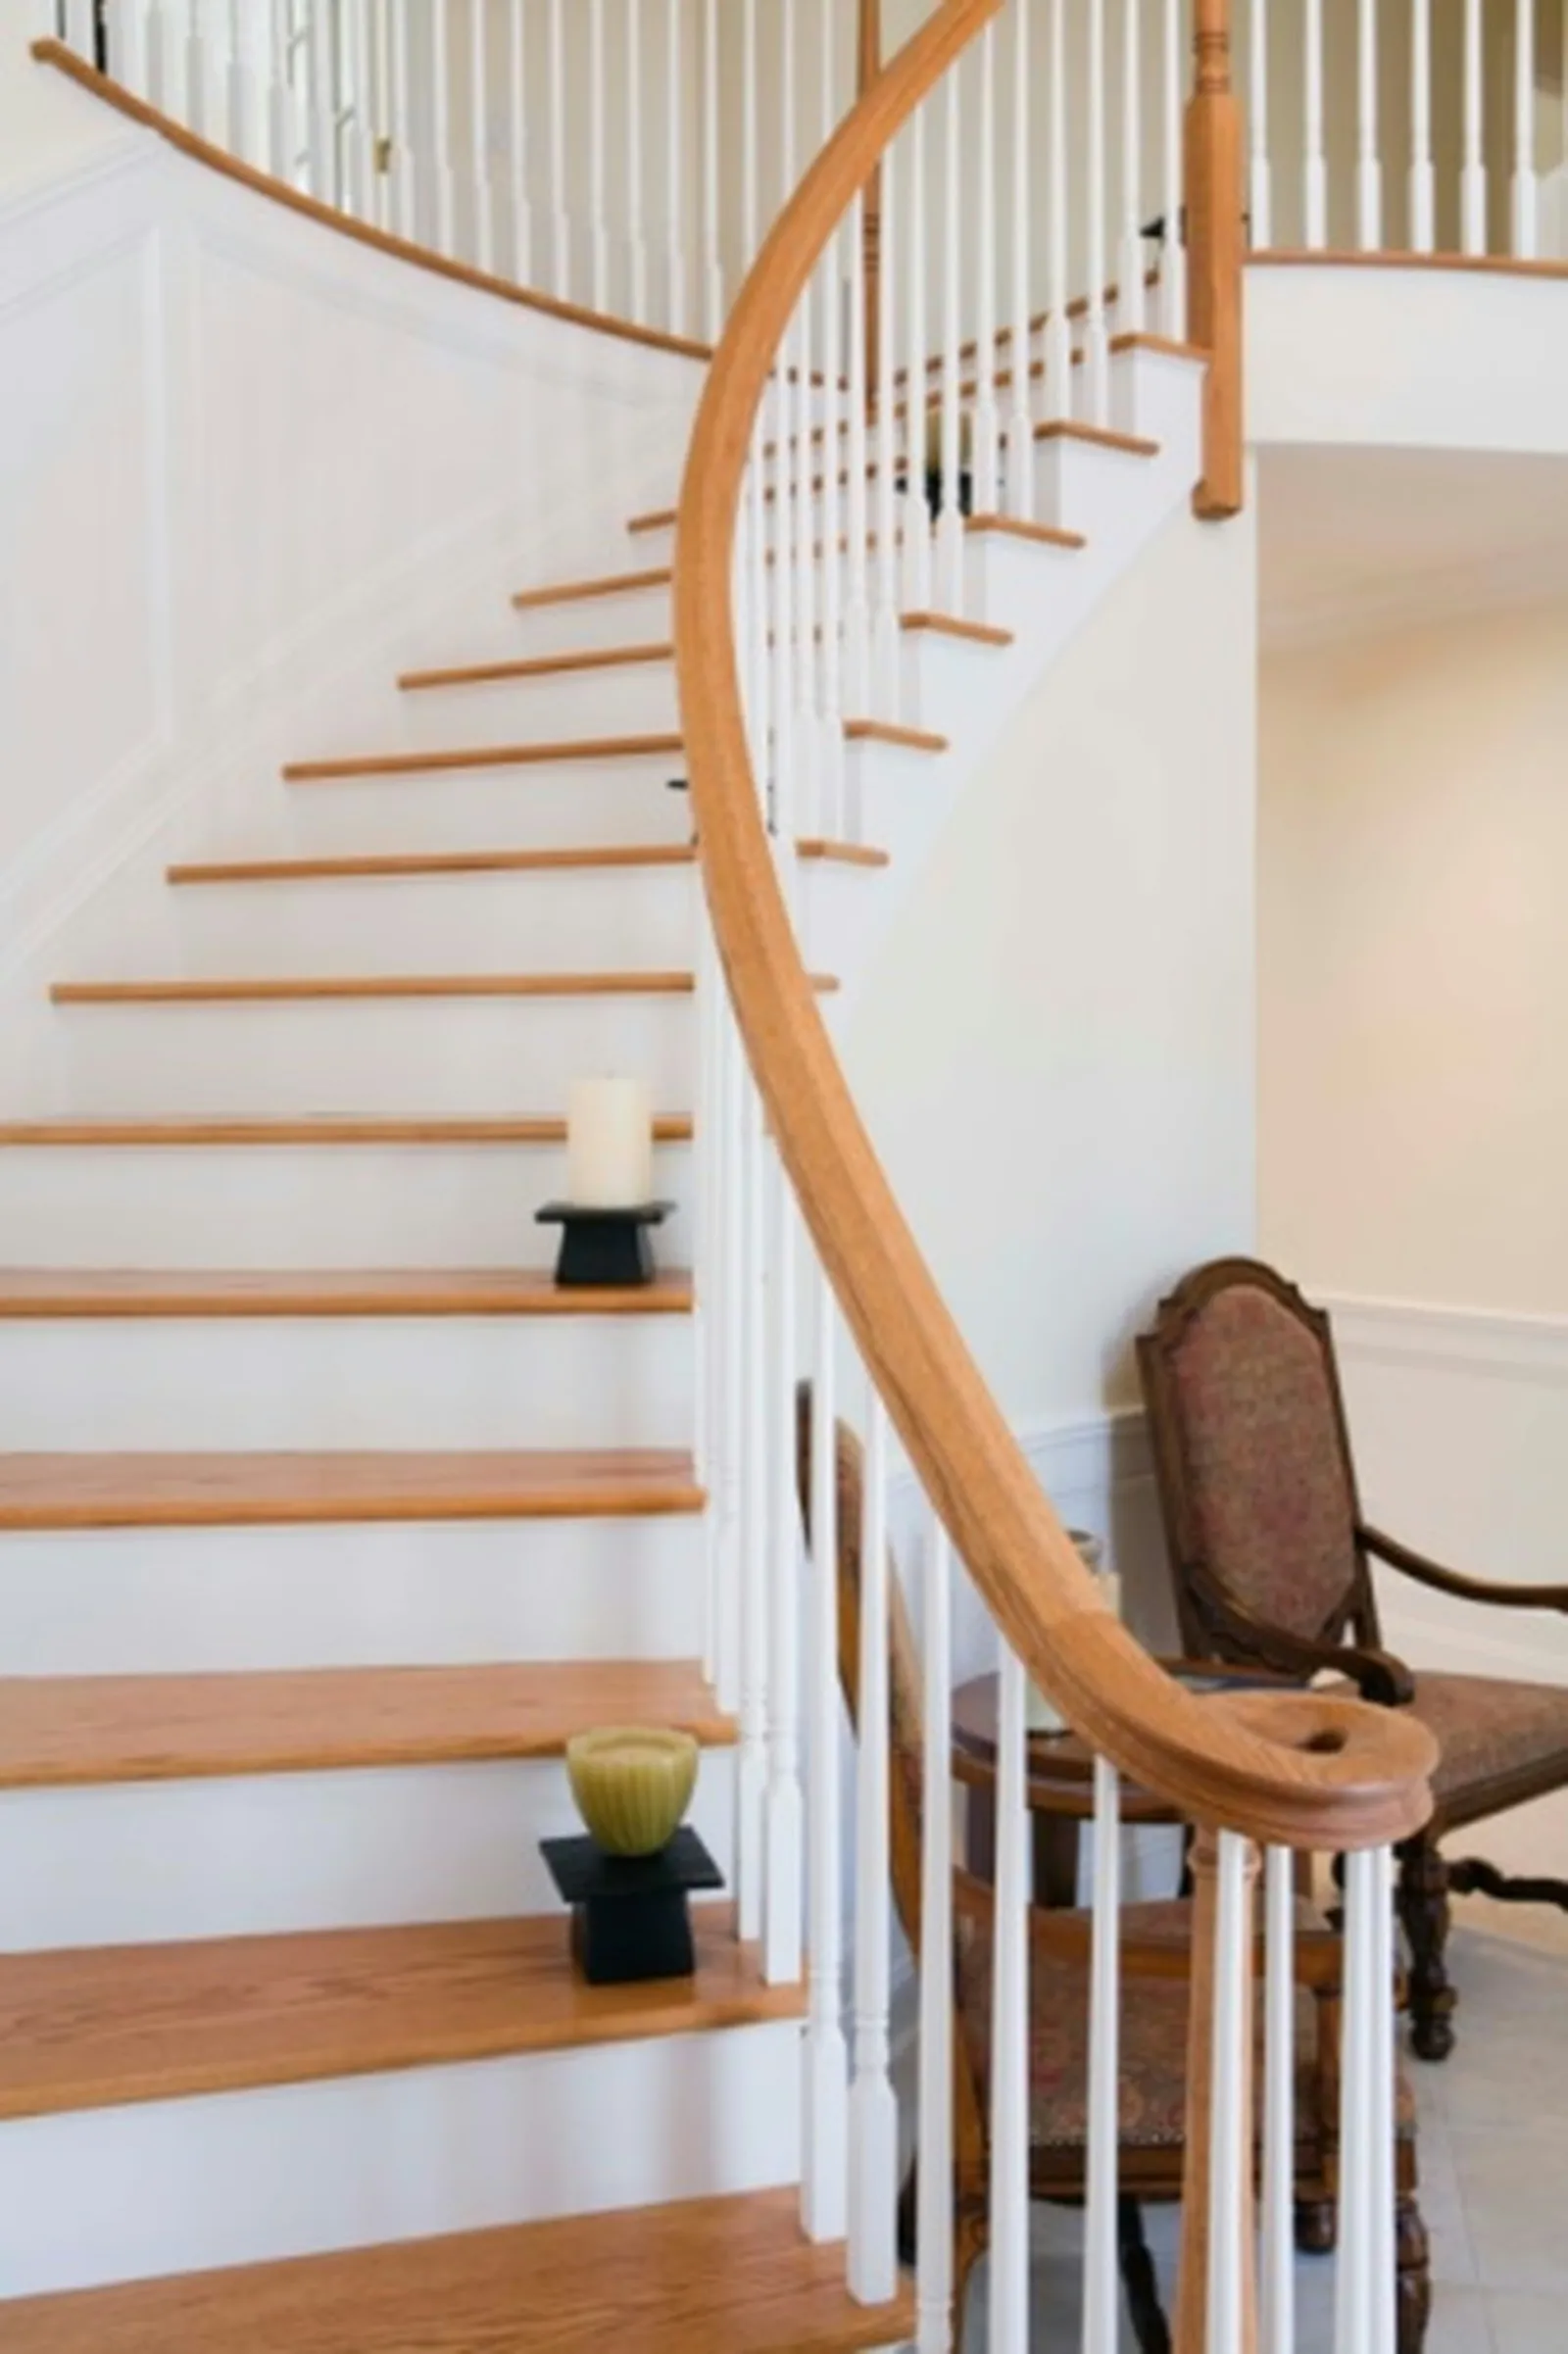
White stair risers add elegance and flow to your home.
Though the vertical facing of each step—the stair riser—might appear to be a minor detail in your home, it is seen by everyone who walks up your stairs. Painting these risers white is a common choice that can give your staircase a sense of continuity. To ensure the paint sticks well and looks smooth, you need to prep the risers and use the right primer and paint.
Step 1
Protect the treads (the horizontal parts of the steps) by covering them with drop cloths or plastic sheeting. Secure the covering with duct tape or masking tape if needed to keep it from moving as you work.
Step 2
Put mineral spirits or a similar solvent-based cleaner on a rag and wipe down each riser. This removes dirt, dust, oil, wax, and grease that could prevent the paint from adhering.
Step 3
Use fine-grit sandpaper to sand all risers. For wooden stairs, sand along the direction of the wood grain. Sanding creates a slightly rough surface that helps the paint bond. After sanding, wipe away dust with a tack cloth.
Step 4
Begin with the highest riser so you work downward, away from wet paint. Using a stiff, natural-bristle brush, apply a thin coat of oil-based primer to each riser. Overlap your brush strokes to avoid marks; on wood, paint with the grain. Cover all risers and let the primer dry fully as directed by the product instructions before moving on.
Step 5
Lightly sand the dried primer with fine-grit sandpaper, then wipe with a tack cloth. Starting at the top, apply a thin layer of your white paint using a stiff, natural-bristle brush. On wood, paint in the direction of the grain. Paint all risers and allow the paint to dry overnight before proceeding.
Step 6
Check the surface. Apply a second coat or touch up as needed or if the paint manufacturer suggests it. Sand lightly between coats to improve adhesion. Let the final coat dry completely before removing the protective coverings.