Applying Acrylics to a Wooden Surface: A Step-by-Step Guide
Wood is a classic painting support that offers distinctive grain, yet its porous nature often calls for sealing before acrylics are applied. Acrylic paint consists of pigment held in a water-based acrylic or plastic emulsion, dries rapidly, comes in many hues, gives off no harmful vapors, and can be washed off with soap and water.
By Hayden Adams4 steps
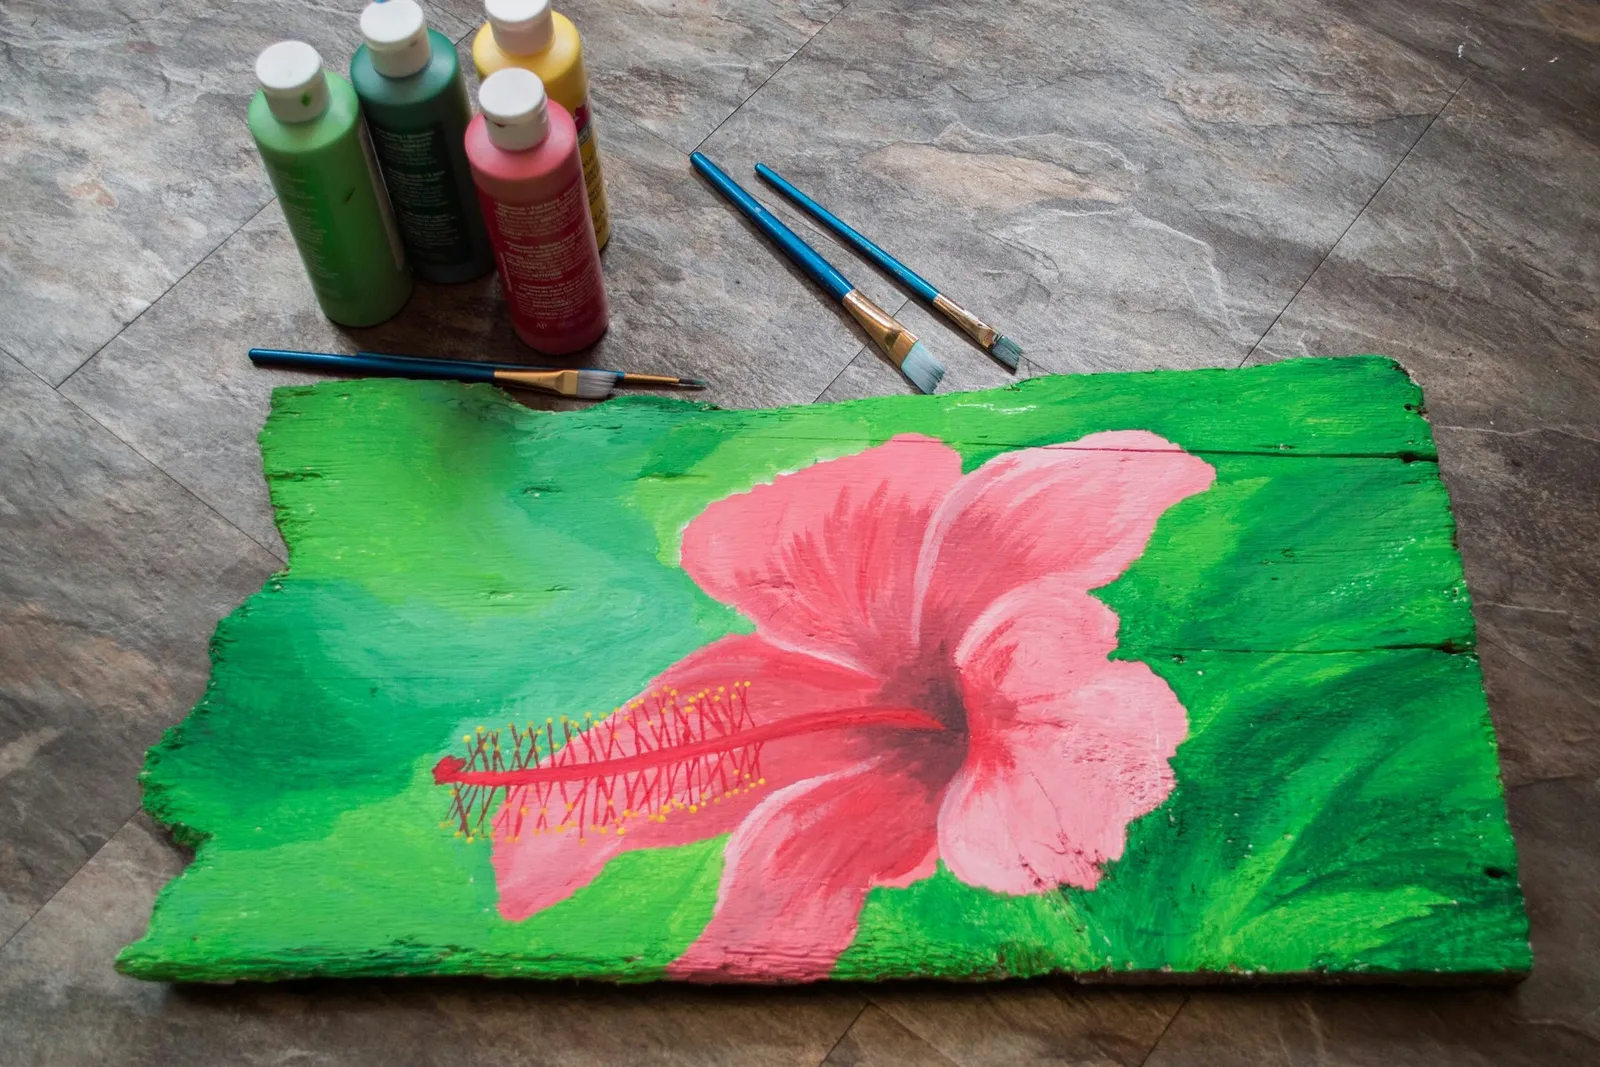
Pigments in acrylic paint are held in suspension within a water-based acrylic or plastic binding emulsion. These paints set very fast and come in a broad range of colors. Applying them is straightforward, they give off no toxic vapors, and soap and water are enough to clean them up. Whatever surface is used must be solid, but apart from that requirement, acrylics can be used without restriction. Wood has long served as a painting surface and can offer appealing grain patterns, yet because it is quite porous, it may need to be sealed first.
Step 1
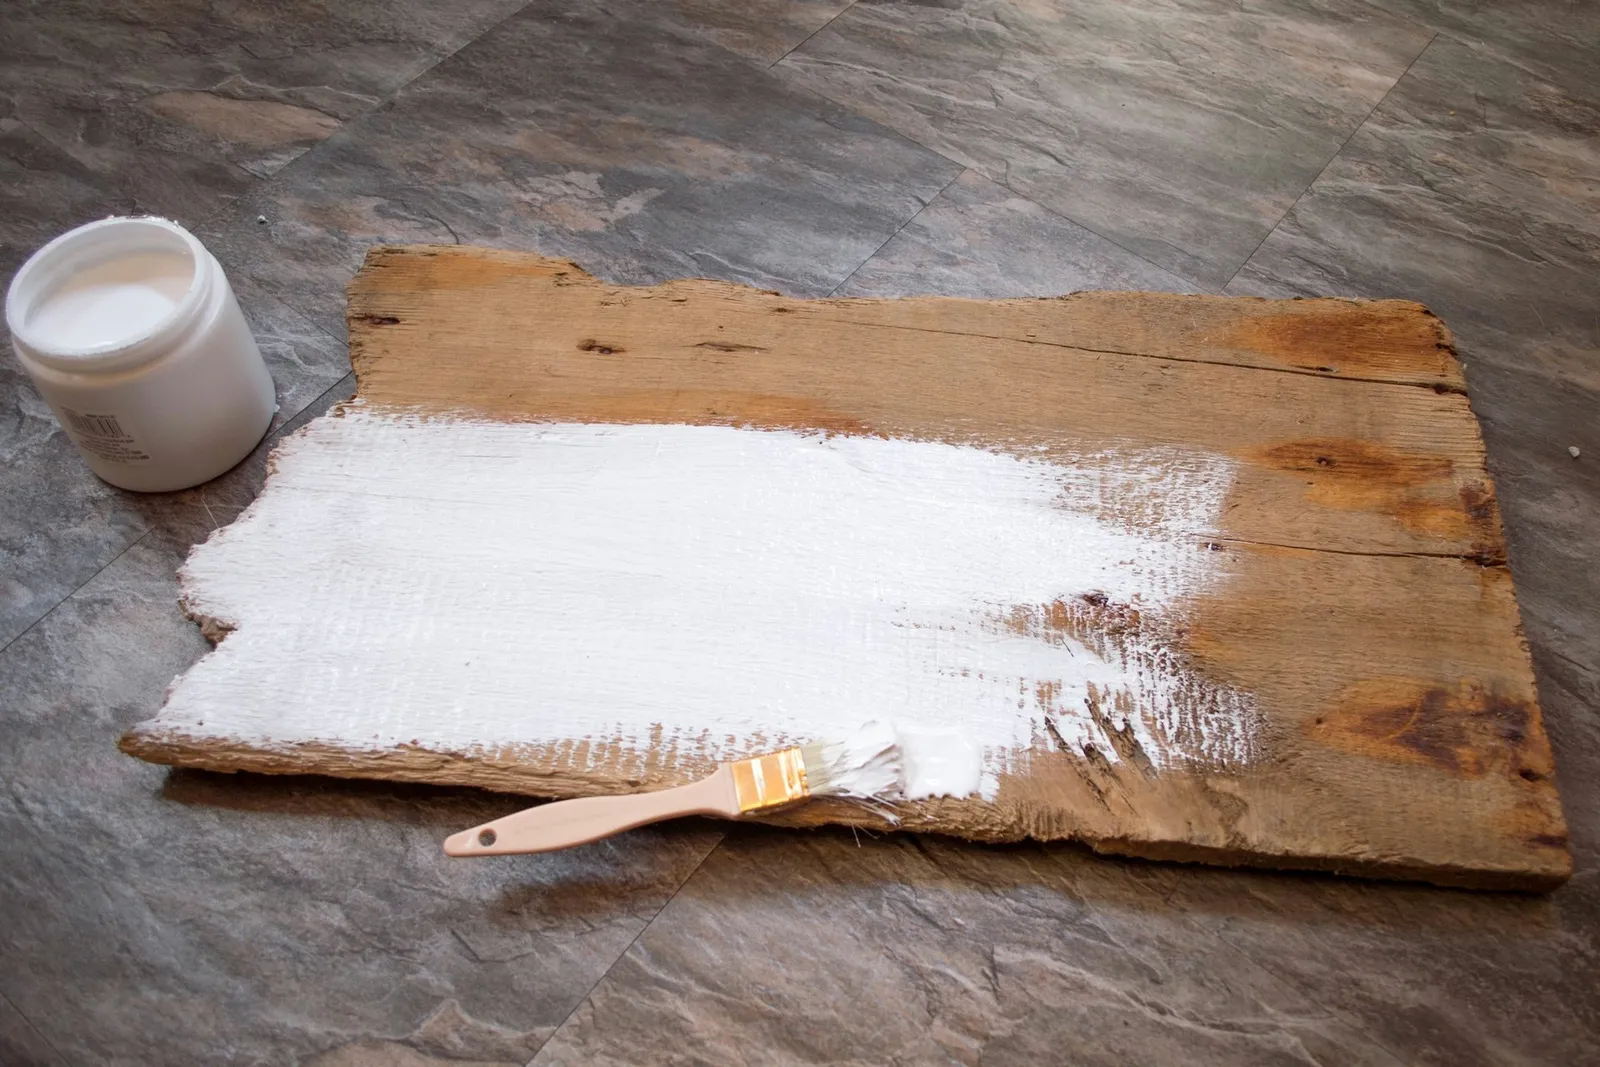
Using a wide brush, spread gesso over the whole wood panel. Apply as many coats as necessary, making sure the panel is fully covered with no bare wood visible and that the layers are uniform. Start with vertical strokes, let them dry, then switch to horizontal strokes so the coverage is even.
Step 2
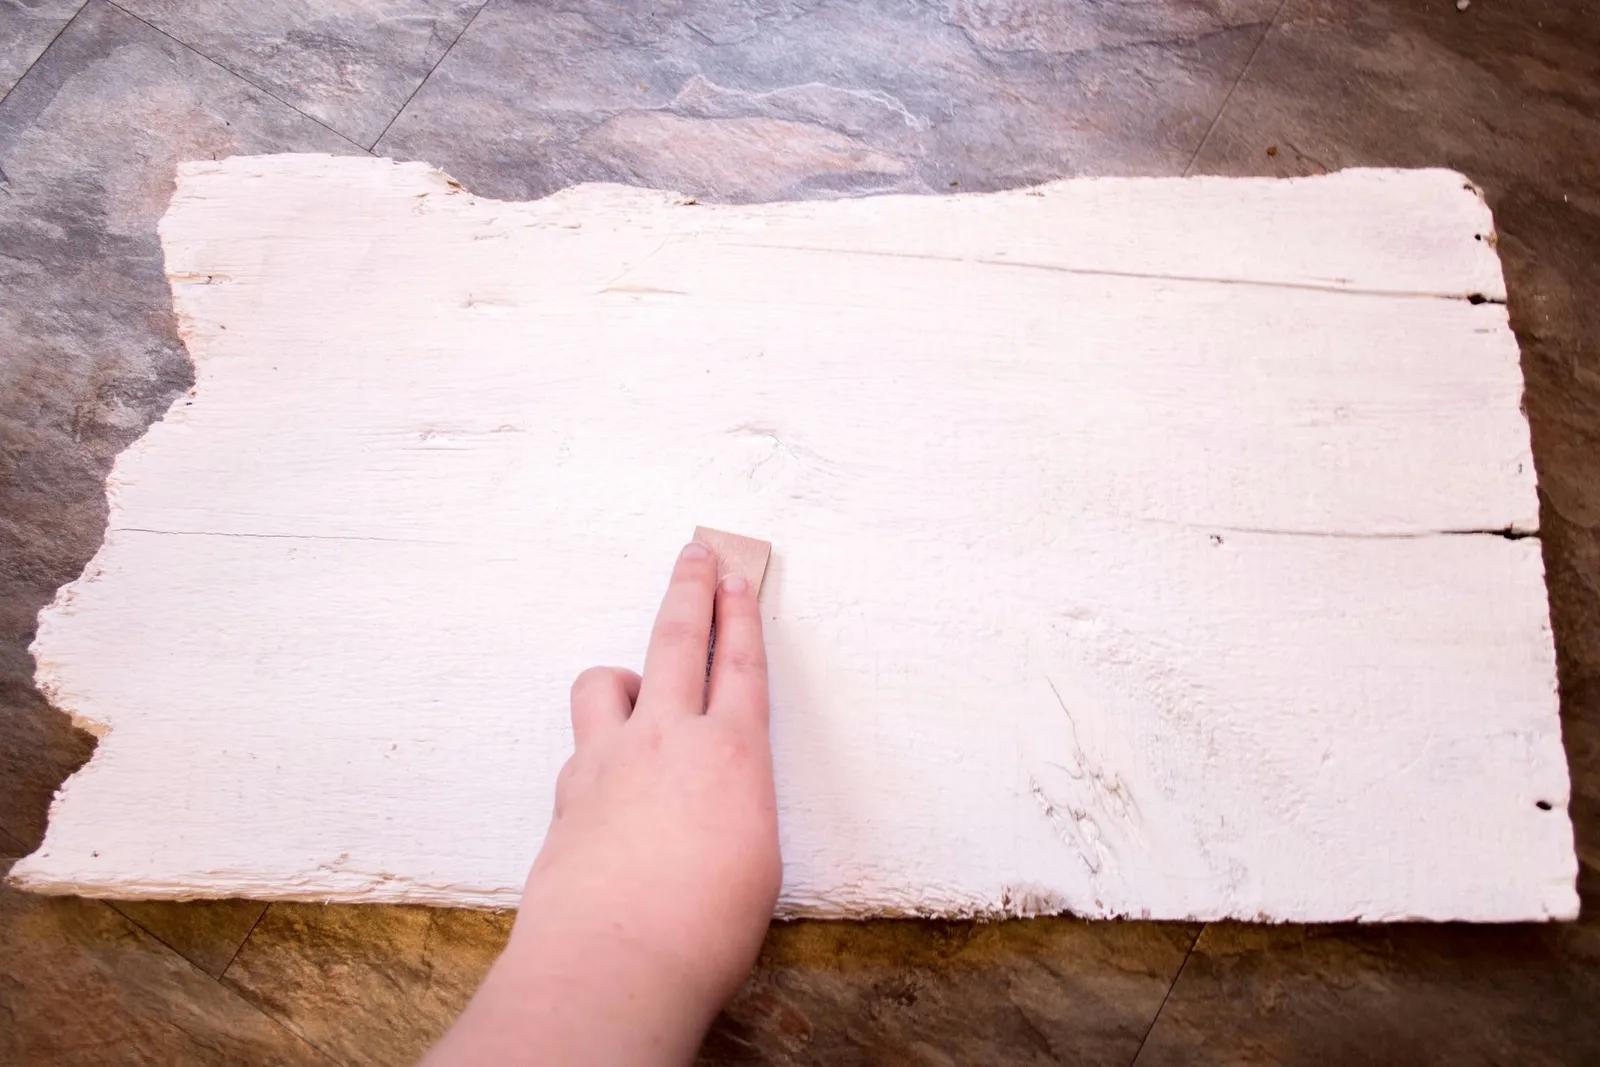
After the gesso has dried — roughly 30 minutes for each coat — sand off any excess. Before you begin painting, check that the surface is completely level.
Step 3
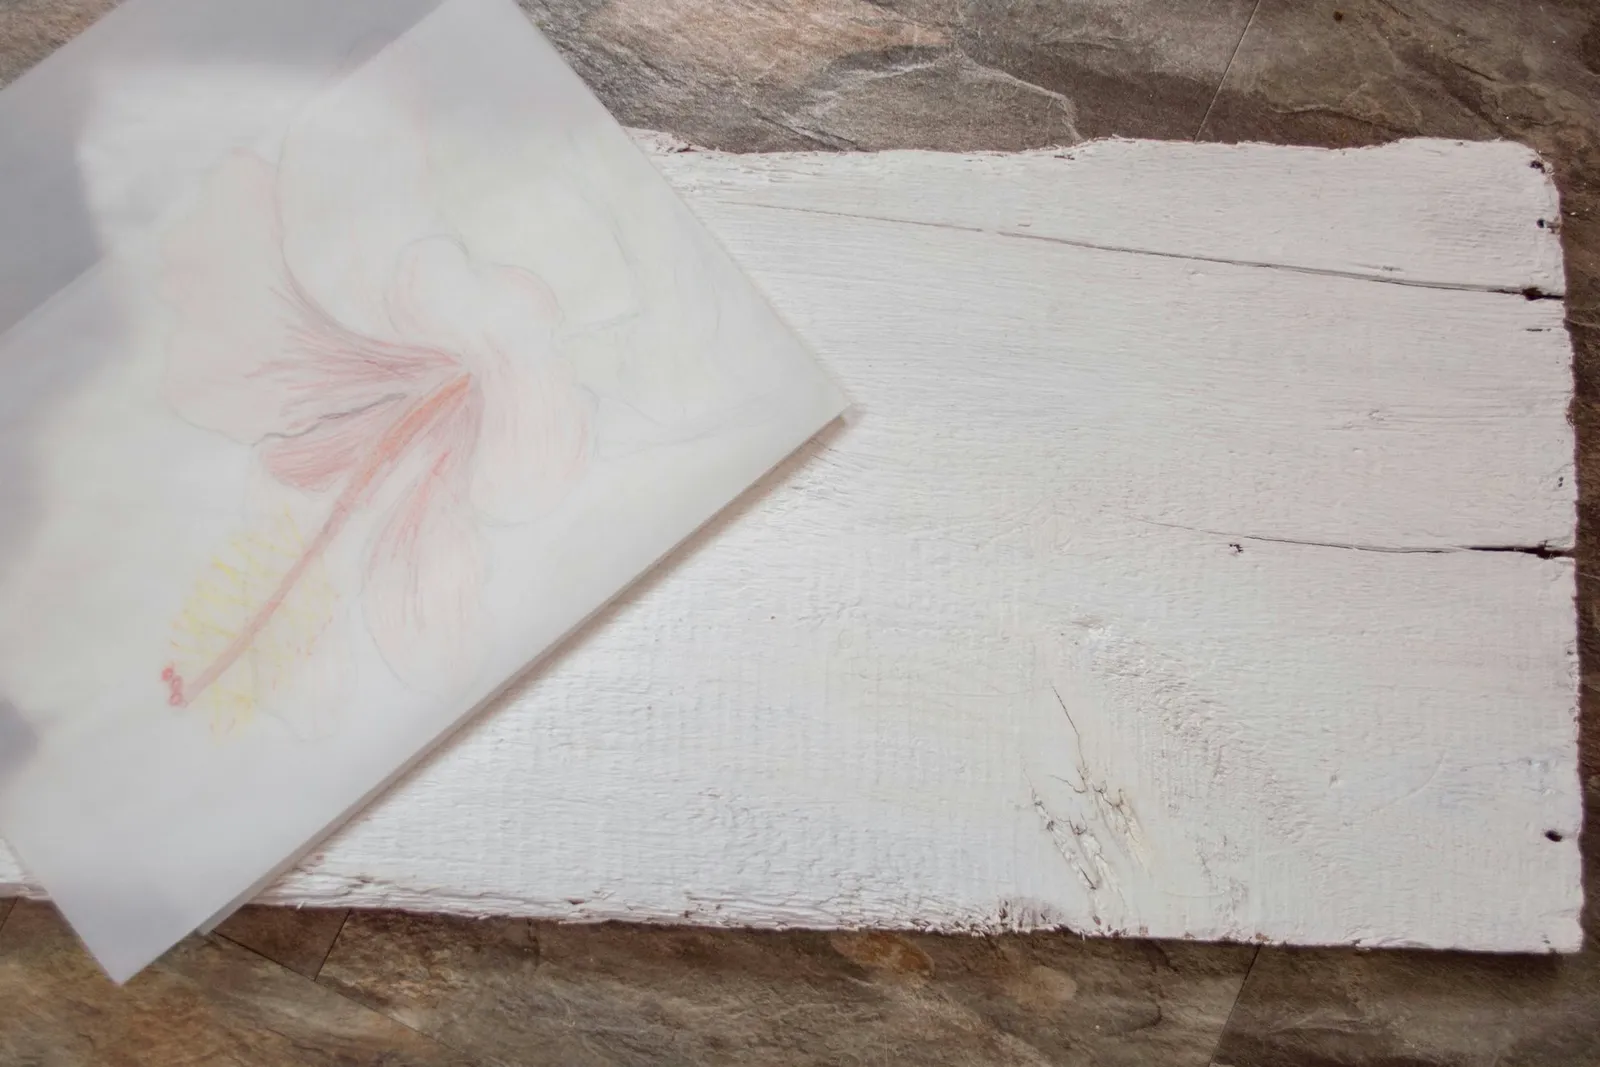
On a sheet of paper, draw a sketch of the painting you intend to reproduce on the wood panel, noting the colors and details. Acrylic paint is fairly forgiving and can readily be painted over, but preparing a sketch in advance can save both time and materials.
Step 4
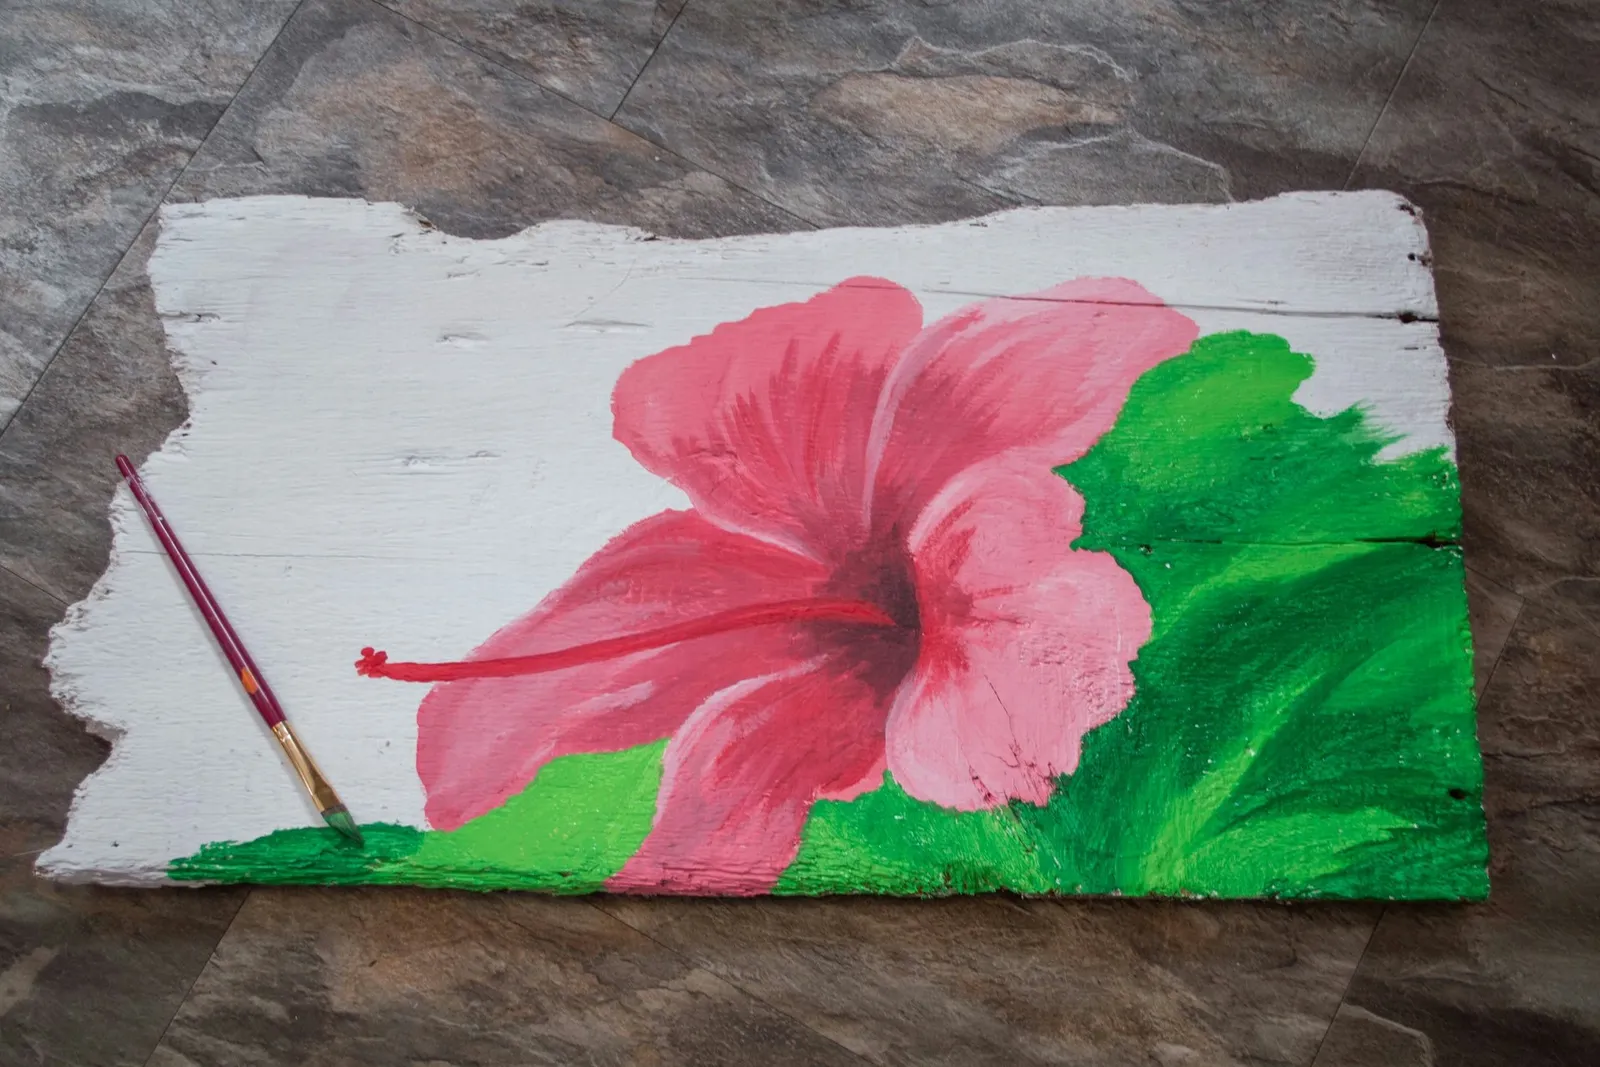
Following your sketch as a reference, paint the images straight onto the panel. Let the paint dry, then add highlights and finer details. Try building up colors in various areas as you work.