Crafting a Jumbo Stuffed Snowman from Paper
Create a big, stuffed paper snowman using poster board and basic craft supplies. It's a fun project for children or a classroom, and the size can be adjusted to make smaller ornaments.
By Toby Rivera17 steps
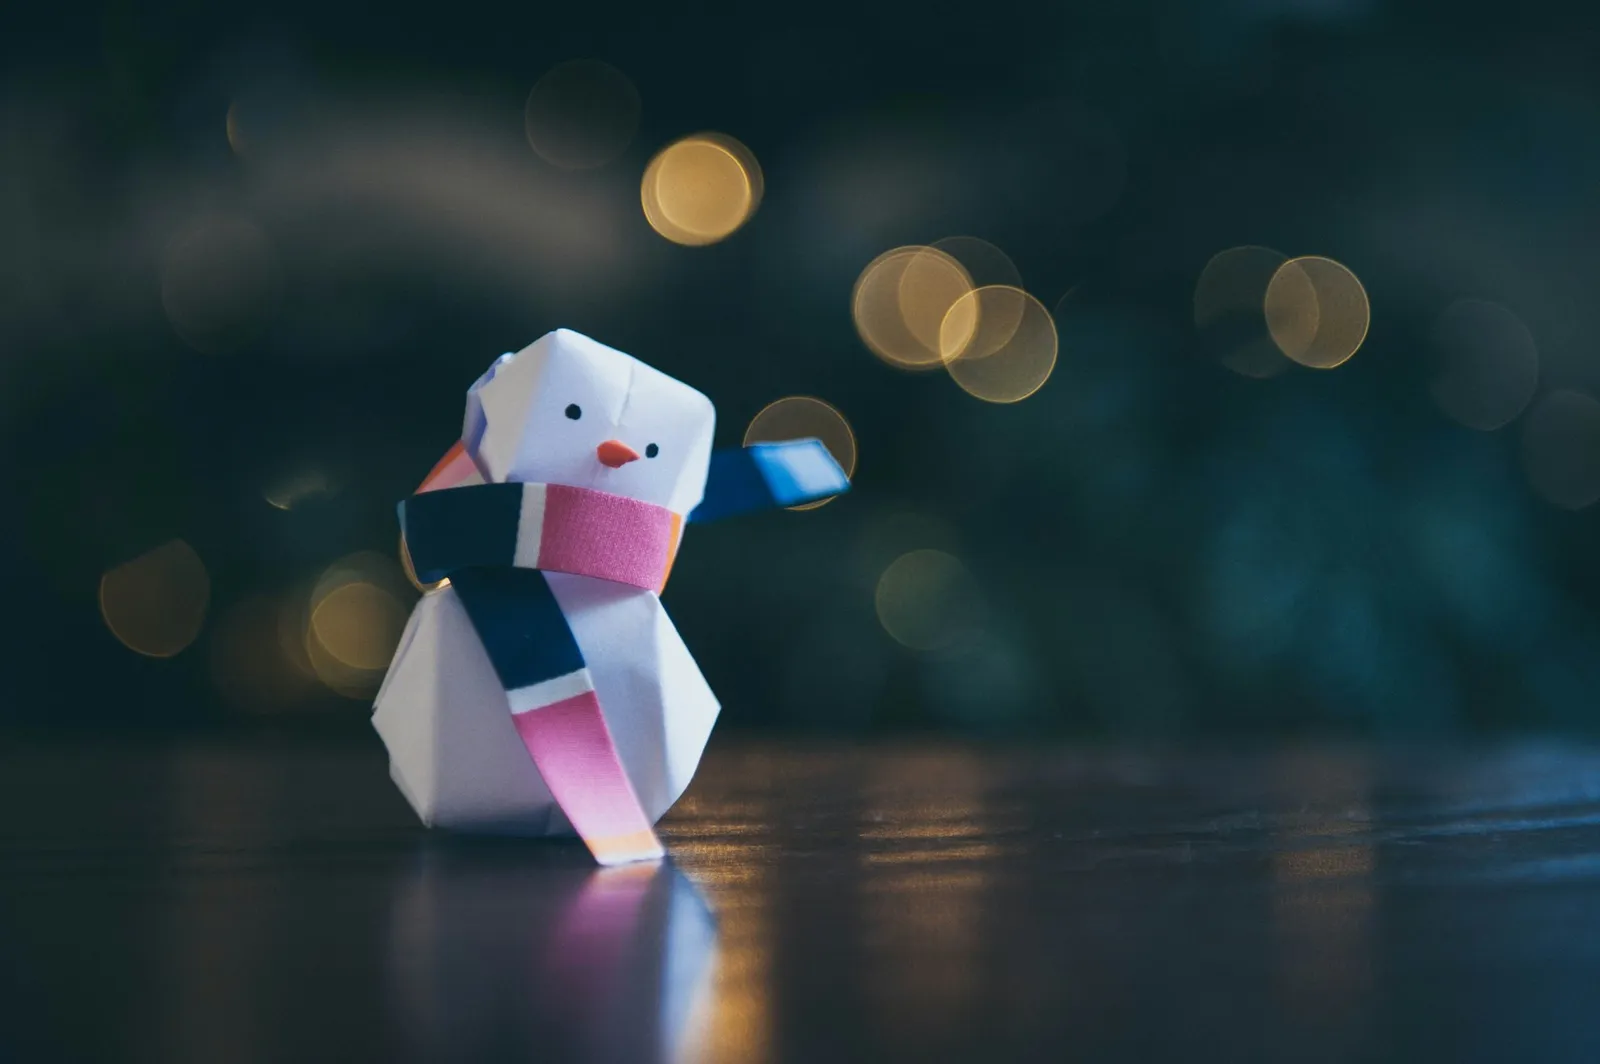
You can make paper snowmen.
Celebrate the winter season by making a large paper snowman to display at home or in a classroom. This craft is straightforward and can be finished with relative ease. Poster board serves as the base, and acrylic paint—which sticks well to poster board and gives a polished look—brings it to life. You'll likely want to repeat this charming project, and you can easily adjust the dimensions to produce small paper snowman ornaments.
Step 1: Make the Large Paper Snowman's Body
From white poster board, cut out six circles to form the snowman's body—each circle will serve as a front or back piece. Using two sheets of poster board, cut two circles that are 24 inches in diameter. With two more sheets, cut two 18-inch circles. From the remaining two poster boards, cut two circles measuring 12 inches. The biggest circles become the snowman's bottom section. The 18-inch circles will form the middle section, while the 12-inch circles make up the face. Put the circles to one side.
Step 2: Punch the Holes
Stack circles of the same size together. Around the edges of each pair, punch holes, going through both layers. Start by punching a hole 1 inch from the edge, then continue adding holes every 2 inches around the entire circumference.
Step 3: Cut and Lash the Yarn
Cut multiple lengths of yarn, each several yards long. Use the yarn to lash the front and back pieces of the snowman together. Pass one end of the yarn through a hole and tie it to itself. Keep lashing the pieces together, but leave a few inches unsewn on each section.
Step 4: Stuff the Snowman
Fill the snowman pieces with fiber fill, then lash the openings shut.
Step 5: Position the Circles
Arrange the circles on a flat surface so they resemble a snowman. Join the three circles by lashing the middle section to both the bottom and top circles.
Step 1: Cut Poster Board for the Hat
Make the snowman's top hat. From black poster board, cut two pieces that are 14 inches across and 18 inches tall. Then cut two more pieces measuring 18 inches long and 2 inches wide for the hat brim. Set these aside.
Step 2: Position and Punch
Stack the top hat cylinder pieces on top of each other. Punch holes in the sides and top of the hat.
Step 3: Lash and Stuff
Lash the top and sides of the hat together. Stuff the hat with cotton fiber fill.
Step 4: Glue the Hat On
Slide the hat over the top of the snowman's head. Secure it in place with hot glue.
Step 5: Add the Brim
Hot glue the hat brim pieces across the bottom of the top hat on each side of the snowman.
Step 1: Mix the Colors
Combine white paint with a drop of blue paint to get a very pale blue. If needed, add more white to the mixture to lighten it further.
Step 2: Paint the Snowman Pieces
Apply the icy-colored paint to all snowman pieces. Avoid painting the top hat. Allow the paint to dry.
Step 3: Paint a Carrot Nose
On the center of the snowman's face, paint a carrot-shaped nose. Above and to the side of the nose, add two black coal-shaped eyes.
Step 4: Create the Coal Pieces
Paint five pieces of coal for the snowman's mouth. Place the first piece of coal 2 inches below the carrot nose, then add two more pieces to each side of the center one.
Step 5: Add the Buttons
Paint four pieces of coal down the center section of the snowman to serve as coat buttons.
Step 6: Make Some Snowman Arms
Insert a stick into the center-side on both sides of the snowman to create arms. Place the stick between the front and back pieces of paper. Hot glue them in place.
Step 7: Give Him a Scarf
Wrap a scarf around the large paper snowman's neck.