Turn Old Window Screens Into Festive Holiday Displays
Rather than throwing away worn-out window screens, you can repurpose them into charming holiday decorations that bring seasonal cheer to your porch, entryway, or front door area.
By Casey Davis6 steps
How to Make Holiday Decorations From Window Screens
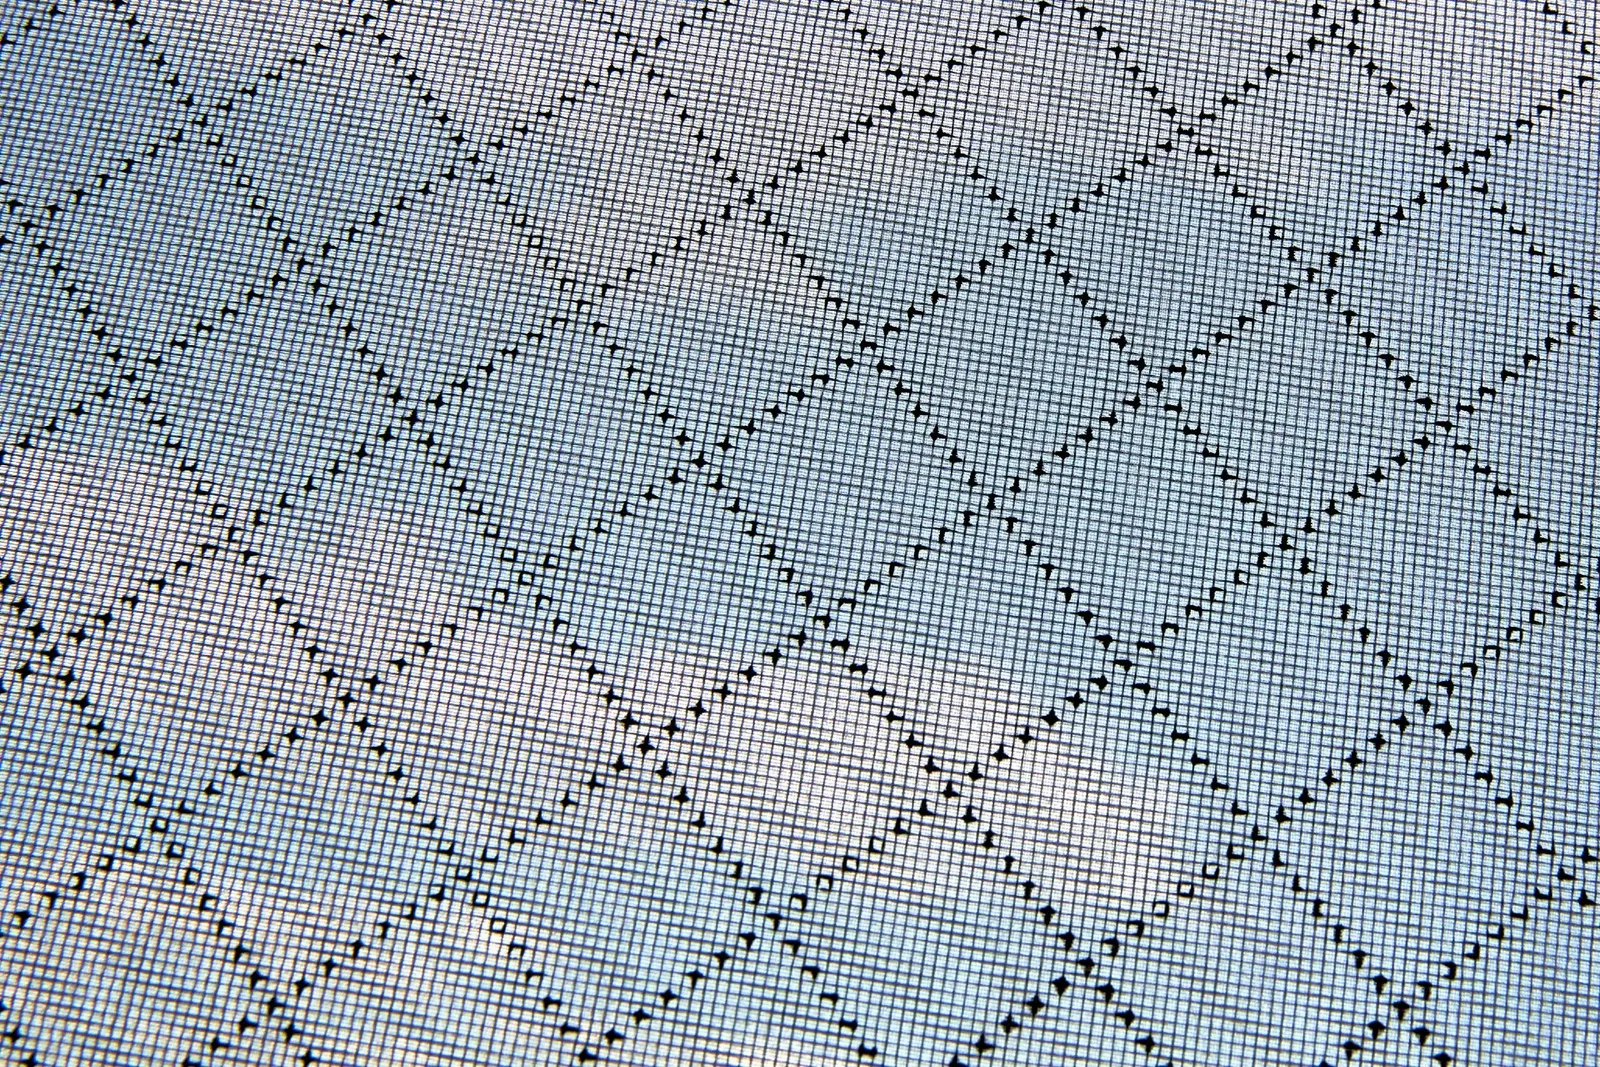
Giving new life to items that would otherwise be thrown out is an environmentally friendly approach to craft projects, keeping discarded objects out of landfills. Old window screens that are no longer needed can be turned into attractive holiday decorations for a screen door, and they bring a festive touch when placed beside your front door, on a porch, or in an entryway. With leftover house paint and spare buttons from your button box, converting a window screen into holiday decor is both simple and inexpensive.
Step 1: Set Up Your Workspace for Decorative Window Screens
Spread a drop cloth over your work surface to keep it protected while you create the window screen decorations. Place the window screen flat on the drop cloth, with the side facing upward becoming the front of your decoration. Put one red brick beneath each corner of the screen's frame.
Step 2: Apply Paint to the Frame and Screen
Soak a household sponge in dark blue acrylic latex house paint. Pat and wipe the sponge across the whole front of the screen and its frame. Then lift the frame and tap it against the bricks. This opens up the holes in the screen that wet paint has clogged. Let the paint dry completely.
Step 3: Form the Snowman
Using white acrylic latex house paint and a large stencil brush, create a snowman made of three stacked balls, working from the bottom edge of the screen up to the top. Dip your brush into the paint and pounce it onto the screen. The dimensions of each snowball will vary based on the size of your screen. An imprecise snowman shape is acceptable — the unevenness contributes to the decoration's rustic appearance. Add more coats if you like. Let the paint dry.
Step 4: Add Buttons to the Snowman
Arrange three colorful 1-inch flat buttons vertically along the front of the snowman's belly, leaving space between them. Cut three lengths of craft wire, each 6 inches long. Push one wire through each button, going from the front of the screen to the back. On the back side, twist the wire to hold it in place. Trim away any extra wire. Tear a piece of Christmas novelty fabric into a strip measuring 2 inches wide and 18 inches long. Shape the strip into a bow. Cut a 6-inch piece of craft wire and run it through the back of the bow's knot. Push the wire through the screen at the snowman's neck. Twist the wire to secure it, then snip off the remainder.
Step 5: Make the Snowman's Face
Using red acrylic paint and a stencil brush, paint circular cheeks on your snowman. With a pencil, make a mark at the center of the snowman's face where the nose will go. Position two 1-inch flat black buttons above the nose mark to serve as the snowman's eyes. Cut two 6-inch lengths of craft wire. Push one wire through each button eye, from the front of the screen to the back. Twist the wire on the back to secure it. Cut off any excess wire.
Step 6: Complete and Showcase Your Screen Door Decorations
Begin at the center nose mark and paint a vertical line 1 inch long using orange dimensional fabric paint. Keeping the brush tip in contact with the surface, continue zigzagging vertically toward the right for 3 inches, making each vertical line shorter so the shape narrows to a point. This forms the snowman's carrot nose. Next, using black dimensional fabric paint, draw a wide smile across the snowman's face, starting at the middle of one cheek and finishing at the middle of the other. Let the paint dry. Your decorative window screens are now ready to display for the holidays.