Create Your Own Mudcloth-Style Wall Art: A Step-by-Step Guide
Learn how to craft a painted wall hanging that mimics traditional Malian mudcloth, complete with a free downloadable pattern.
By Blake Evans10 steps
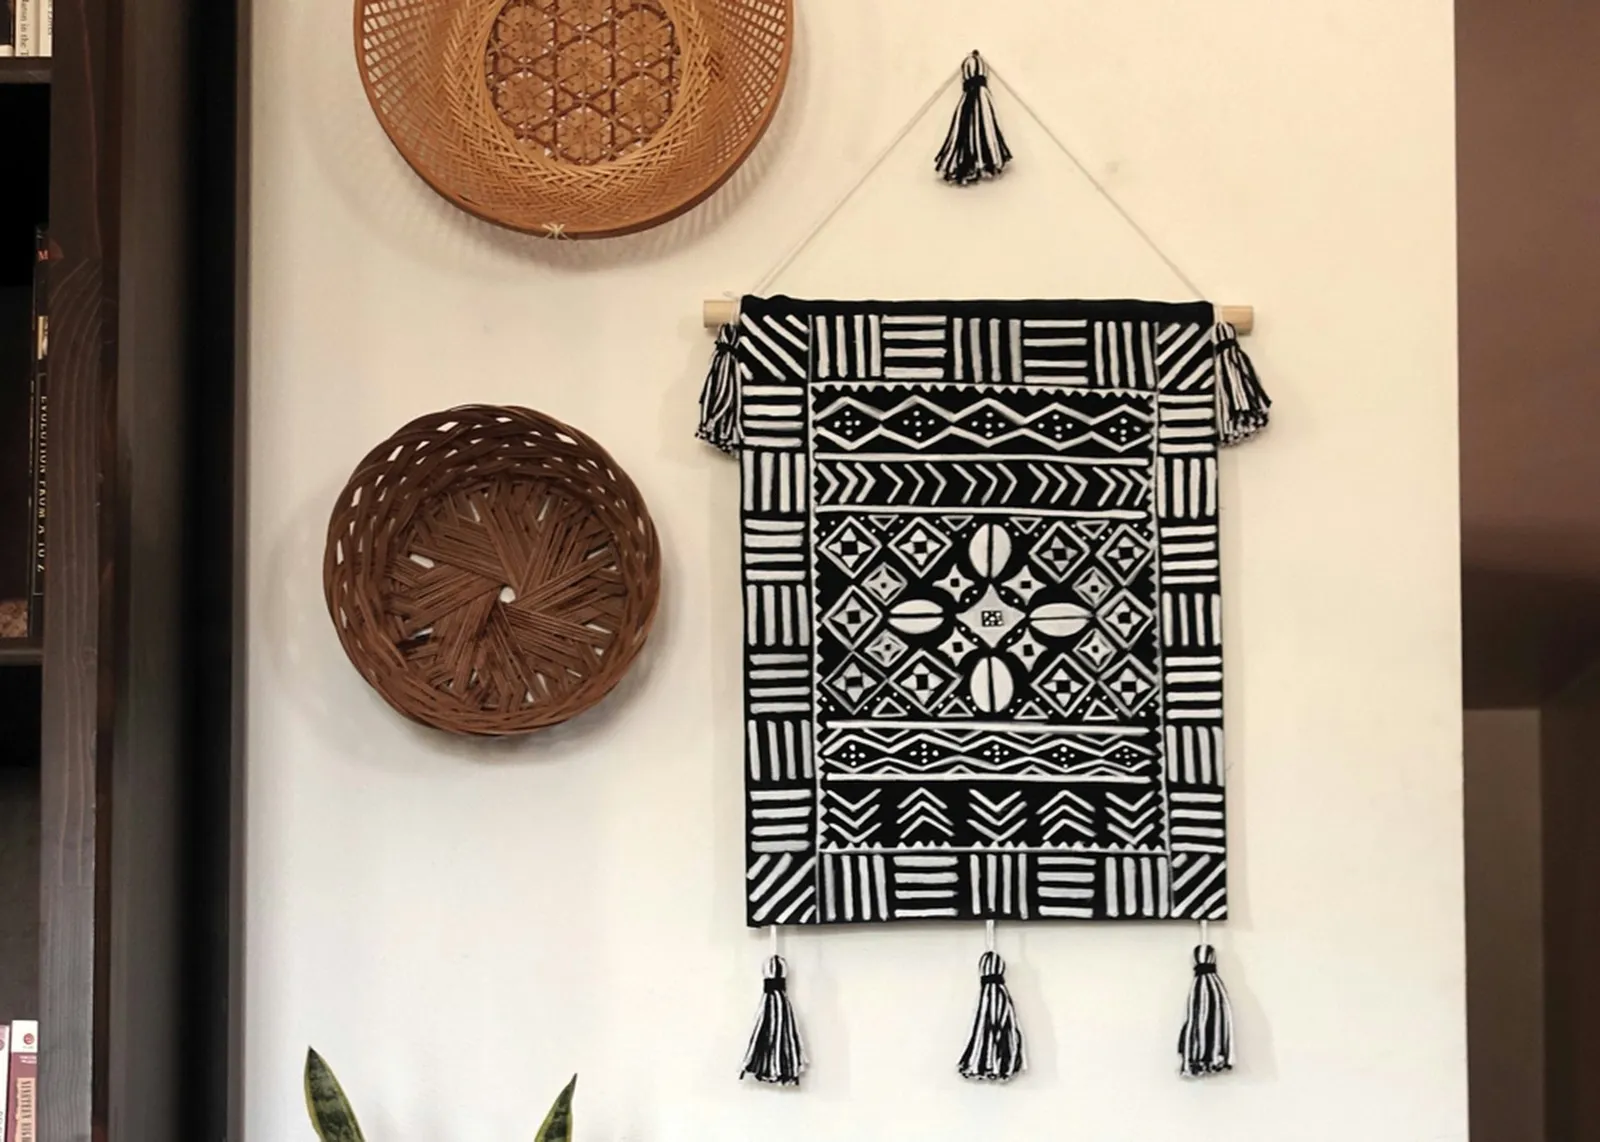
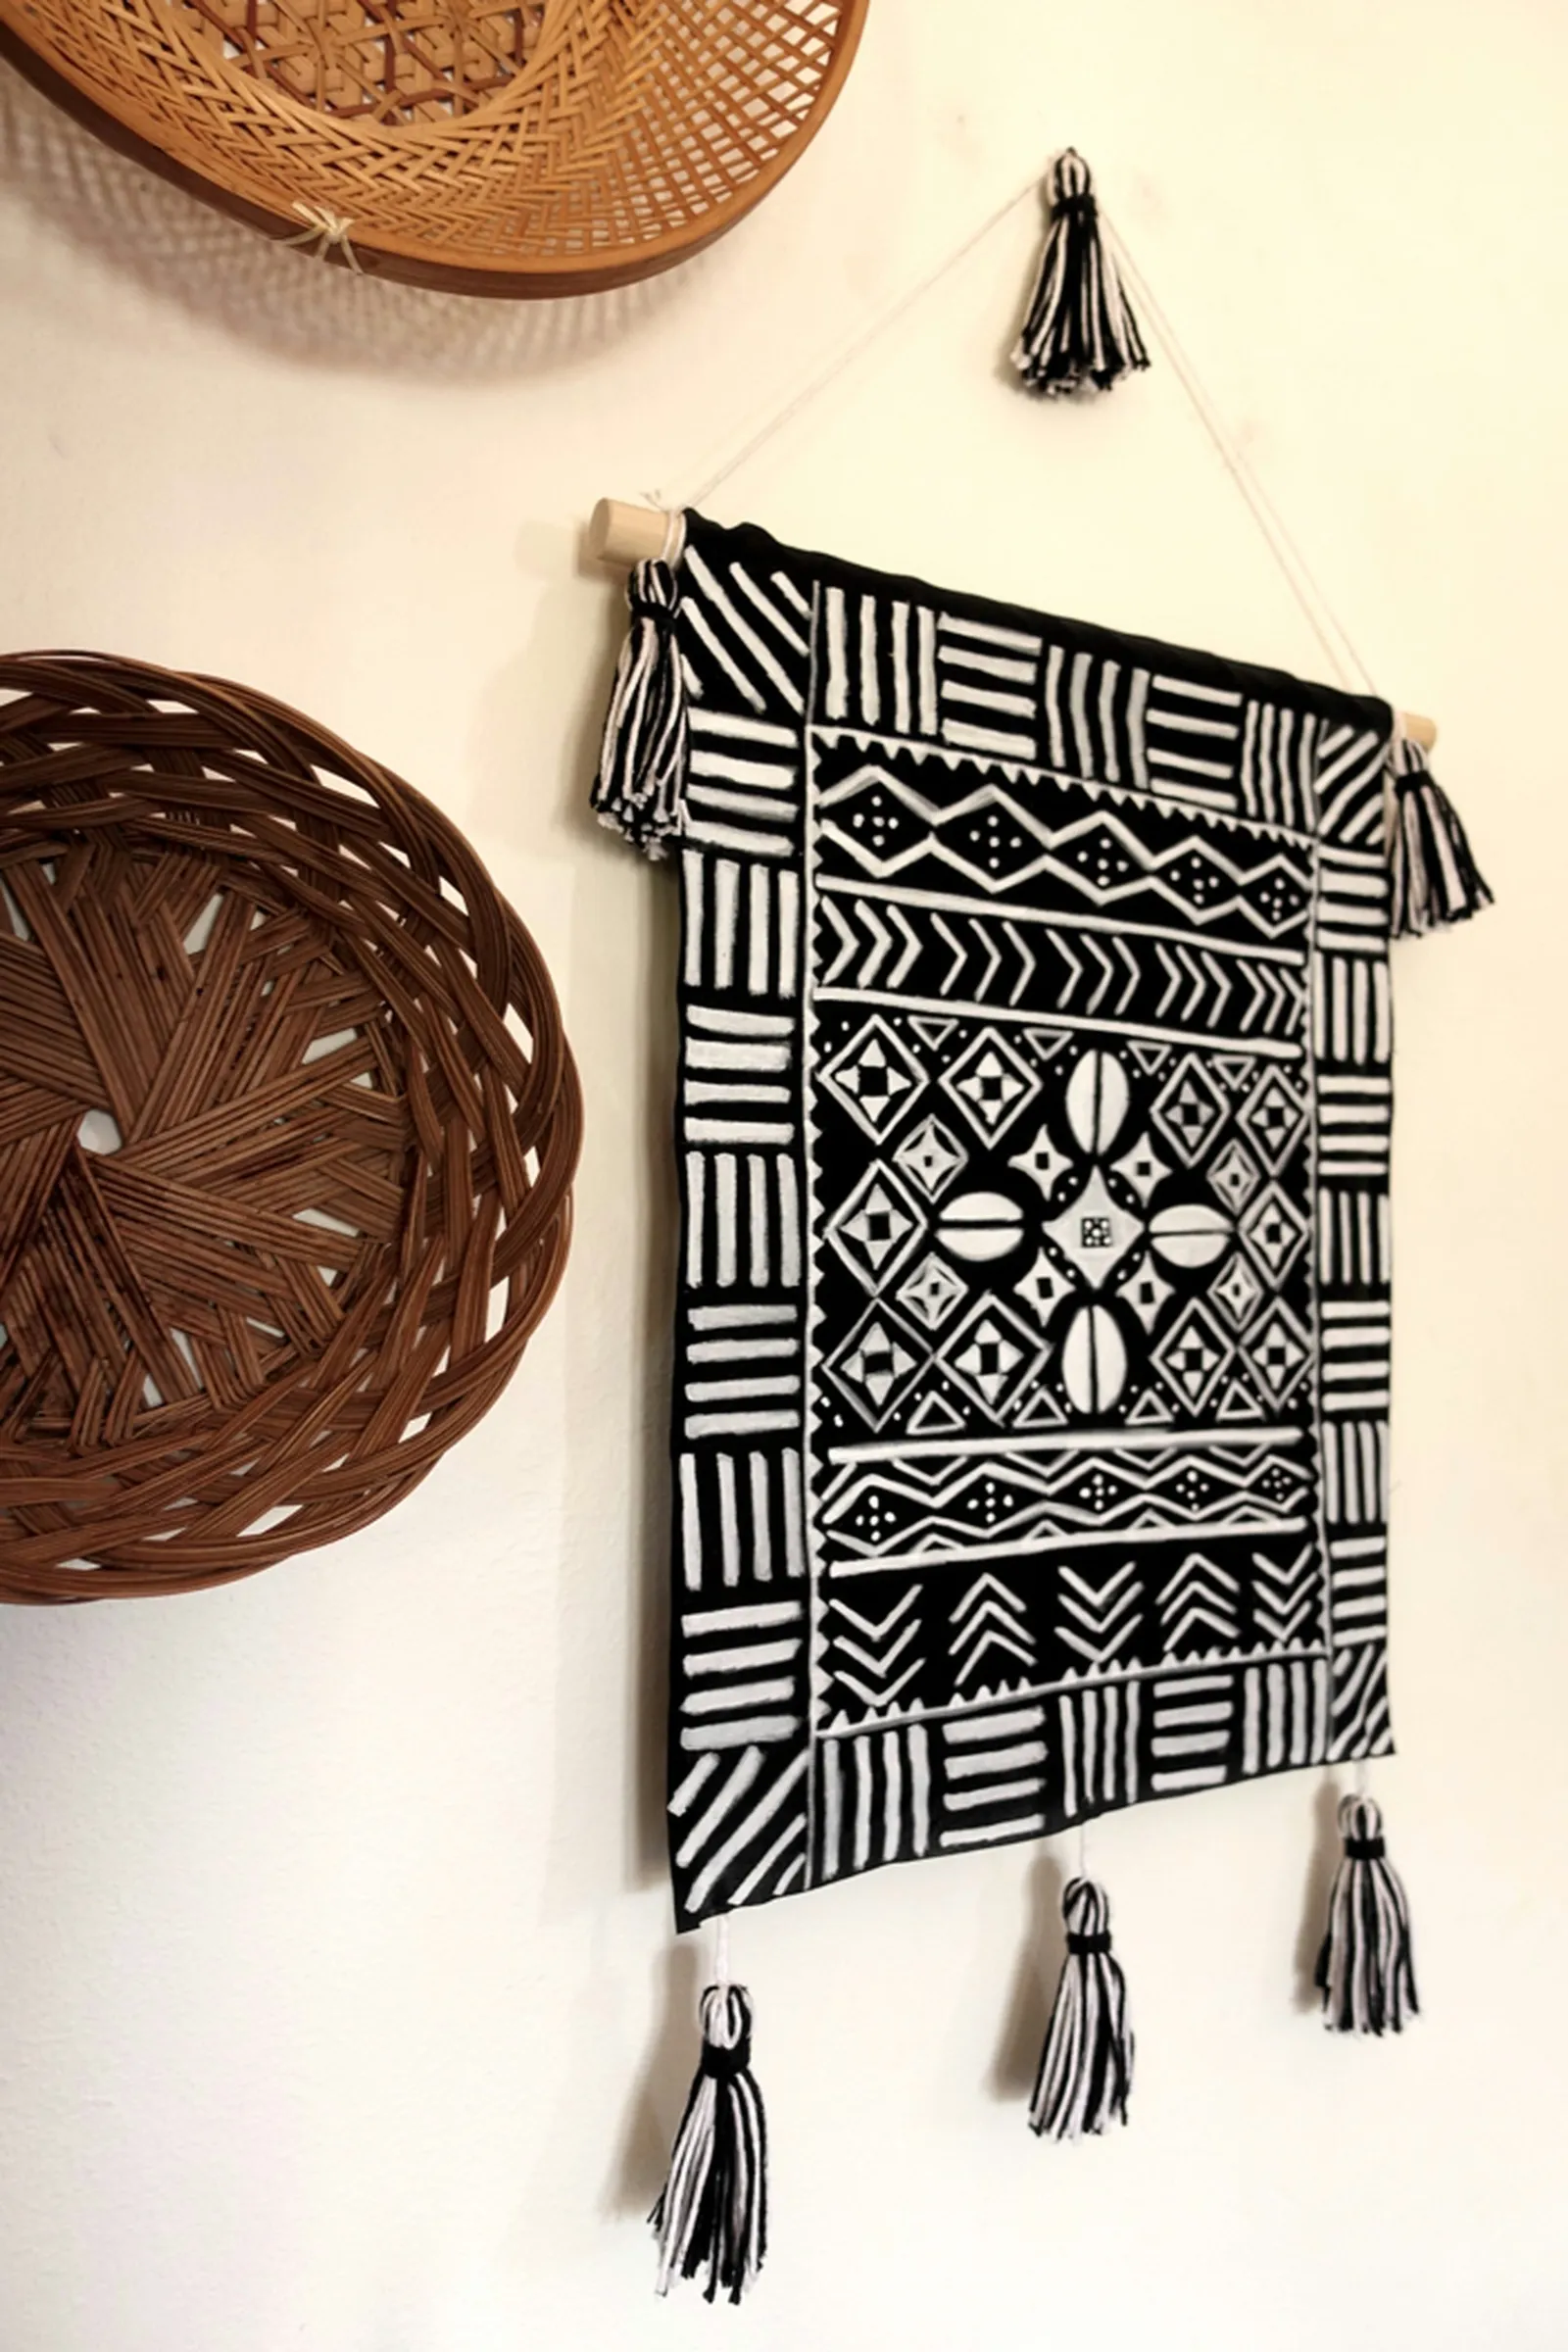
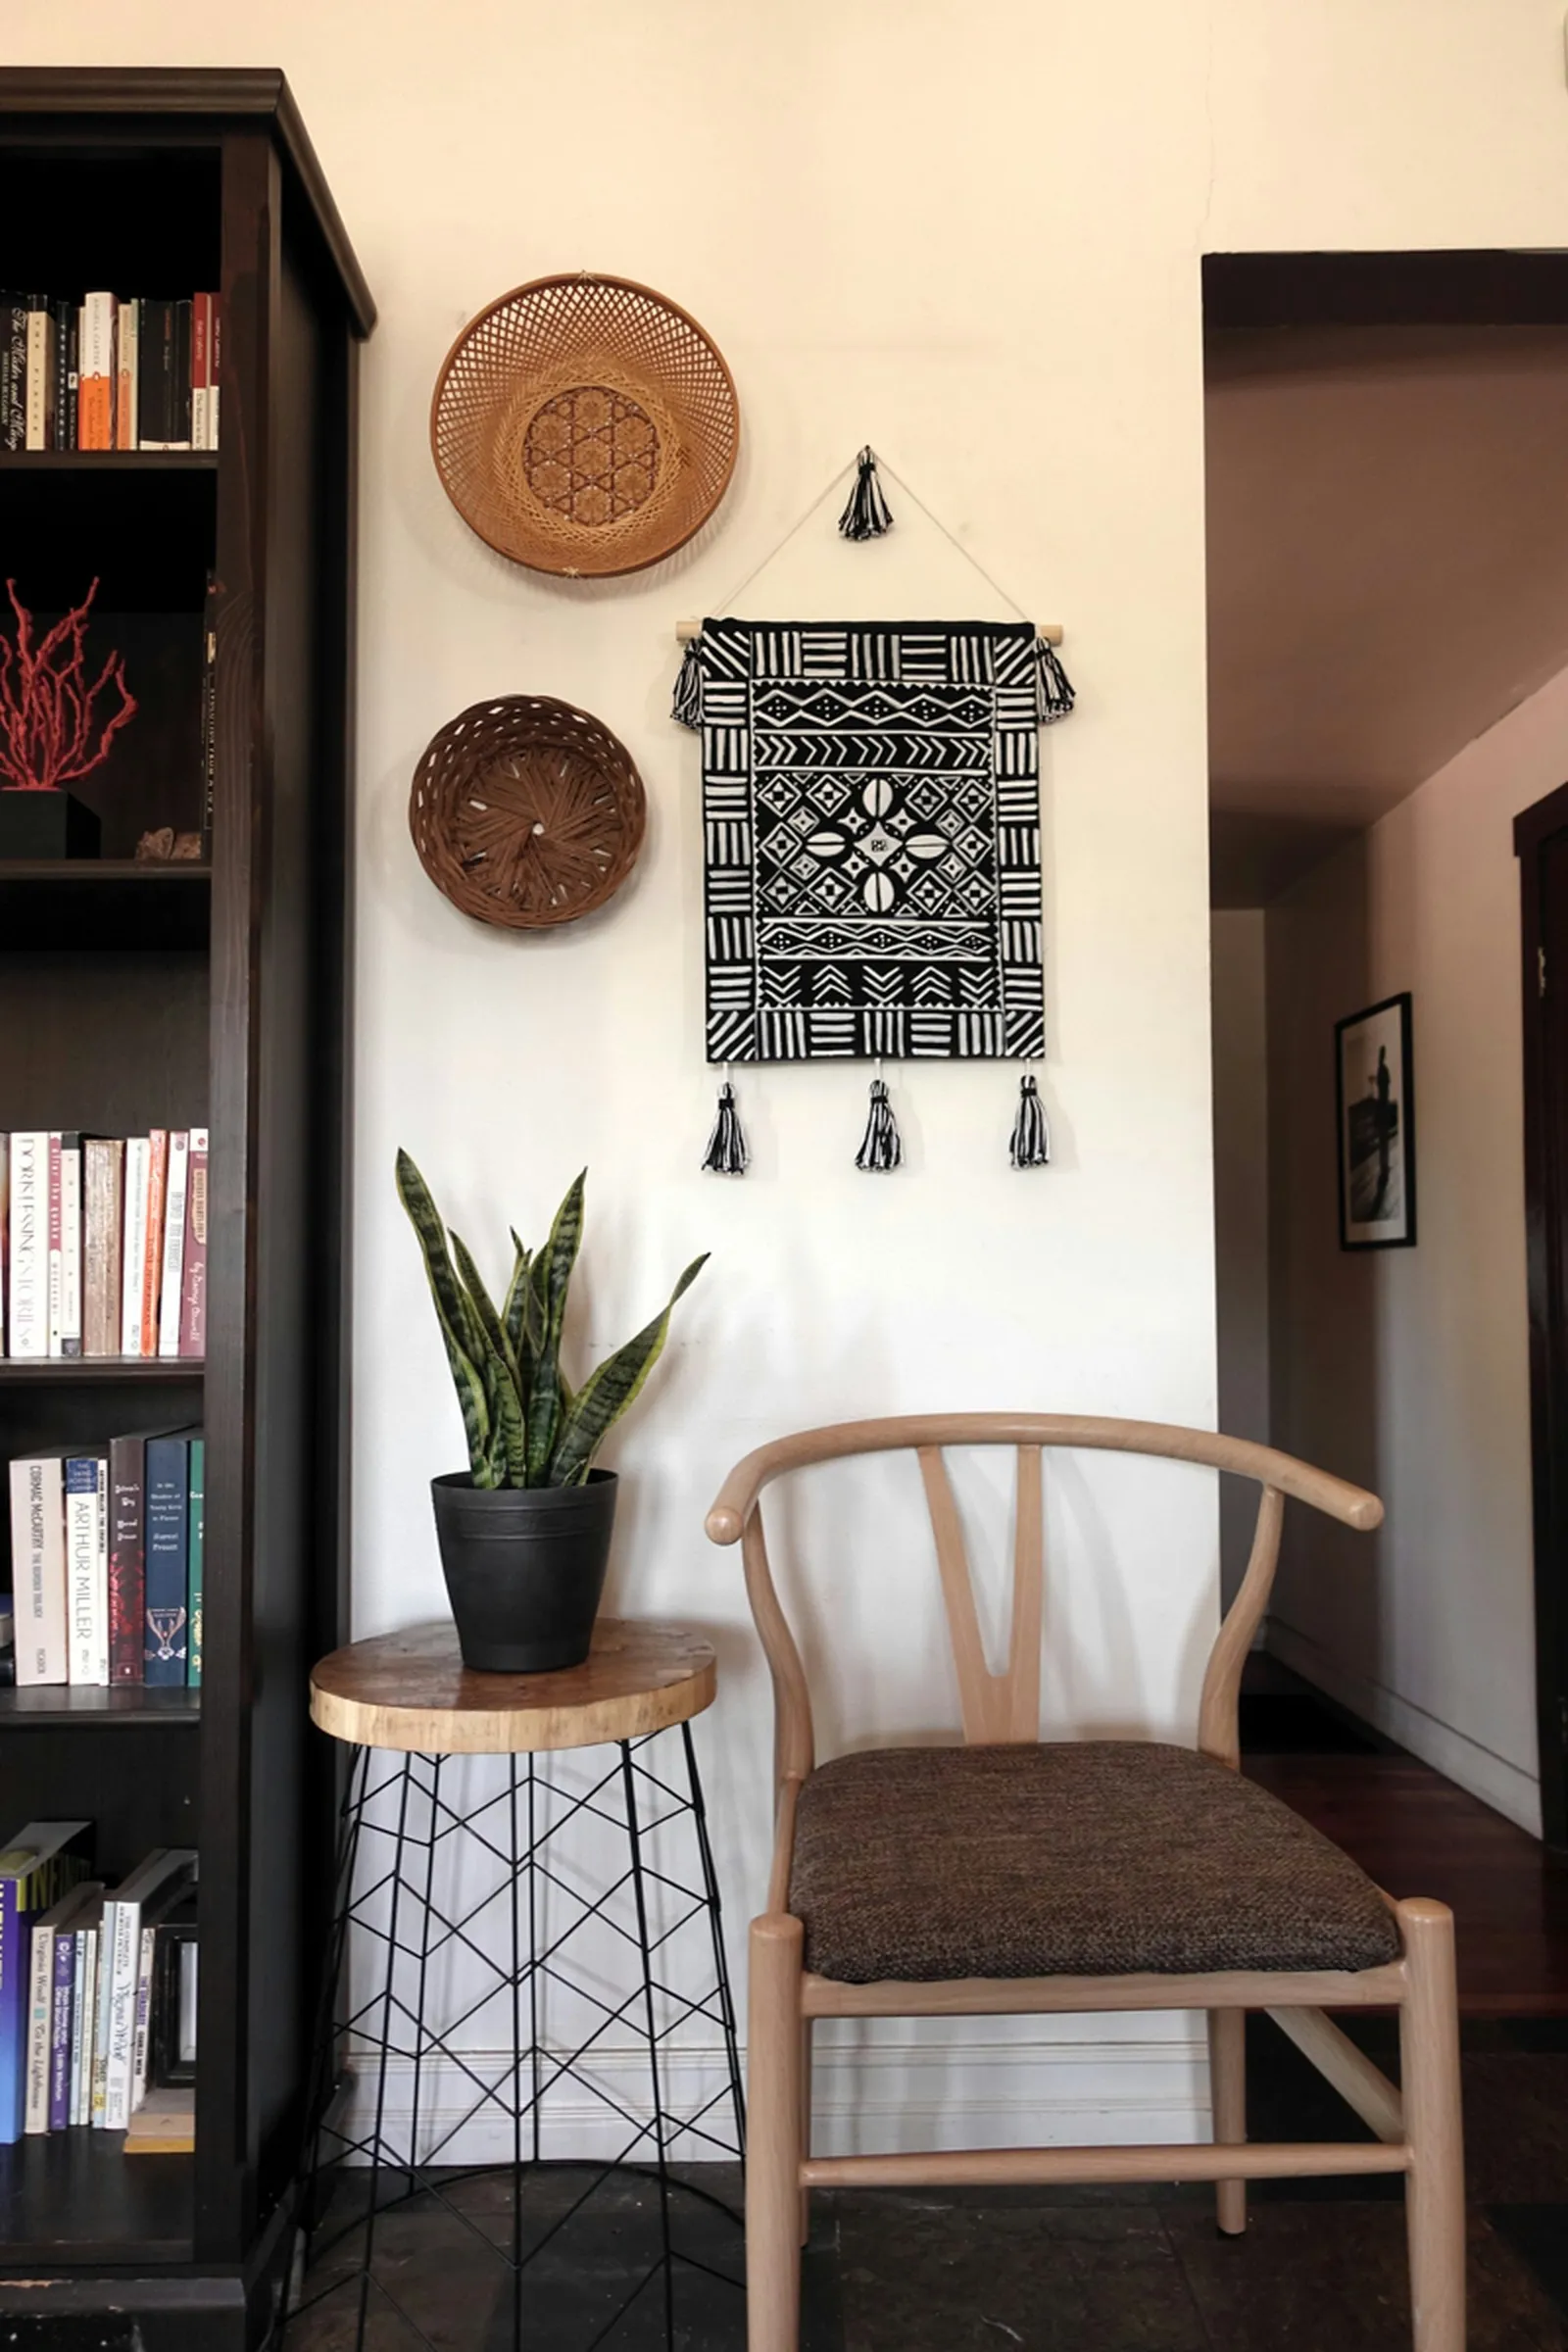
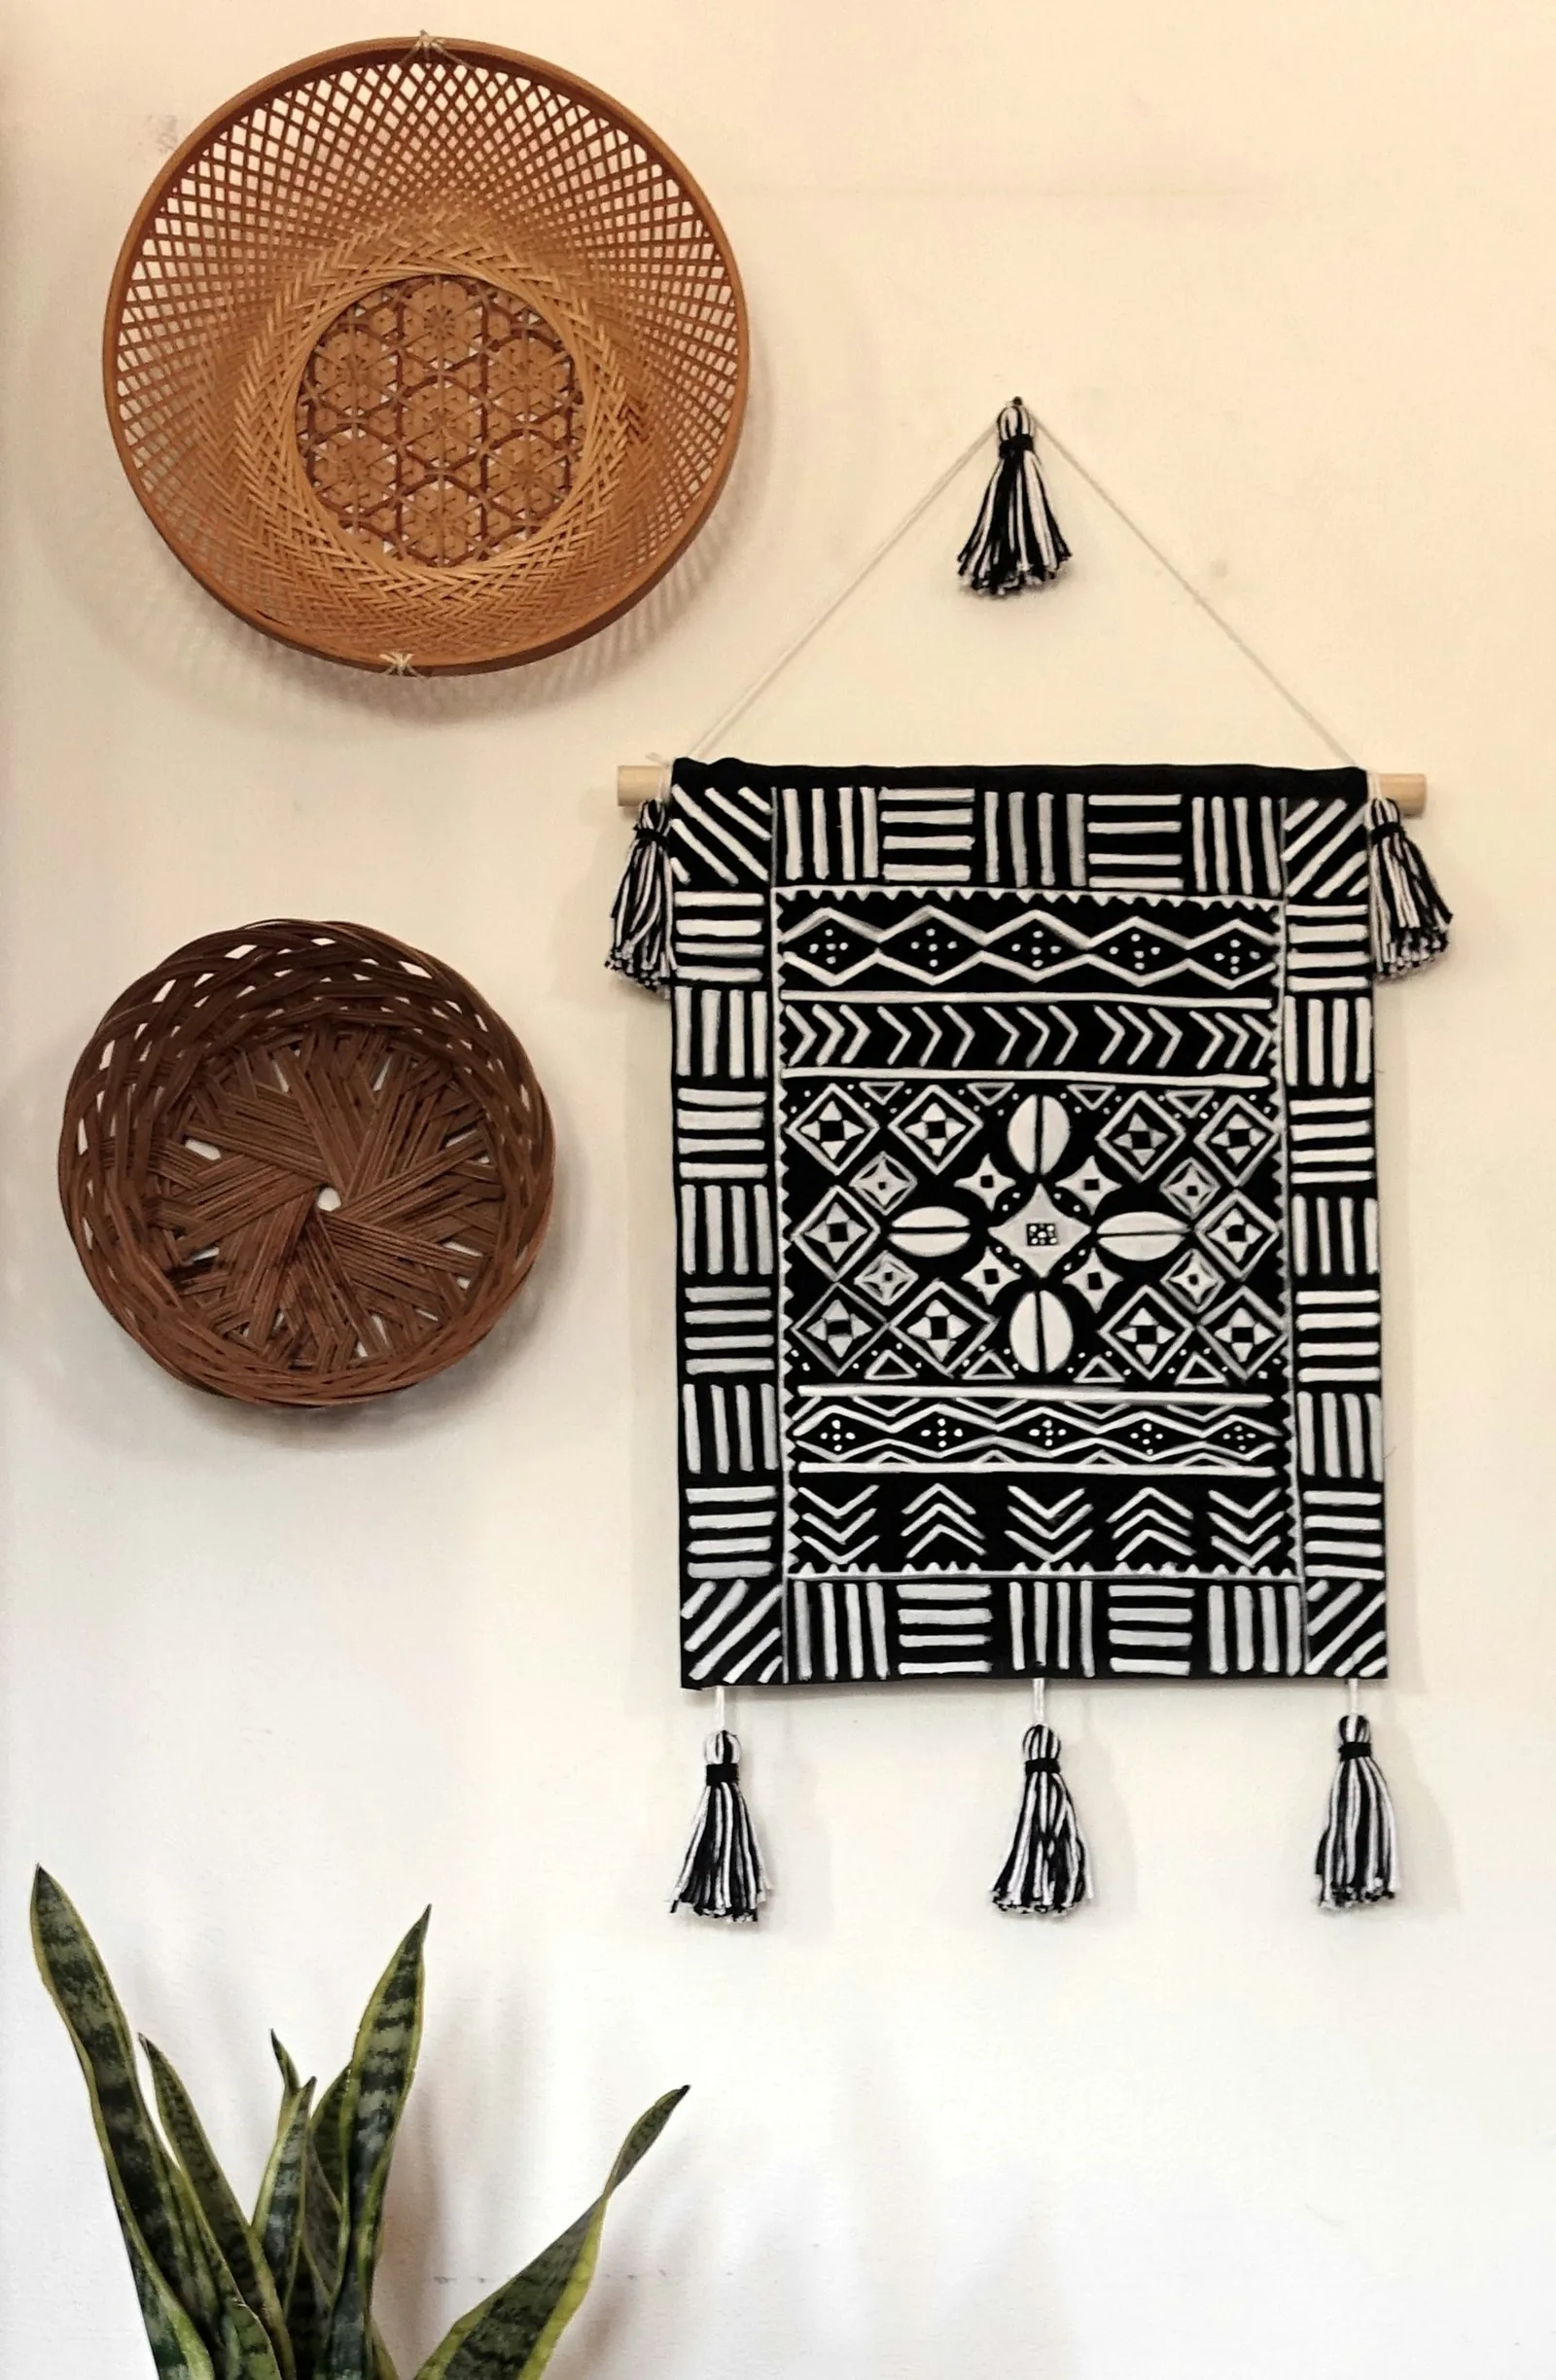
Traditional Malian bògòlanfini, often called "mudcloth," is a handwoven fabric that gets its name from the fermented mud used in its dyeing process. This centuries-old technique dates back to the 12th century, and the symbolic patterns—striking in their simplicity—hold deep cultural meaning for the artisans who create them. While owning an authentic piece of Malian mudcloth is the ultimate goal, you can make your own mudcloth-inspired painted wall hanging to enjoy the style while you save up for the real thing (which, understandably, can be quite expensive). Don't be intimidated—this project is simpler than it looks, and we've included a downloadable PDF design if you'd like to follow along. Whether you opt for a minimalist pattern (like these cushions) or something more elaborate, the outcome will be stunning.
Step 1: Cut Fabric
Determine the finished size of your wall hanging, then add 1 inch to the width and 3 1/2 inches to the height. Cut your fabric to these measurements.
Step 2: Finish Edges
Begin with the side edges. Fold 1/2 inch toward the back of the wall hanging, then press.
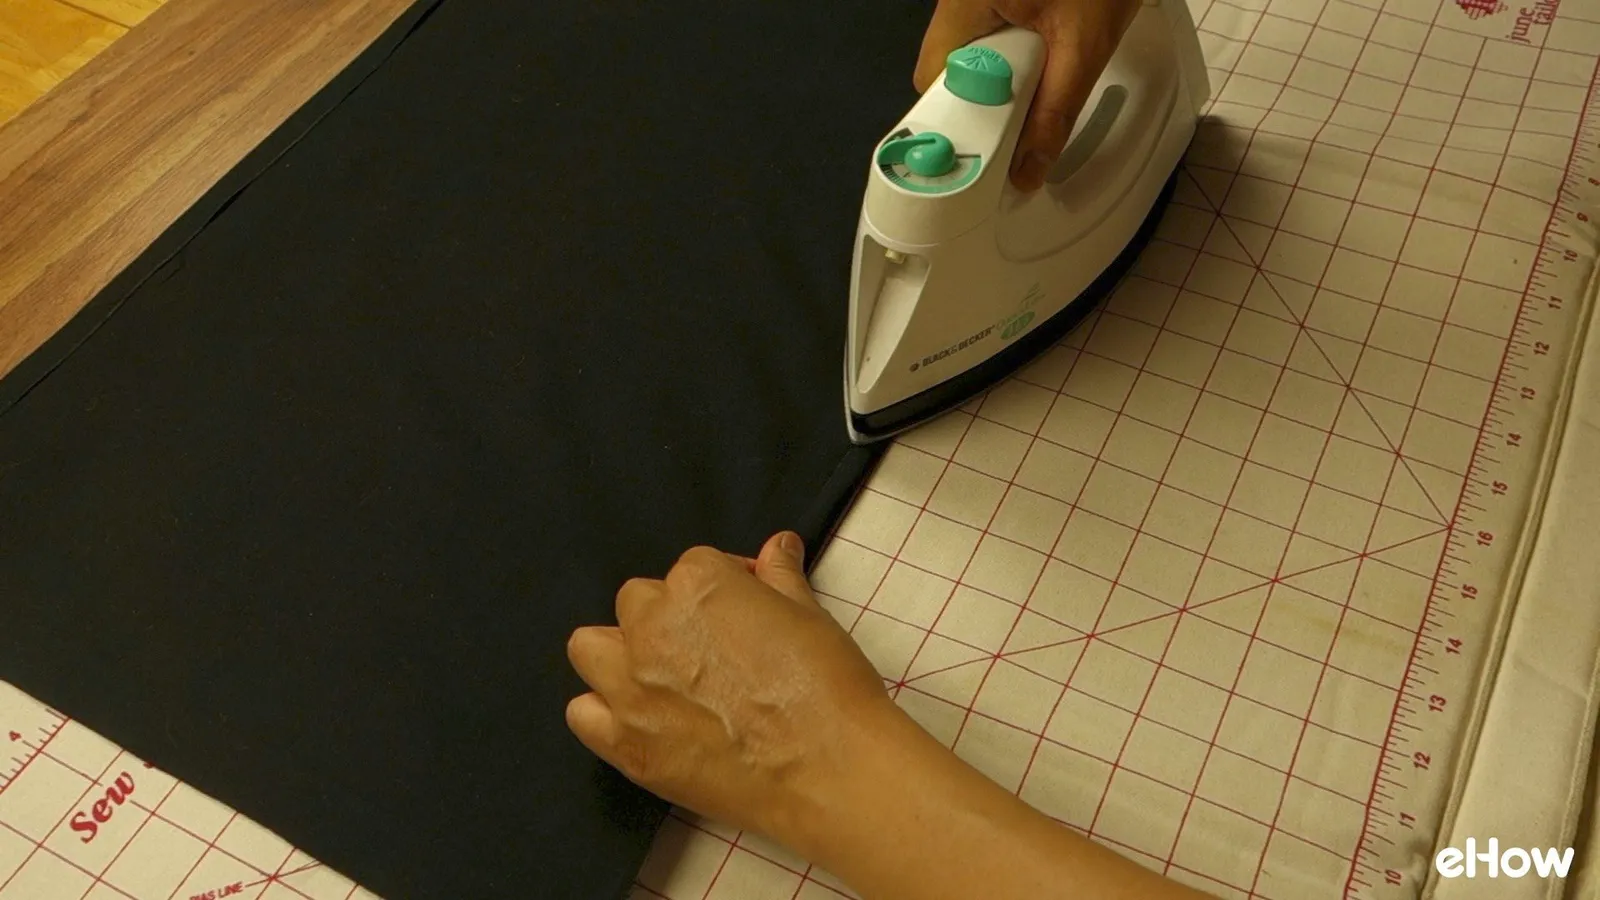
Secure the side hems by stitching the folded portion by machine or hand, or use fabric glue (shown below).
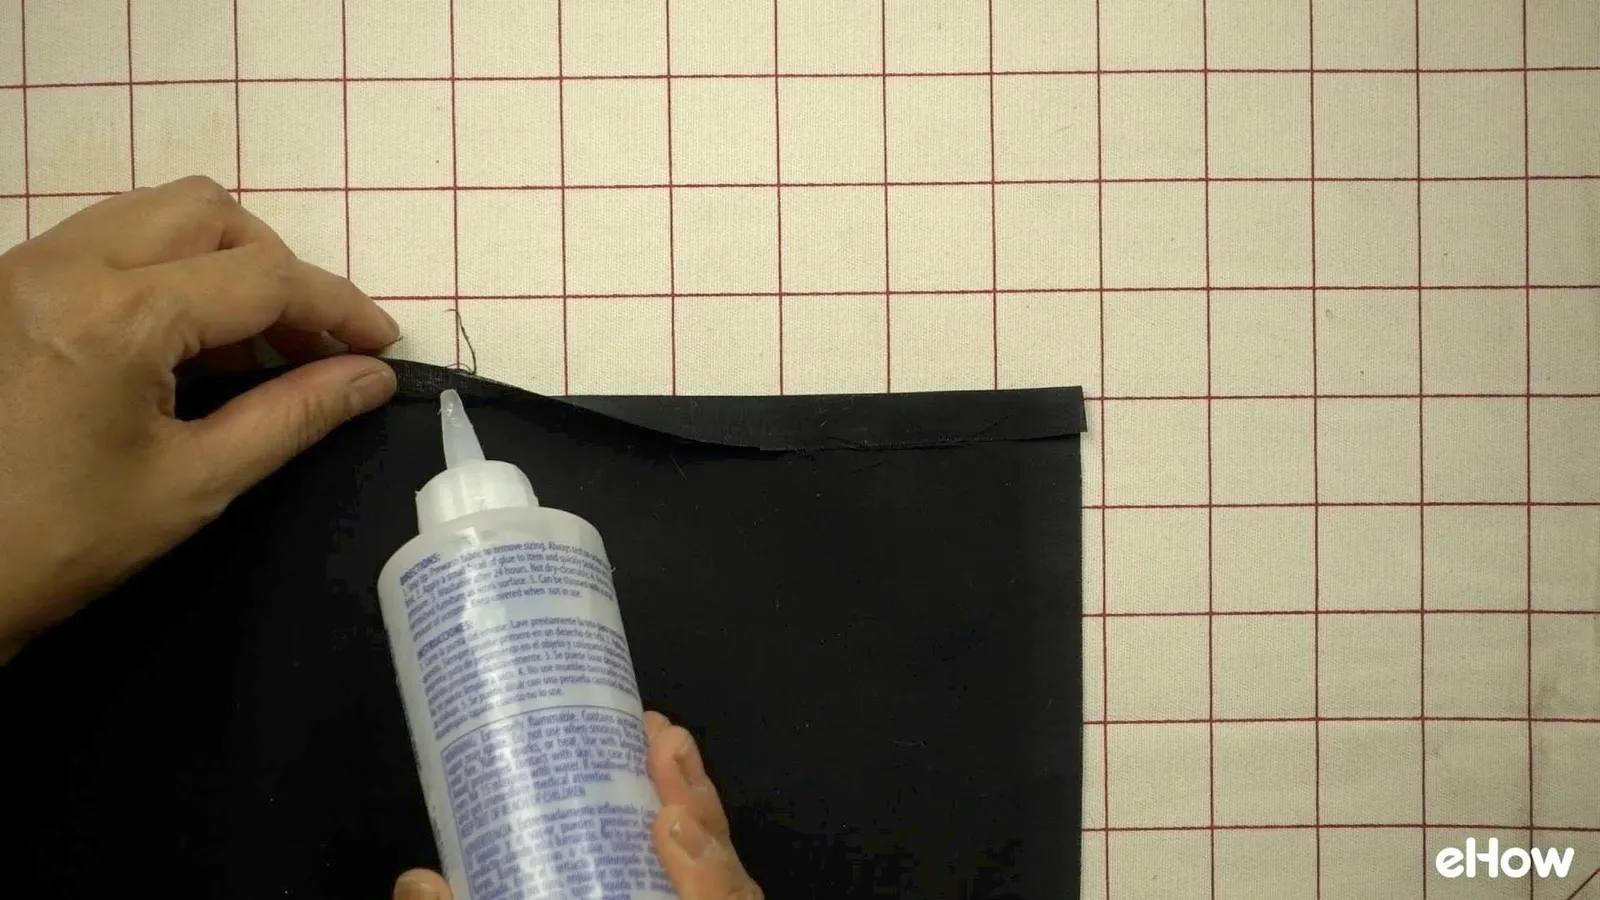
Repeat for the bottom edge.
Step 3: Make Rod Pocket
To create a rod pocket along the top edge, fold back about 3 inches and press.
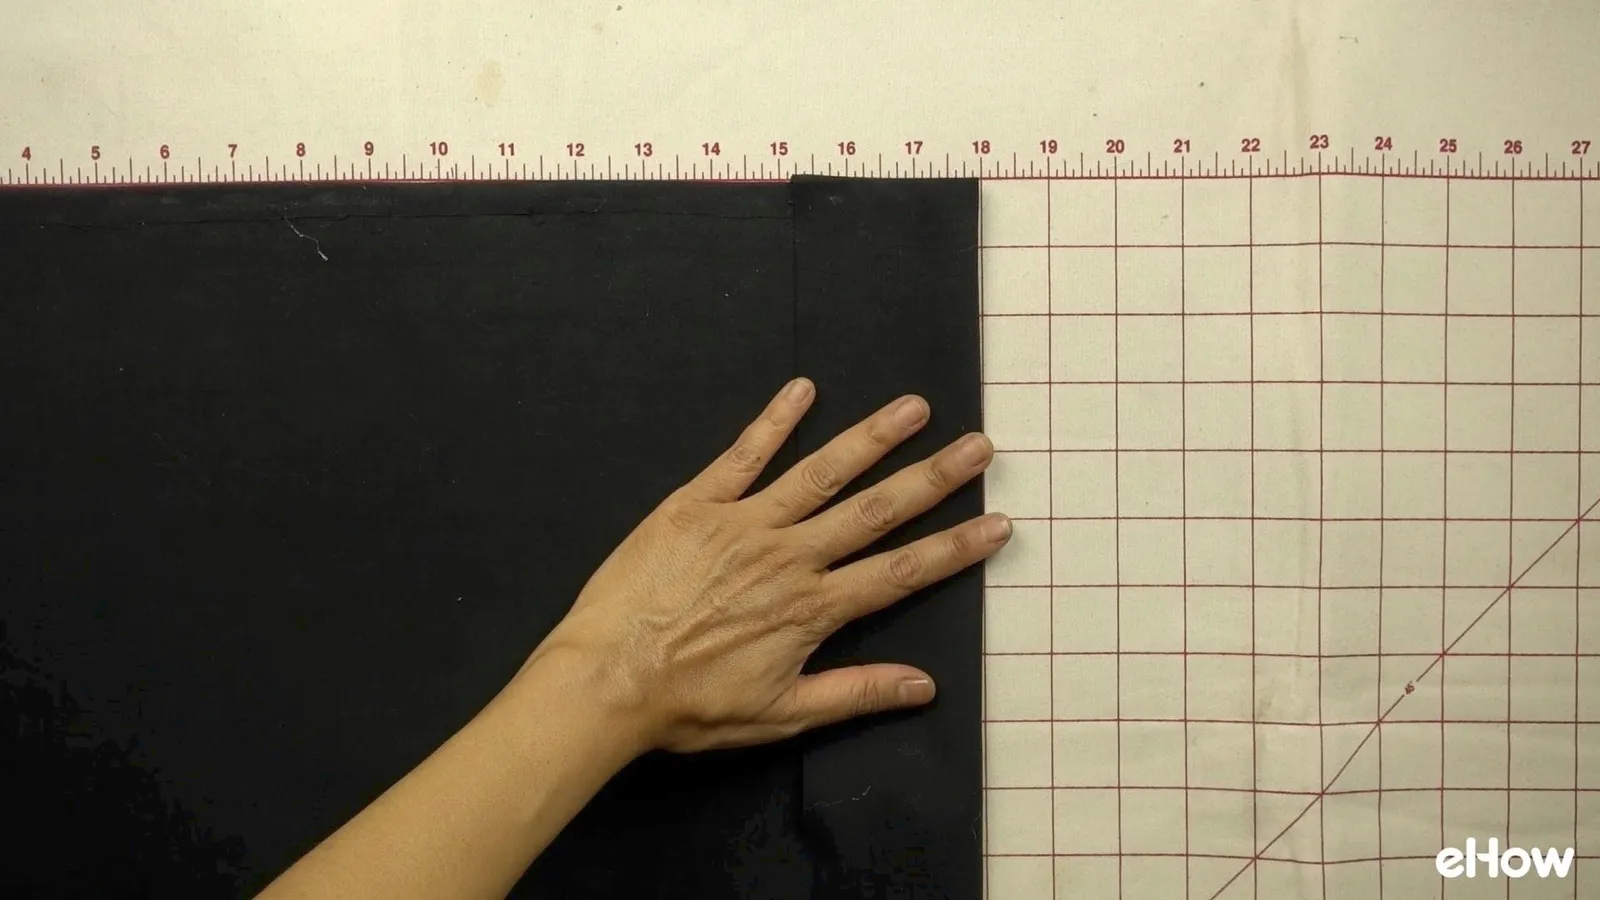
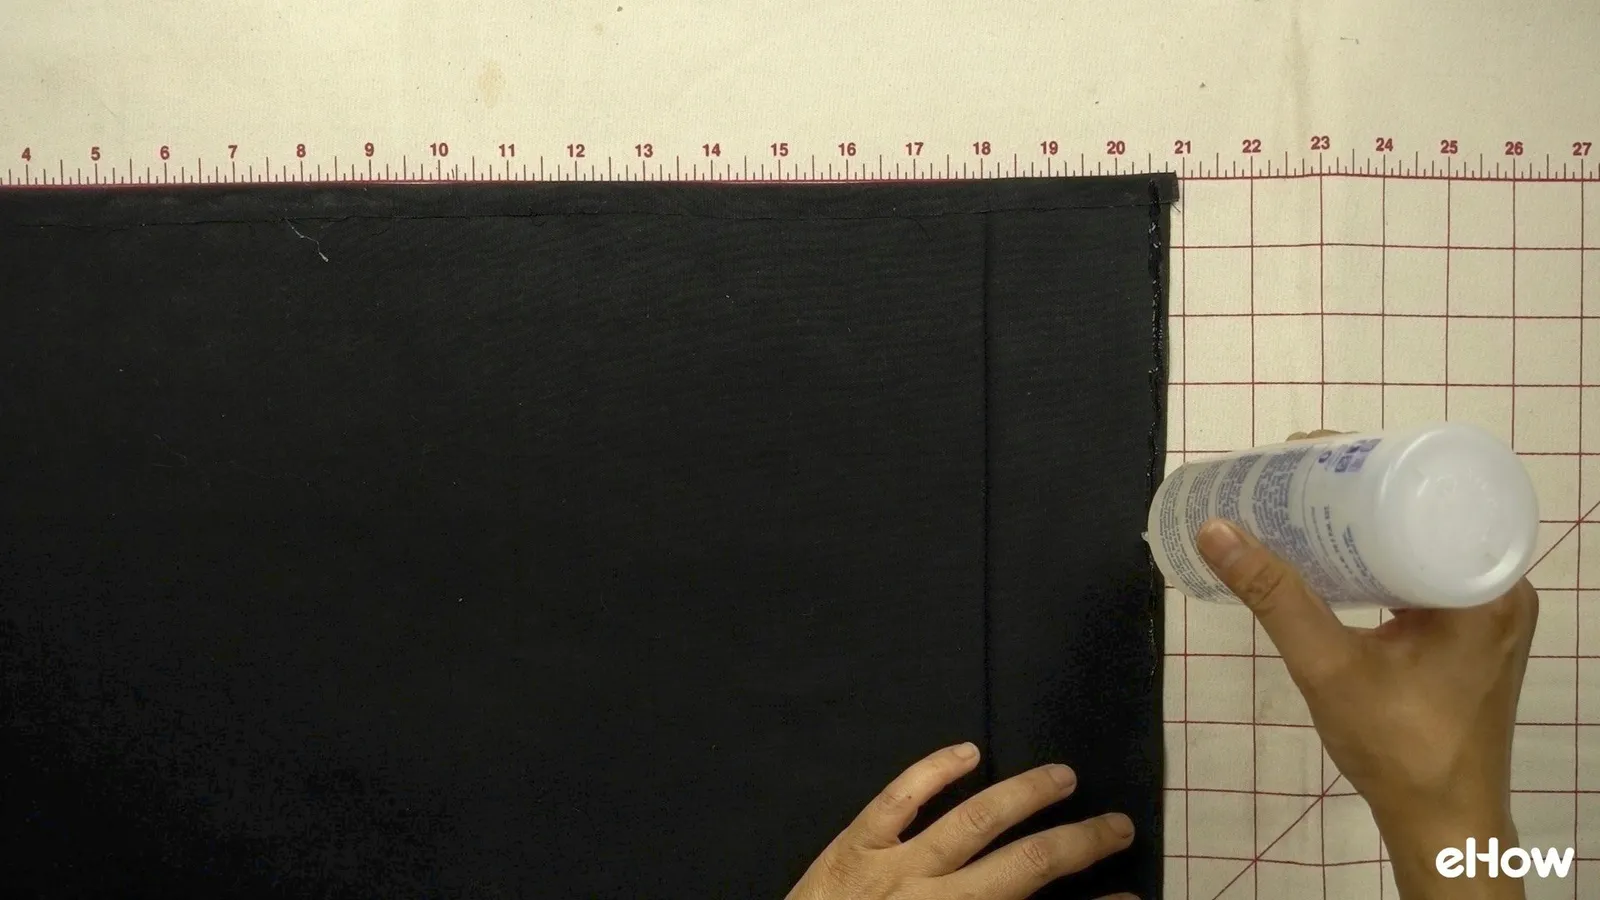
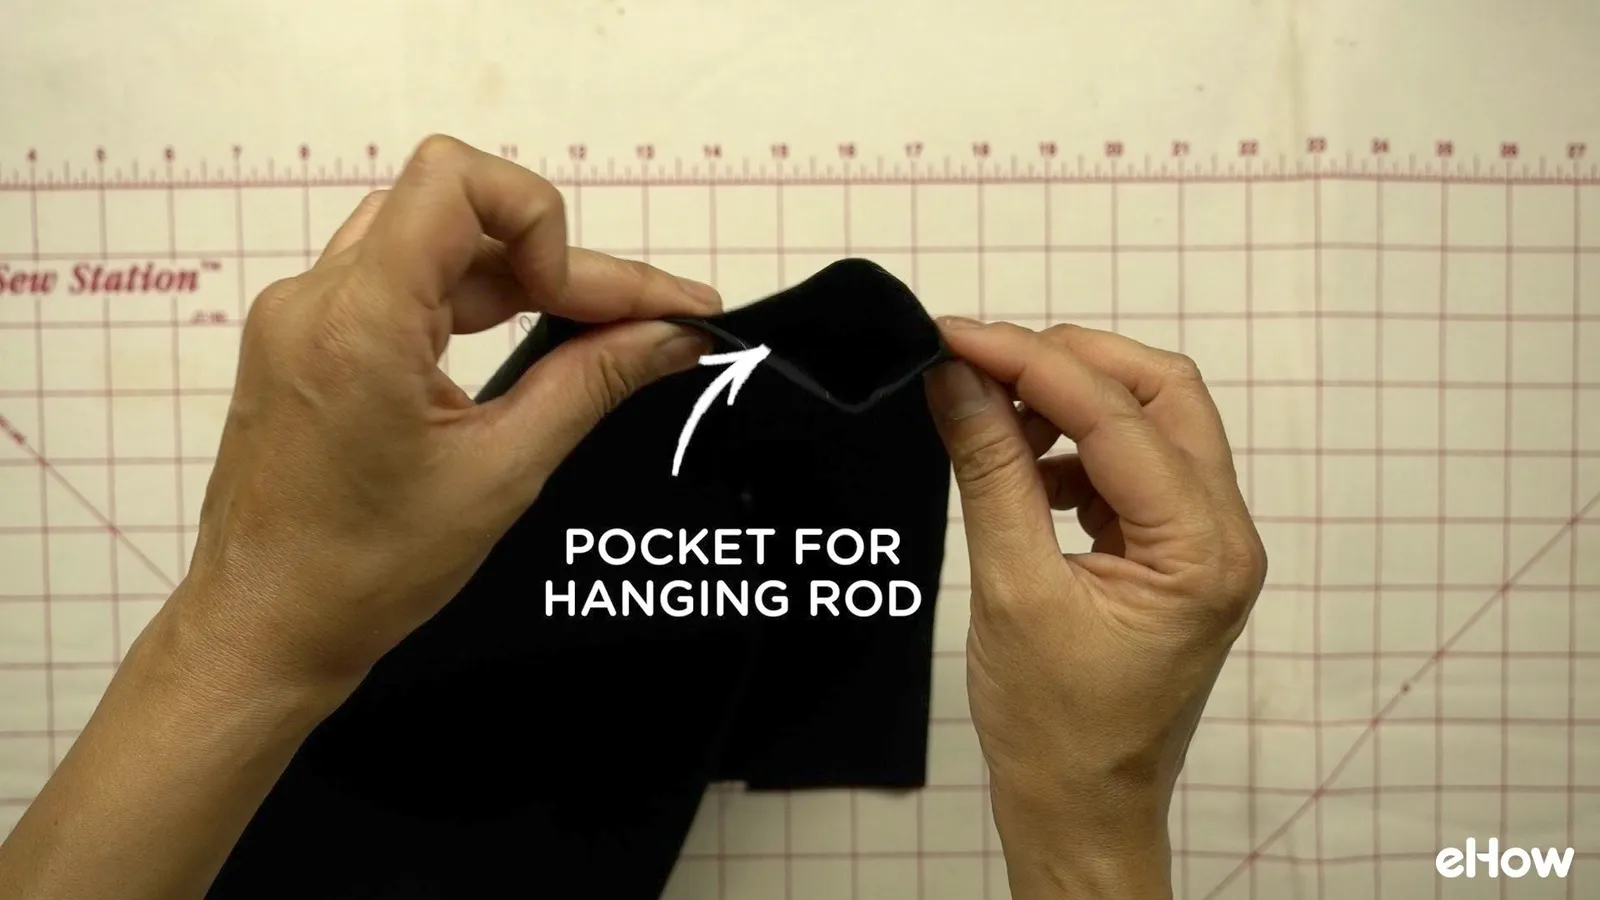
Then, as with the side edges, stitch or glue down the very edge of the folded portion. You should now have a roughly two-and-a-half-inch wide pocket along the top for inserting your hanging rod.
Step 4: Draw Chalk Guidance Grid
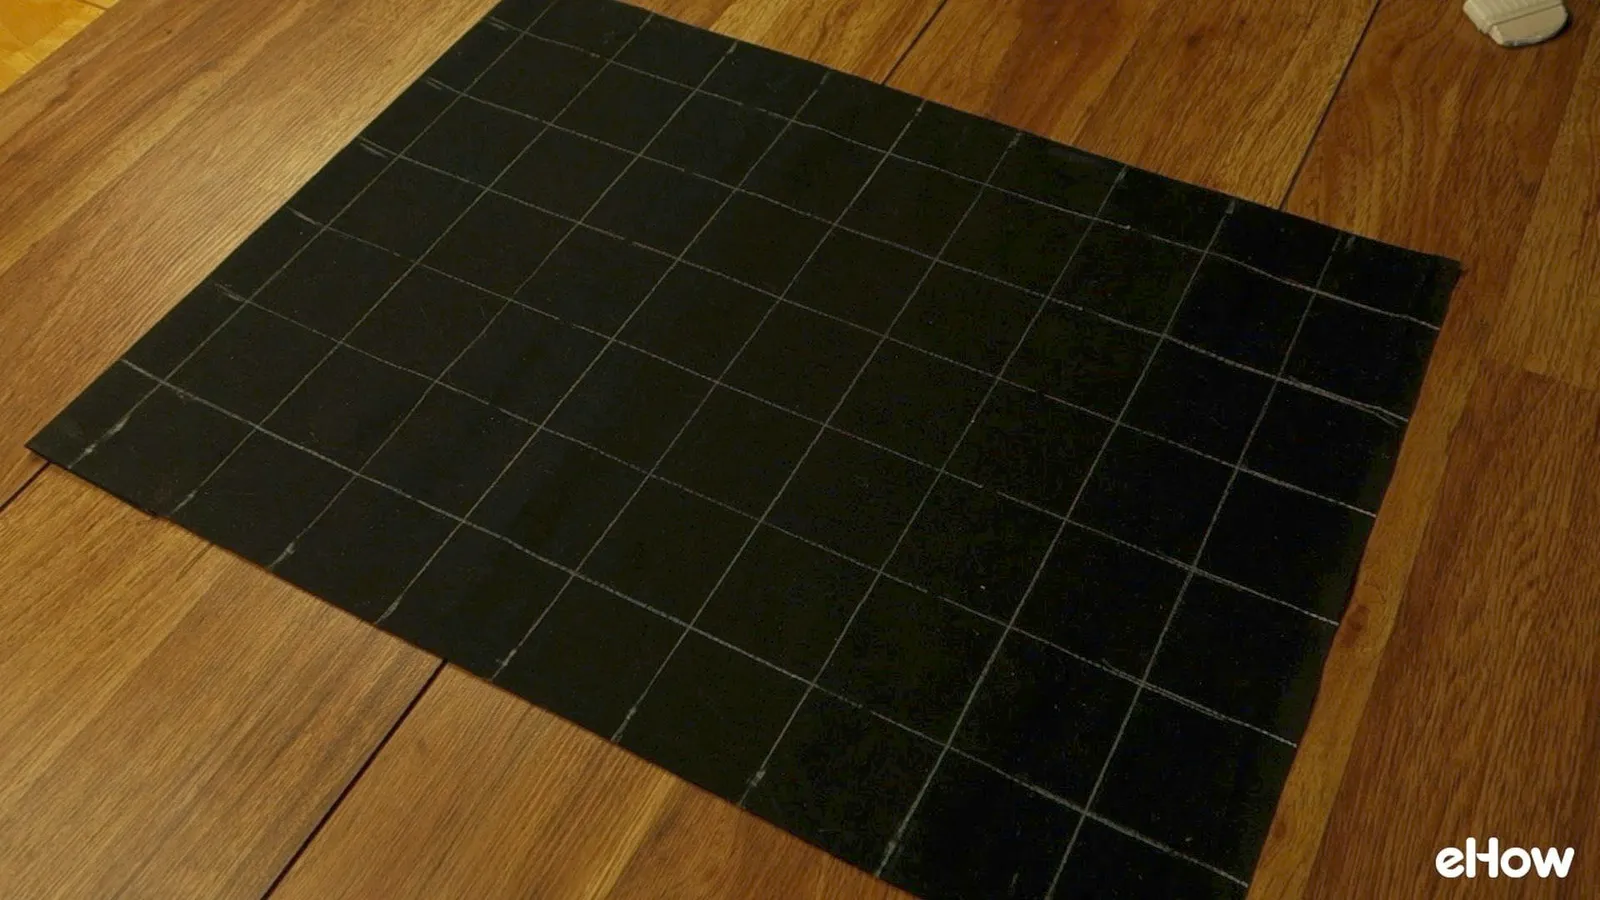
To ensure your pattern repetitions are evenly placed, use tailor's chalk to make a temporary guidance grid. Start about one inch below the top edge.
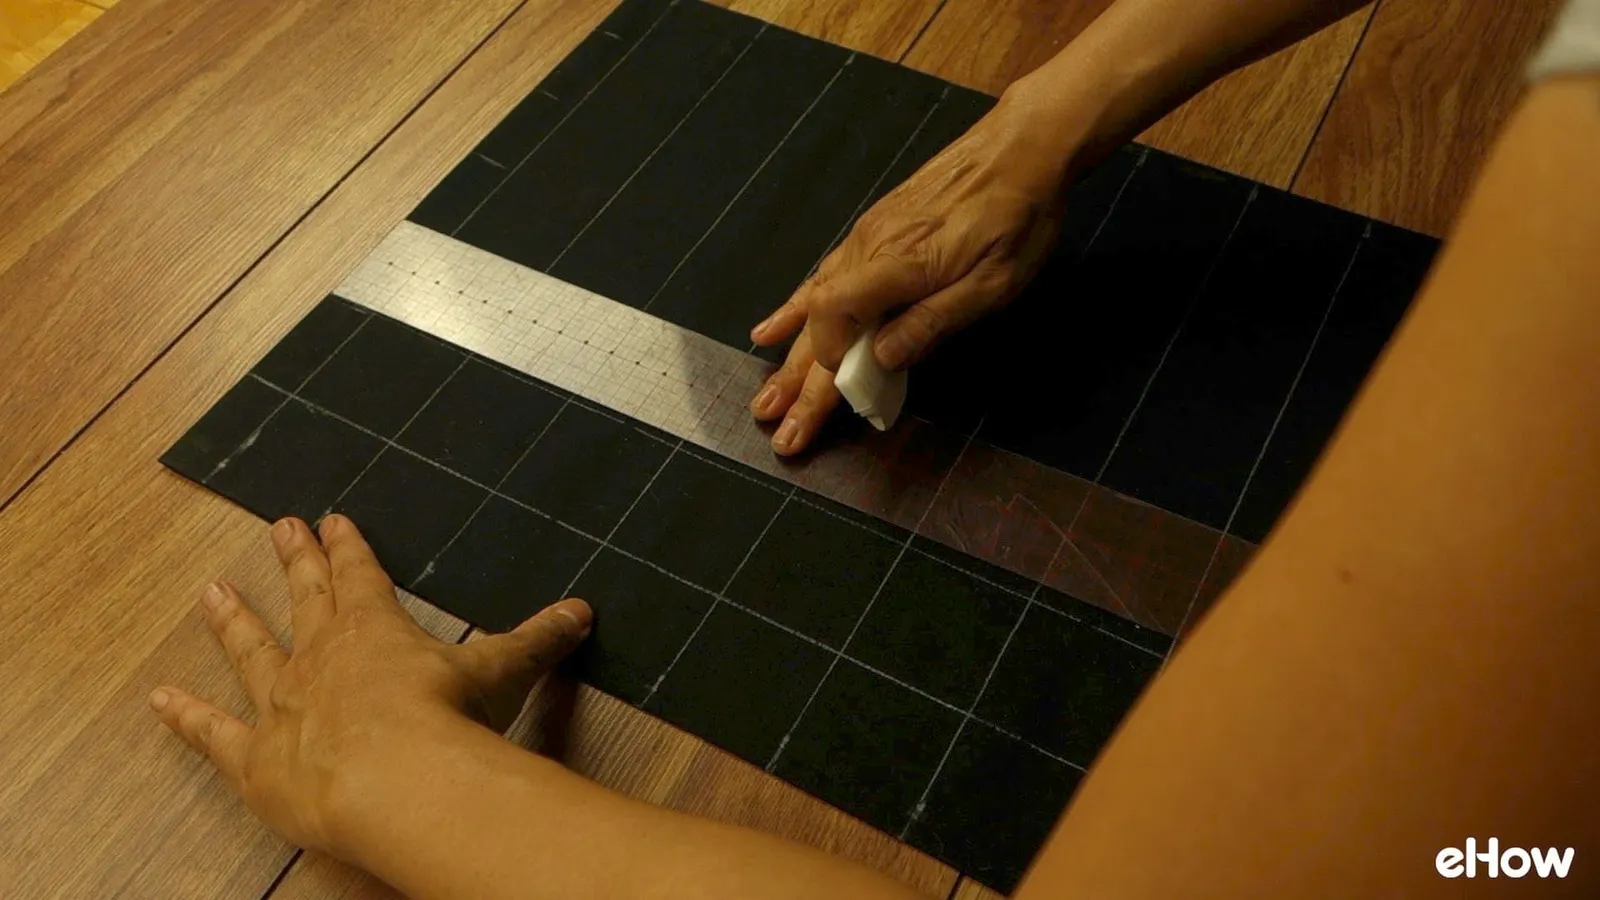
Our grid used 2-inch squares, which works well for each pattern repetition. If you're following our downloadable PDF pattern, create a 7 x 9 grid as shown.
Step 5: Prepare For Painting
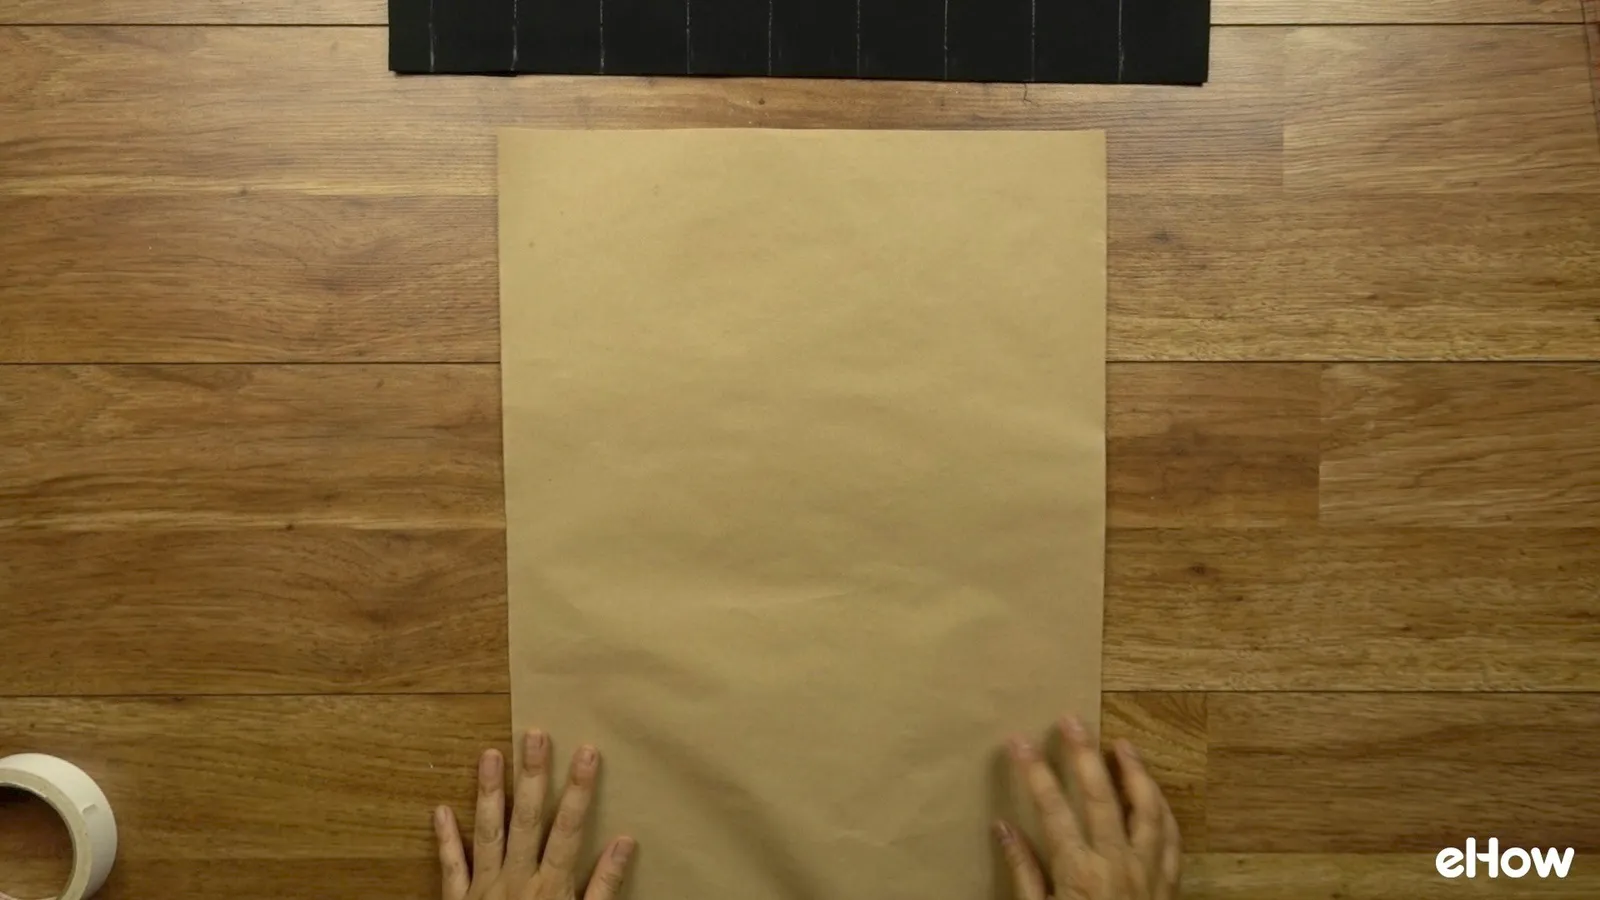
To protect your work surface from paint seeping through, cut a piece of paper the same size or slightly smaller than your wall hanging and place it underneath.
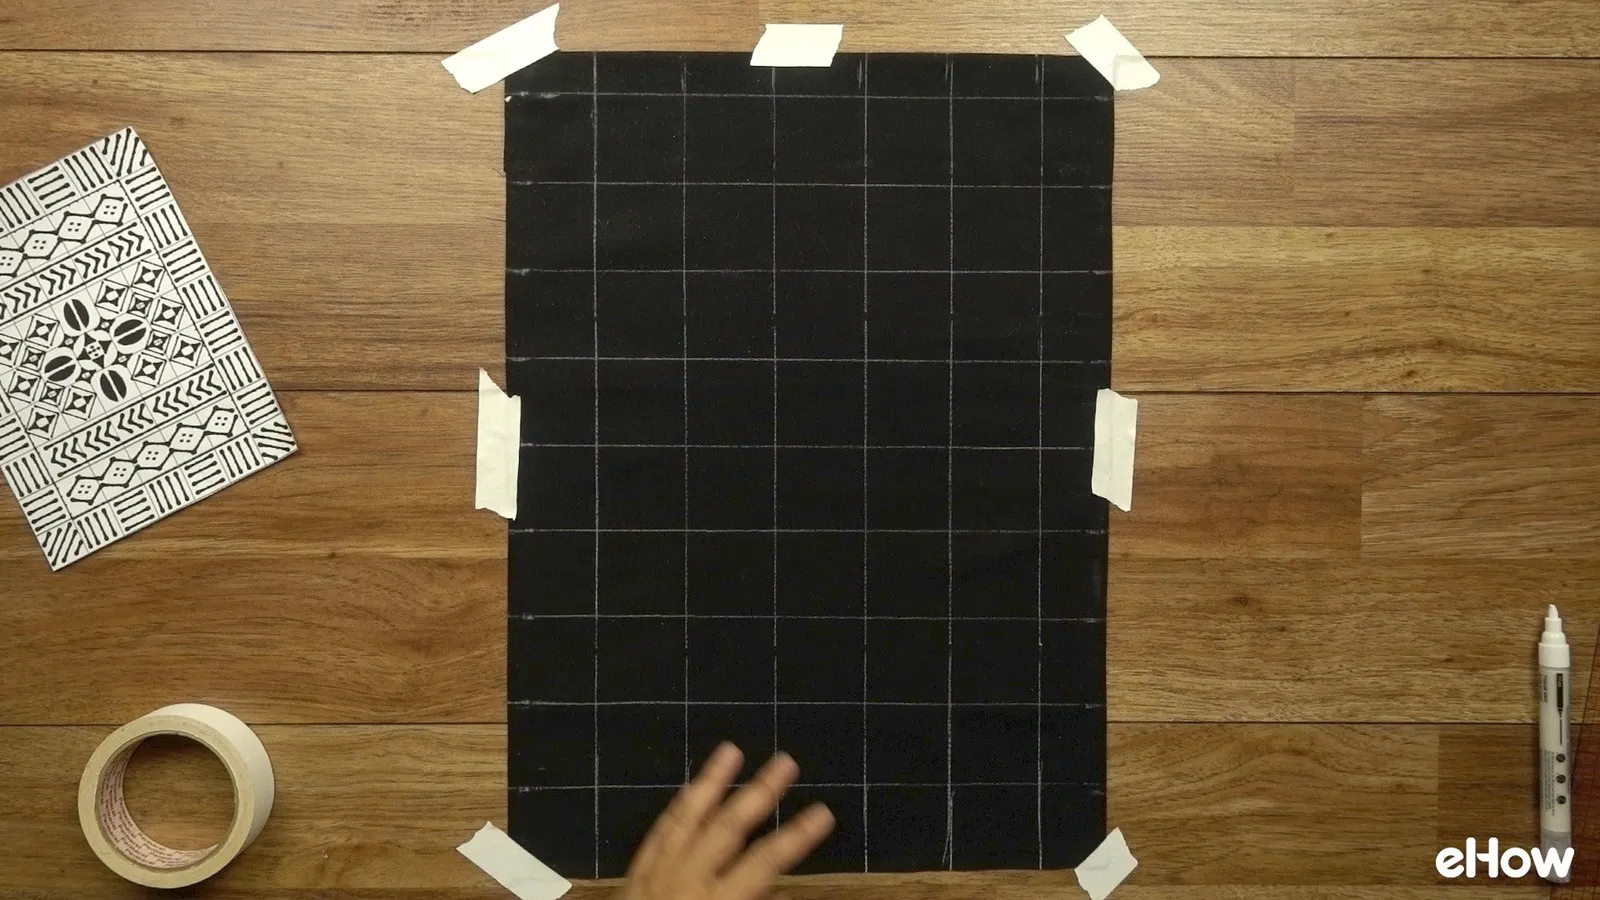
Use masking tape to secure your wall hanging to the work surface. If your fabric is heavy and unlikely to shift, this may not be necessary. However, for lightweight fabrics like quilter's cotton, it's best to secure it before painting.
Step 6: Paint It
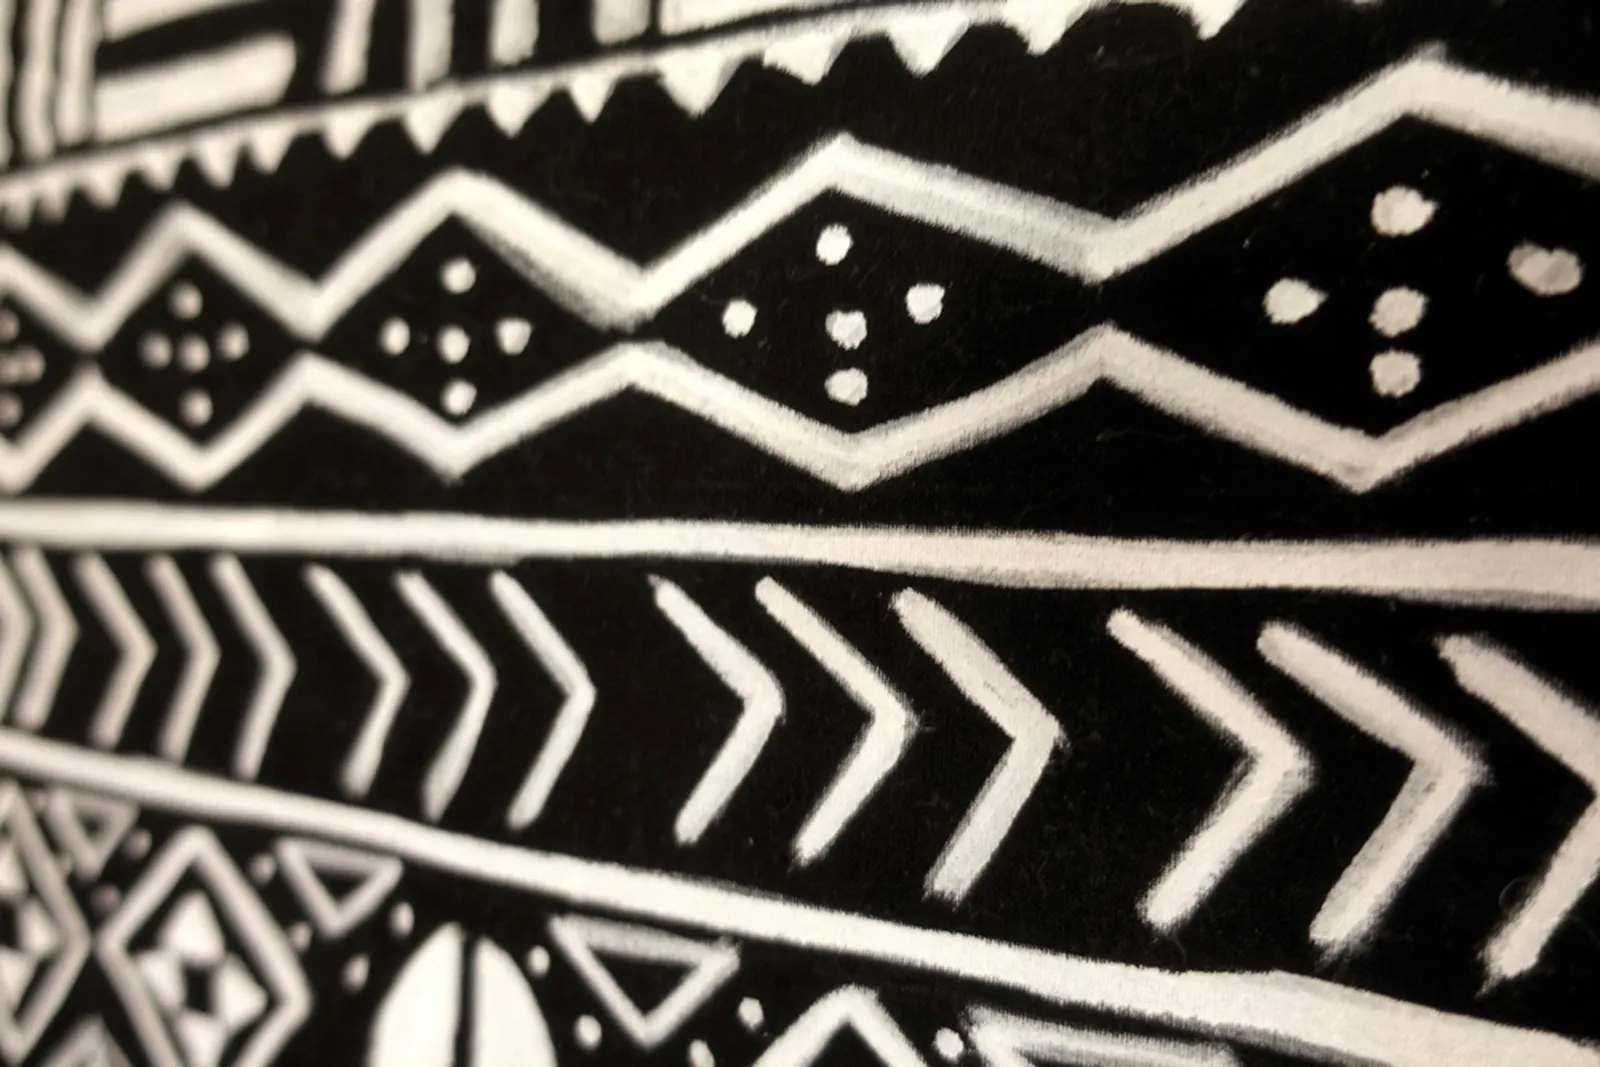
Now for the fun part—drawing your design with a paint pen. Keep your chosen design handy, either printed or onscreen, for reference. If you want to recreate the design from this tutorial, download our PDF pattern.
Use your grid as a guide for placing each pattern repetition. Remember, it doesn't have to be perfect—the beauty of mudcloth is in its imperfect, handmade qualities. You might even draw just one or two repetitions (like these chic cushions) for a super simple project. Most importantly, enjoy the process!
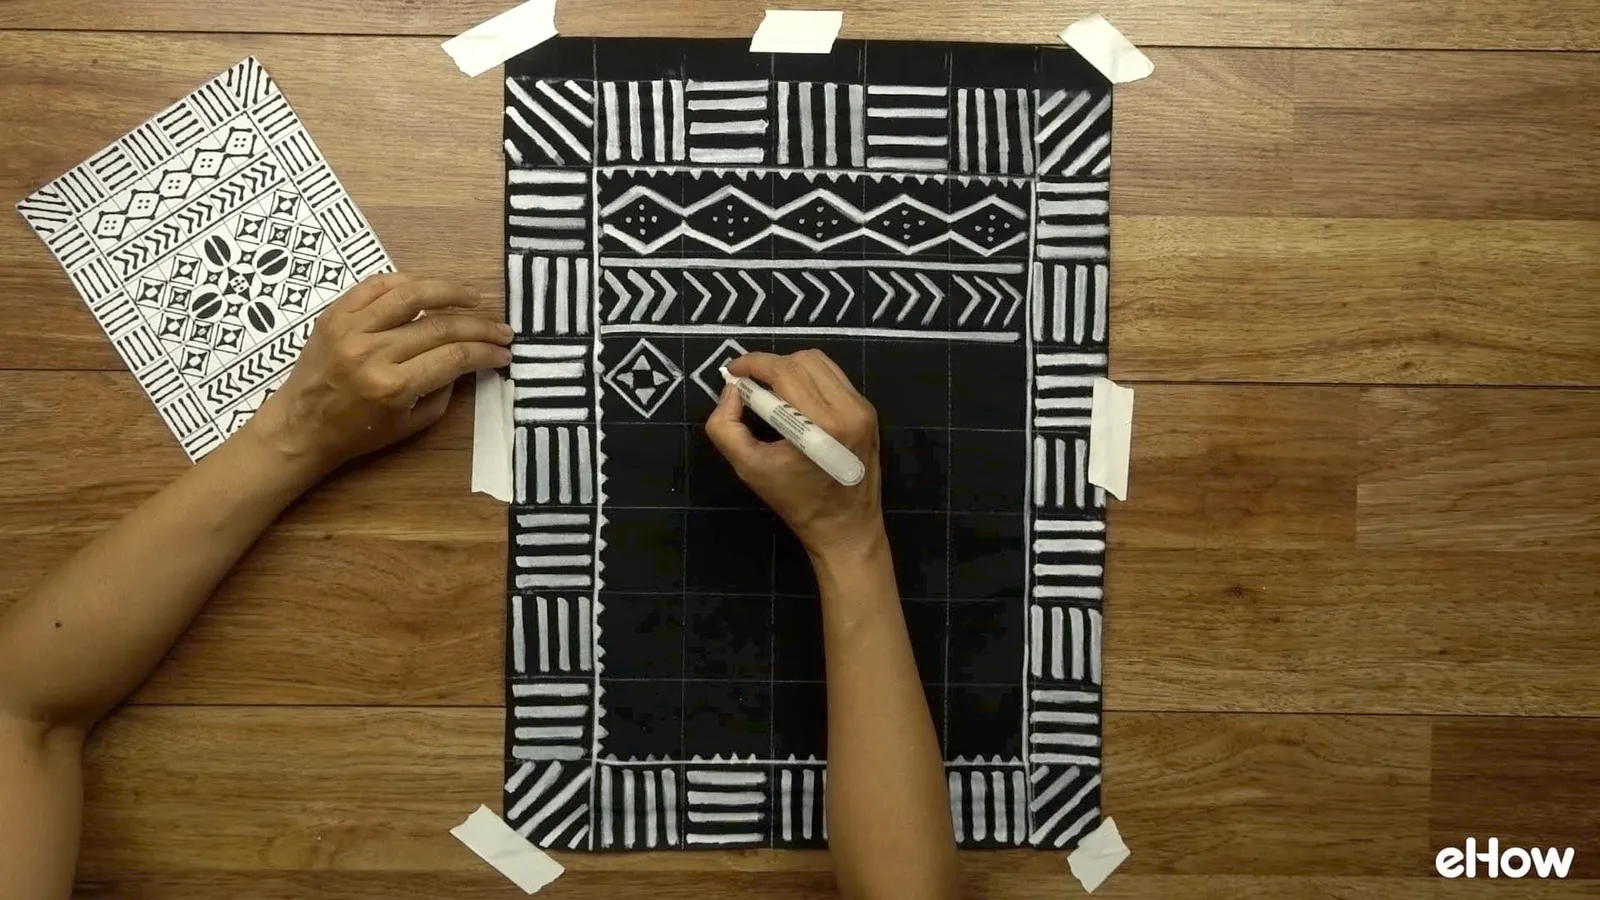
For thicker, more opaque lines, redraw over them two or more times to layer the paint. Once done, let it dry completely (a few hours to be safe) before moving on.
Step 7: Erase Chalk Marks
A dry microfiber cloth works well for this, but you can also use a sponge, slightly dampened if needed.
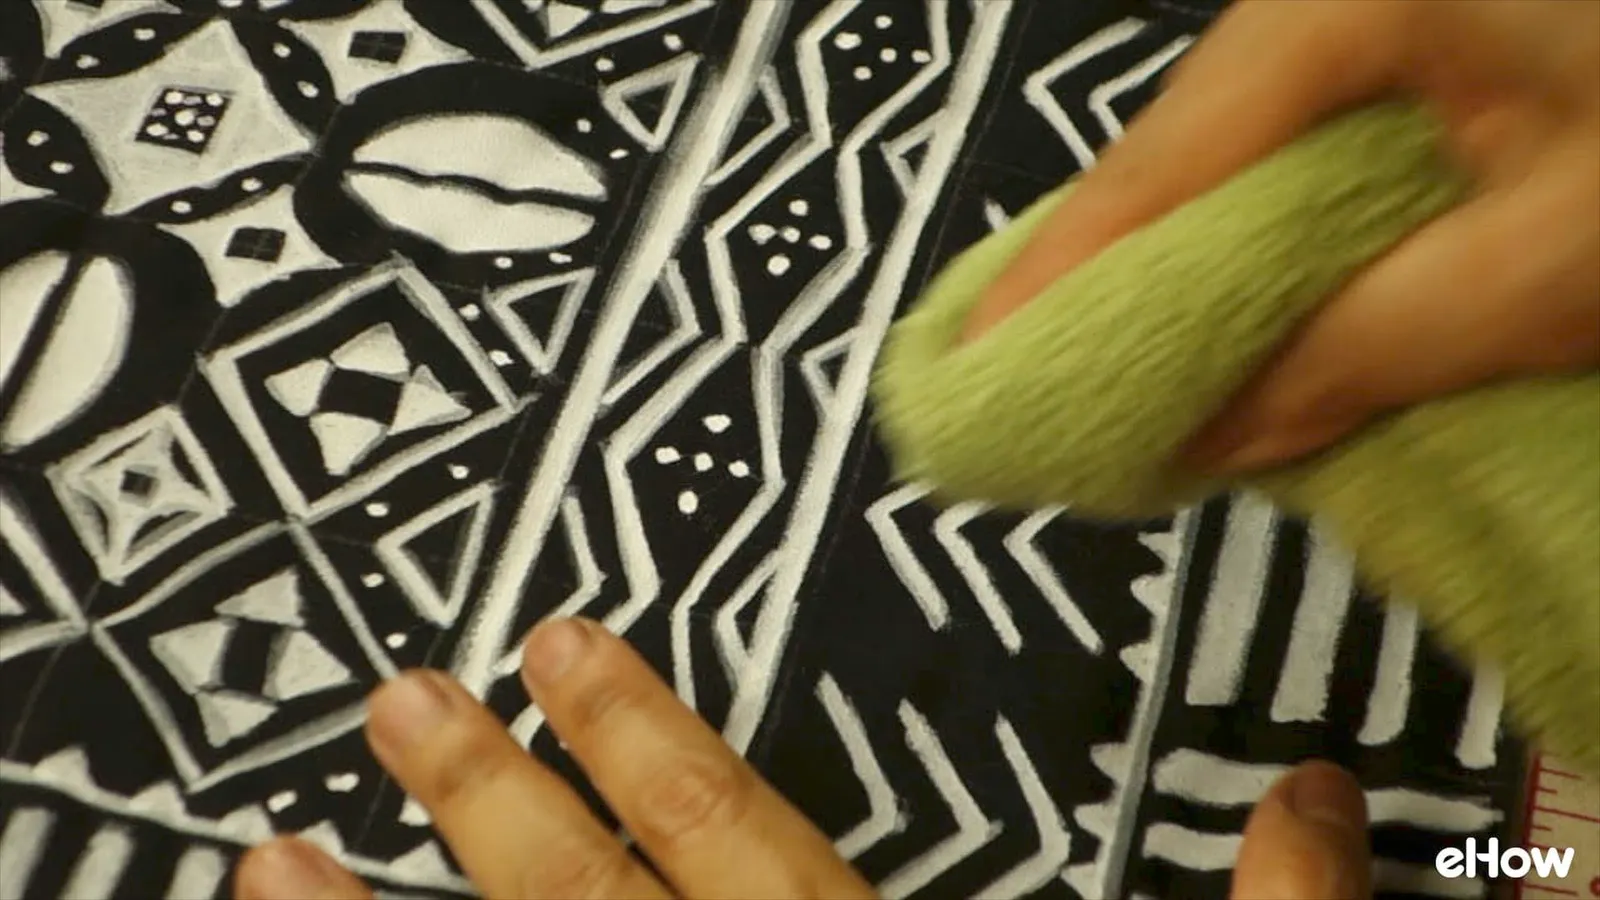
Step 8: Heat Set Your Painted Design
On an iron-safe surface, cover your wall hanging with parchment paper or a pressing cloth, and press the entire surface with an iron on cotton setting. DO NOT use steam! This sets the paint and smooths out any wrinkles from drying.
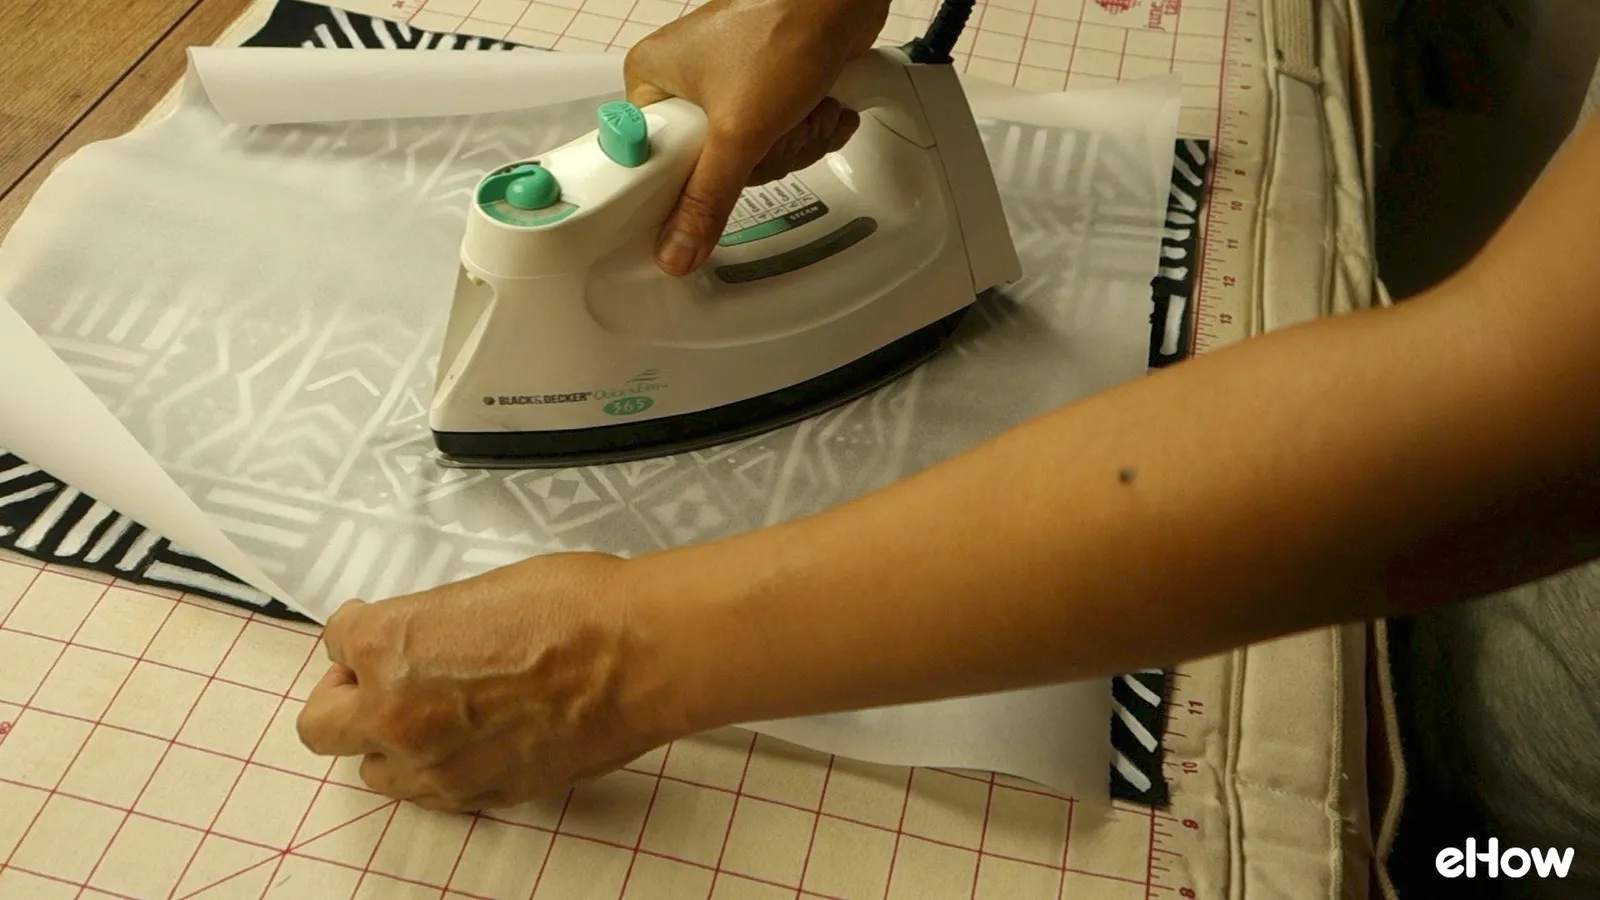
Step 9: Attach Hanging Rod
Insert the wood dowel into the rod pocket.
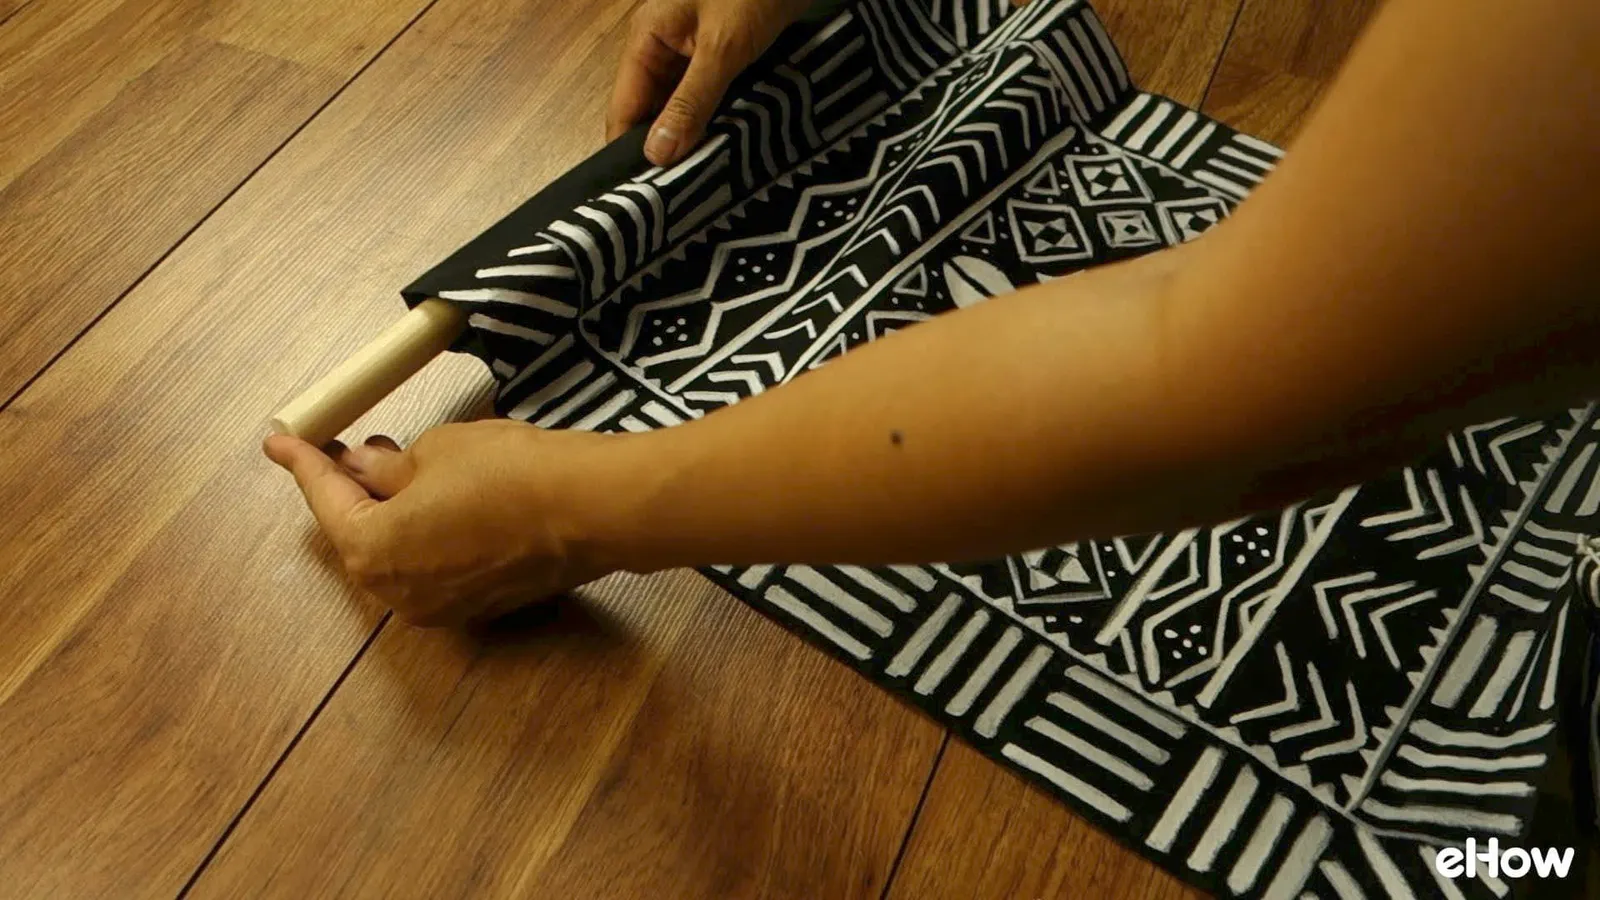
Take a piece of natural cordage (cotton, hemp, etc.) and tie a knot to one end of the rod.
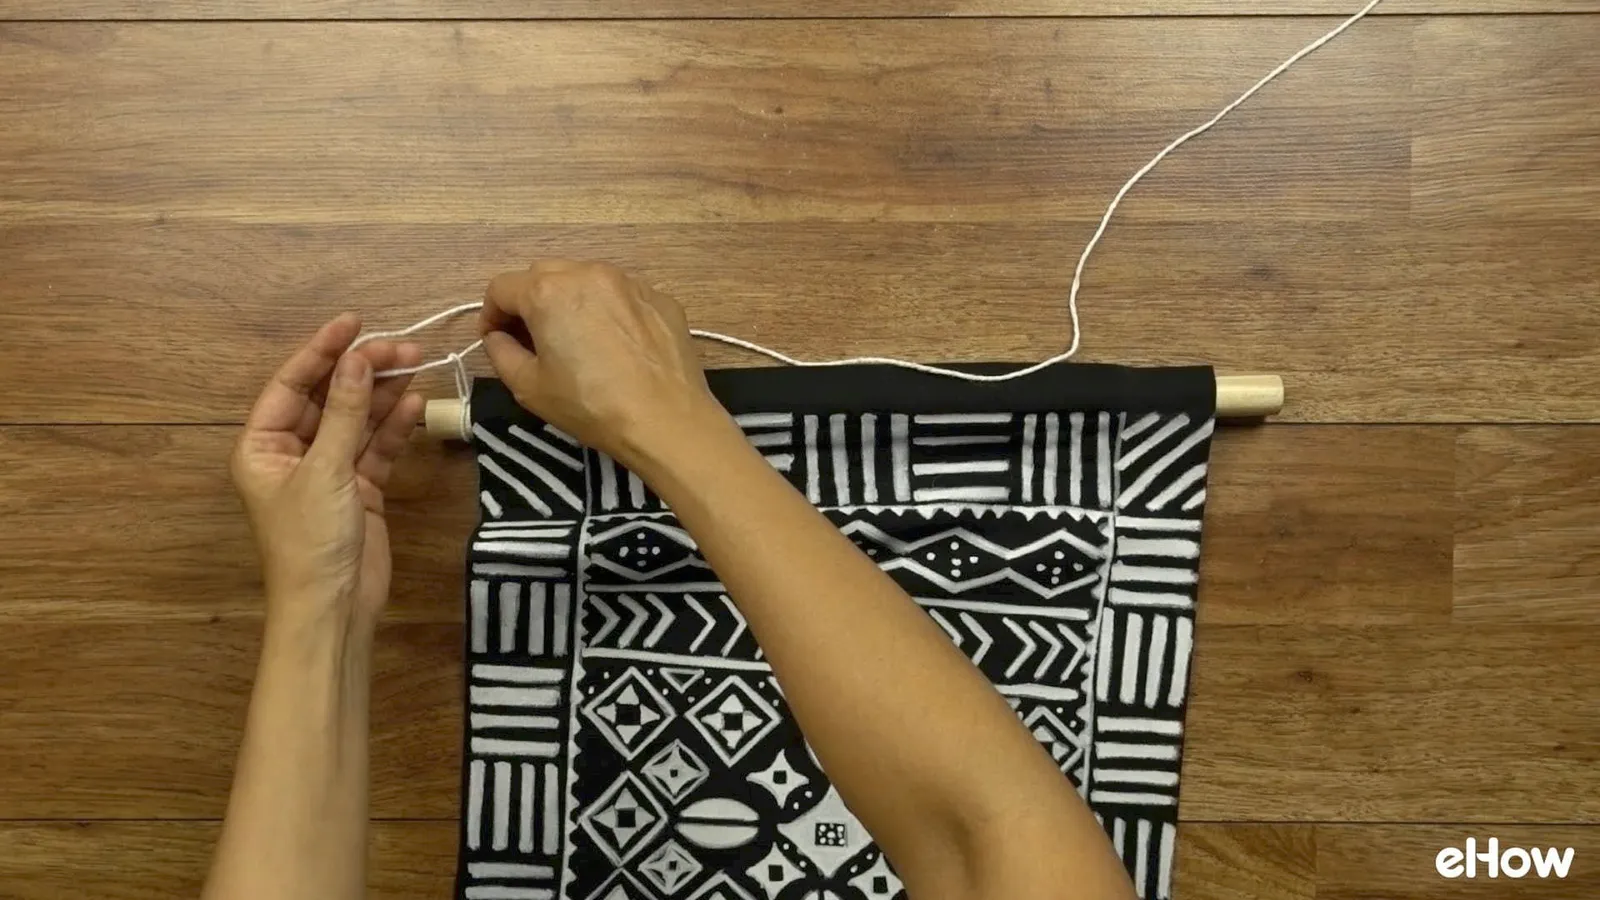
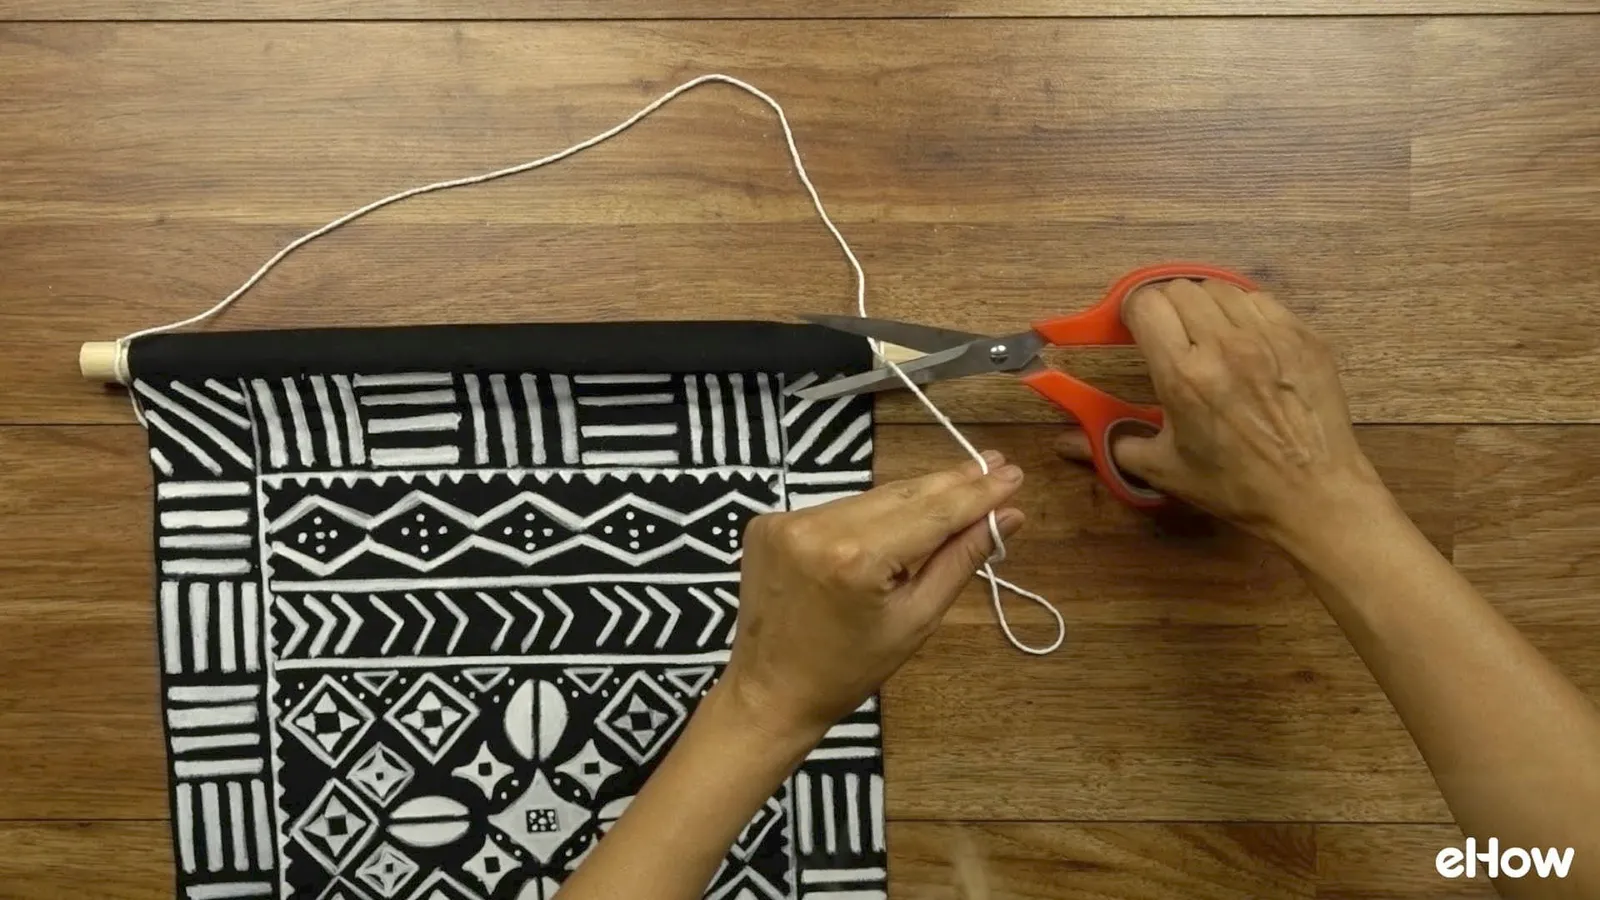
Repeat at the other end, leaving some slack in between. Snip off excess.
Optional: for added flair, tie a yarn tassel on each end of the rod and another at the center of the hanging cord.
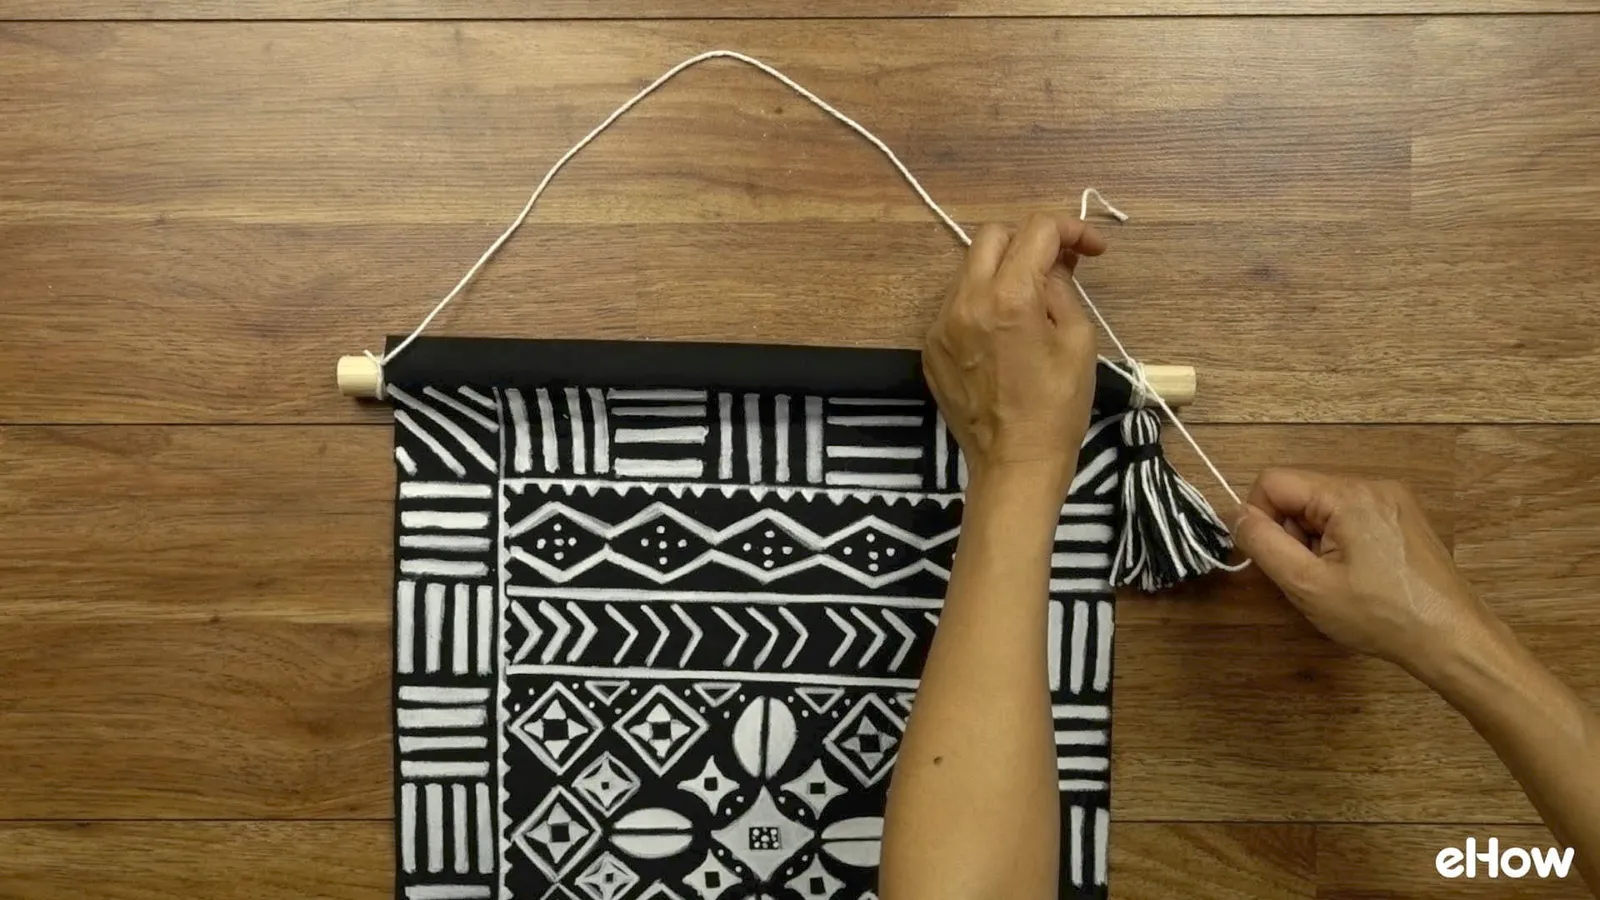
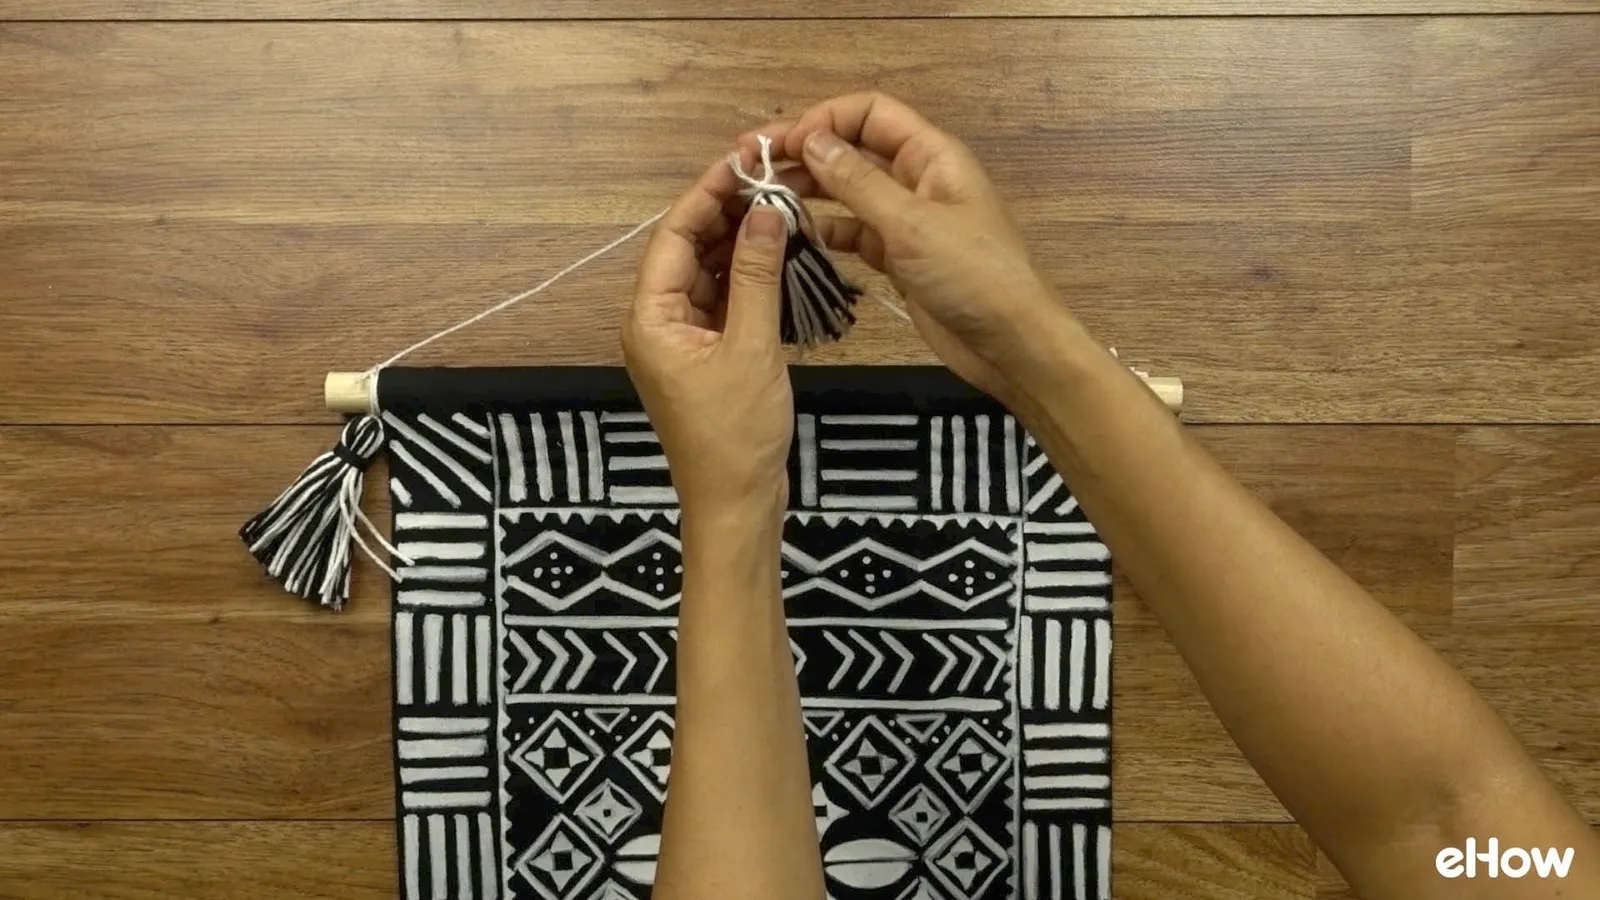
The tassel on the cord will also hide the hardware used to hang your piece.
Step 10: Attach Bottom Tassels
Attach 3 to 4 (or more) evenly spaced tassels along the bottom of your wall hanging. The number depends on your preference and the size of the hanging. For ours, 3 worked nicely.
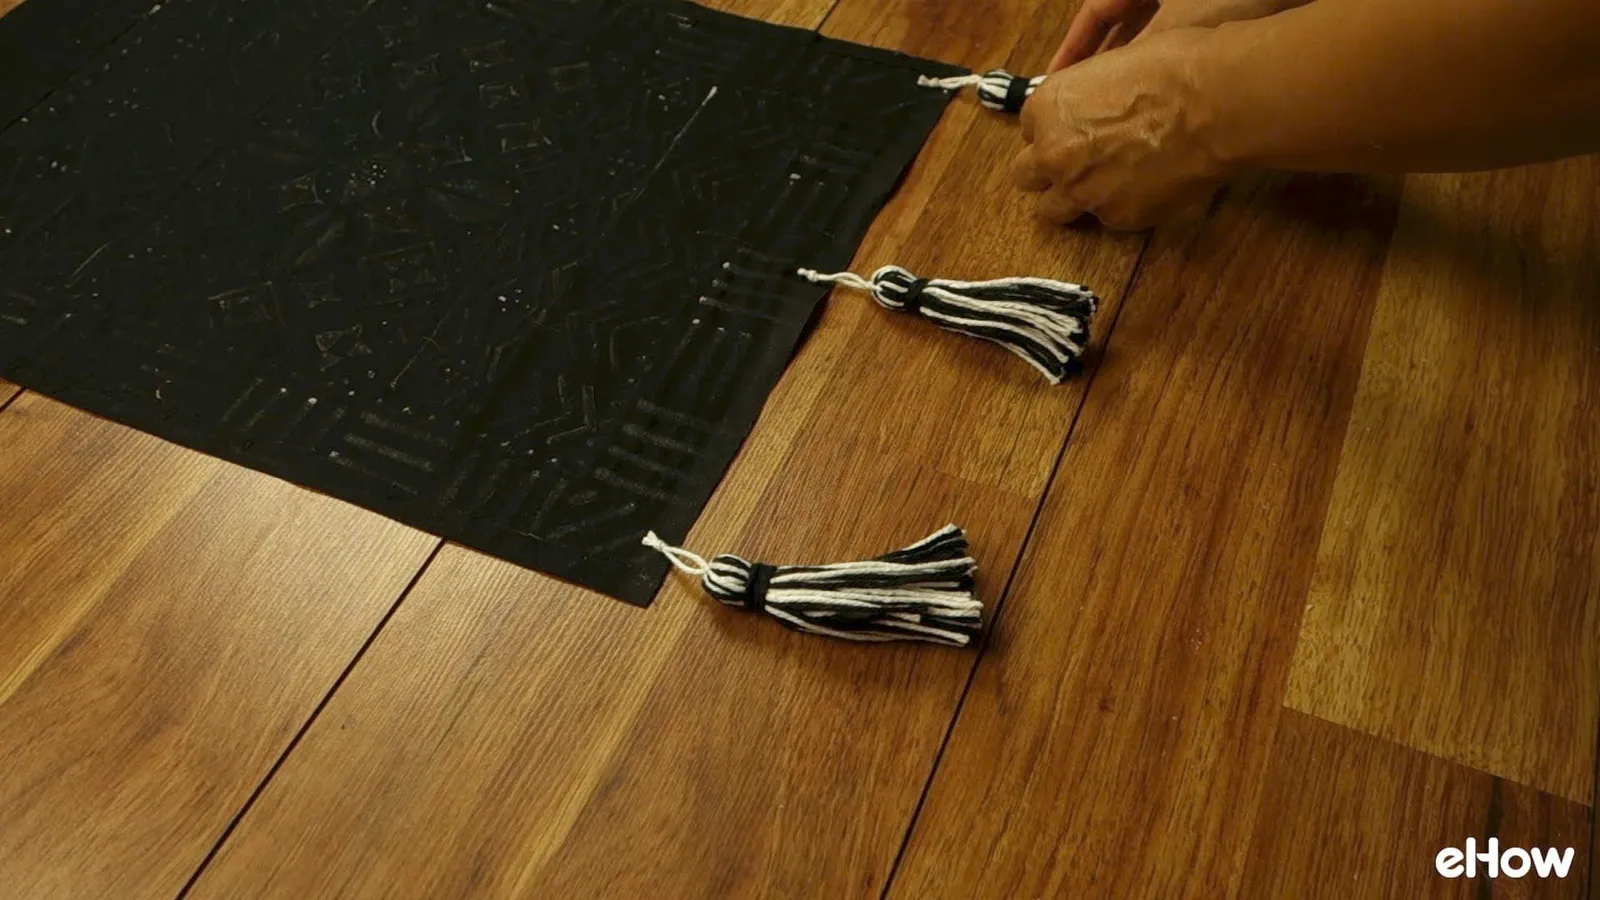
You can stitch them on or use a dab of fabric glue. If gluing, let it dry completely before hanging.
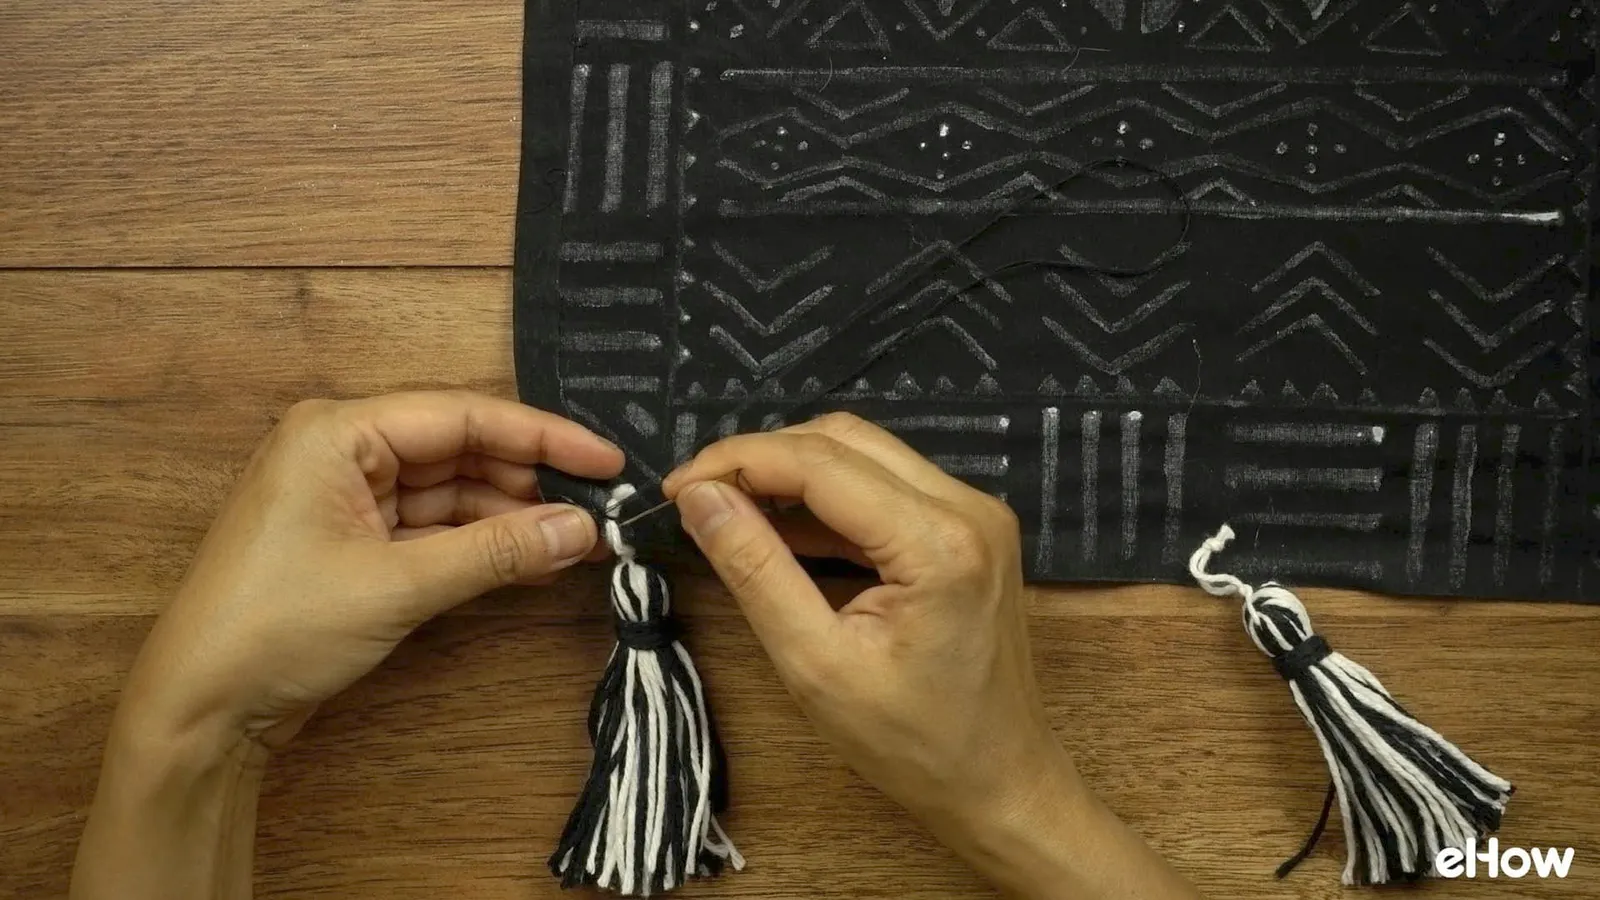
Stitching tassel
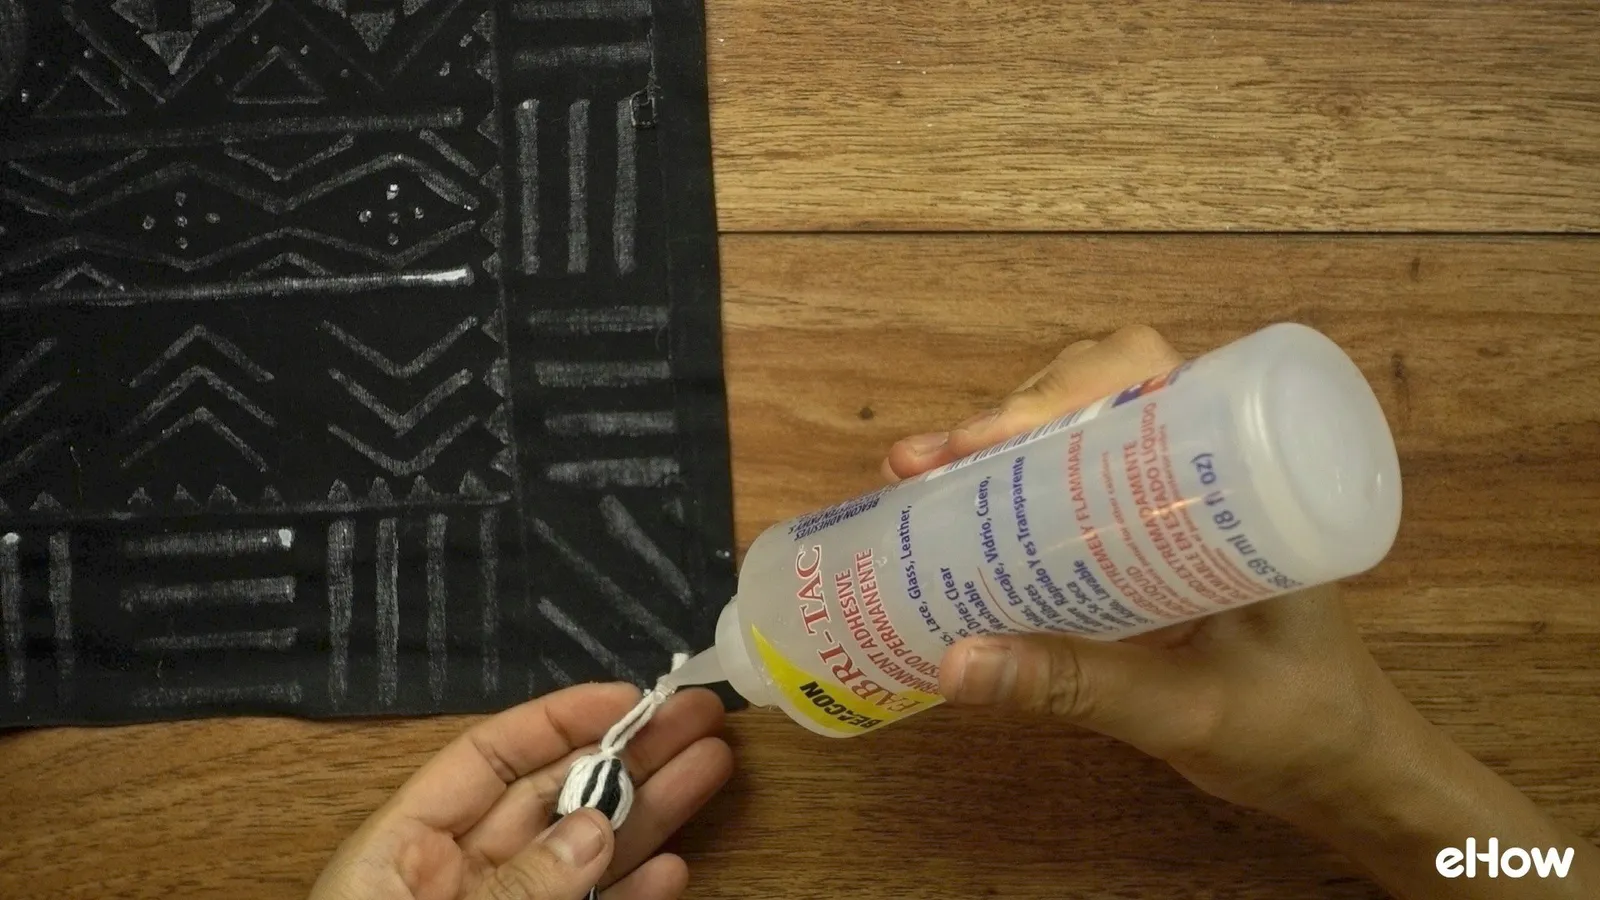
Gluing tassel
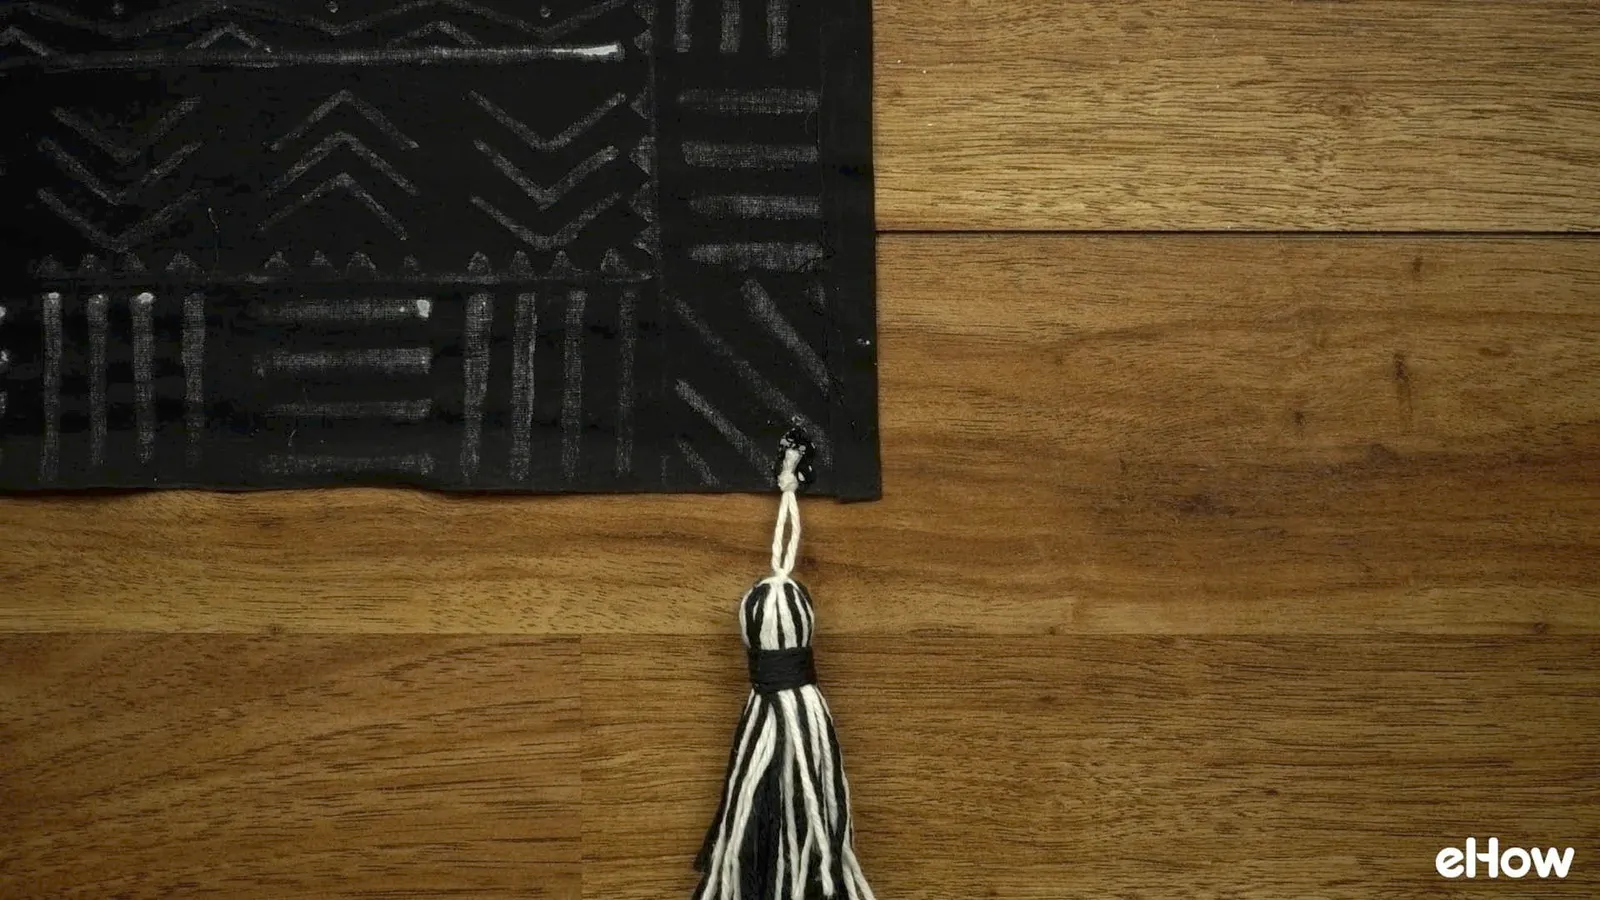
Tassel secured with glue. Let dry completely before handling.
Your gorgeous one-of-a-kind mudcloth-inspired wall hanging is now complete.
We think these make lovely and impressive gifts for any textile-loving friends and family.