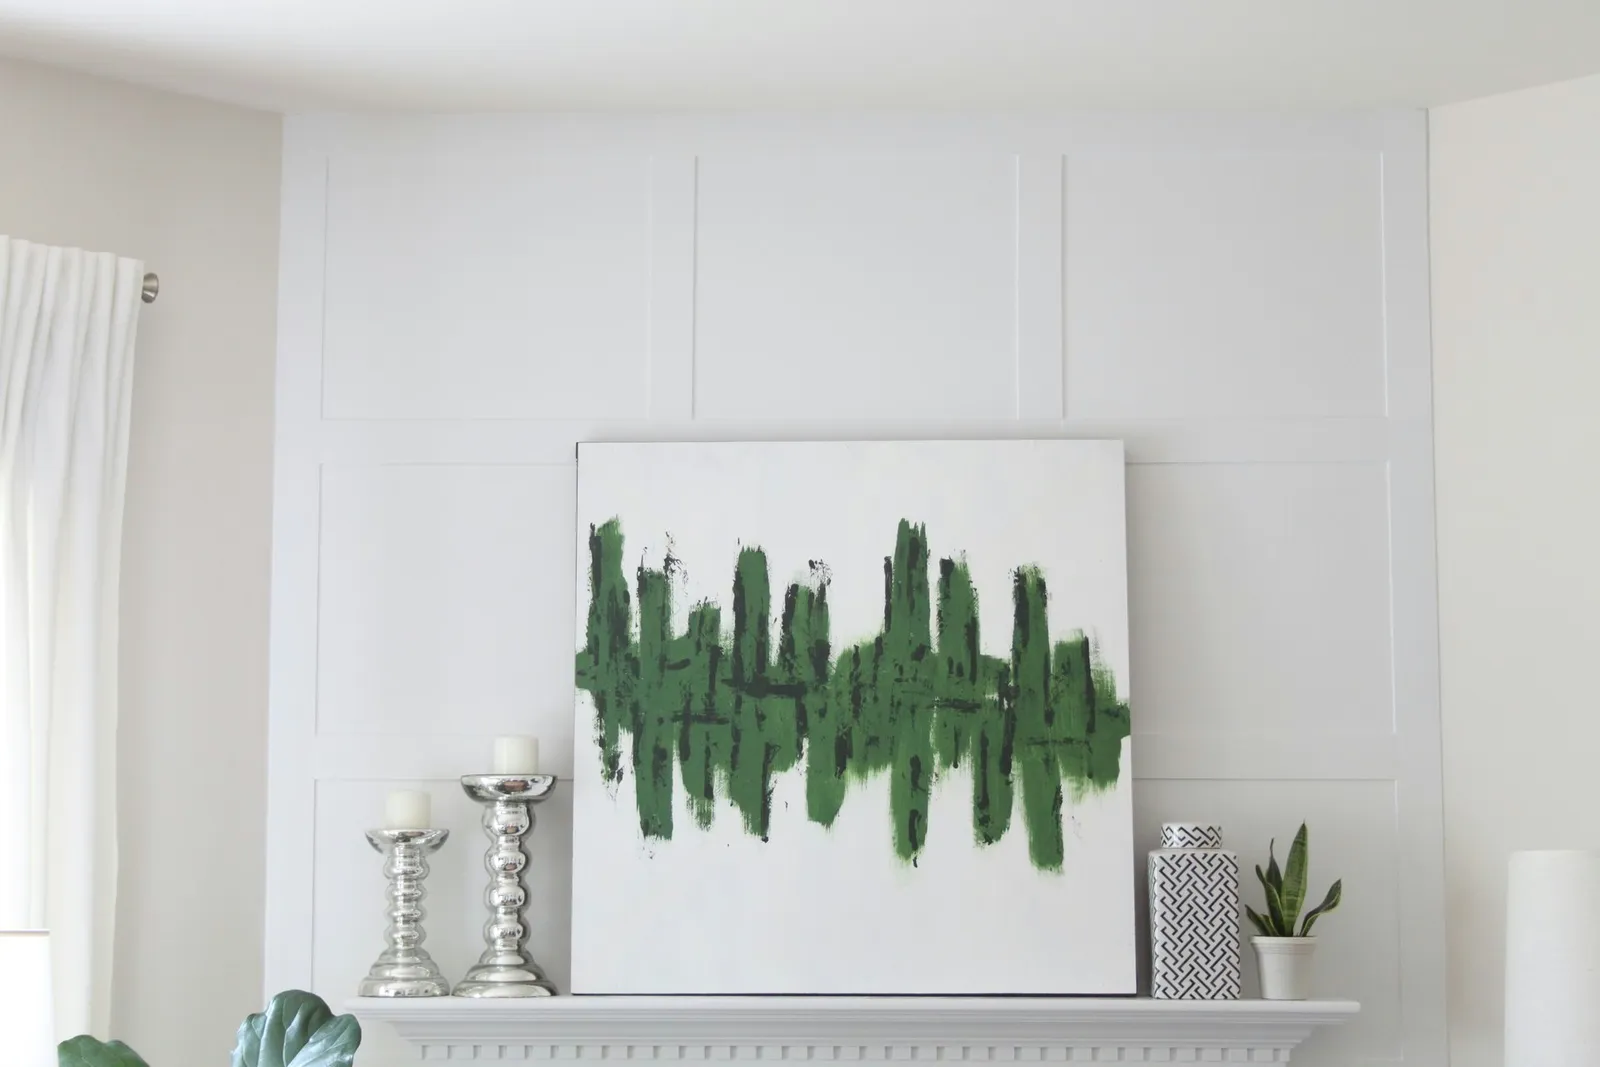
DIY Board and Batten: Transform Your Fireplace Wall on a Budget
Follow this DIY guide to build a stylish board and batten feature wall around your fireplace, using basic tools and materials for a custom look.
By Jordan Lee11 steps
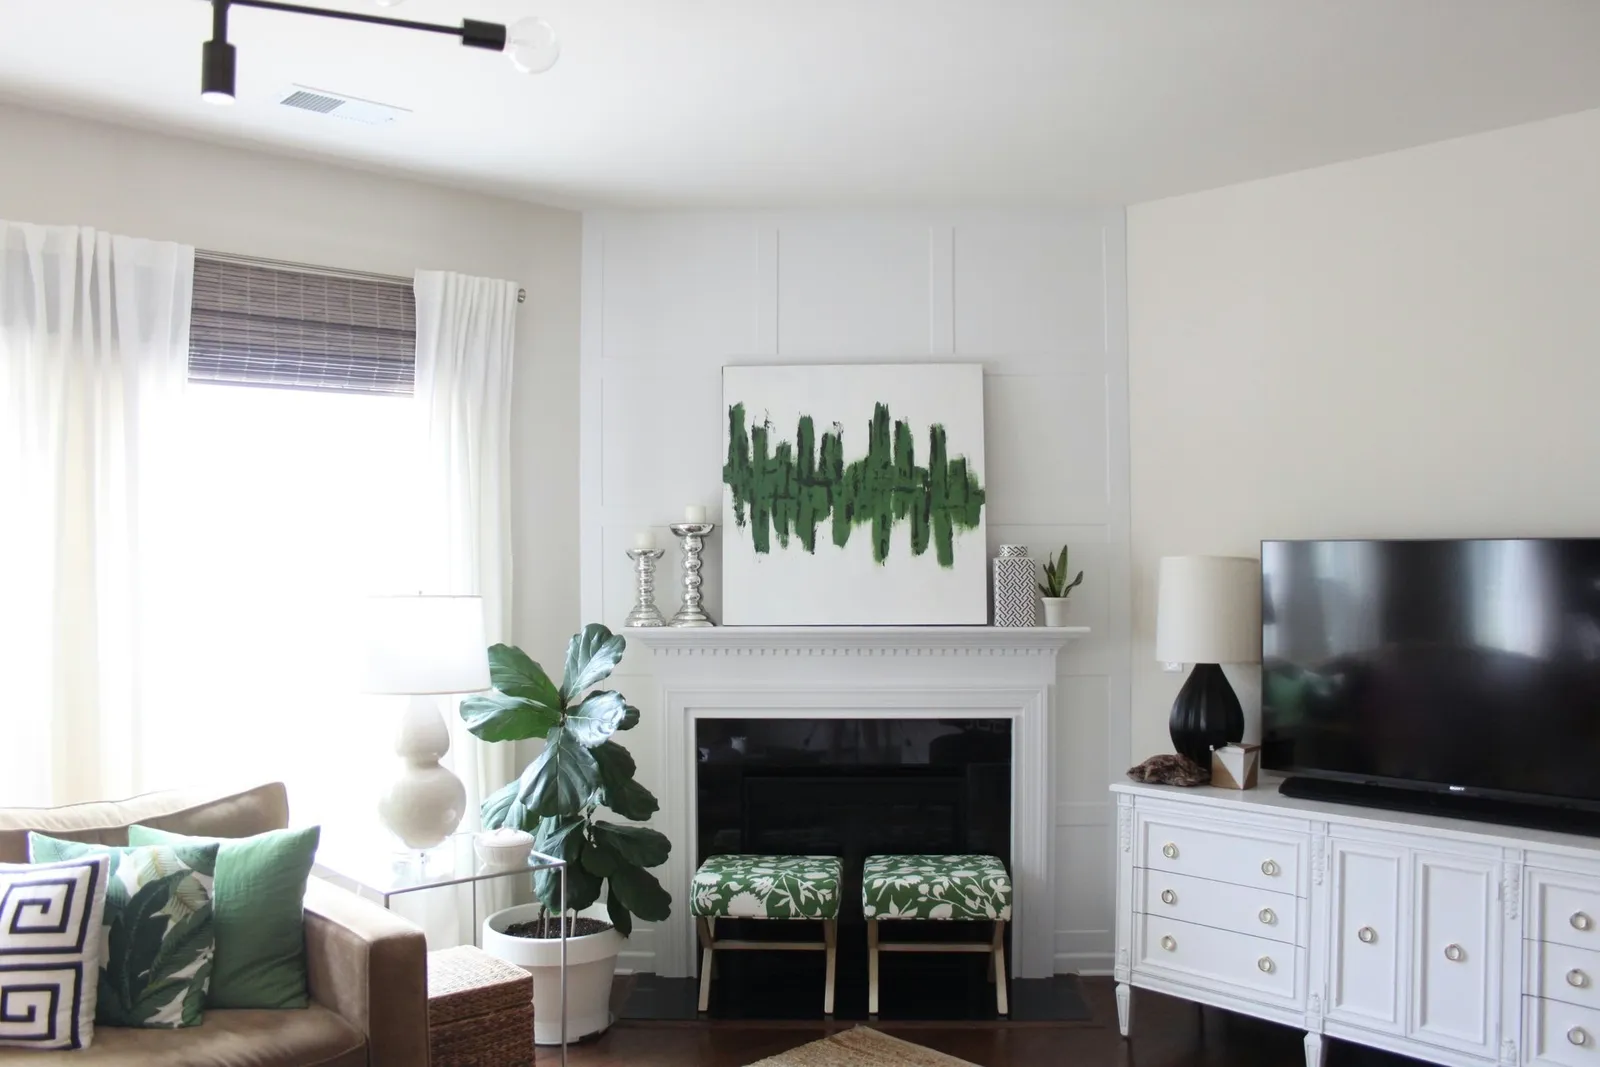
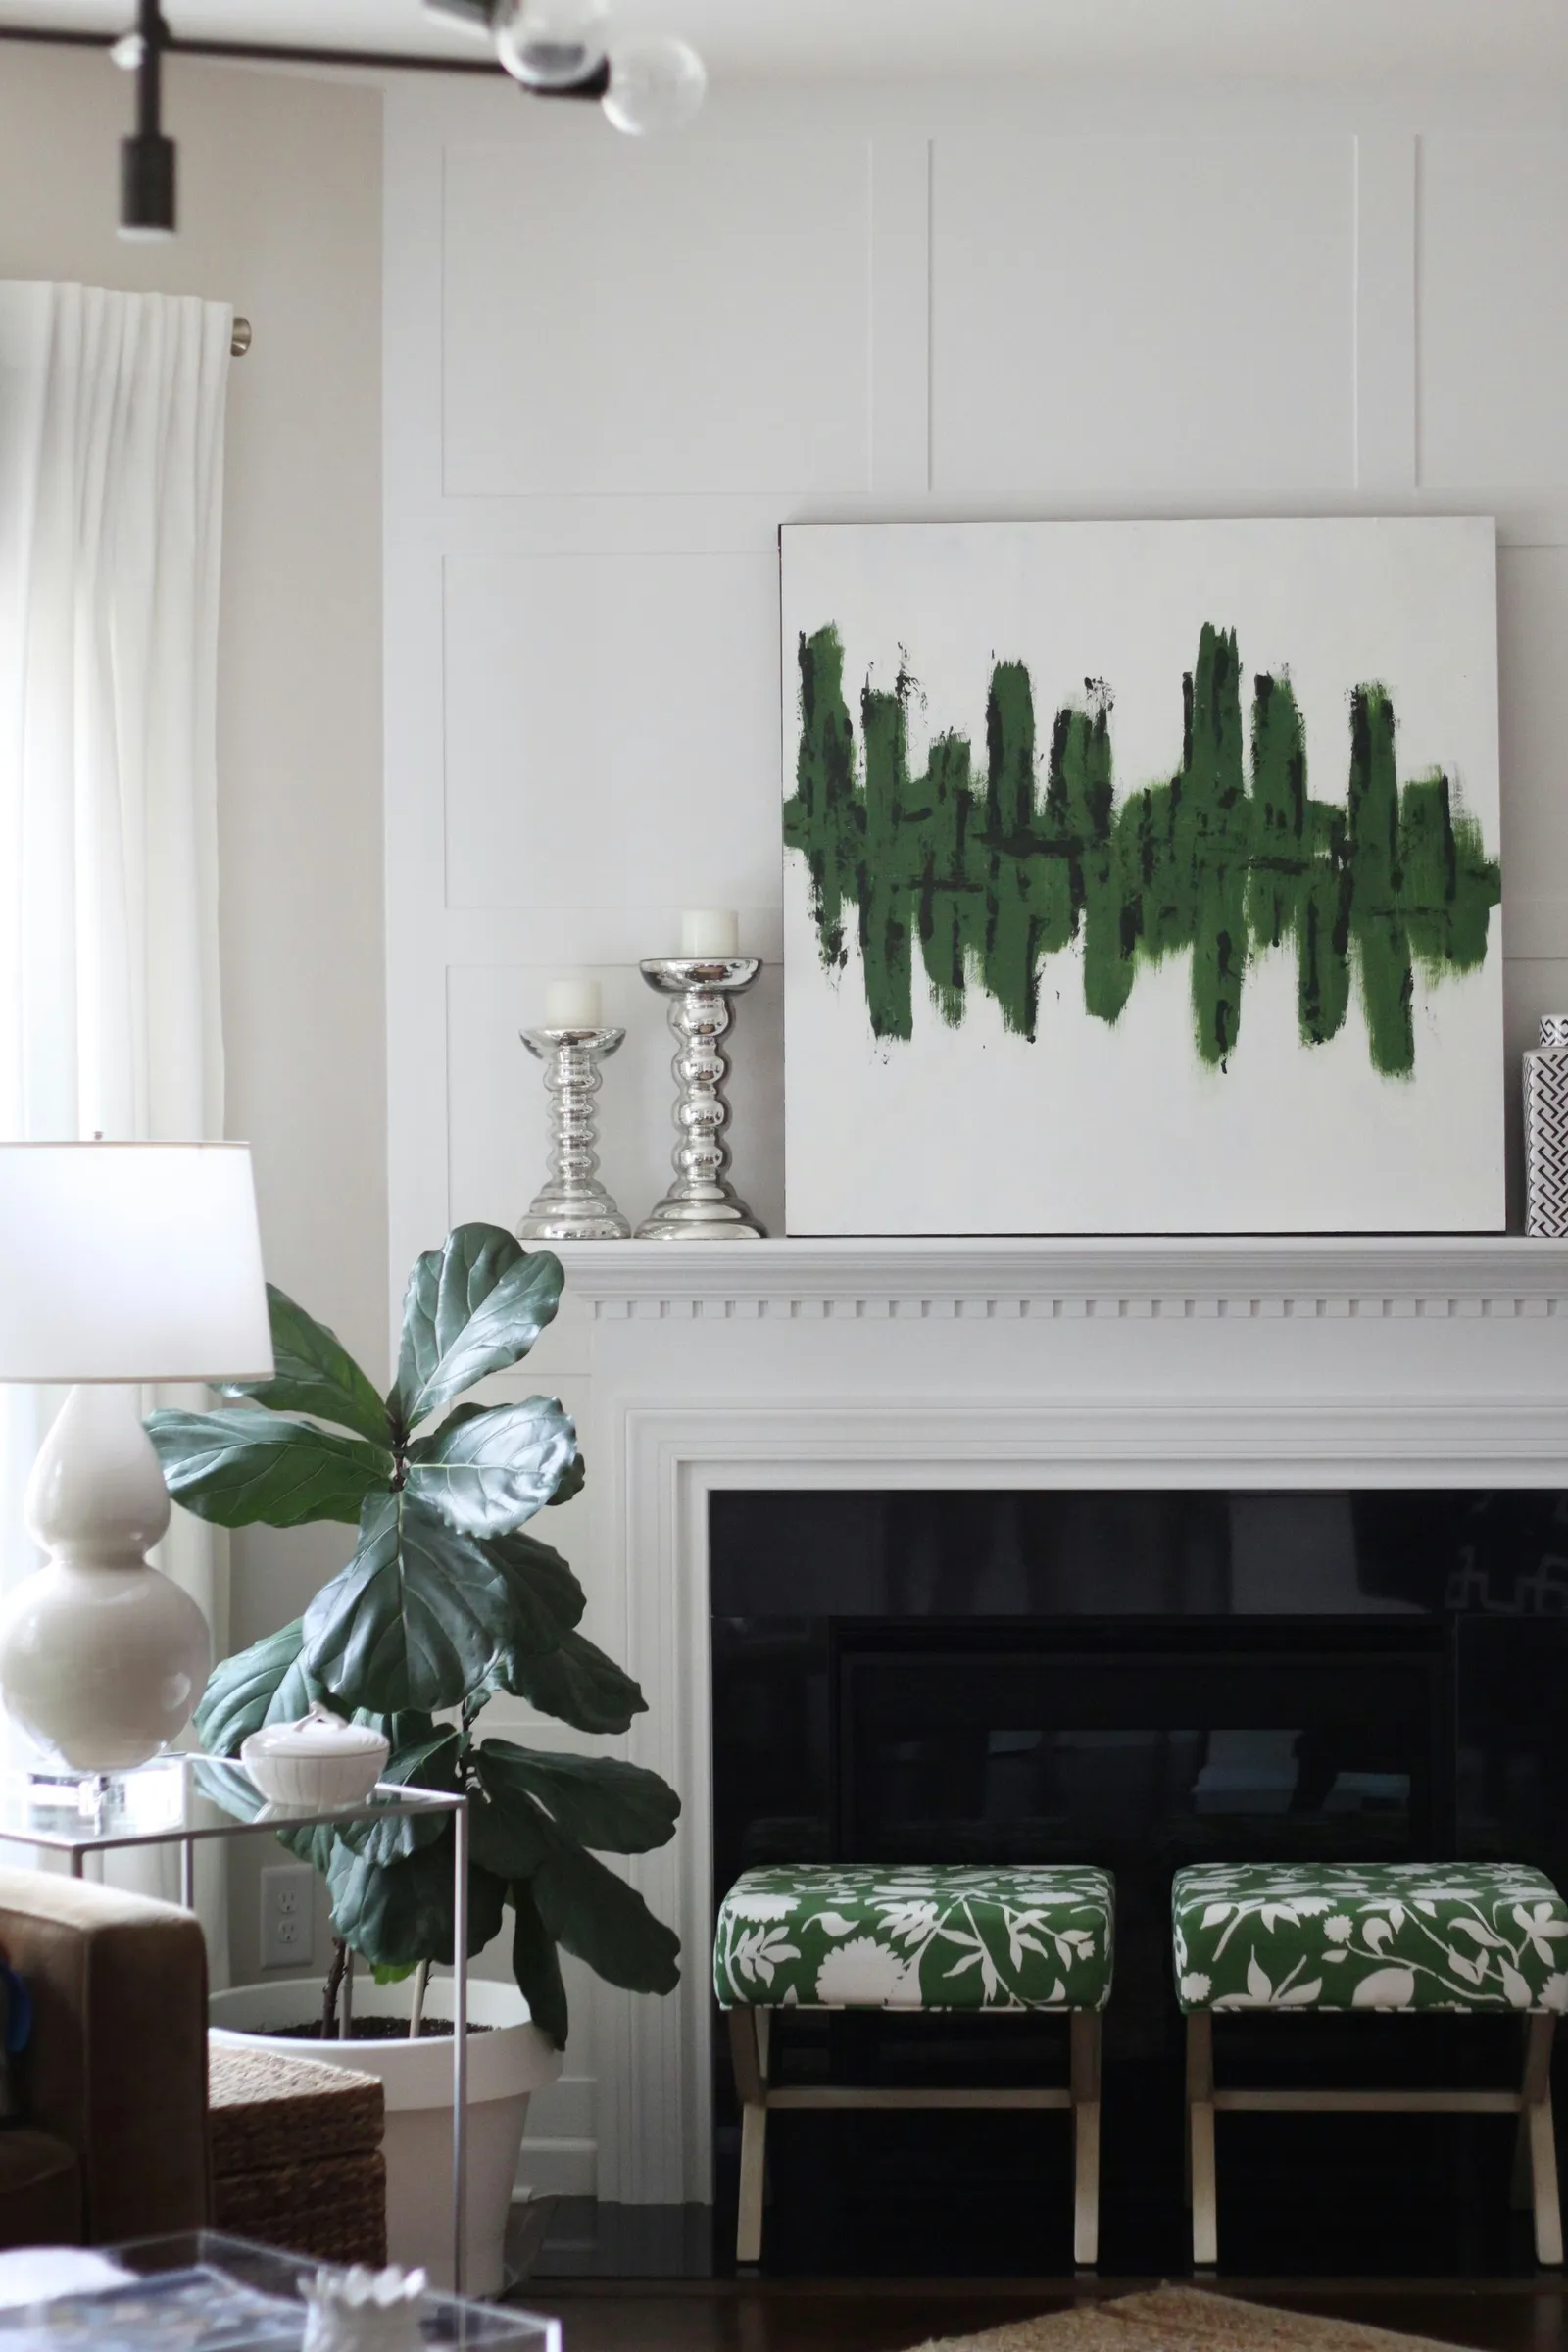
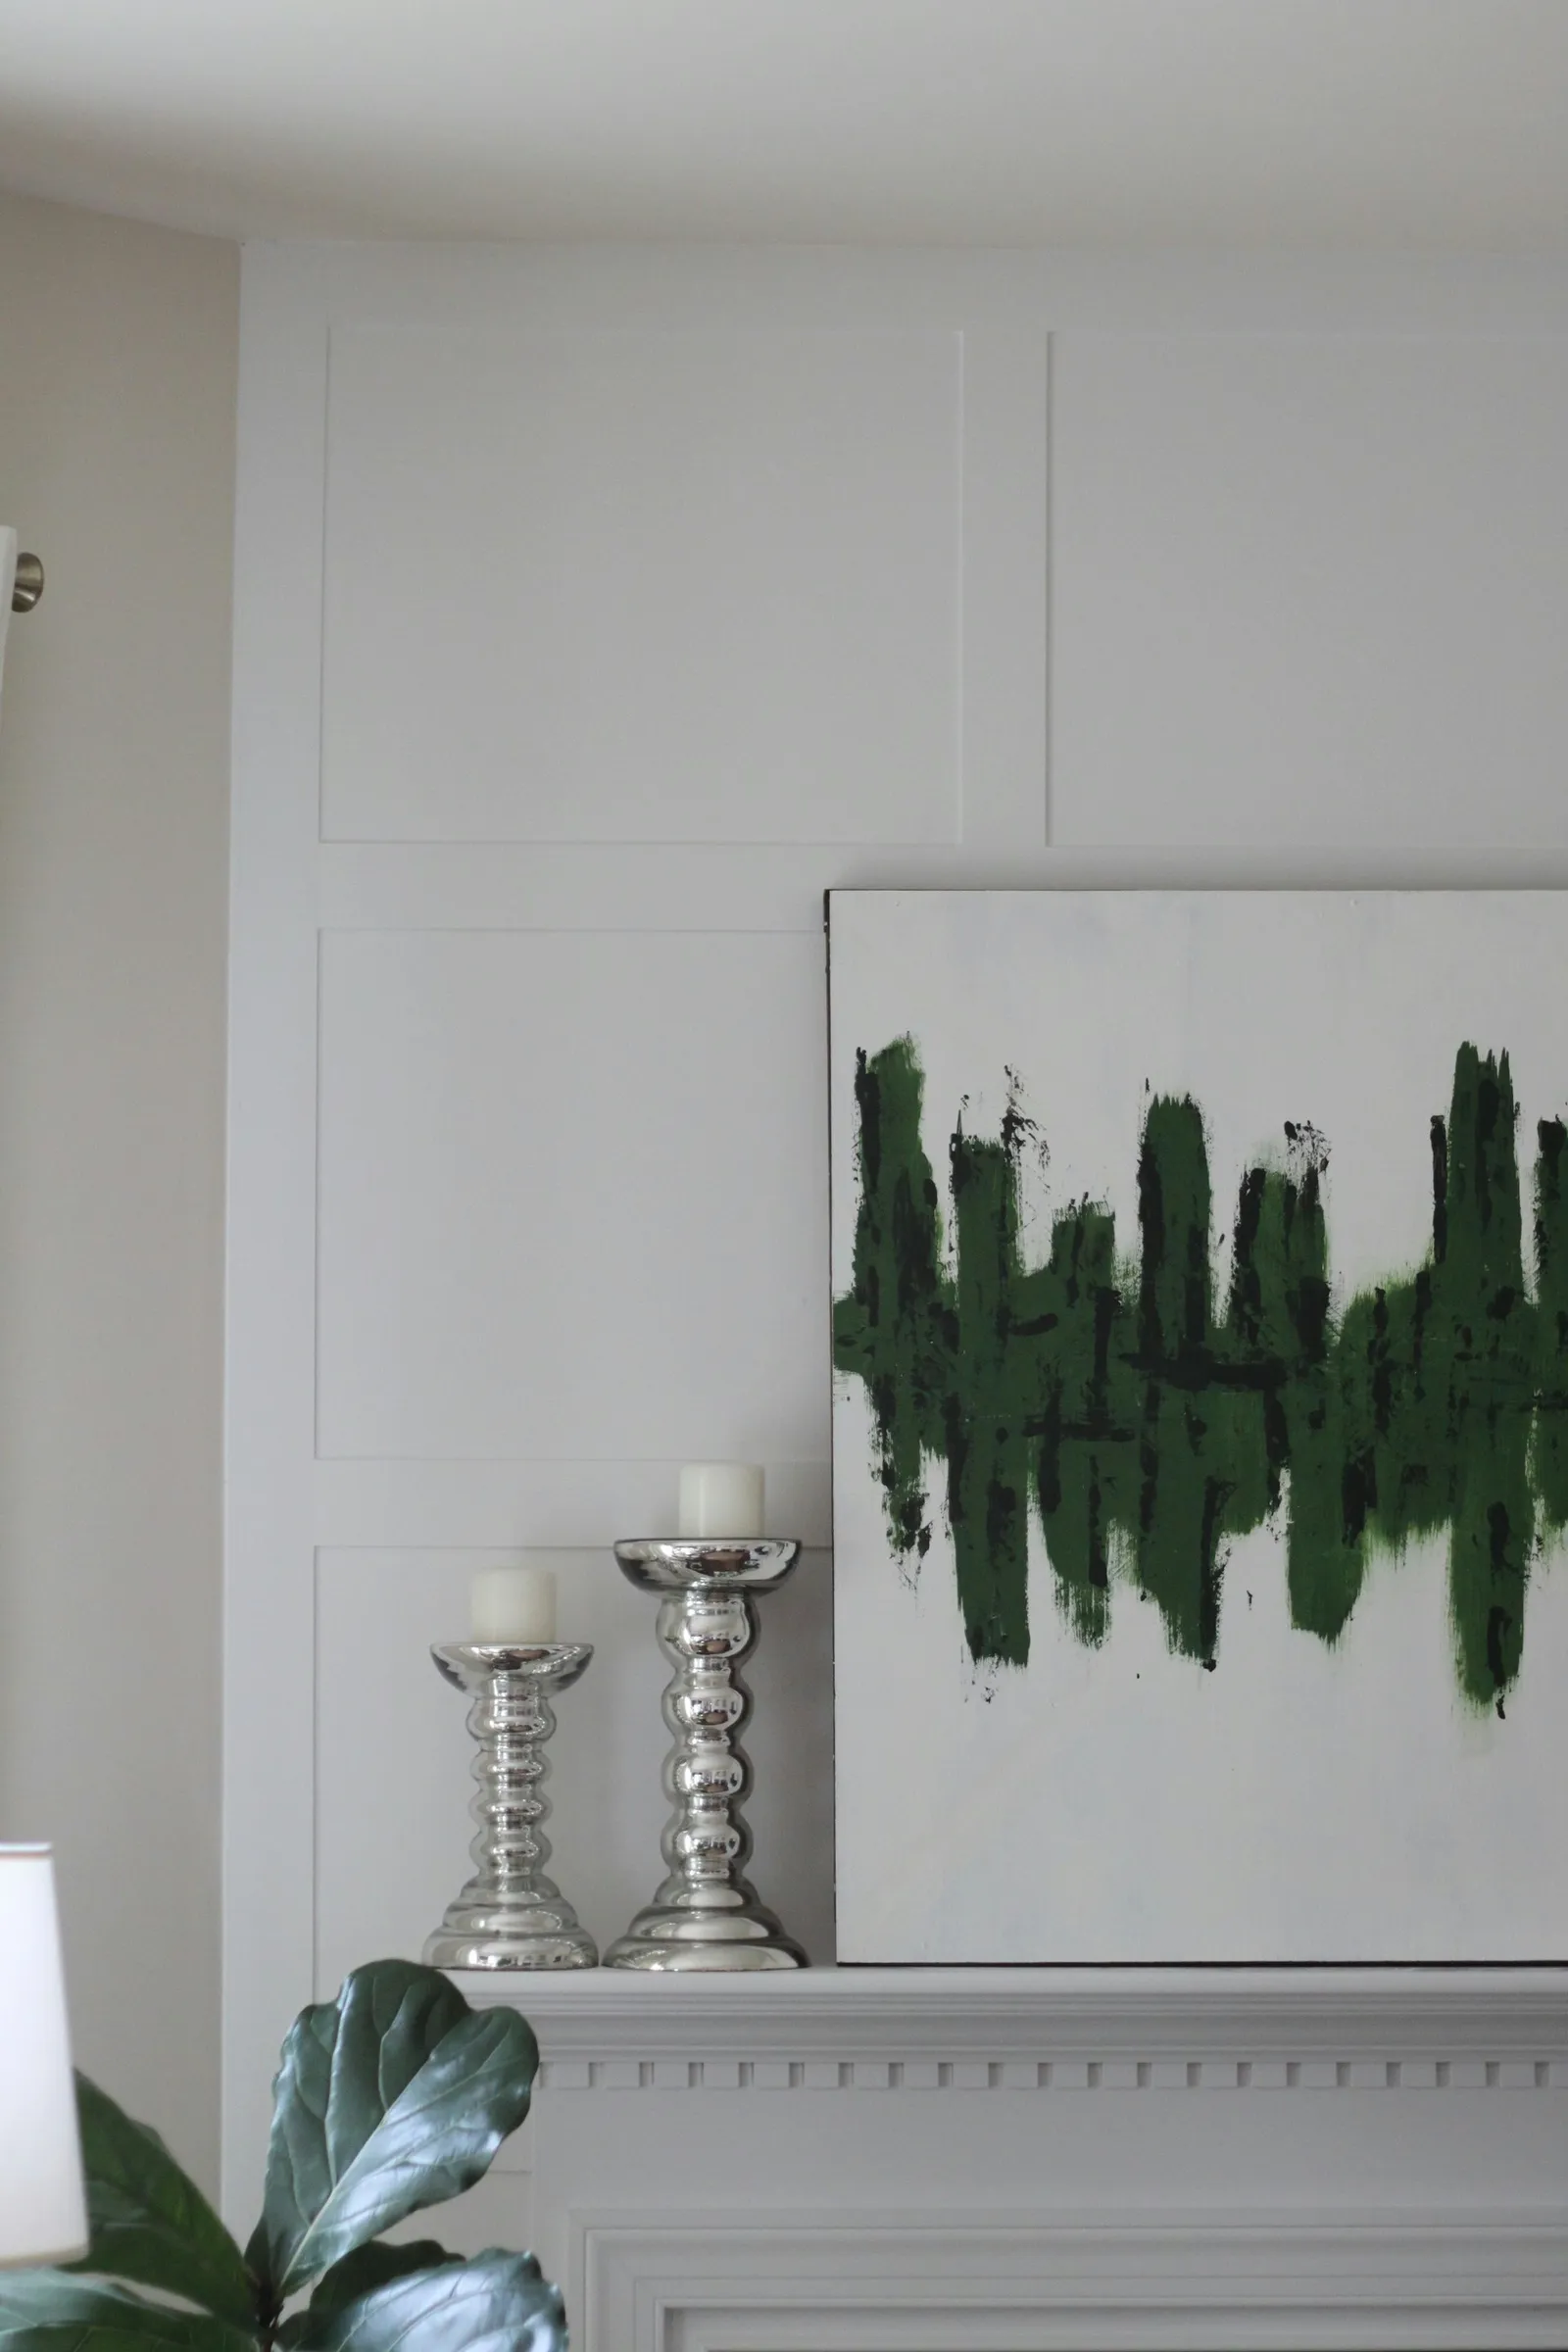
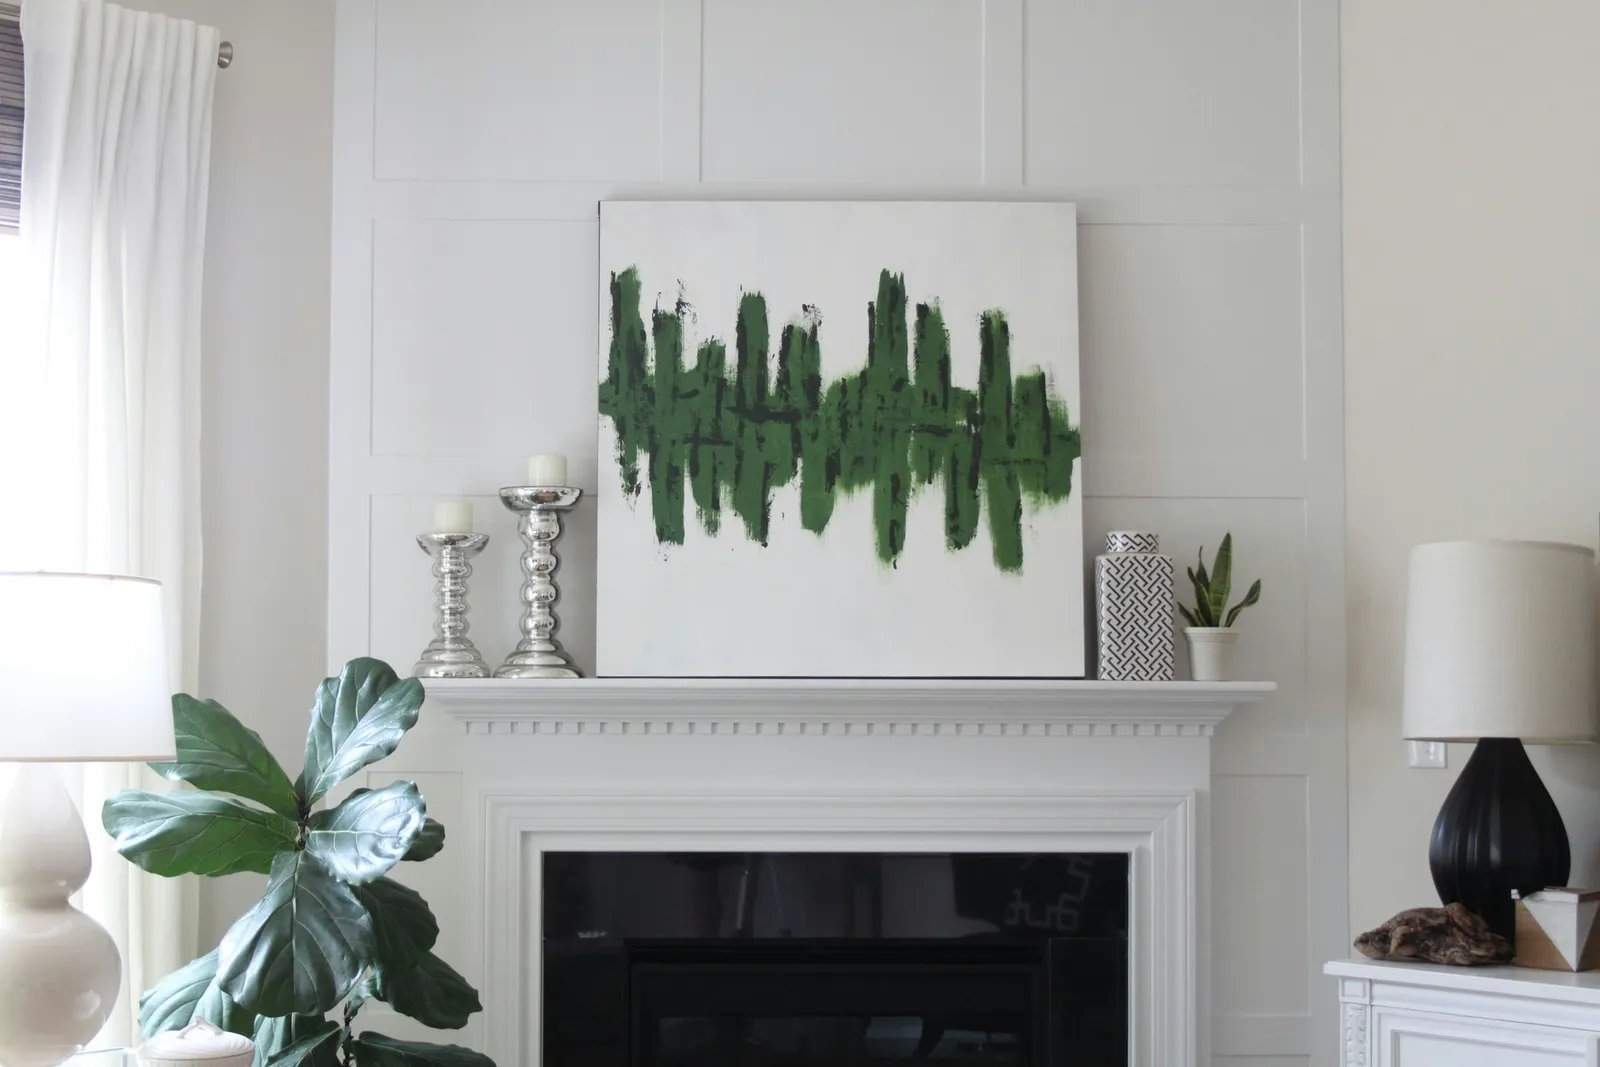
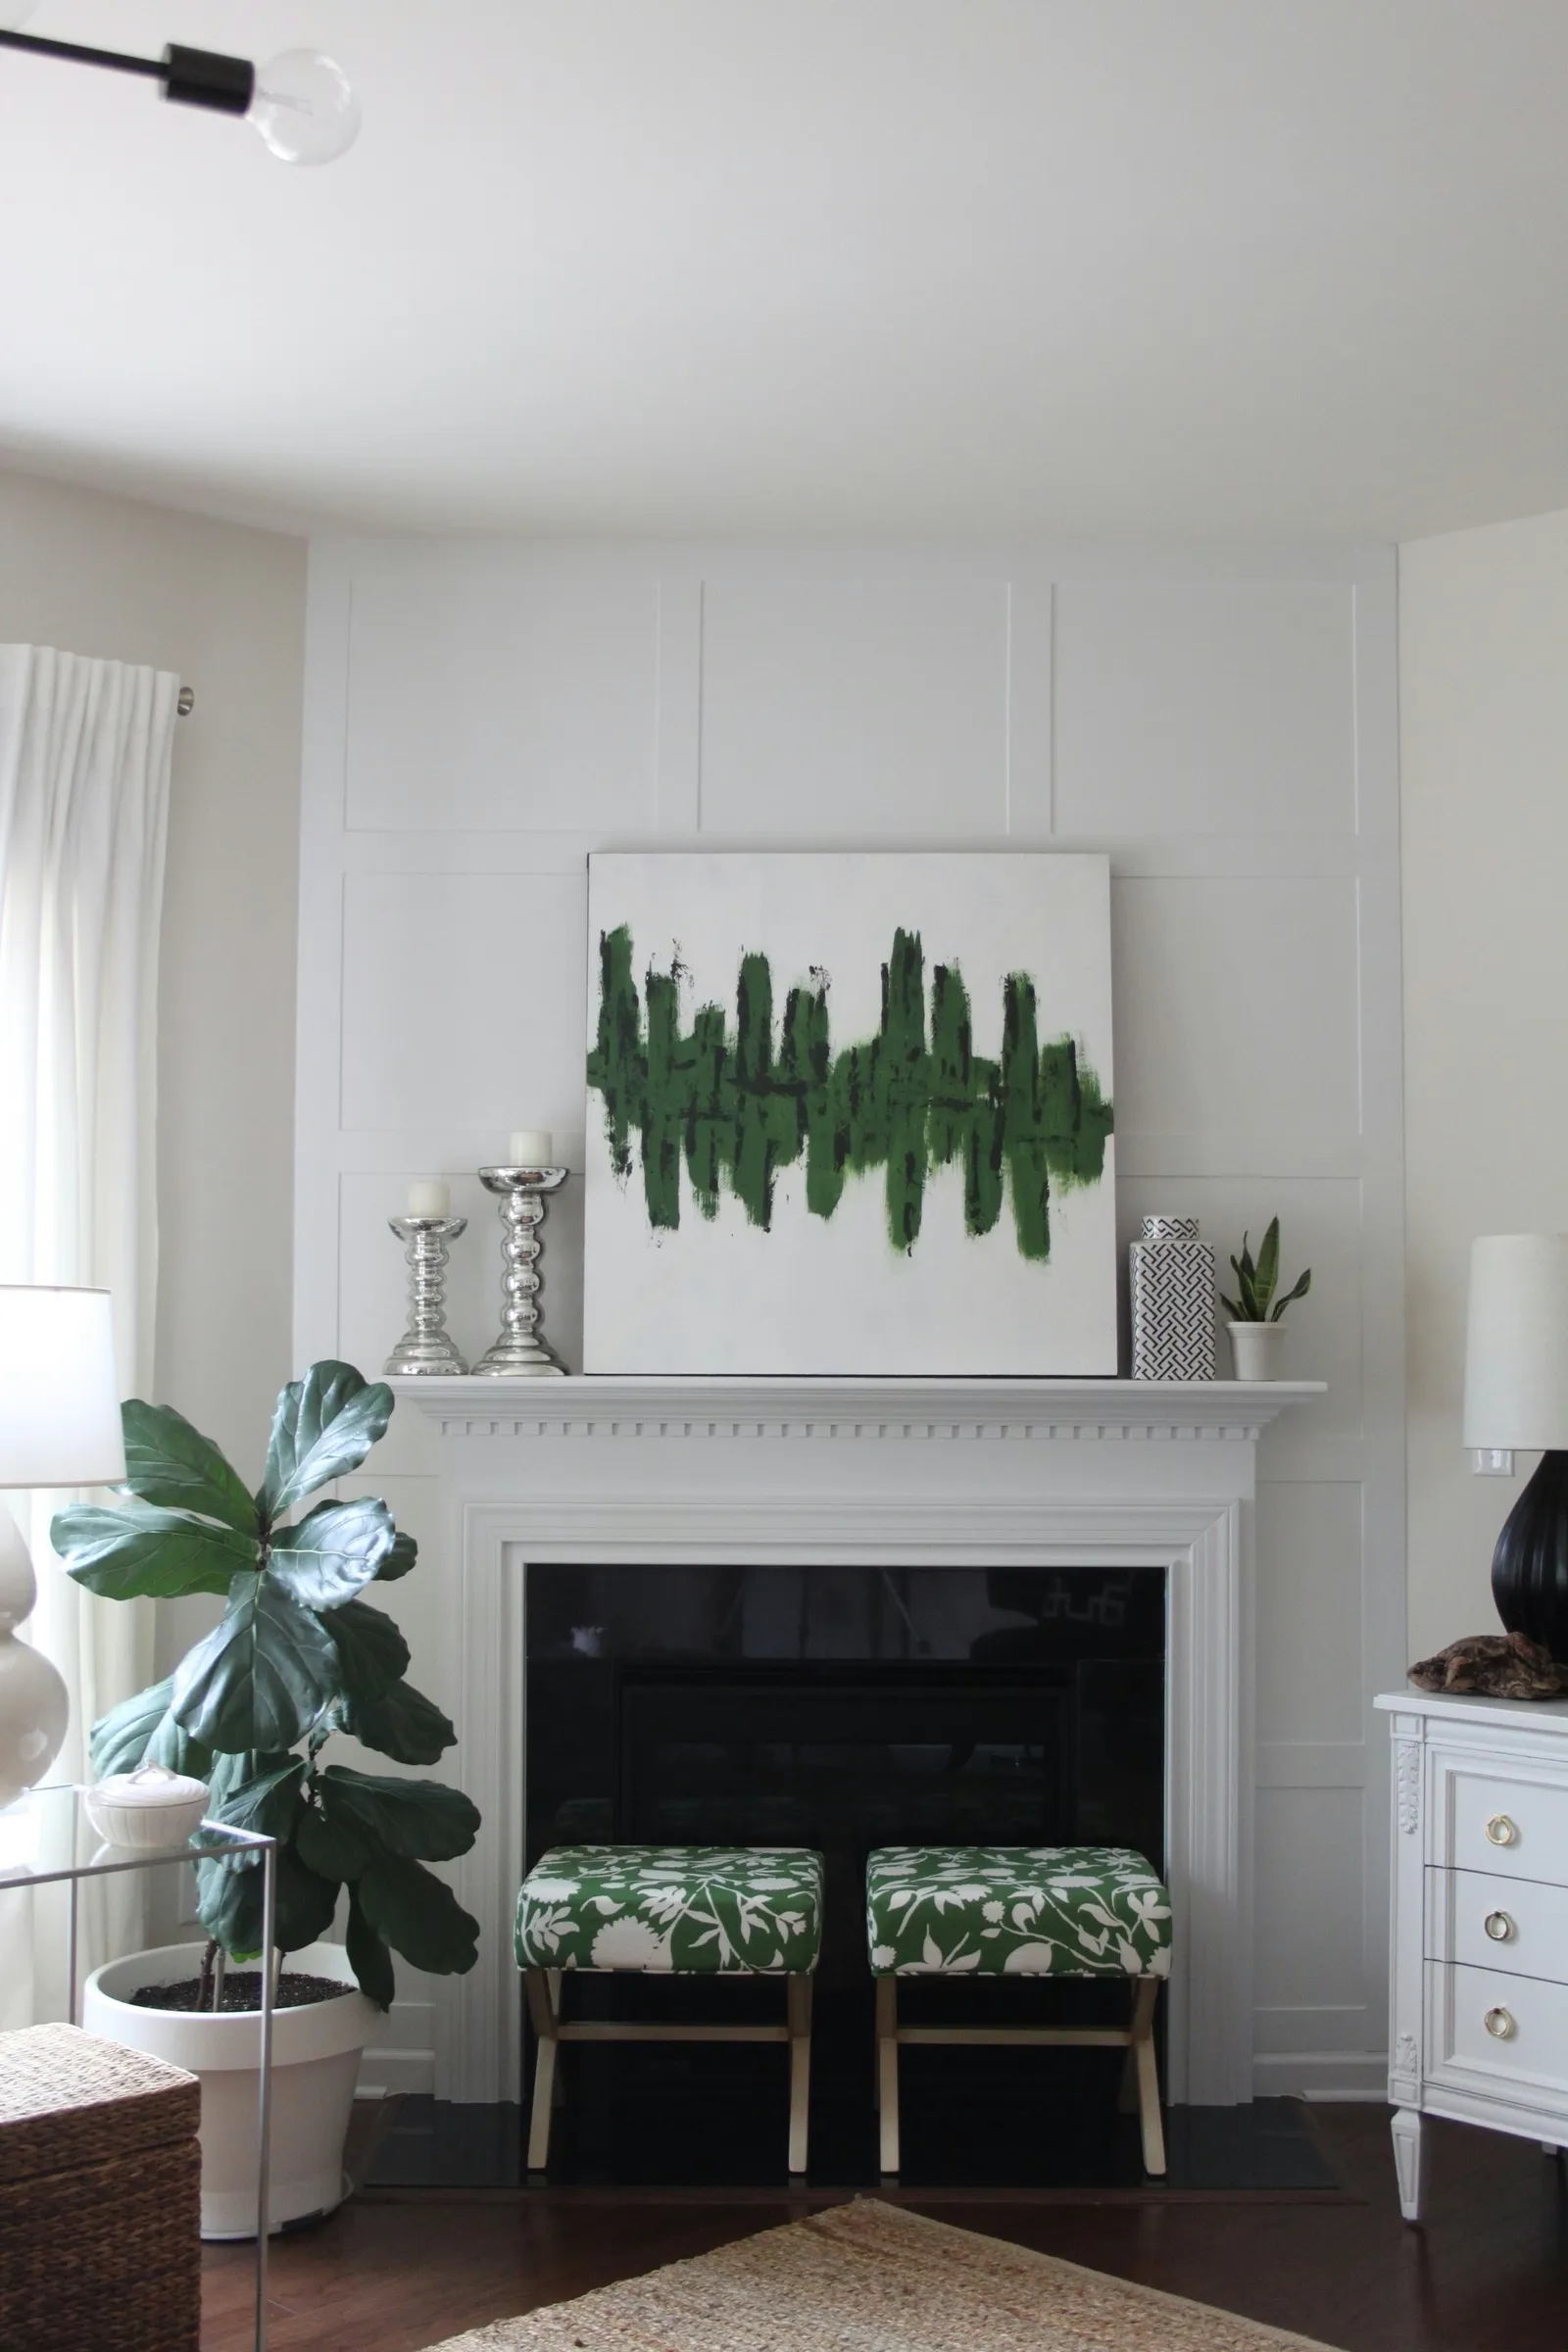
Adding a board and batten accent wall around your fireplace is an easy and affordable way to make a striking statement in your home. It delivers a custom-built appearance without the high price tag. Even if you don't have a fireplace, you can apply this concept to any plain wall to turn it into a focal point.
Step 1: Cut Down the Plywood
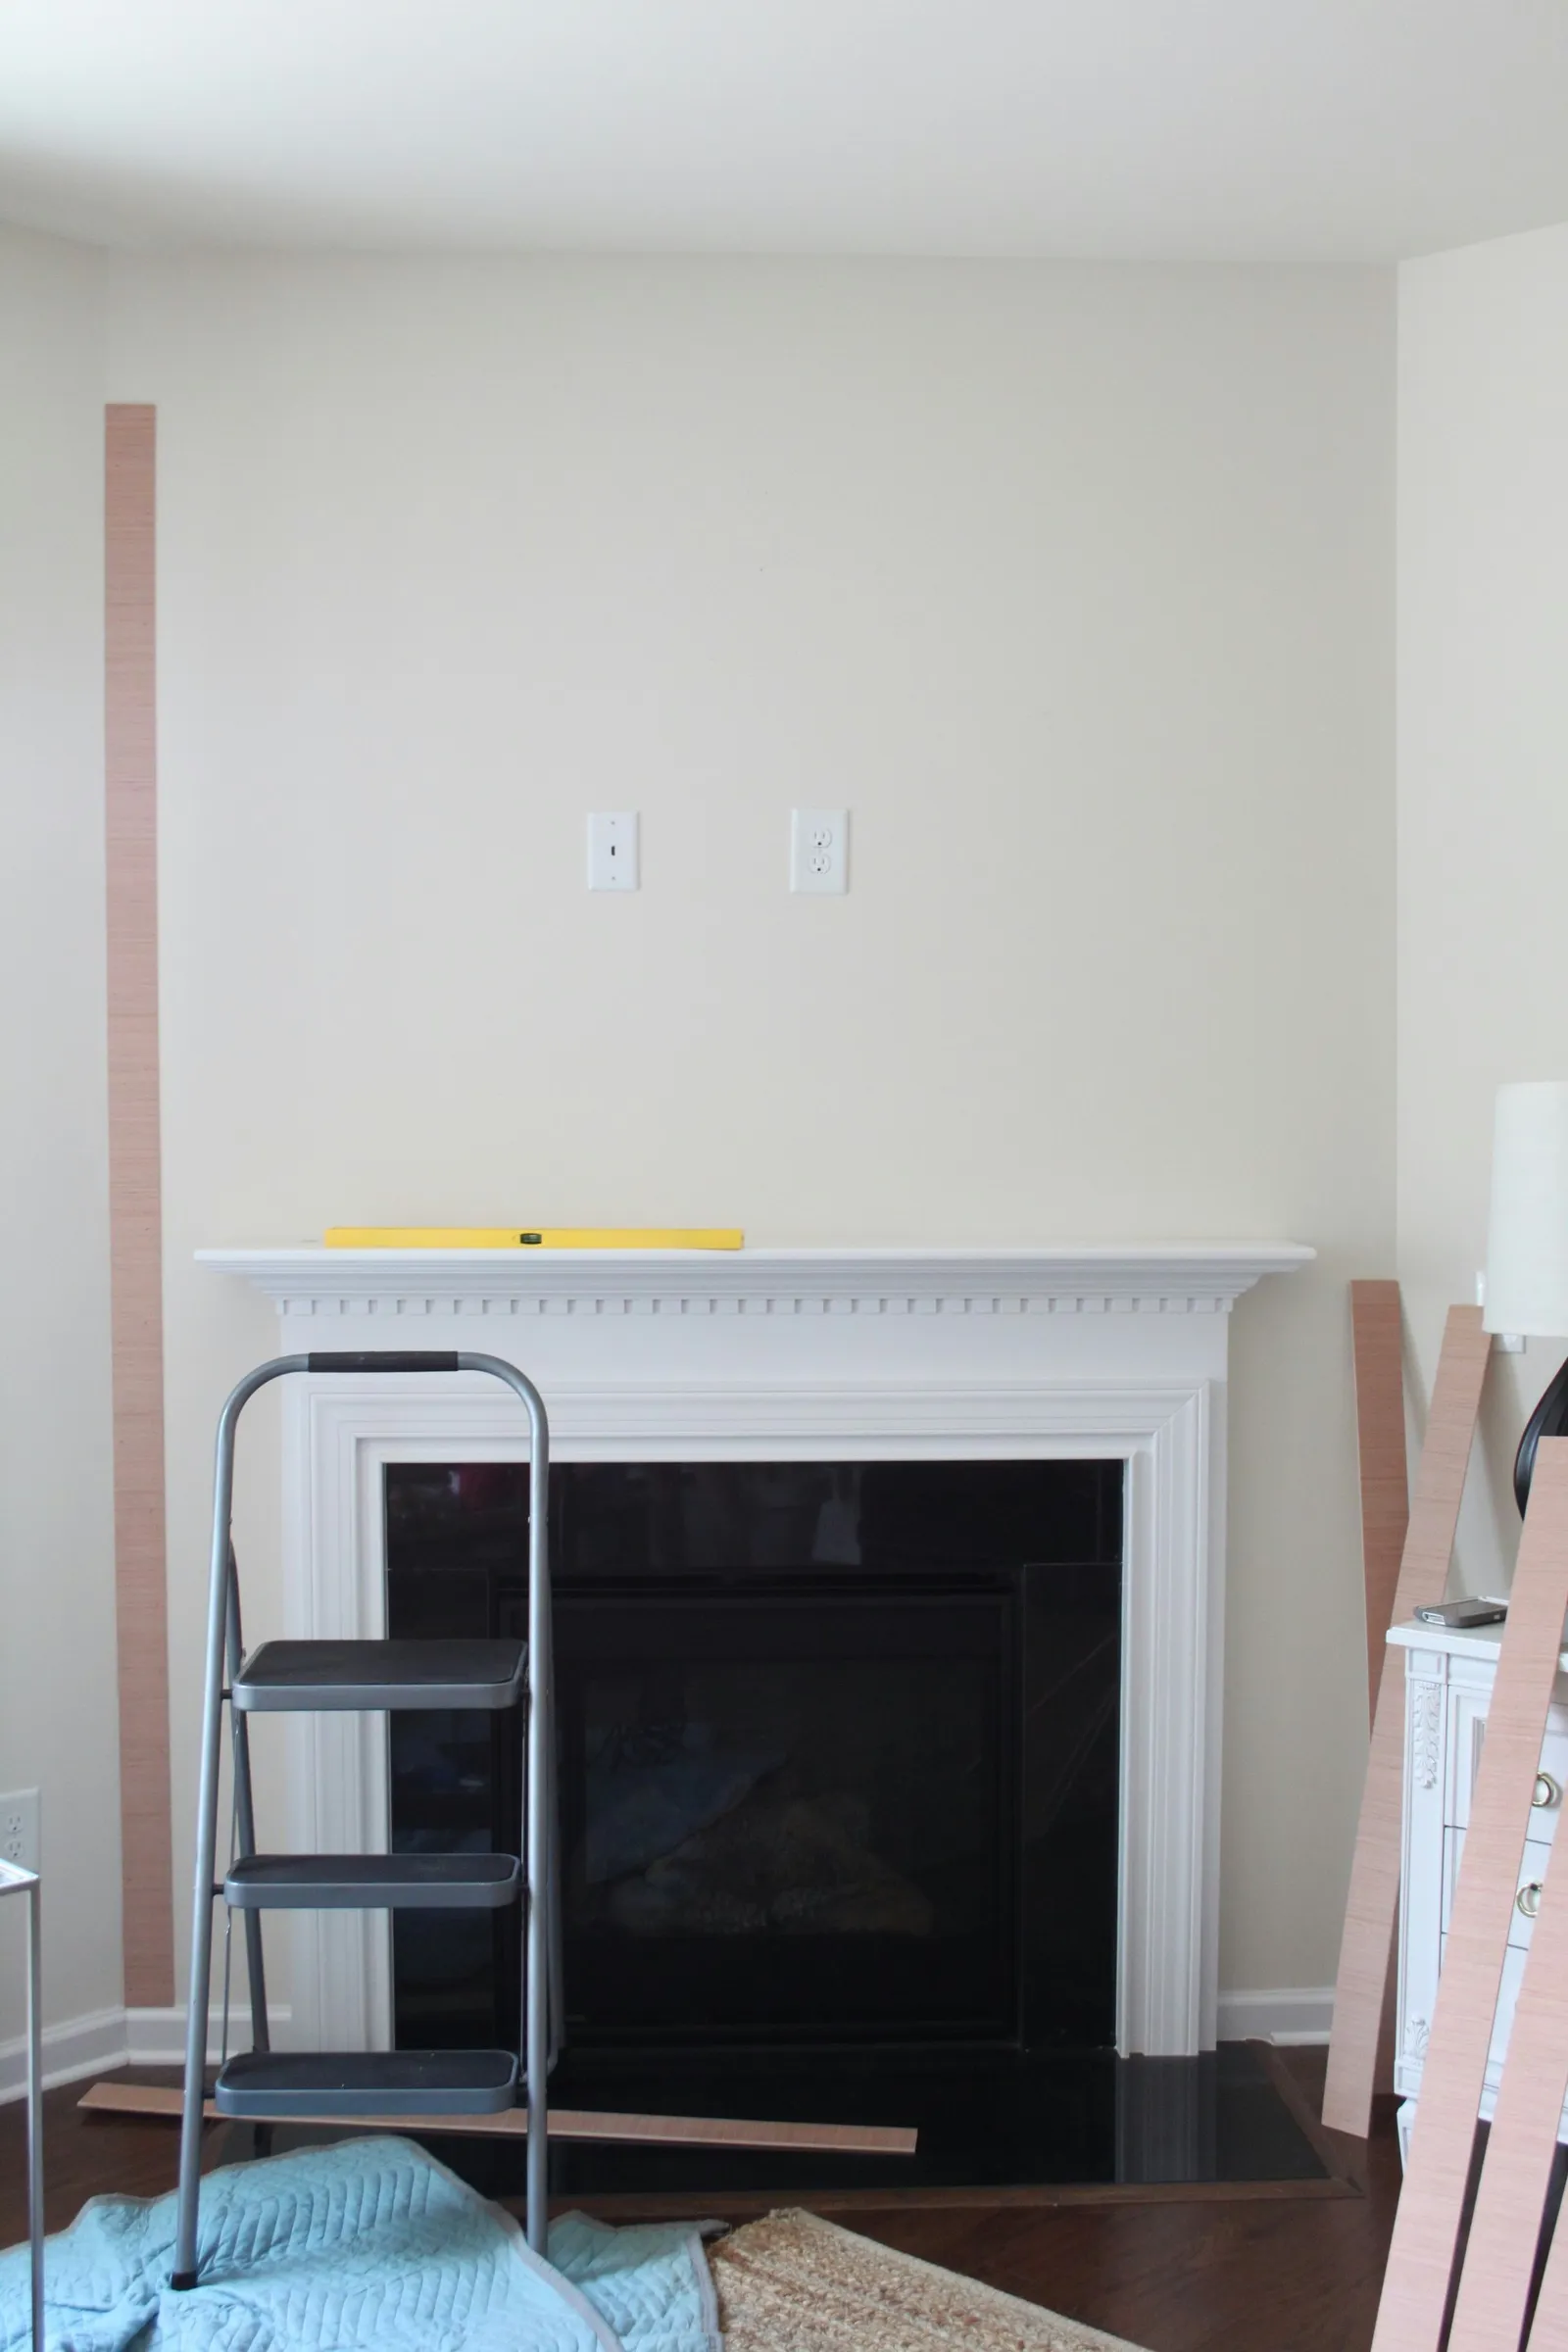
Many large home improvement stores offer a cutting service for plywood. Simply request that they cut the sheet into planks measuring 3 inches by 4 feet. For a fireplace wall similar to this one, you'll need roughly 18 planks. You can ask them to cut as many planks as possible from the board so you have extra to work with. Alternatively, if you own a table saw, you can cut the plywood yourself at home.
Step 2: Glue the Planks to the Wall
First, lightly sand the edges of the wood planks to remove any splinters or rough spots. Begin by attaching planks along the perimeter of the wall to form a frame. To do this, place the first plank vertically in the bottom left corner. Apply construction adhesive to the back of the board, taking care not to overapply, as you don't want excess to ooze out at the edges. Then press the plank onto the wall and use your level to ensure it's straight.
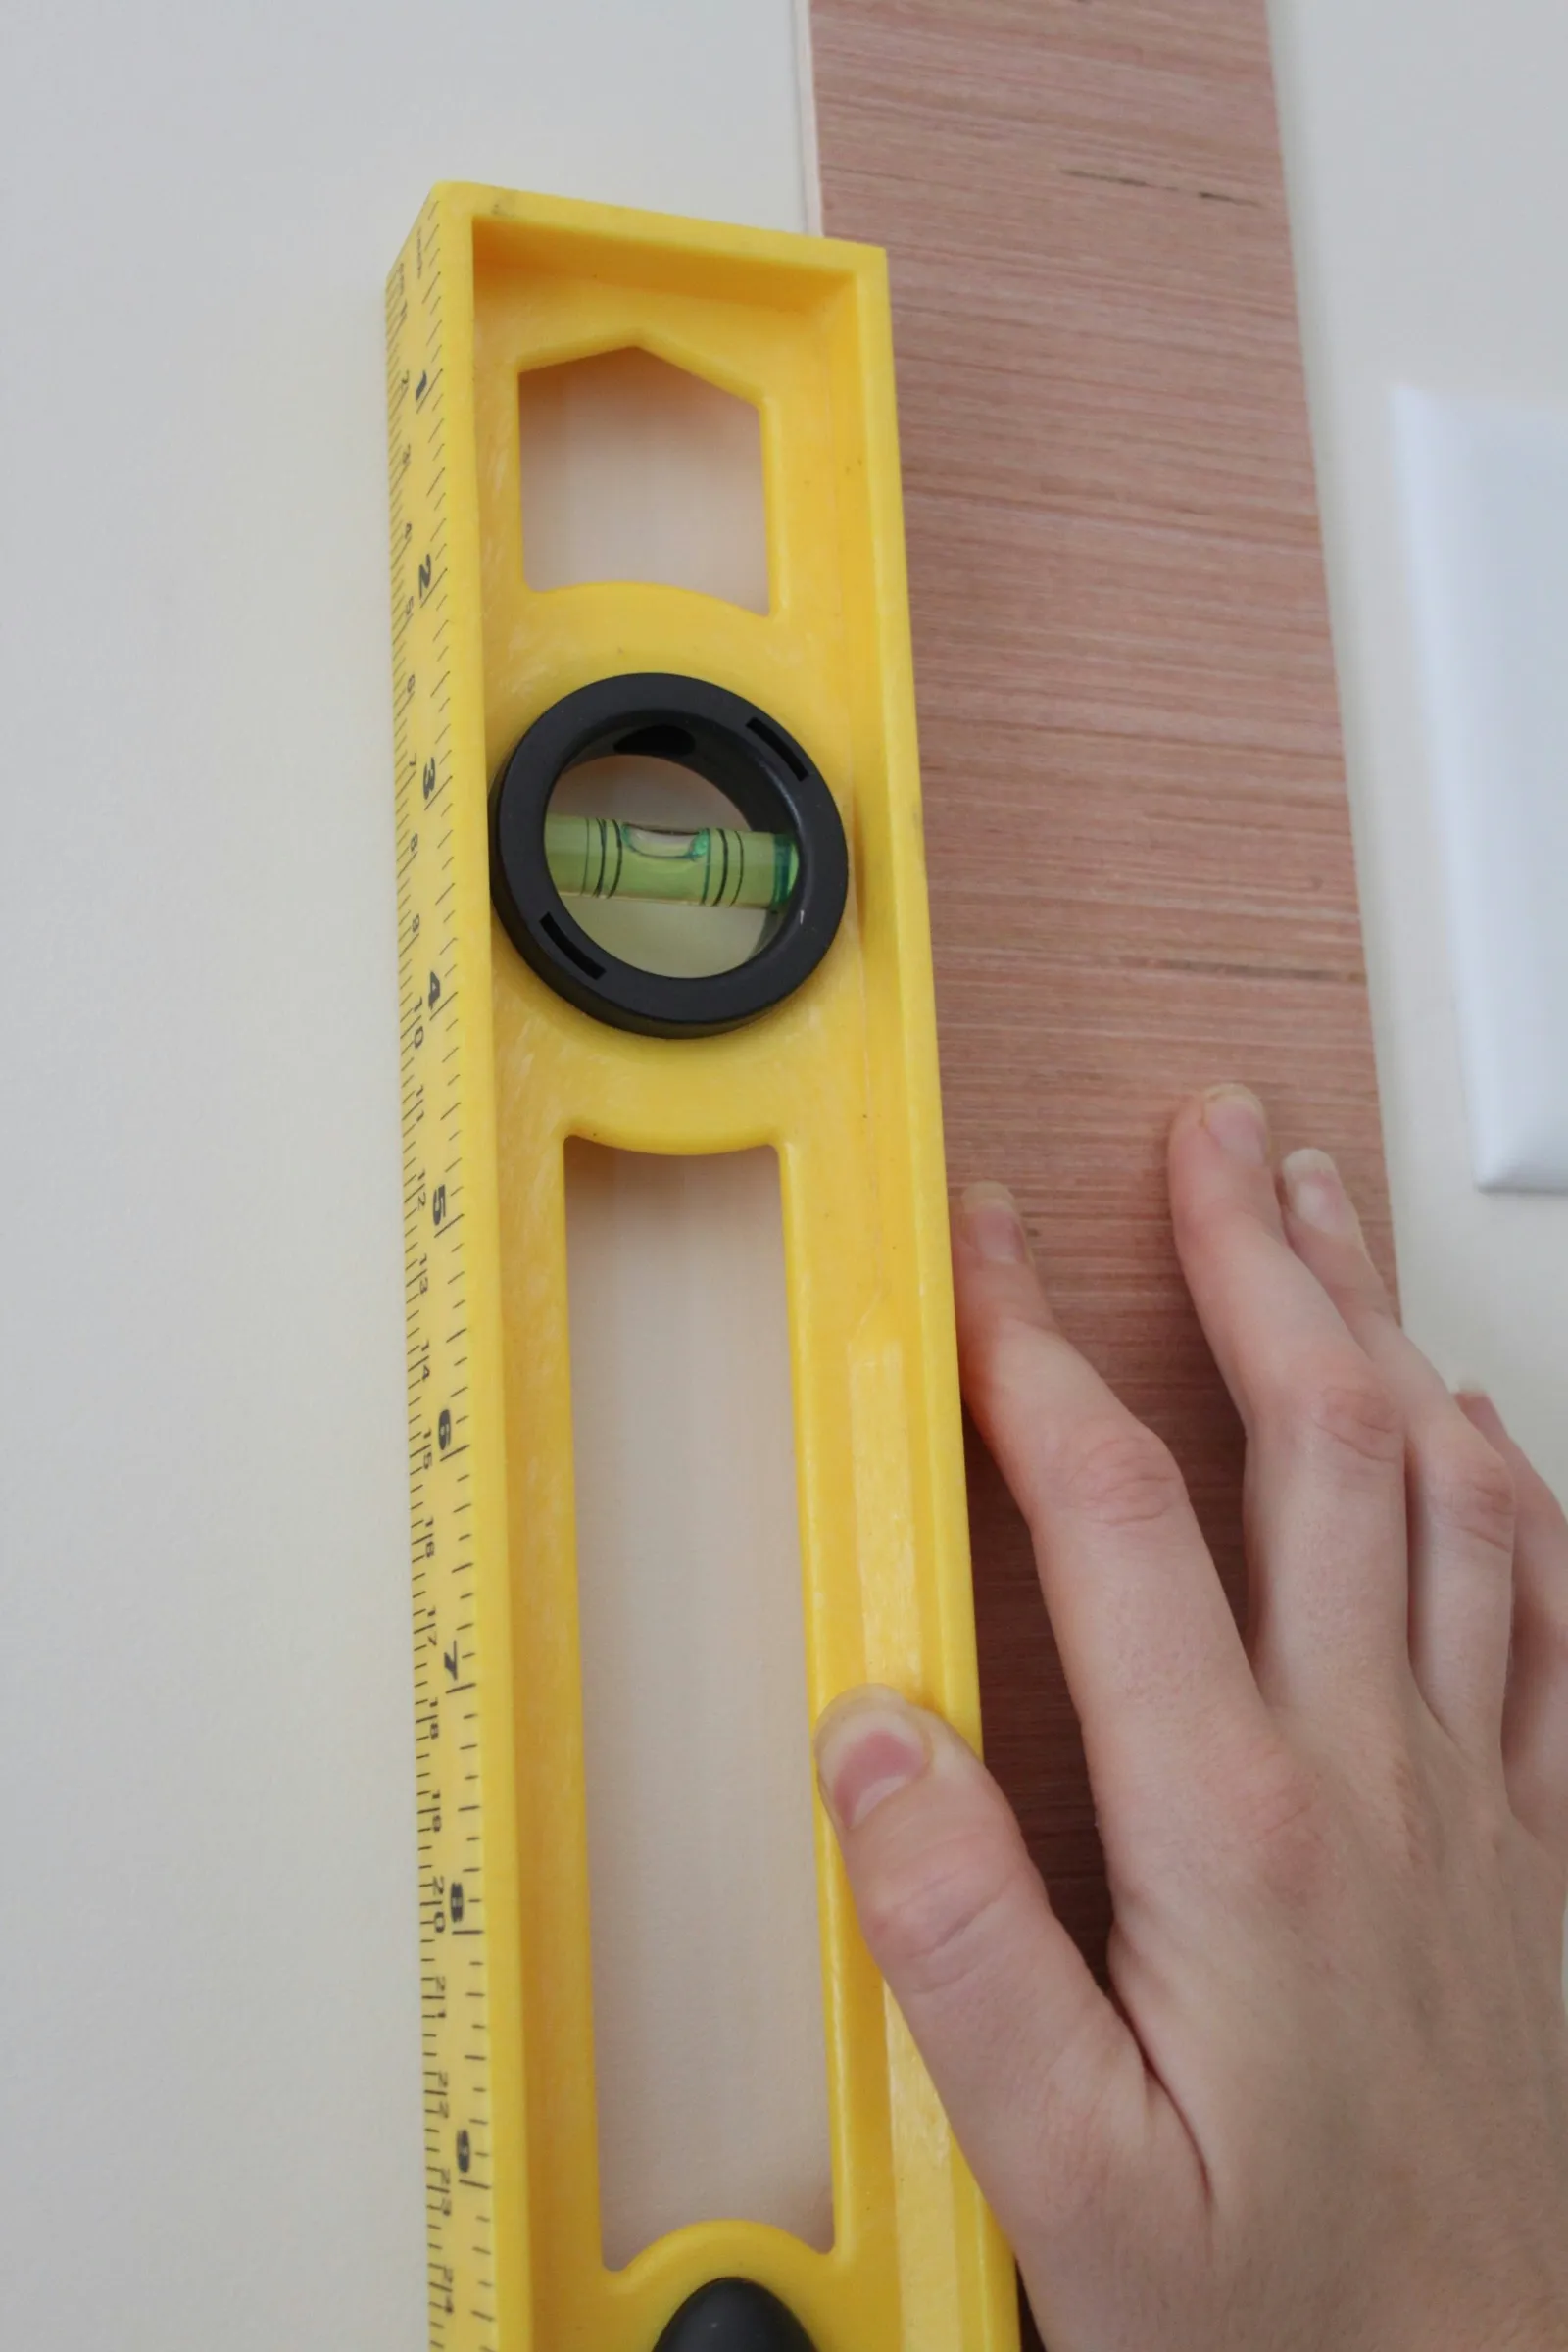
Step 3: Nail the Planks to the Wall
Hold the plank in place with one hand and use a nail gun to secure it to the wall. Drive nails along all edges and anywhere that might require additional support or adhesion.
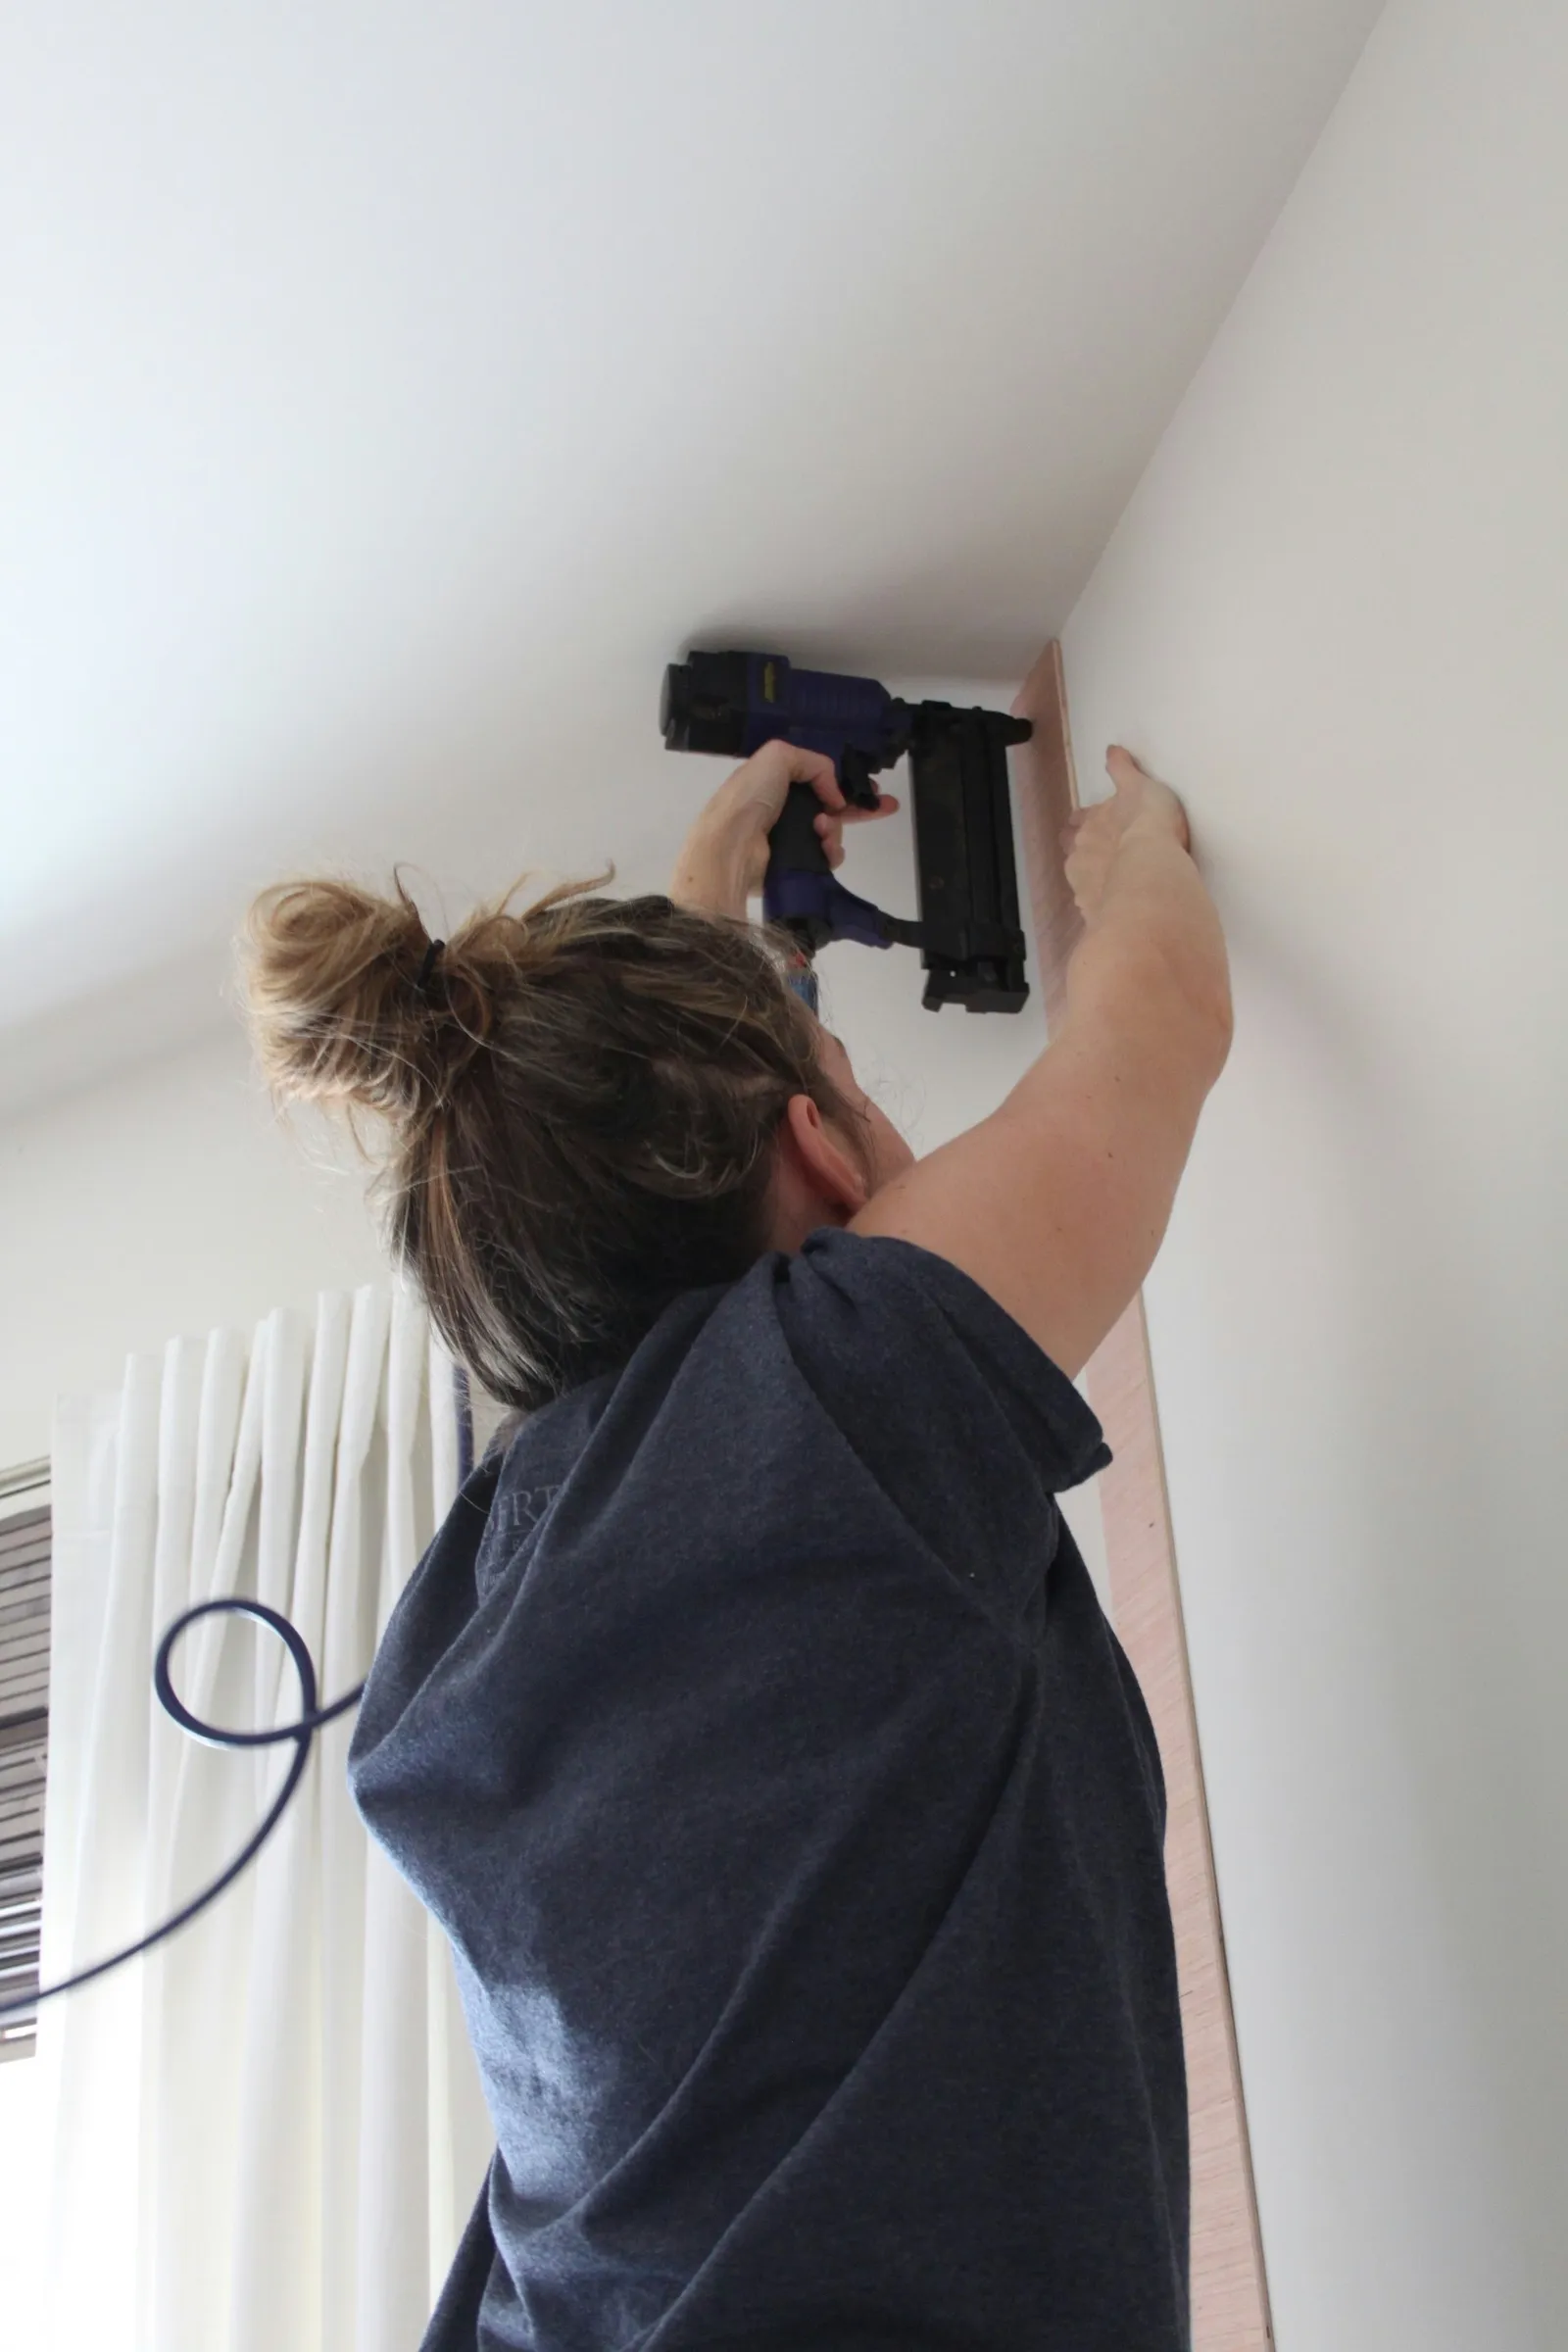
Step 4: Measure and Cut the Smaller Pieces
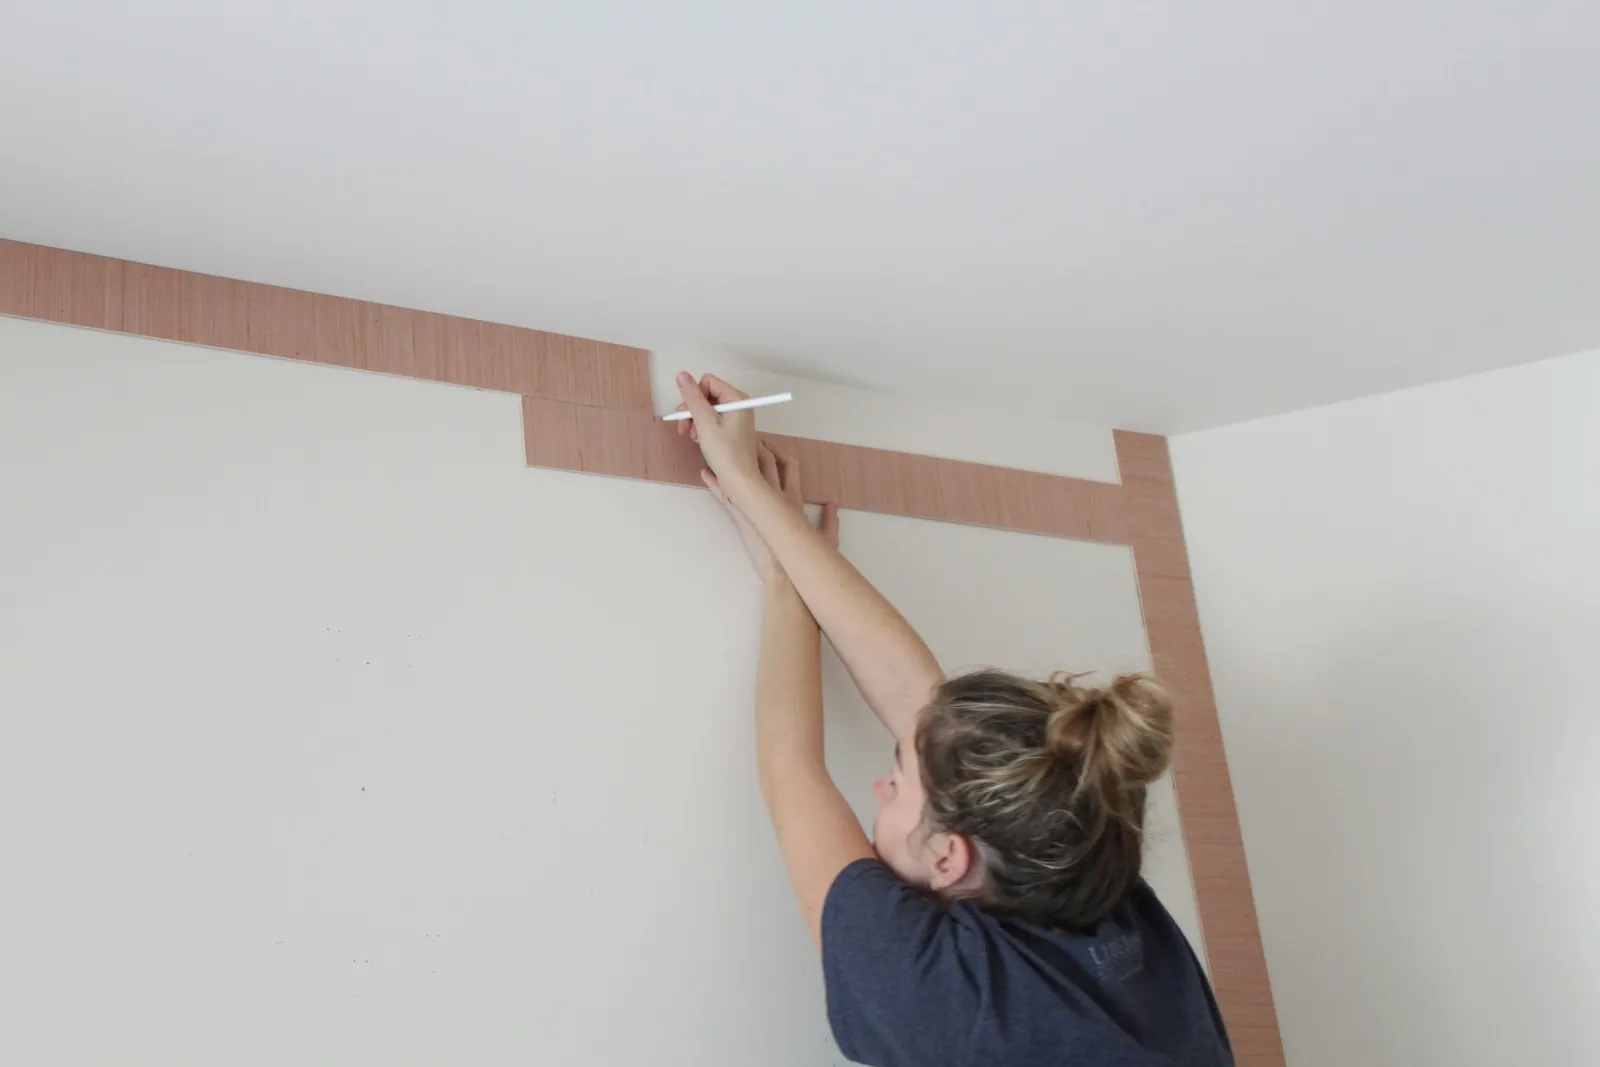
At some point, you'll need to cut a smaller piece of wood to fill a gap. Use a measuring tape to determine the size needed for the smaller plank. You can also hold a longer plank next to the open space and mark where the cut should be made. Once marked, cut the board with a miter saw. Continue around the wall until you've completed a border with the plywood planks.
Step 5: Install the Vertical Planks
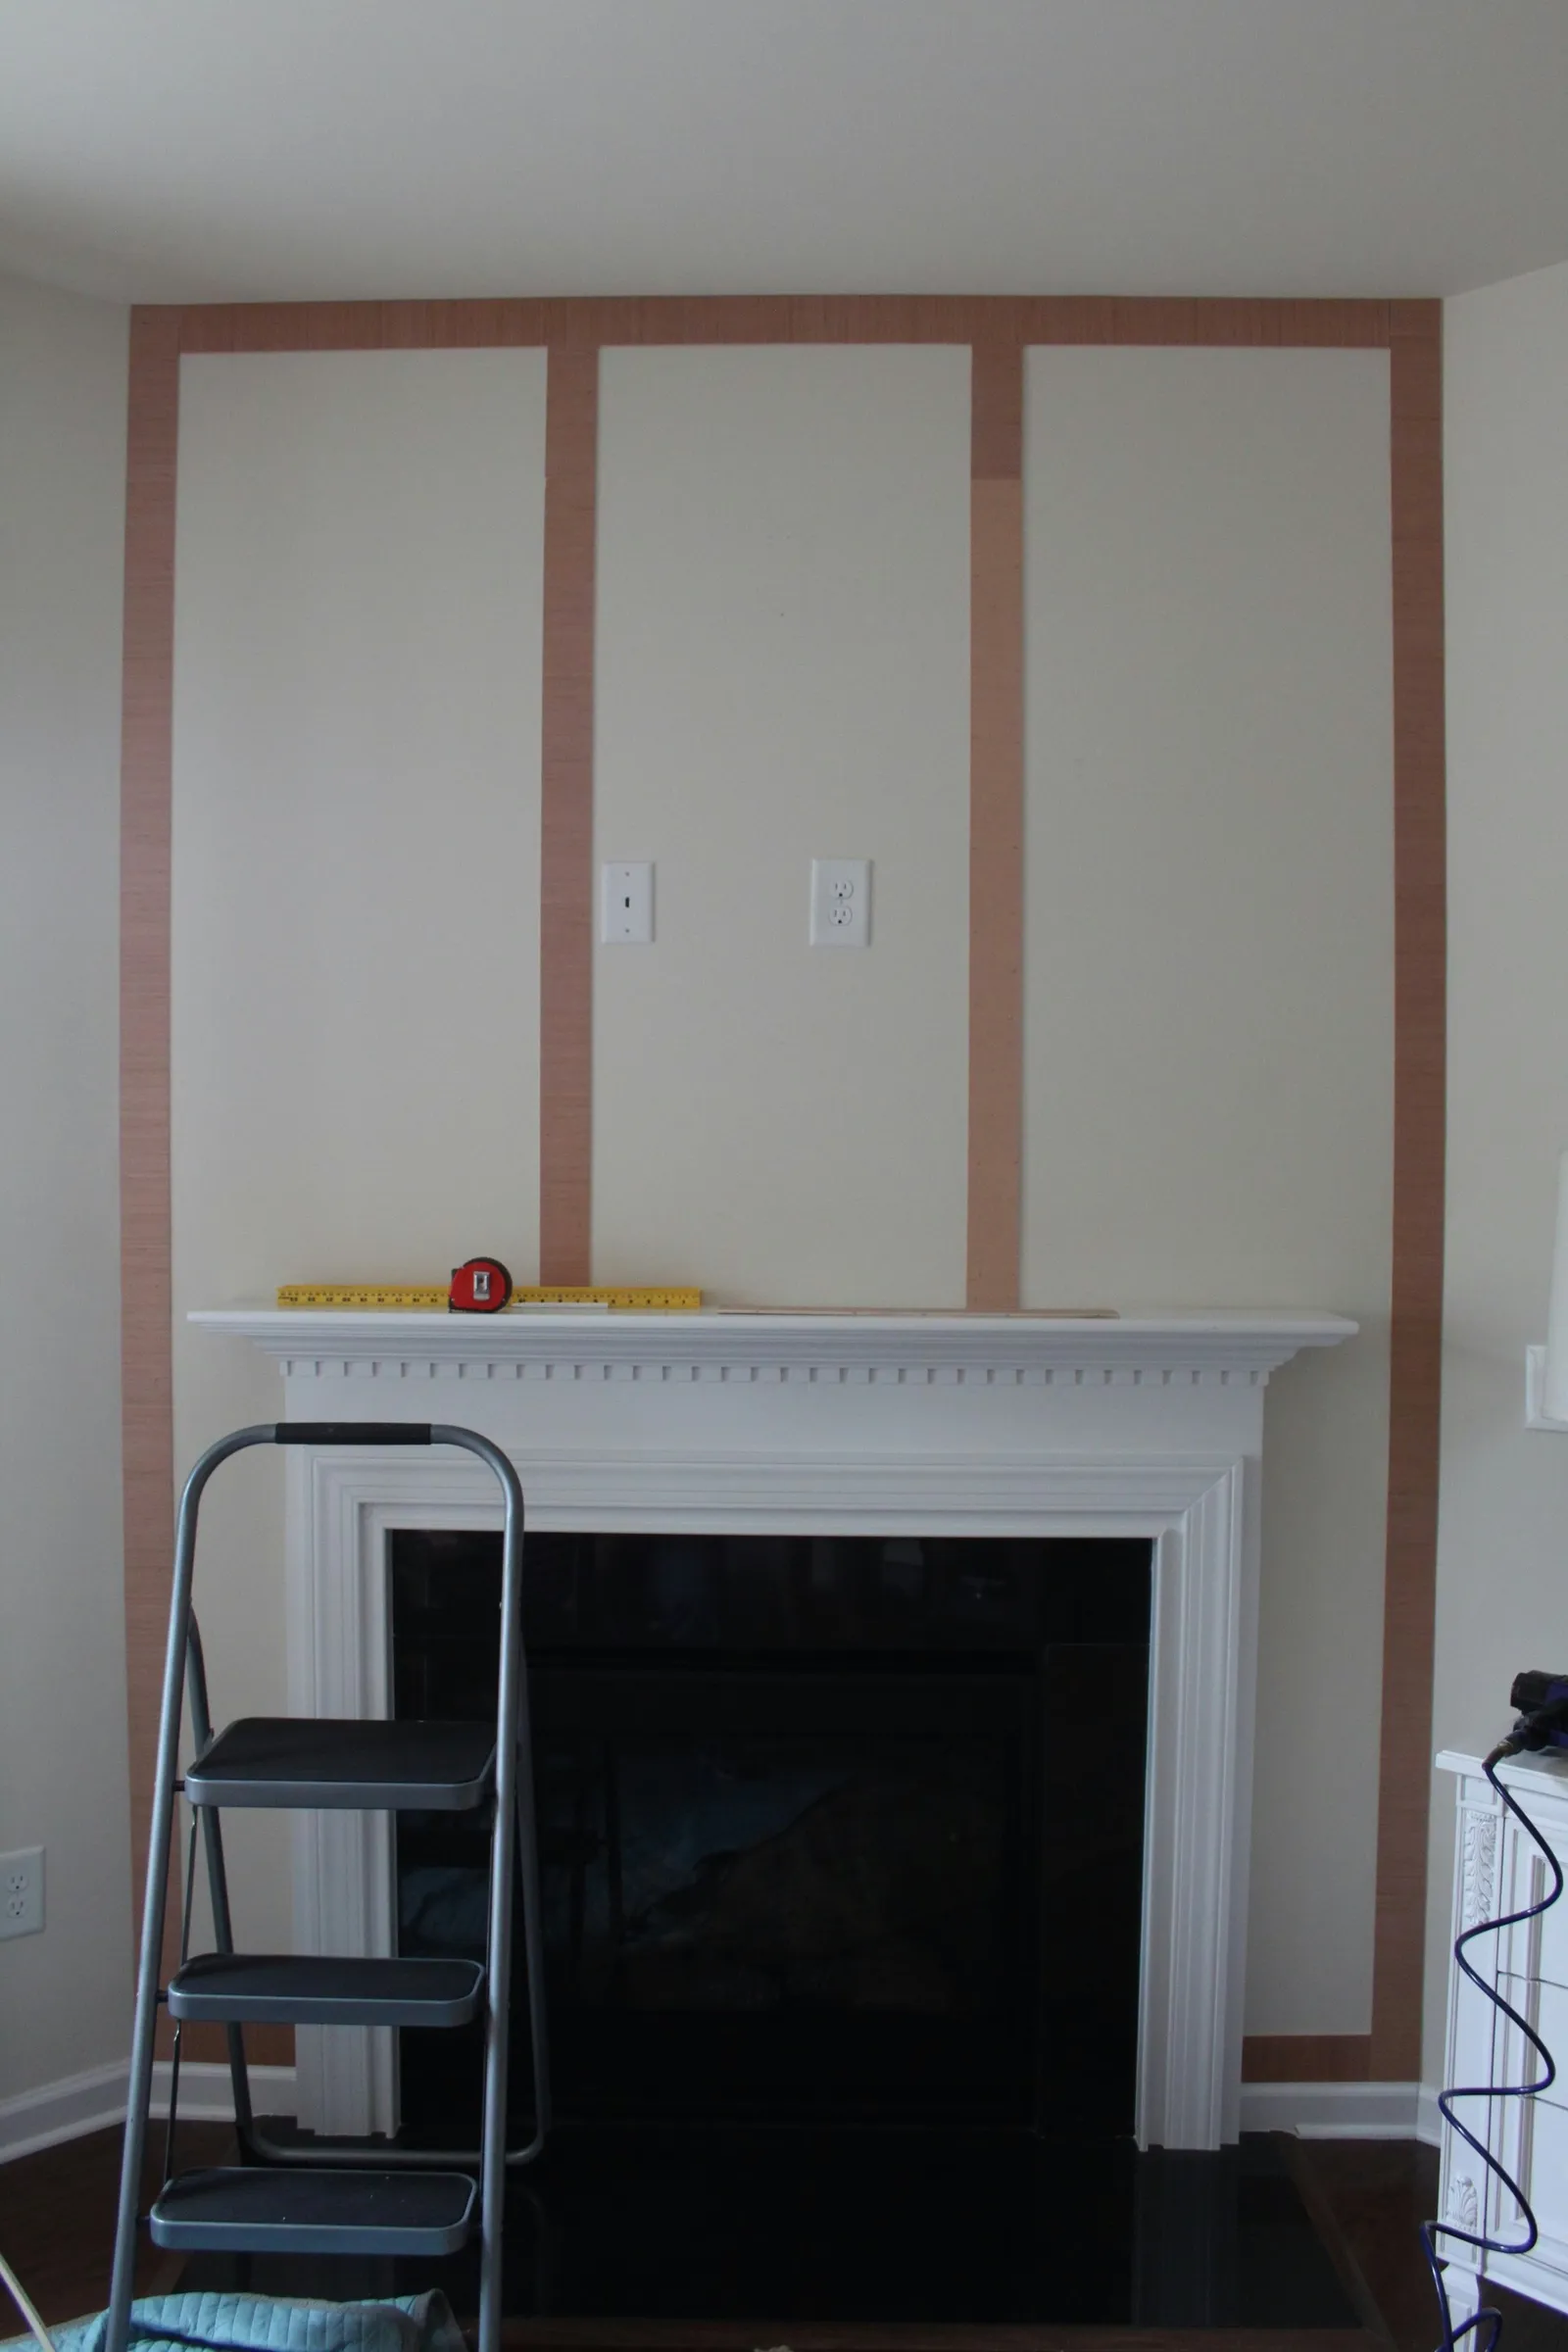
Measure horizontally across the wall from the edge of the left plank to the edge of the right plank. Subtract six inches (the width of two vertical planks) from that measurement. Then divide the result by three to find the spacing in inches between each plank. Measure from the left and install your vertical planks using the same method described in steps 1-3.
Step 6: Install the Horizontal Planks
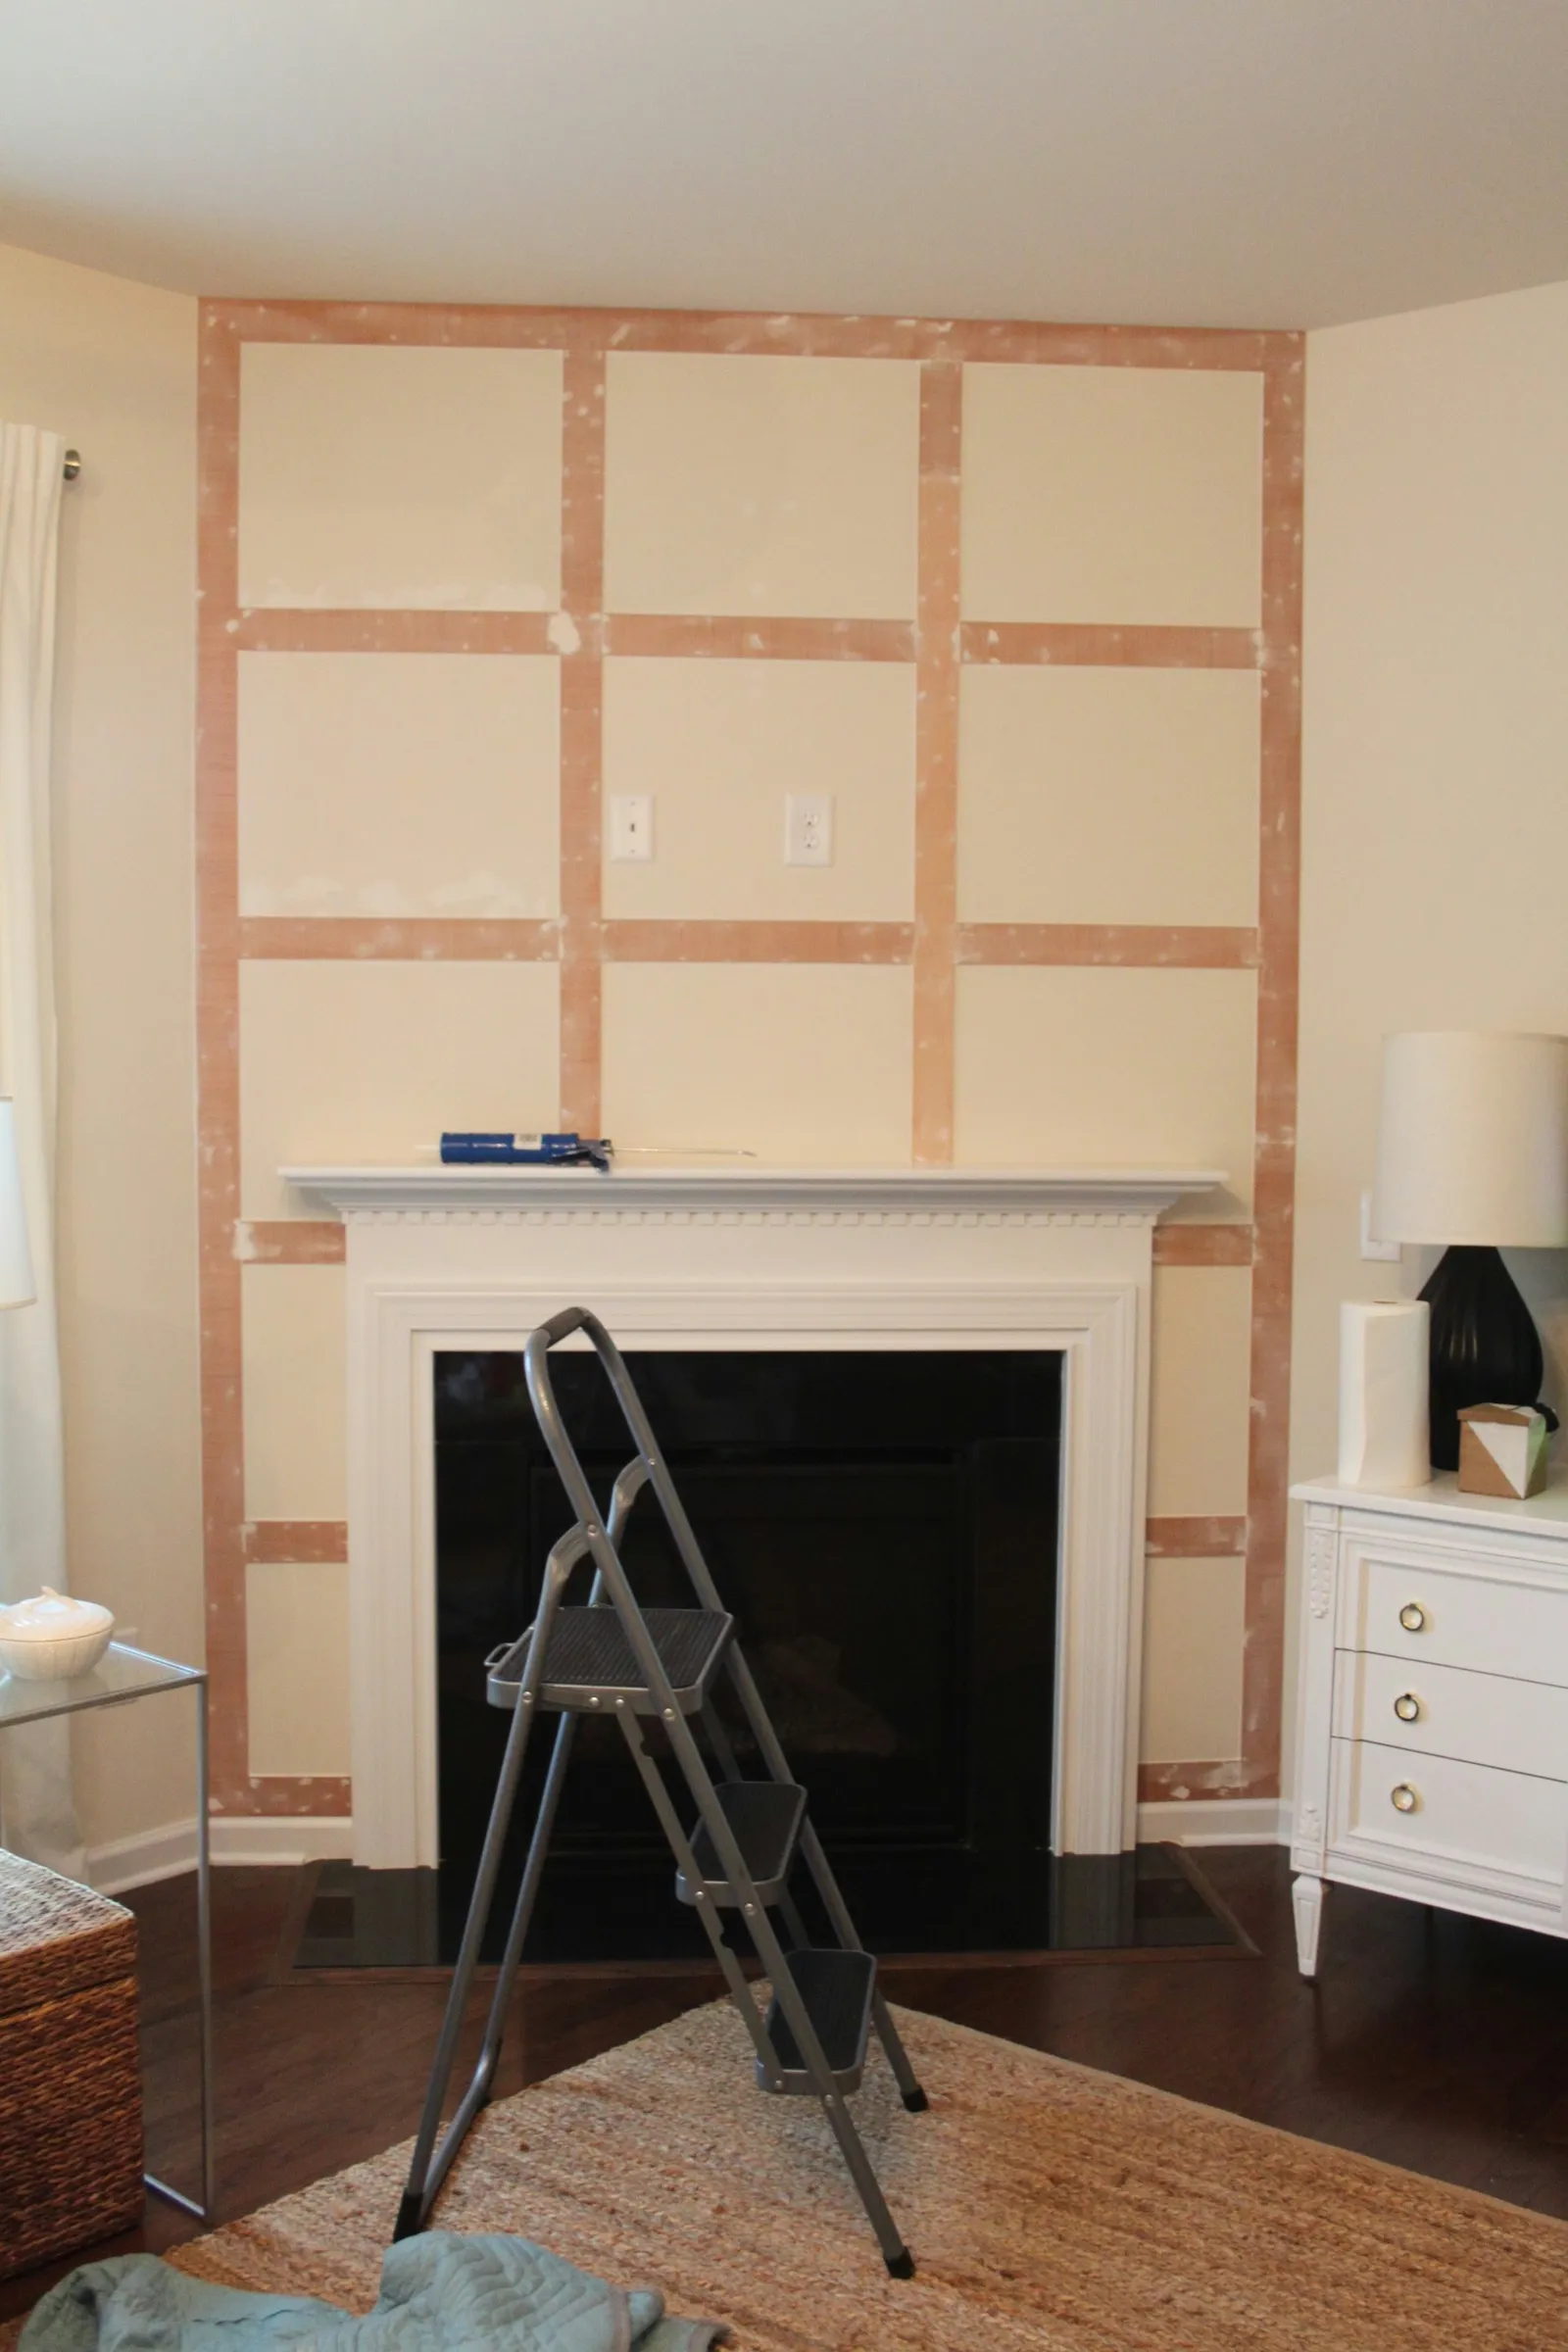
Measure the distance from the bottom edge of the top plank to the top edge of the bottom plank. Subtract twelve inches (the width of four planks) from that number, then divide by five. This gives you the spacing in inches between the planks. Begin installing your planks using the same method as in steps 1-3.
Step 7: Fill in the Gaps and Edges
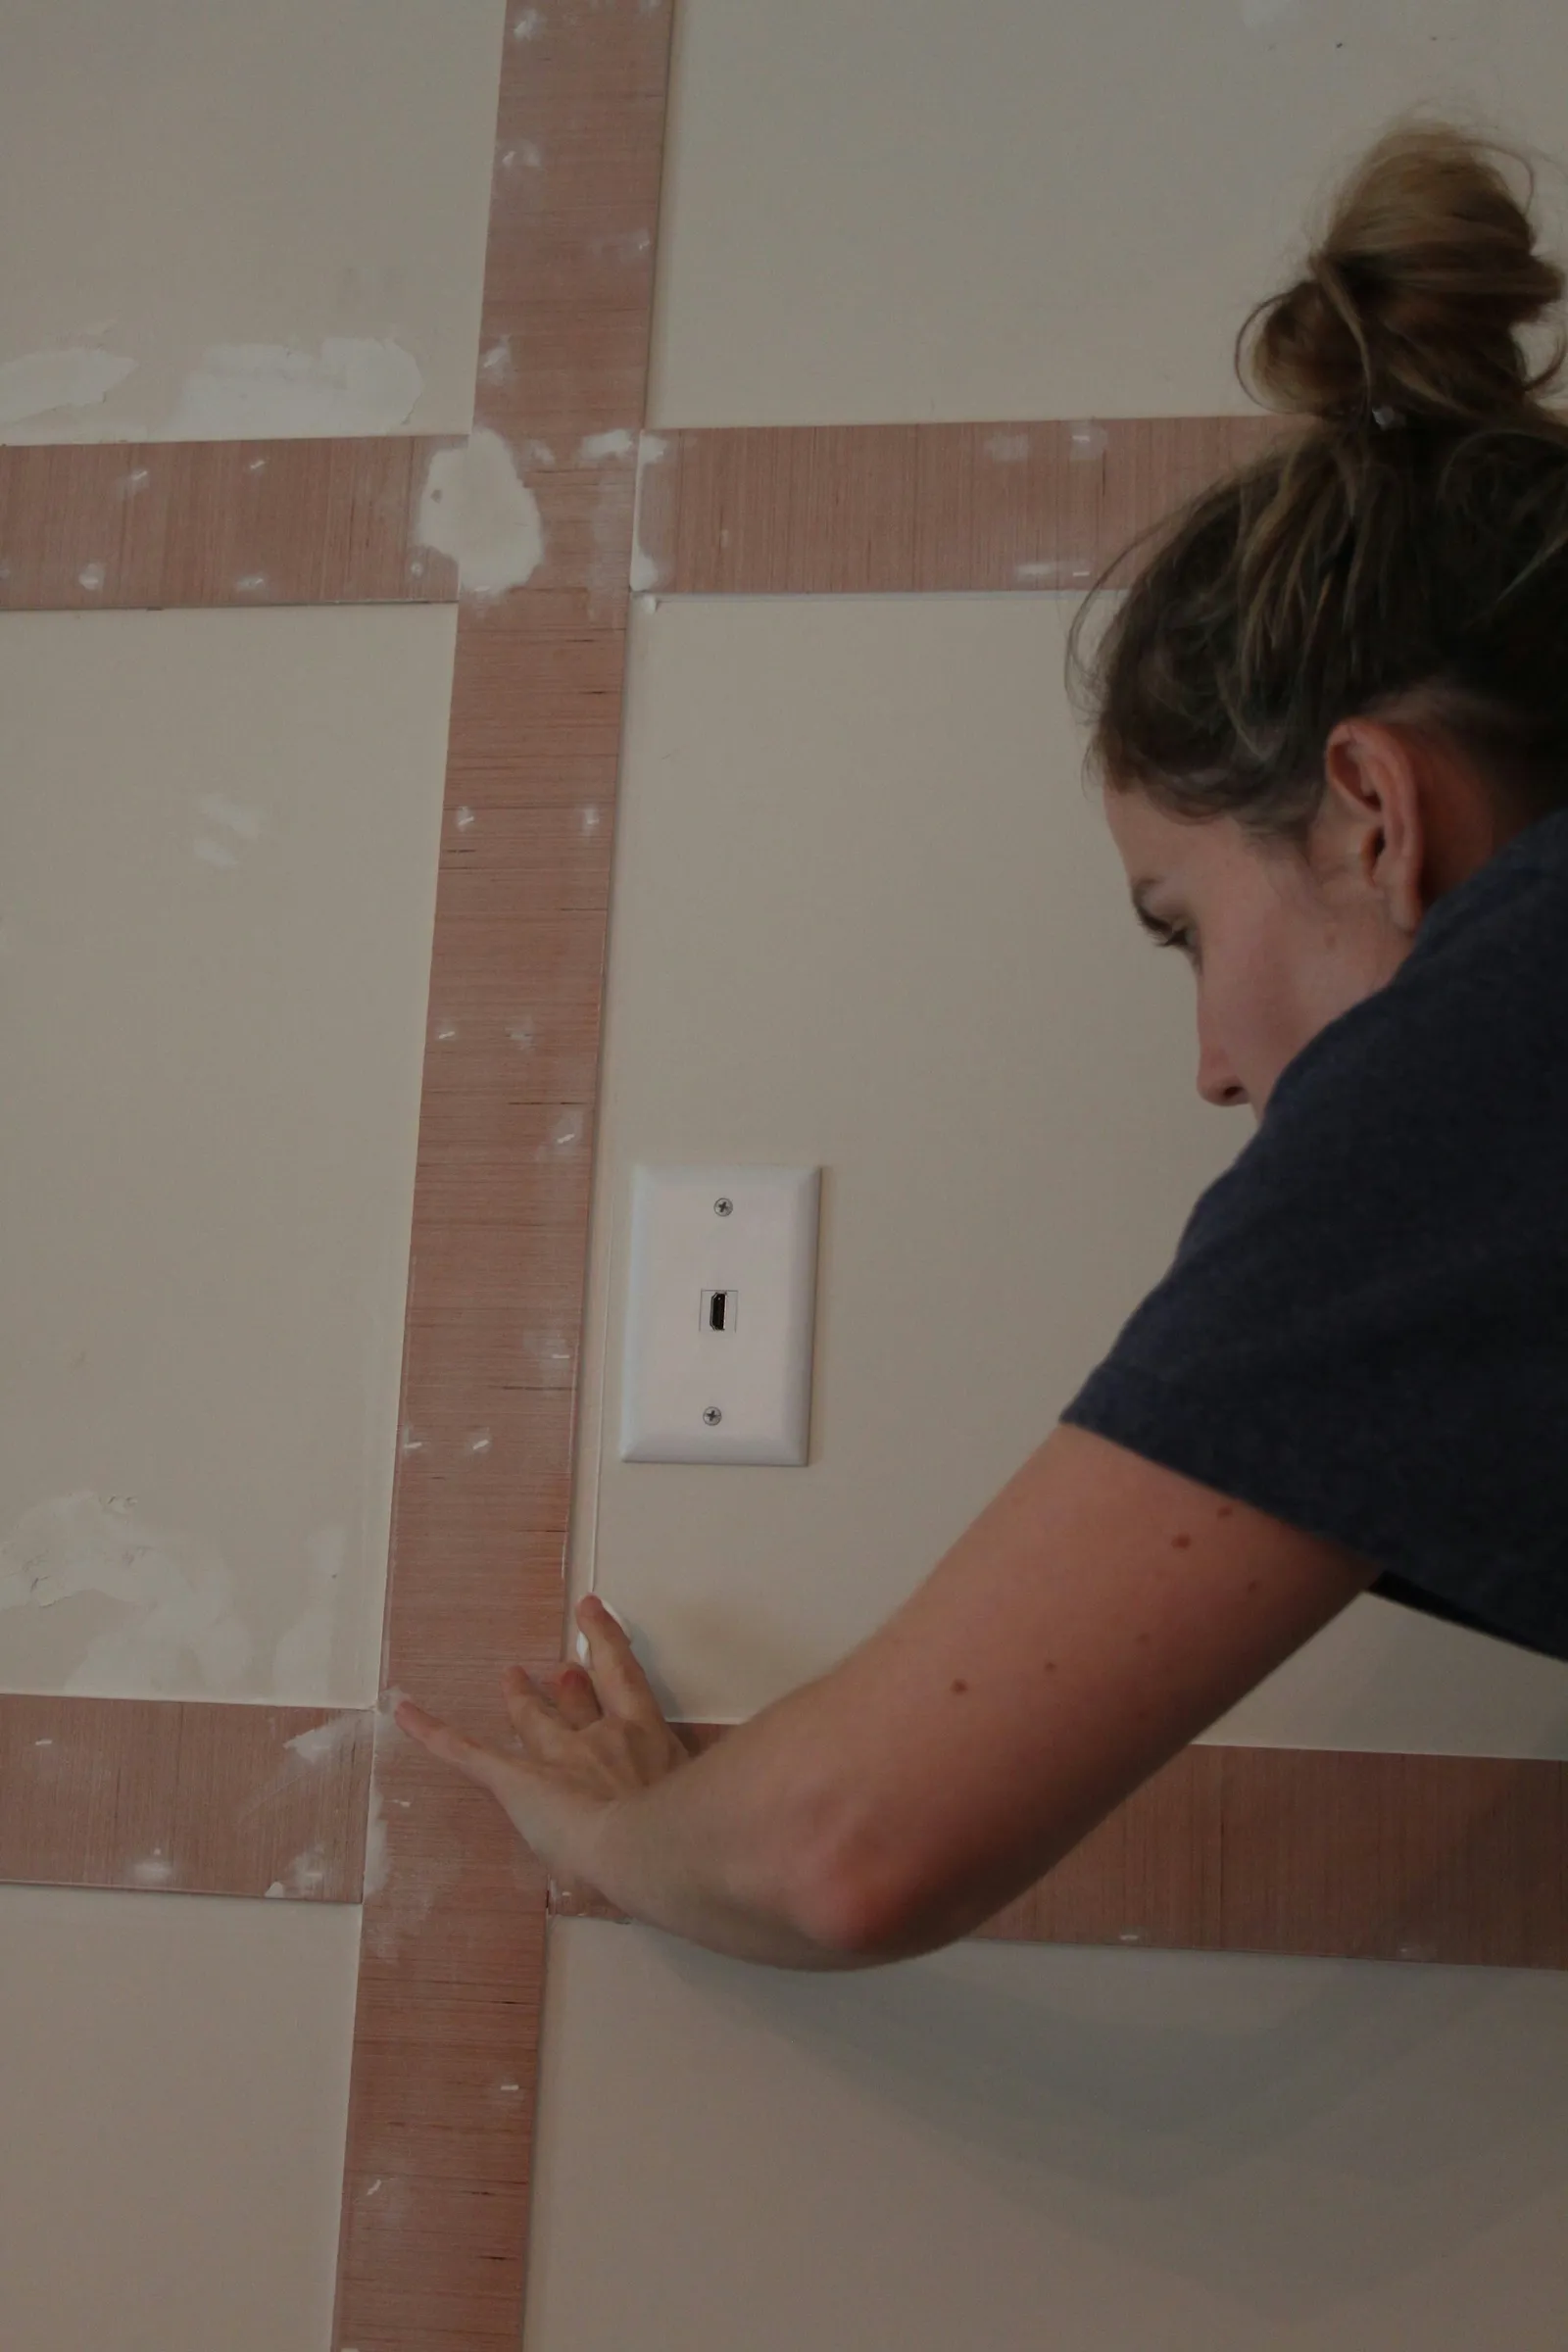
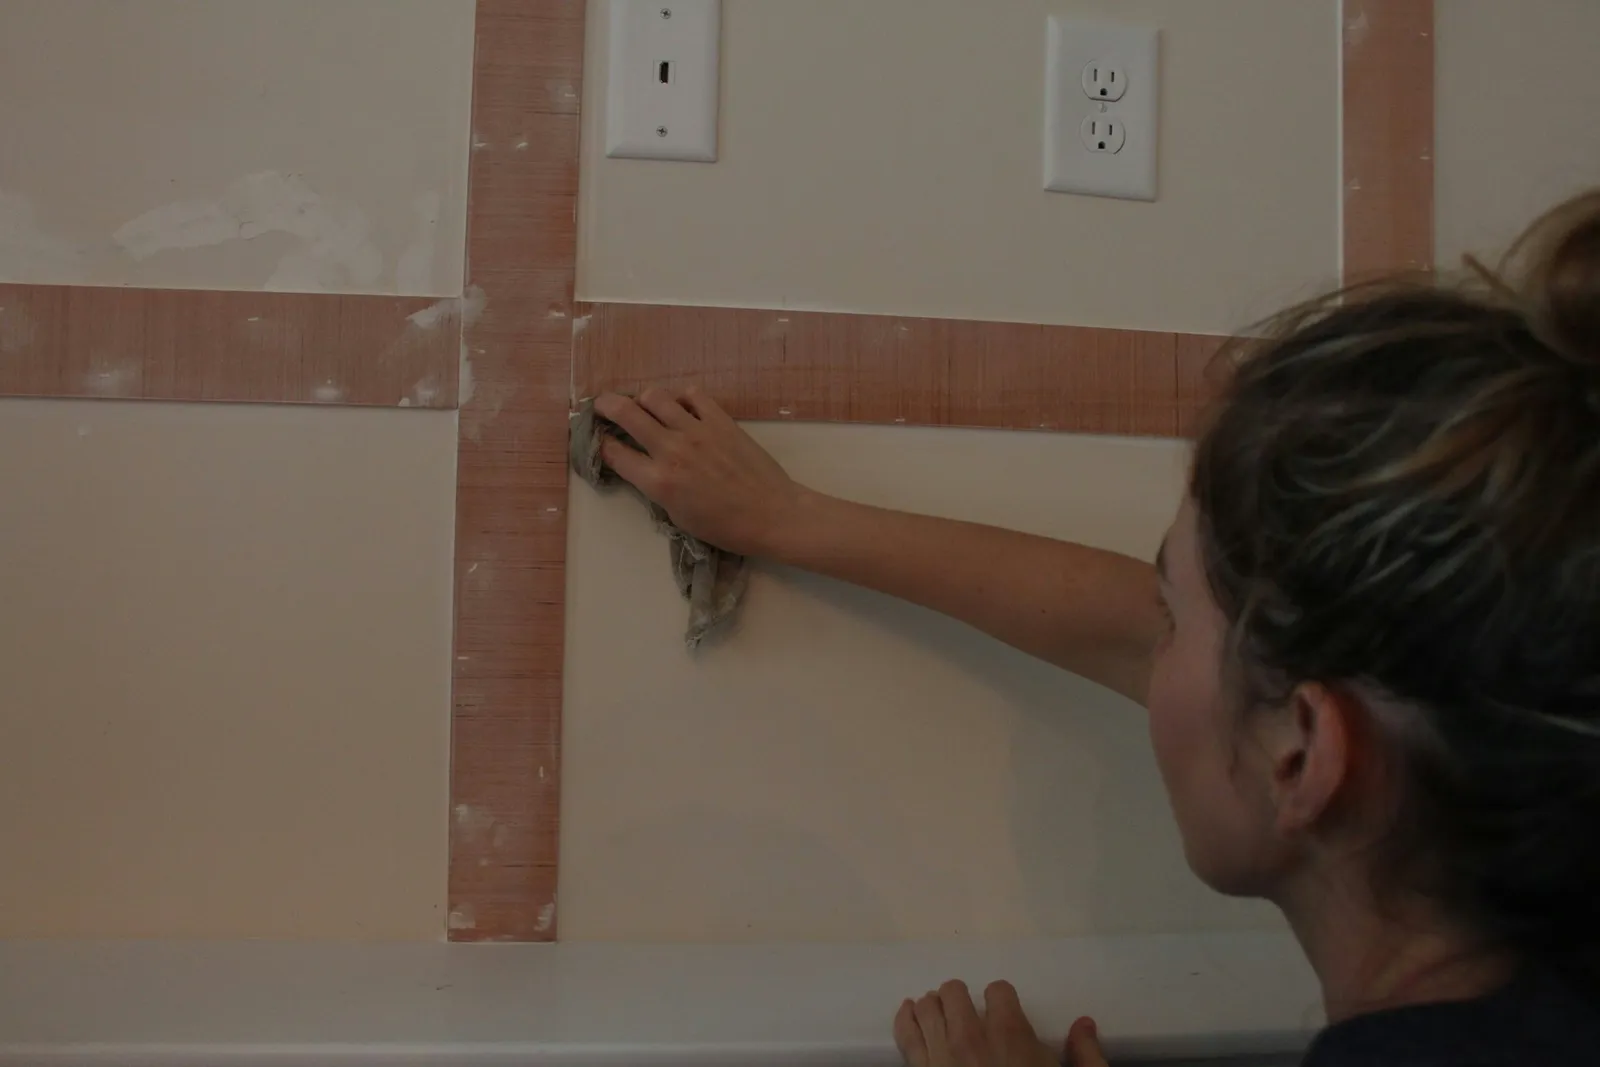
Use a putty knife to apply a thin layer of spackling over any holes or dents from the nail gun. You'll also need to fill the gaps where planks meet to create a smoother appearance. Then run a thin bead of caulk along the edges of each plank. Smooth the caulk with your finger and wipe away excess with a wet rag. You may need to rinse the rag several times during this process. Let both products dry completely.
Step 8: Sand the Planks
Once the spackling is fully dry, sand the planks with a sanding block. Ensure all surfaces are as smooth as possible. Then use a vacuum with a hose attachment to remove as much dust as you can. Wipe everything down with a damp cloth.
Step 9: Tape Off the Edges
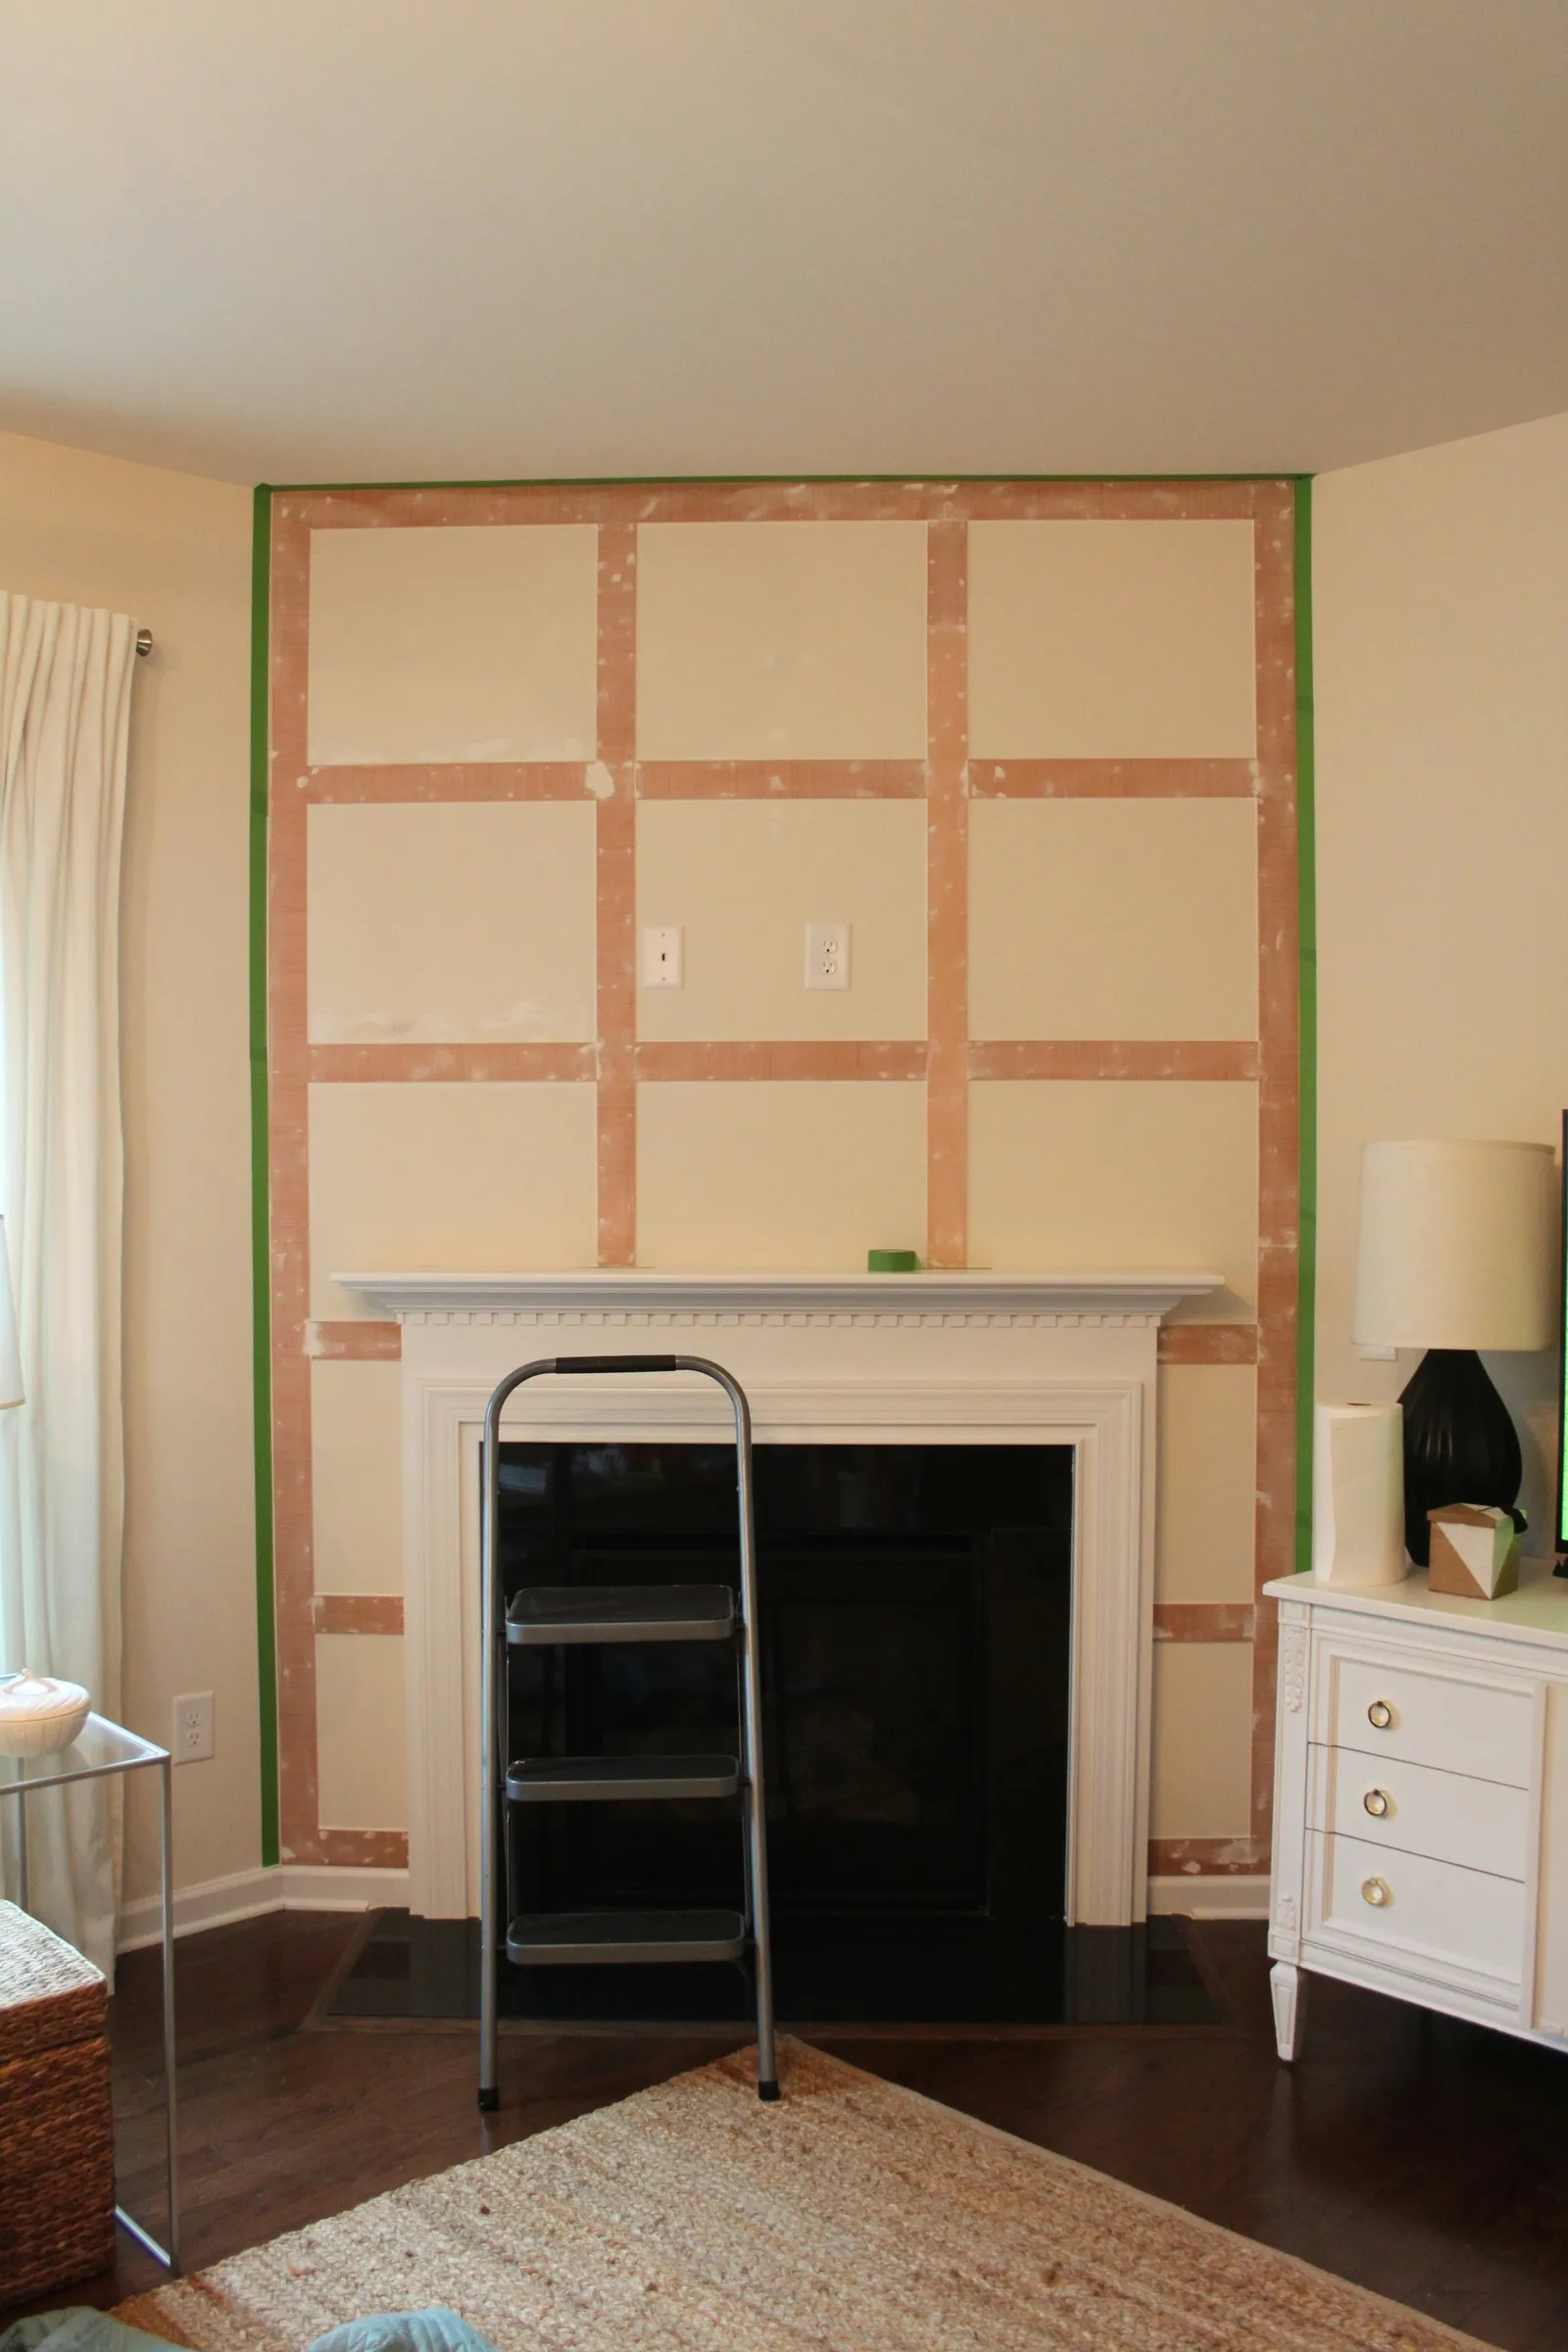
Apply painter's tape to the top and sides of the wall. Press down firmly to create a tight seal.
Step 10: Prime the Wall
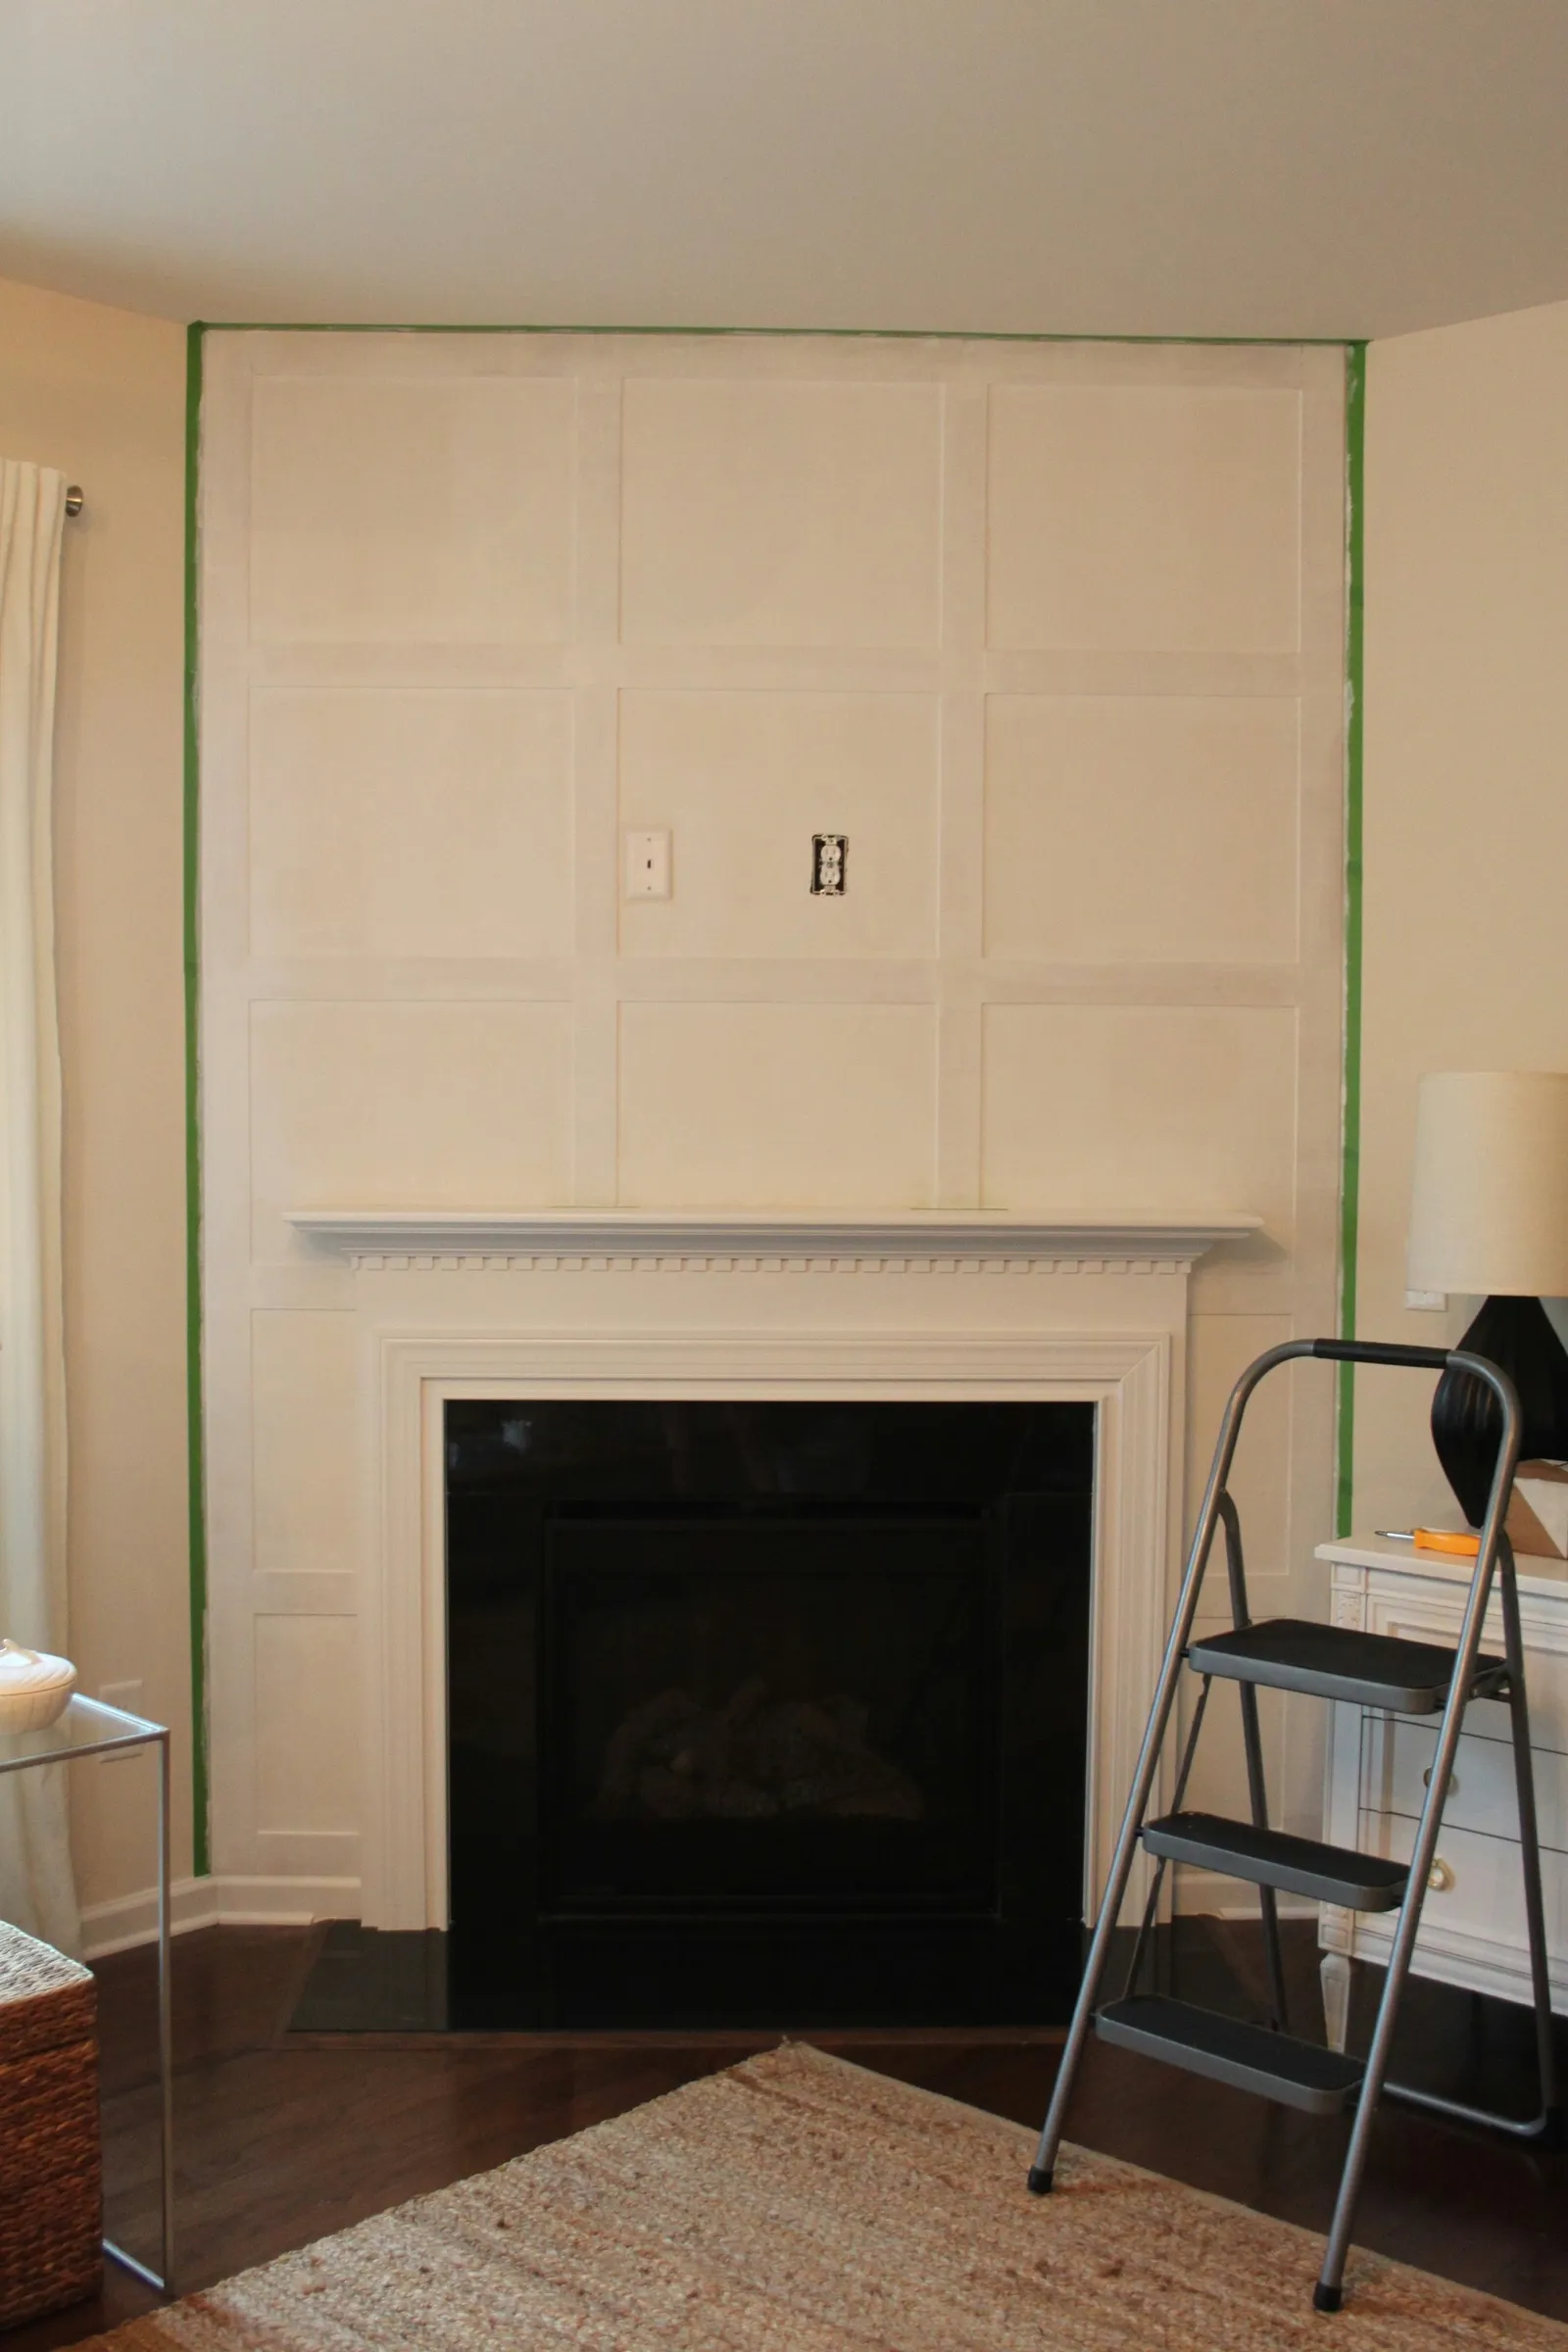
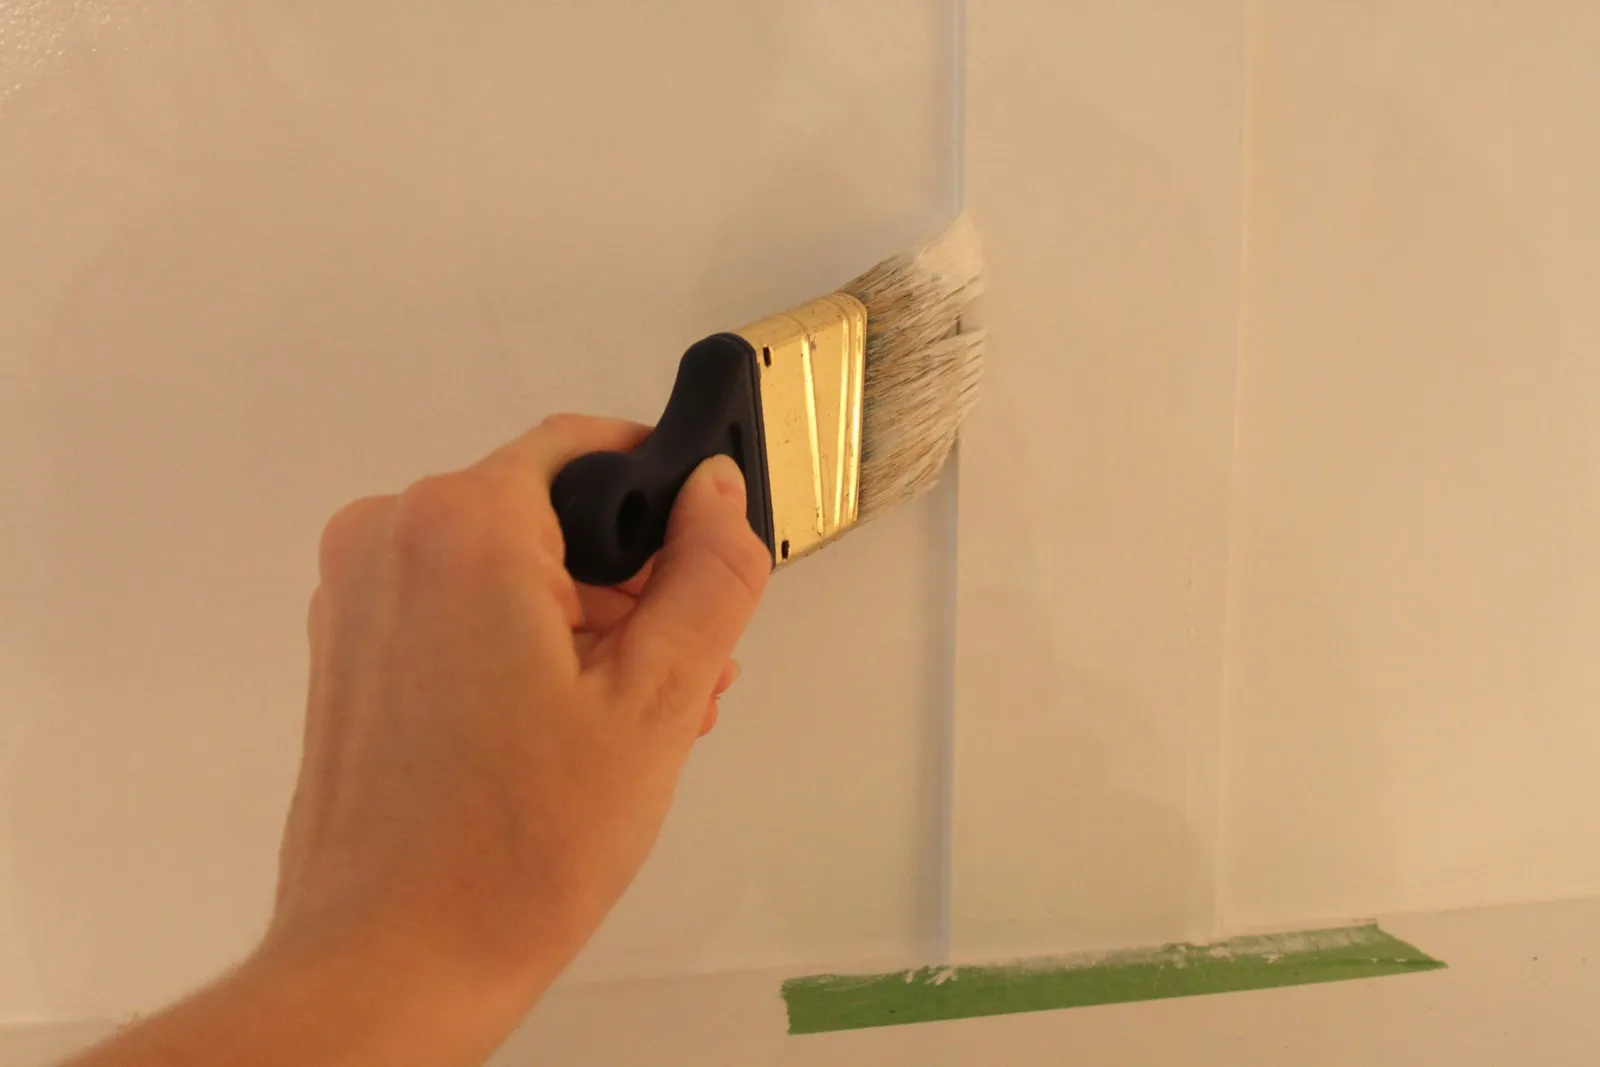
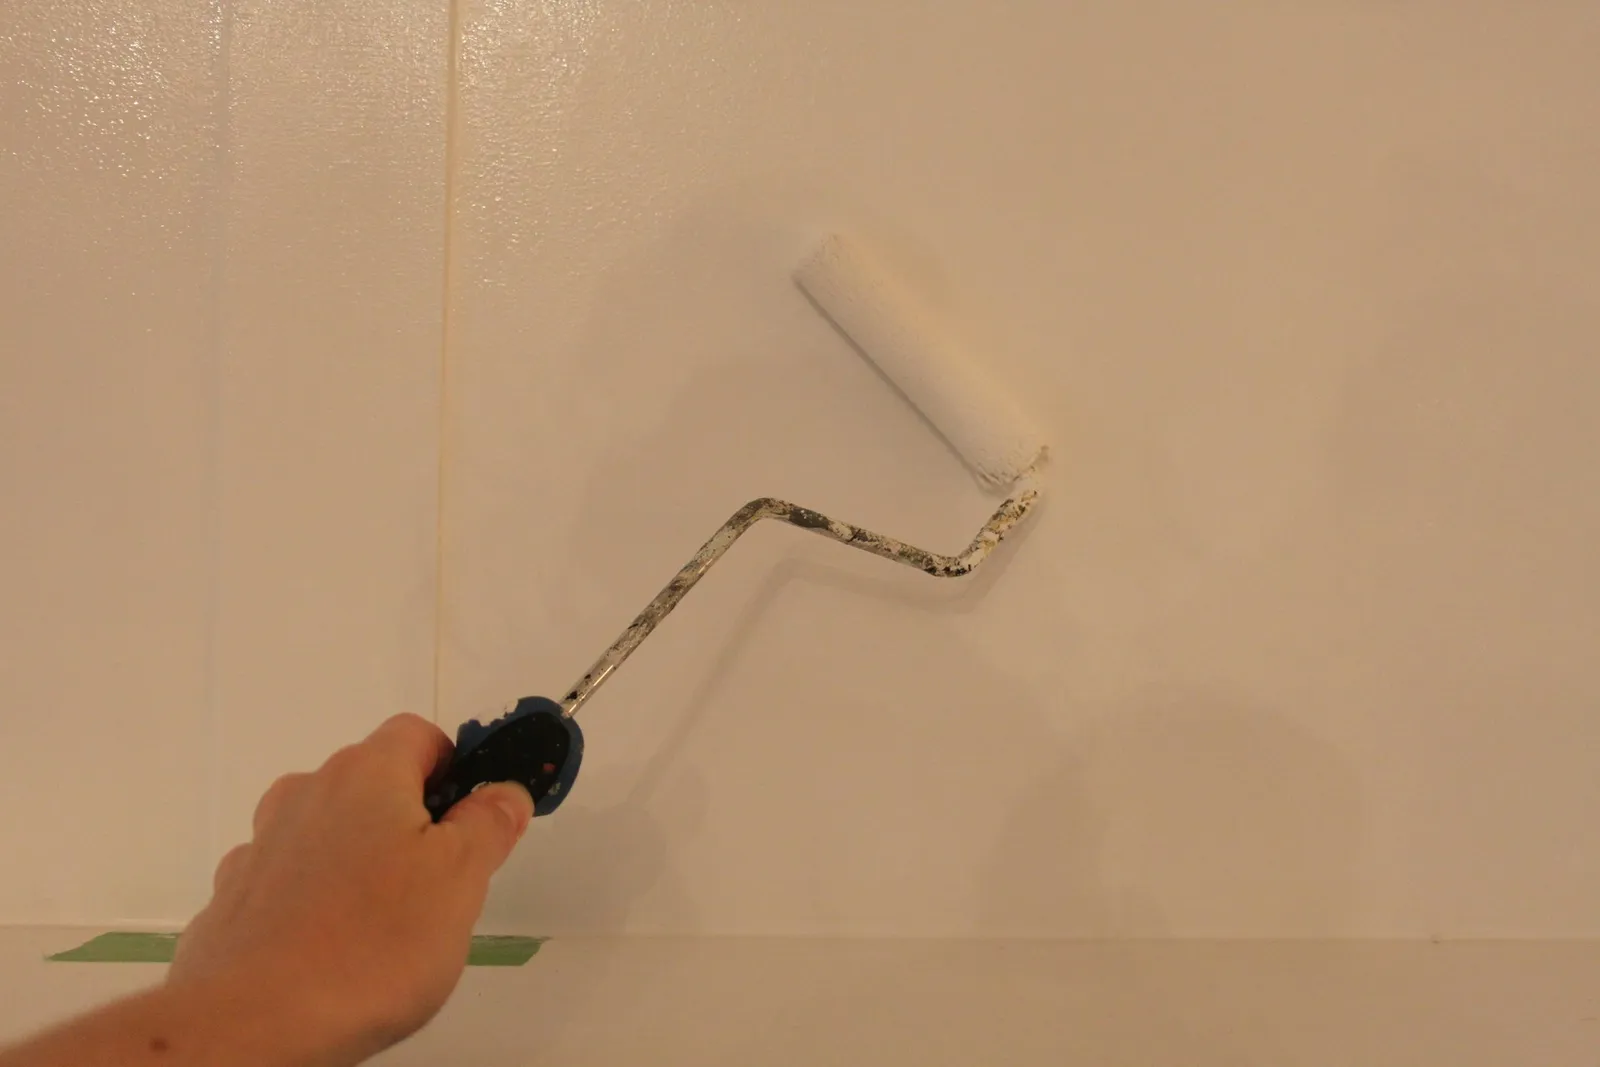
Coat the entire wall with primer. Use a small brush for corners and edges, and a small roller for larger areas. One coat should be sufficient, but if you see any bleed-through, apply a second coat.
Step 11: Paint the Wall
After the primer has dried completely, apply the paint. As with the primer, use a brush for smaller areas and a small roller for larger ones. Once the first coat is fully dry, apply a second coat. Then remove the painter's tape from the edges.