Putting Together an IKEA Lamp Shade: Two Common Mounting Methods
Depending on how your shade is designed, it will either grip the bulb with spring clips or be secured to the lamp using a threaded nut and harp-style fitting. Both approaches are quick, and the steps below walk through each one.
By Alex Ross6 steps
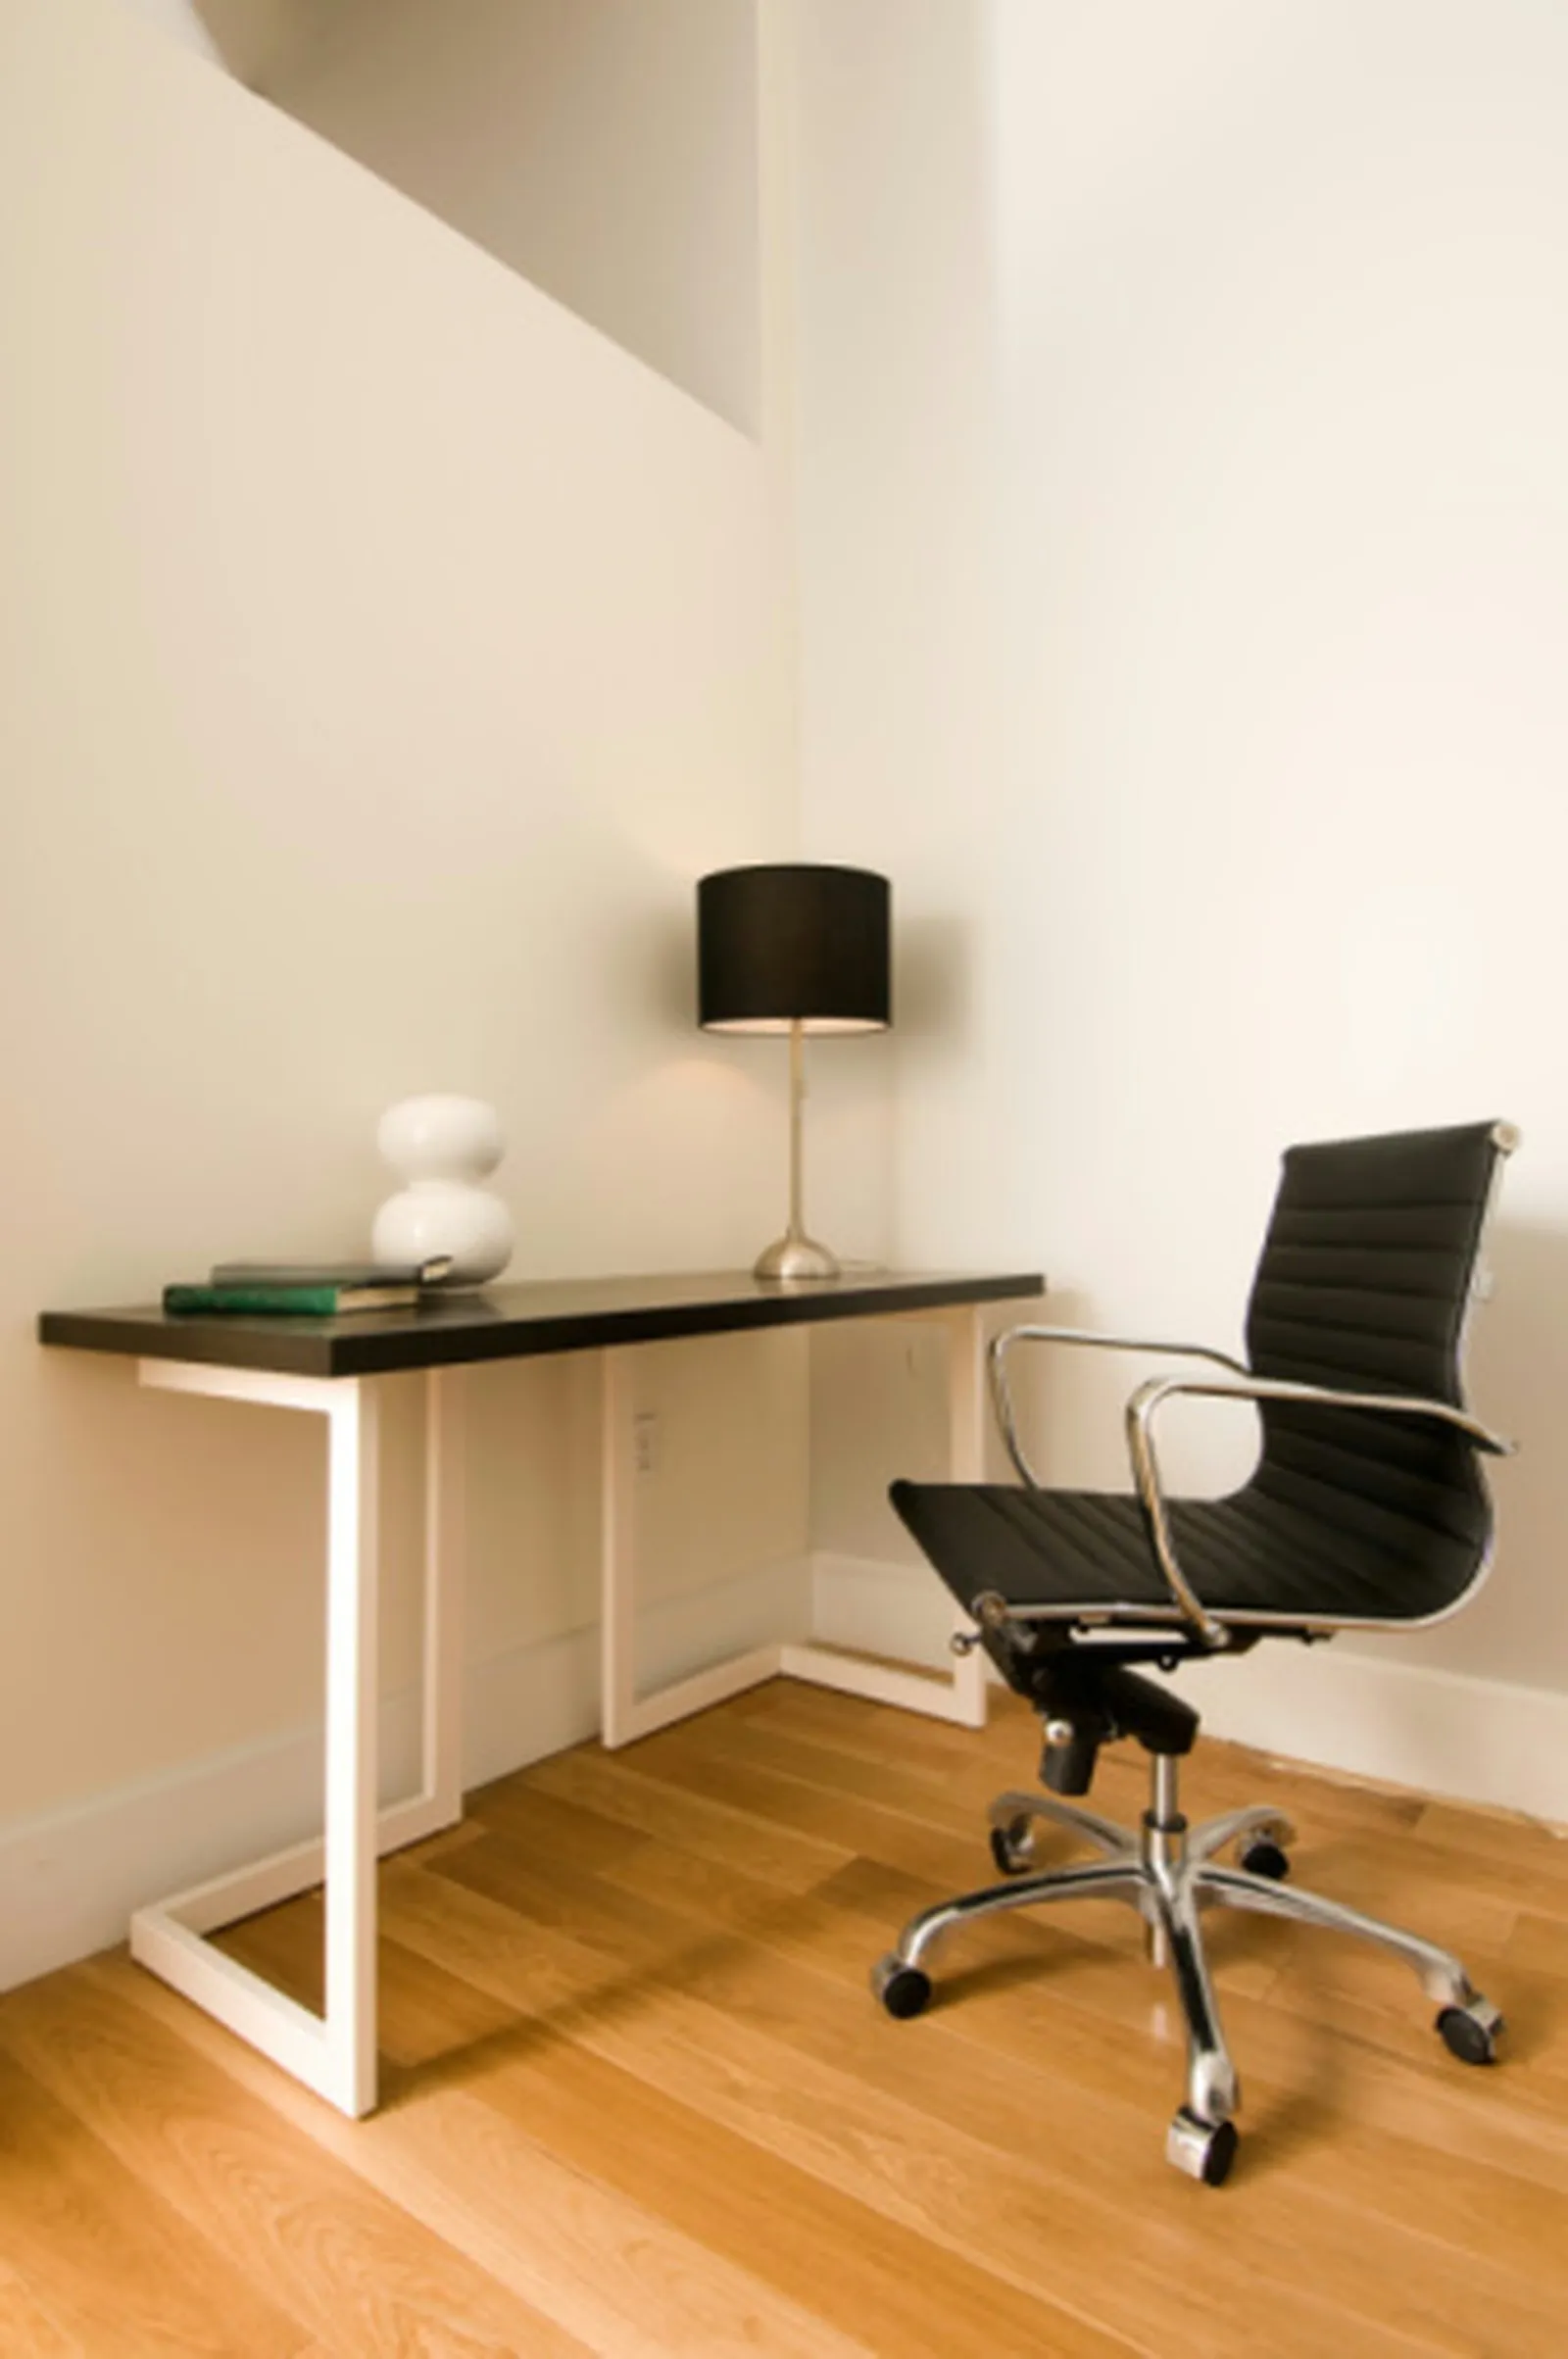
Lampshades come in a wide variety of shapes, sizes and colors.
Shades are made in countless shapes, colors and sizes, and when a lamp sits on a table or desk, the shade tends to draw the eye. The steps for fitting one are the same whether the shade came from IKEA or somewhere else. Most shades on the market use one of two mounting designs: they either clip onto the bulb itself, or they fasten to a harp-shaped bracket with a threaded nut.
Step 1
For safe installation, switch the lamp off and pull its plug from the outlet.
Step 2
Locate the wire loops on the shade. They sit at the center of the shade, at the point where it meets the lamp.
Step 3
Press the wire loops together until they open apart. Keep them separated with your fingers so the opening can pass over the bulb. Guide the loops over the bulb, then let go. The clips' spring tension keeps the shade held in position.
Step 1
Switch the lamp off. Unplug it from the outlet, and check that the bulb has cooled down before you start assembling.
Step 2
Take the lightbulb out of the socket and put it somewhere to the side.
Step 3
Lower the shade down over the stand. Once the spokes on the outer edges line up with the bulb area, match up the hole for the wing nut that came with the lamp with the nut assembly. Twist the nut on by hand. The shade is now seated. Put the bulb back in, and the job is done.



