DIY Coat Rack with Integrated Mail Organizer
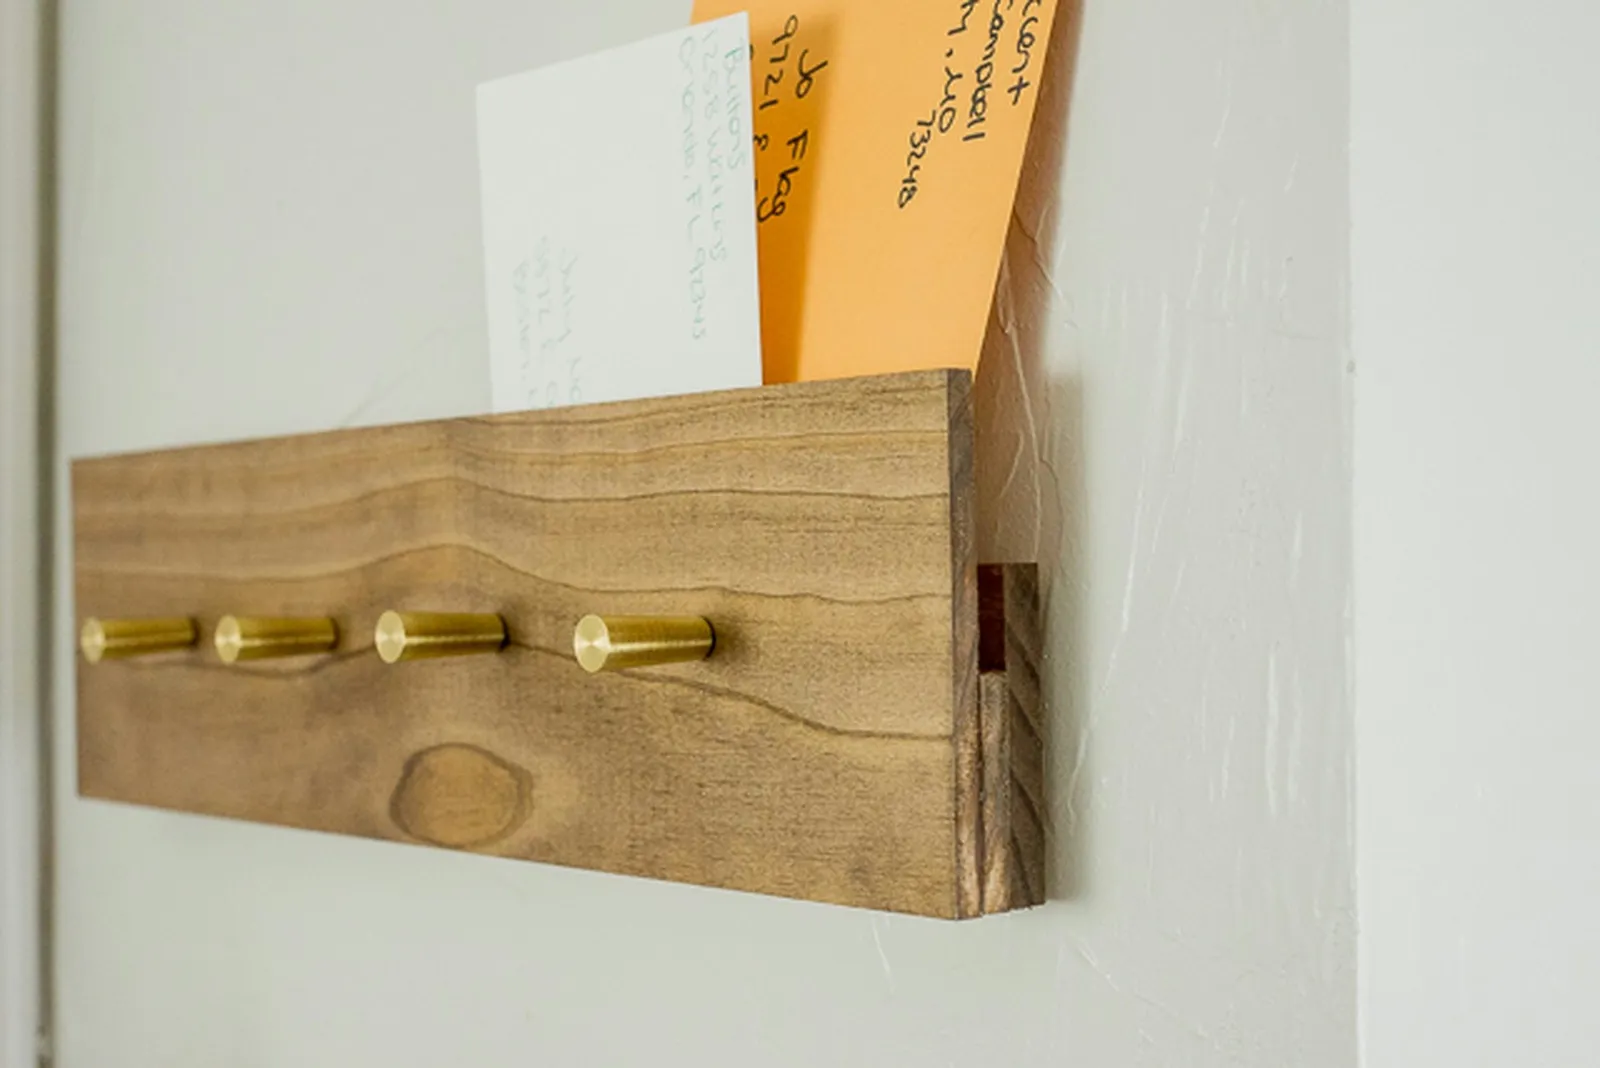
Create a practical entryway solution by building a coat rack that includes a concealed compartment for letters. This adaptable design fits various wall sizes and keeps daily essentials tidy.
By Blake Lewis6 steps
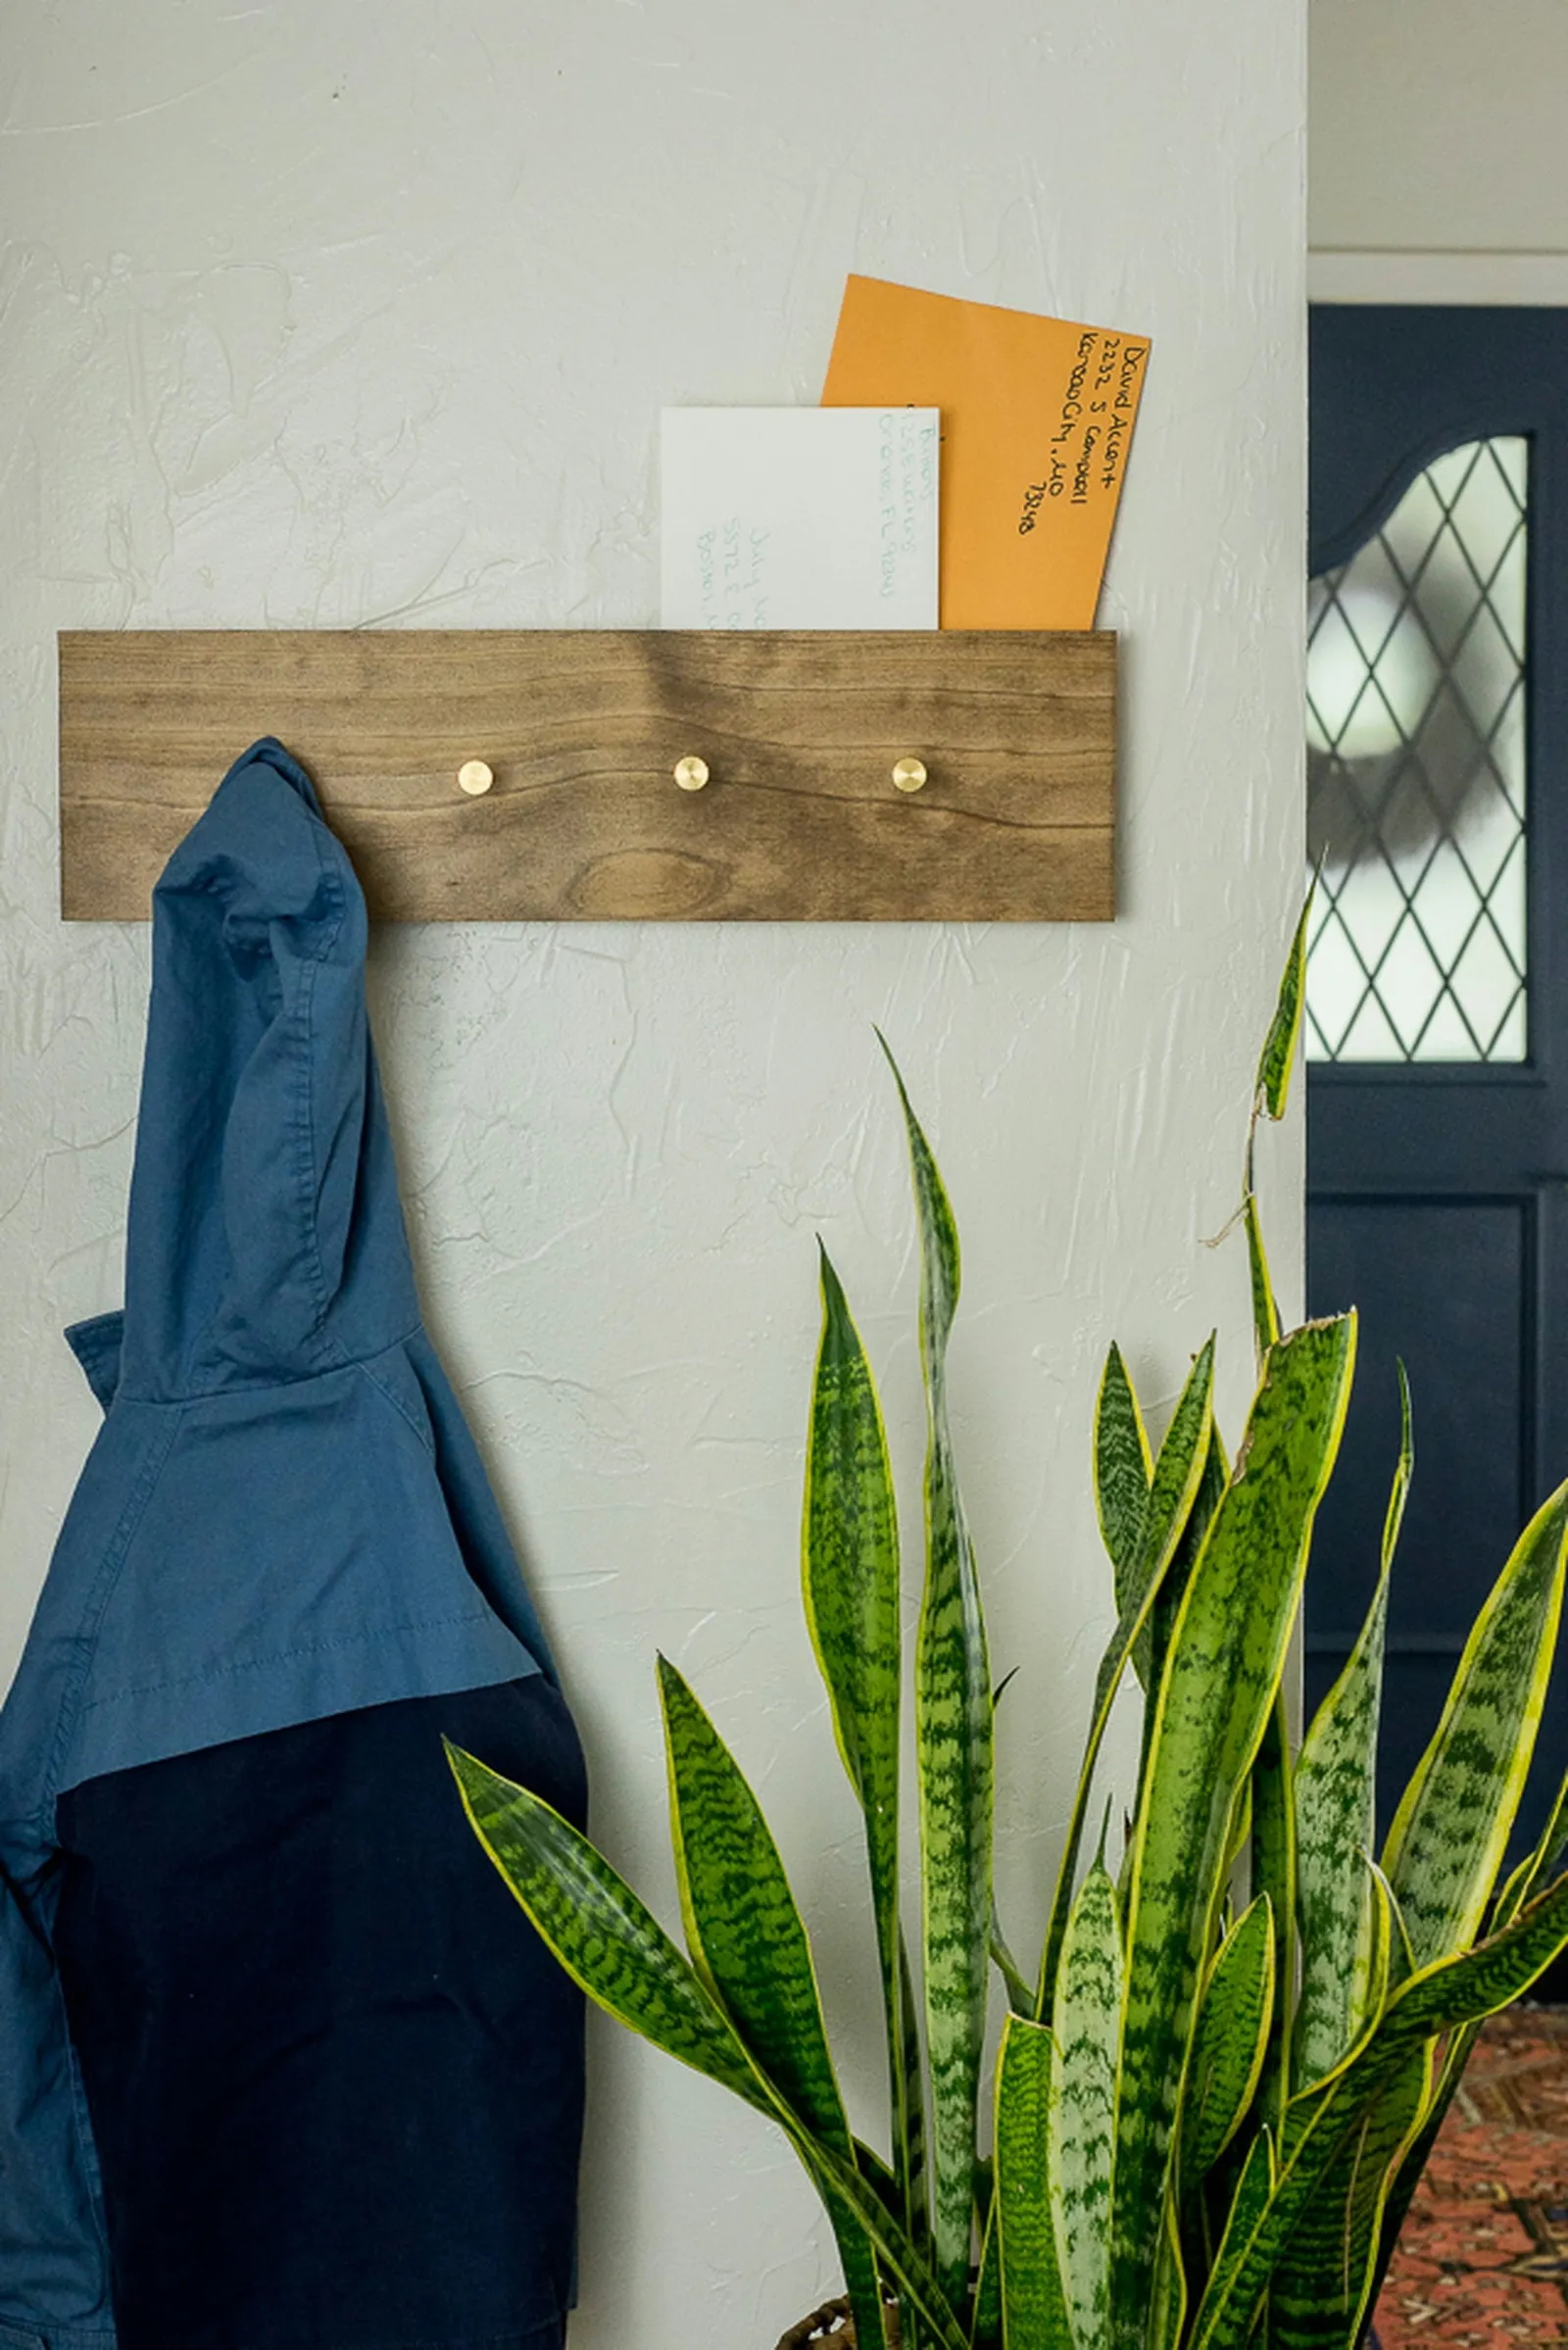
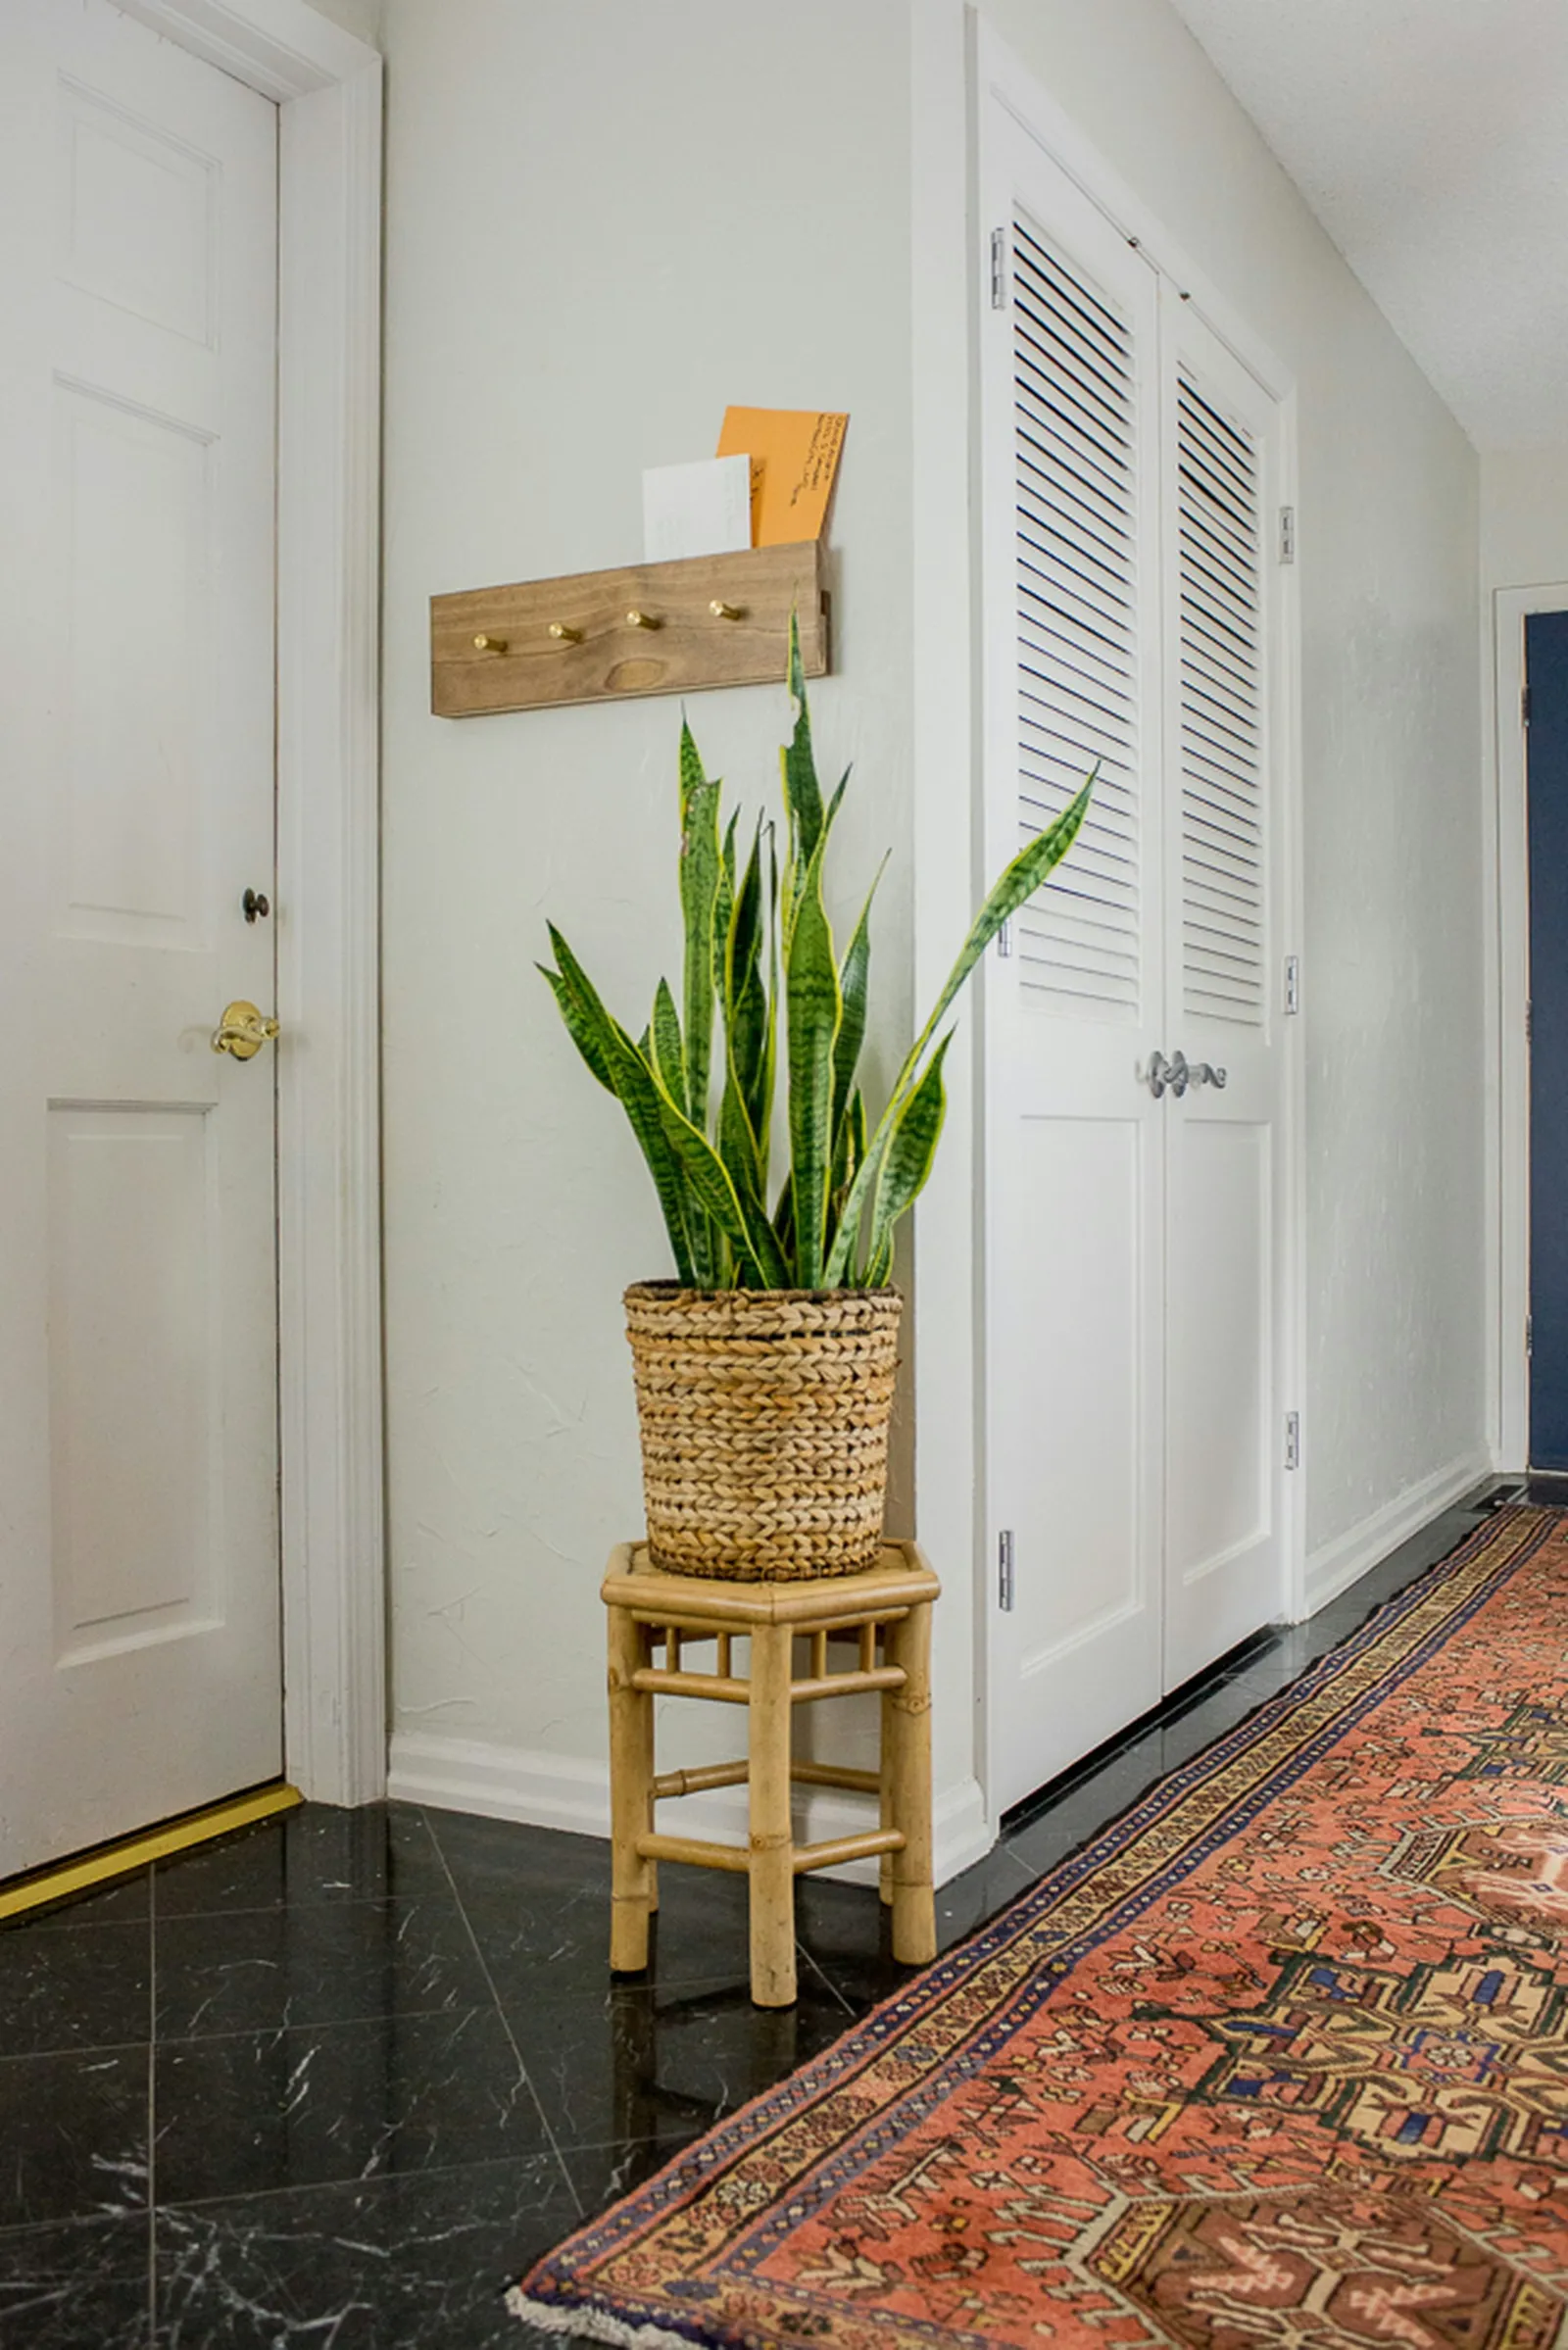
After a long day, your hands are usually full when you get to the front door. You might be holding envelopes and papers in one hand, bags in the other, and a jacket draped over your arm. The coat rack is typically the first thing you reach for. Traditional racks can hold your jacket and bags, but this project lets you build and mount a sleek, simple version that also features a hidden mail slot. These easy steps will guide you in making a coat rack that keeps your essential items organized. It's simple to adjust for your space and will make your entryway less chaotic each day.
Step 1: Choose the Rack Length and Cut the Wood
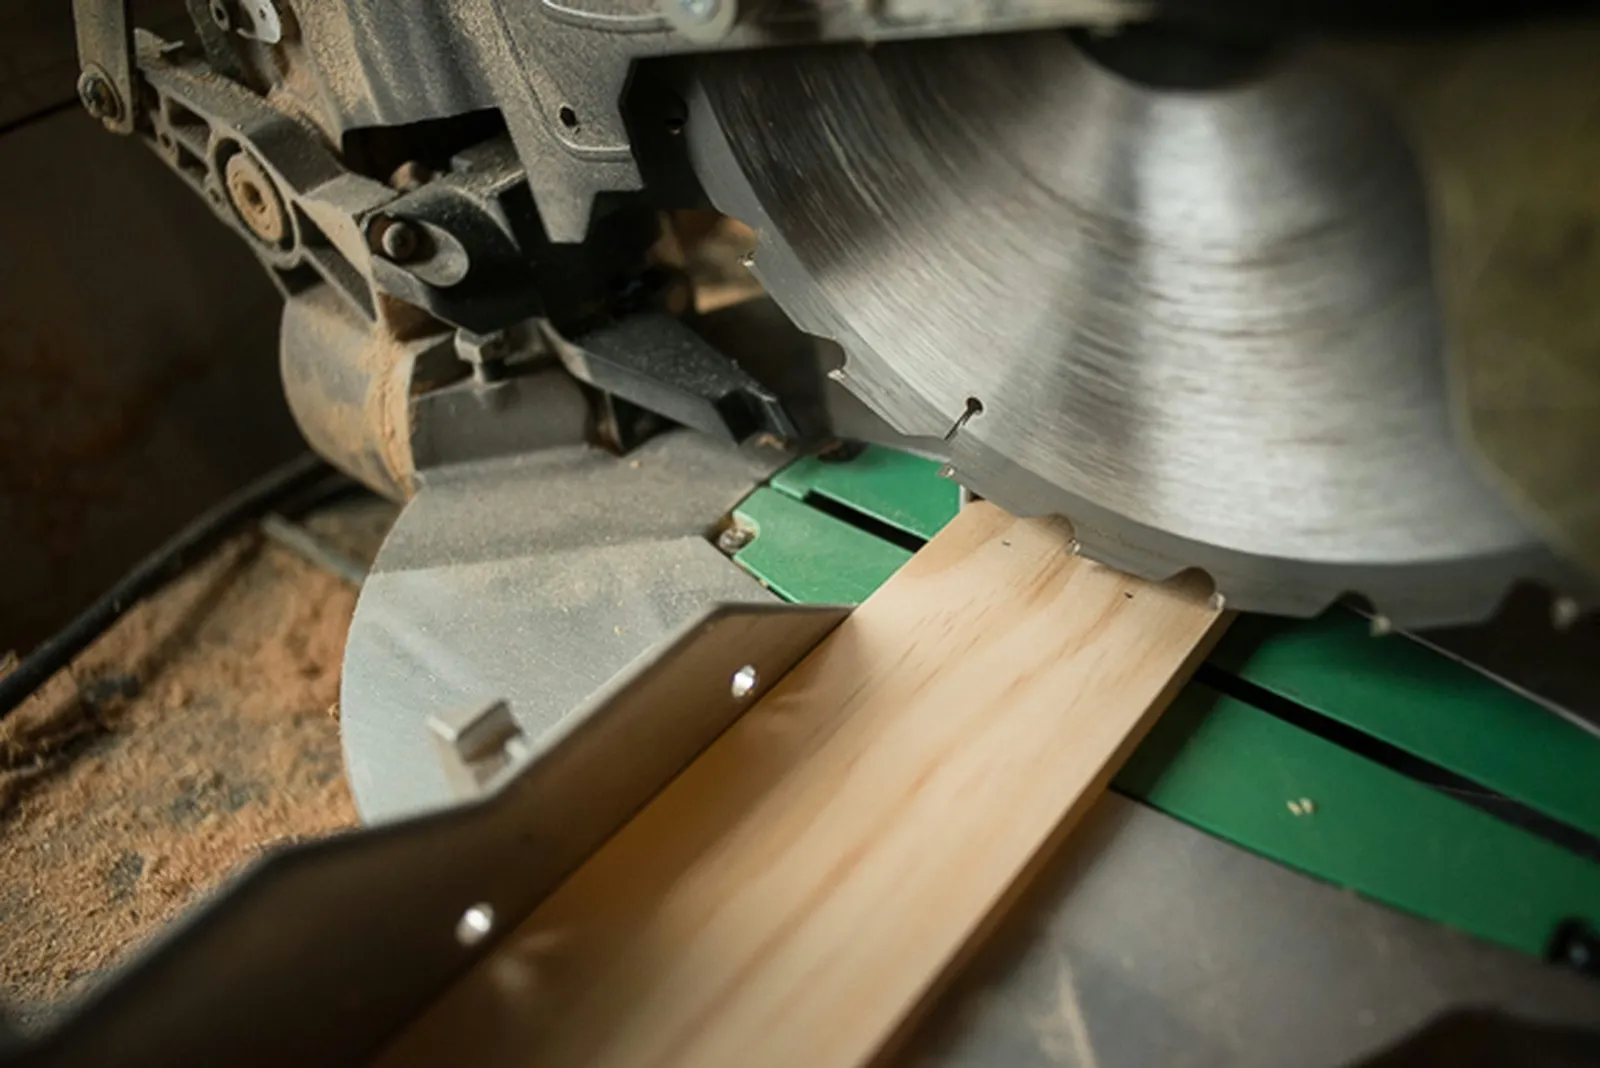
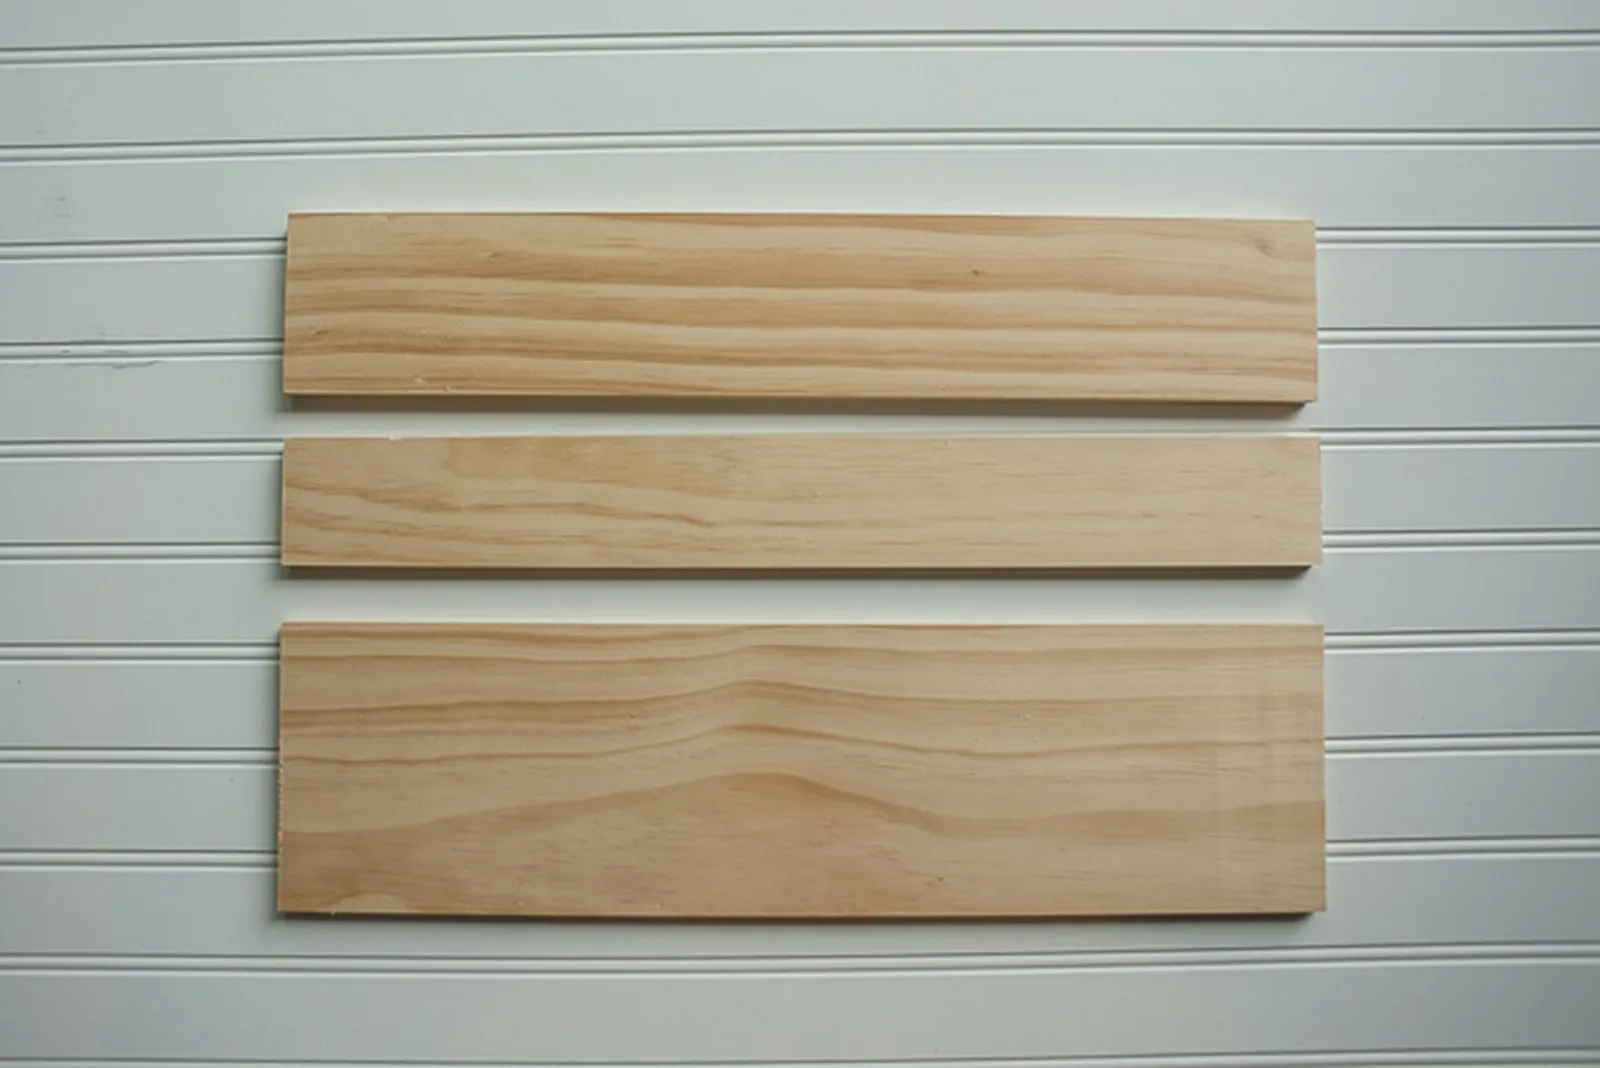
First, decide how large you want the coat rack to be, and modify the project to fit your wall. A 20-inch-long rack provides plenty of room for four coat hooks. Cut all three pieces of wood to 20 inches.
Step 2: Mark and Drill Holes for the Hooks
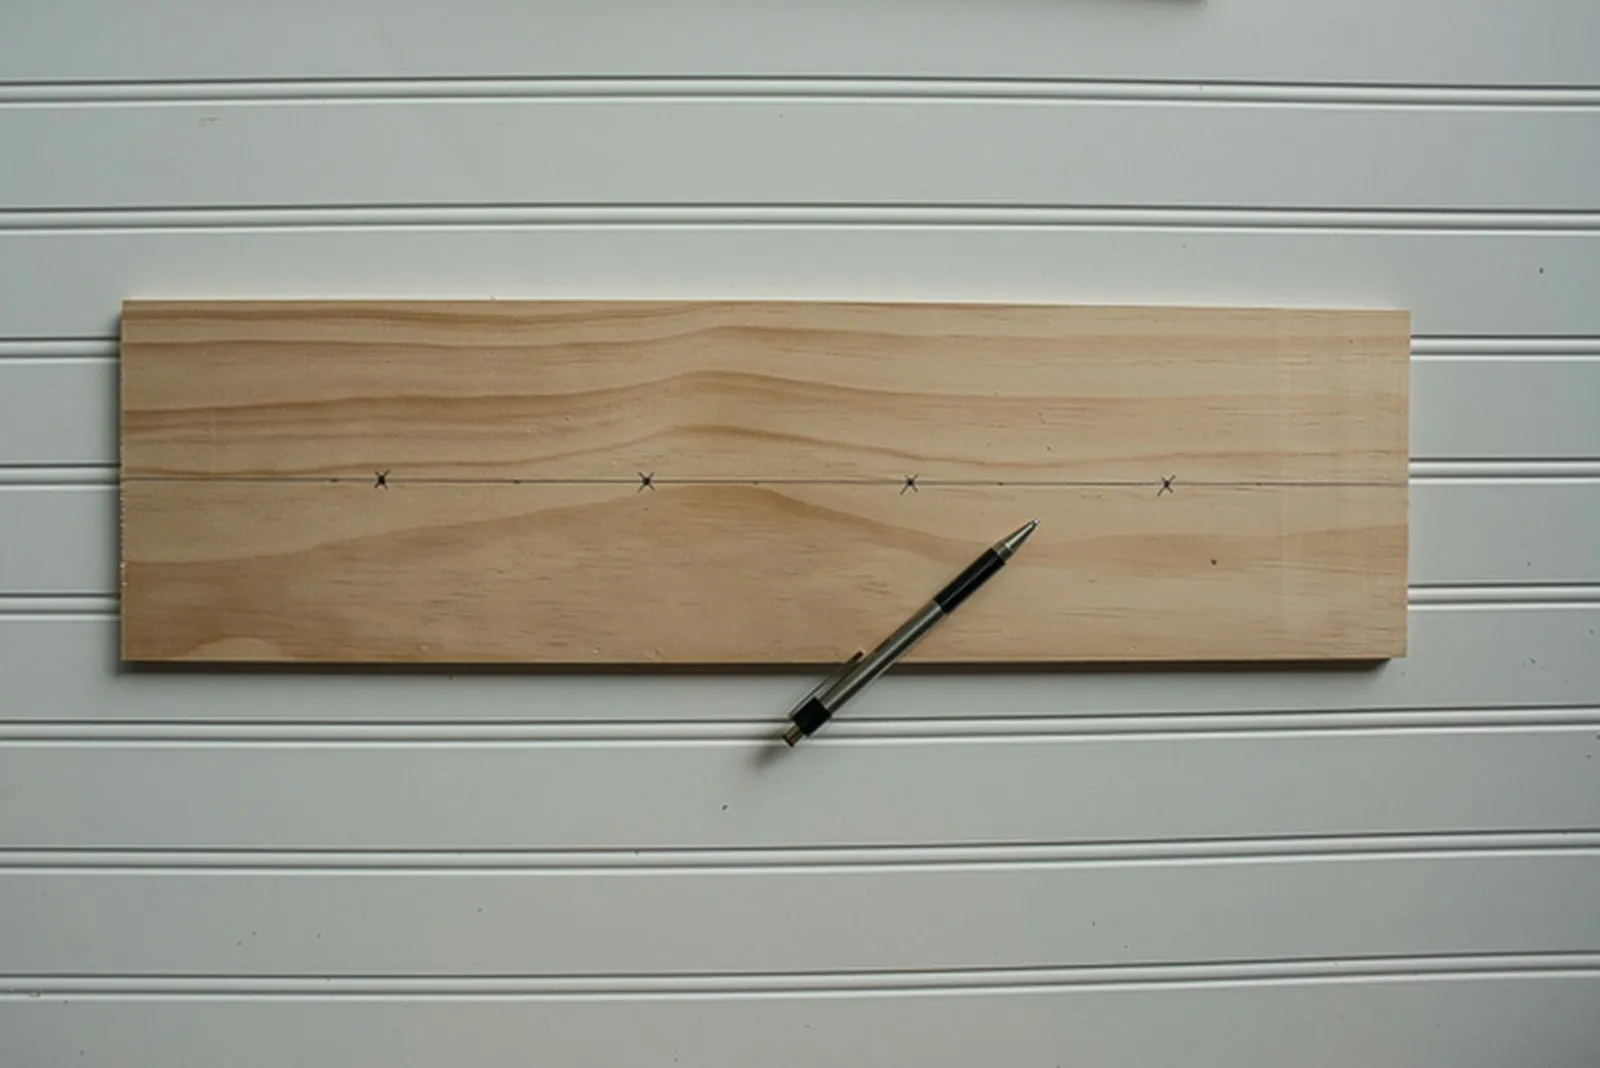
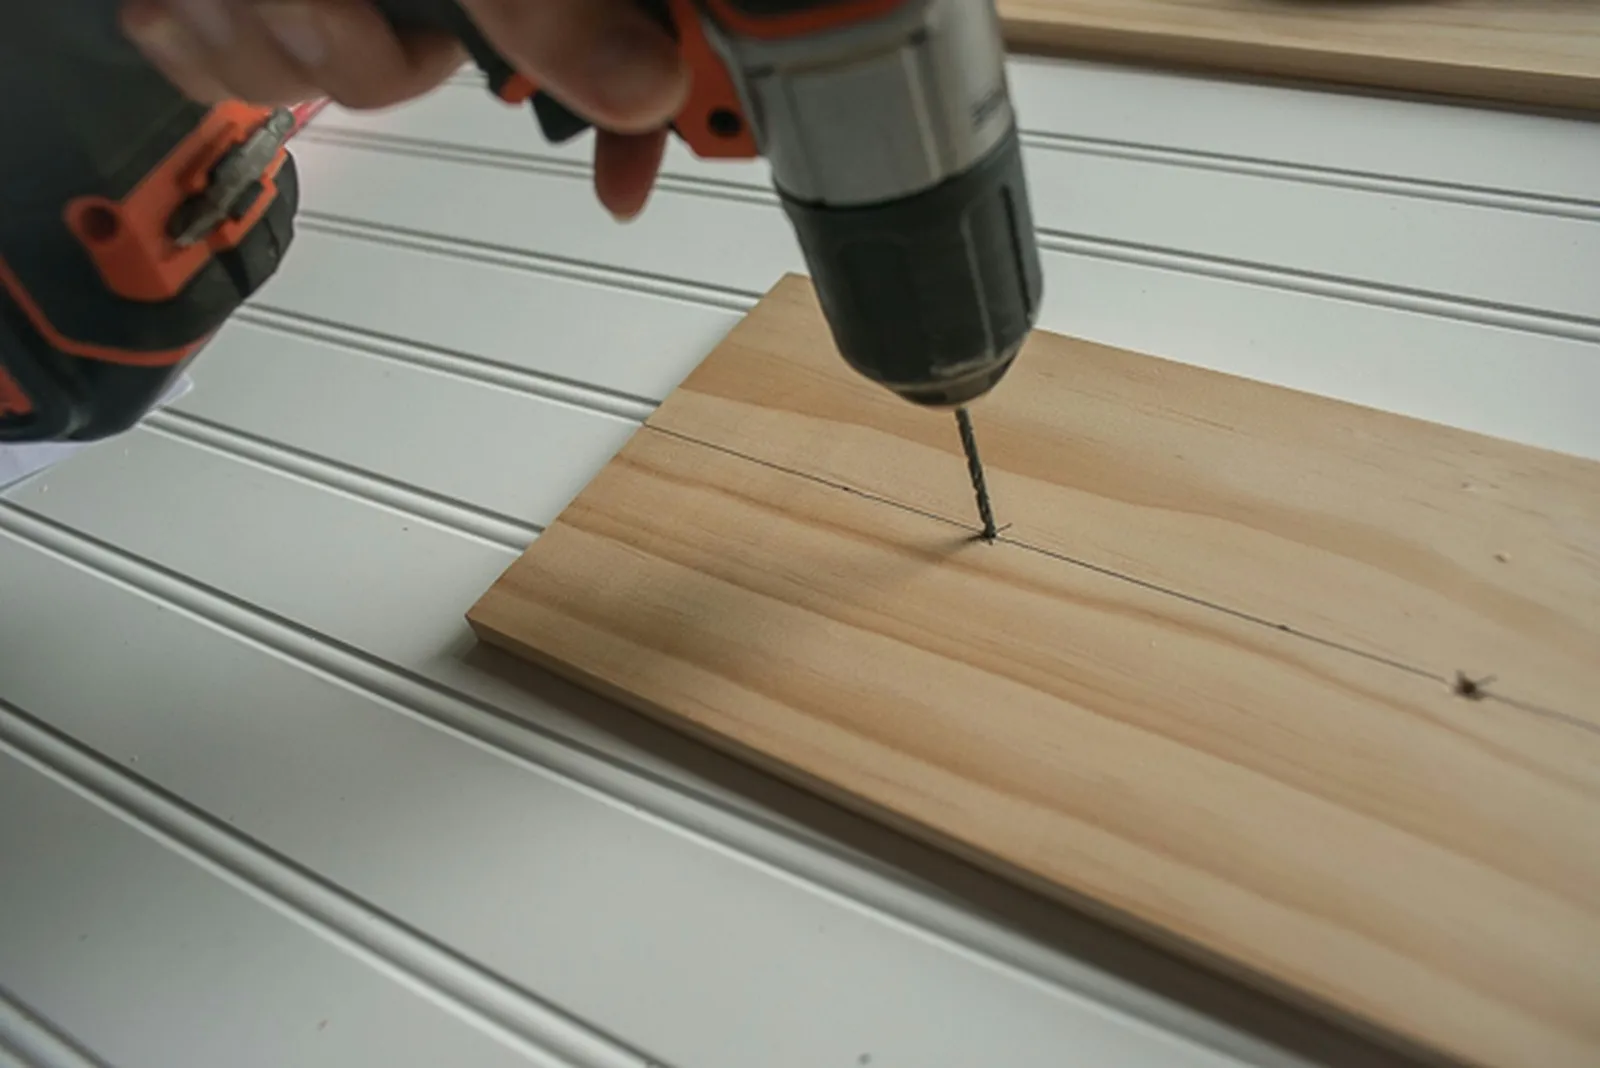
The 3/8 x 6 x 20-inch craft wood board serves as the front of the rack (these are nominal dimensions; the actual size is 3/8 x 5 1/2 x 20 inches). Locate the vertical center of the board at 2 3/4 inches and draw a horizontal line along its length. Make marks at 4, 8, 12, and 16 inches. These spots indicate where the coat hooks will go. Using a drill bit that matches the diameter of the screws provided with the hooks, drill through the wood at each mark.
Step 3: Stain and Finish the Wood
Apply stain to the wood with a brush. For the smallest board, only the ends, top, and bottom need staining. Be sure to cover all sides of the other two boards. After the boards dry, apply a polyurethane finish following the instructions on the can. Allow them to dry again.
Step 4: Install the Coat Hooks
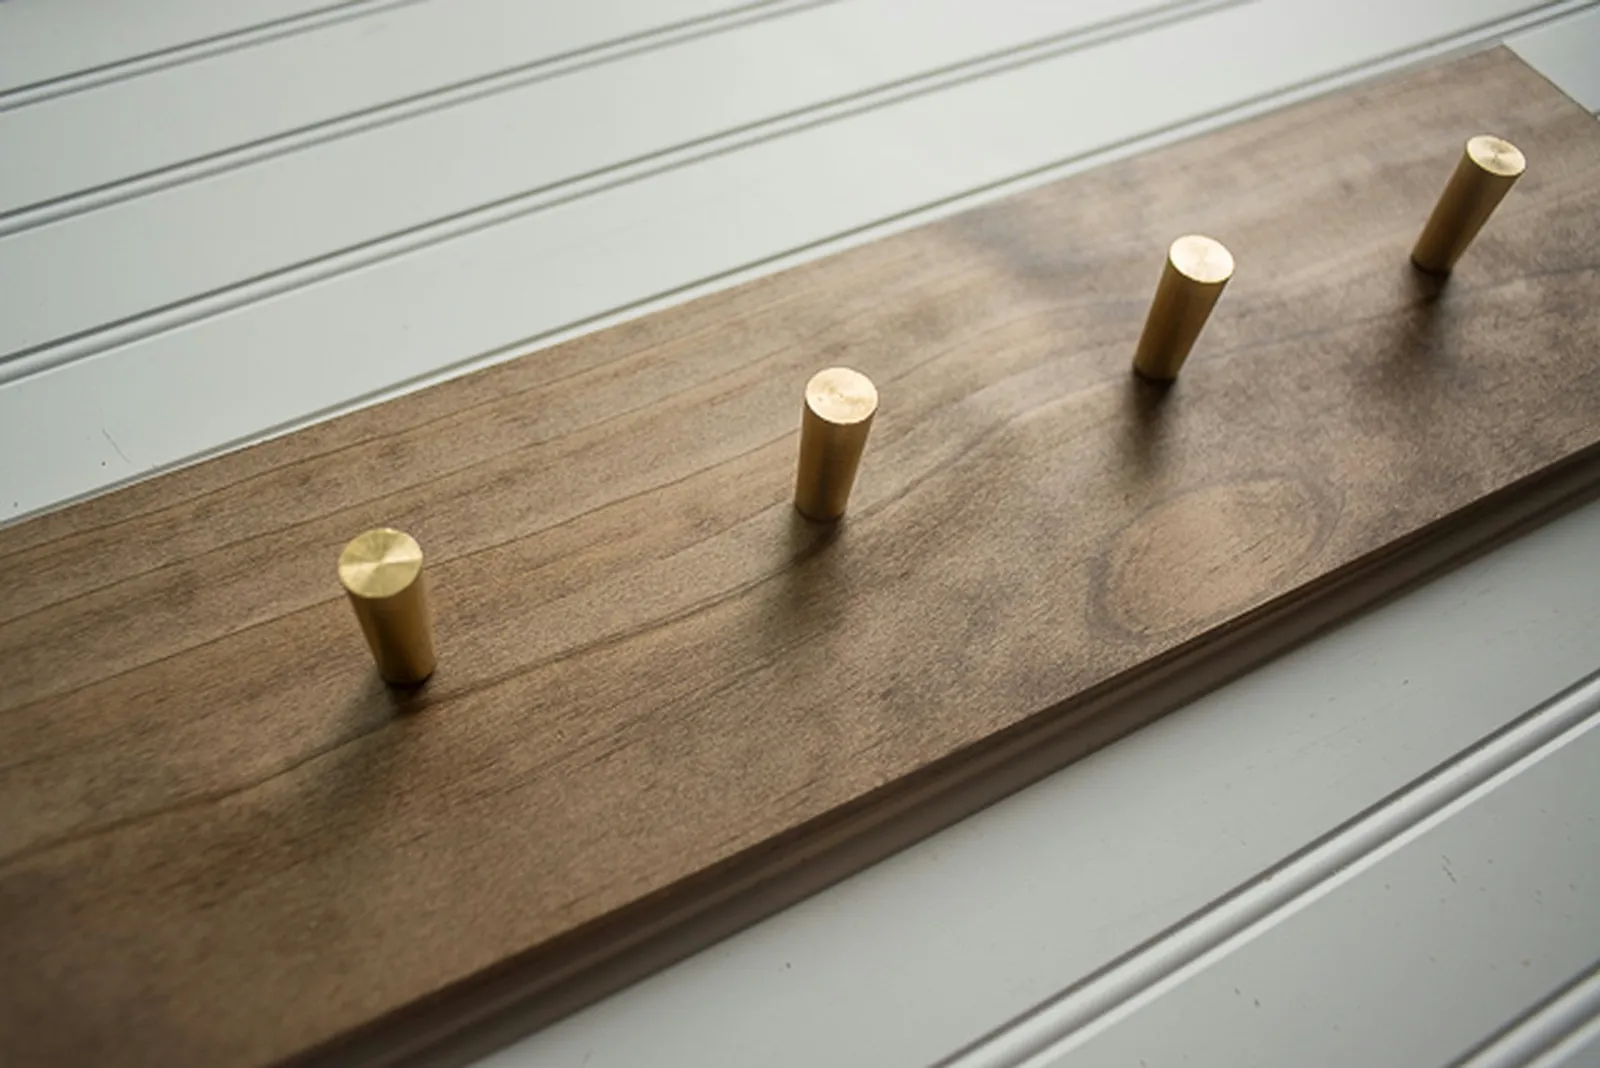
Attach your chosen hooks or knobs. Tighten them by screwing in from the back.
Step 5: Glue and Clamp the Back Pieces
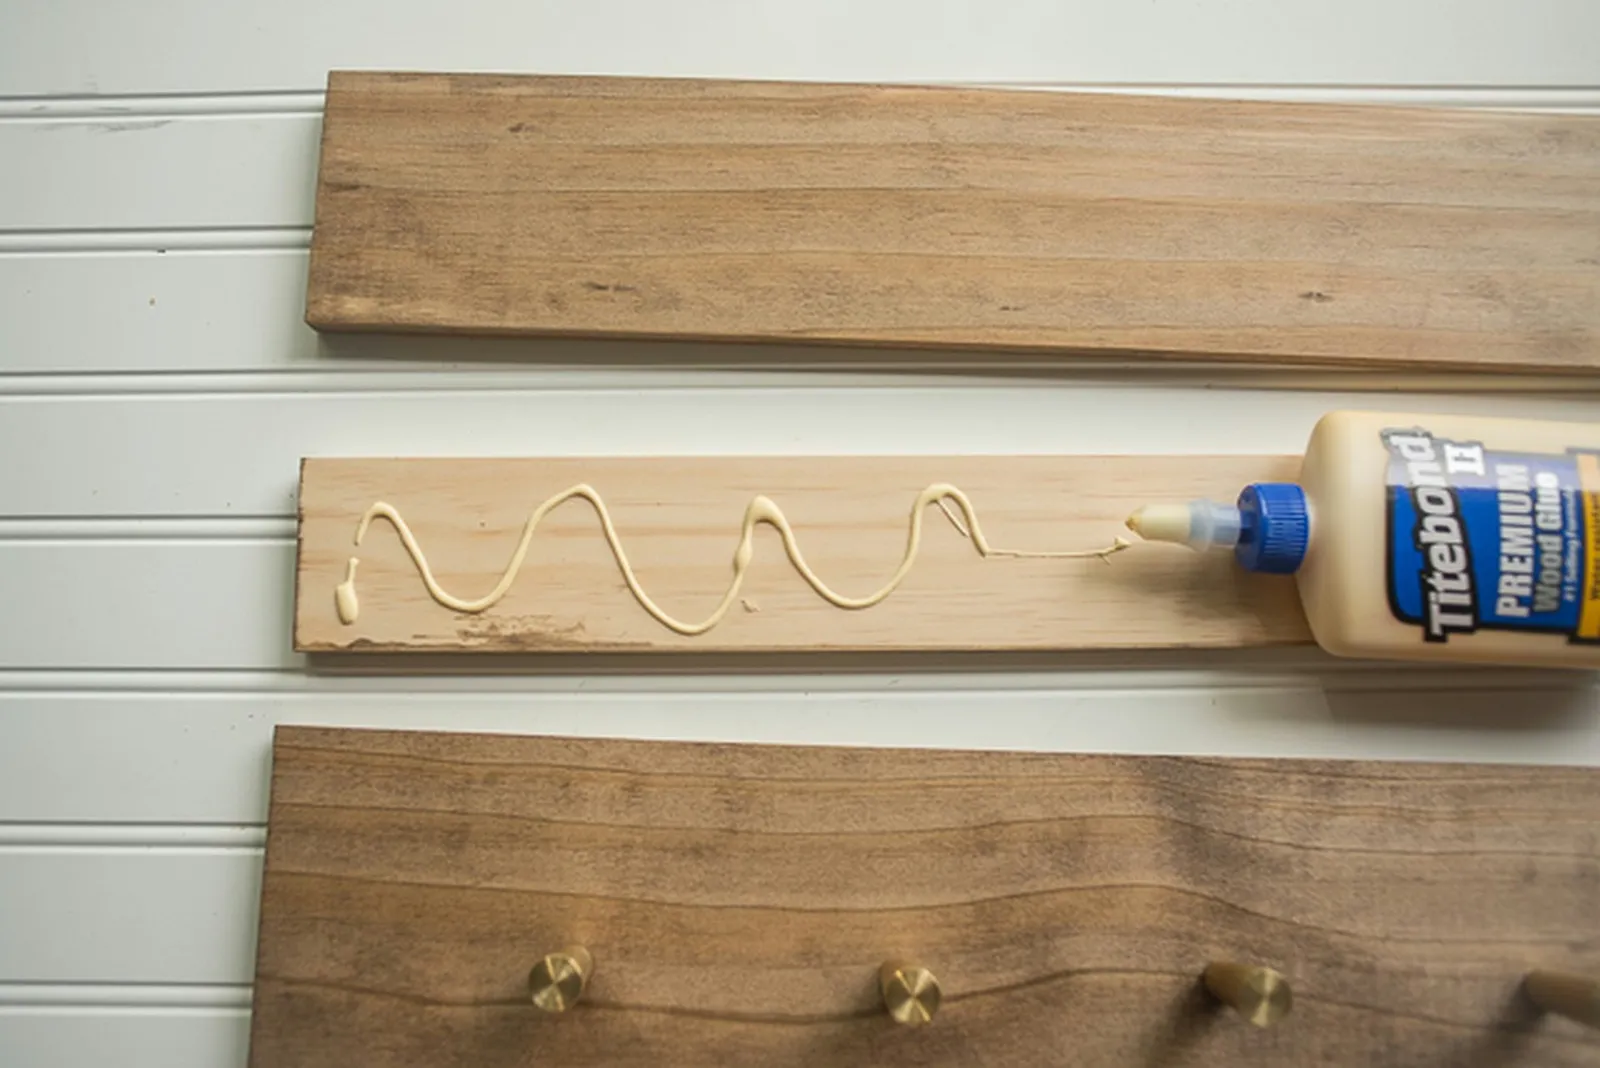
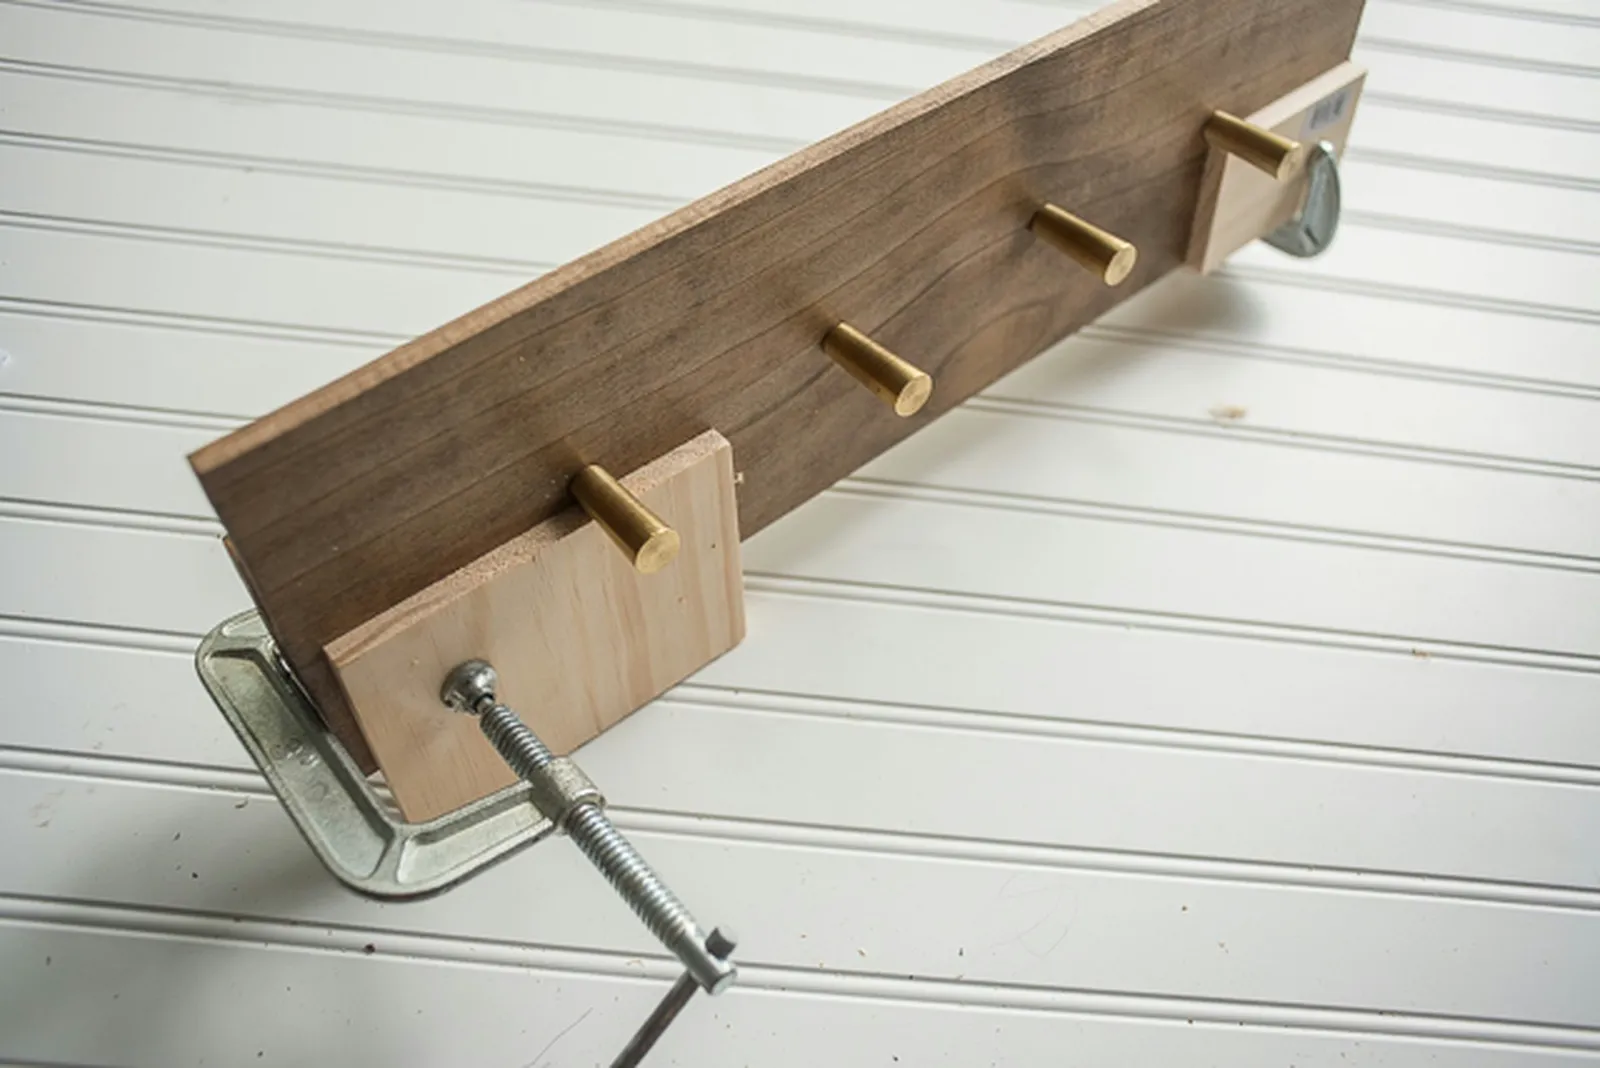
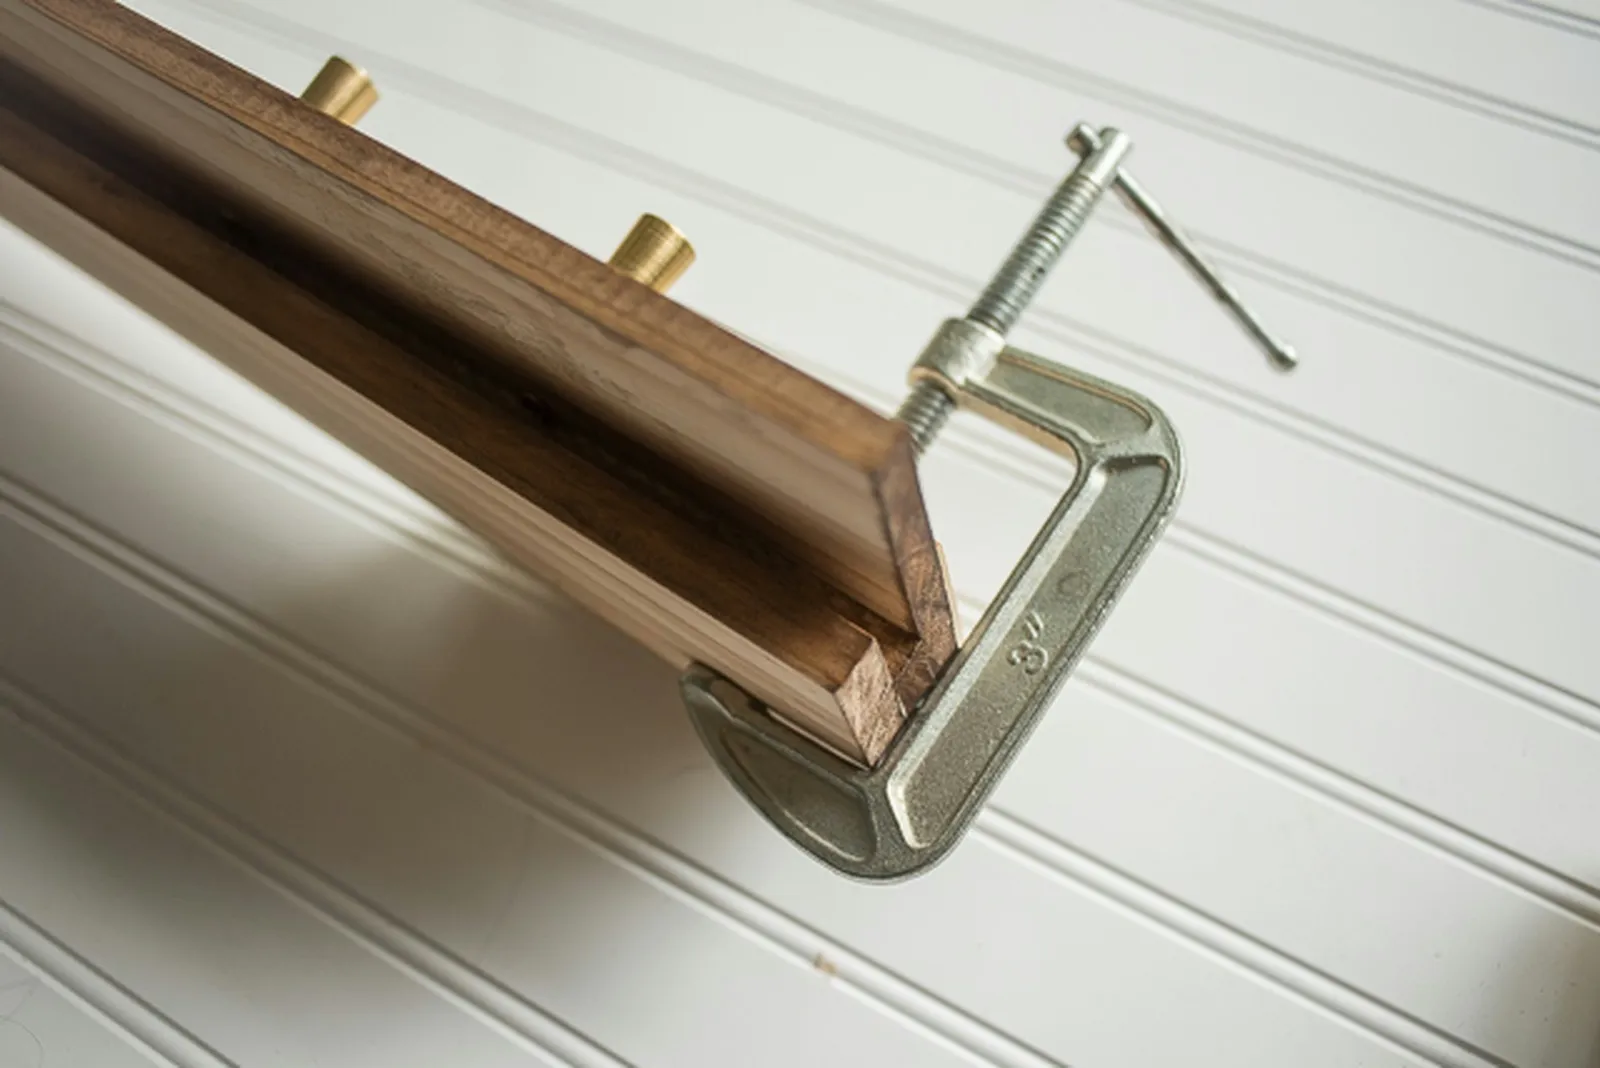
Spread wood glue on both sides of the 3/2-inch x 3-inch x 20-inch piece. Place it between the other two pieces, ensuring the boards align at the bottom and sides (as shown in the image below). Use C-clamps to hold the pieces together, placing scrap wood to protect the finish, and let them dry.
Step 6: Attach Hangers and Mount
Nail or screw the picture hangers onto the back of the coat rack. Mount it on the wall using wallboard anchors or drywall screws driven into studs. Your mail, bags, and jackets now have a place!