DIY Geometric Wall Design Using a Paint Pen and Household Items
Transform a plain wall into a patterned focal point with just a few tools: a measuring tape, a round object like a bowl, and a water-based paint pen. This approach avoids wallpaper and can be completed in about two hours.
By Robin Adams3 steps
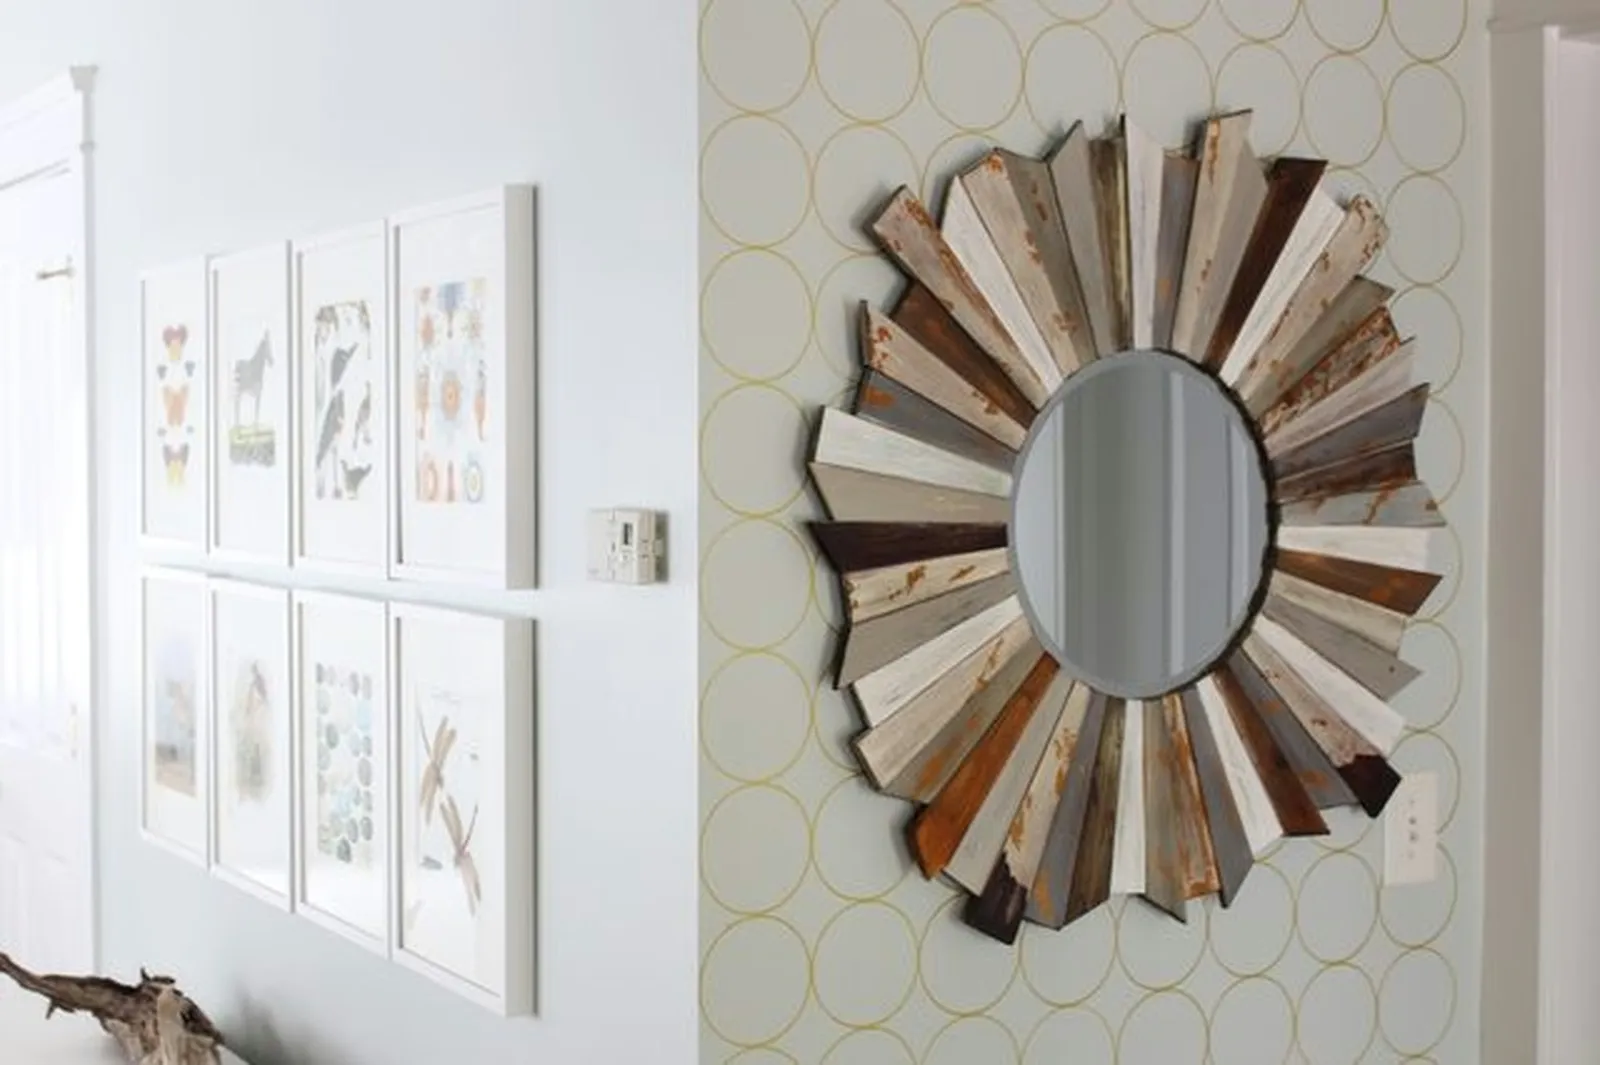
An accent wall can bring visual appeal to a space without requiring a major commitment. This do-it-yourself patterned wall can be finished in roughly two hours with a Sharpie paint pen and a round glass bowl.
Patterned Accent Wall
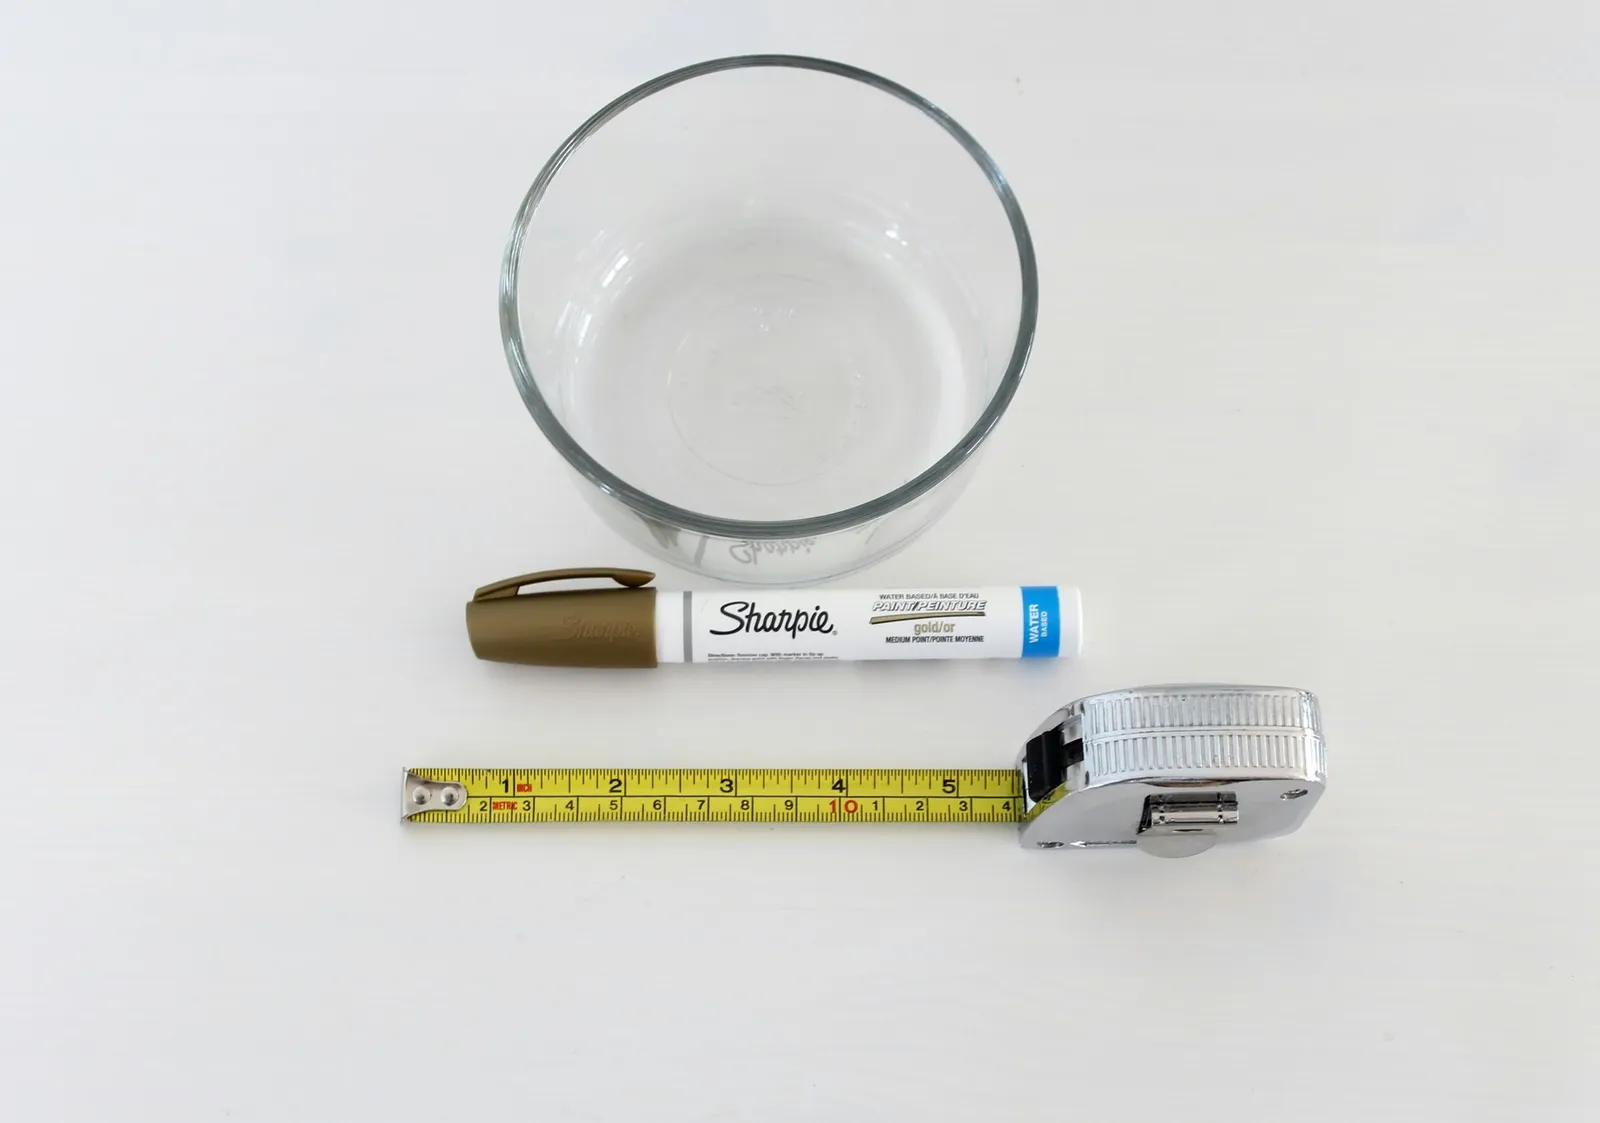
Supplies
Step 1: Determine Wall and Circle Dimensions
Begin by measuring the width of the wall you plan to decorate. Then measure the diameter of your chosen round object. It's important that the object's diameter divides evenly into the wall width. For instance, if the wall is 40 inches wide, select an object with a diameter of about 5 inches. This ensures you can fit complete circles across the design. With a 40-inch wall and a 5-inch bowl, you would need 8 full circles to span the width.
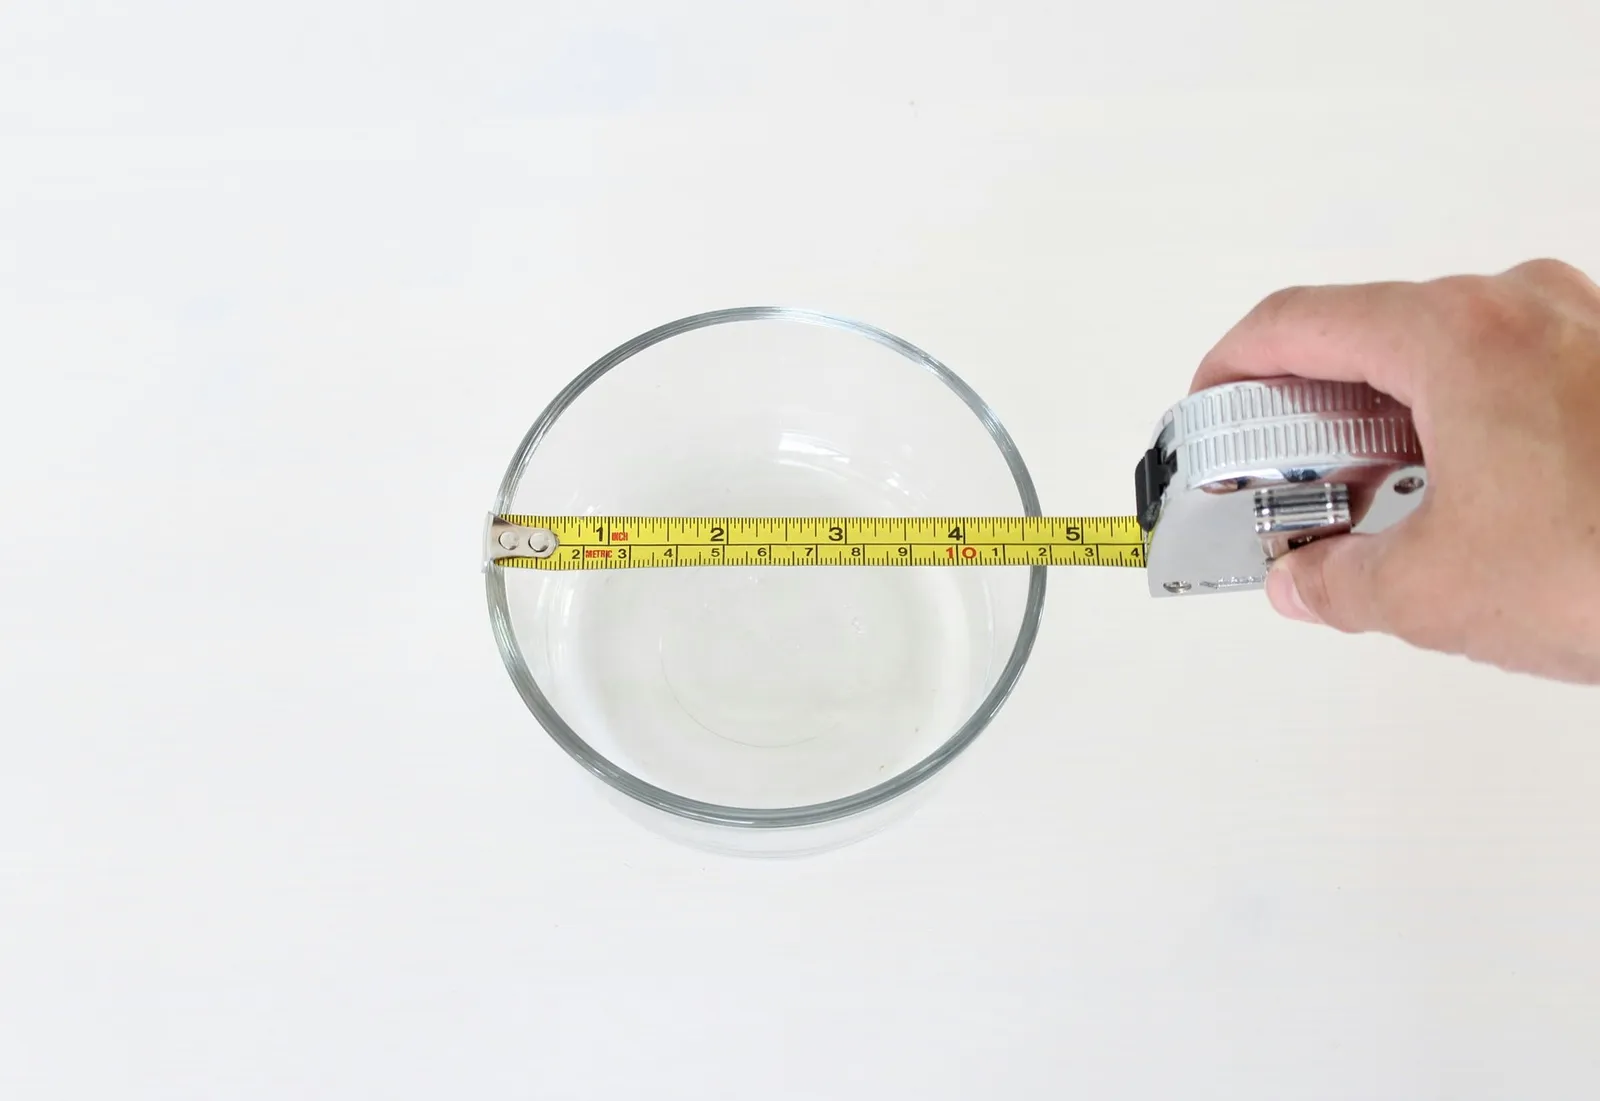
Measure your tracing object
Step 2: Trace and Finish the Pattern
Starting at the bottom of the wall, just above the baseboard, use the paint pen to trace around the bowl from left to right. This task isn't difficult or lengthy, but remember to pause occasionally to rest your arm from holding the bowl steady while tracing.
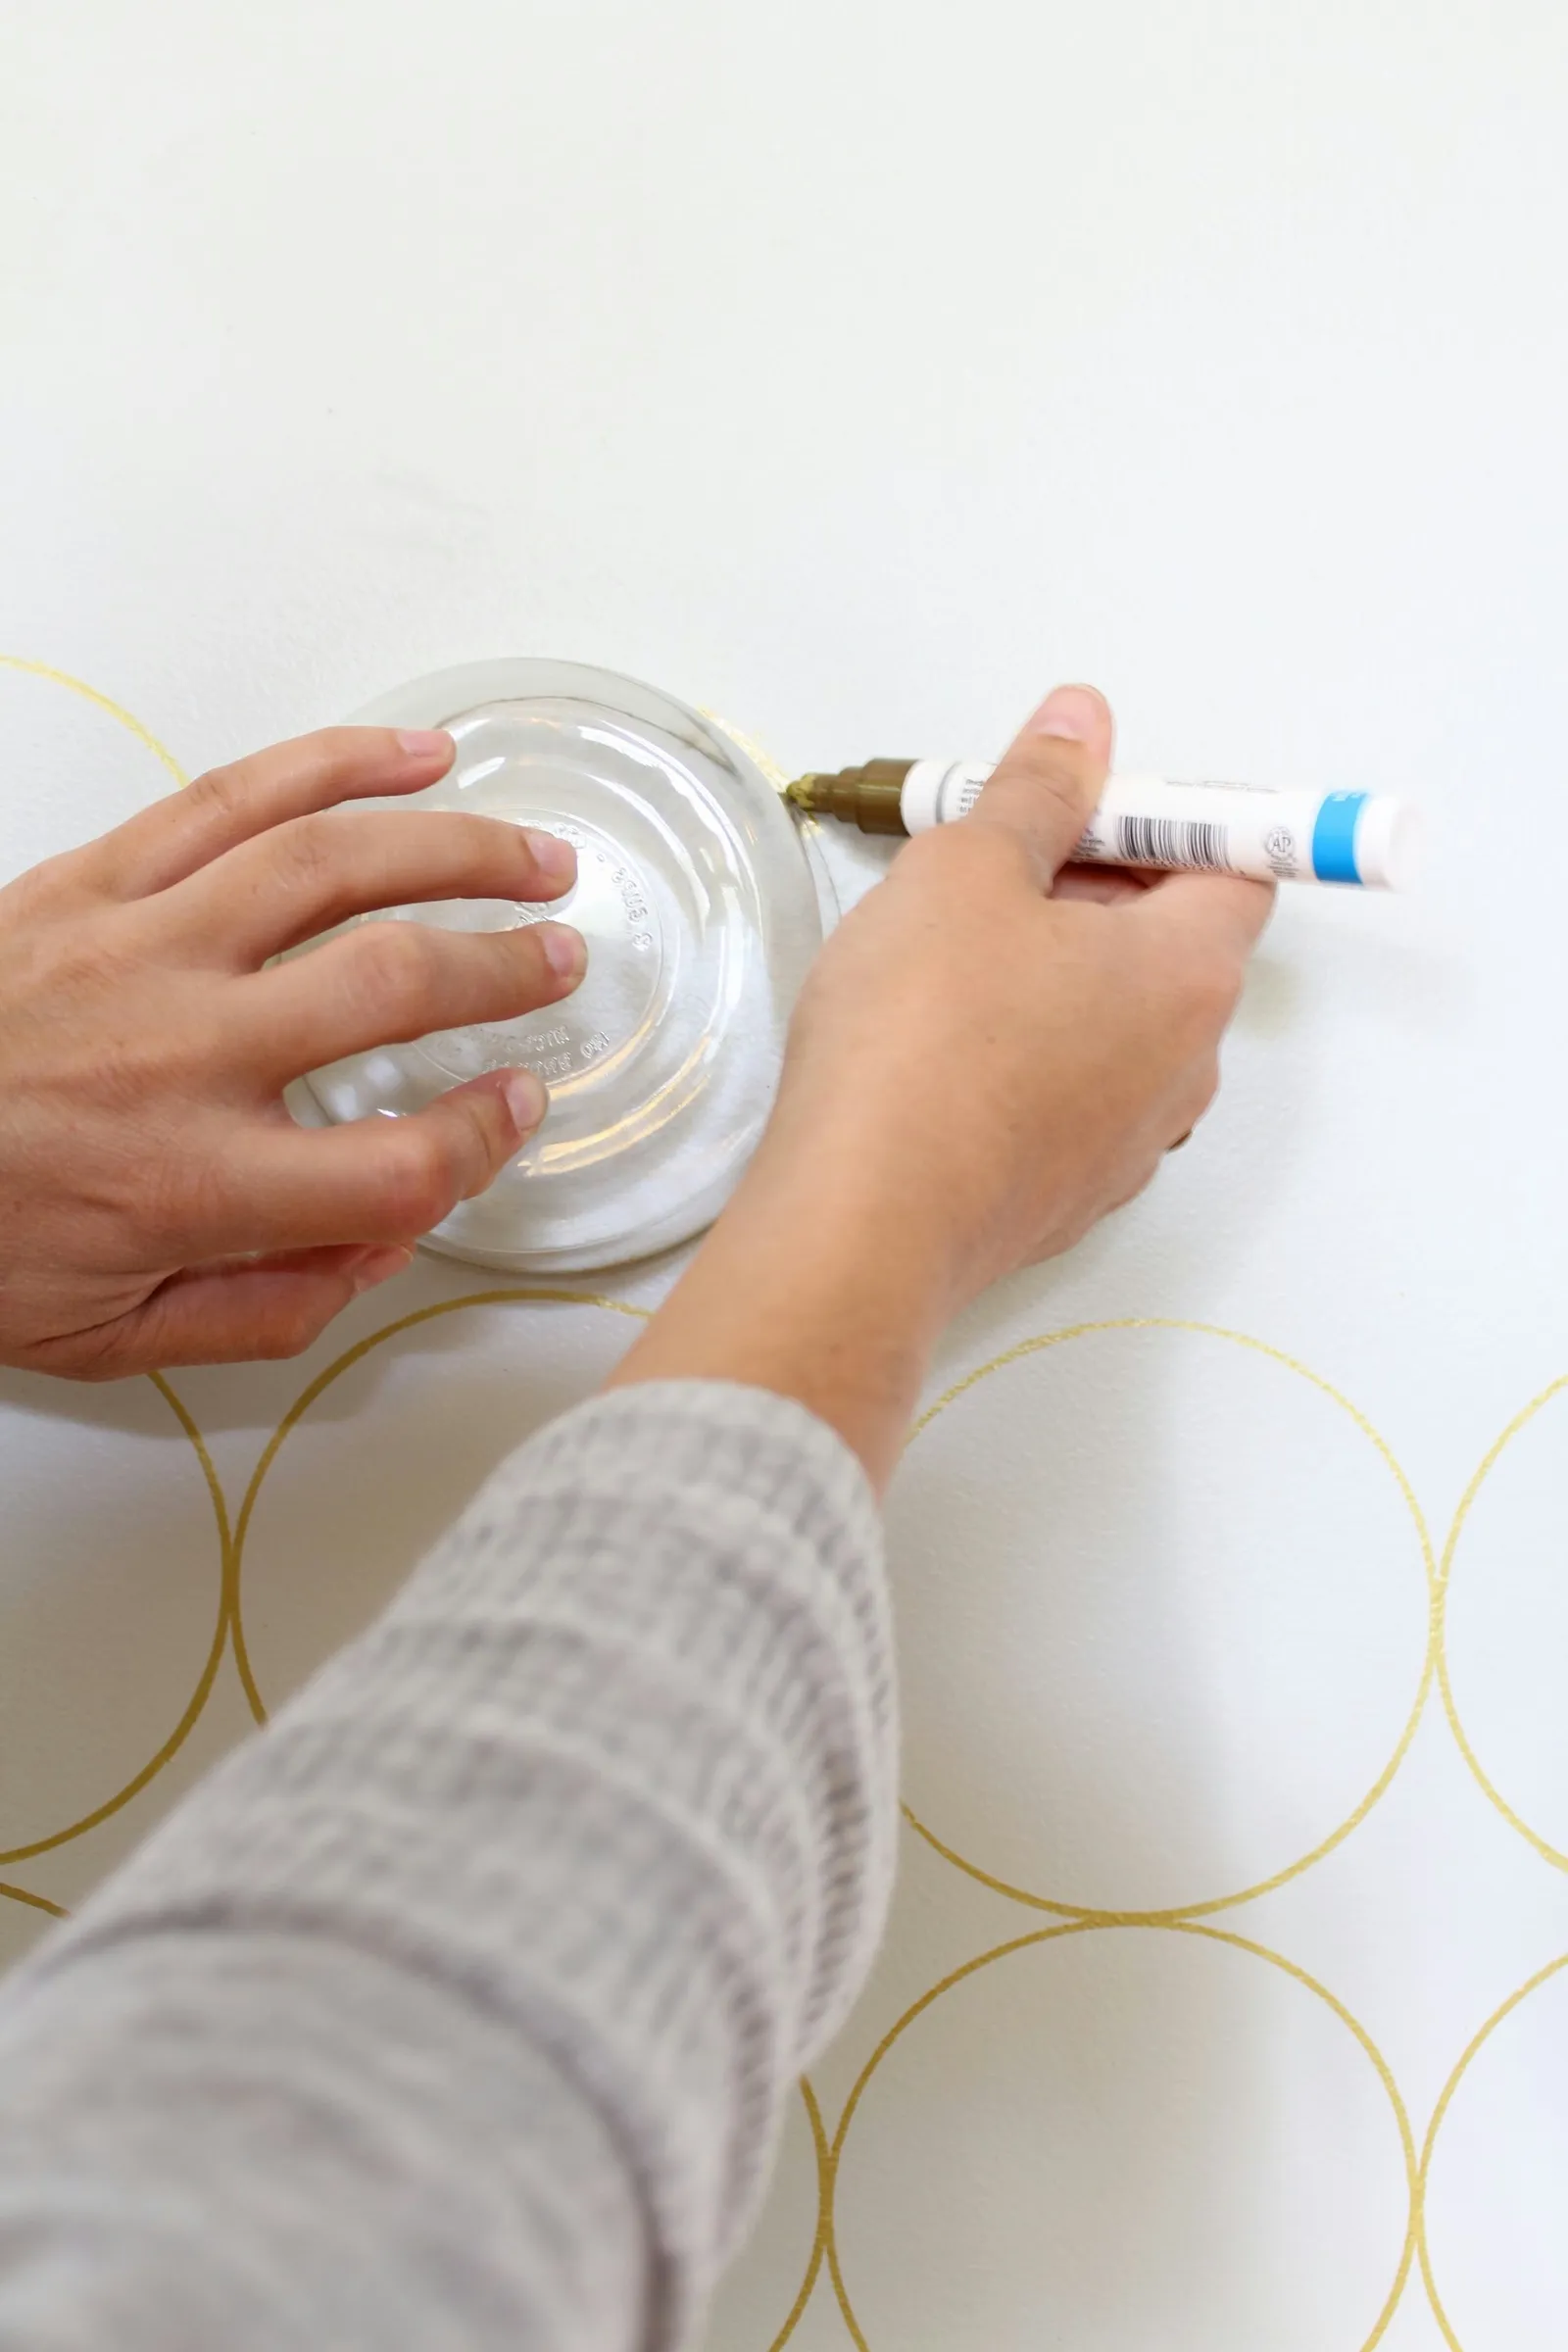
Trace your circles
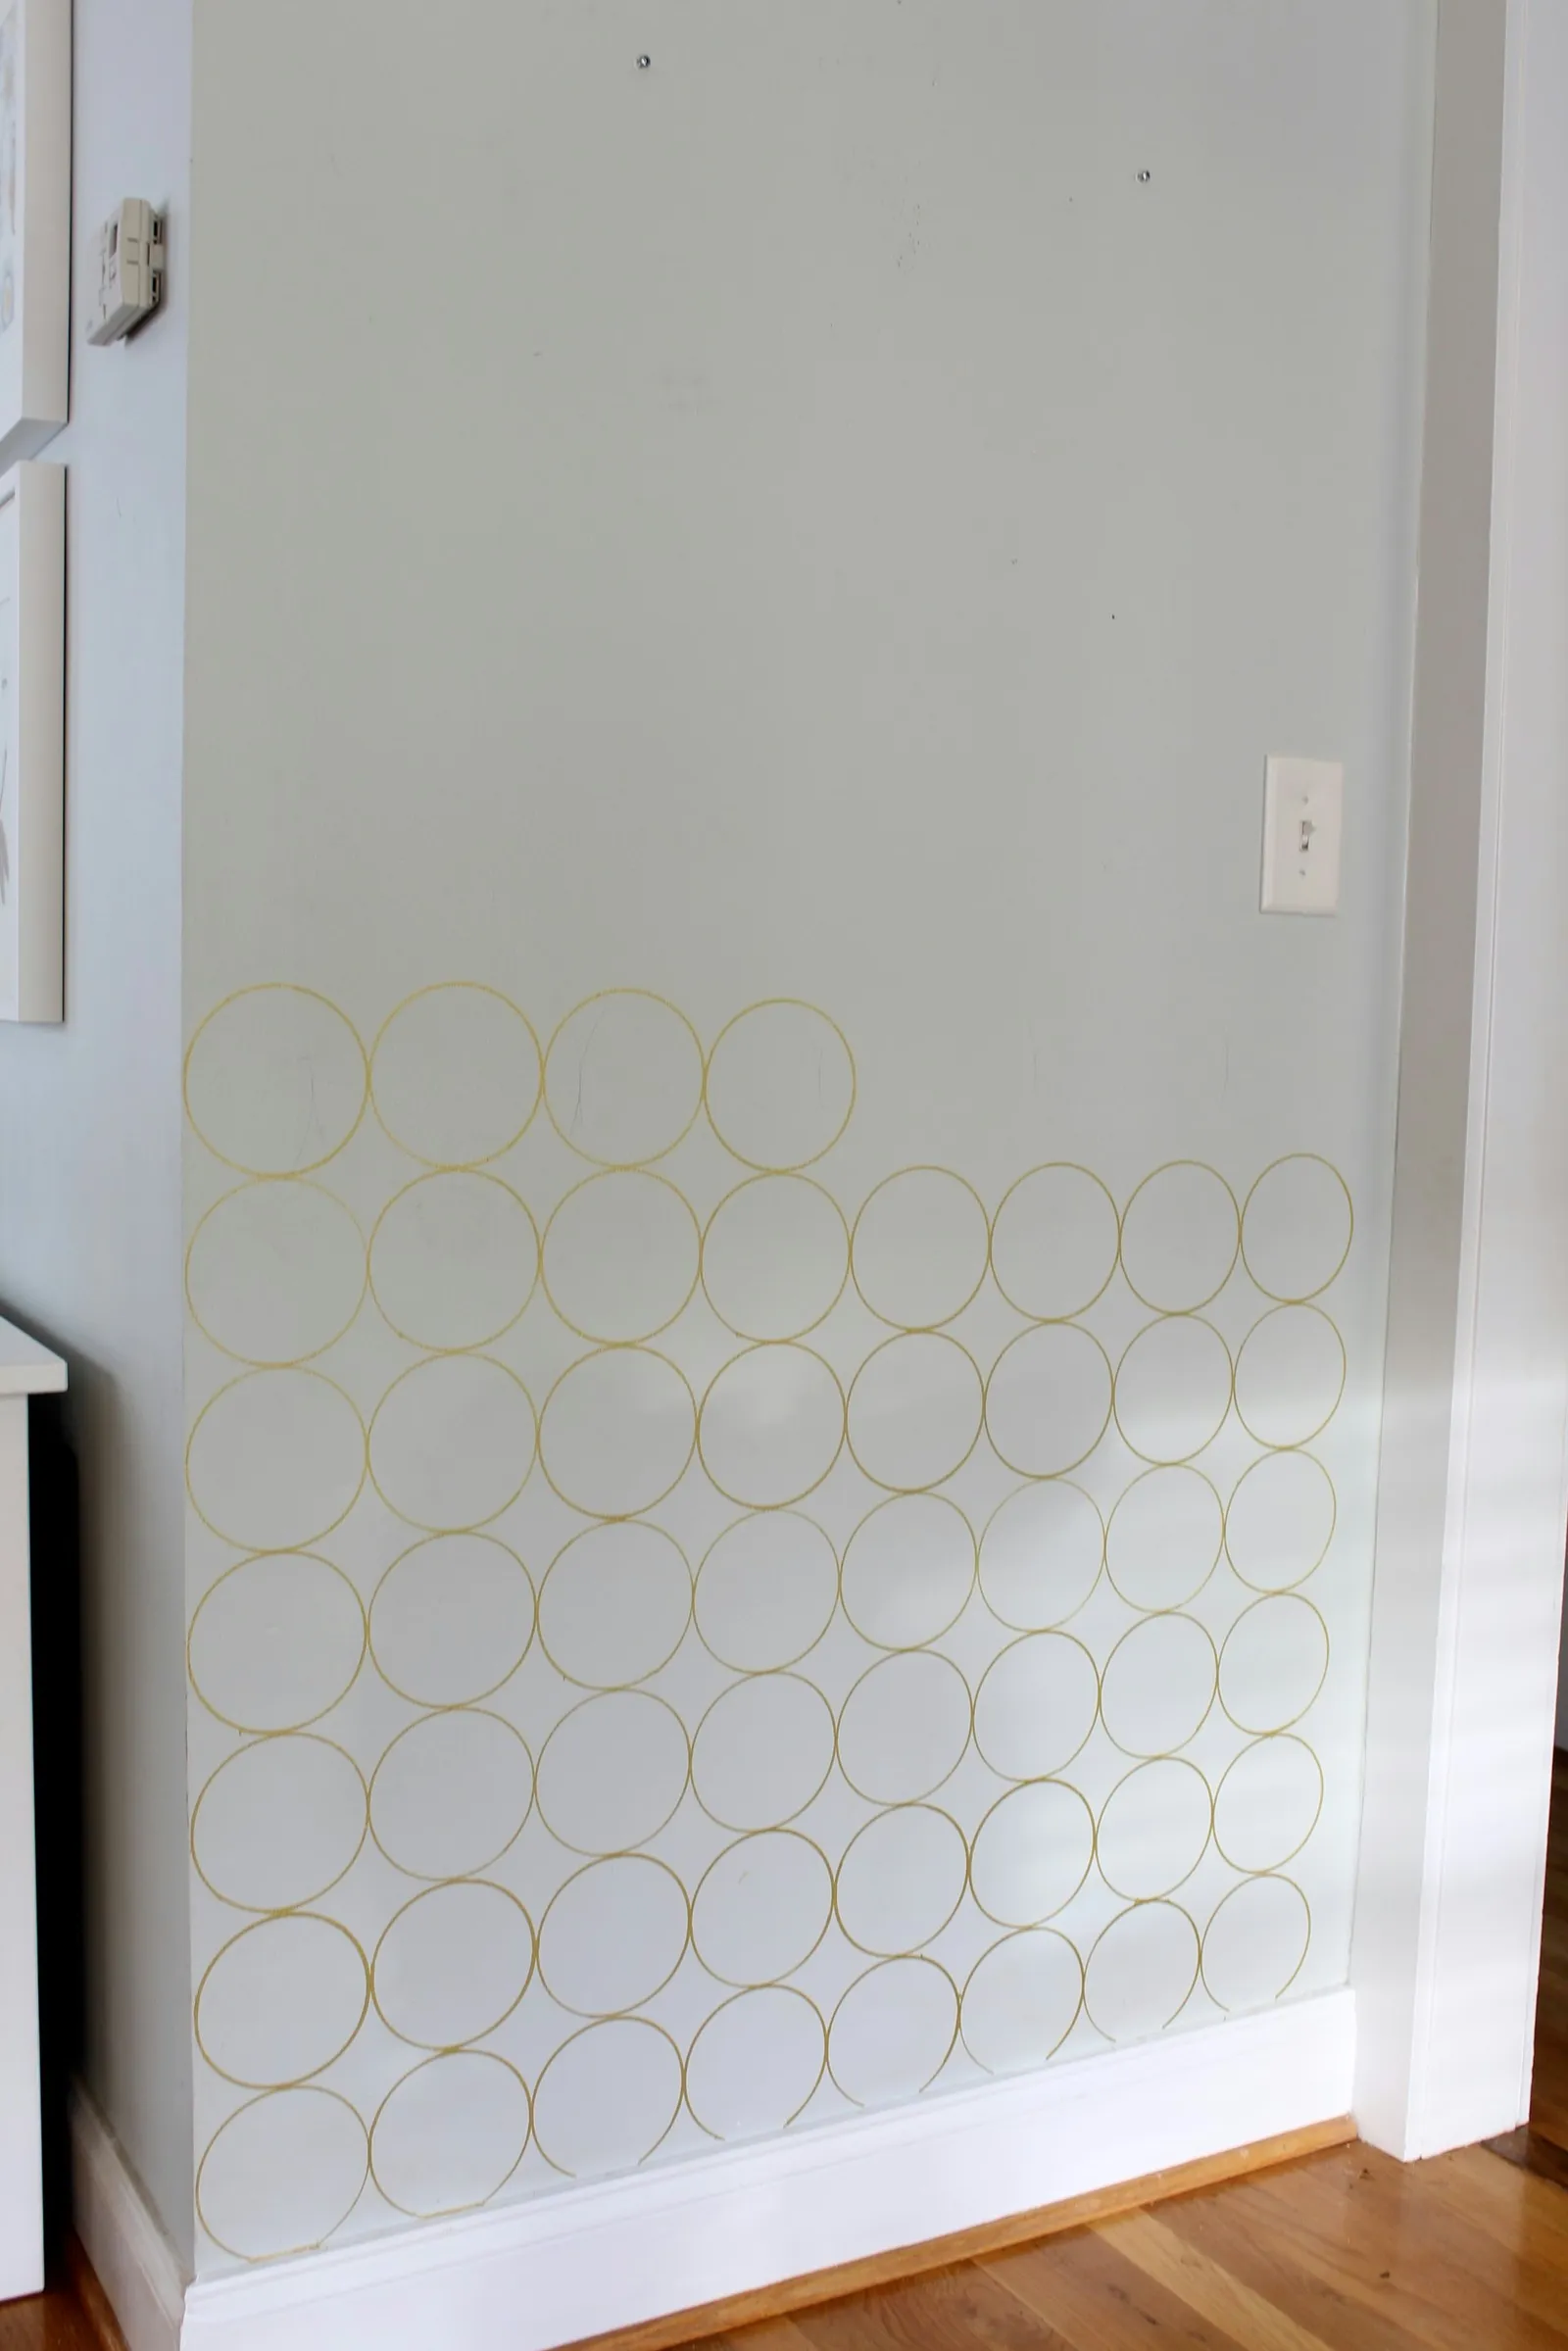
Start from the bottom of the wall and work your way up
Continue tracing circles up to the top of the wall. If the final row at the top requires only part of a circle, trace the bowl onto a piece of paper and cut out the needed portion.
Step 3: Incorporate a Focal Point
To finish the accent wall, I added a starburst mirror. The understated pattern combined with this decorative piece brings a lot of visual interest to what was once a plain entryway.
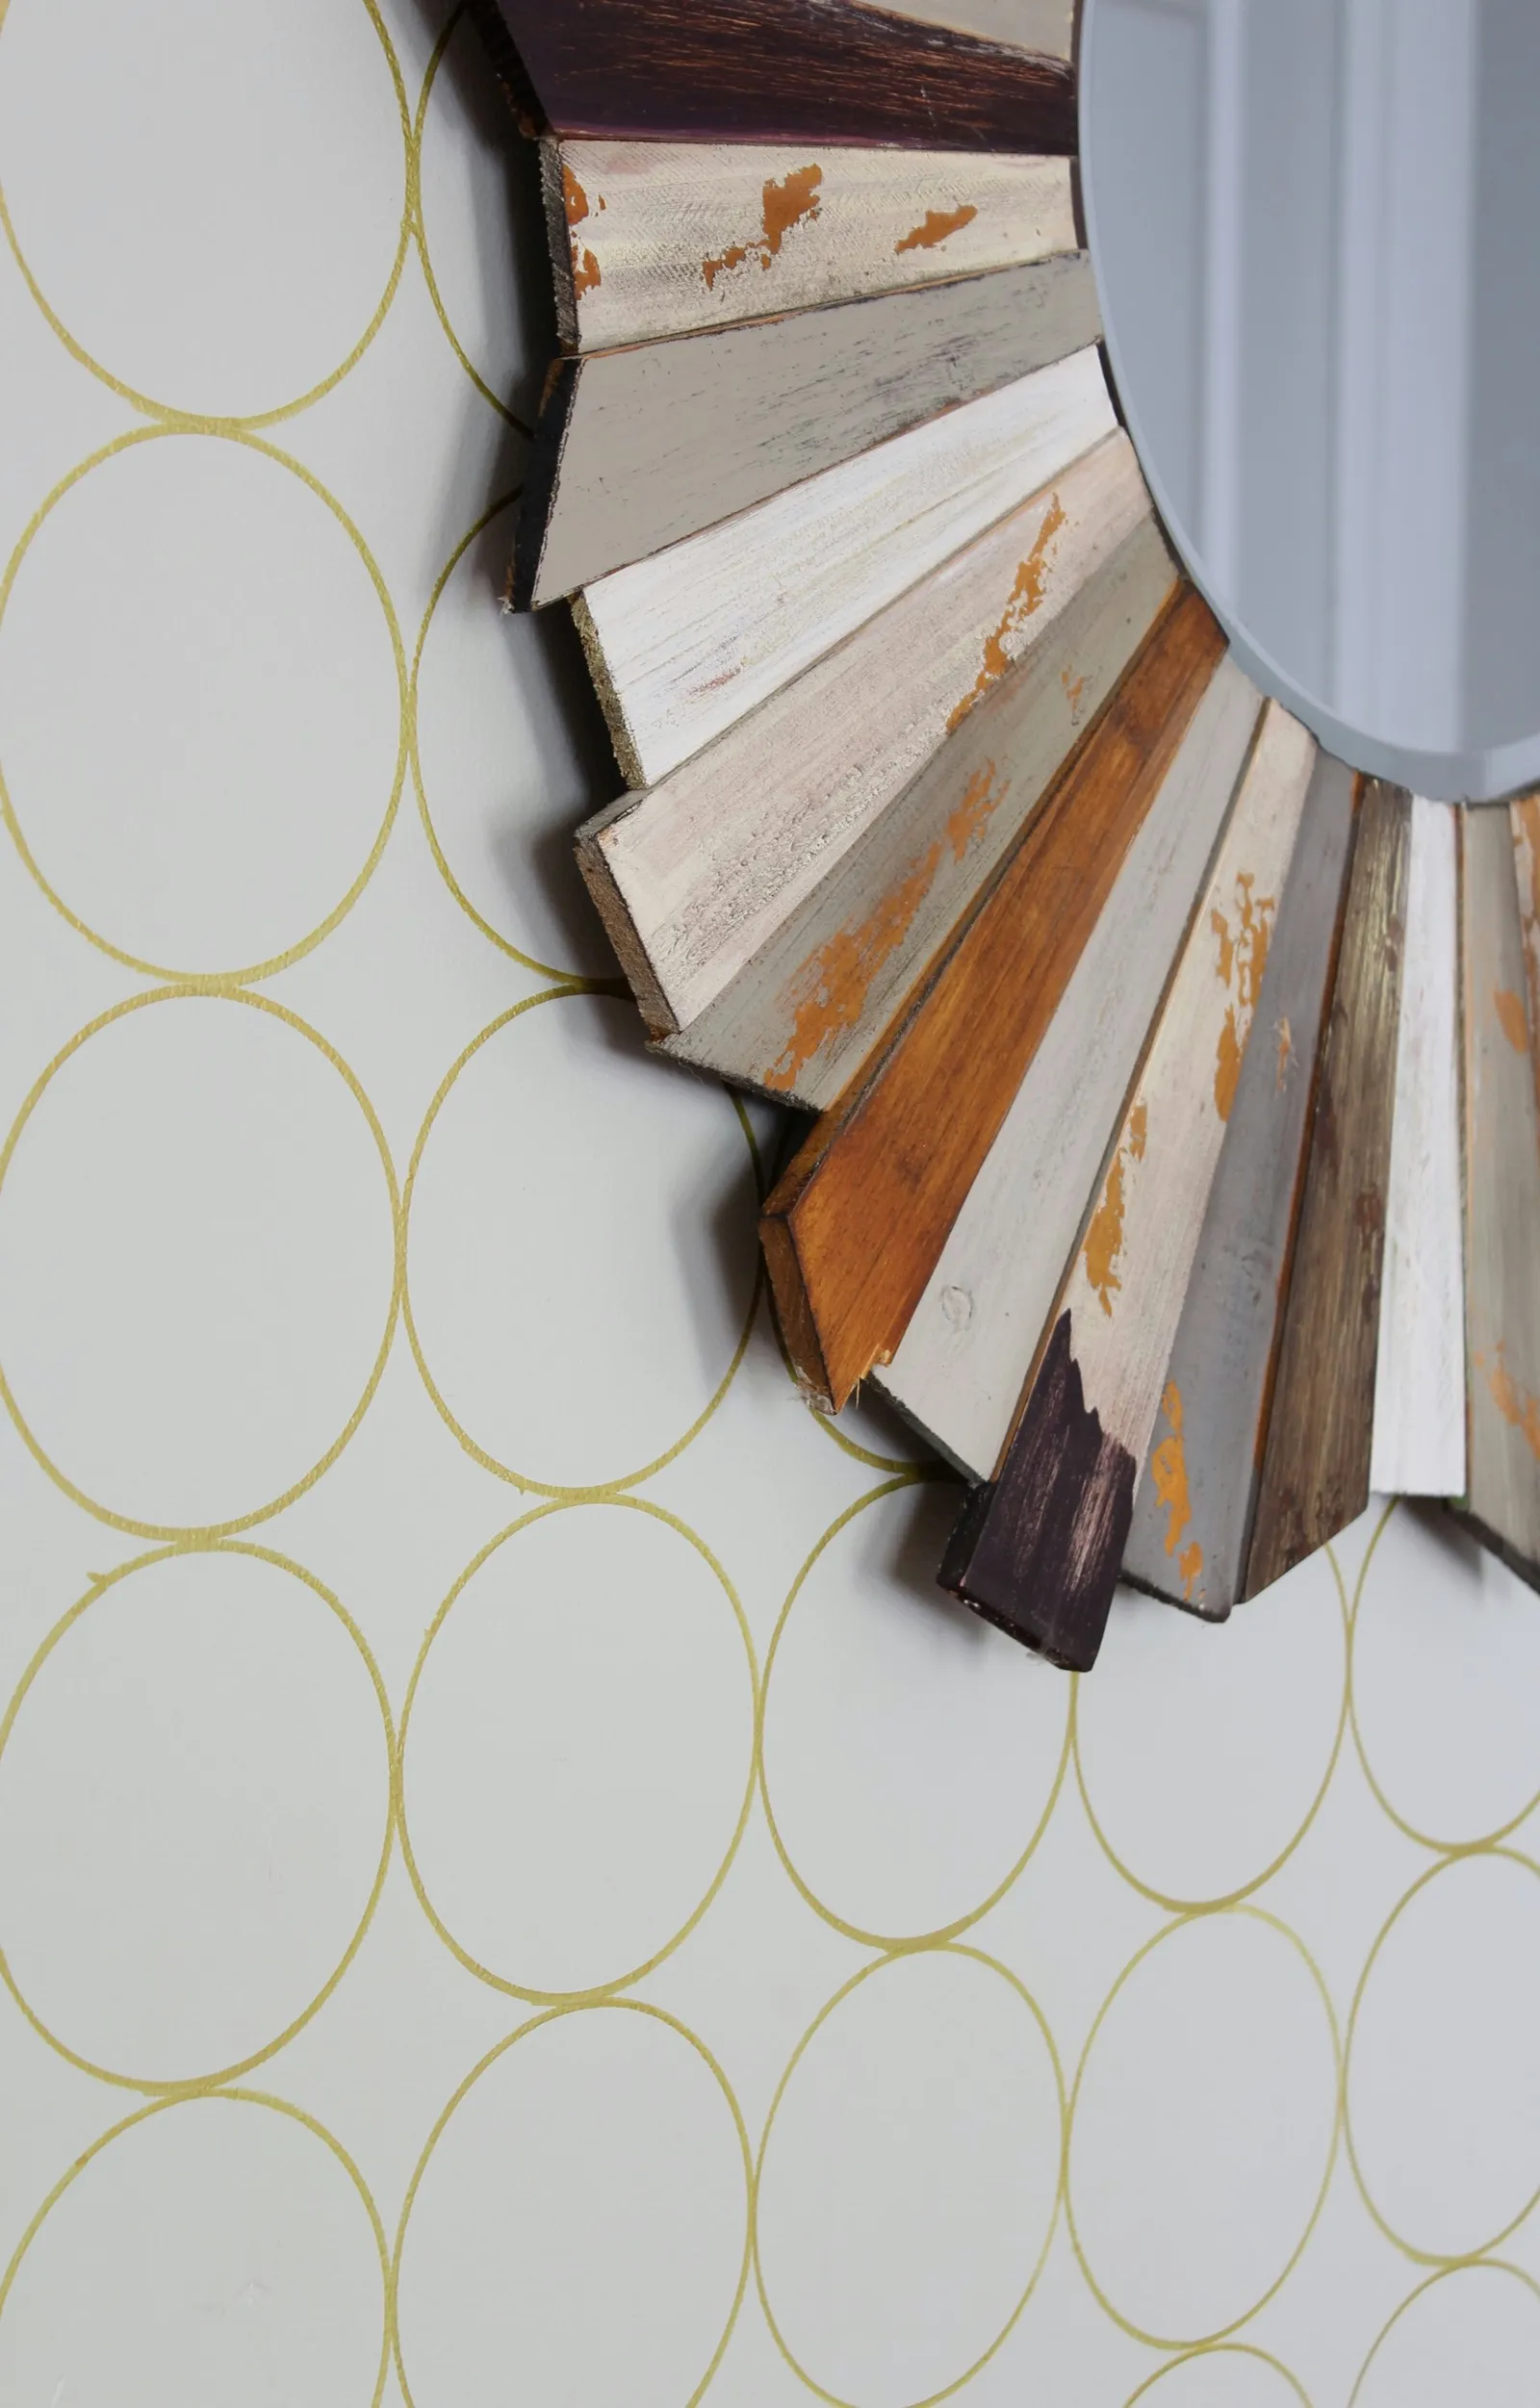
Circle wall detail
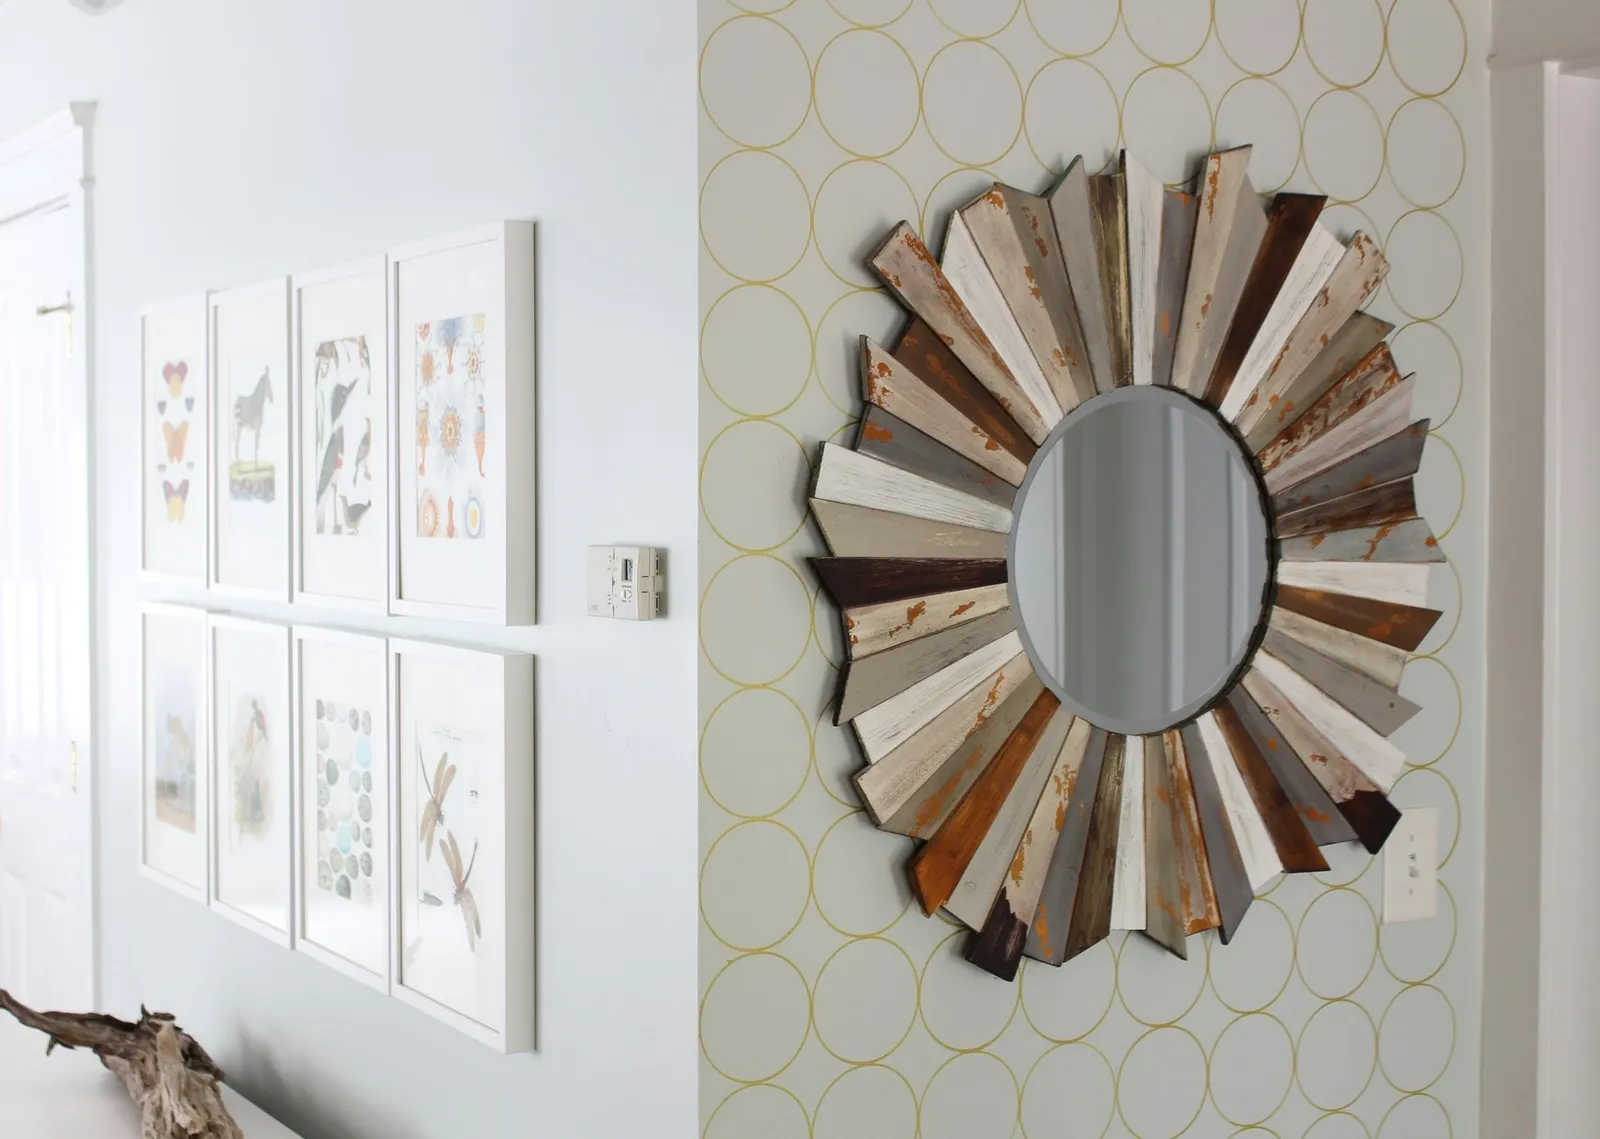
Completed wall



